creating a 3d printable case from the rough sketches done earlier
the overall shape was put toghether relatively quickly - but getting the d-pad to feel right took some iterations, the first few where still cross-shaped
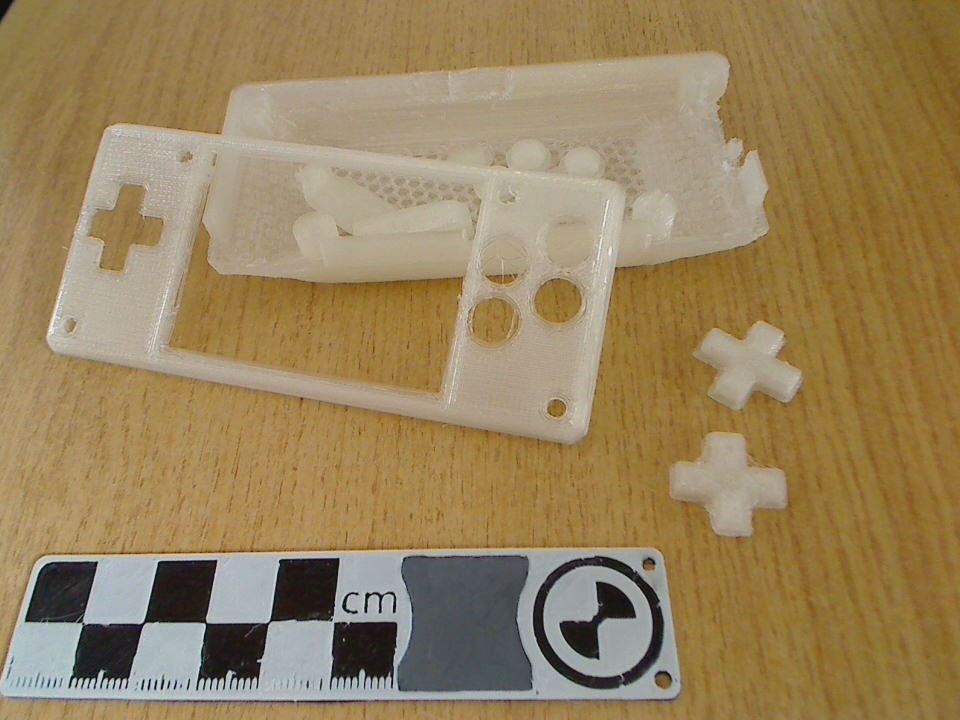
turned out, that shrinking and making it round works better for the alps switch. connecting the ABXY buttons eases installation
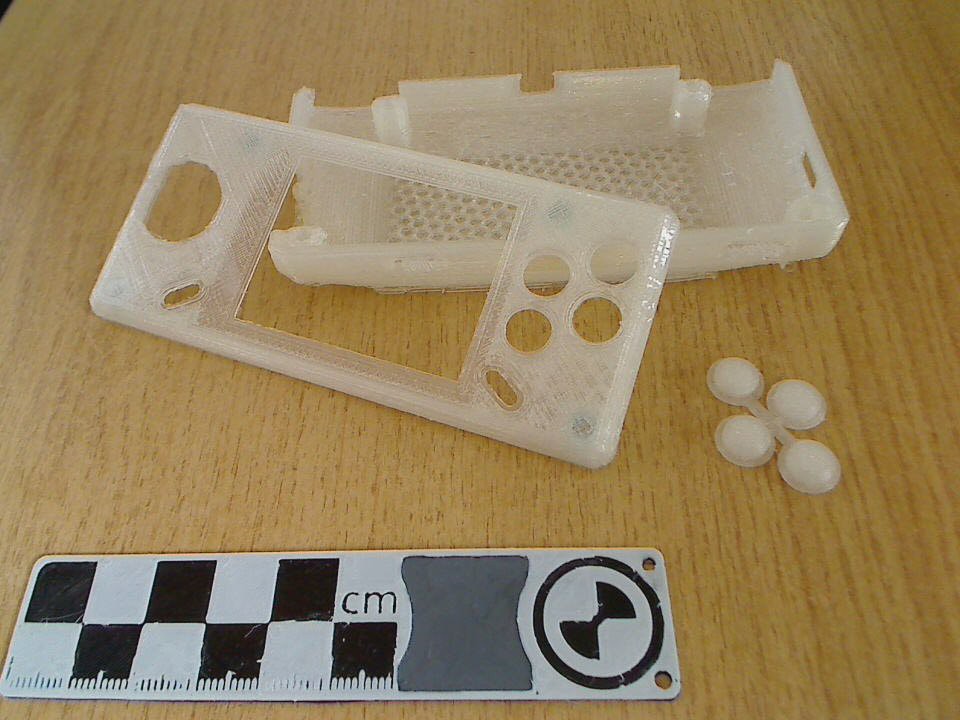
also playing with the back part, for example splitting it in two with overlapping part along the seam:
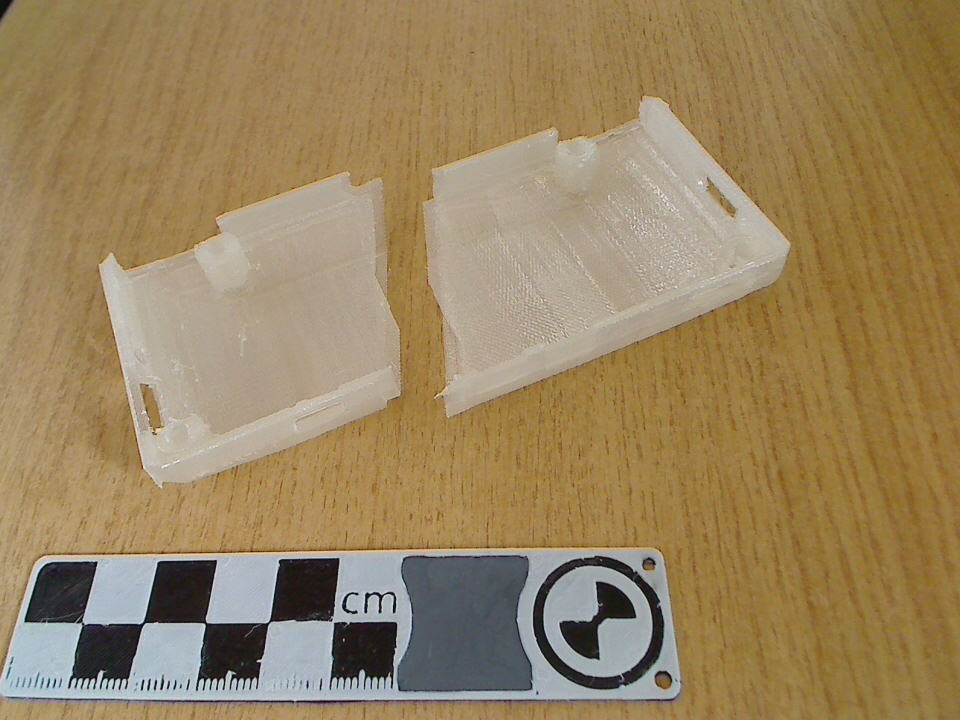 which would be printed standing up:
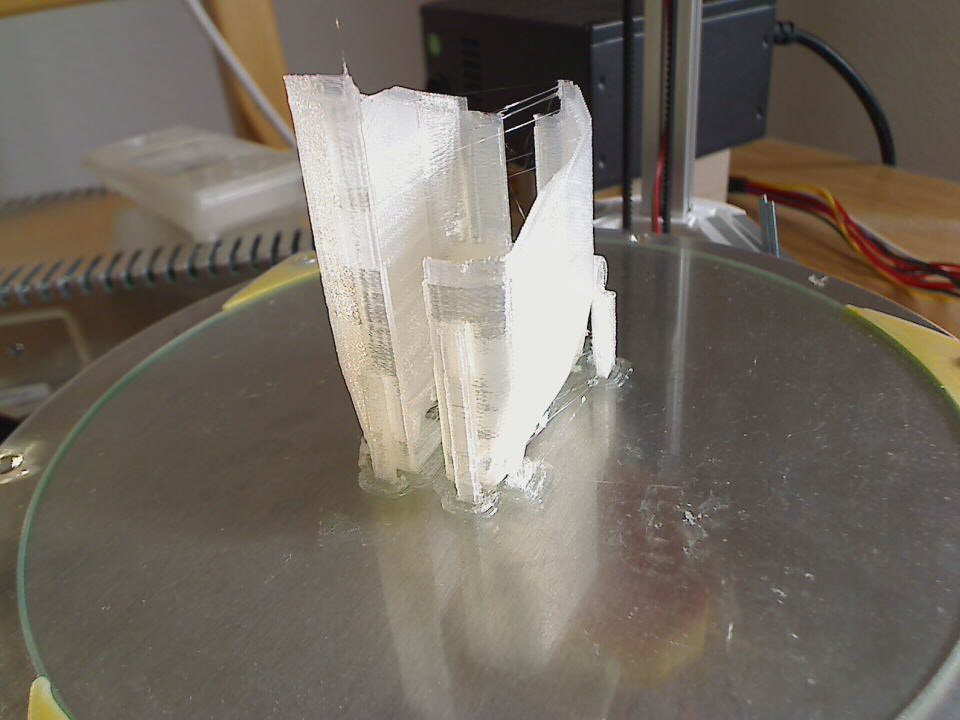 this would have the upside of a sturdier frame - but on the downside prints waaay longer, with increased risk of print failure and the split/seam doesn't look as nice as a single-pice backside does, paintability would probably be another issue - so i'll stick with the single-piece for now
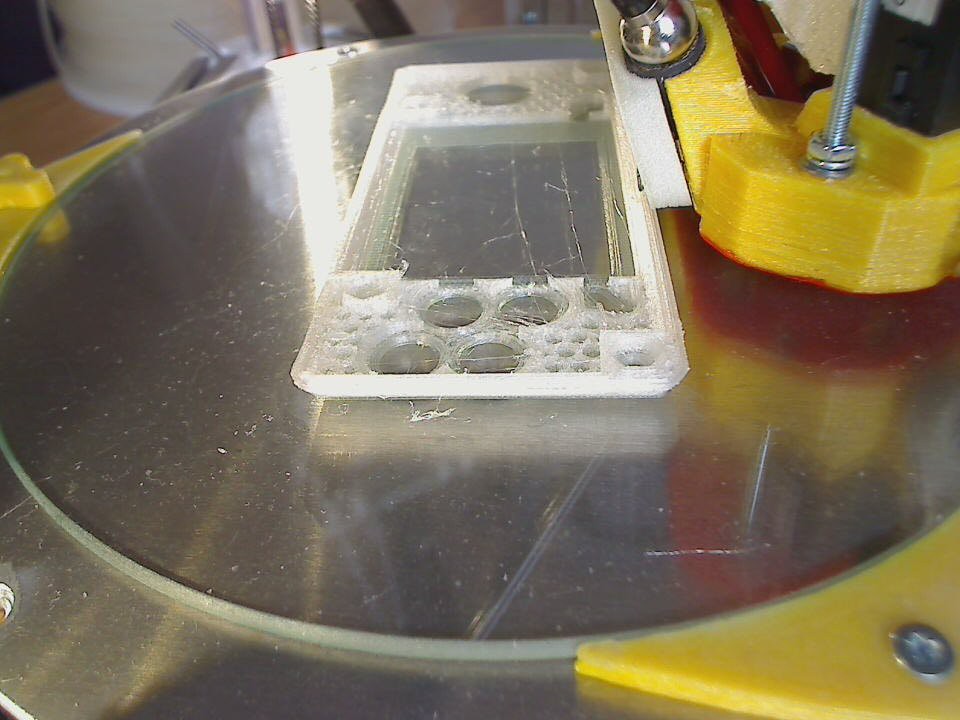
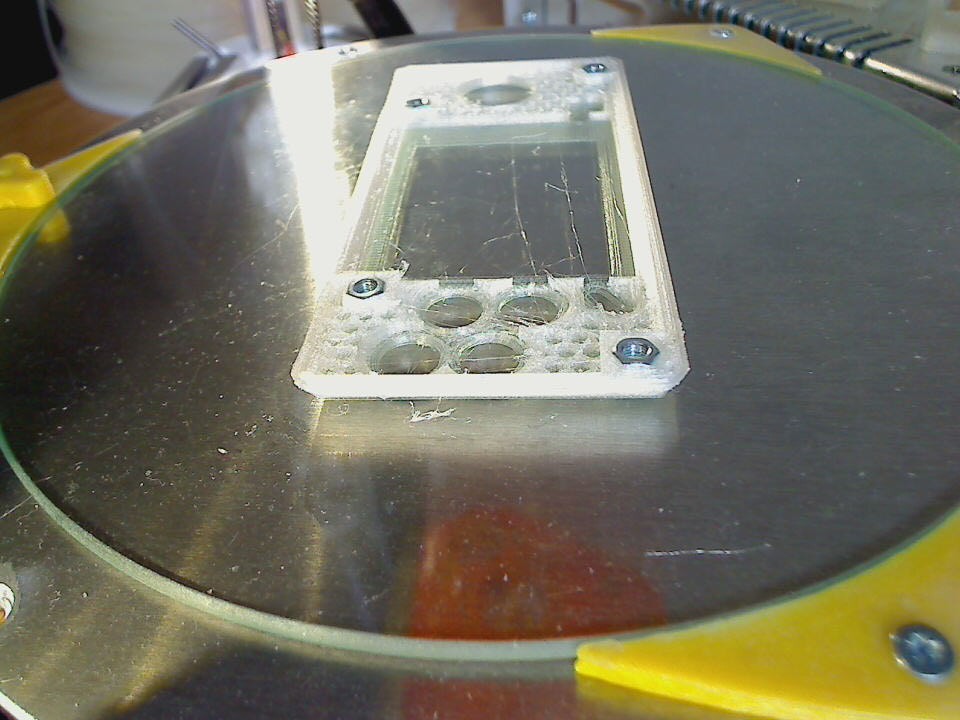
btw: the front piece in its current form uses the pause-print-insert-M3-trapped-nuts-resume-print approach:
STLs to print your own are on github :-)
 JohSchneider
Discussions
Become a Hackaday.io Member
Create an account to leave a comment. Already have an account? Log In.
Maybe a something missing, but what size nuts and screws did you use? I didnt see it in the documents
Are you sure? yes | no