 dave.m.mcdonough
-
1Step 1
Spend some time on your LED and battery selection. These are the two most expensive items, and of course the most important.
![]()
In my case I'm trying to light a volleyball court. The light I'm considering is available in 30º spread or 60º spread. Also, the pole supplier offers 22ft or 32ft. I decided to mock this up in cad, which was pretty helpful in visualizing. I went with the shorter pole and higher spread.
I'm glad I did this because the pole turned out to be a bit flimsy, so it is likely we will not be putting it up all the way at 22ft.
About the battery.. I splurged a little bit with the Lithium. It was $160, almost half the entire budget. Here's why:
1. I really wanted to play with one of these batteries.
2. It will last more than 2 years before turning to shit. I want to believe that we are far enough into the future that this thing will still hold a charge in 10 years. That's way longer than my crappy tripod will last.
3. No acid to spill.
Small and lightweight are perks for sure but weren't main priorities. Plus this one has an undervoltage cutoff, so we can't brick it by leaving the lights on. Perfect.
-
2Step 2
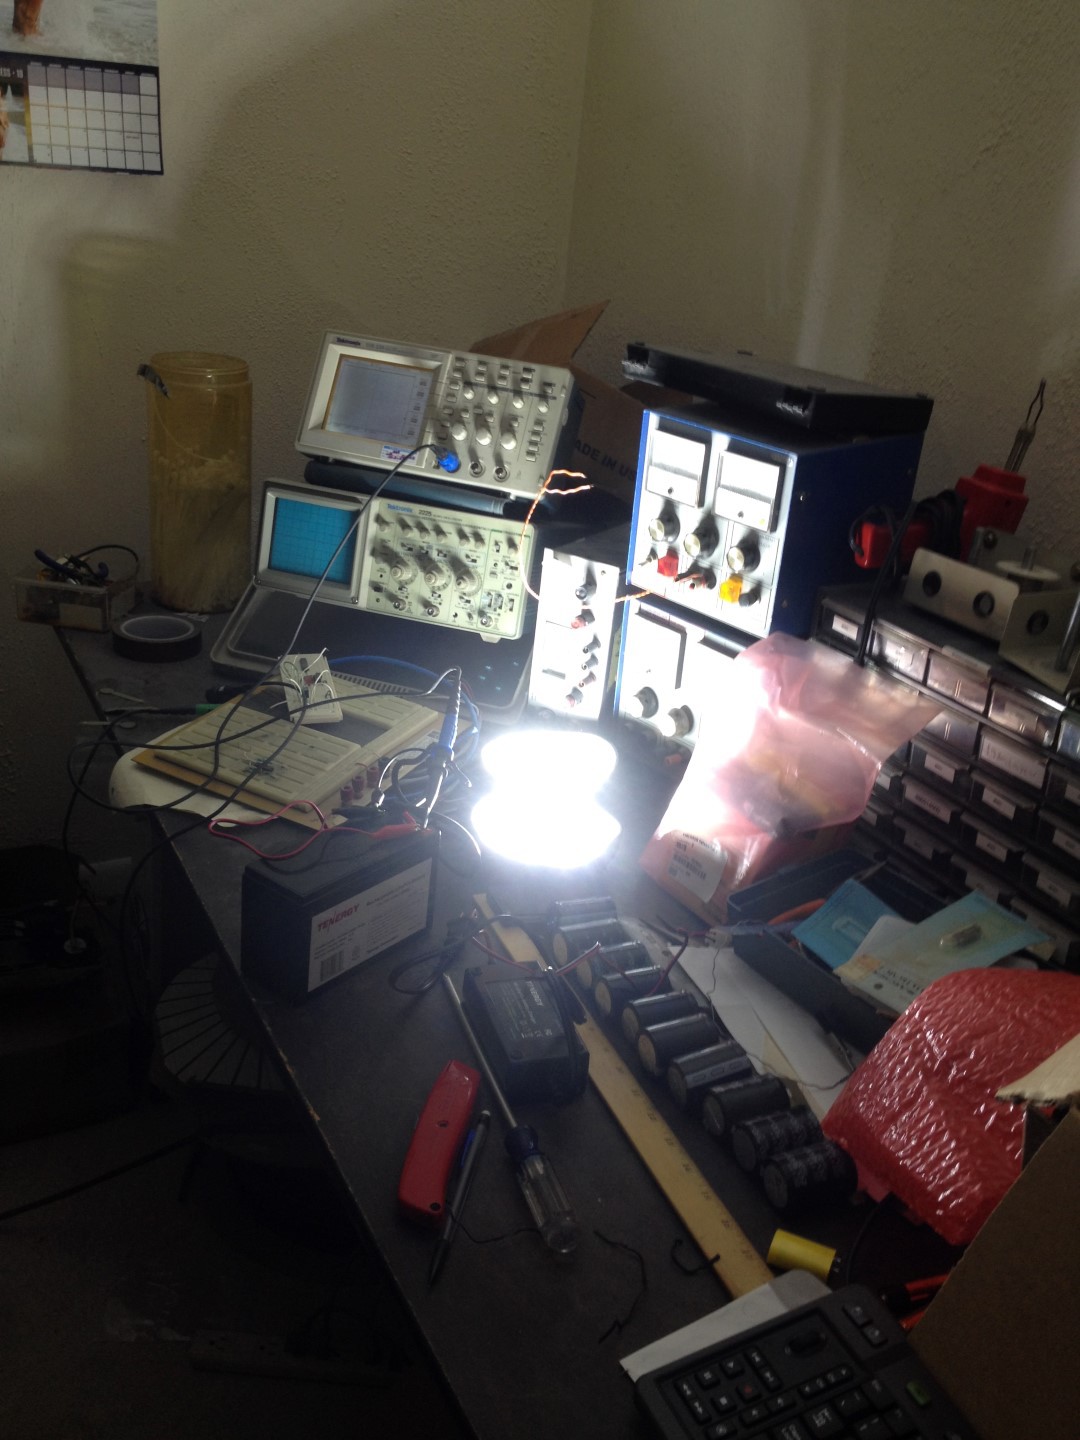
When items arrive, pause your entire life to play with them.
![]()
-
3Step 3
Ok, the next part selection can fairly important depending on your taste, but in a pinch you could use anything. I've found this to be one of the best:
![]()
It's a seasonal though so good luck.
OK anyway, Digikey has a free online schematic drawing tool. I used it to draw this:
![]() Pretty simple. For the fuse I used an automotive style with the fuseholder that has pigtails coming out. The relay and relay socket are from superbrightleds.com, R5-SW. So color code may vary. I picked a fun little switch with an LED indicator in it.
Pretty simple. For the fuse I used an automotive style with the fuseholder that has pigtails coming out. The relay and relay socket are from superbrightleds.com, R5-SW. So color code may vary. I picked a fun little switch with an LED indicator in it. The cig lighter was an afterthought, I'm sure they draw more than 10A. It's just to charge a phone/radio. We blast tunes.
-
4Step 4
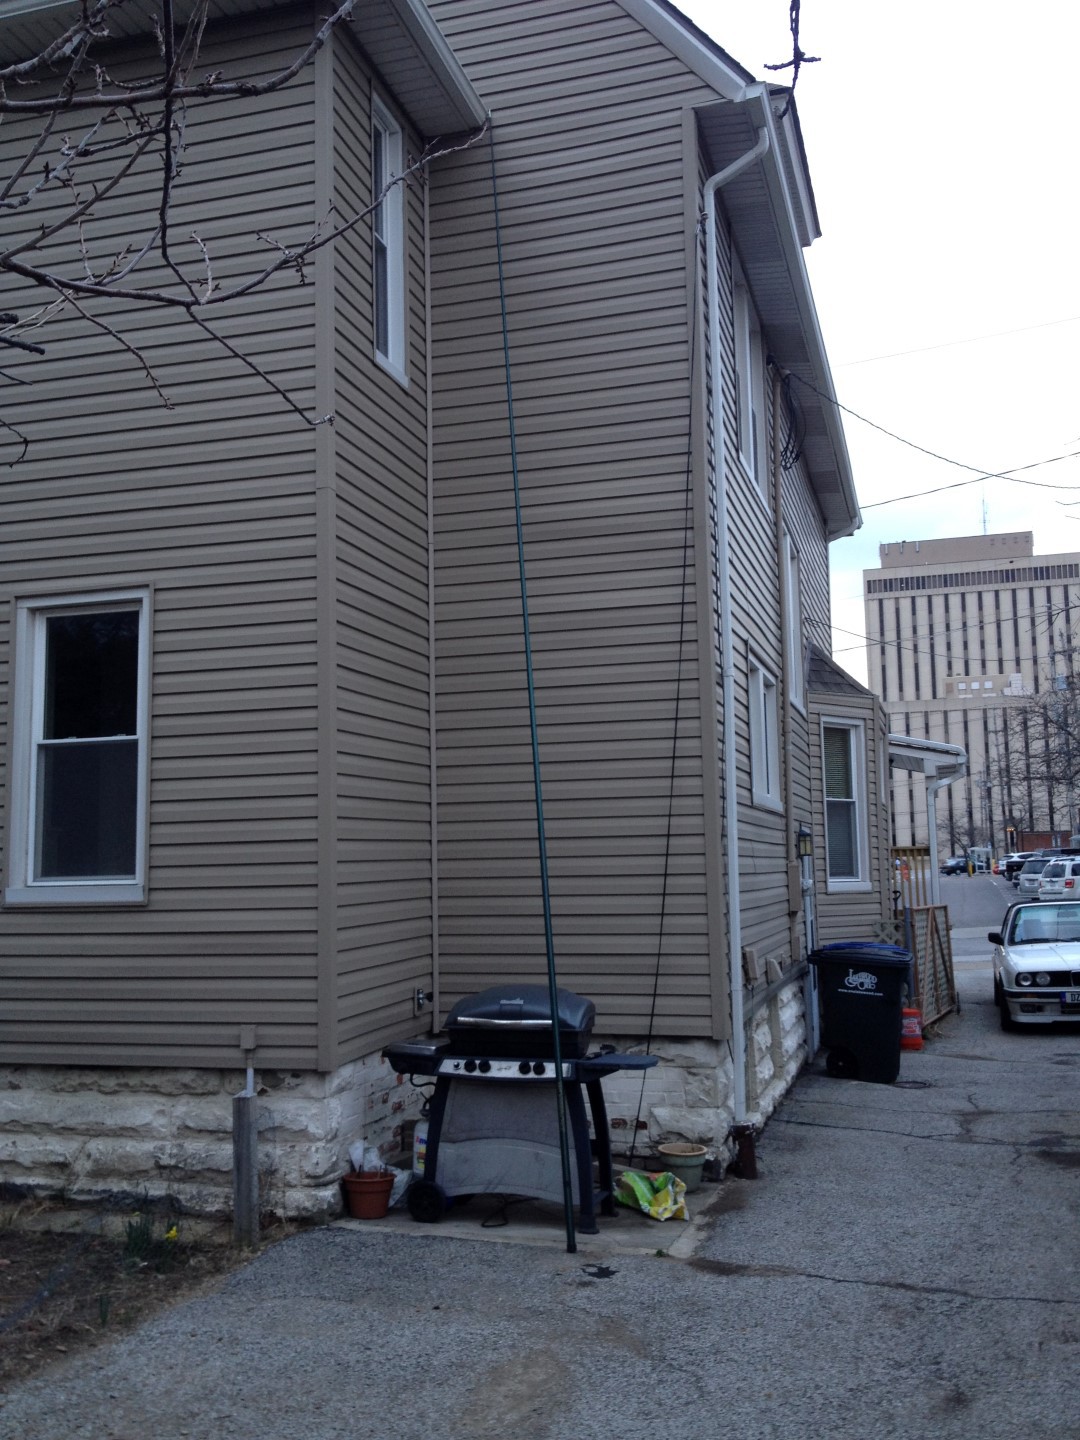
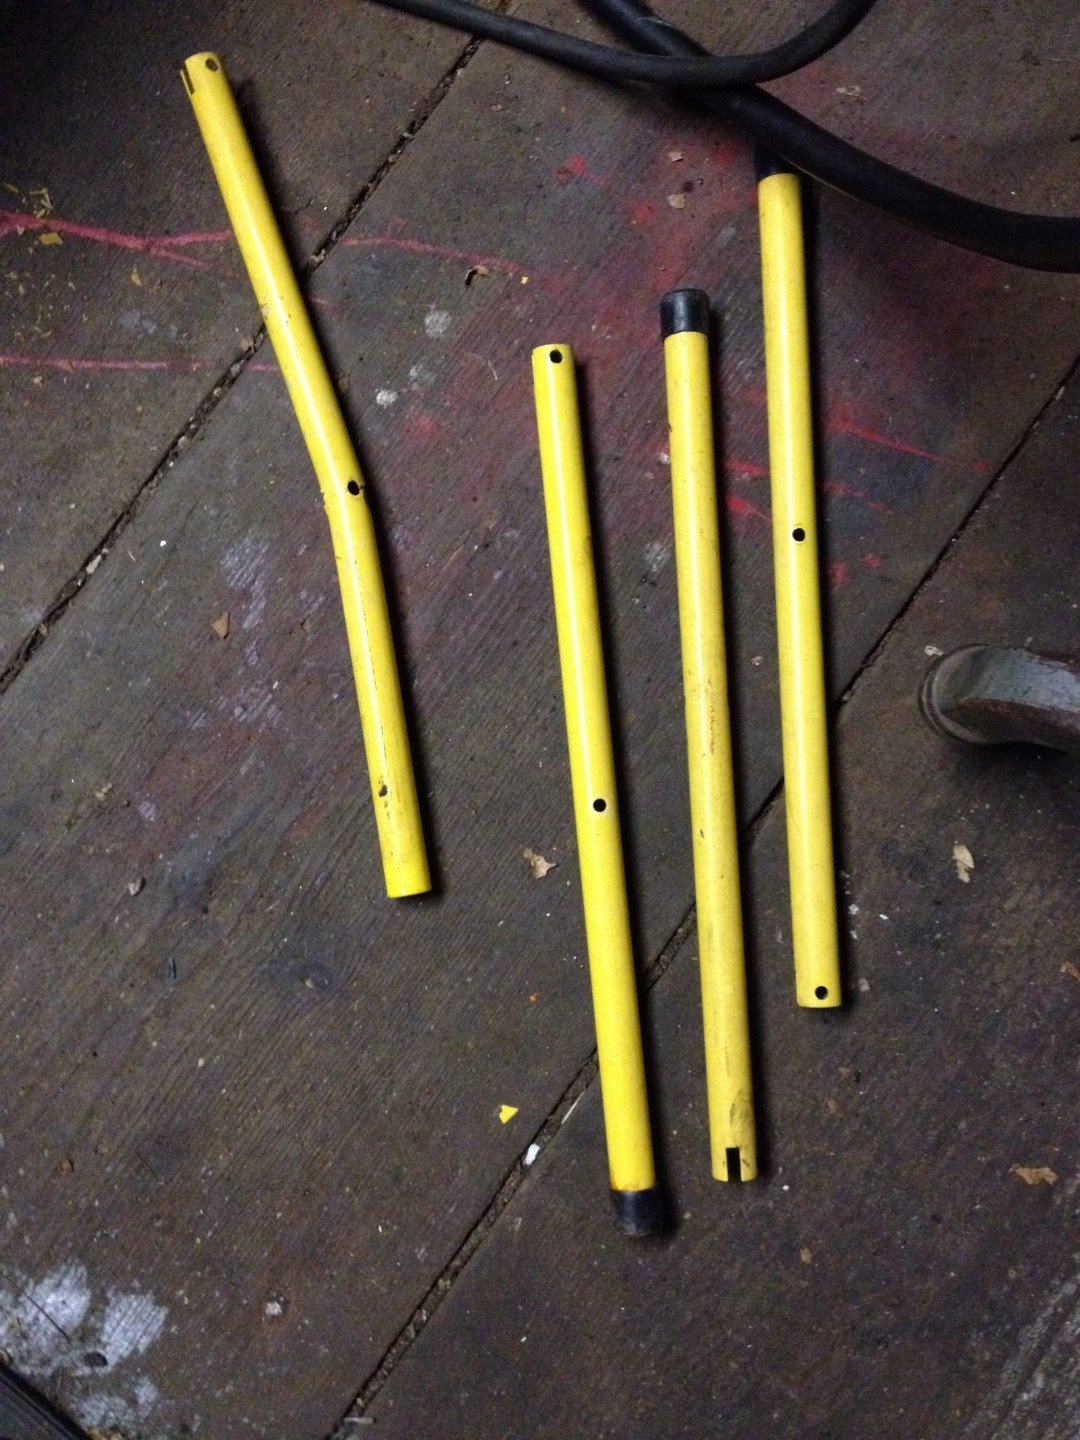
So. This pole. It's a $50 thinwall fiberglass tube from China that's marked as a "windsock pole".
![]()
![]() That's more than 22ft. And even with no weight up at the top it's quite flimsy. I decided to pull out the top two sections which will shorten it by about 6ft. It seems quite a bit more rigid and still seems tall enough to do the job.. I'm not too happy with it but the budget is already busted so we will have to deal with it.
That's more than 22ft. And even with no weight up at the top it's quite flimsy. I decided to pull out the top two sections which will shorten it by about 6ft. It seems quite a bit more rigid and still seems tall enough to do the job.. I'm not too happy with it but the budget is already busted so we will have to deal with it. -
5Step 5
Get yourself a box, and you put that stuff in the box.
![]()
![]()
![]()
![]() What I ended up doing here is mounting metal supports to the metal tripod pole. I then used lacing twine and laced the battery to those supports, the plastic bin is basically just sandwiched in there. The charger I piggybacked onto the battery lace. Why lace? Zipties could have worked but I think given the odd shapes this turned out tighter. Lace is also easy to double up, I won't have to worry about it breaking like zipties might later on. The most important thing is no metal brackets in there. And the enclosure I found is entirely non-structural so the battery weight needed to be directly put to the supports.
What I ended up doing here is mounting metal supports to the metal tripod pole. I then used lacing twine and laced the battery to those supports, the plastic bin is basically just sandwiched in there. The charger I piggybacked onto the battery lace. Why lace? Zipties could have worked but I think given the odd shapes this turned out tighter. Lace is also easy to double up, I won't have to worry about it breaking like zipties might later on. The most important thing is no metal brackets in there. And the enclosure I found is entirely non-structural so the battery weight needed to be directly put to the supports.Electrical connections are all just insulated crimps. I used to be all about soldering everything, now I am the opposite. The cord reel I used screw+nut with ring lugs then fiberglass sleeve so it's removable.
Then I laced the fiberglass pole to the other side there. I'm hoping the pole+lights balance out with the battery and cord reel. Everything together weighs maybe 20lbs.. Very light.
To improve grip I wrapped the pole with this:
![]()
This tape is amazing. It turns into a solid rubber coating, not a nasty mess of goo like regular electrical tape.
BTW those pink rubber band bungee things are just there for plan B, if tripod fails I'll strap the thing to the pole that's holding the volleyball net up.
-
6Step 6
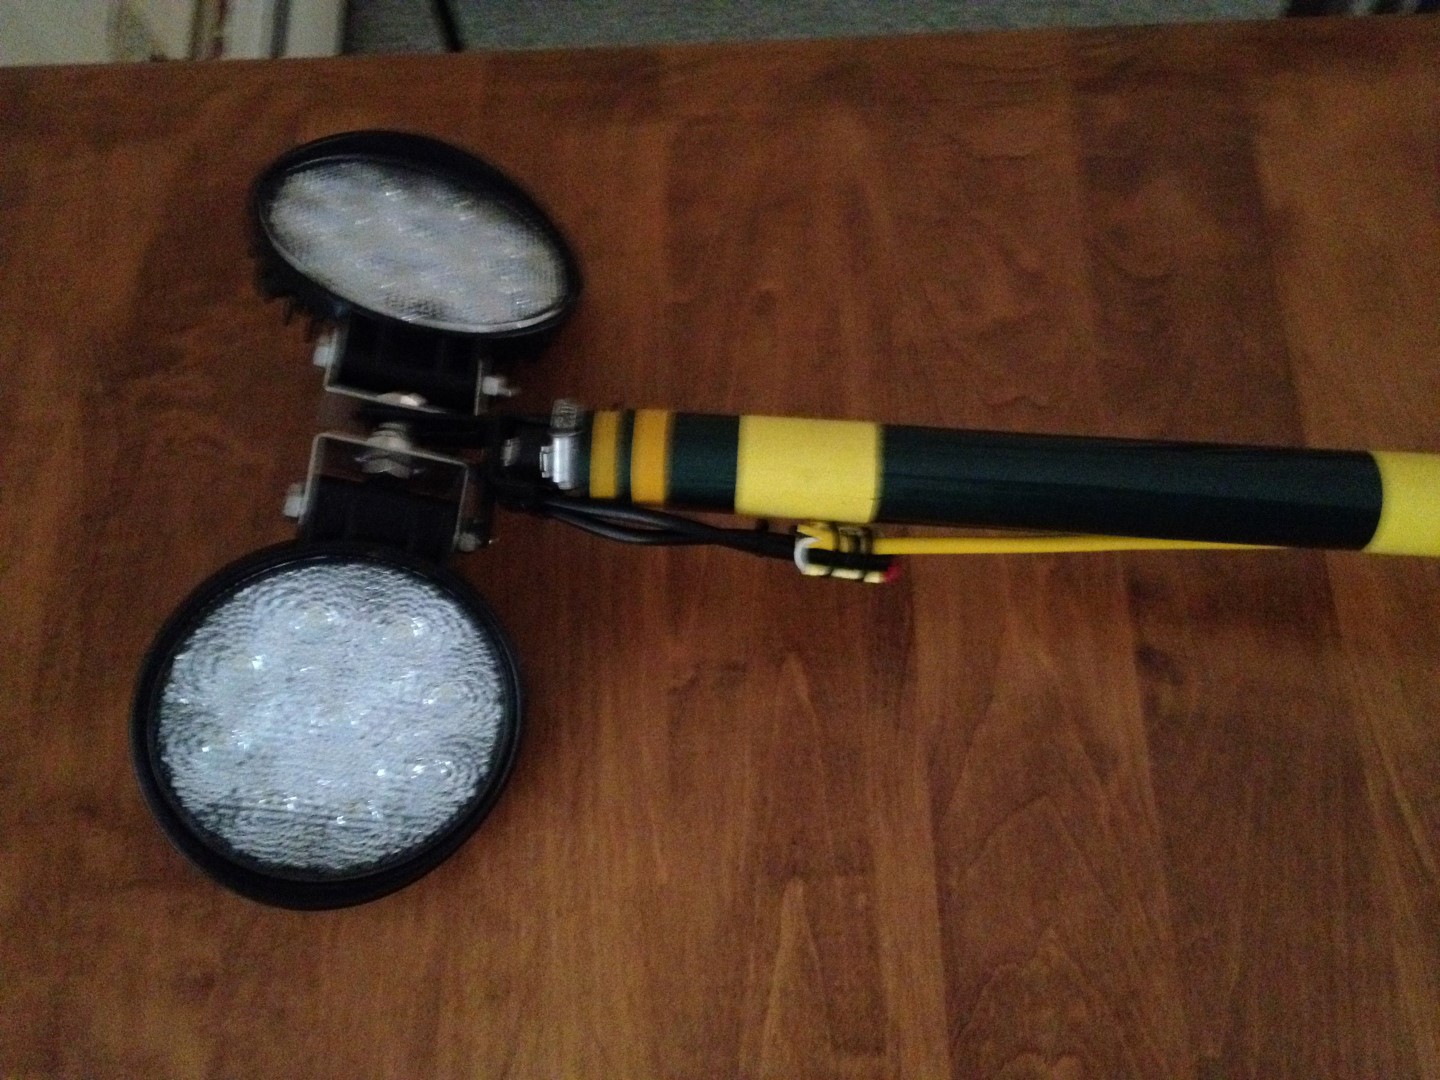
Wire up the business end too. A few extra zipties to keep tension strain off the crimp connections.
![]()
The lights included some stainless brackets and hardware. The light to pole interface I had to get creative.. a few 90º brackets and a hose clamp did the trick. In case you haven't noticed, I am not drilling into or modifying the fiberglass pole. Pressure fit only.
-
7Step 7
Wrap some bright yellow tape on it because one of your drunk friends will run into it. Unless your drunk self runs into it first.
-
8Step 8
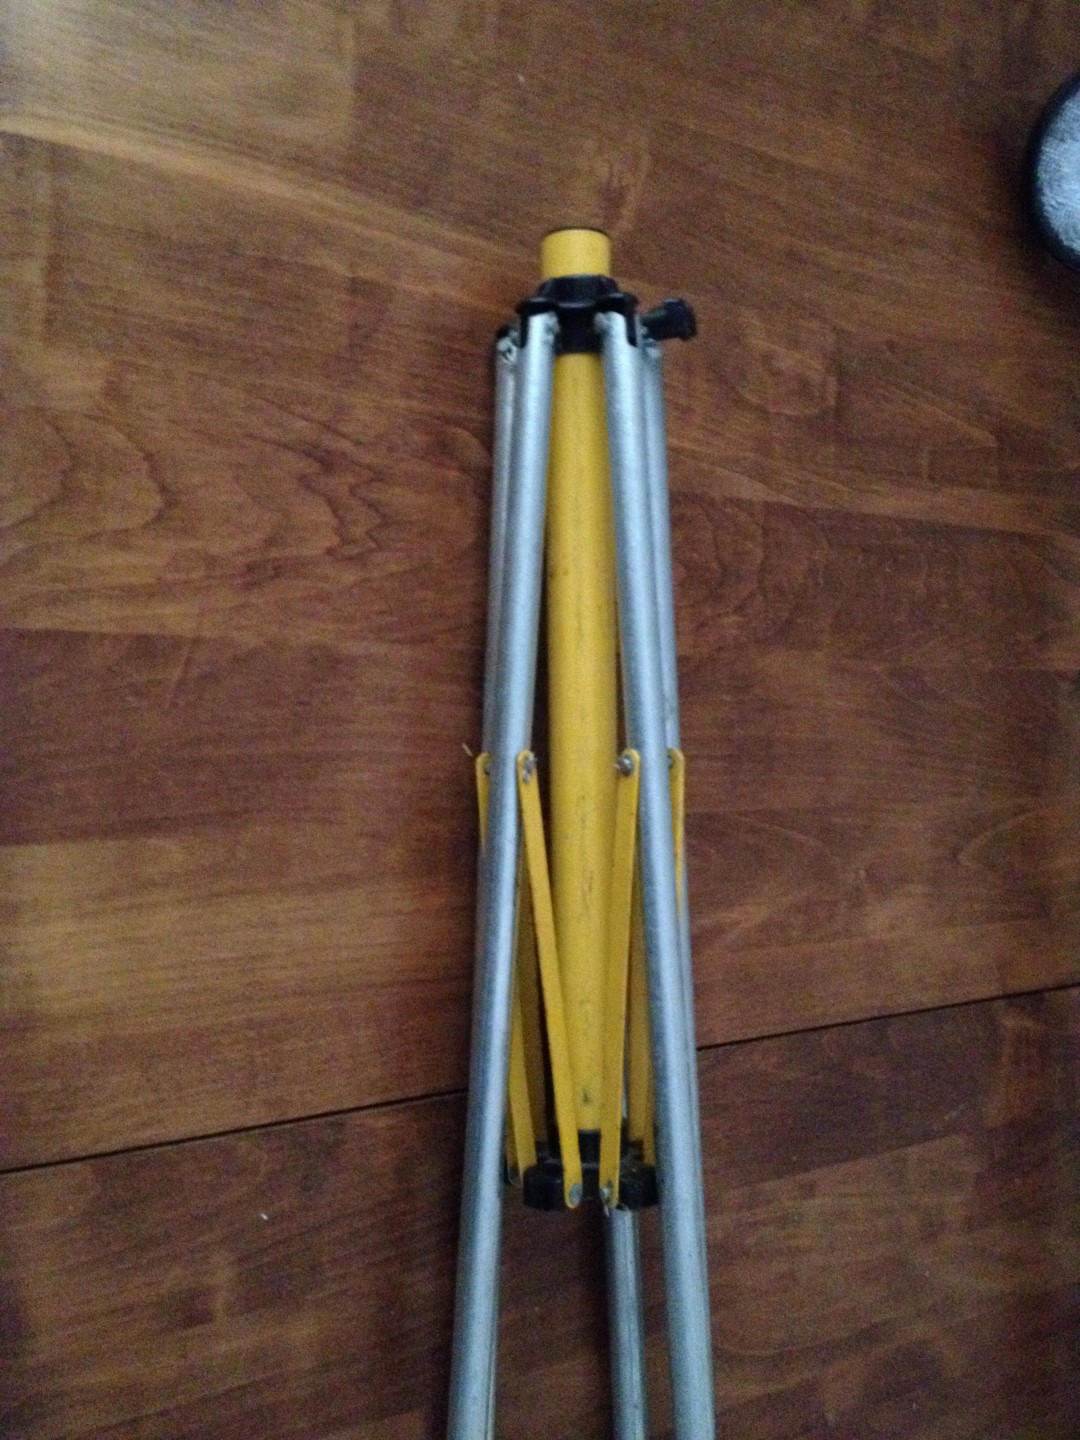
Build a tripod.
You may have to re-stock materials at this point. Might I suggest a stout? Always goes with metal work.
![]()
I started with a halogen work lamp which was at the end of the line.. yanked the 15" legs off and replaced them with 4ft pieces on conduit. This should give a nice wide base.
![]()
![]()
![]()
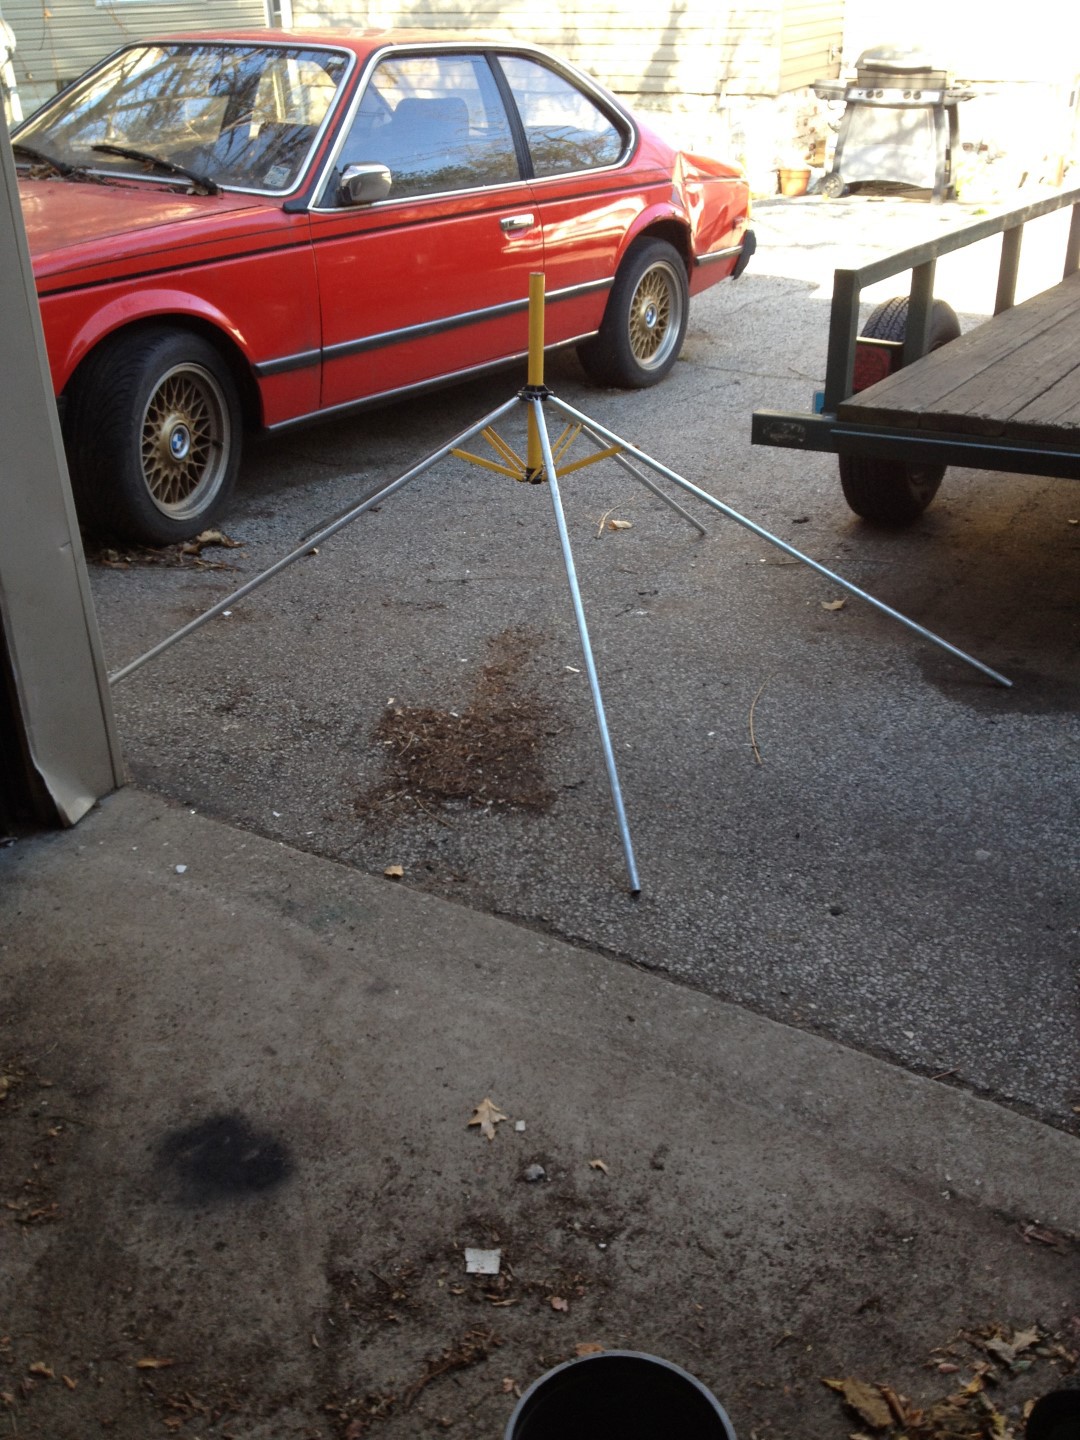
It seemed like it would be hopelessly flimsy but once deployed it's actually pretty solid. Just pull on each leg until the slop is out.
Yes, it's 5 legs and I'm still calling it a tripod.
-
9Step 9
That's it. Put it together and hope it doesn't fall over!
Portable LED Floodlight
54W of LED, LiPO4 Battery, fiberglass pole, and not enough budget. What could possibly go wrong?


 Pretty simple. For the fuse I used an automotive style with the fuseholder that has pigtails coming out. The relay and relay socket are from superbrightleds.com, R5-SW. So color code may vary. I picked a fun little switch with an LED indicator in it.
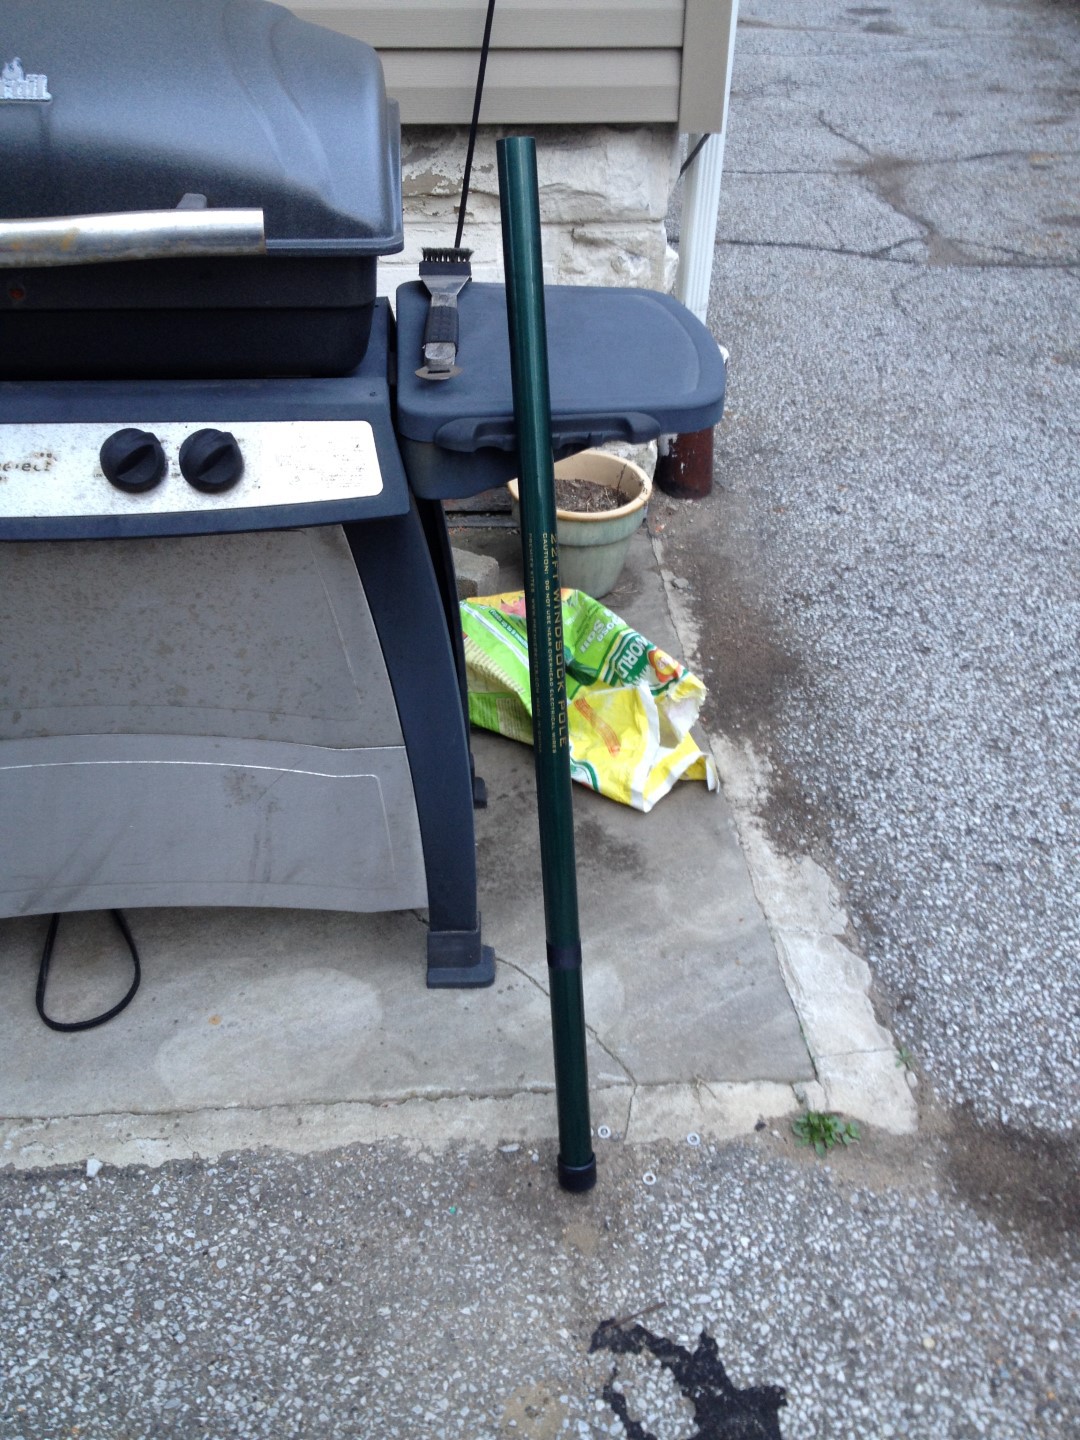
 That's more than 22ft. And even with no weight up at the top it's quite flimsy. I decided to pull out the top two sections which will shorten it by about 6ft. It seems quite a bit more rigid and still seems tall enough to do the job.. I'm not too happy with it but the budget is already busted so we will have to deal with it.
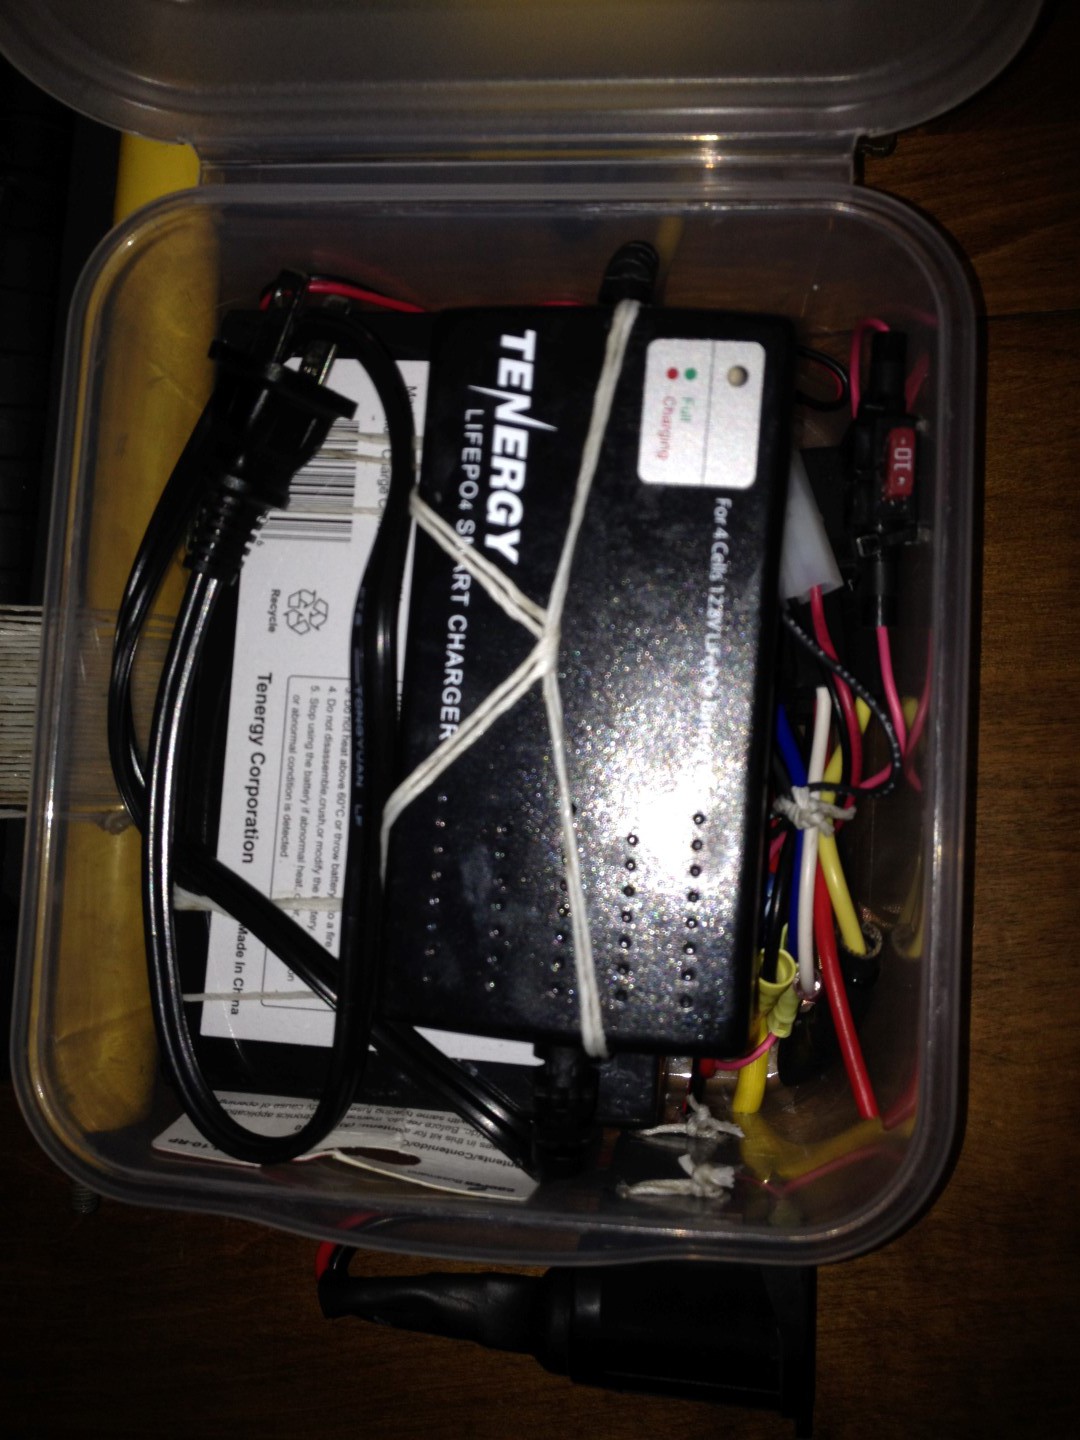
 What I ended up doing here is mounting metal supports to the metal tripod pole. I then used lacing twine and laced the battery to those supports, the plastic bin is basically just sandwiched in there. The charger I piggybacked onto the battery lace. Why lace? Zipties could have worked but I think given the odd shapes this turned out tighter. Lace is also easy to double up, I won't have to worry about it breaking like zipties might later on. The most important thing is no metal brackets in there. And the enclosure I found is entirely non-structural so the battery weight needed to be directly put to the supports.

Discussions
Become a Hackaday.io Member
Create an account to leave a comment. Already have an account? Log In.