Close
0%
0%

piStudio

Portable recording studio.

Similar projects worth following
At its core, raspberry pi ZERO. It is a standalone recording studio. Inspired by my old school Tascam MiniStudio Porta 02.

The Problem:

Nowadays with the large options of pc audio recording software like Ableton and Garage Band to name a few, have made viable the idea of a home recording studio for the aspiring musician/band. In addition to the equal amount of platforms like Youtube and SoundCloud it has never been easier to reach and audience. Unfortunately the Hardware is another story. With multiple expensive equipment such as Mixing Consoles, Compressors, Effects, etc. might be a "Deal-Breaker" for some. With the ongoing low cost of computer components such as the piZero, it has created a path that we can take.

The Solution:

Merge various components to crate a simple, Low cost and portable solution for anyone that wants to venture into the "Home Studio" arena.

The Idea:

With this box I tend to bring back the old days of true portable studio. Inspired by my old Tascam MiniStudio Porta 02. Yes old I know. It will be able not only to record but have a HDMI monitor to record /edit on-board. Instead of saving to cassettes it will store your files on external S.A.T.A drive which is mounted on backside.

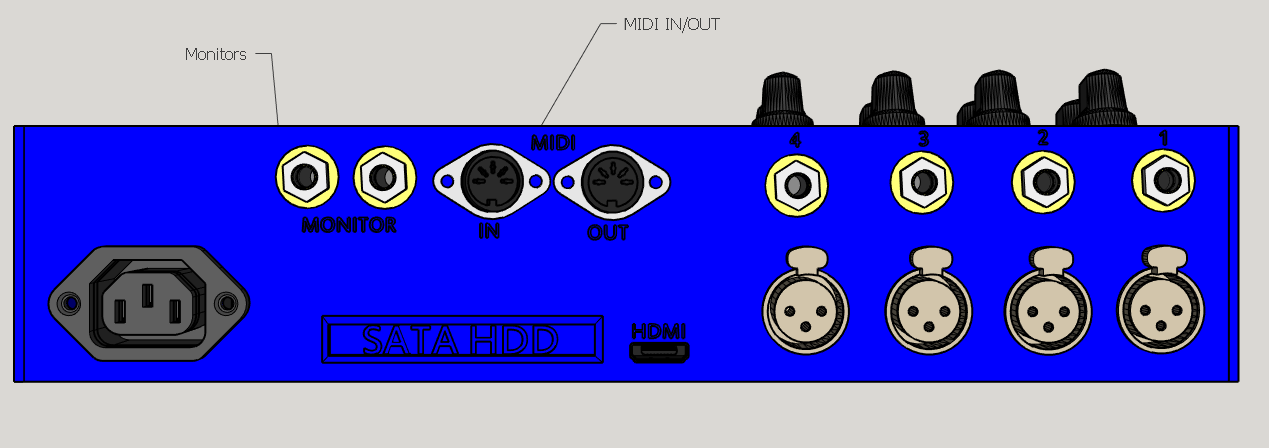
The back panel consists of 2 MIDI ports that will allow for sequencer recording like and old Yamaha Q25. Not only that but with appropriate software it also becomes a full SySex editor. The jacks labeled monitor are for your "KIKR" studio monitors. 4 XLR - 1/4 combo connectors for audio inputs and an optional ac power in.

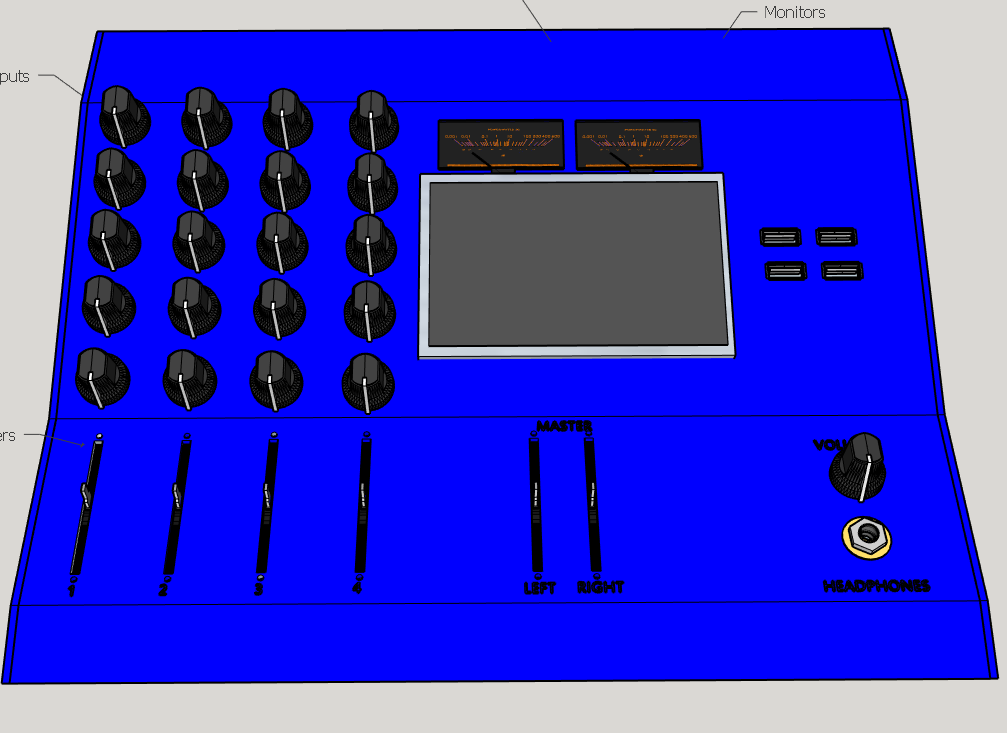
The front panel has your typical mixer setup with peak control HI -Mid-Low pots Mute and solo channel buttons.

4 linear faders that will allow for channel balancing in-software. VU-Meters for visual peak level id. 4 USB ports for keyboard/mouse or any peripheral you might need. USB port 1 allows for easy storage firmware/os updates. With its 8 in. tft display standalone editing can be done but if you need more simply connect your favorite HDMI monitor, also includes a standard headphone jack and independent volume.

with this I hoping to bring true portable editing studio with vengeance!

OnlyCasePaths.7z

7-Zip - 4.37 MB - 03/14/2016 at 06:28

Download

OnlyCase.skp

SSEYO Koan Play File - 17.65 MB - 03/14/2016 at 06:04

Download

Complete2B.sch

sch - 1.75 MB - 03/12/2016 at 07:05

Download

piBoardV2.skp

SketchUp files

SSEYO Koan Play File - 12.41 MB - 02/21/2016 at 11:36

Download

piBoardV2.skb

SketchUp files

skb - 12.40 MB - 02/21/2016 at 11:17

Download

  • 2 × Midi inputs midi IN/OUt
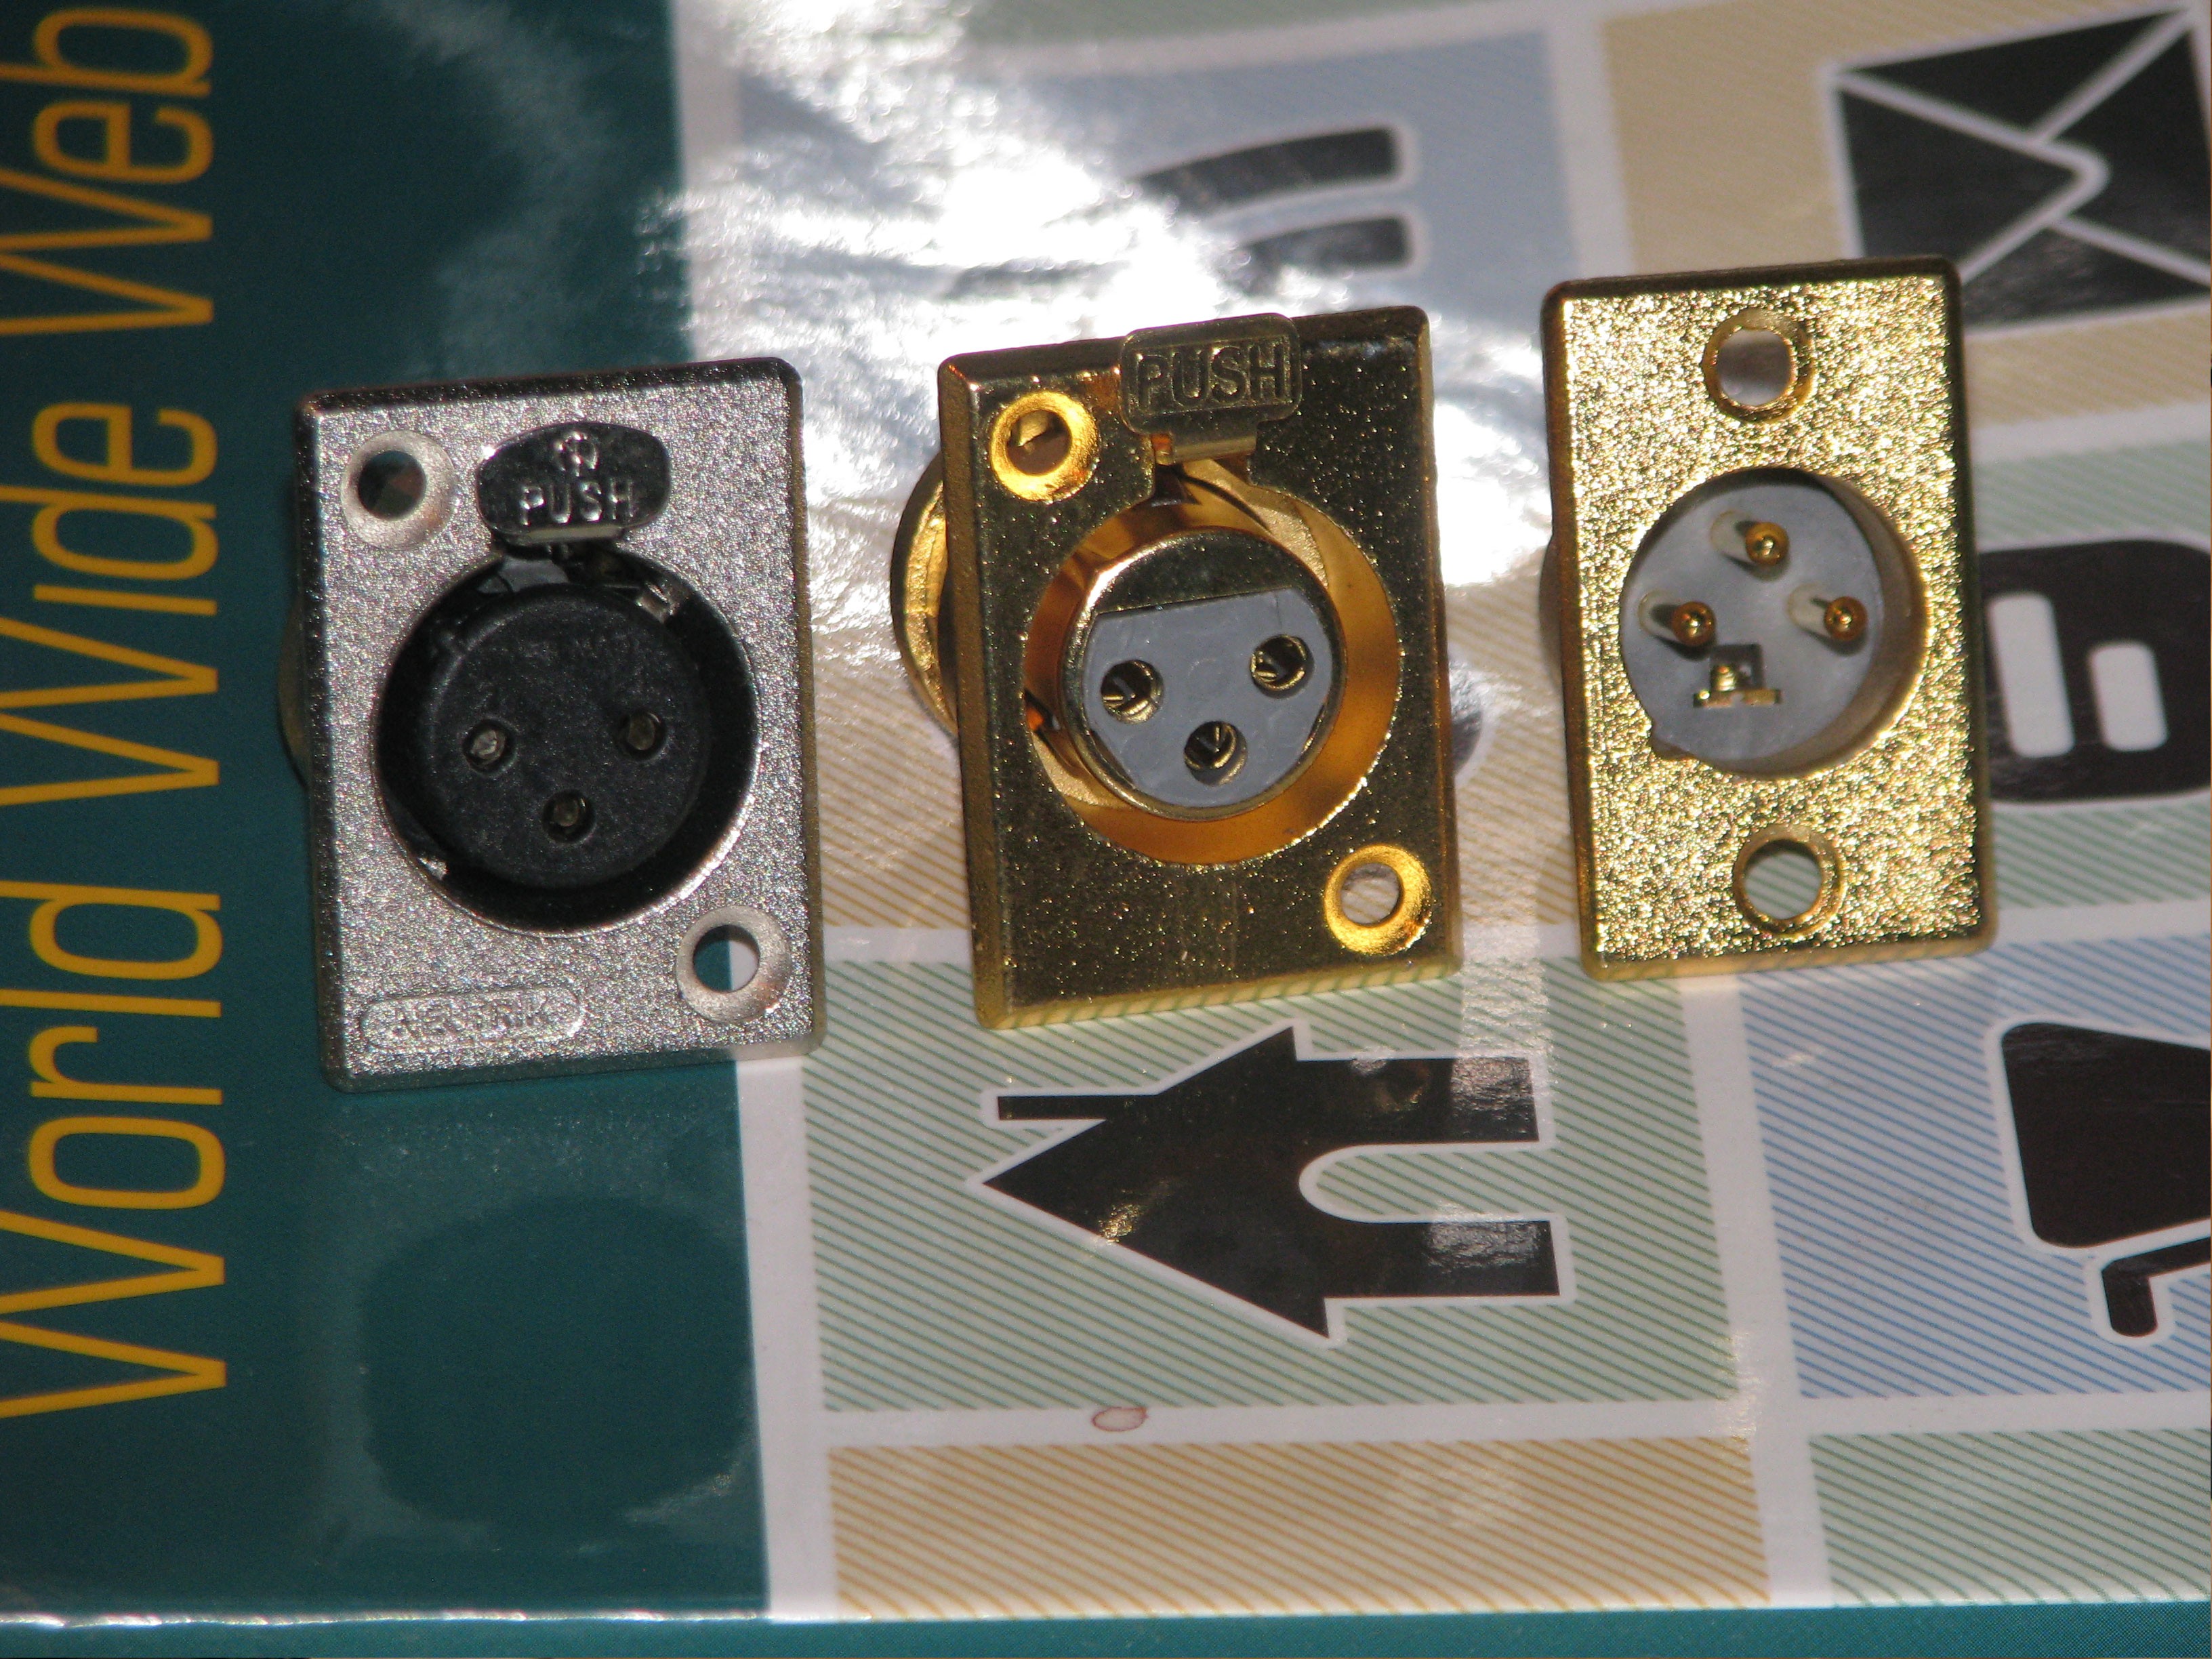
  • 4 × xlr / 1/4 combo female ch1 - 4
  • 1 × Schurter 6600-3 AC Socket
  • 1 × SATA HDD bay/drive used for external storage.
  • 1 × fx loop 2 1/4 jack you insert fx into audio.

View all 11 components

  • Trying to catch up...

    Daniel Frausto03/27/2016 at 11:43 0 comments

    This week has been slow, but will get back on track by monday. Gonna have some time today to make some mock-ups of the case. Stay Tuned.

  • Exporting the paths....

    Daniel Frausto03/14/2016 at 06:21 0 comments

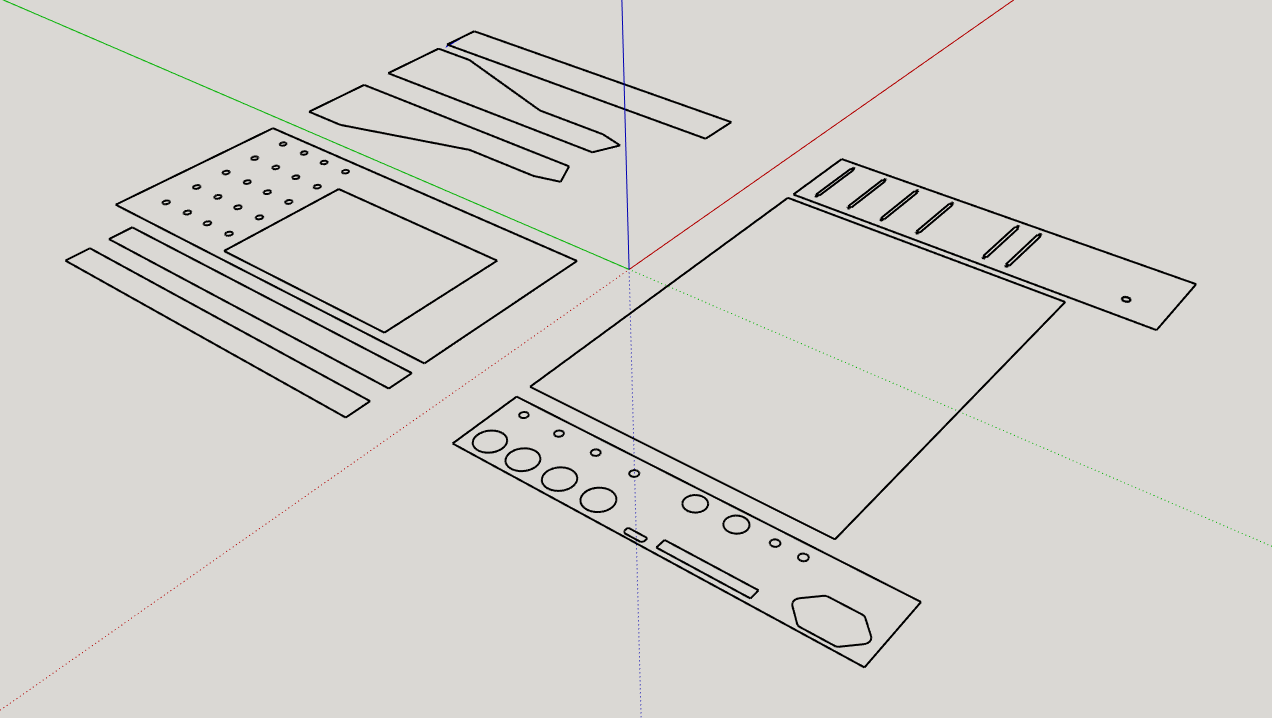
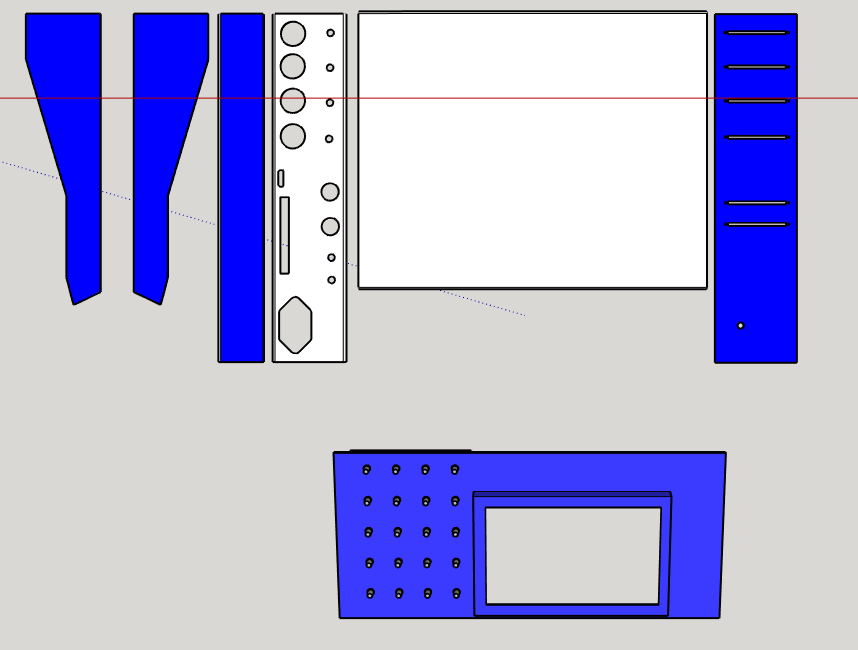
    Now I have Finished exporting the paths to a dxf file that will be used in a Cam program to create the cnc paths( G-Code ) to be used to route out the case from the material...likely to be acrylic. take a look.

    If you want to check it out, the *.DXF will be in the Download Section... it's uploading as we speak....
    UPDATE: HERE IT IS.

  • Done! (With the Layout) ...almost.

    Daniel Frausto03/14/2016 at 05:53 0 comments

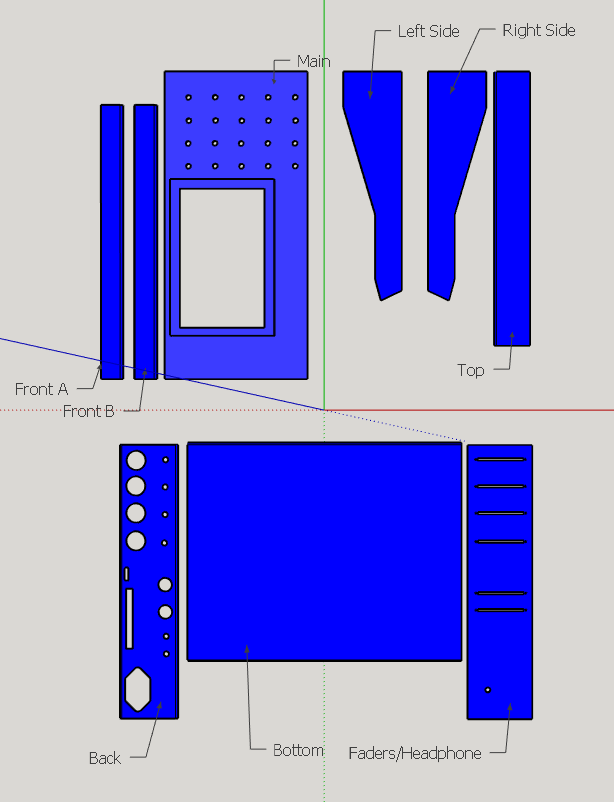
    Well I separated all panels. All unnecessary parts where removed... if you can tell i did not add the USB port because i am planning on having them mounted on aluminum panel... then than panel will be added .Check it out. Files are in the Download Section Named OnlyCase.

  • The case to build...

    Daniel Frausto03/14/2016 at 05:04 0 comments

    Started to layout the panels that will create the case. Still moving things around but most likely will use a cnc to cut the case out of acrylic....Take a look.

  • It's Here!

    Daniel Frausto03/13/2016 at 23:59 0 comments

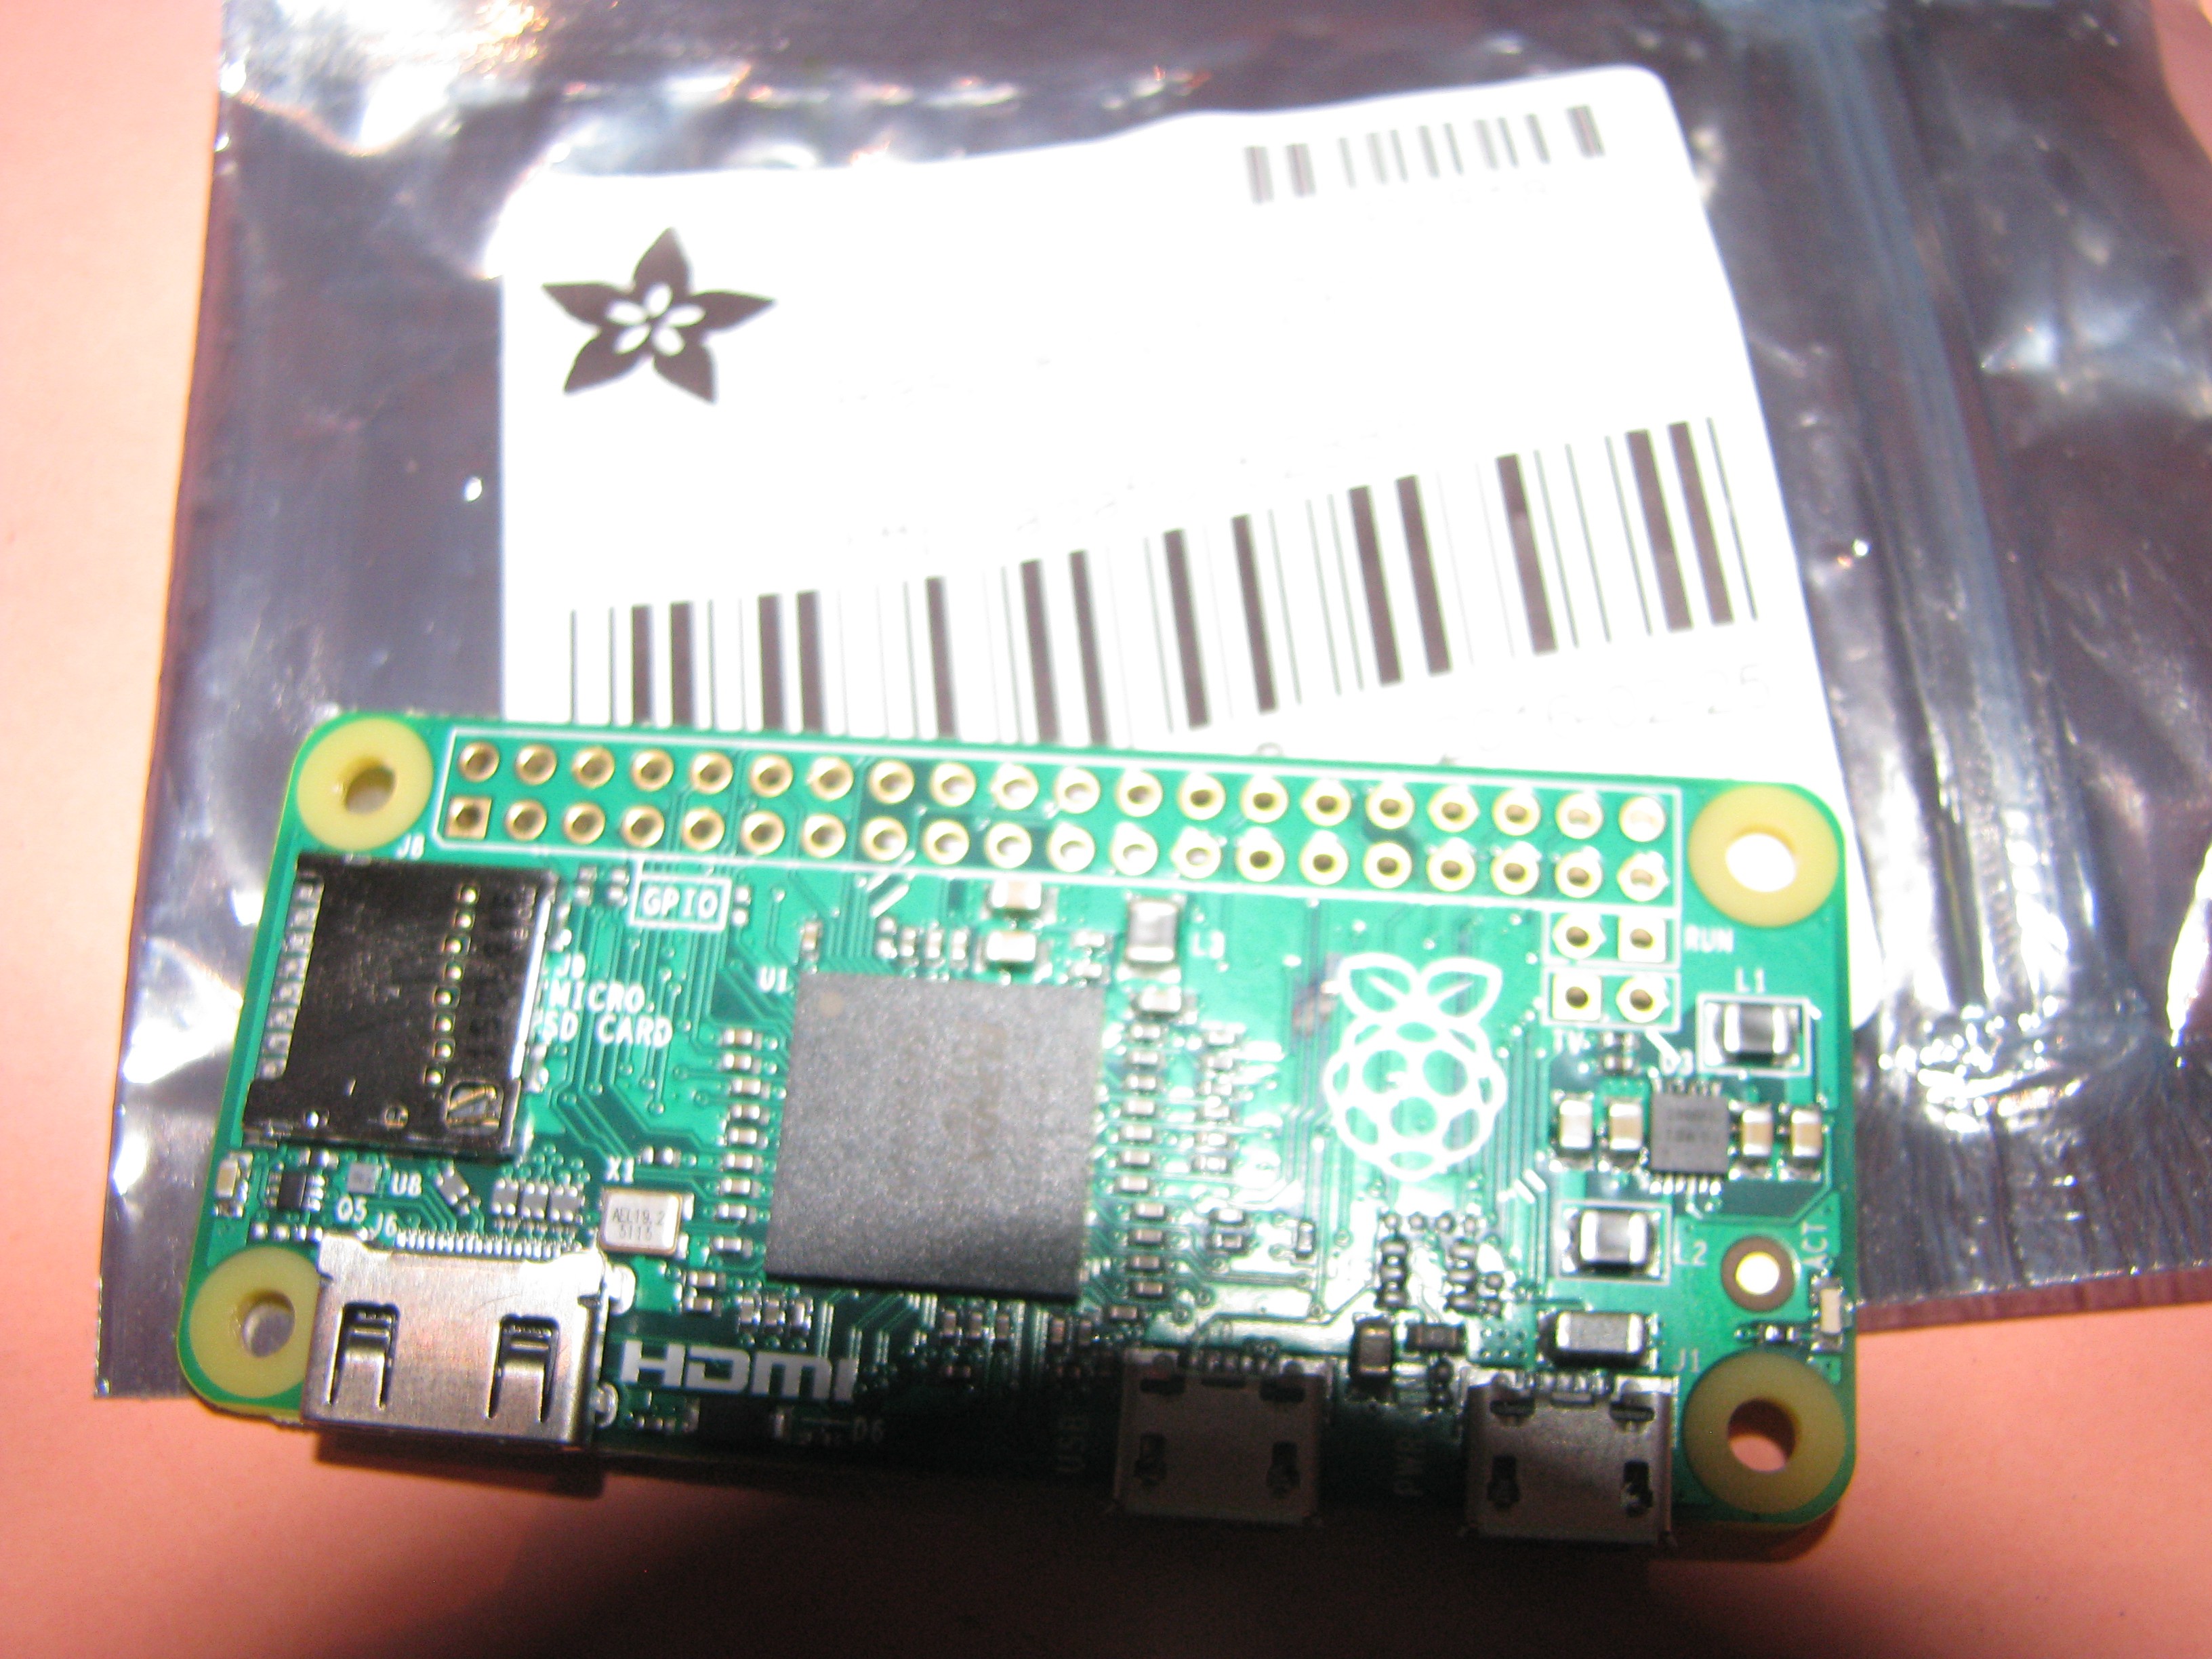
    It made it!

    and looking on the back I was able to see that there are test points and i quickly wanted to know what they where. so i hoped on google and found some pages that gave info on what they where.

    With pp1 and pp6 will allow power to the USB hub and pp22-23 will provide the D-D+ lines. Found this guide on google.

  • A little more...(because it is raining)

    Daniel Frausto03/13/2016 at 00:03 0 comments

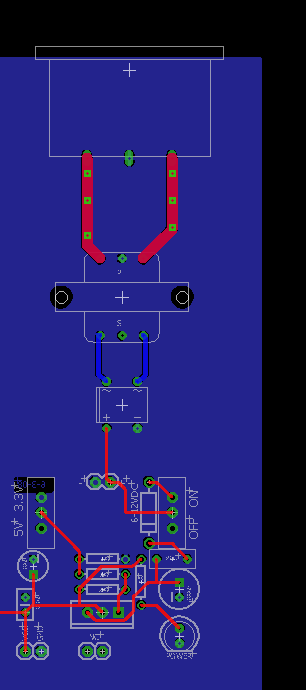
    Since i got some free time due to rain, i decide to edit this a bit more. Now i have added the AC to DC power supply. I got some ideas from a breadboard power supply provided by Sparkfun. at the moment it is used as a 5v/3v but i am going to add a 15v Regulator to be able to provide a bit more power.

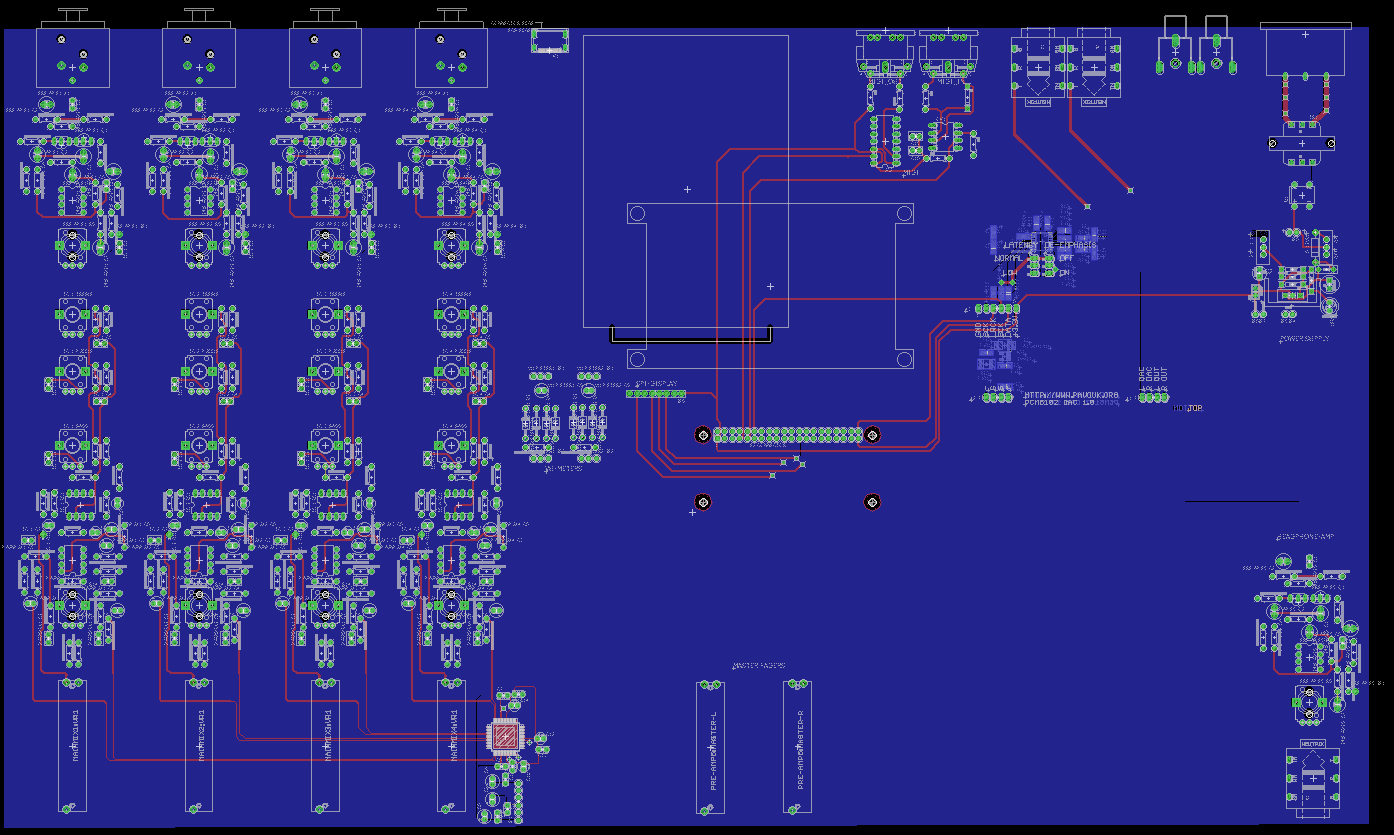
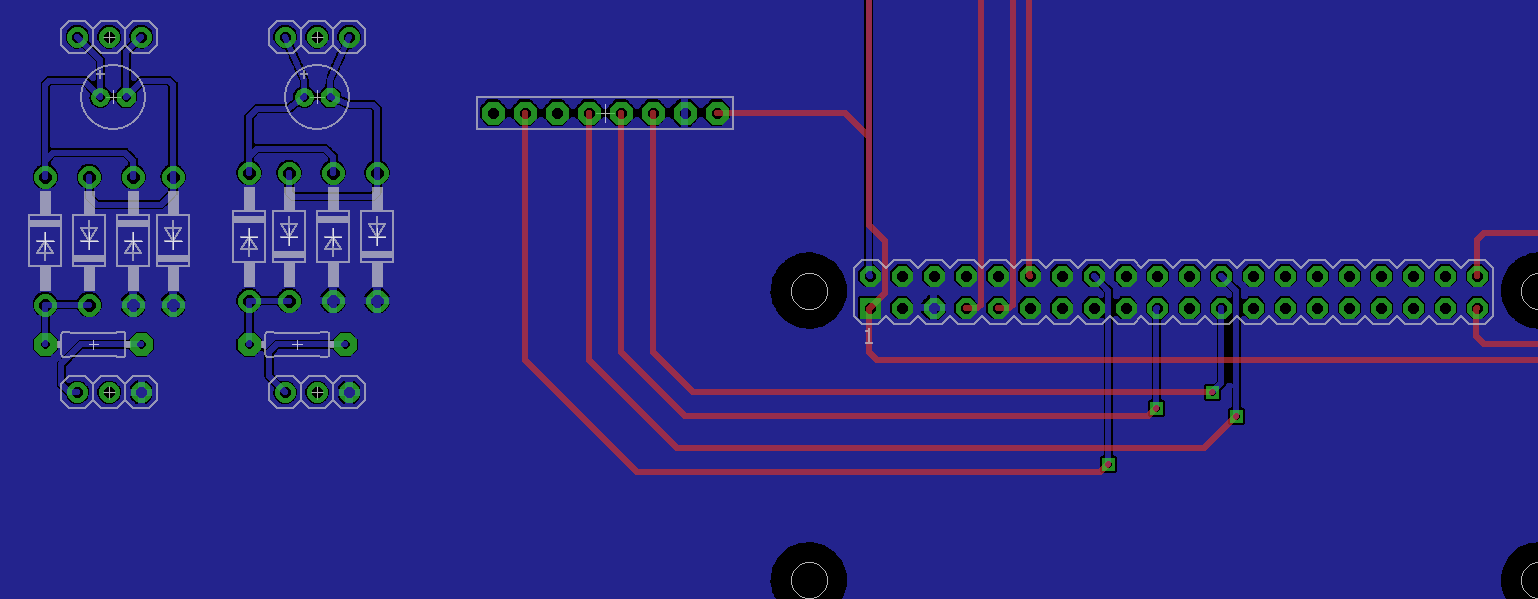
    As you can see in the picture above i am using a transformer to bring down the voltage, at the moment to 5v/ then a rectifier to provide the 5vDC and then continues to the rest of the circuitry. I have added the SPI display and VU-meter modules, take a look.

    the vu module was "borrowed" from Jeff Thompson and his post "Simple VU Meter Circuit". The SPI display connect in the mid section of the picture above was made possible by following the tutorial over at Learn.Adafruit.com . and to right is the piZero Header that will allow the pizero to be connected to the "mainBoard".

    I will adding the new schematic and board files soon. Oh almost forgot dont remember if i mentioned it but i have added a pitft3.5 "placeholder to help with aligning the roper connections".

  • Lets Add HDMI-AUDIO-MIDI and some other stuff

    Daniel Frausto03/12/2016 at 07:06 0 comments

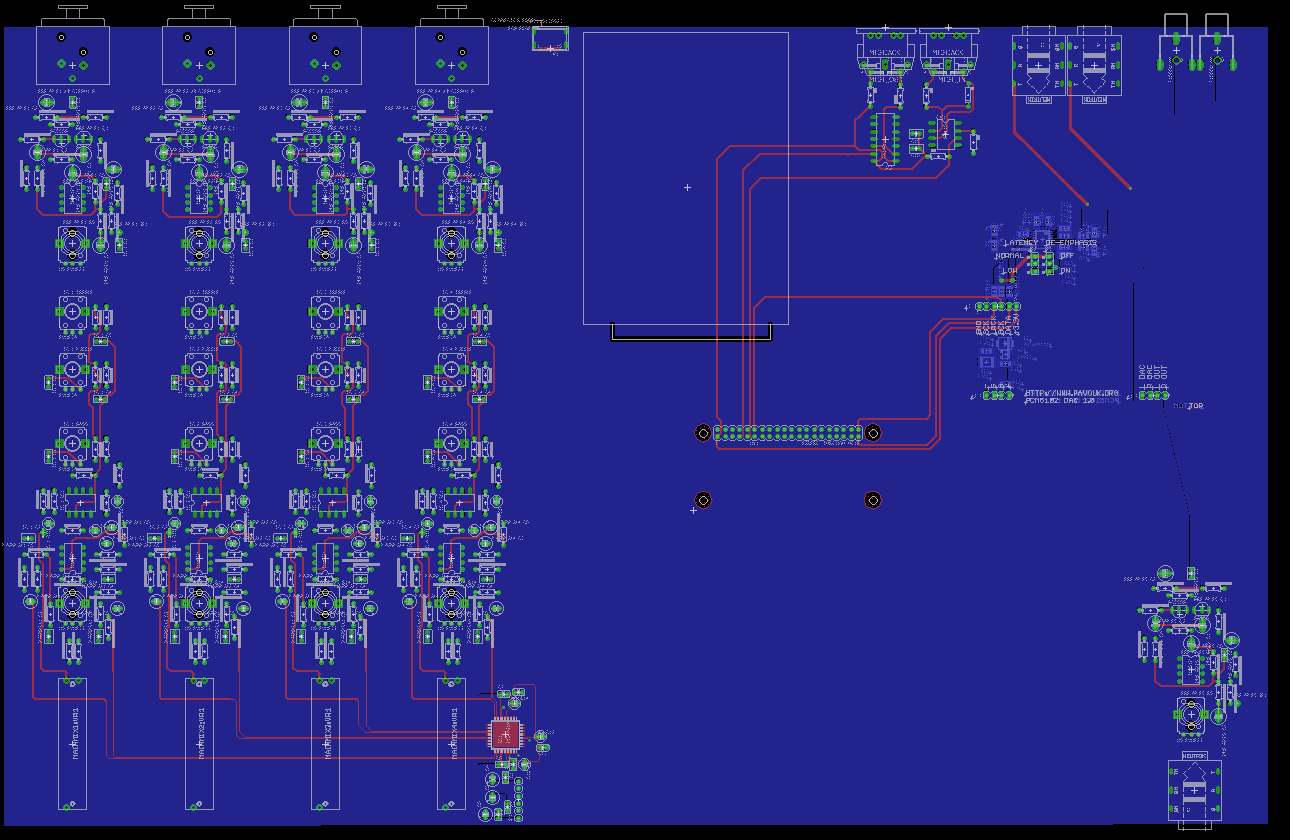
    Well i got a little more closer...i have added a HDD placeholder so i can see where i need to place a couple of components. and HDMI port that will definitely be a Mini-to regular sized Hdmi Cable? Extension. i was going to try and make a on PCB routing feature but seems it will be easier to just use a cable and Hot-Glue it in place. I have added the midi Module from previous version and now is connected to pi0 Header.i order to get audio i will using the phatDac since it uses a PCM5102A. I have added the Monitor outputs, which wil be line outputs so to be used with external audio amplifier. I also have add a "Buffer" to the headphone output. At the moment the "Phat dac" was a version from PAVOUK.org ( check it out ). Still need to find out how i am going to power everything. need a PSU with 15v and 5V output. Next step is adding the tft display.

    wanna check out the schematic? check it out here!

  • We have 4 Channels!

    Daniel Frausto03/09/2016 at 07:19 0 comments

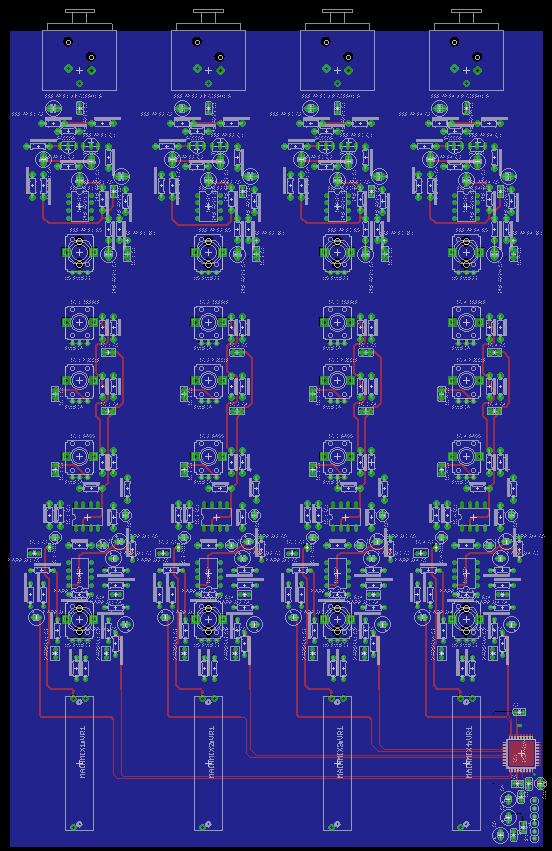
    I have Finished laying out all 4 Channels and started adding the PCM4204 CHip that will interface with the piZero. Take a look!

    Also started to add the power connector at the Bottom...

    Need to Make the signals that will connect to the piZero.

    I need a quick brake...

  • Ch.1 Done...for now.

    Daniel Frausto03/09/2016 at 00:41 0 comments

    Well i got it done. Now all the modules ( Audio Mixer ) have been finished now to do it 3 more times. take a look! also you will see the PCM4204 there for refrence.

    After the next 3 get routed this section " Board " will be wired to the piZero.

  • Nice to be back.

    Daniel Frausto03/08/2016 at 06:04 0 comments

    Well after a short leave, We are back at it! I have made "improvements" to the channel PCB, if you wanna look.

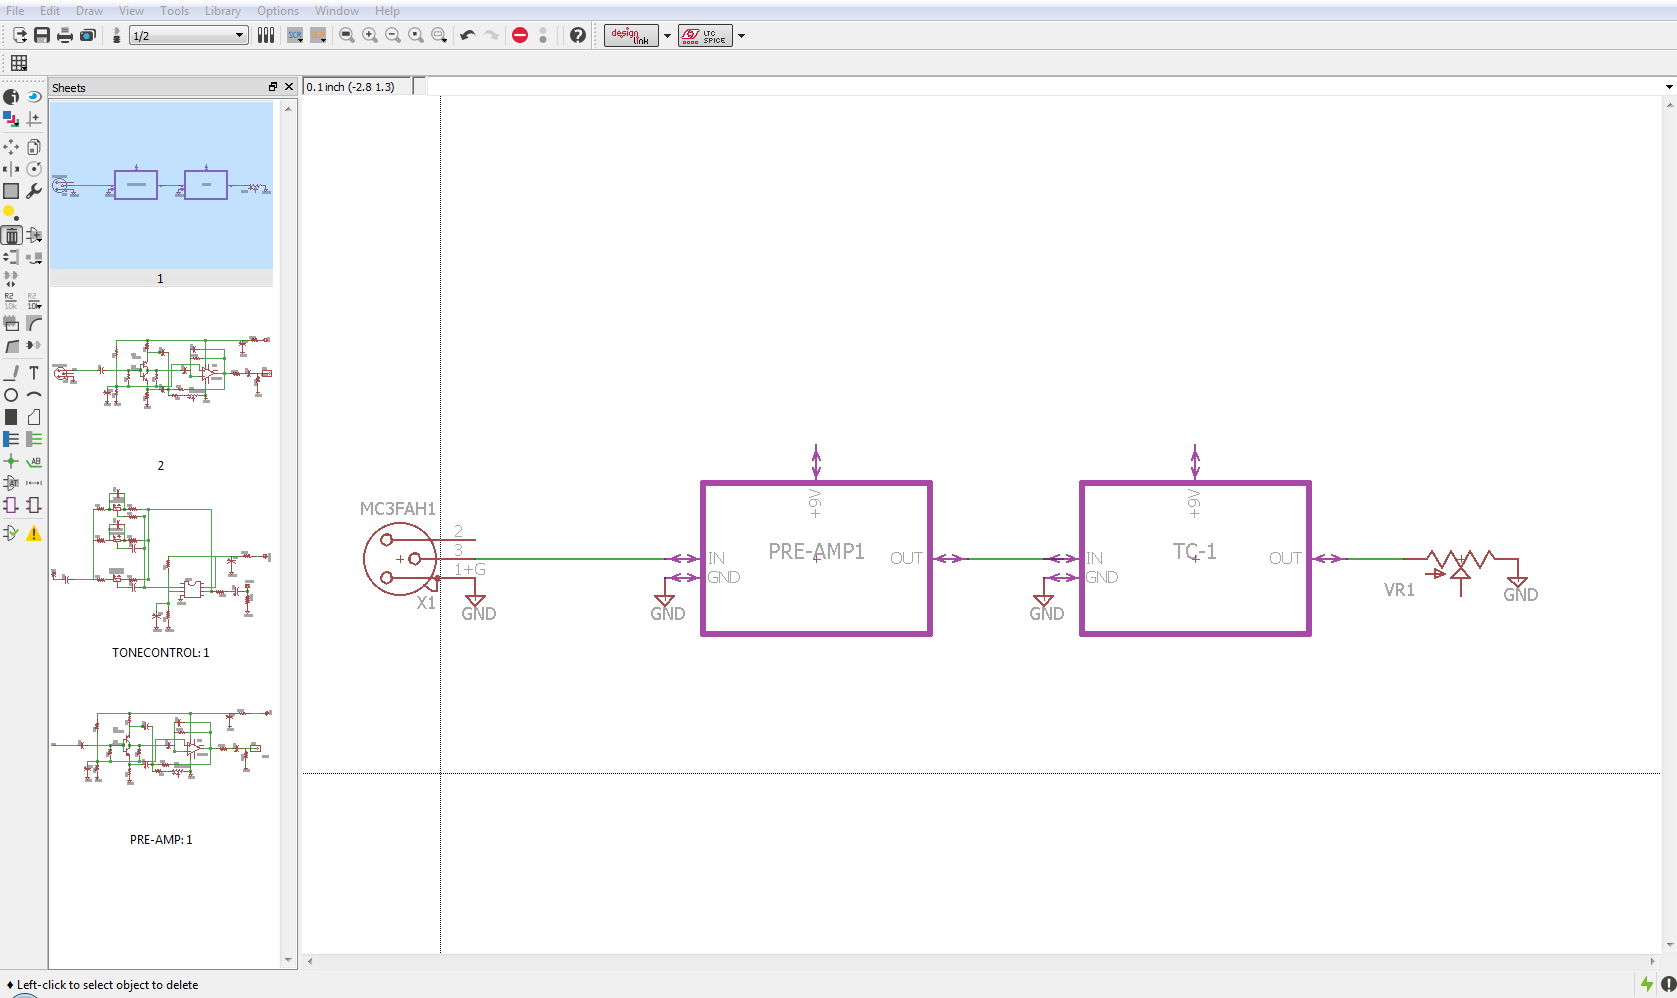
    The final pcb will feature 4 of these channels. I have also Seperated the schematic into modules. Take a look.

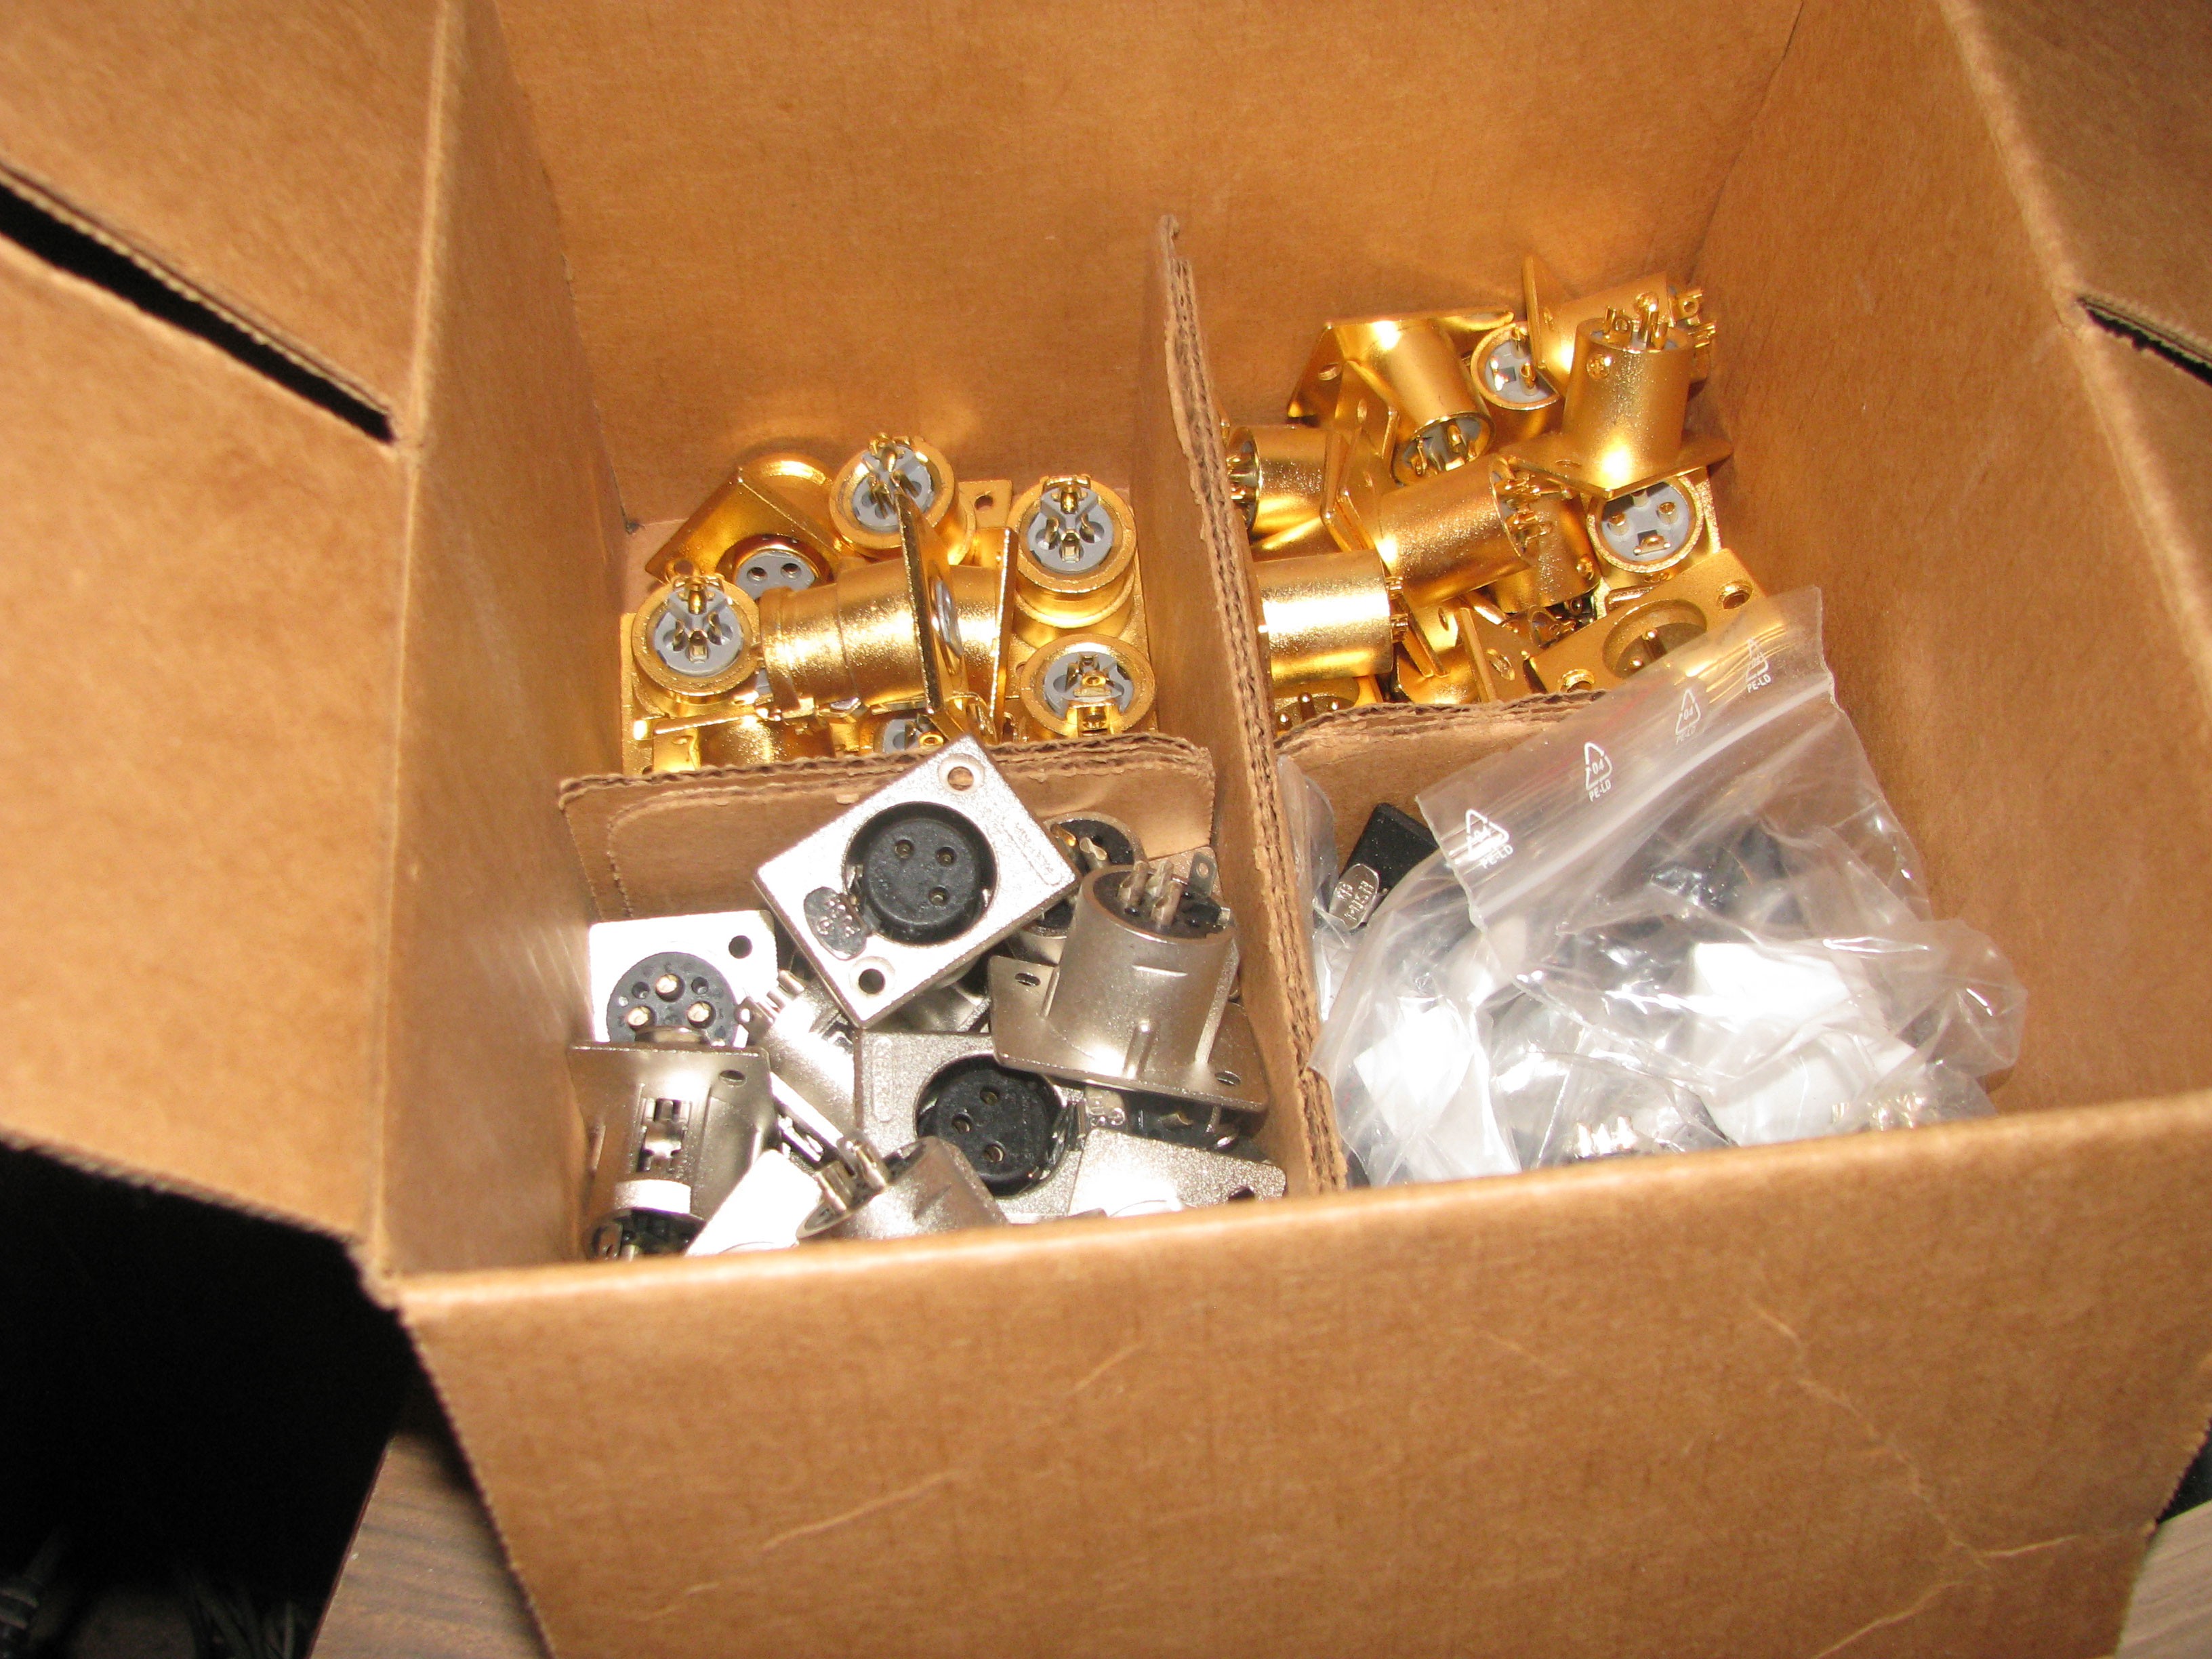
    It is a nice feature that was pointed out to me recently. Also the XLR components Arrived while I was gone(took long enough!)

    I will get back at it!

View all 20 project logs

  • 1
    Step 1

    Download"Jessie" image and burn to SD Card.

  • 2
    Step 2

    From here we could follow instructions over @LearnAdafruit or keep reading here.

    Download THIS new Kernel. Thanks to @adafruit @AdafruitIndustries @limor

    Move the kernel file to the boot directory of your "Jessie" SD card.
    Insert SD Card in the Pi Zero and power on.

  • 3
    Step 3

    Now we are going to :

    1. Install the new kernel we downloaded.
    2. backup and install new kernel.
    3. Install Overlays & Modules.
    4. update the module and reboot

    We will need to run the following commands.

    cd ~
    sudo mv /boot/gadgetkernel.tgz
    tar -xvzf gadgetkernel.tgz
    sudo mv /boot/kernel.img /boot/kernelbackup.img
    sudo mv tmp/boot/kernel.img /boot
    sudo mv tmp/boot/overlays/* /boot/overlays
    sudo mv tmp/boot/*dtb /boot
    sudo cp -R tmp/boot/modules/lib/* /lib
    sudo nano /etc/modules
    
    after the last command the text editor will show up so we we will add
    g_midi
    and then save the file.

View all 7 instructions

Enjoy this project?

Share

Discussions

FORART fe wrote 02/19/2022 at 07:38 point

Nice, it could be a Multichannel Audio DSP Field Mixer Recorder hack !

https://hackaday.io/project/7041-multichannel-audio-dsp-field-mixer-recorder


Hope those two cool projects will collaborate to evolve each other !

  Are you sure? yes | no

cedric wrote 06/22/2018 at 18:09 point

Looked like an interesting project, but like most, it seems it was never finished.

If I'm mistaken, is the source code available ?

  Are you sure? yes | no

Francesco wrote 01/04/2017 at 14:40 point

Hi, just wanna ask if this project is discontinued or still in progress. That's amazing, really. (Taking inspiration for a different project)

  Are you sure? yes | no

AndrewGJ wrote 03/14/2016 at 11:57 point

Great project. The mic pre-amp is a strange design. You are using connectors for balanced differential inputs but you leave one side floating and only use the other side. This completely misses the advantages of differential inputs. You will not be cancelling out the noise. 

  Are you sure? yes | no

Daniel Frausto wrote 03/14/2016 at 19:21 point

Nice catch! I forgot to to connect the ports for the modules.

  Are you sure? yes | no

Matthew Prestridge wrote 03/14/2016 at 00:45 point

Will be building this (when you are done). Such a great idea!

  Are you sure? yes | no

Daniel Frausto wrote 03/14/2016 at 00:53 point

WOW! Awesome....i guess the only "hard" part is to get the case built. Trying to find someone close with a lasecutter, maybe, dont thinnk it will be easy to 3d print it.

  Are you sure? yes | no

Matthew Prestridge wrote 03/14/2016 at 01:11 point

Wood is likely easier. Or you could redesign the case to be flat pack style and screw it together or push fit. The harder part then is getting all the holes in the right place and cutting out squares manually. The Glowforge is out soon that someone on here might have access to for wood cutting.

  Are you sure? yes | no

Peter Sanders wrote 03/13/2016 at 20:58 point

Question - why not use the combination XLR-1/4 jacks vs separate XLR and 1/4 jacks?

  Are you sure? yes | no

Daniel Frausto wrote 03/13/2016 at 21:07 point

I was thinking about using them specifically the ncj6fa-h from neutrik. Since I am also building a audio "Snake" i was already buying the connectors in bulk so that might be a lame reason but that is why.

  Are you sure? yes | no

Valentin wrote 03/13/2016 at 20:16 point

This is very impressive ! Looking forward to seeing this live !

One question : Did you find the ASoC driver for the PCM4202 or will you crate it ?

  Are you sure? yes | no

Daniel Frausto wrote 03/13/2016 at 21:28 point

there is a "tutorial" or a post where somebody already tried using this chip. apperantly a pcm5121 is used as a "middle man" since there already is a codec for it over at http://lxr.free-electrons.com/source/sound/soc/codecs/ .

  Are you sure? yes | no

Valentin wrote 03/13/2016 at 21:51 point

Cool, if you manage to get it working i'll definitely try that chip too ! And if you're looking for a bit of software development human resource (maybe a QT/QML HMI on the TFT ?) I'm in !

  Are you sure? yes | no

Craig Hissett wrote 03/01/2016 at 17:47 point

This is bloody marvellous.

It's one of those projects I always wanted to try but never thought it could be done this well.

Can't wait to follow this one!

  Are you sure? yes | no

Daniel Frausto wrote 03/01/2016 at 17:59 point

Awesome! Thanxs!

  Are you sure? yes | no

Craig Hissett wrote 03/01/2016 at 21:52 point

no worries man - can't wait to see how you both tackle the build of this and also how you put together the software for it.

  Are you sure? yes | no

Similar Projects

Does this project spark your interest?

Become a member to follow this project and never miss any updates