Close
0%
0%

LJBot 0.5 A 3D Printed Raspberry Pi Robot

A very low cost robot using an A+/Zero, 28BYJ-48 Steppers, ULN2003 Drivers and ultrasonic distance sensor

Similar projects worth following
A robot designed to house the Raspberry Pi Model A+ or Zero, two 28BYJ-48 Stepper Motors with ULN2003 Drivers and a hr-sc04 or hy-srf05 ultrasonic distance sensor (srf05 recommended).
Optionally the steppers and drivers can be replaced by a micro gear motor and dual h-bridge driver.

Its powered by a cheap USB power bank (the ones that hold a single 18650 battery) that sits on top.

Aside from that the only thing you will will need is 4x m3 bolts/nuts to secure the steppers and 10x dupoint cable to hook it all up.

With the zero, there's plenty of room inside for other modules, like a compass.

The ring on the lid is sized to optionally have a neopixel ring taped under it!

You should be able to fit most raspberry pi HATs under the lid, perhaps my ESP8266 WiFi board (https://hackaday.io/project/9300-esp-12f-raspberry-pi-gpio-sdio-wifi) with a pass through header?

I was disappointed by the price or poor design of other raspberry pi robots and wanted to make my own that can be a fun project or even used in education. All the parts are 'off the shelf' and can be assembled with no tools or even soldering required.

Some python code I've used is herehttps://github.com/topshed/ZeroBot

This project was designed in TinkerCAD to make it easy for others to modify. I really enjoyed using TinkerCAD, it's easy to use!

TinkerCAD objects
https://tinkercad.com/things/iVPAY49teSC
https://tinkercad.com/things/6rxfHhqCJAF
https://tinkercad.com/things/bv7aW5IY8QK
https://tinkercad.com/things/7KyaIKLiZ7u

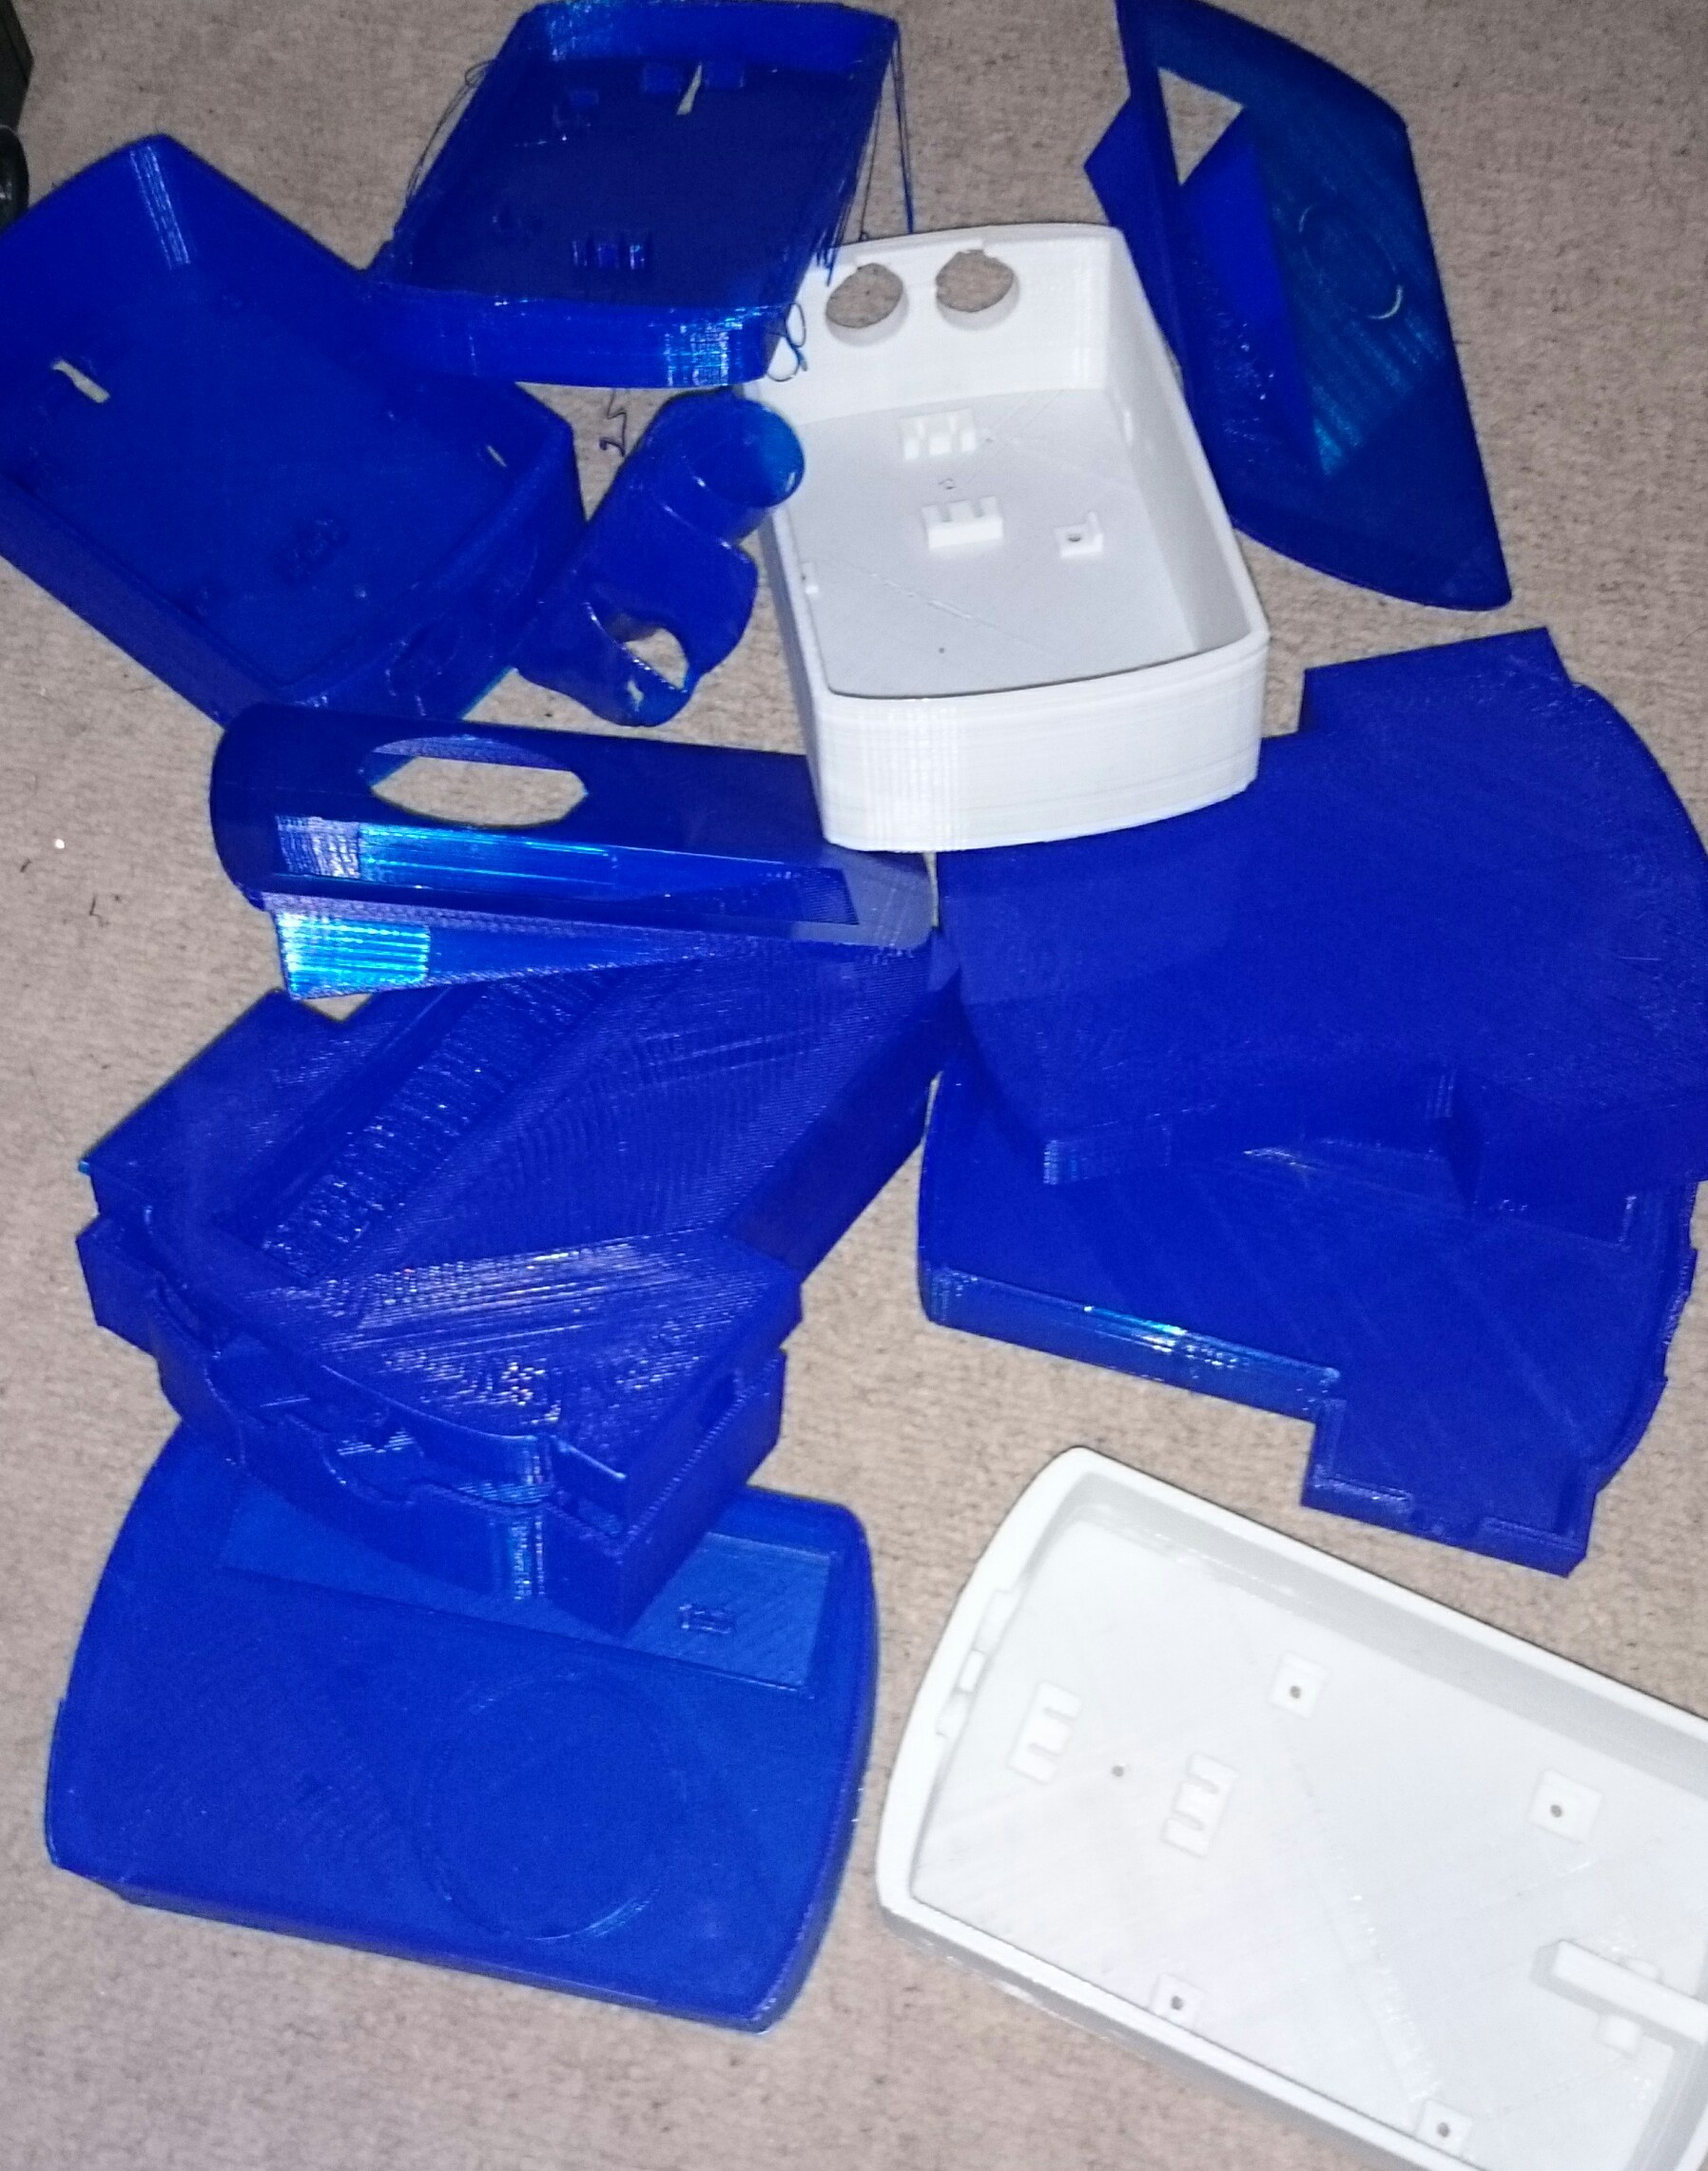
Please ignore the poor prints in the photos, I printed them at max speed as I went through a fair few prototypes!

This project and it's files are licensed under CC-BY-SA (http://creativecommons.org/licenses/) This license lets you modify and build upon my design even for commercial purposes, as long as you credit me and license/distribute your new creations under identical terms.

  • 1 × USB power bank Single cell version
  • 1 × Ultrasonic distance sensor HY-SRF05
  • 2 × 5v Stepper motor 28BYJ-48
  • 2 × Stepper drive ULN2003
  • 1 × Plenty of duopoint cable

View all 8 components

View project log

  • 1
    Step 1

    Print the TinkerCAD parts, also available on thingiverse http://www.thingiverse.com/thing:1247482

    Chose a layer height that divides into 0.5 (e.g. 0.5, 0.25, 0.1).

    The parts will fit on a 150x100mm print bed, to fit on a smaller printer, you could split the base and lid in half and then glue the halves together.

  • 2
    Step 2

    You will need 4x m3 bolts/nuts to secure the steppers and 10x dupoint cable to hook it all up.


    The Pi only has 2 5V pins, connect those to the motor drivers and either build a splitter or shove a male duopoint cable into the back of one of the female stepper motor ones (see picture).


    You'll want to put some tape (e.g. kapton, duct) between the drivers.

    You'll also want to add a 1k resistor between the 5v echo pin of the ultrasonic module and the 3v3 GPIO on the Pi. To save soldering you can strip another dupoint cable and wire wrap it onto the resistor.

    To attach the rear wheel you may be able to use some 3mm fillament or just get a 3mm metal pin like I have. A bit of heat helps the metal pin fit if its tight.

View all instructions

Enjoy this project?

Share

Discussions

Similar Projects

Does this project spark your interest?

Become a member to follow this project and never miss any updates