 Kevin Neubauer
-
11Step 11
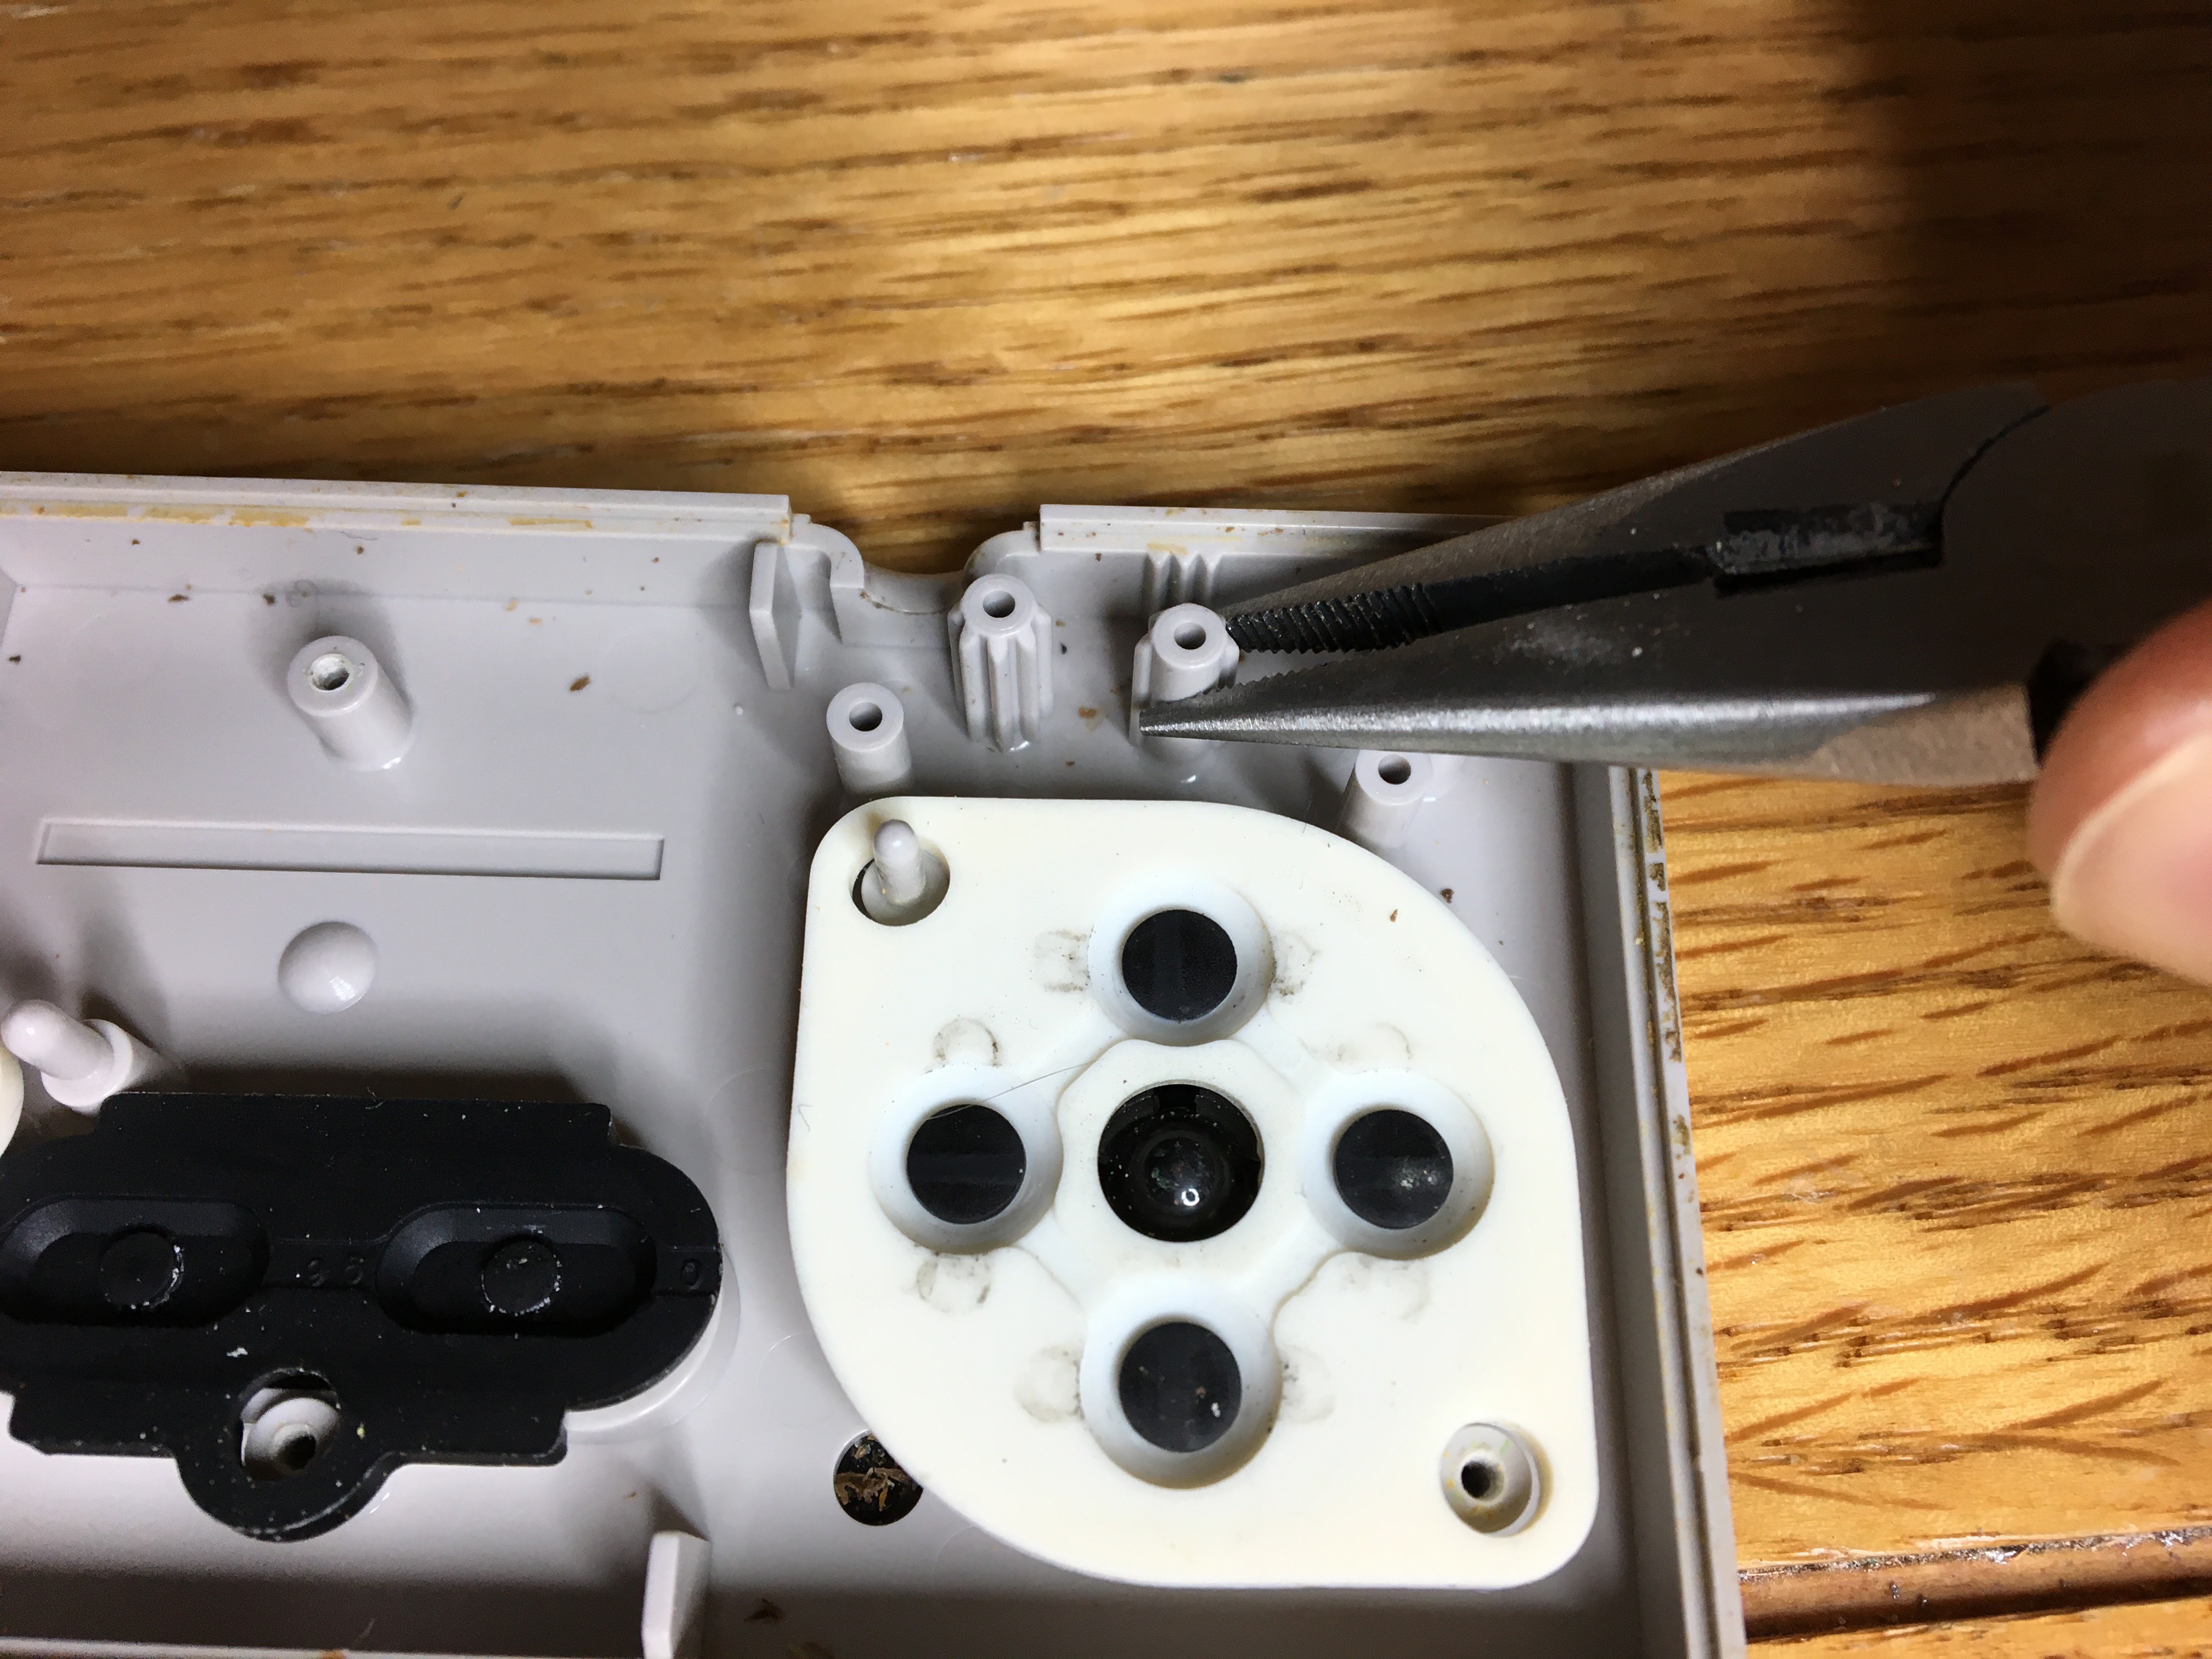
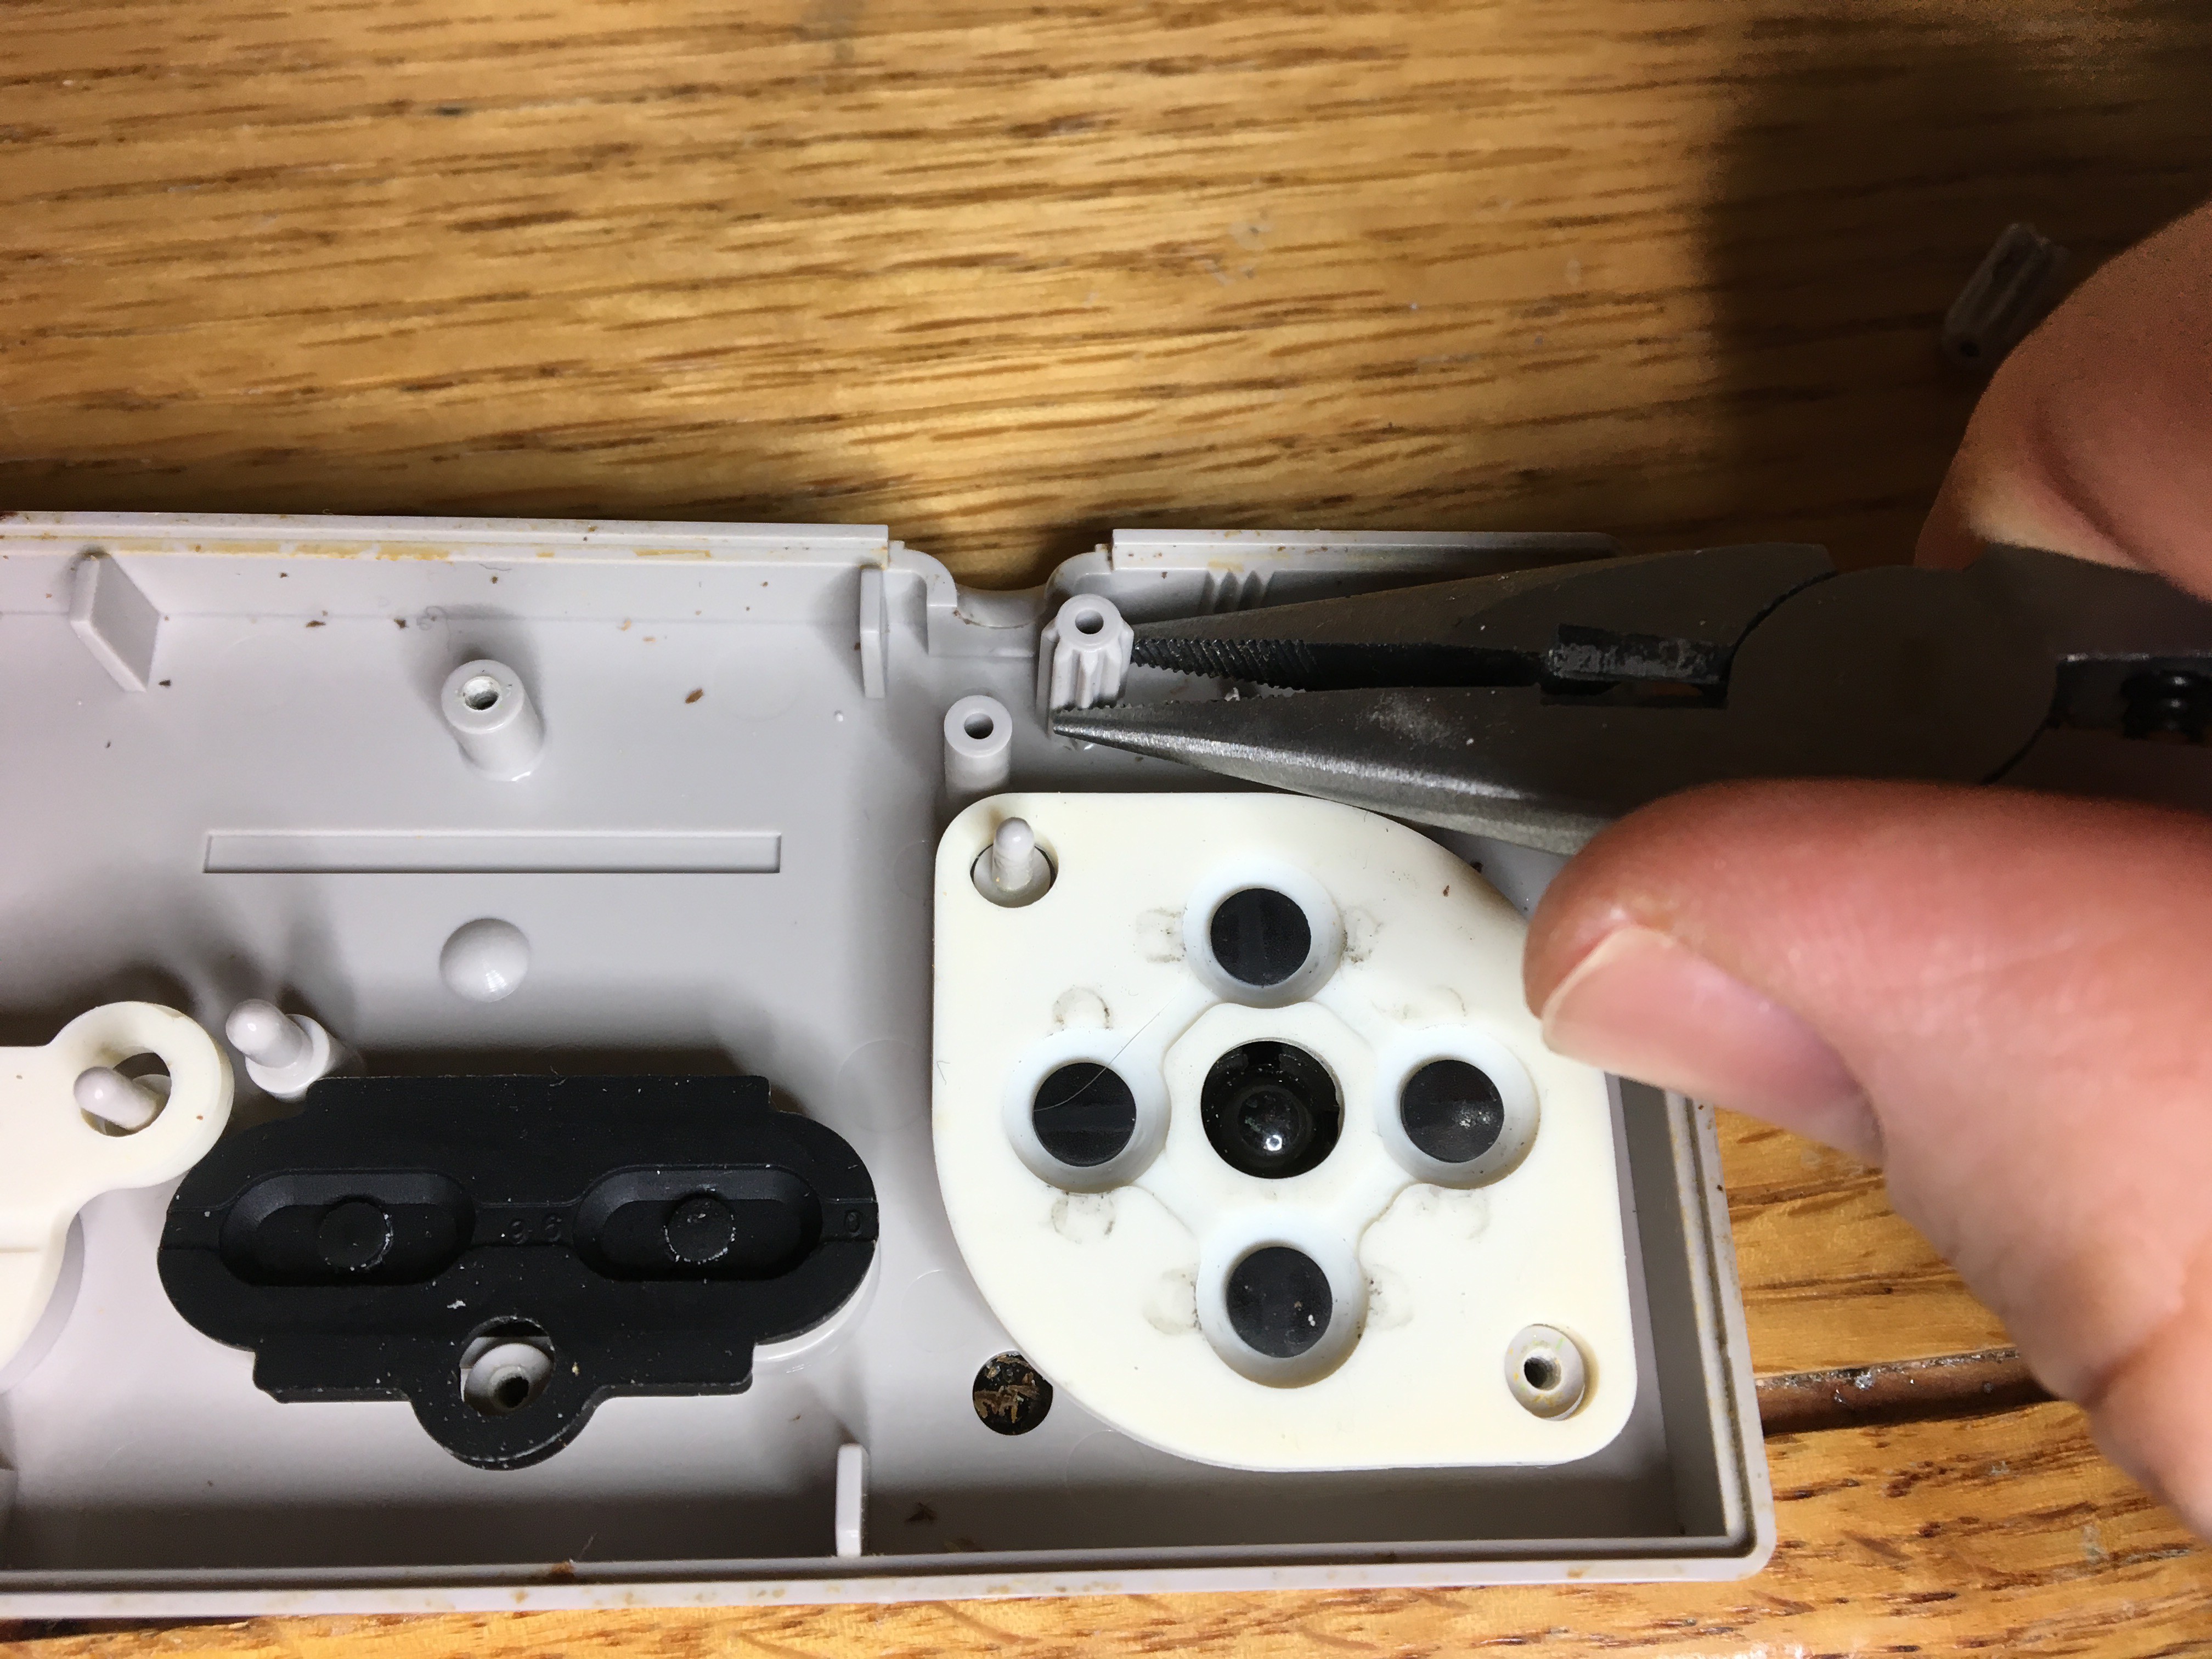
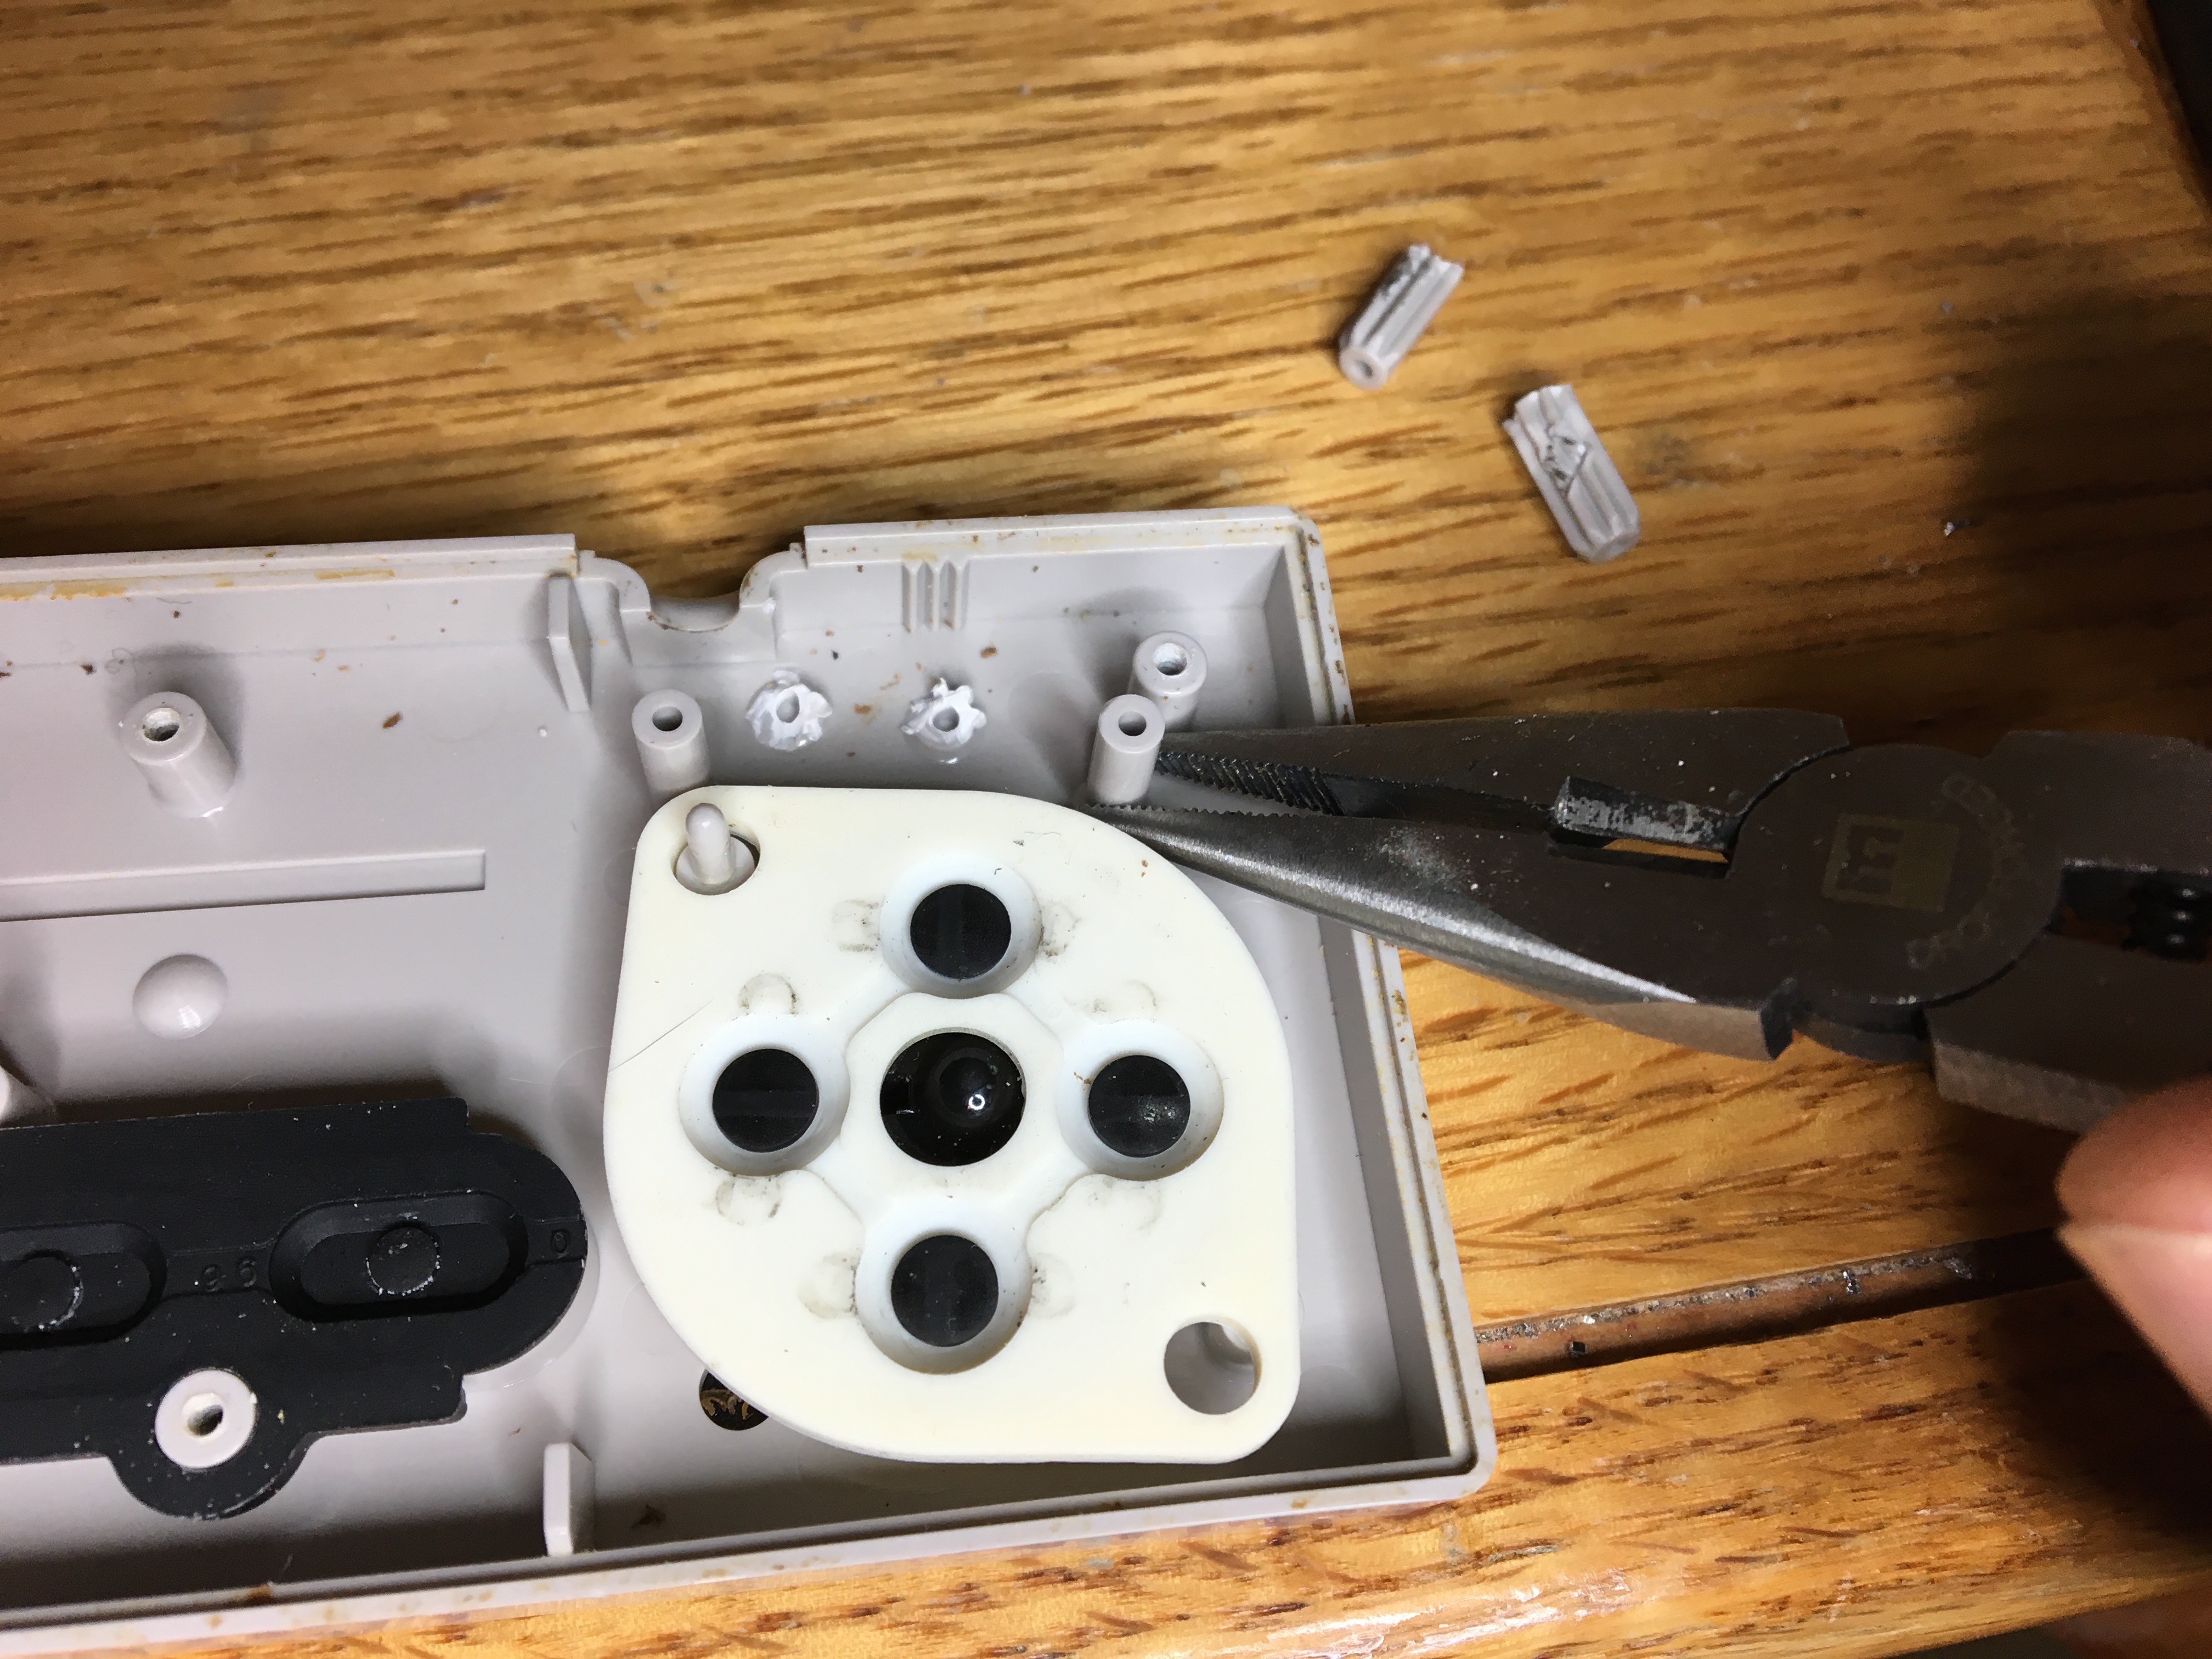
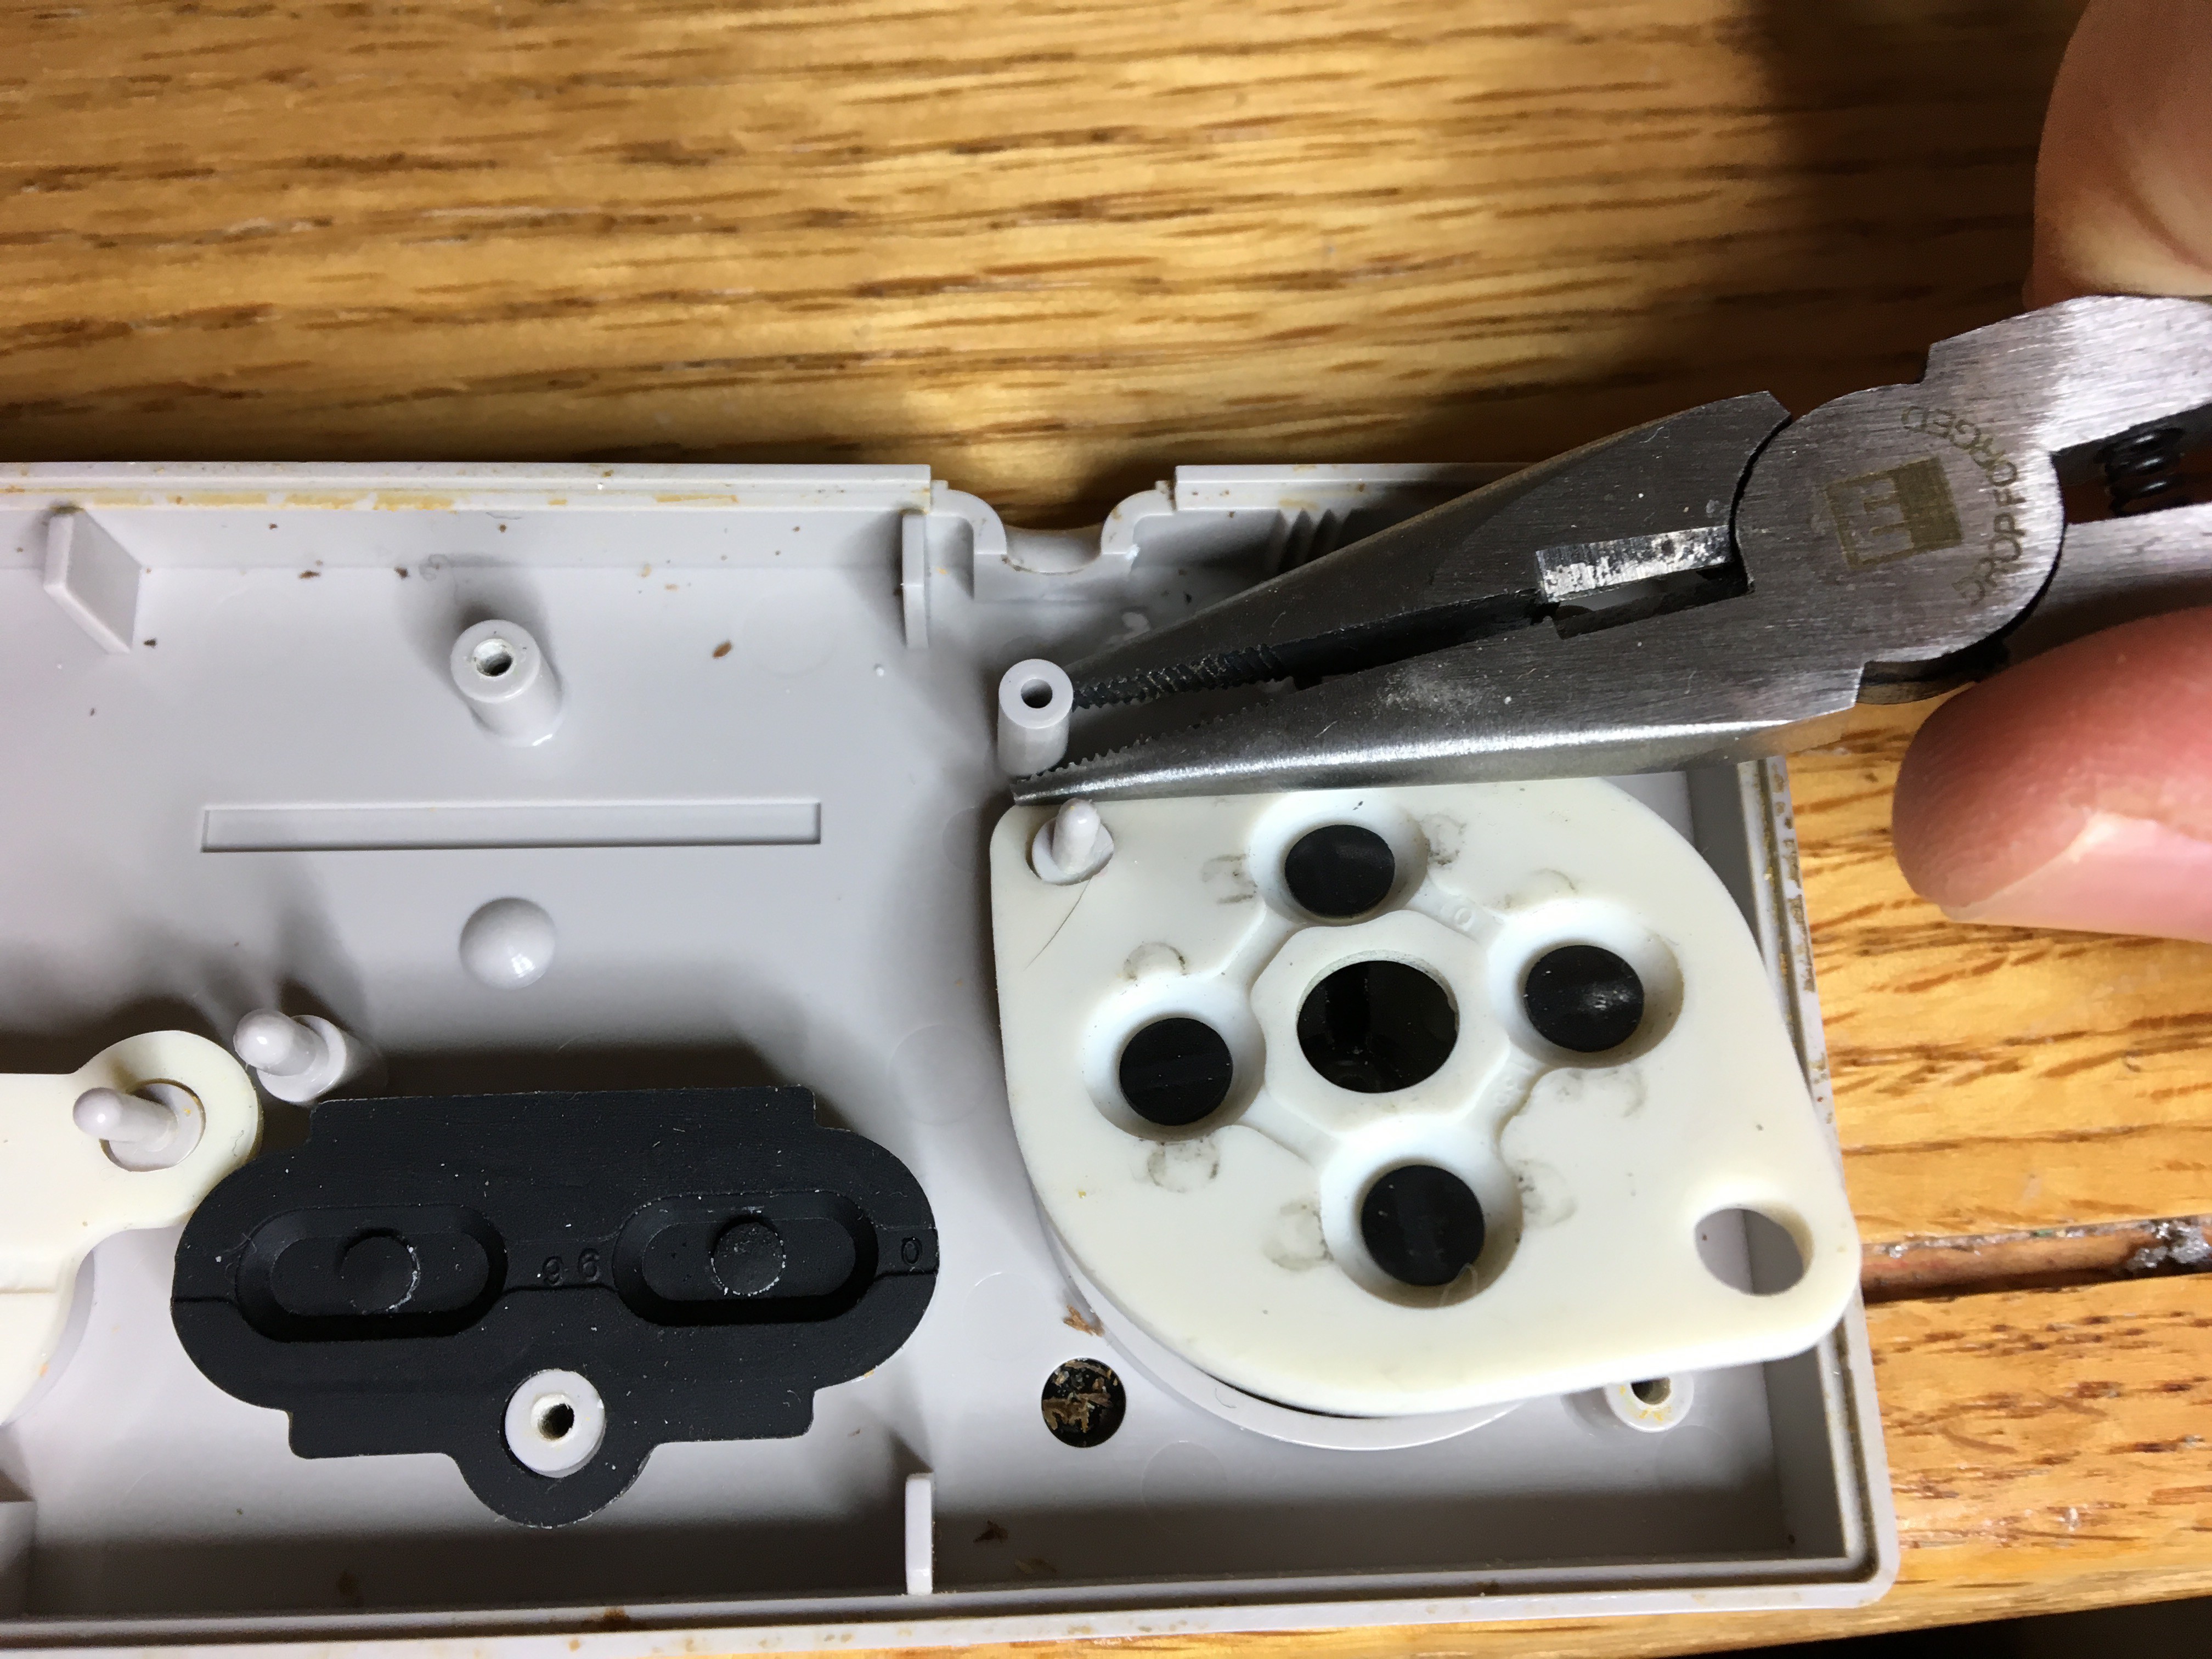
You will have to break some of the posts off on the top part of the NES controller near the directional pad. If you don't, they will impact the rocker switch and your case won't close. See pictures below. Use a needle nose pliers or angle cutters. No need to be a clean freak about the jagged plastic left over.
![]()
![]()
![]()
![]()
-
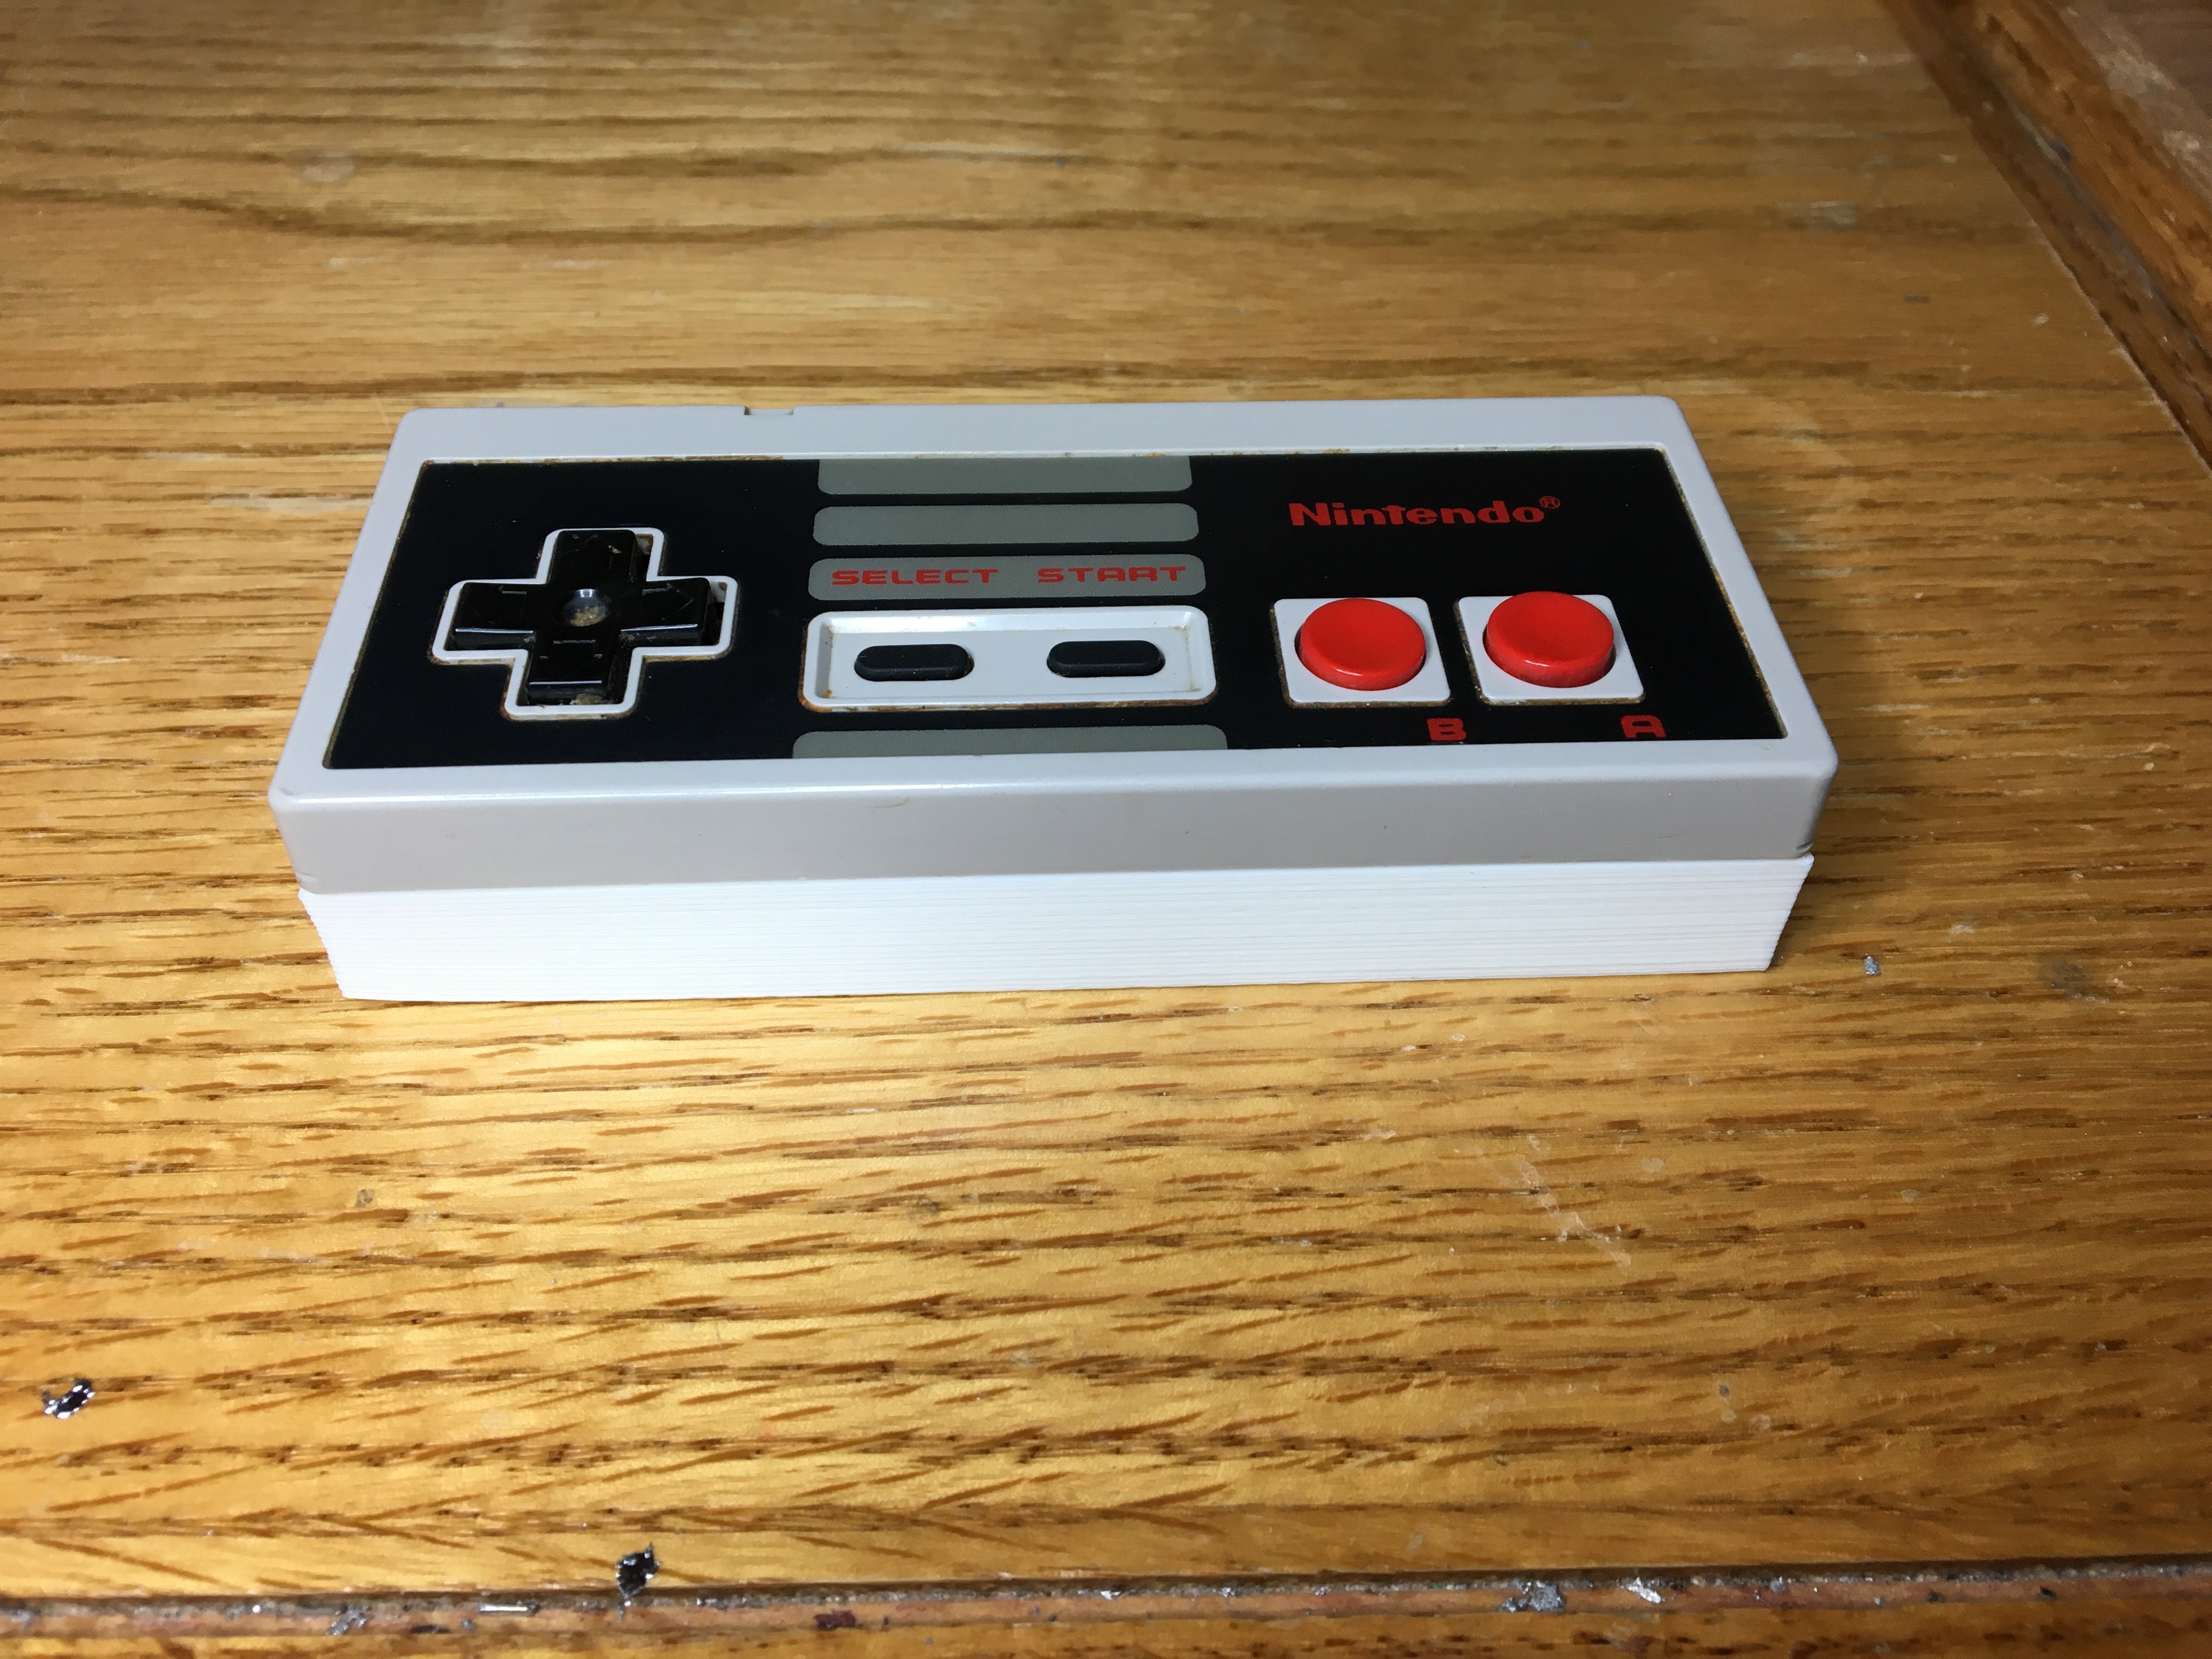
12Step 12
Close up the case. I re-used the screws from the original controller.
![]()
![]()
-
13Step 13
Load the RetroPie distribution to the SD card.
Connect up the HDMI, micro USB adapter, and a USB power cable to the Pi. Connect a hub with keyboard and Wi-Fi or ethernet adapter to the micro USB adapter. Insert the SD card into the Pi. Connect the HDMI cable to your TV and boot it up!
Exit by pressing the F4 key. Press another key to stop EmulationStation from restarting.
Run "sudo raspi-config"
Expand the file system, set your locale, time zone, and keyboard settings and reboot.
Again exit out of EmulationStation and run "sudo raspi-config".
Set the pi user password using the raspi-config or passwd command. Don't be one of those people who leaves a default password in place. Even if this thing isn't connected to the network most of the time, it likely will be at some point when you want to update the distro or add new ROMs.
-
14Step 14
Run "sudo ~/RetroPie-Setup/retropie_setup.sh"
Configure Wi-Fi under Setup/Configuration if you are using a Wi-Fi adapter.
Enable the gamecon GPIO driver. It should appear under the Setup/Configuration menu. It will ask you if you want to enable the configuration for 2 SNES controllers. Even though you're not using SNES controllers, say yes. It will input entries into other files that you will go modify to make it an NES controller. Also say yes to modify the retroarch.cfg file and to permanently enable the configuration.
Exit out to the shell and run "sudo apt-get update" and then "sudo apt-get upgrade" to update the software packages included with the distro.
Run "sudo nano /etc/modules". I'm not going to torture you with vi...
Edit the line for gamecon_gpio_rpi to look like this:
gamecon_gpio_rpi map=0,0,0,0,2,0
Save and exit.
Run "sudo nano /opt/retropie/configs/all/retroarch.cfg". For some reason RetroPie maps the player 2 input to 0 and the player 1 input to 1. They are backwards and this is only a 1 player setup. Scroll down and find "input_player1_joypad_index". Change it to look like this:
input_player1_joypad_index = 0
Change input_player2_joypad_index to look like this (commented out):
#input_player2_joypad_index = 1
Scroll down to the Input Device Buttons section and modify it to look like this:
input_player1_a_btn = 0
input_player1_b_btn = 1
#input_player1_y_btn = 3
#input_player1_x_btn = 2
input_player1_start_btn = 3
input_player1_select_btn = 2
#input_player1_l_btn = 4
#input_player1_r_btn = 5
# input_player1_left_btn =
# input_player1_right_btn =
# input_player1_up_btn =
# input_player1_down_btn =
# input_player1_l2_btn =
# input_player1_r2_btn =
# input_player1_l3_btn =
# input_player1_r3_btn =
Save, exit, and reboot.
-
15Step 15
Test out your joystick configuration when EmulationStation boots back up. You should now be able to map button presses to actions in the joystick configuration screen that starts on initial boot.
When in EmulationStation, go to the RetroPie menu and select Audio Settings. Choose HDMI as the audio output. Some cheaper/older TVs will not support audio through HDMI. If after doing this step you still don't get audio, try another TV.
-
16Step 16
Copy ROMs to your SD card in the "/home/pi/RetroPie/roms" directory. Ensure you choose the appropriate subdirectory to put them in. In this case, I was only setting up the original Nintendo so I copied my ROMs into the "nes" directory. I found it easiest to copy ROMs using secure copy (SCP) while the Wi-Fi network card was plugged in.
Enjoy gaming and relive childhood!
NESPi Controller
Raspberry Pi Zero-based emulator in an NES controller case. Powered by LiPo battery and Adafruit Boost Charger.

Discussions
Become a Hackaday.io Member
Create an account to leave a comment. Already have an account? Log In.