Andrey
-
Code on GitHub
08/22/2016 at 15:35 • 0 commentsI finally have a more or less stable version of the code. It is far from complete as the web interface is missing the recipe management. The 'recipes' can be added manually in the code as per the following example:
if(!loadFromFileNew("/recipes.json",sRecipes,RECIPE_JSON_SIZE*RECIPES_LEN)){
    arrRecipes[0].id = 1;
    arrRecipes[0].name = "Max Watts/Hour";
    arrRecipes[0].localThingId = 1;
    arrRecipes[0].localValue = 0;
    arrRecipes[0].sourceNodeId = CHIP_ID;
    arrRecipes[0].sourceThingId = 3;
    arrRecipes[0].sourceValue = 0;
    arrRecipes[0].relation = BIGGER_THAN;
    arrRecipes[0].targetValue = 20;
    saveRecipesToFile(&arrRecipes);
    serializeRecipes(&arrRecipes, sRecipes, RECIPE_JSON_SIZE*RECIPES_LEN);
    delay(100);
  } else {
    deserializeRecipes(&arrRecipes,sRecipes);
  }
This 'recipe' turns off the SmartPlug when the daily consumption reaches 20 watt hours. Please, feel free to experiment with the 'recipes'. The other value that you can use is the 'Clock' (arrThings[3]), which gives you 'seconds from midnight'.
The code can be found here: ESP_SyncSmartPlug
-
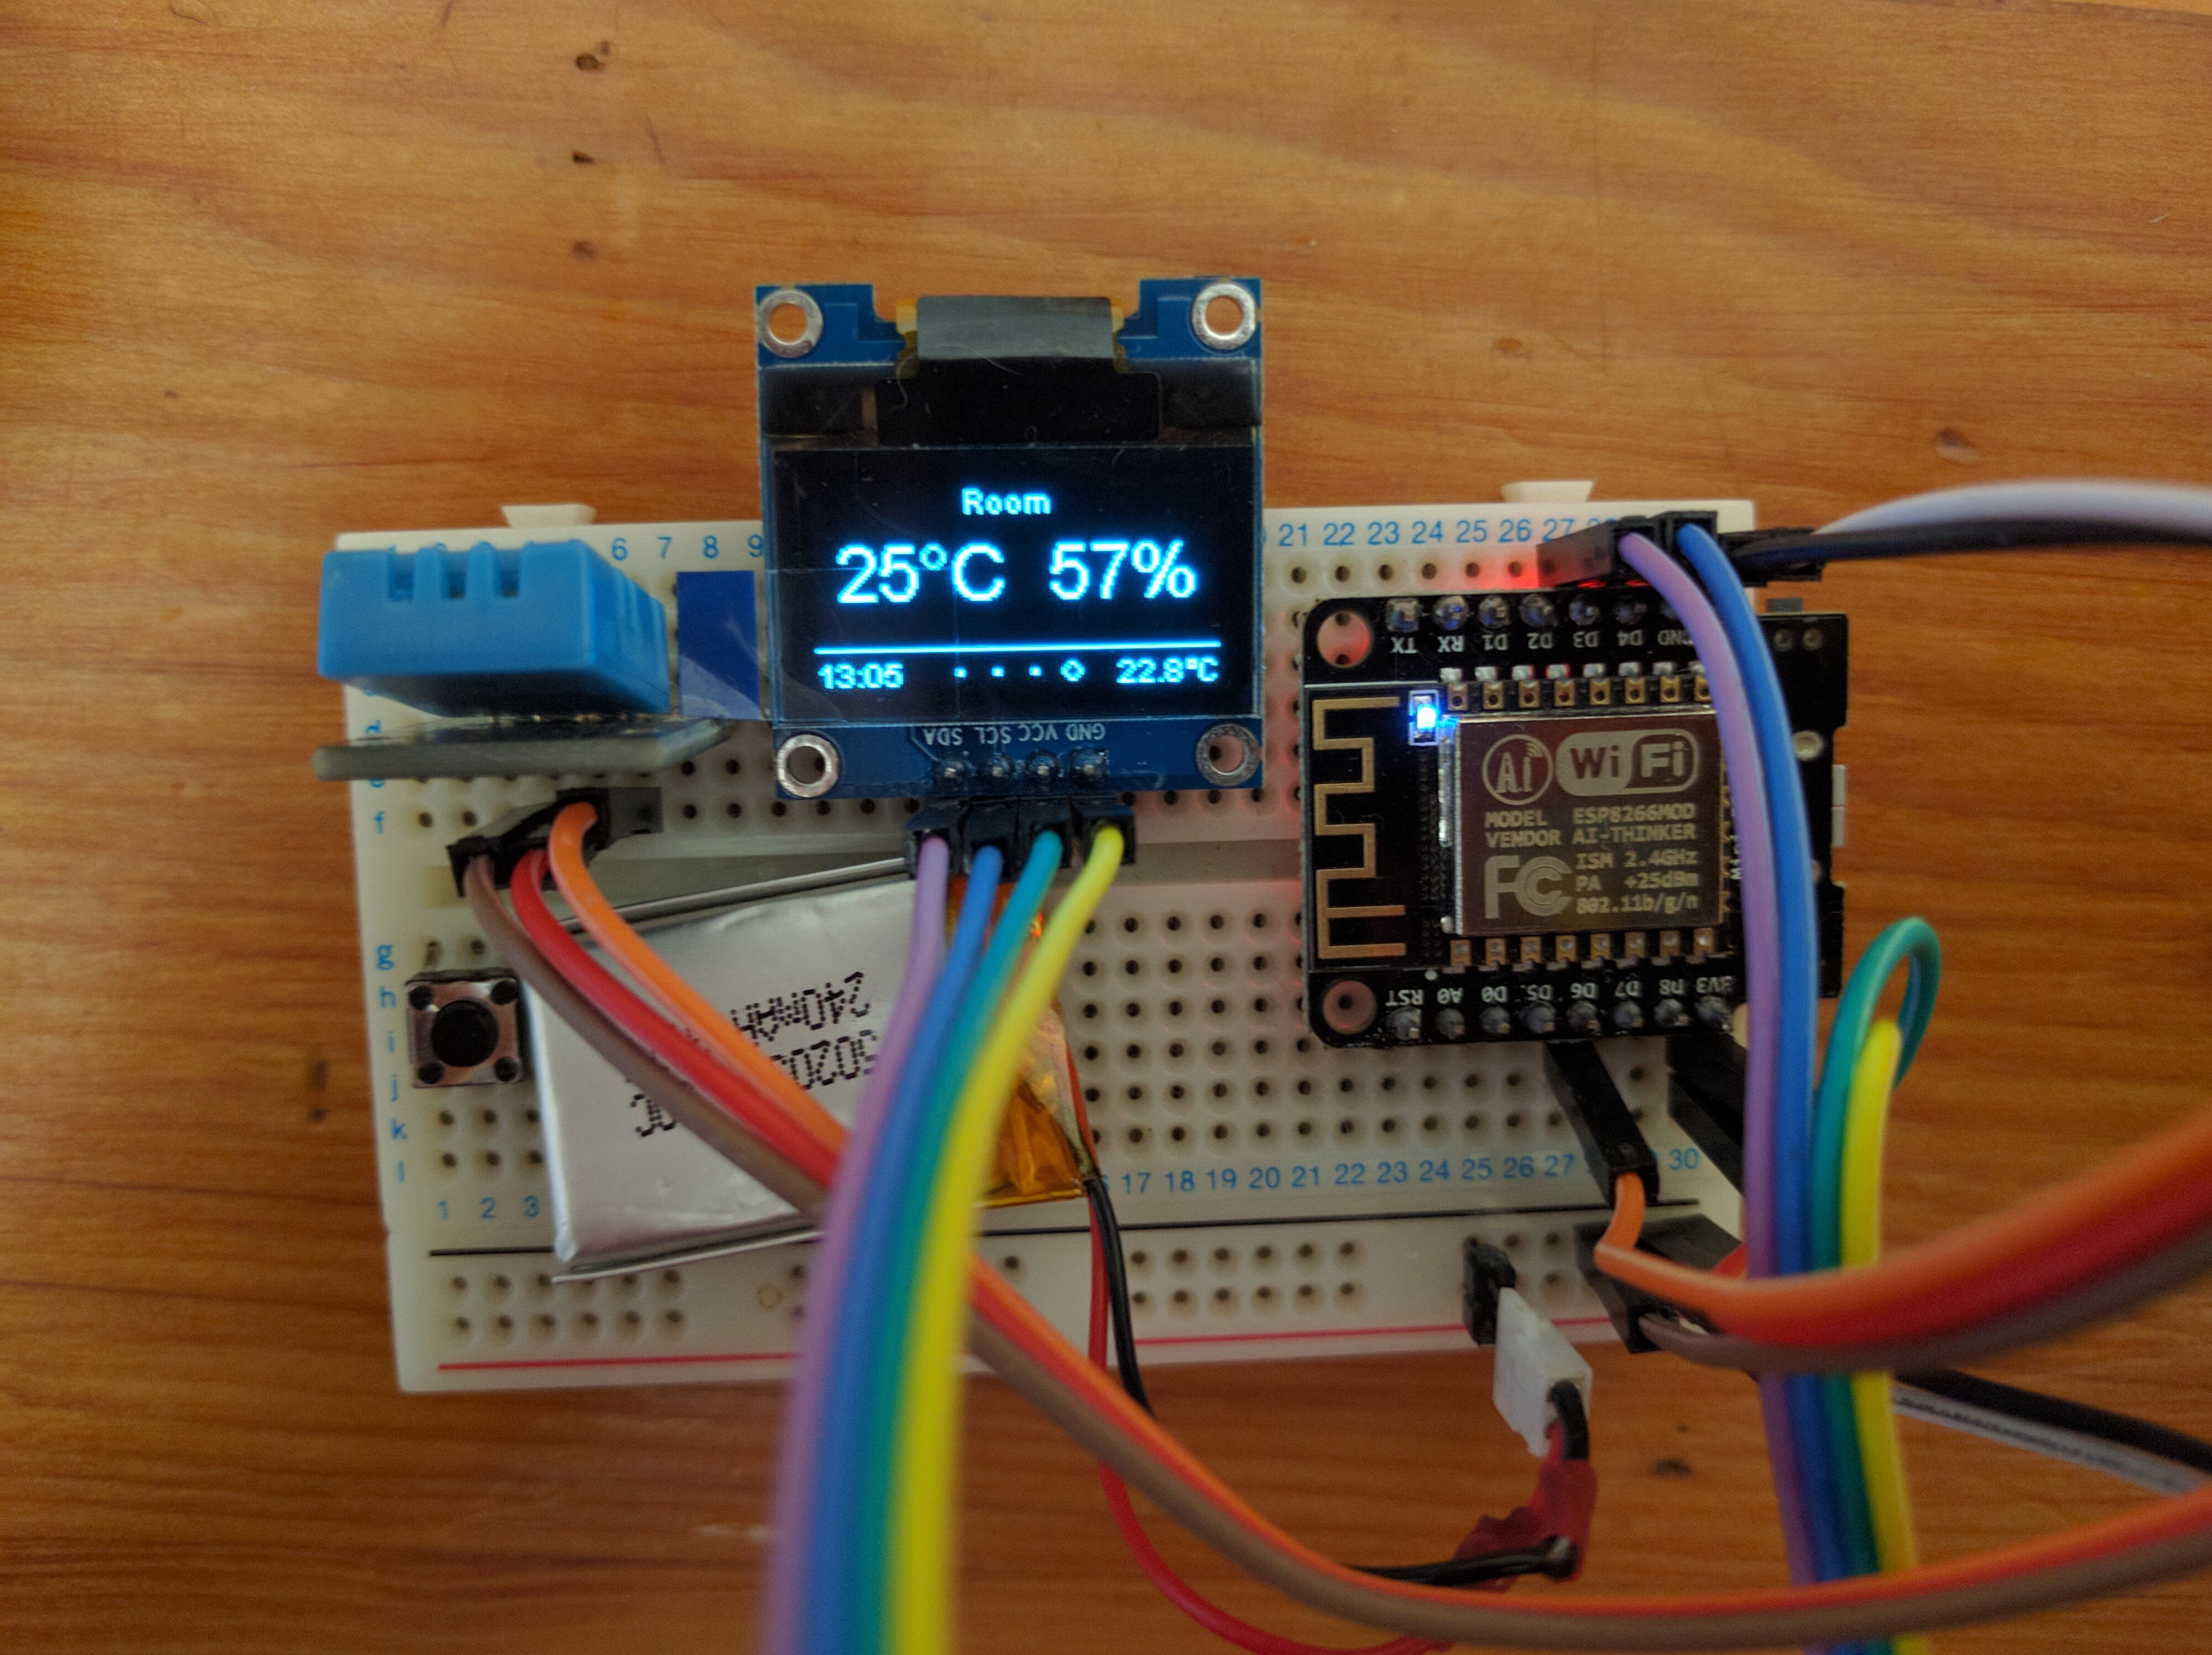
Second Node SmartWeatherStation
08/21/2016 at 13:36 • 0 commentsMy Second node is SmartWeatherStation based on the ESP8266 Weather station V2. The idea behind it is for it to be a portable device that gives you a quick weather update from WeatherUnderground.com. It also measures and broadcasts via UDP the current temperature and humidity. This broadcast will be picked up by the SmartPlug and used in a 'Recipe' to turn ON and OFF depending on the temperature in the room where the SmartWeatherStation is placed. This is a picture of the current state of the WeatherStation.
![]()
-
ESP SmartPlug connection diagram
08/17/2016 at 14:13 • 0 commentsI added a fritzing diagram of how I have connected the different components to the NodeMCU. The thing worth mentioning is the 10kΩ potentiometer that I used to reduce the 5V output from the ACS712 current sensor. I figured out that the NodeMCU actually reads up to 3.3.V on the analog input pin and not the 1.1V as per the specification of the ESP8266. I encountered another problem with analog input read. When there was no current to read from the ACS712 the readings from the analog pin were too erratic. I solved this in code by calculating the frequency of the current readings and only taking it in account if it was 50Hz. Please, feel free to ask me anything if the diagram is not clear to you.
![]()
-
Video of the 'ESP SmartPlug' in action
07/28/2016 at 10:48 • 0 commentsAfter couple of iterations of code re-factoring, I decided it is time to post this log showing the 'ESP SmartPlug' in action. I combined video of a heater being switched on and off remotely with a screen capture of the browser window running the remote interface. On the browser window you can see the 'Override' button, being pressed first, which stops the rules processing and allows for manual operation. After the heater is turned on, I change to a higher setting and you can see the real time graph changing. Currently the plug status updates are pushed every 5 seconds to the browser via websockets and also a UDP multicast is sent at the same time. Everything you see is being run purely from the ESP module, which gives me great confidence the my initial is achievable. The completed functionality in the ESP include the following:
- Persisting of 'nodes', 'things' and 'recipes' to file and loading them on start up;
- Dynamically adding other 'nodes' that send broadcasts;
- Processing updates from broadcasts;
- Processing of 'recipes' and updating state of 'things';
- Websocket interfaces to update 'things'; add, update and delete 'recipes';
The javascript code already caters for a multi 'node' scenario and the only thing left is adding the interface for managing the current 'node recipes'.
Please, feel free to give me some feedback on the project idea and implementation of it so far.
WiFi Based Distributed IOT Home Automation
Autonomous intelligent IOT nodes connected to the home network, controlled via simple IFTTT style rules, configured via web interface