-
LattePanda Portable Music Studio
07/23/2023 at 22:34 • 0 comments***This is a writeup of my project featuring the LattePanda 3 Delta, kindly provided by the LattePanda team in order for me to explore my project. All LattePanda Accessories were purchased separately***
My name is Craig HIssett, and I am a software developer for an education provider based in the North East of England. Outside of the office I am also a musician, playing trombone, guitar and other instruments.
I am a hobbyist maker, heavily using Raspberry Pis and Arduino microcontrollers in the vast majority of projects. I use YouTube quite regularly to keep abreast of new SBCs coming onto the market. I saw a review on the original LattePanda and its ability to run Windows natively and have been following the releases since. I’ve also purchased other products from DFRobot over the years, such as the Devastator Tank Chassis, for various projects.
Covid-19 was the main driving force behind this project. Lockdowns closed music venues and recording studios across the UK, forcing musicians to perform or produce new music from home or in open locations. I record music not just for my own band, but also session work for several other bands. In order to be able to record from home or on location I wanted to create a portable setup that acted as a ‘studio in a box’. This box had to let me quickly set up to record a number of mics, be simple to work with, and make it easy to transfer the recorded results to another computer for editing.
This is the result of my efforts - the mobile Recording Studio!
![]()
The Behringer UMC1820 is a fantastic audio interface, giving me 8 recording channels (with the option to expand in the future) to be able to record anything from solo artists up to a small ensemble or a full drum kit for a studio session, two headphone outputs on the front for situations where I am recording another performer and a host of other outputs for linking this system up with PA systems and such in the future.
The LattePanda is key to making this project easy. Its windows operating software allows me to run Reaper, my DAW of choice, with it’s files synced via OneDrive. This workflow makes it so easy for me to pick up recording files at home on my higher spec laptop for editing. I also use window’s native Remote Desktop Client to access the LattePanda from an old Microsoft Surface or tablet, or even my phone. IT makes it so easy to control. For recording on location where there are no access points I use the USB network streaming cable to connect the LattePanda to my phone, allowing for that network connection to still work.
The 4u case keeps everything in one unit for easy transport. One downside is it makes accessing the Behringer’s back inputs difficult, so I have created a custom input panel on the front of the case. This panel makes it easy for connecting to inputs 3-8 on the Behringer, the two main outputs, and also the network cable of the LattePanda. Eventually I’ll expand this to breakout the LattePanda’s HDMI and power button too.
The final feature of this unit is my built in effects unit – another project of mine was using a Raspberry Pi and an audio HAT as digital pedalboard for my guitar playing and tromboneering. This Pi is controlled via a USB MIDI footswitch. I decided to take the Pi and put it in my studio case alongside the LattePanda. It has two inputs and two outputs, so I have taken inputs 7-8 from my front panel, routed them to the Pi, then back to 7-8 on the Behringer. I am going to network the LattePanda and Pi together via ethernet, as my Pi can be controlled via a Web GUI, meaning I can remote into the LattePanda and control everything in this rig.
Hardware
- LattePanda 3 Delta
- LattePanda Titan Case
- LattePanda Network streaming cable
- 512Gb SSD
- Behringer UMC1820 1u audio interface
- Raspberry Pi 4 (4gb)
- Pisound Audio Interface for Raspberry Pi
- 4u shallow studio rack case
- 1u shallow shelf
- 1u power distributor
- 1u custom IO panel
- 6 x panelmount XLR female passthroughs ...
-
Product Review | Totem Black Spider
07/13/2021 at 14:16 • 3 commentsI have been a big fan of Totem products for quite some time; they have some fantastic construction 'maker' kits which have proven extremely useful to me for prototyping many projects, and I have been invited to test some of their other kits in the past, varying from mini lab setups to robots.
Very recently I applied to become a Global Team Member for Totem, and was overjoyed to be accepted as an ambassador. This gives me a fantastic opportunity to continue to work with Totem and continue to share some reviews and thoughts on the stuff these guys are working on, and to help spread the word about these fantastic kits amongst the maker community.
***Disclaimer*** - all thoughts and opinions on the products are entirely my own, and are in no way influenced by Totem.
Now, on to the first kit I have been sent to review - the Black Spider robot kit!
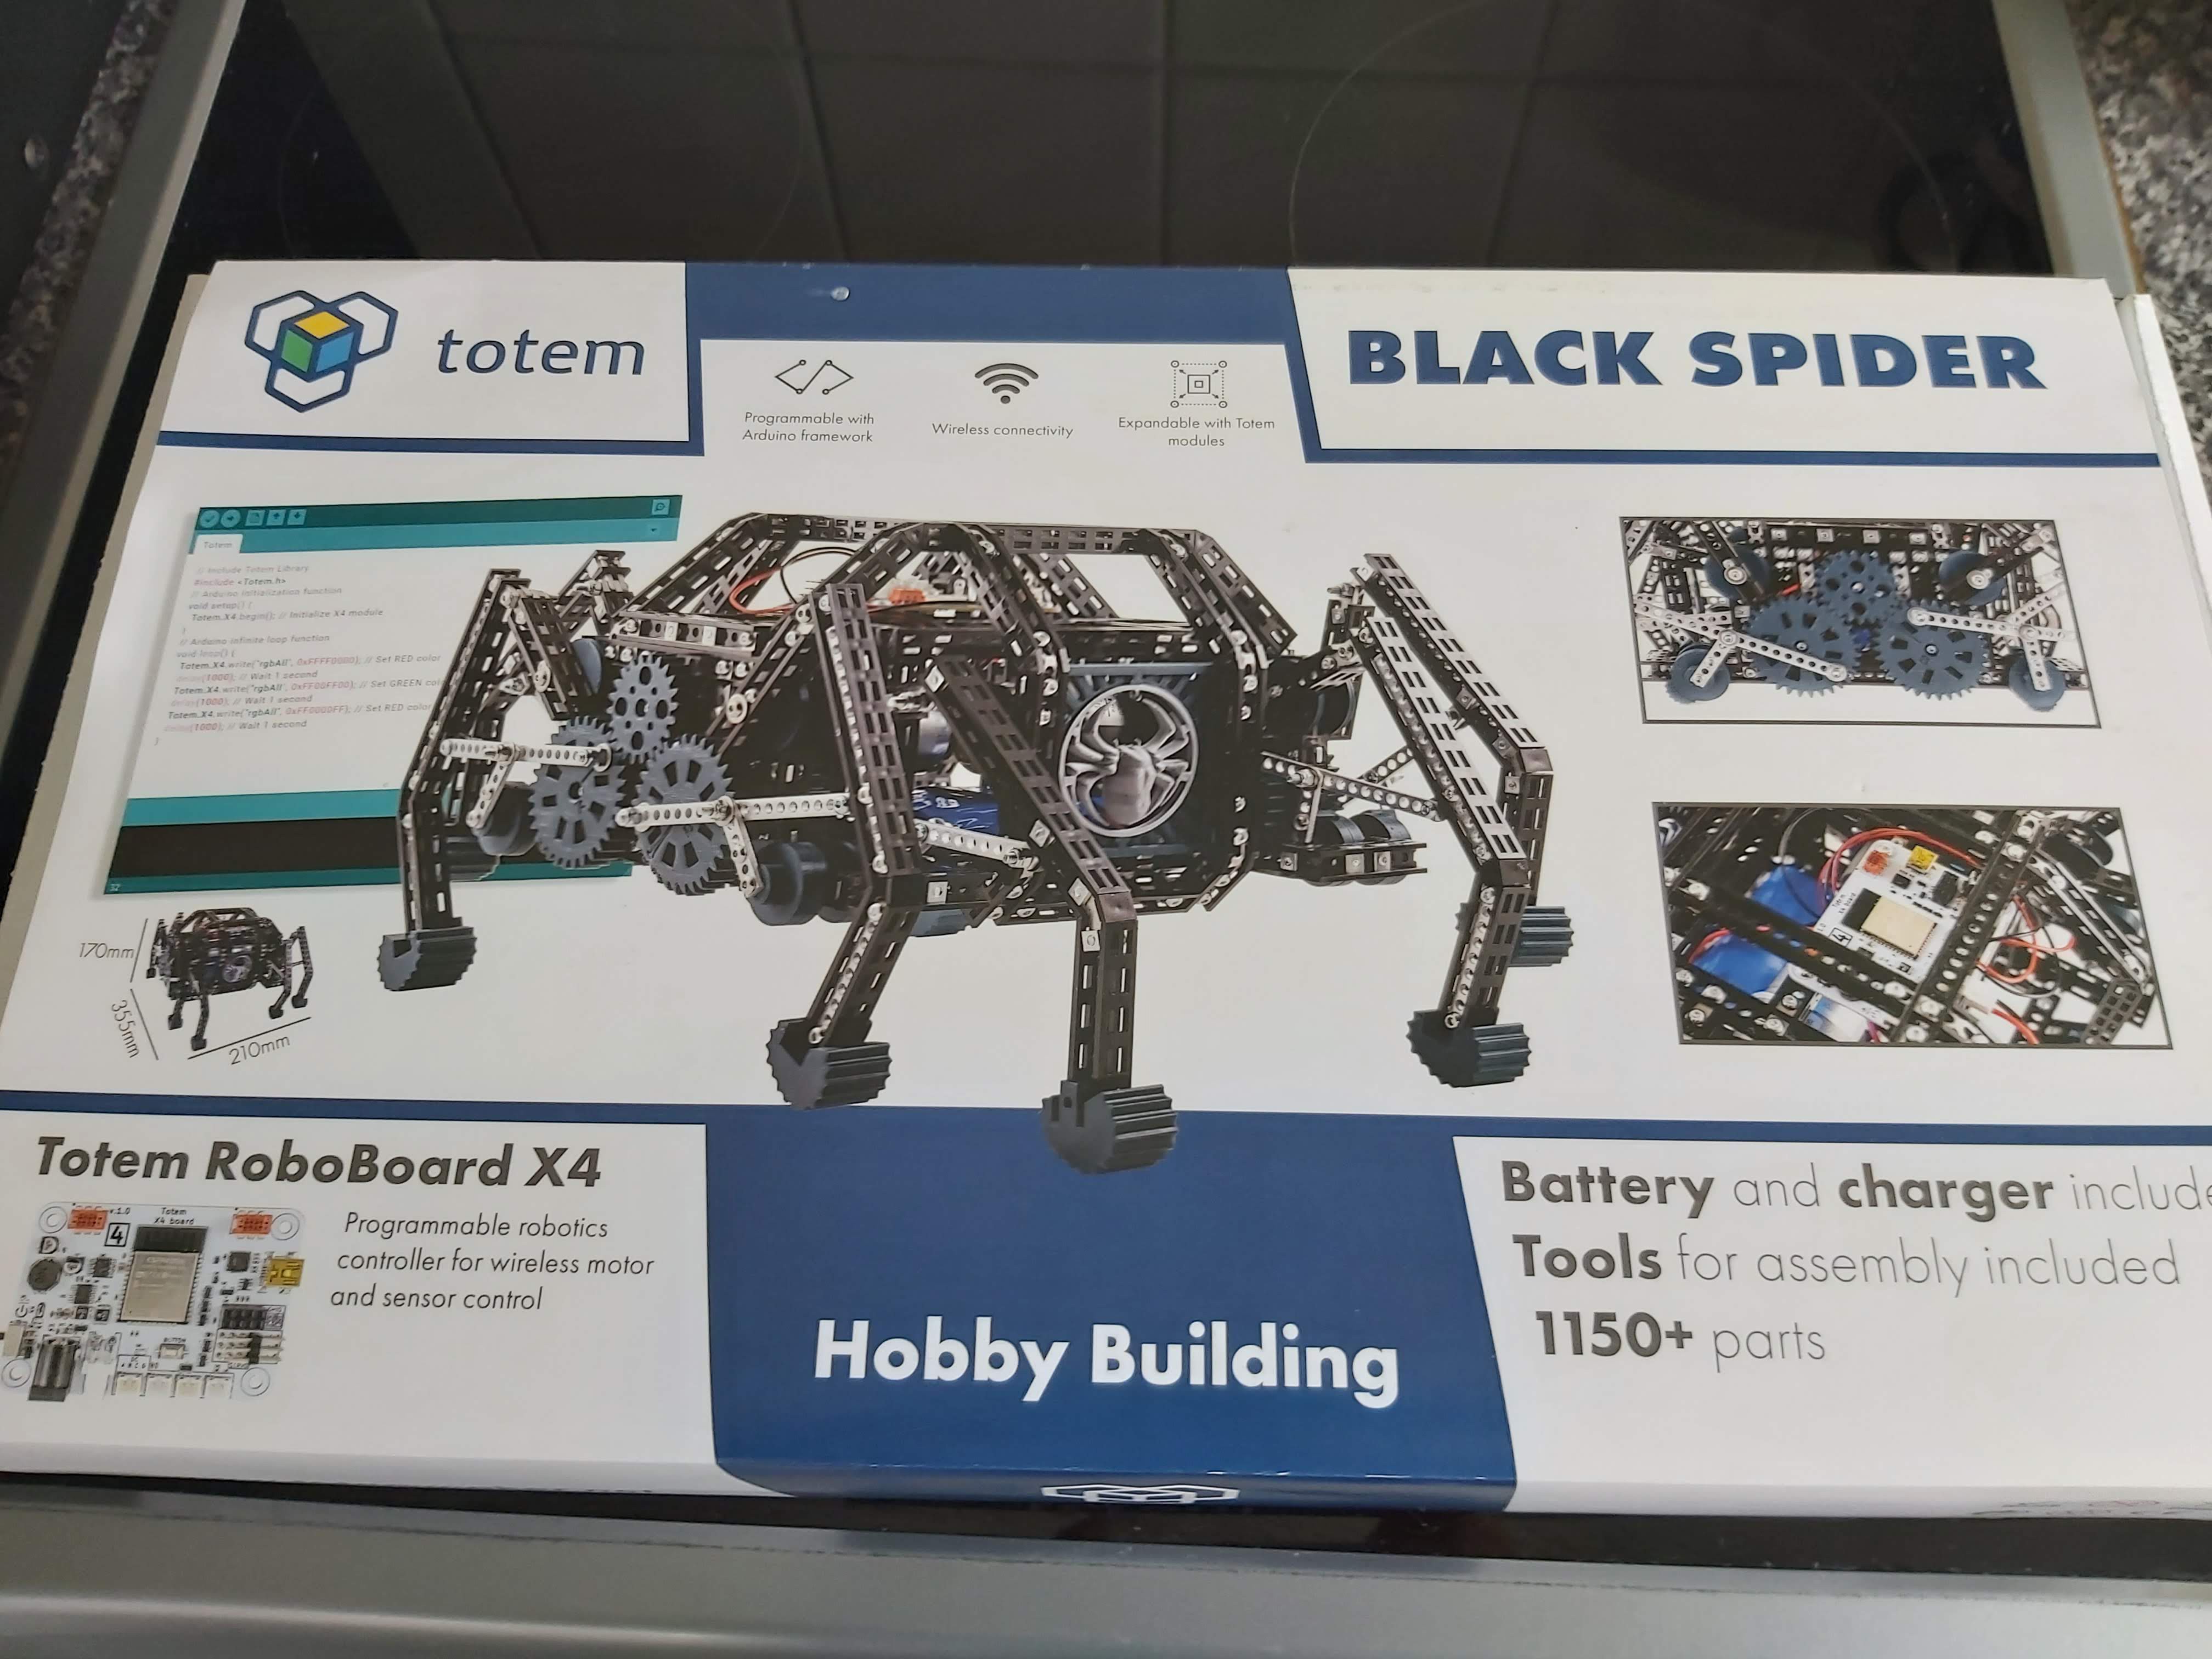
The Product
The Black Spider robot is a fairly recent addition the kits available on the site, and once built creates an 8 legged robot using two motors to power the walking movement. At the heart of this robot is a custom Totem microcontroller and is powered by an onboard rechargeable battery pack.
I was really excited to get the chance to get my hands on the release version of this kit, as I had previously sampled a prototype build of the kit some time ago and I was keen to see what improvements had been made to it from that stage.
The biggest and most exciting change for me was the microcontroller upgrade; the version I had used the X3 version of the microcontroller, which only worked with the Totem smartphone app. Now the kit features the X4 version of the controller, which is built around an ESP32 module and can now run Arduino sketches and could possibly run micropython with some effort. There are also some GPIO available too, in addition to the 'BUS connectors' used to connect various Totem modules to the controller. I'm itching to see if those can be used as a software Serial port via an arduino sketch to allow for communication with a Raspberry Pi or similar SBC. This thing is screaming out to be given some kind of machine learning capabilities.
On to the unboxing!
Unboxing
Upon receiving my package I opened it up to be greeted by this imposing, impressive thing:
![]()
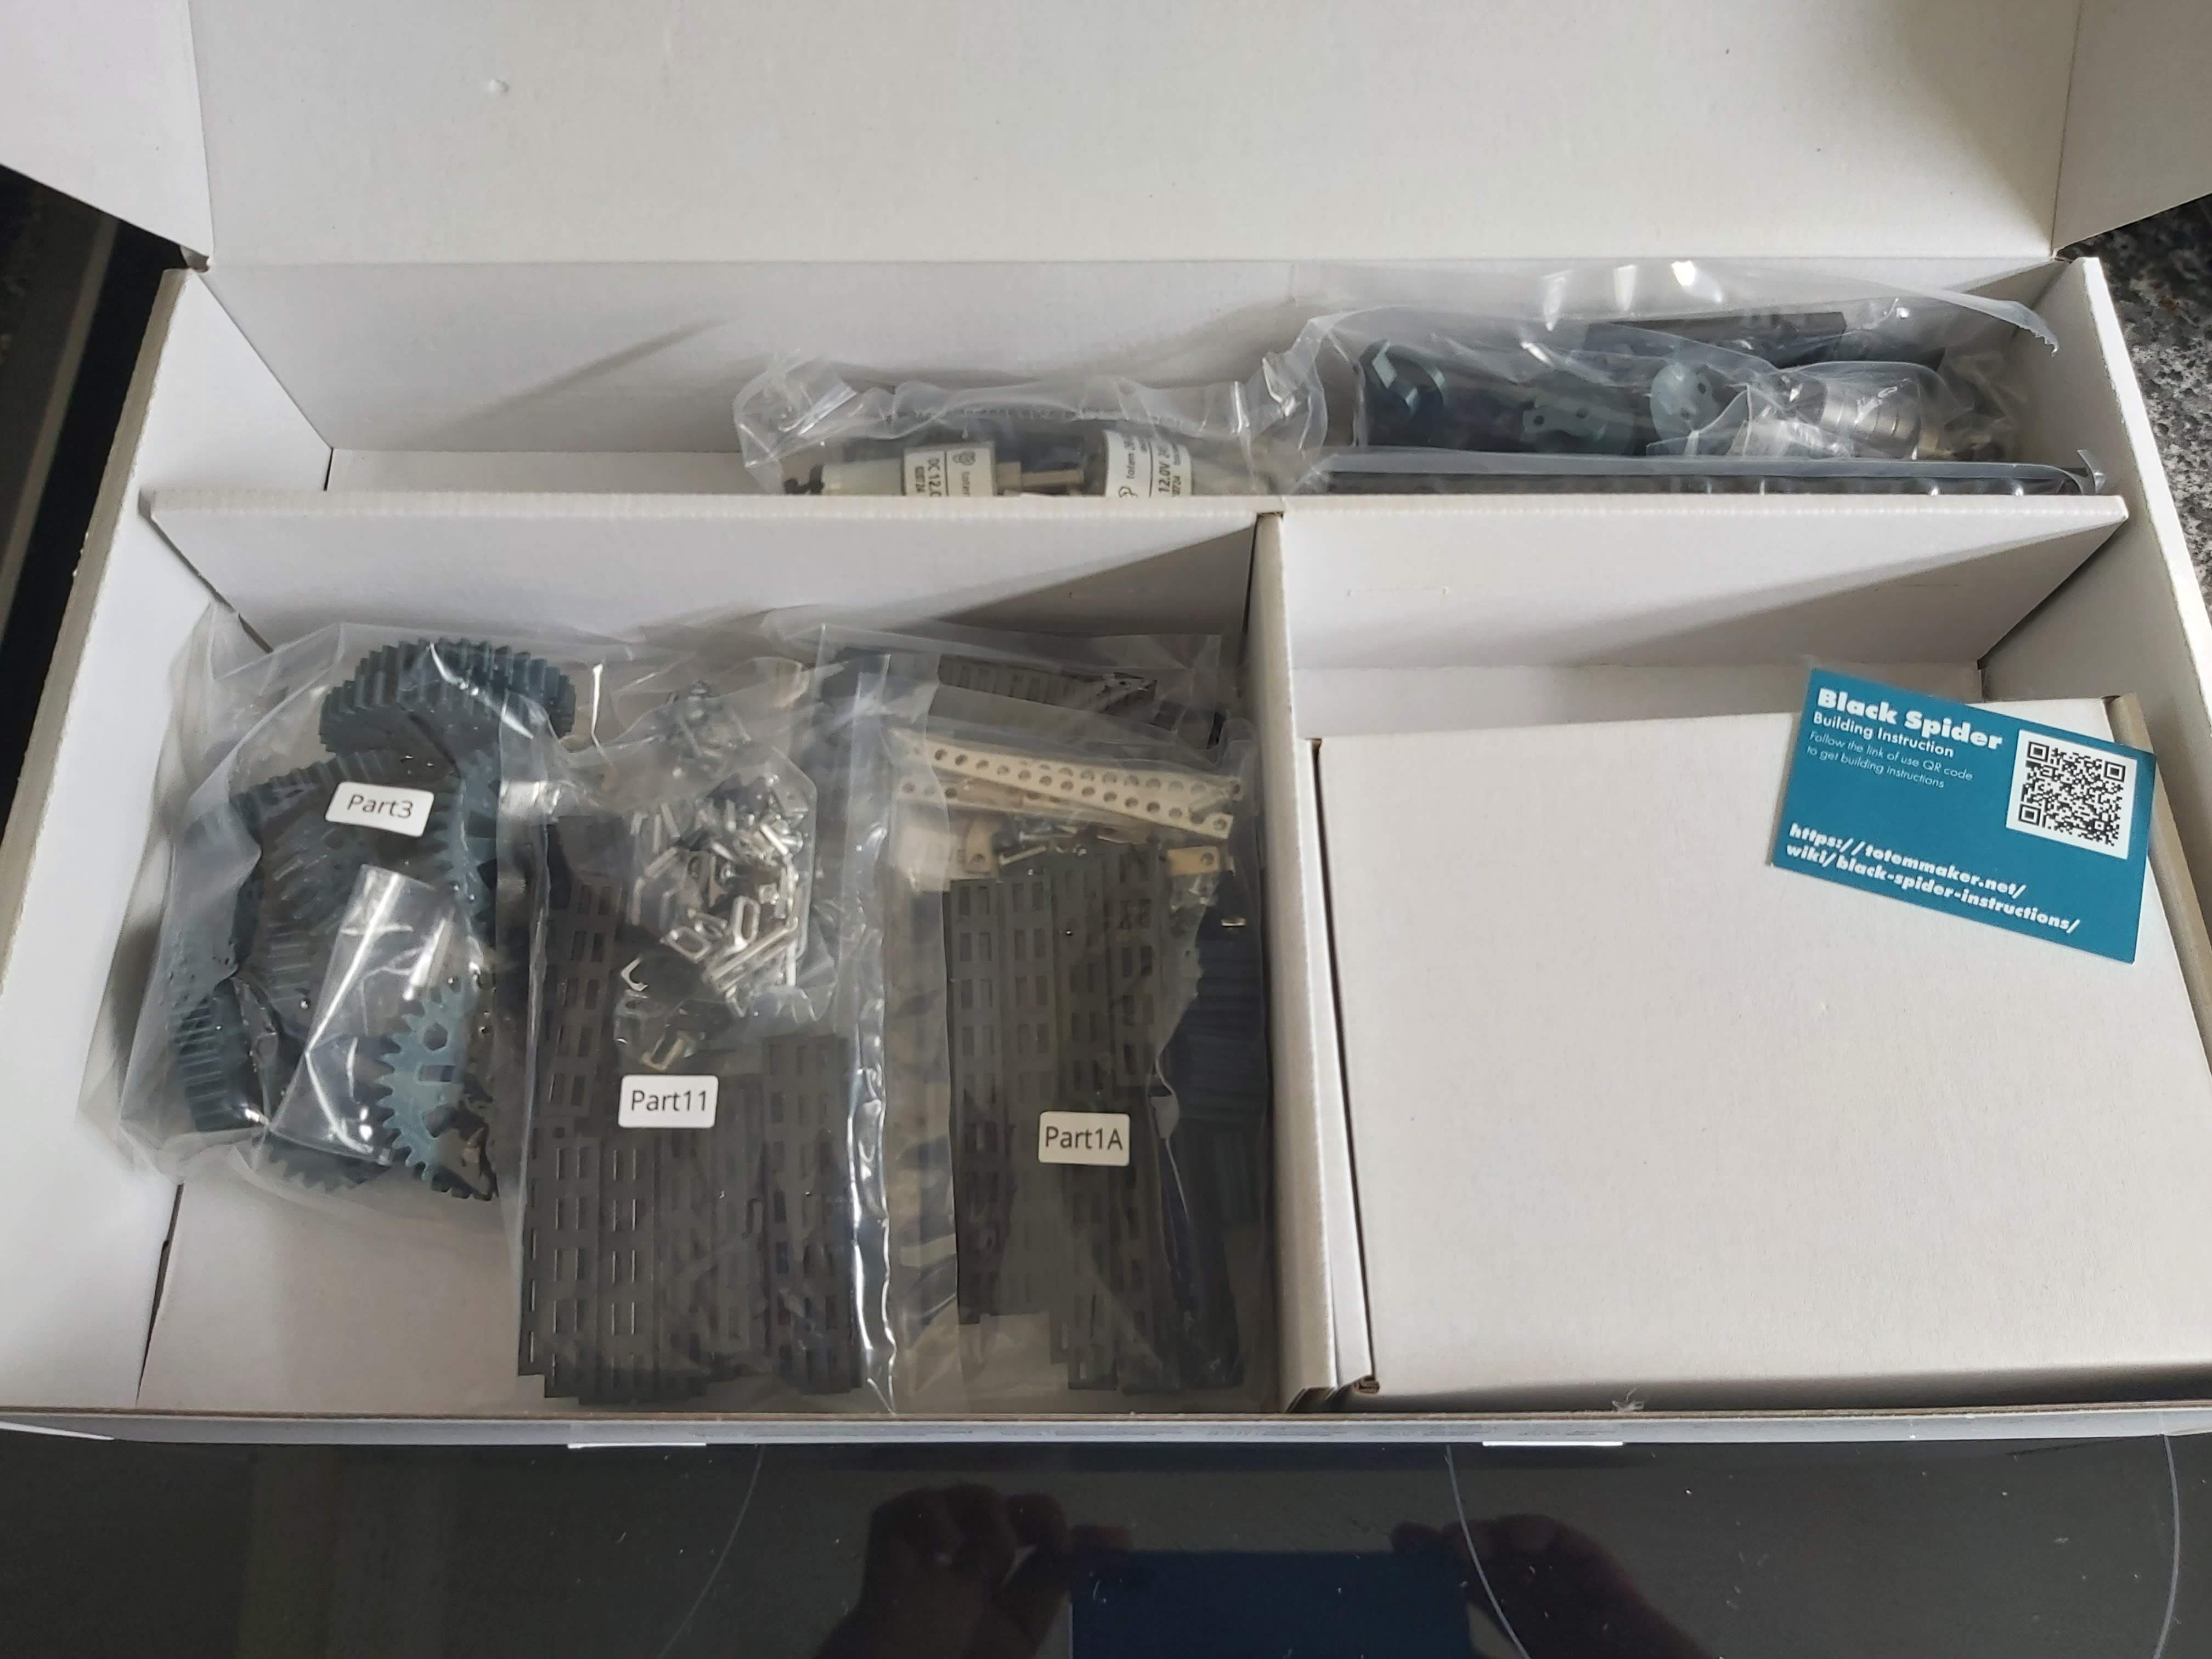
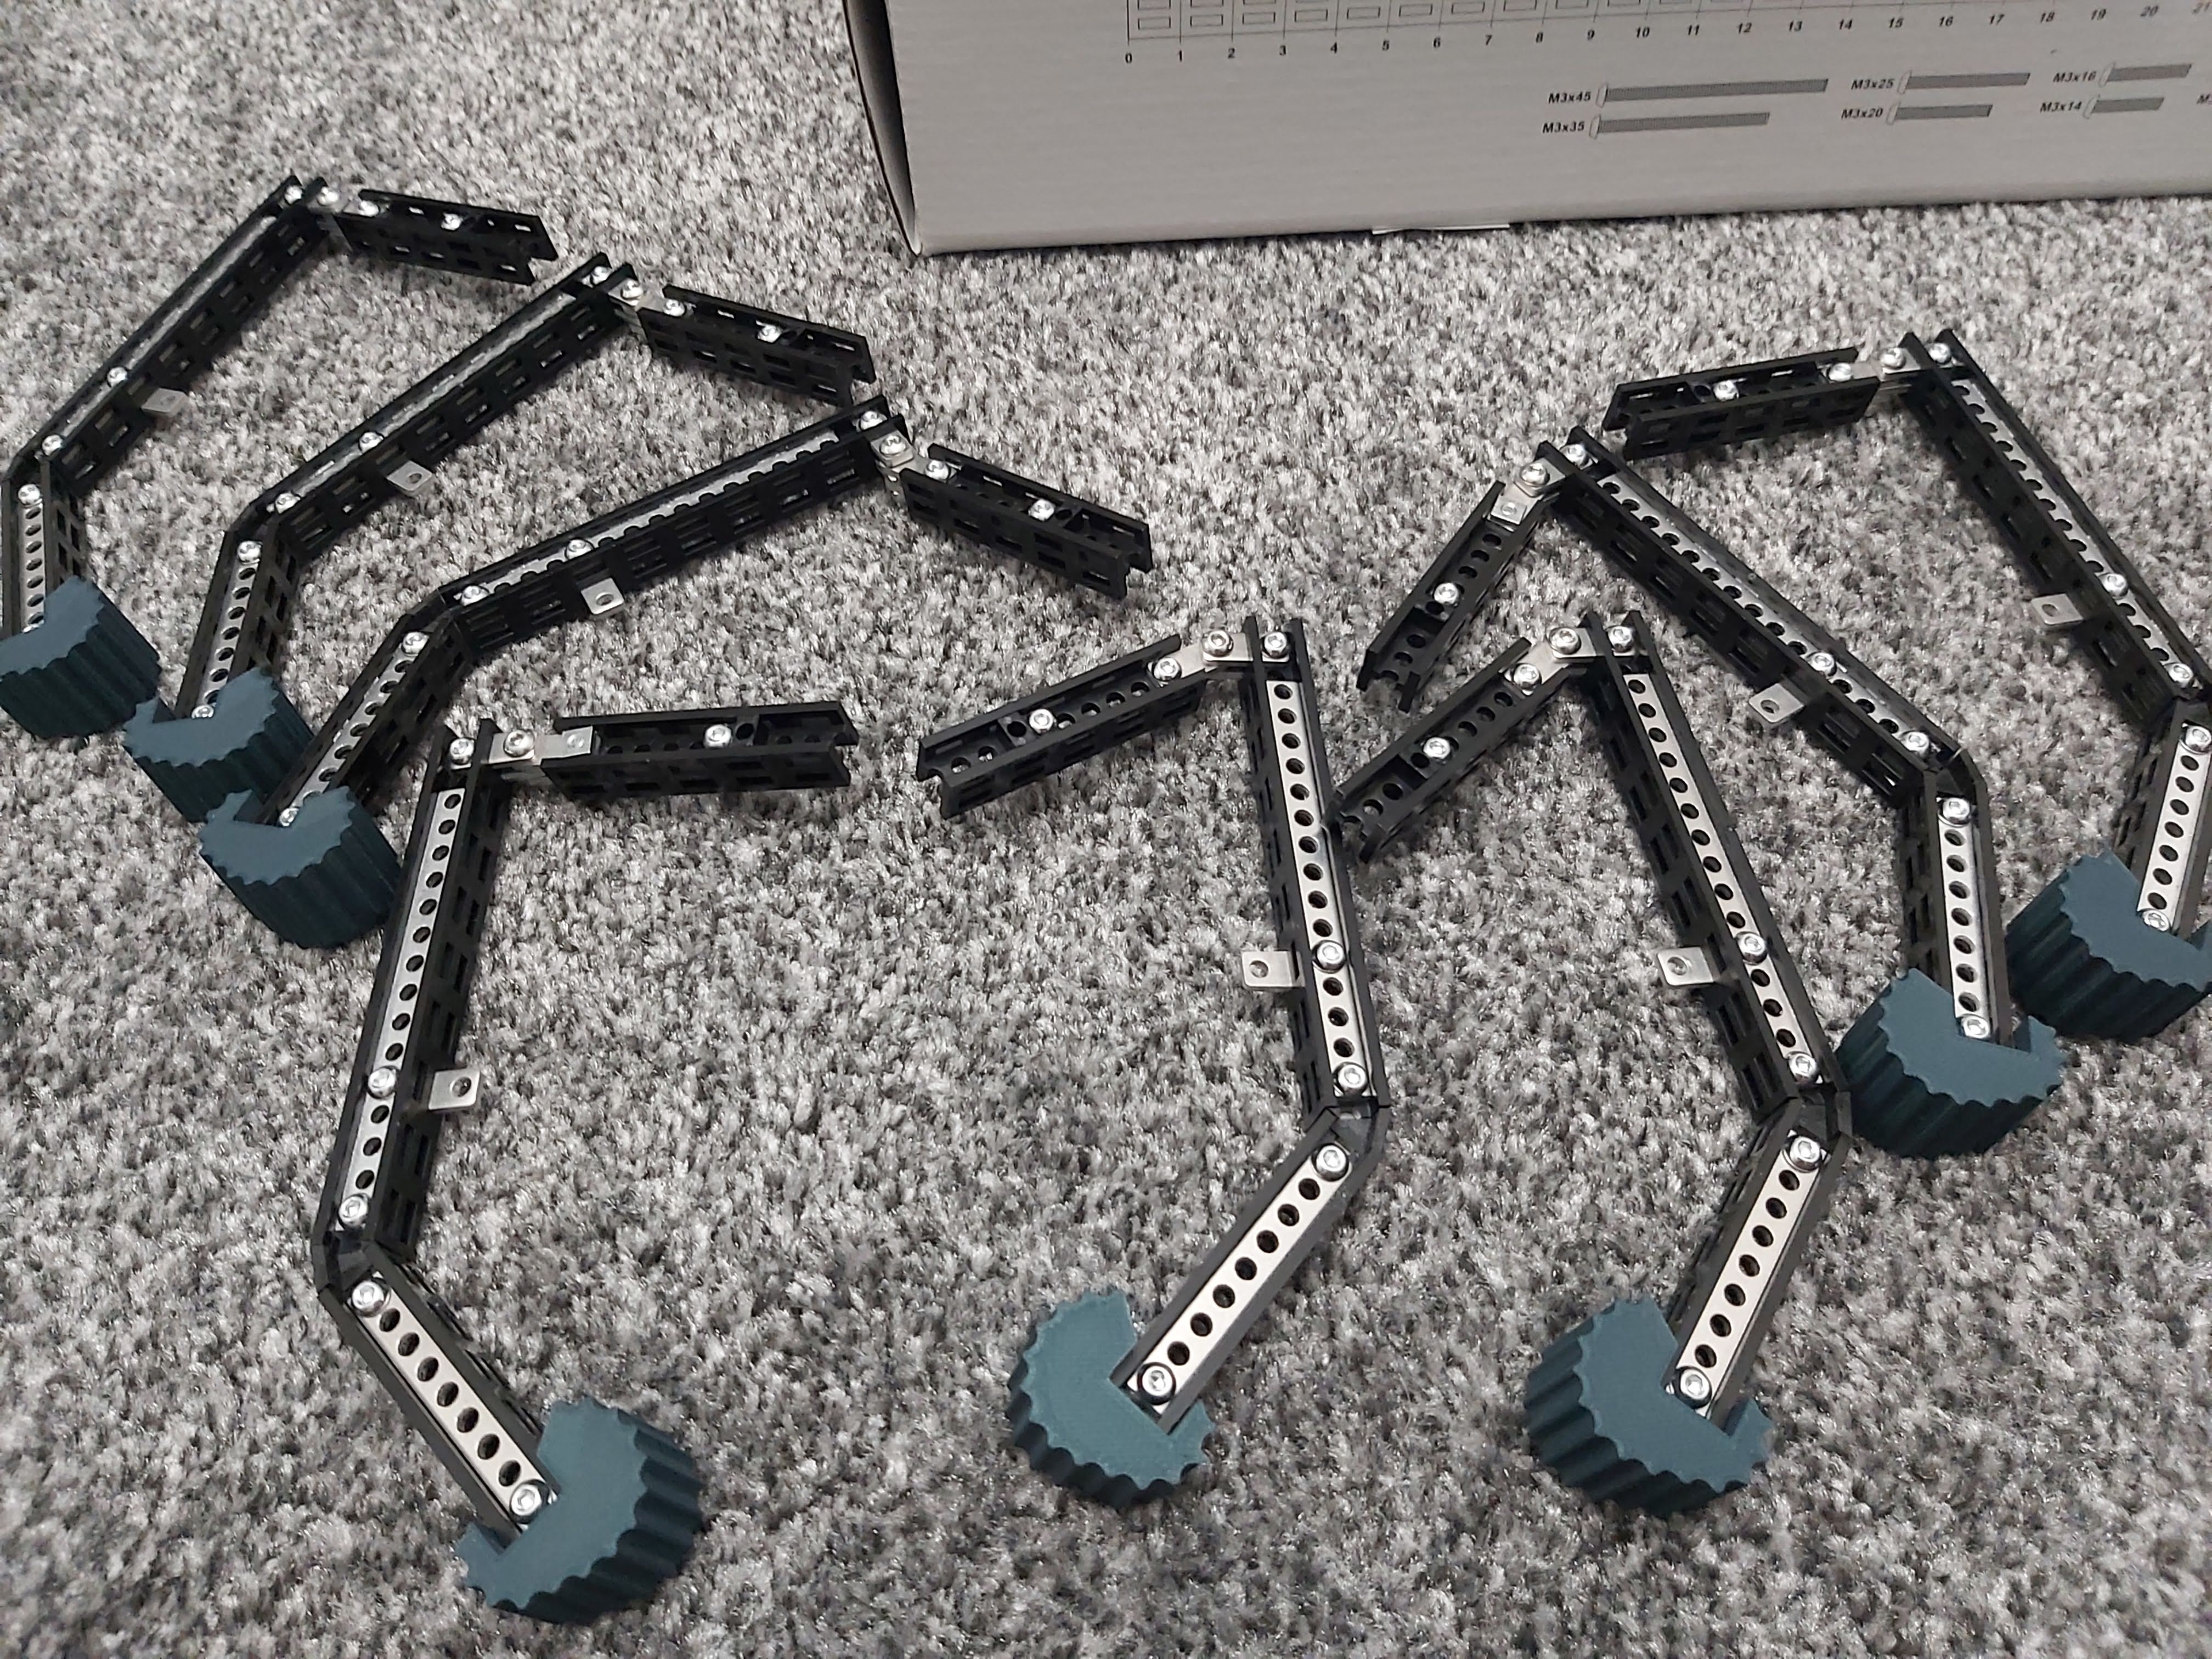
1150+ parts. It's a big old kit! :-)
On first glance it looks as though the linkage system used to transfer motor power into leg movement has been revised, which is great to see. My prototype kit had a few sticking issues with the mechanism and I think it was due to some extra framing around this mechanism. I'm keen to try revising my prototype model to see if I can reflect the changes seen in the released model!
![]()
![]()
![]()
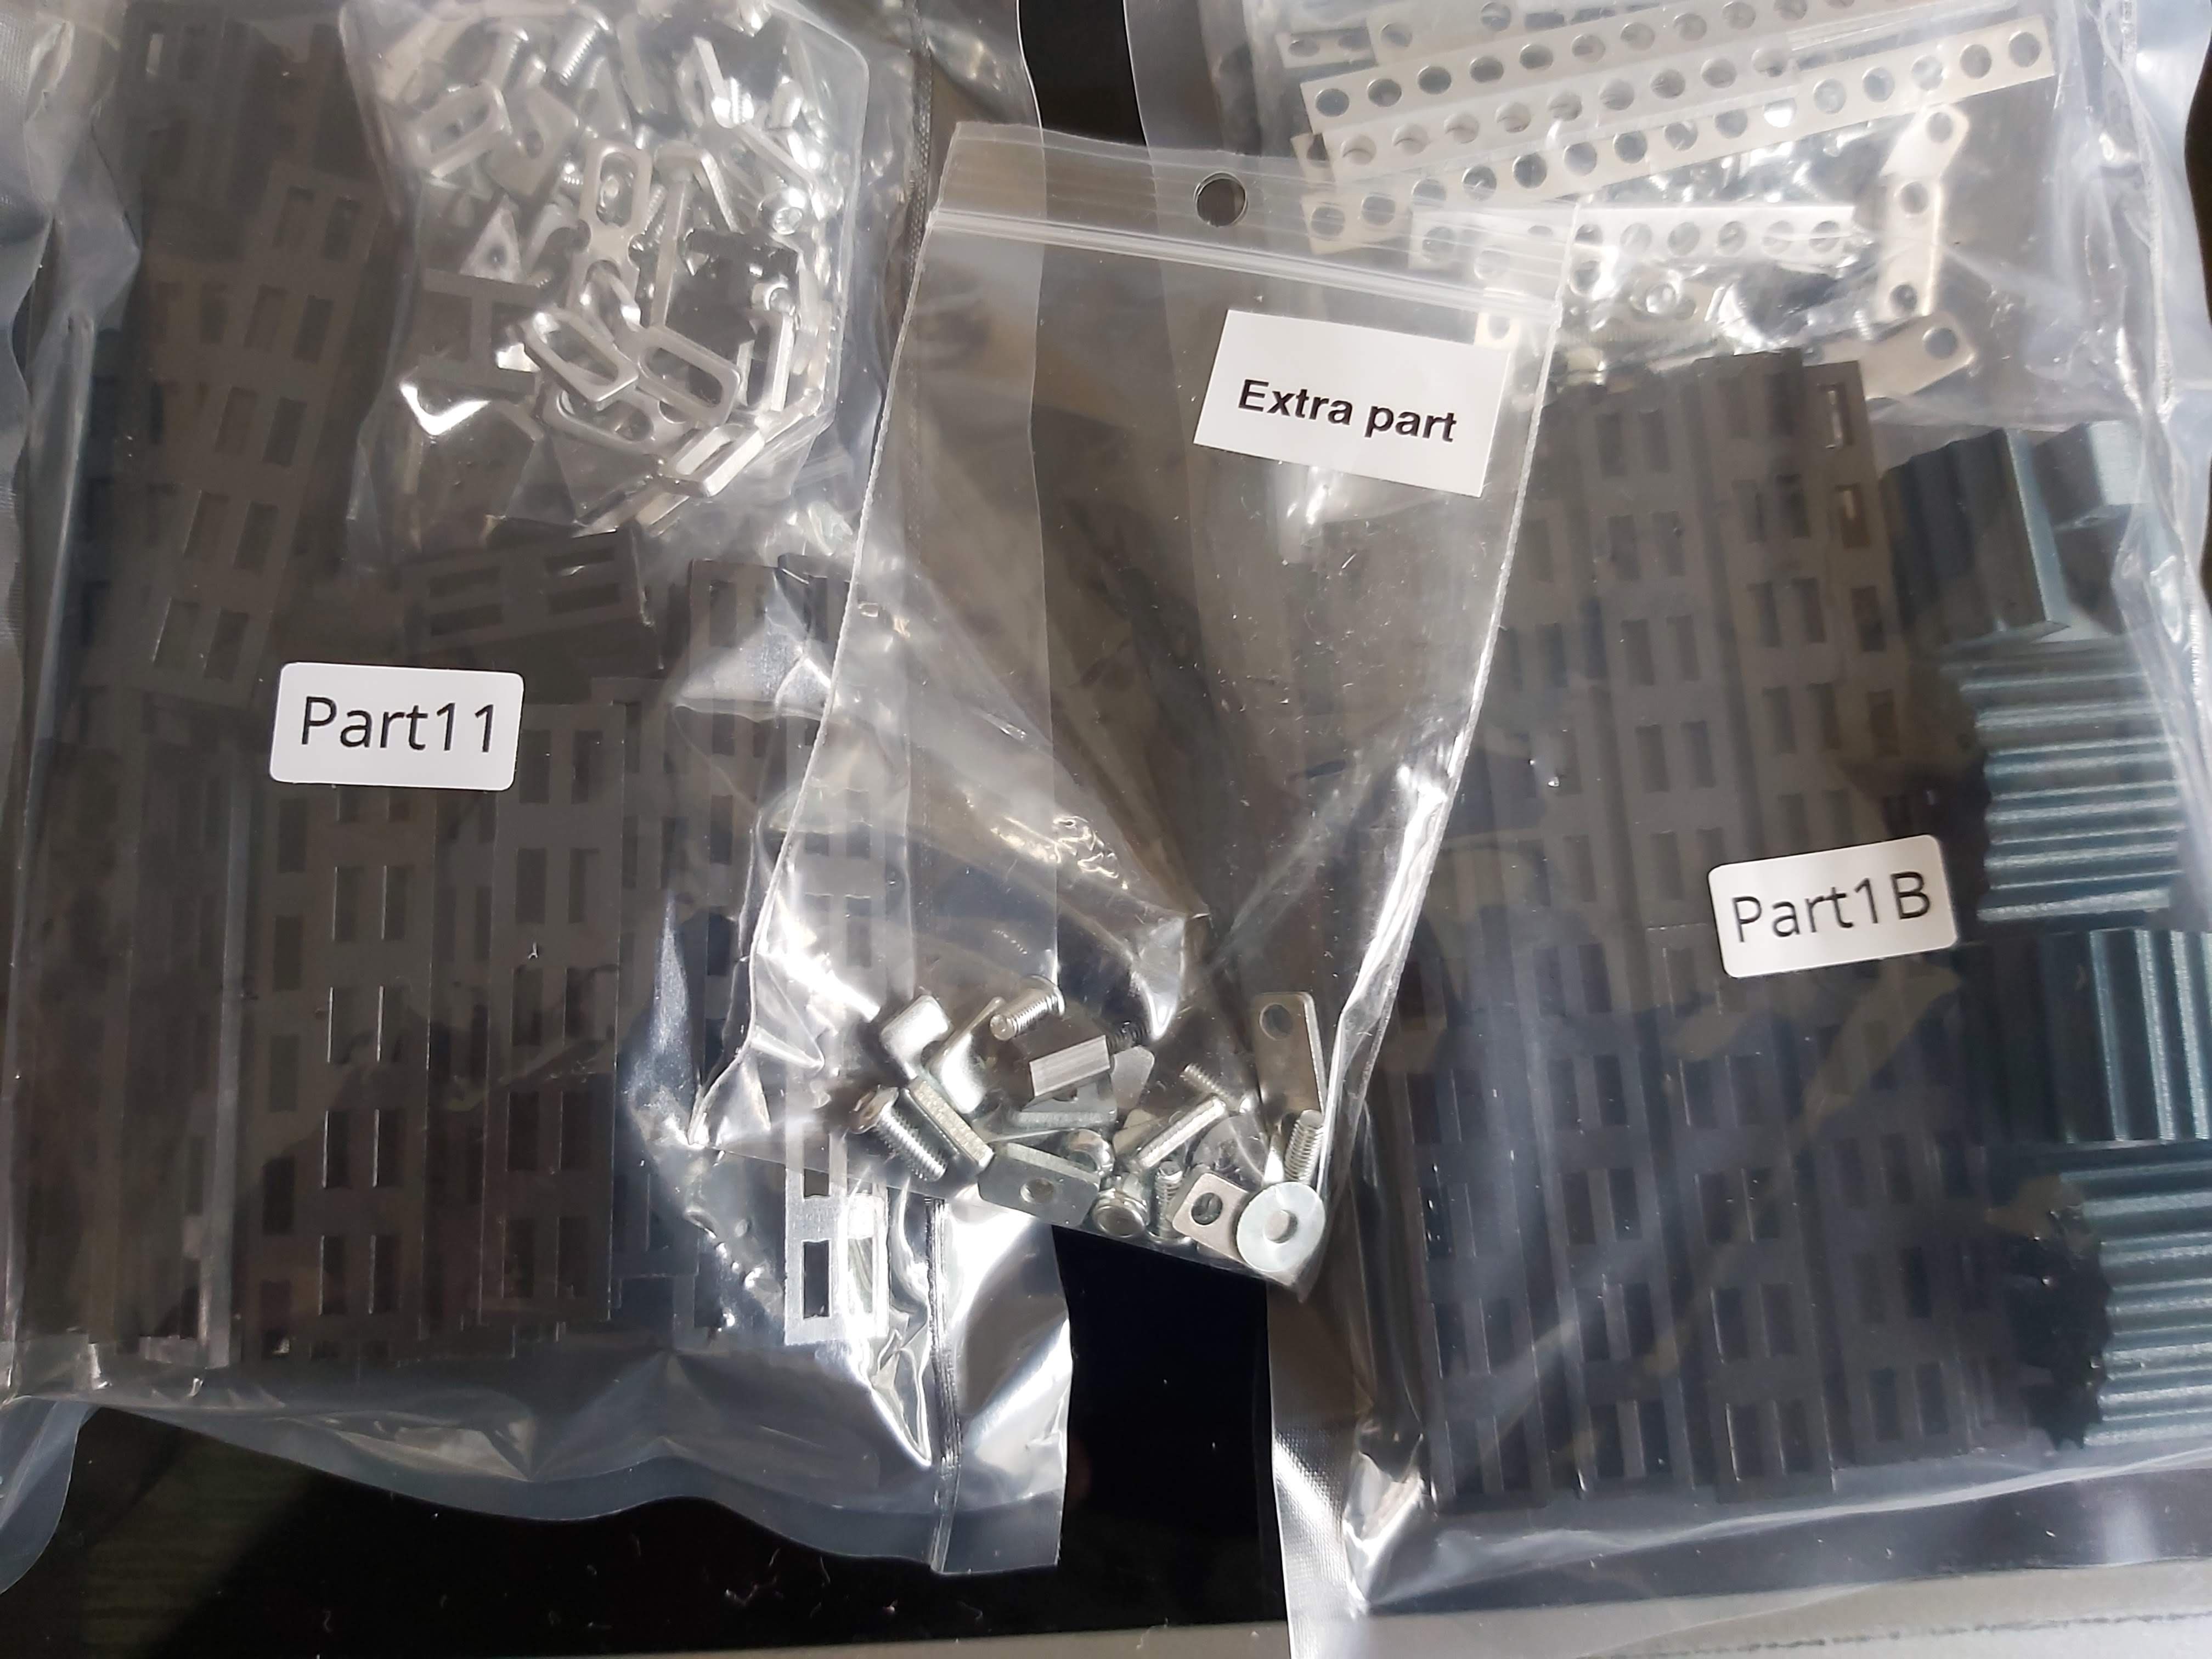
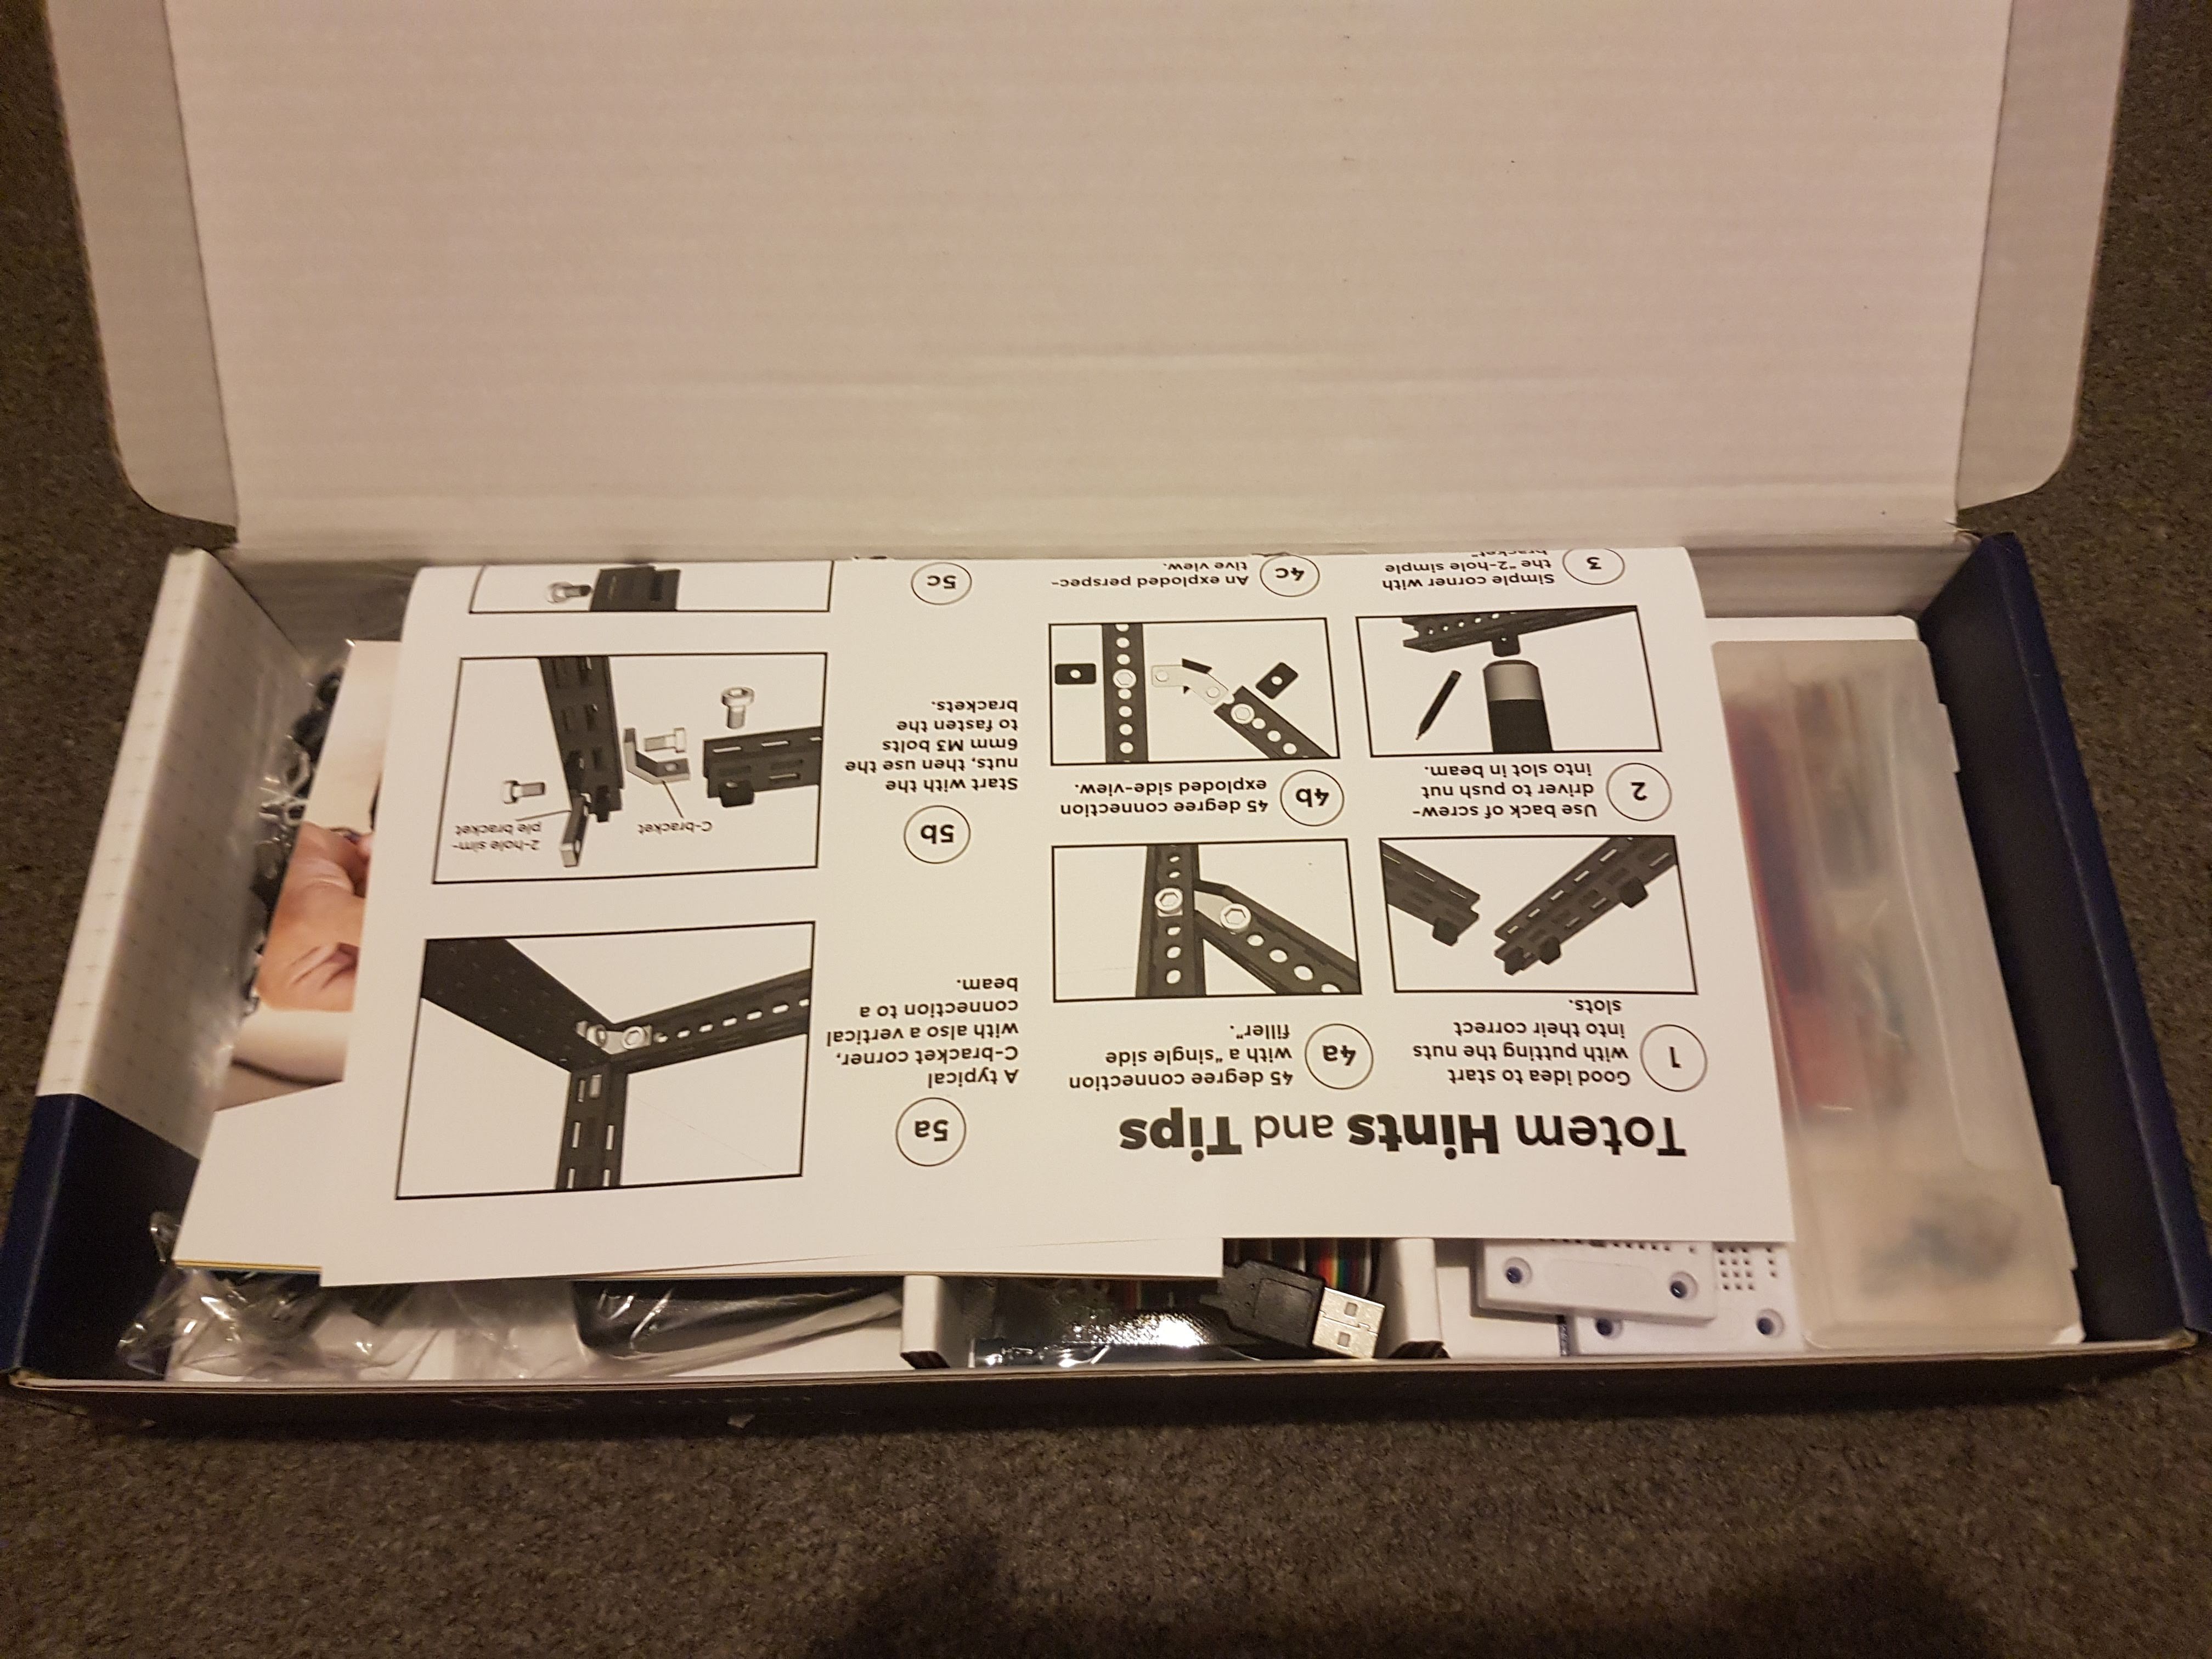
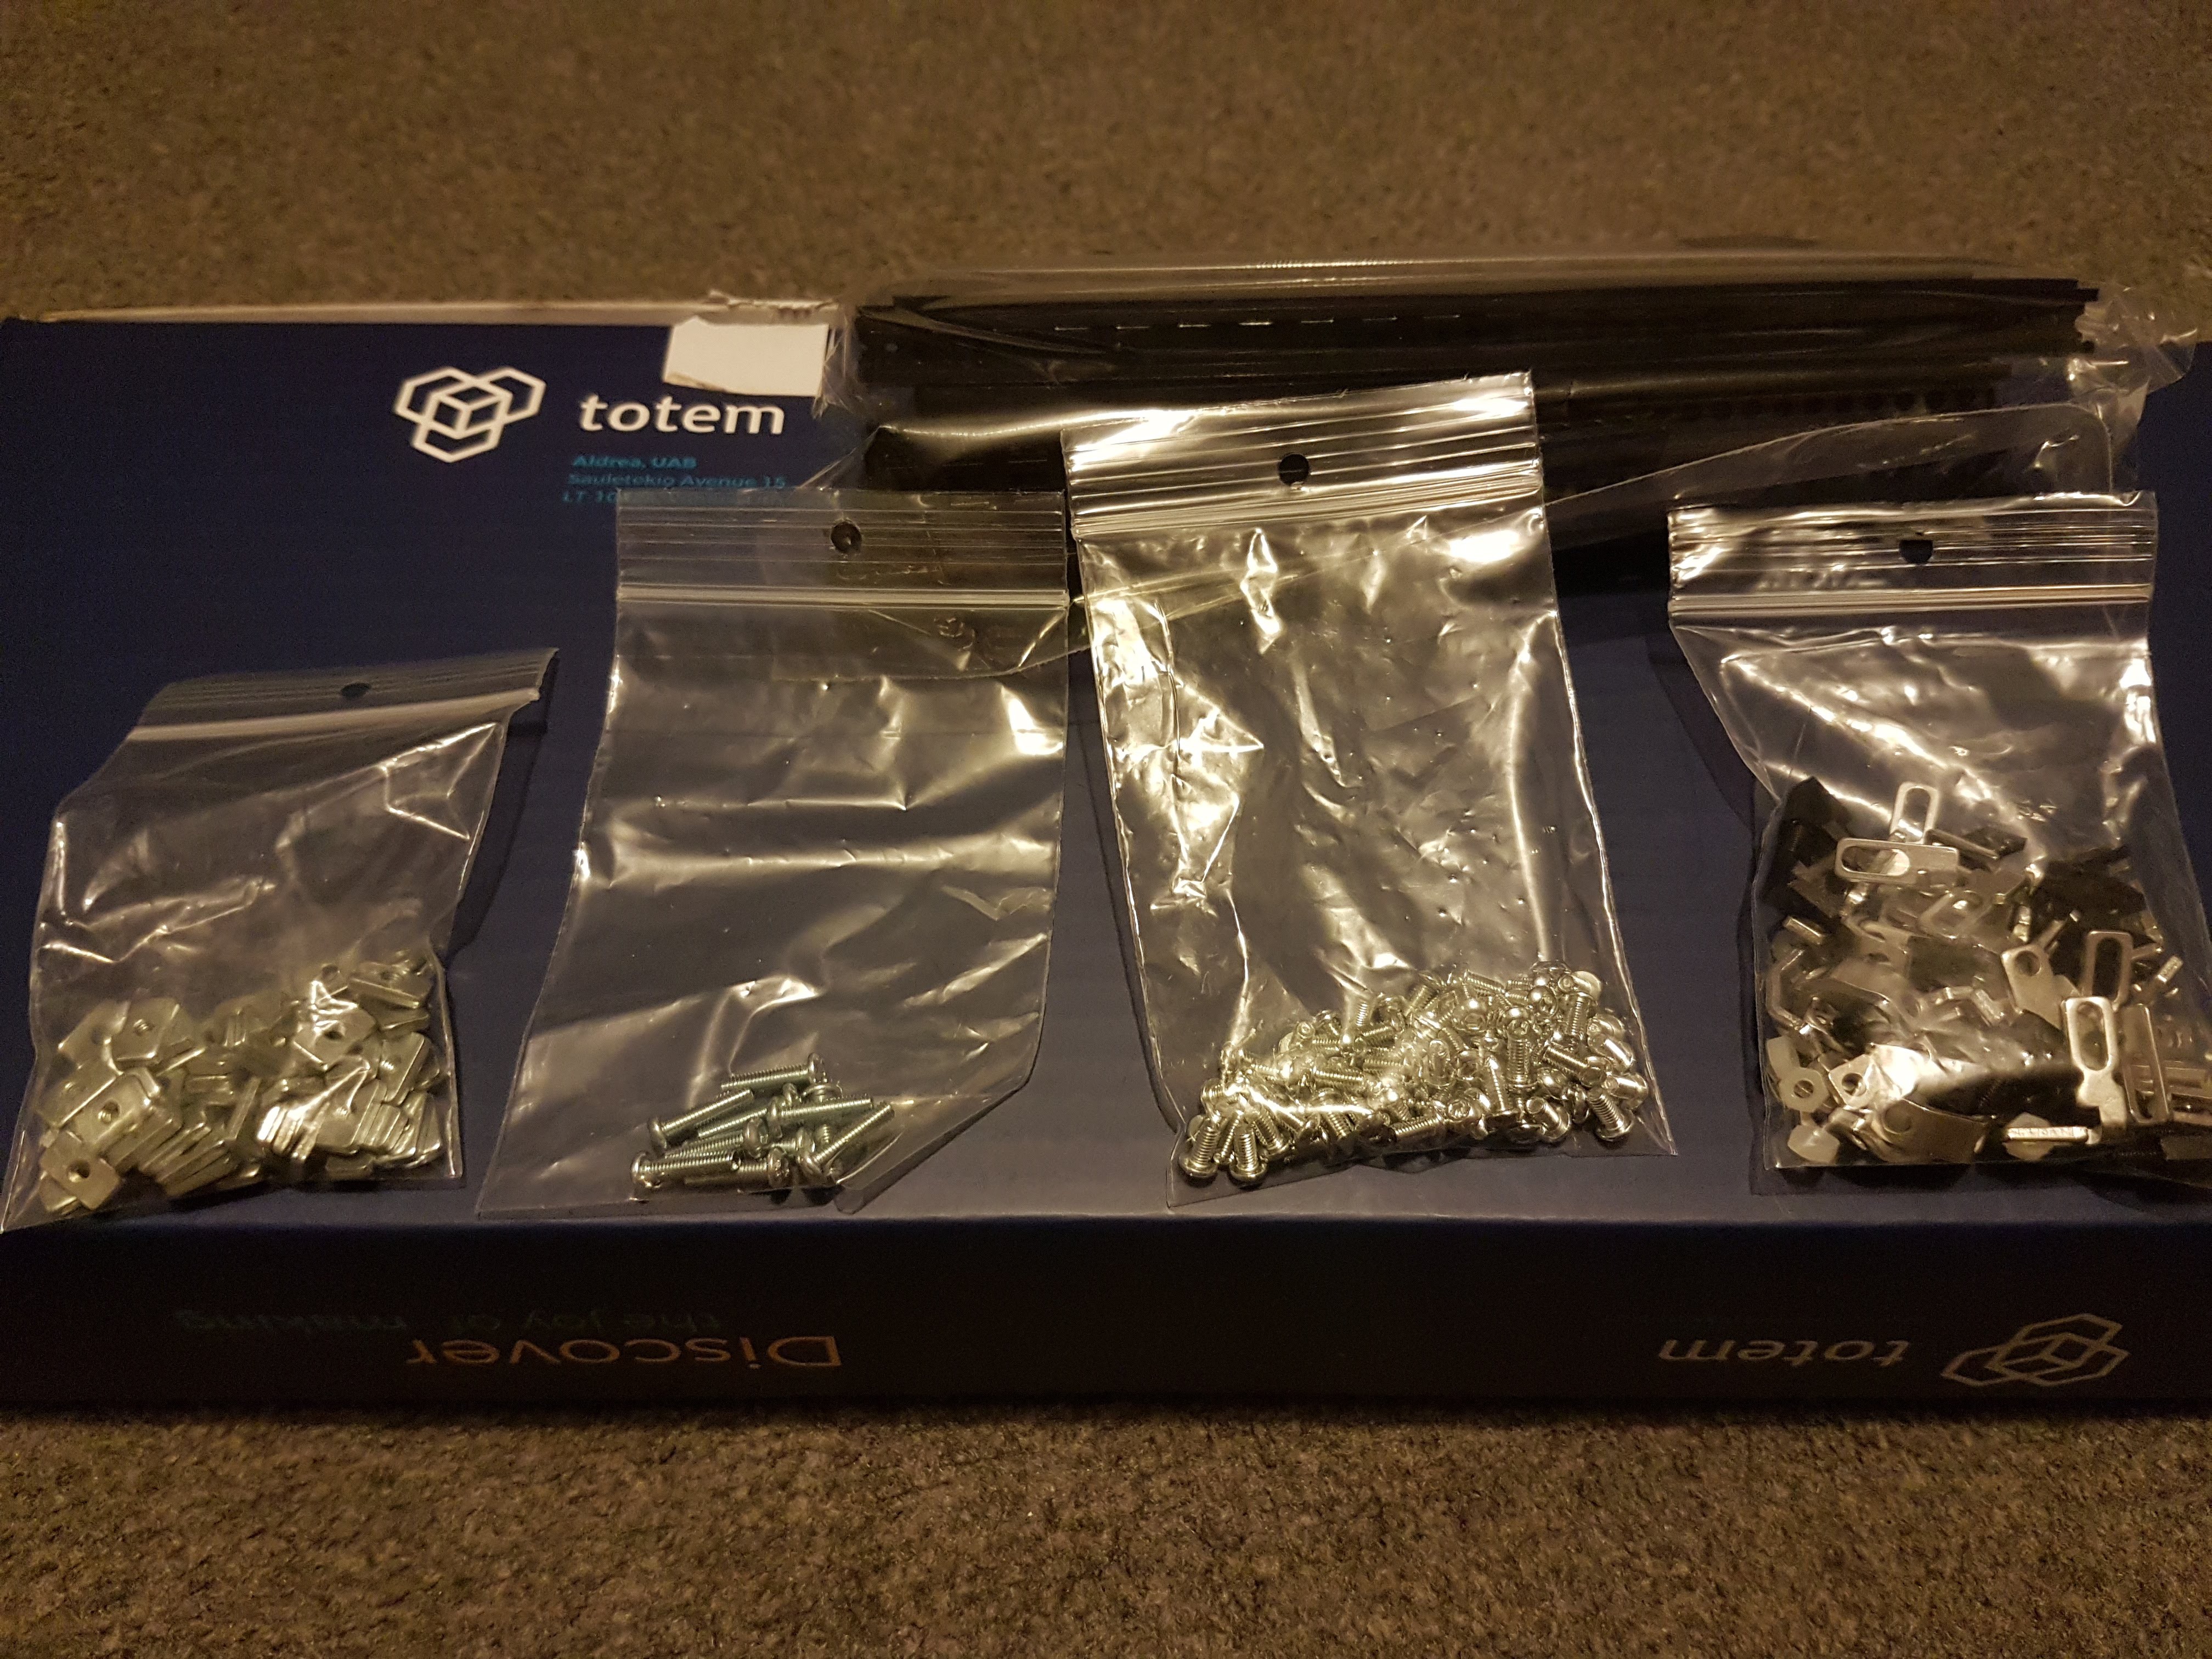
Inside I was pleasantly surprised at how organised the parts were; each construction step is packed into it's own little bag, meaning there'll be no lego-esque 30 minute pre-build sorting going on before building it, ha ha ha.
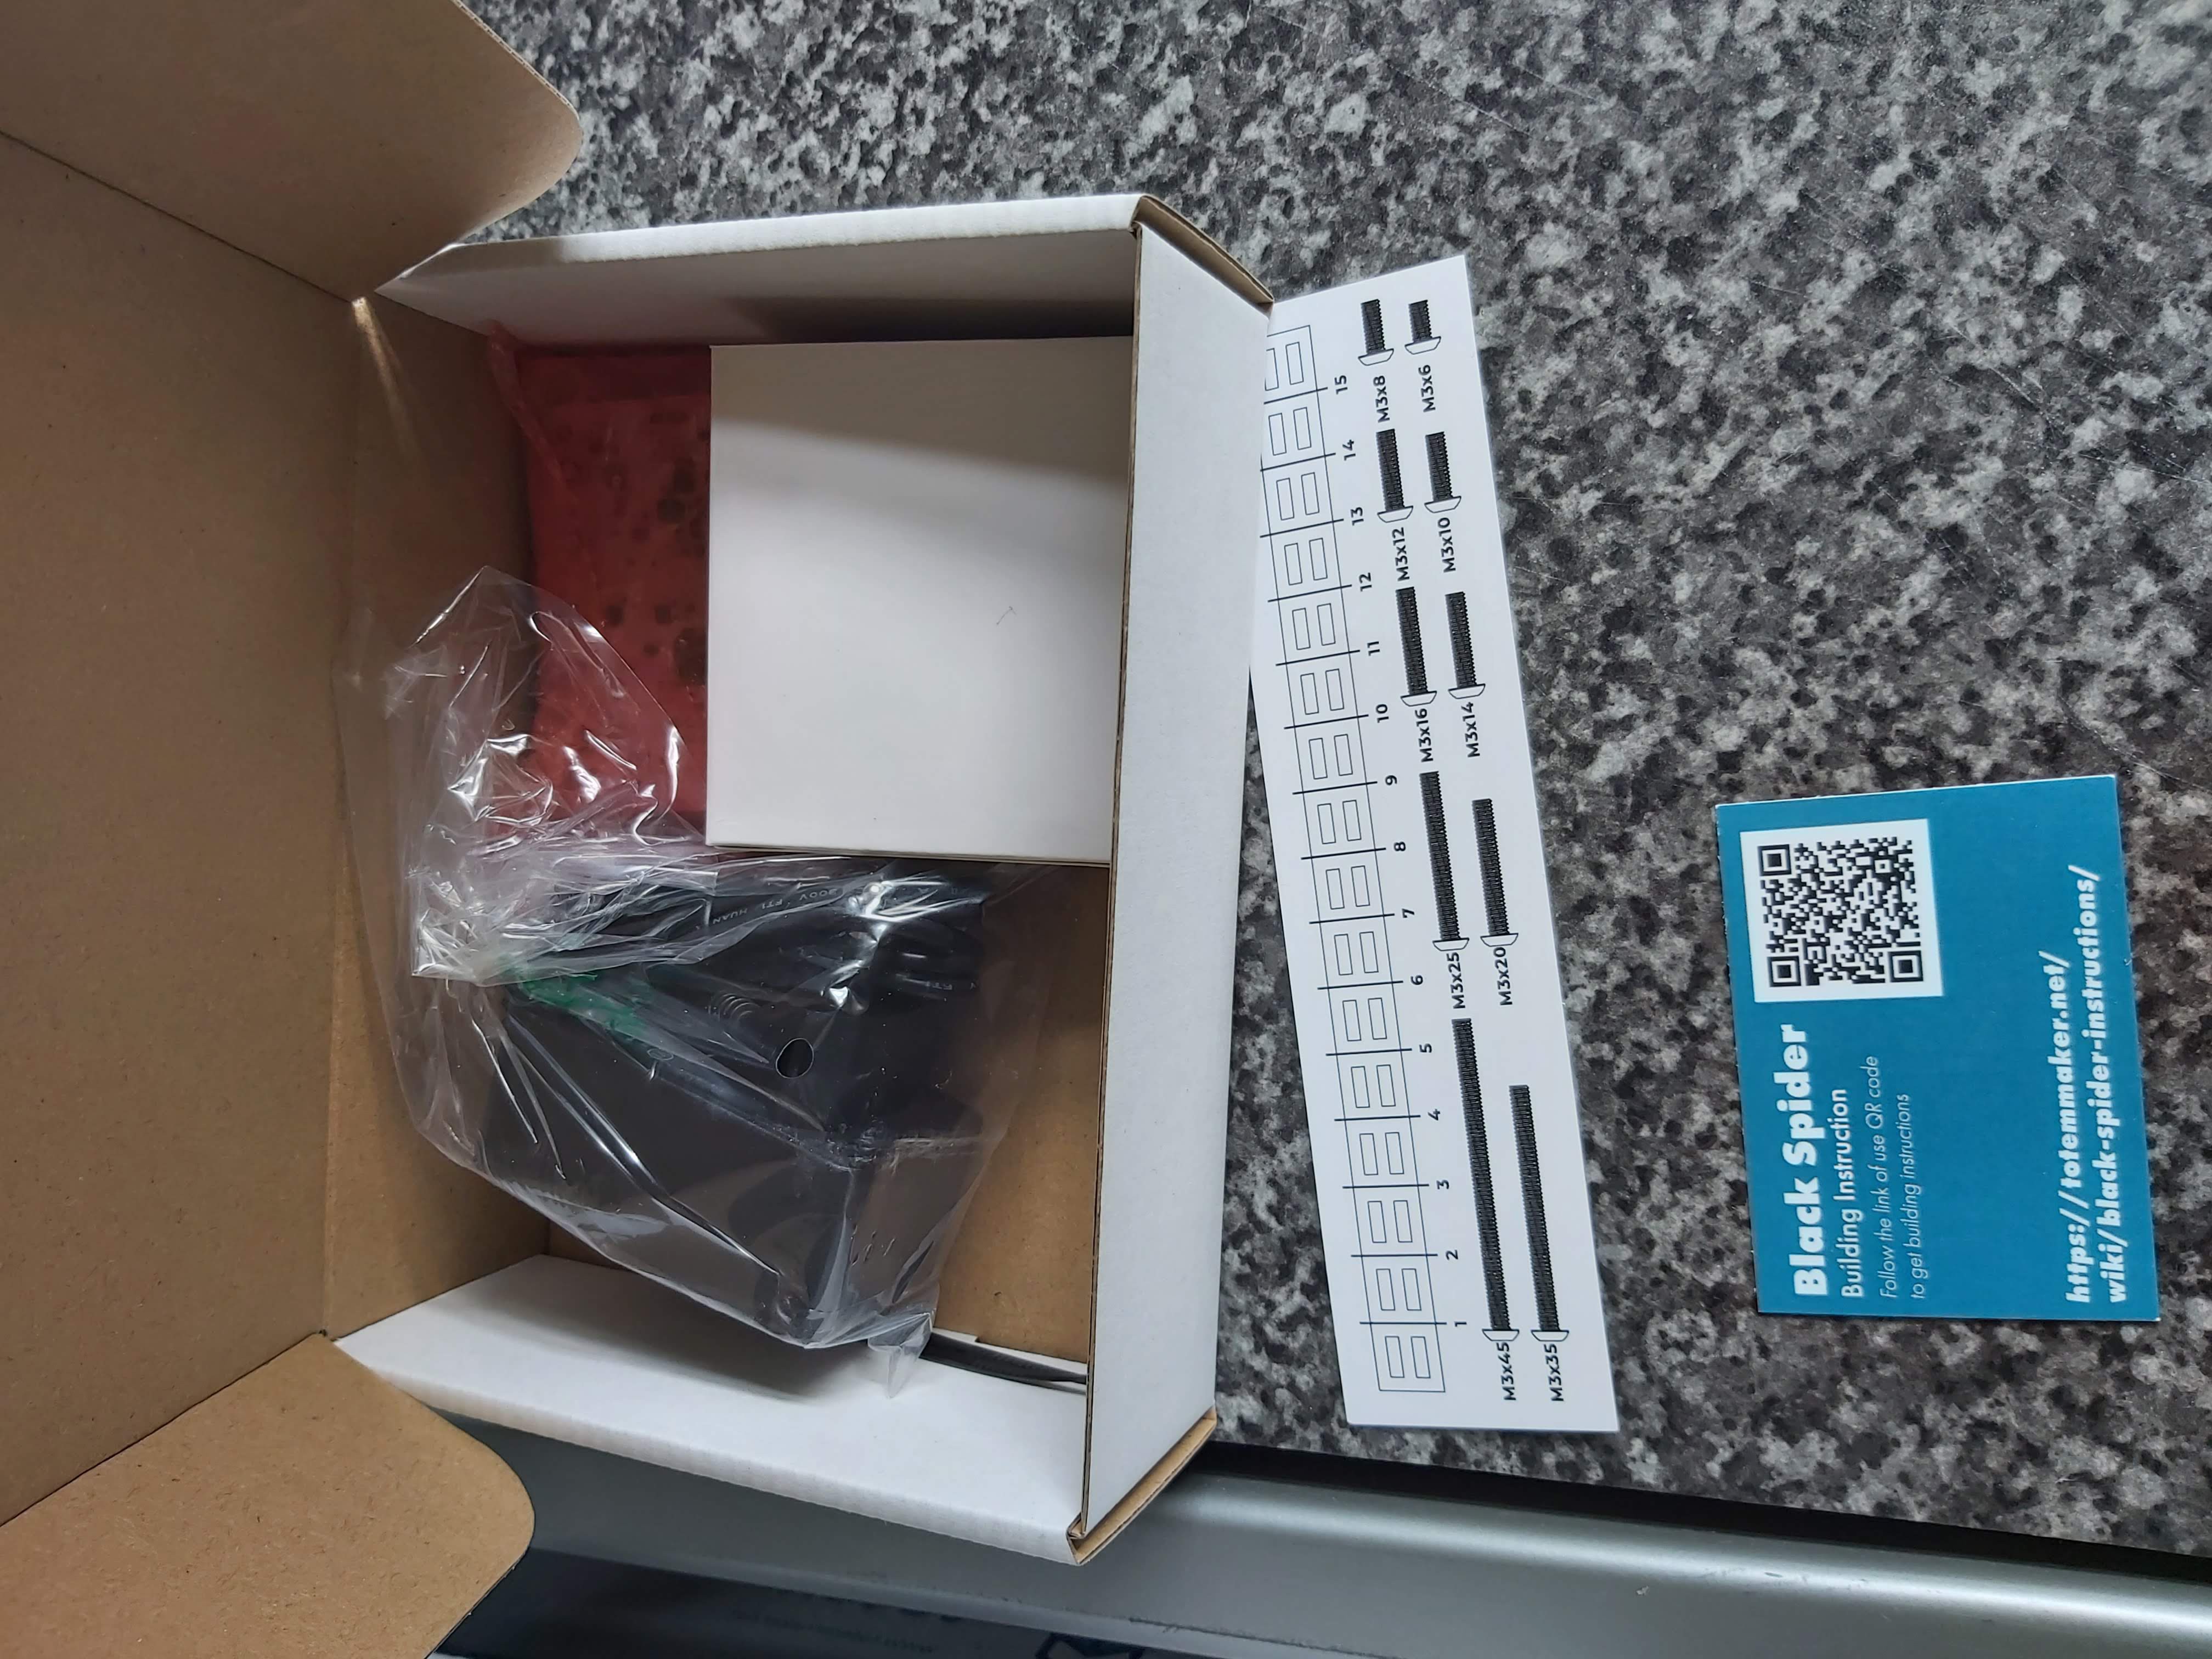
The inclusion of a size guide was helpful too, just to speed up the identification of similar lengths of beams and screws.
There's no bulky manual to accompany the kit; they include a little card with a smart code on to scan and it takes you to a link on their site where the instructions are found. This is something I like about all the Totem kits; their manuals are all available on their wiki, so there's no paper waste and it's also possible to build other things if you have the maker kits.
Assembly Phase 1 - [Added 27th July]
So far I've been able to put together the first few steps, fitting little 20-30 minute segments of building in where possible. Ideally you should put aside bigger chunks of time, as you lose a lot of time getting everything out and organised to crack on and also packing things back up, but I lack the ability to plan my life that way, ha ha ha.
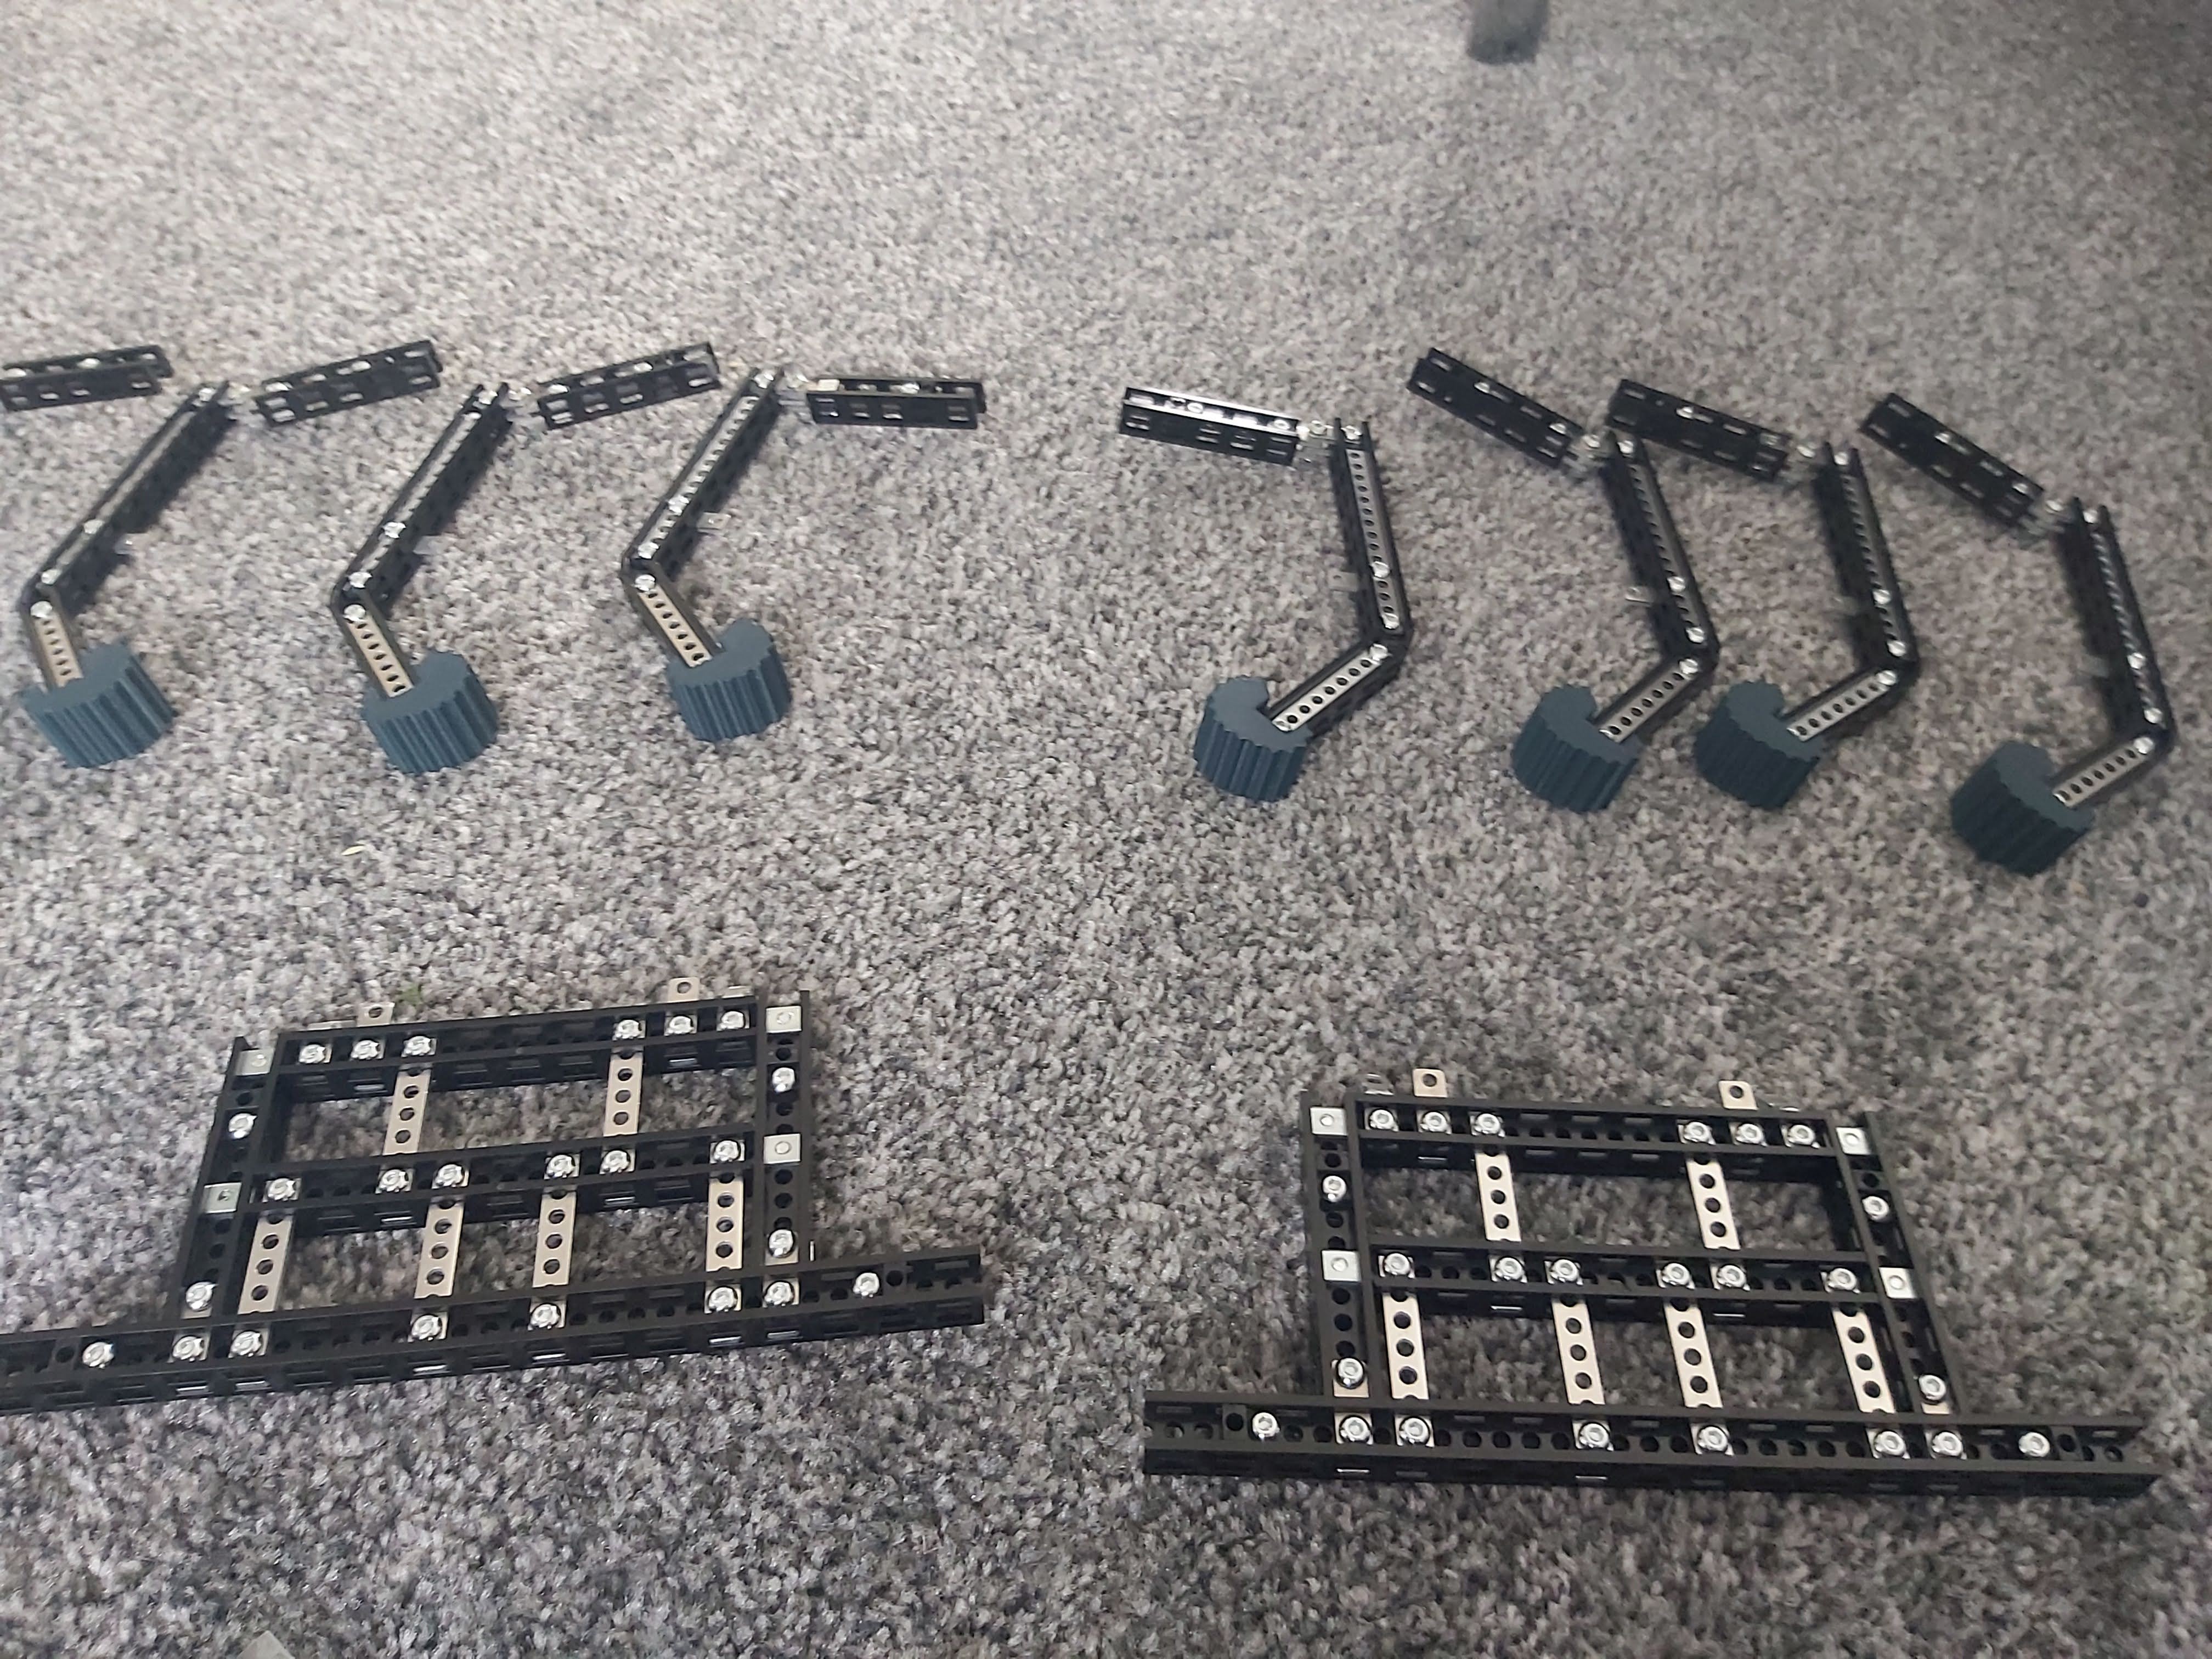
So far, so good! I've assembled the 8 legs, the sides of the body that hold the gearing for the motors and begun adding the gearing.
![]()
![]()
The legs are nice...
Read more -
Drilling my own enclosures
09/02/2020 at 16:49 • 0 commentsJust a quick post about a little project I'm doing for buddy of mine. Normally I never really get my hands dirty with enclosures (I suck at them, and have no patience for the learning curve ha ha), but when assembling a mini test rig for the project I decided to give it a go.
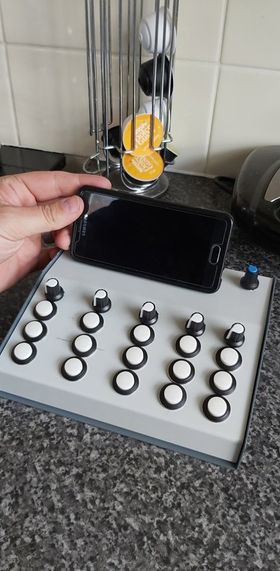
Pretty bloody happy with the results! A few buttons are slightly off thanks to drill bits jumping (using a nail as a centre punch isn't brilliant) but overall I'm really happy.
Next up I need to wire up the encoder, five pots and the encoder, mount an Arduino Mega and Pi4 4gb inside, cut a hole for a panelmount USB port to power the Pi and add a phone holder on top.
![]()
It's sad how pleased with myself I am ha ha ha!
-
2020 Targets
01/01/2020 at 23:42 • 0 commentsJust a little list of things for me to aim for for this year:
- Complete DigiBone - i have an L shaped idea top prototype that I keep procrastinating over and it's time to stop doing that. Rather than having a full over-the-shoulder part the L shape will just have the mouthpiece area, the slide stock (where the ping sensors will be located) and then the speaker on the other side of the L, roughly in the position the bell would find itself.
- Complete my Pi Pedal - the pedal enclosure is built, and it's just a case of wiring it. Buttons to pi pins, power supply to Pi, then the case sockets to the HAT ins and outs.
- Explore another Pedal Idea - I have an Acer Revo Build that would sit nicely on a small pedalboard. It should run something like Guitar Rig, so building a large, Arduino-based foot controller for it would be something I'd like to pursue. Perhaps even de-casing a USB soundcard and housing it in the controller with a USB Hub could be on the cards
- Finish building Pi Cluster - the Pi boards should be in my possession in the next week or two, so putting the kit together and getting Kubernetes working will be the next phase. Also contemplating a new enclosure design for it; more rectangular. Screen to the left, with the Pis mounted to the right. The switch and its power brick underneath.
- Totem Maker Kit Review.
- Fix Totem Spider.
- Write up the NodeMCU wifi clock I made for my son.
- Write up and build the new Pi version I have planned.
- Finish Car Pi audio install - awaiting Mauseberry board
- Build Totem rack to hold din rails- triangular ends, beams to support. Cut din rail and mount the rail PoS and Nodemcu to the angled side, power modules to go on the back side rail. Face back side rail inwards to keep it small and tidy. Install arduino Mega w/ Ethernet or Wi-Fi shield in base with breadboard and potentially a small switch or access point. Will simplify development.
I'll add more as and when I think of them.
-
Product Review | Totem Maker Kit
10/17/2019 at 16:20 • 0 commentsThe Totem Maker Kit is a large construction set from the makers of the [insert kits here]. Designed to give the user all the tools they need to create all kinds of structures, frames and projects, this kit comes with all of the parts and tools you need to get started.
In the past I have been very fortunate to review a few different maker kits from Totem. The pre-built kits are amazing; and are very well put together for the task at hand.
In addition to these pre-built kits I was also given the opportunity to road test one of the general maker kits, packed with everything you'd need to craft your own designs from a huge number of beams, panels and all the fixings between the two.
New X4 board
Pros - cutting tools, most structures possible, simply to work with cms. Instruction book provides info on common structural joins.
Cons - lack of custom panels for mounting arduinos, Pis etc. mounting pate with board holes on that fits the beam's holes.
Things I've built:
Cluster frame
Extensions for Totem Mini Lab
miniature drawers for components.
MIDI button tester.
Fader rack.
All kinds
-
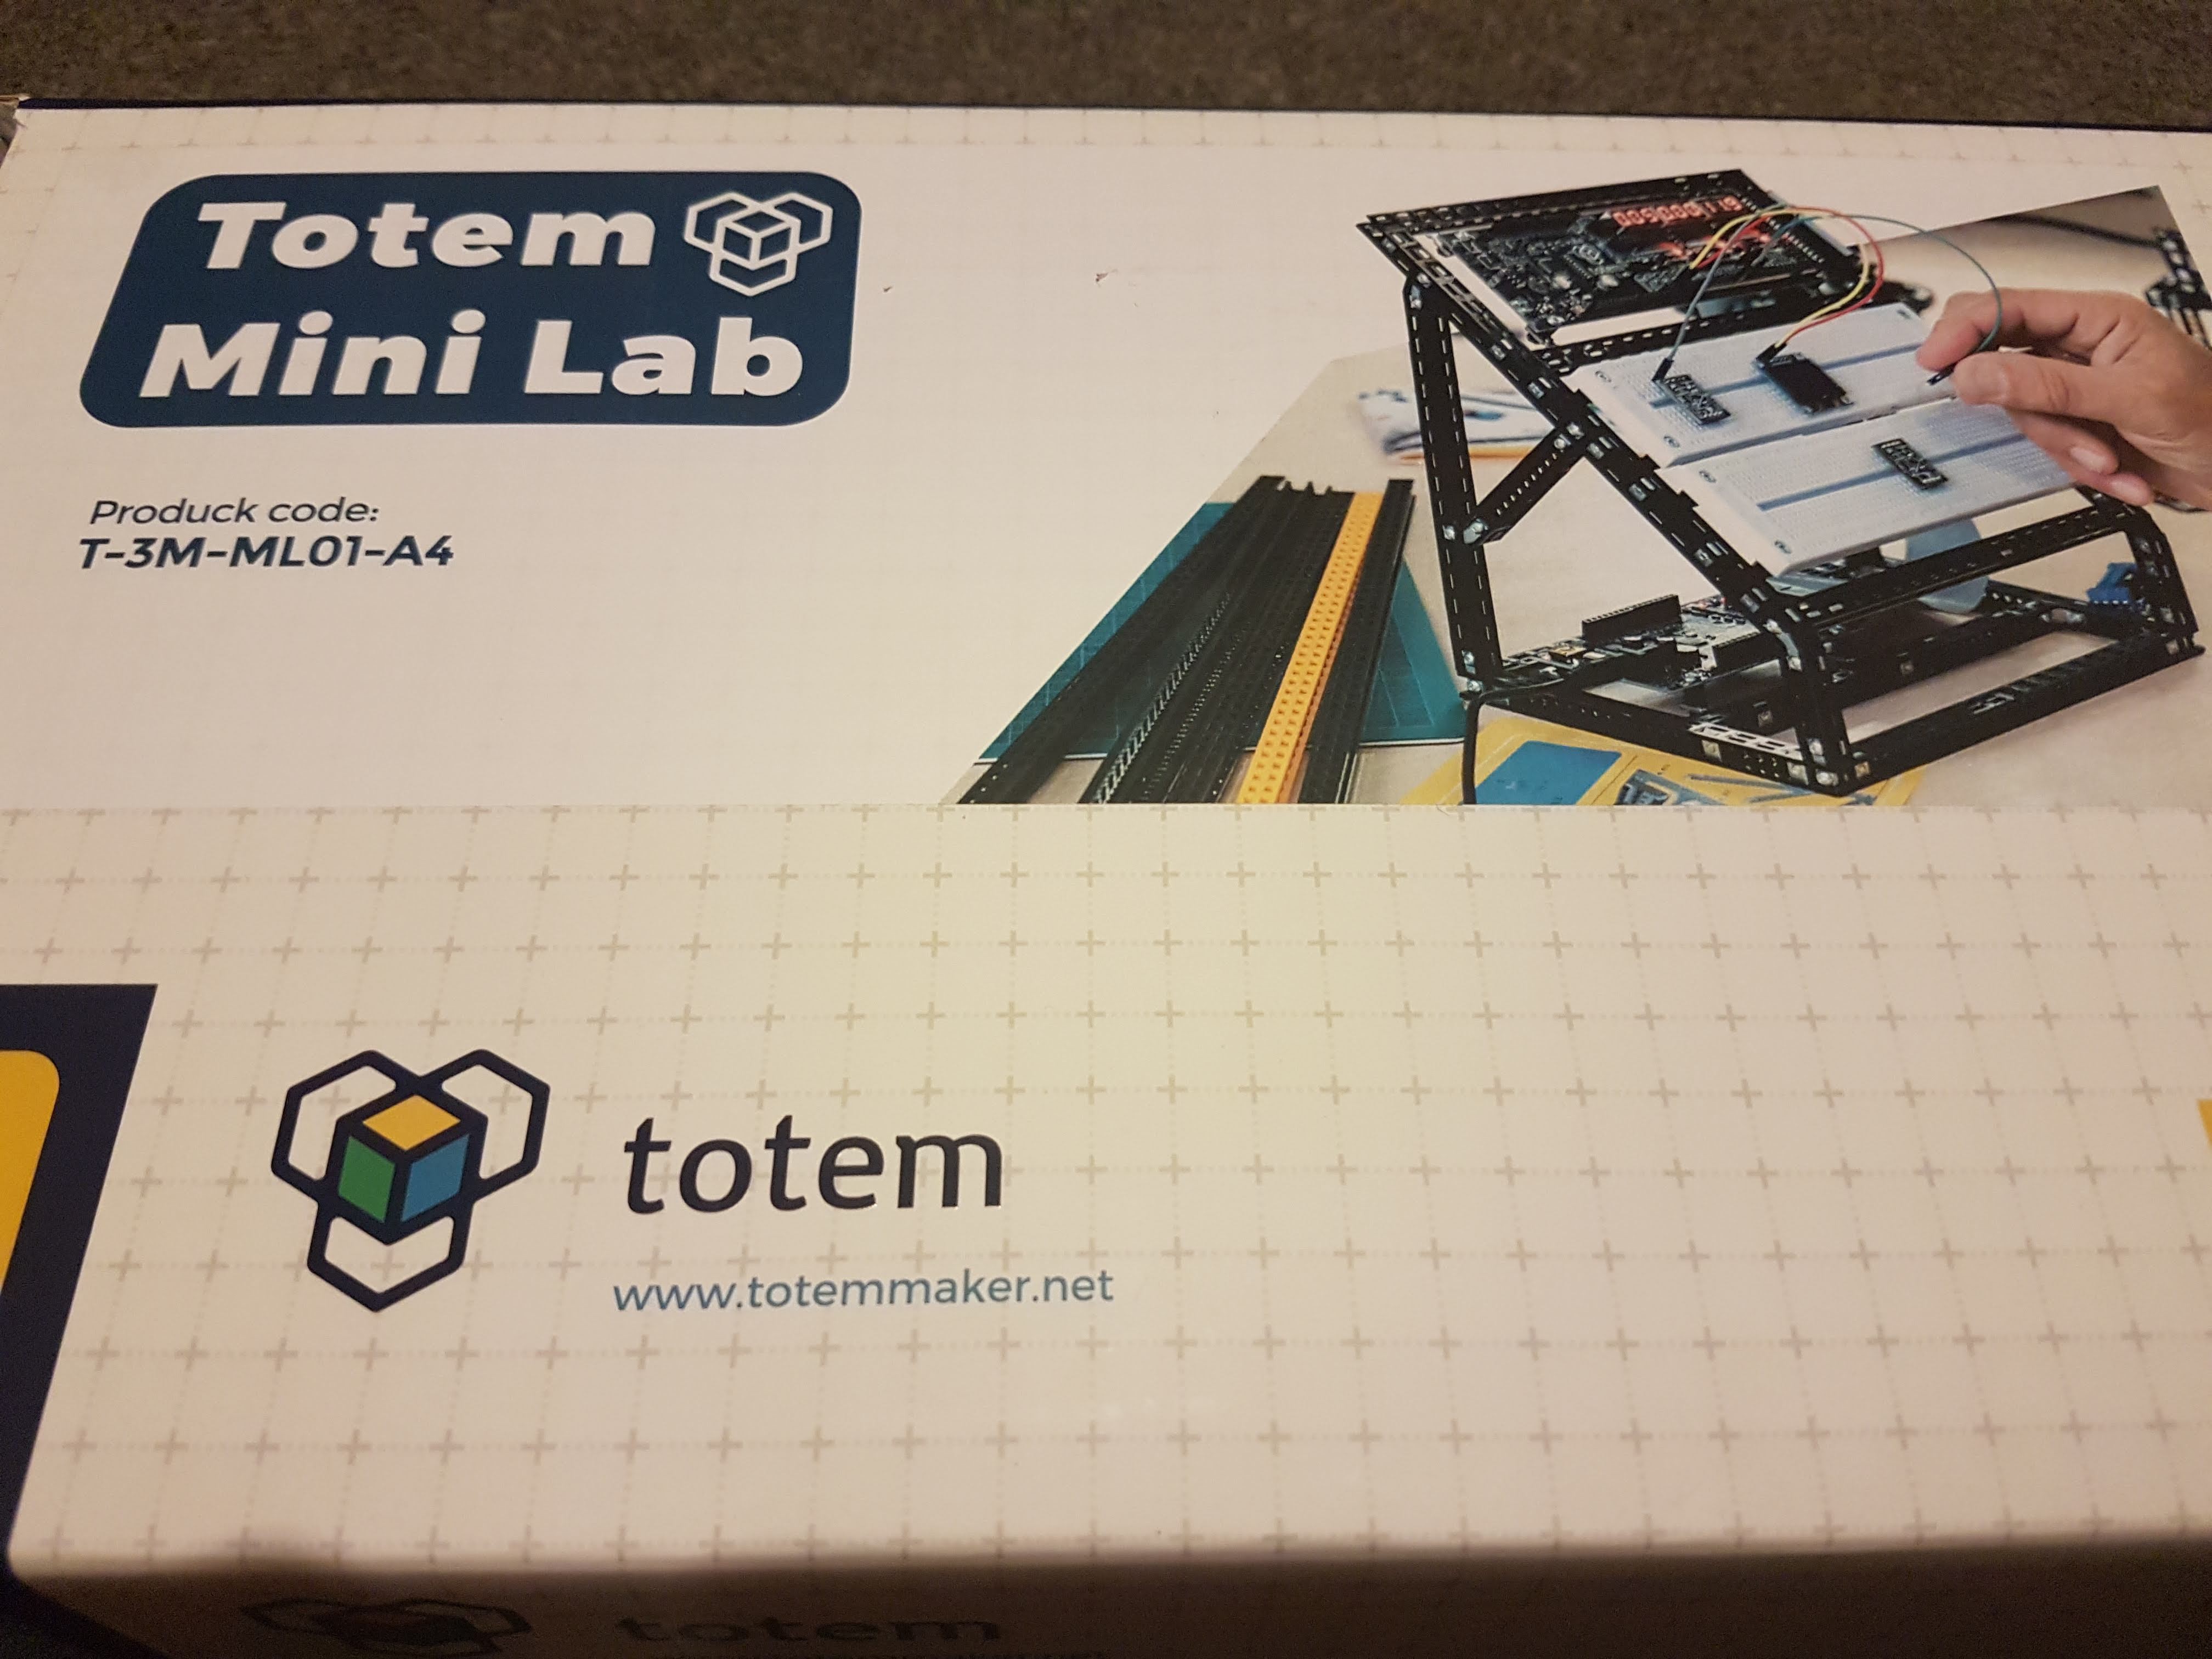
Product Review | Totem Mini Lab
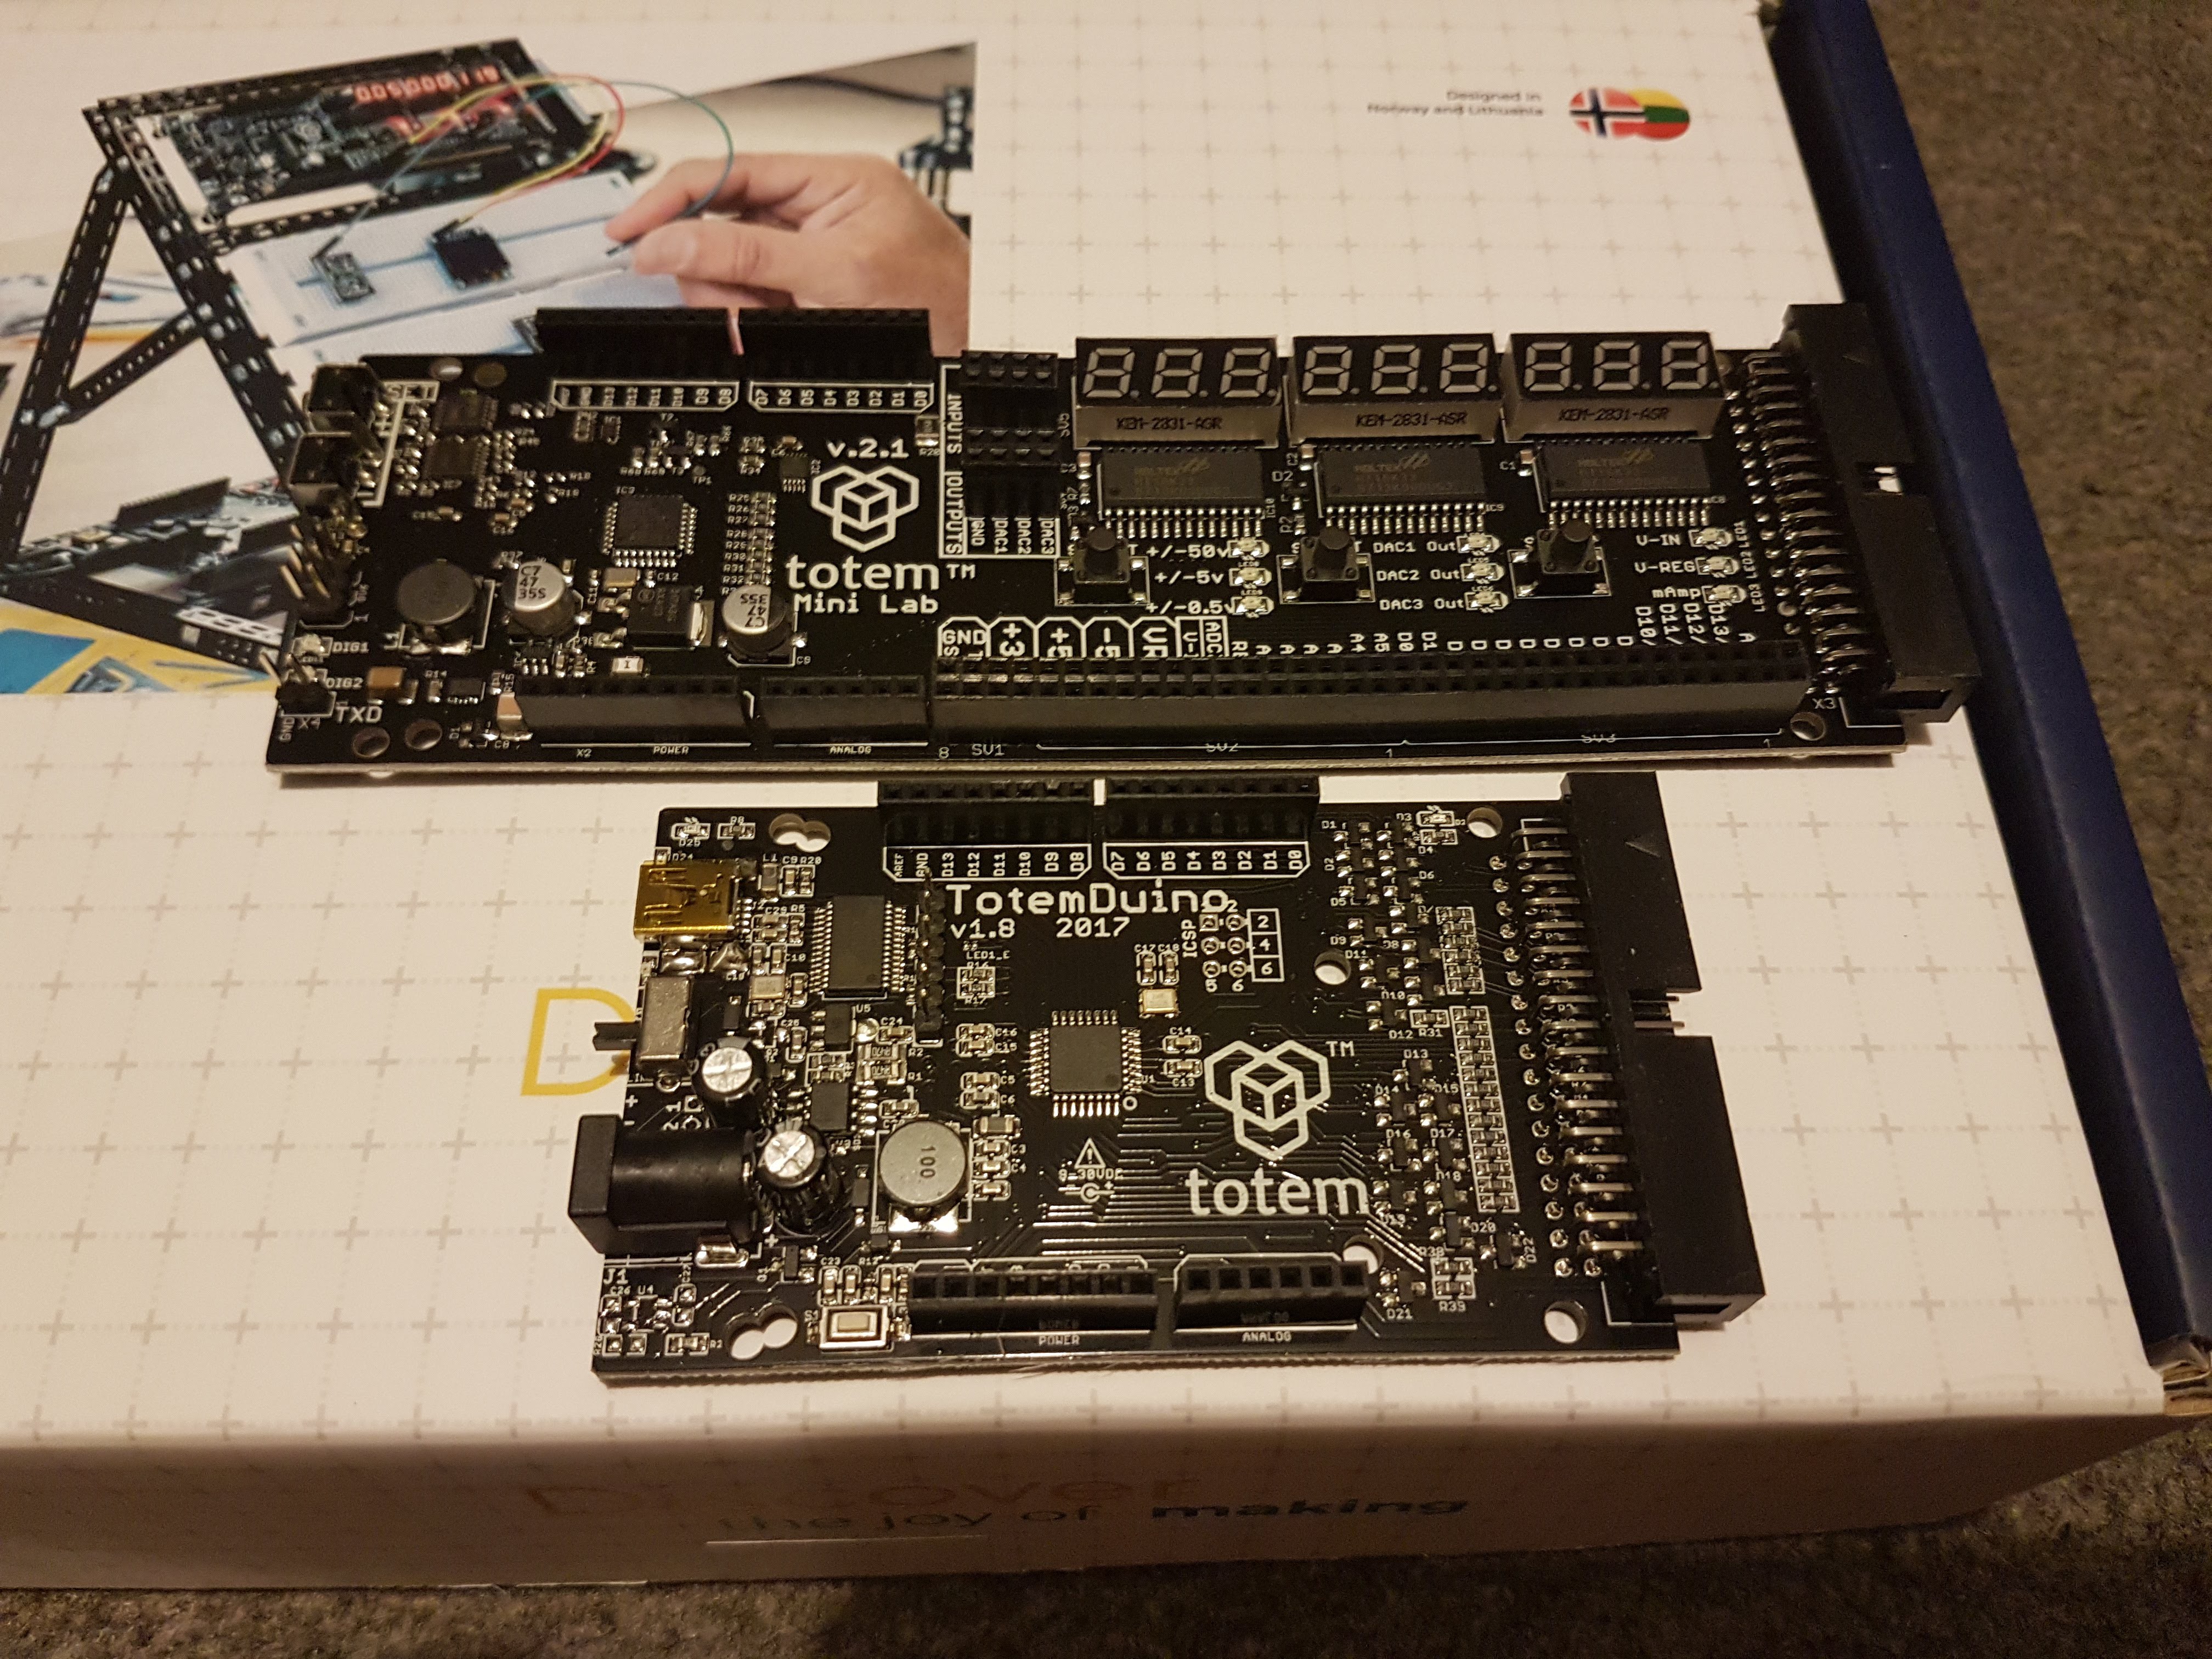
10/17/2019 at 16:19 • 0 commentsThe Totem Mini Lab is a kit to build an all-in-one lab setup. Built around Totem's take on an Arduino Uno, it features a companion lab board which adds many useful tools and features to your prototyping and development.
Unboxing
![]()
![]()
![]()
![]()
![]()
![]()
![]()
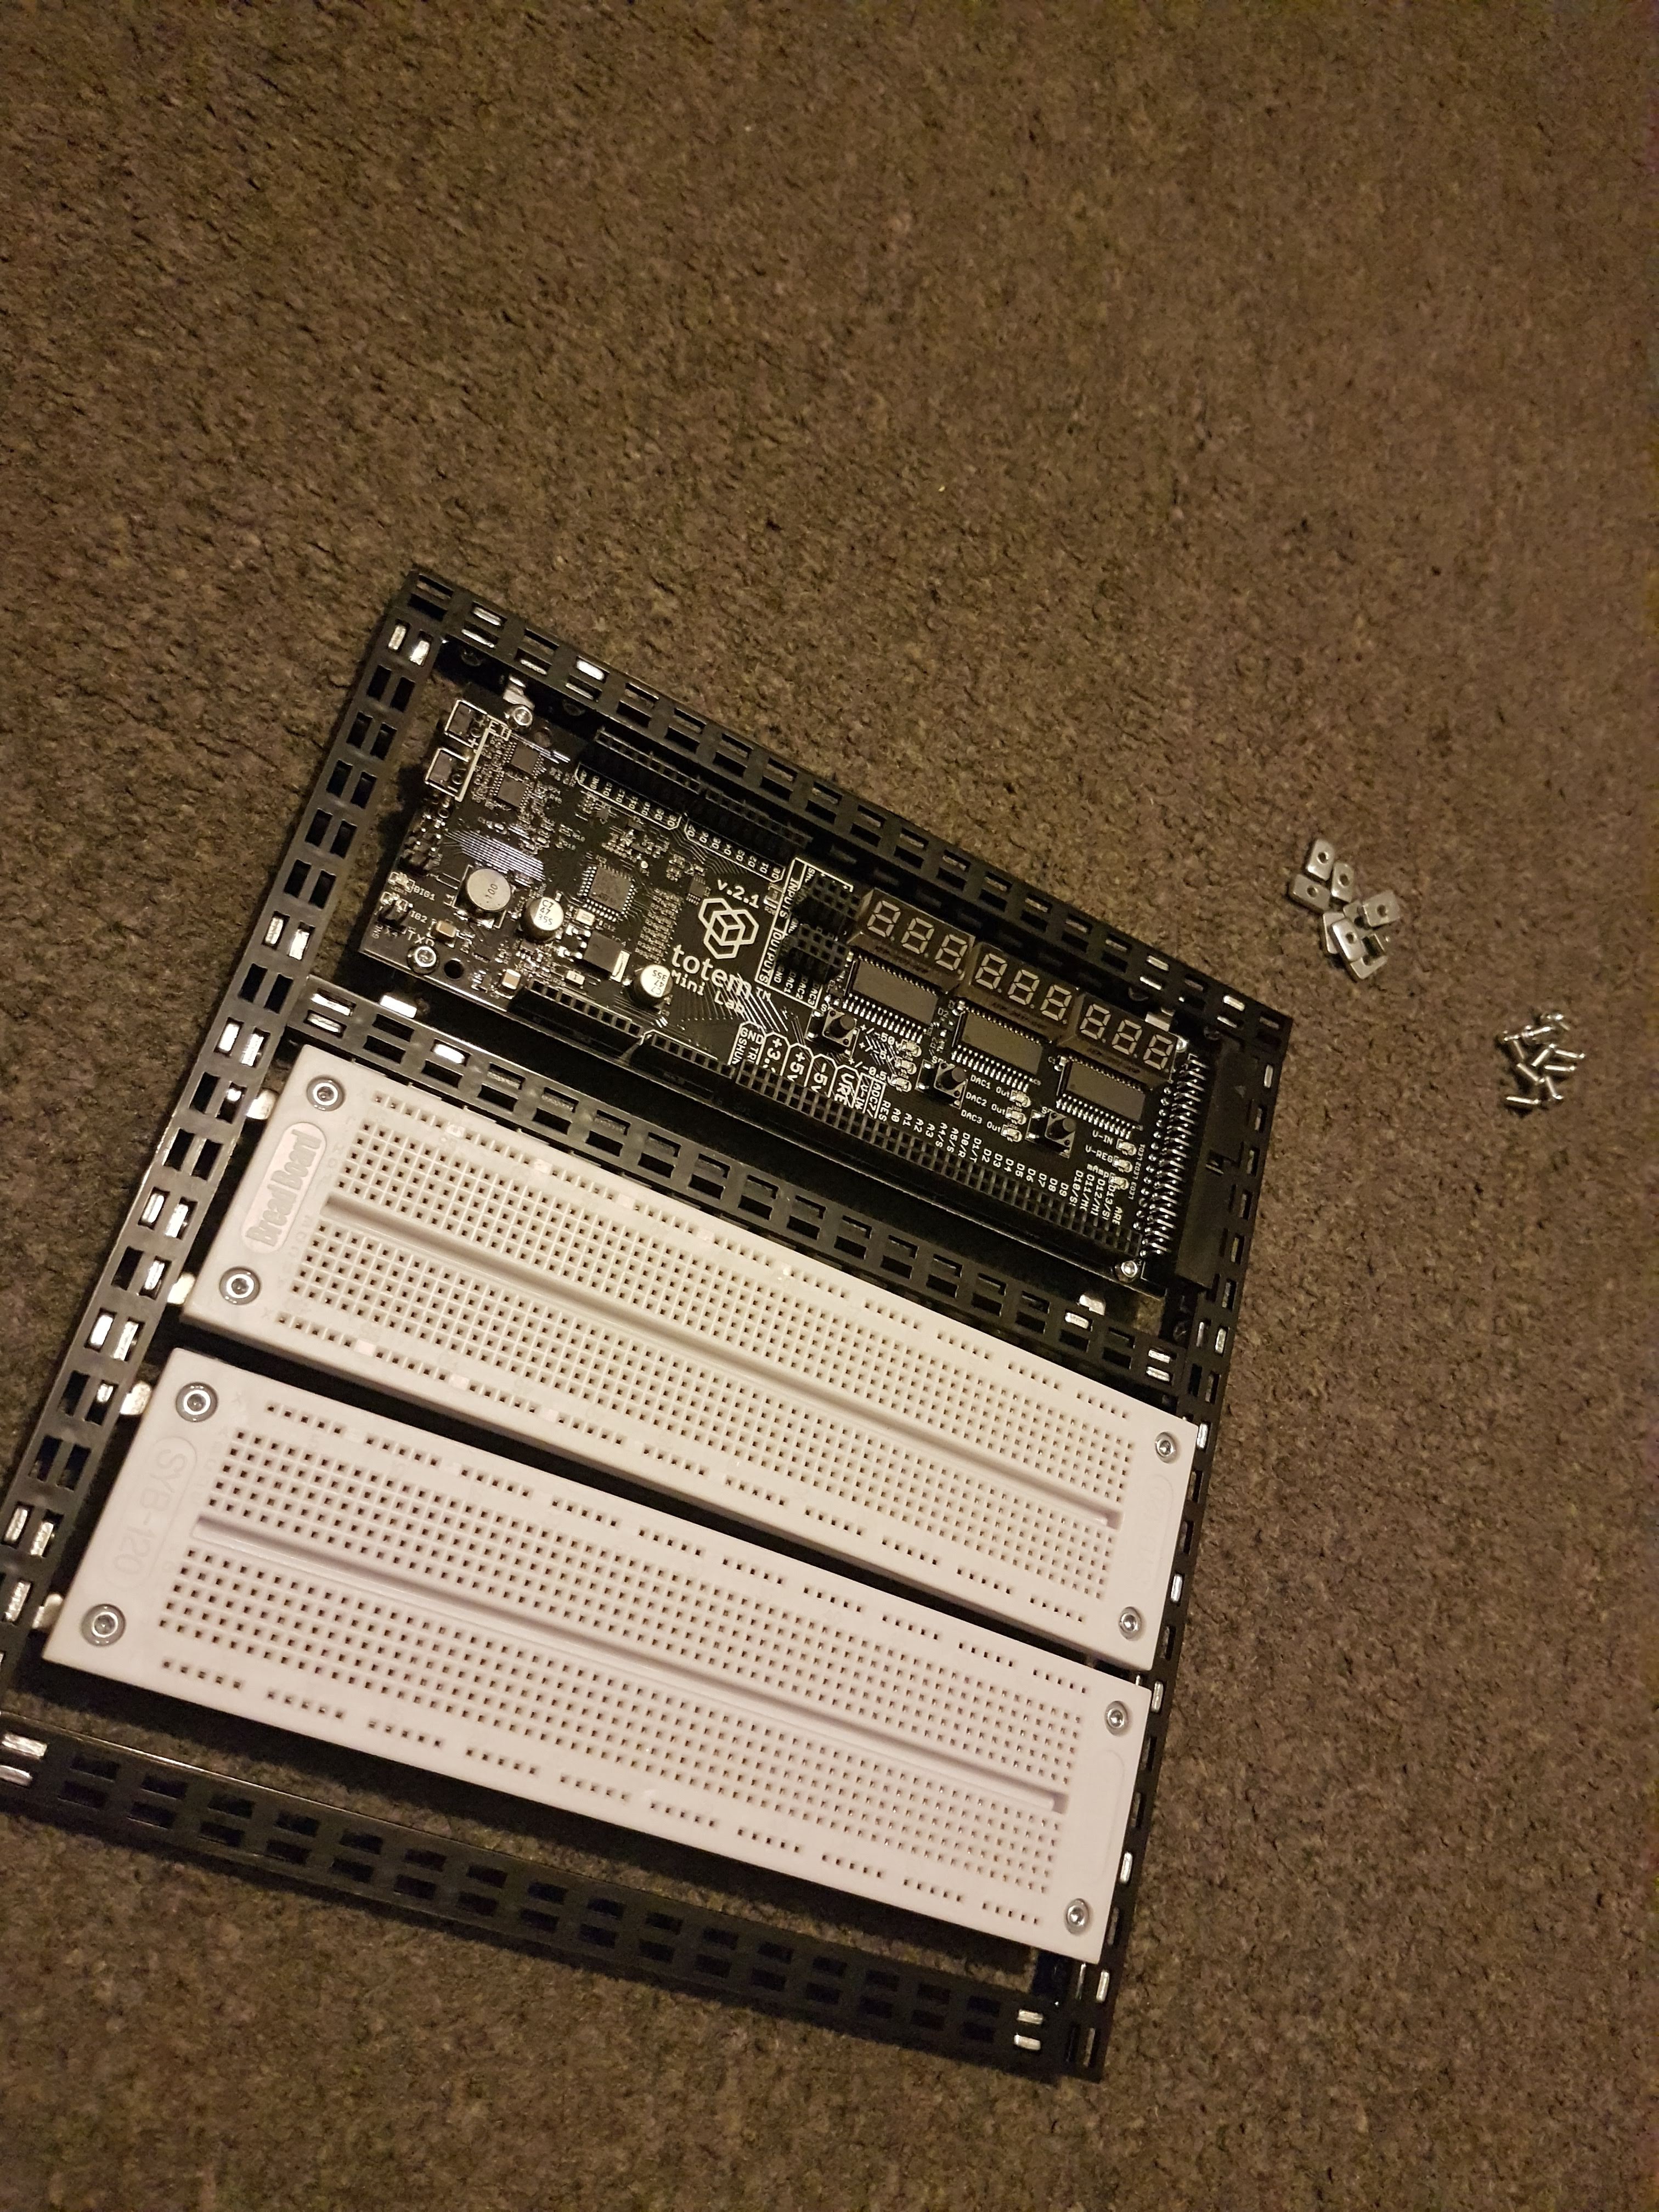
The kit comes with the following parts (as listed on the Totem site:
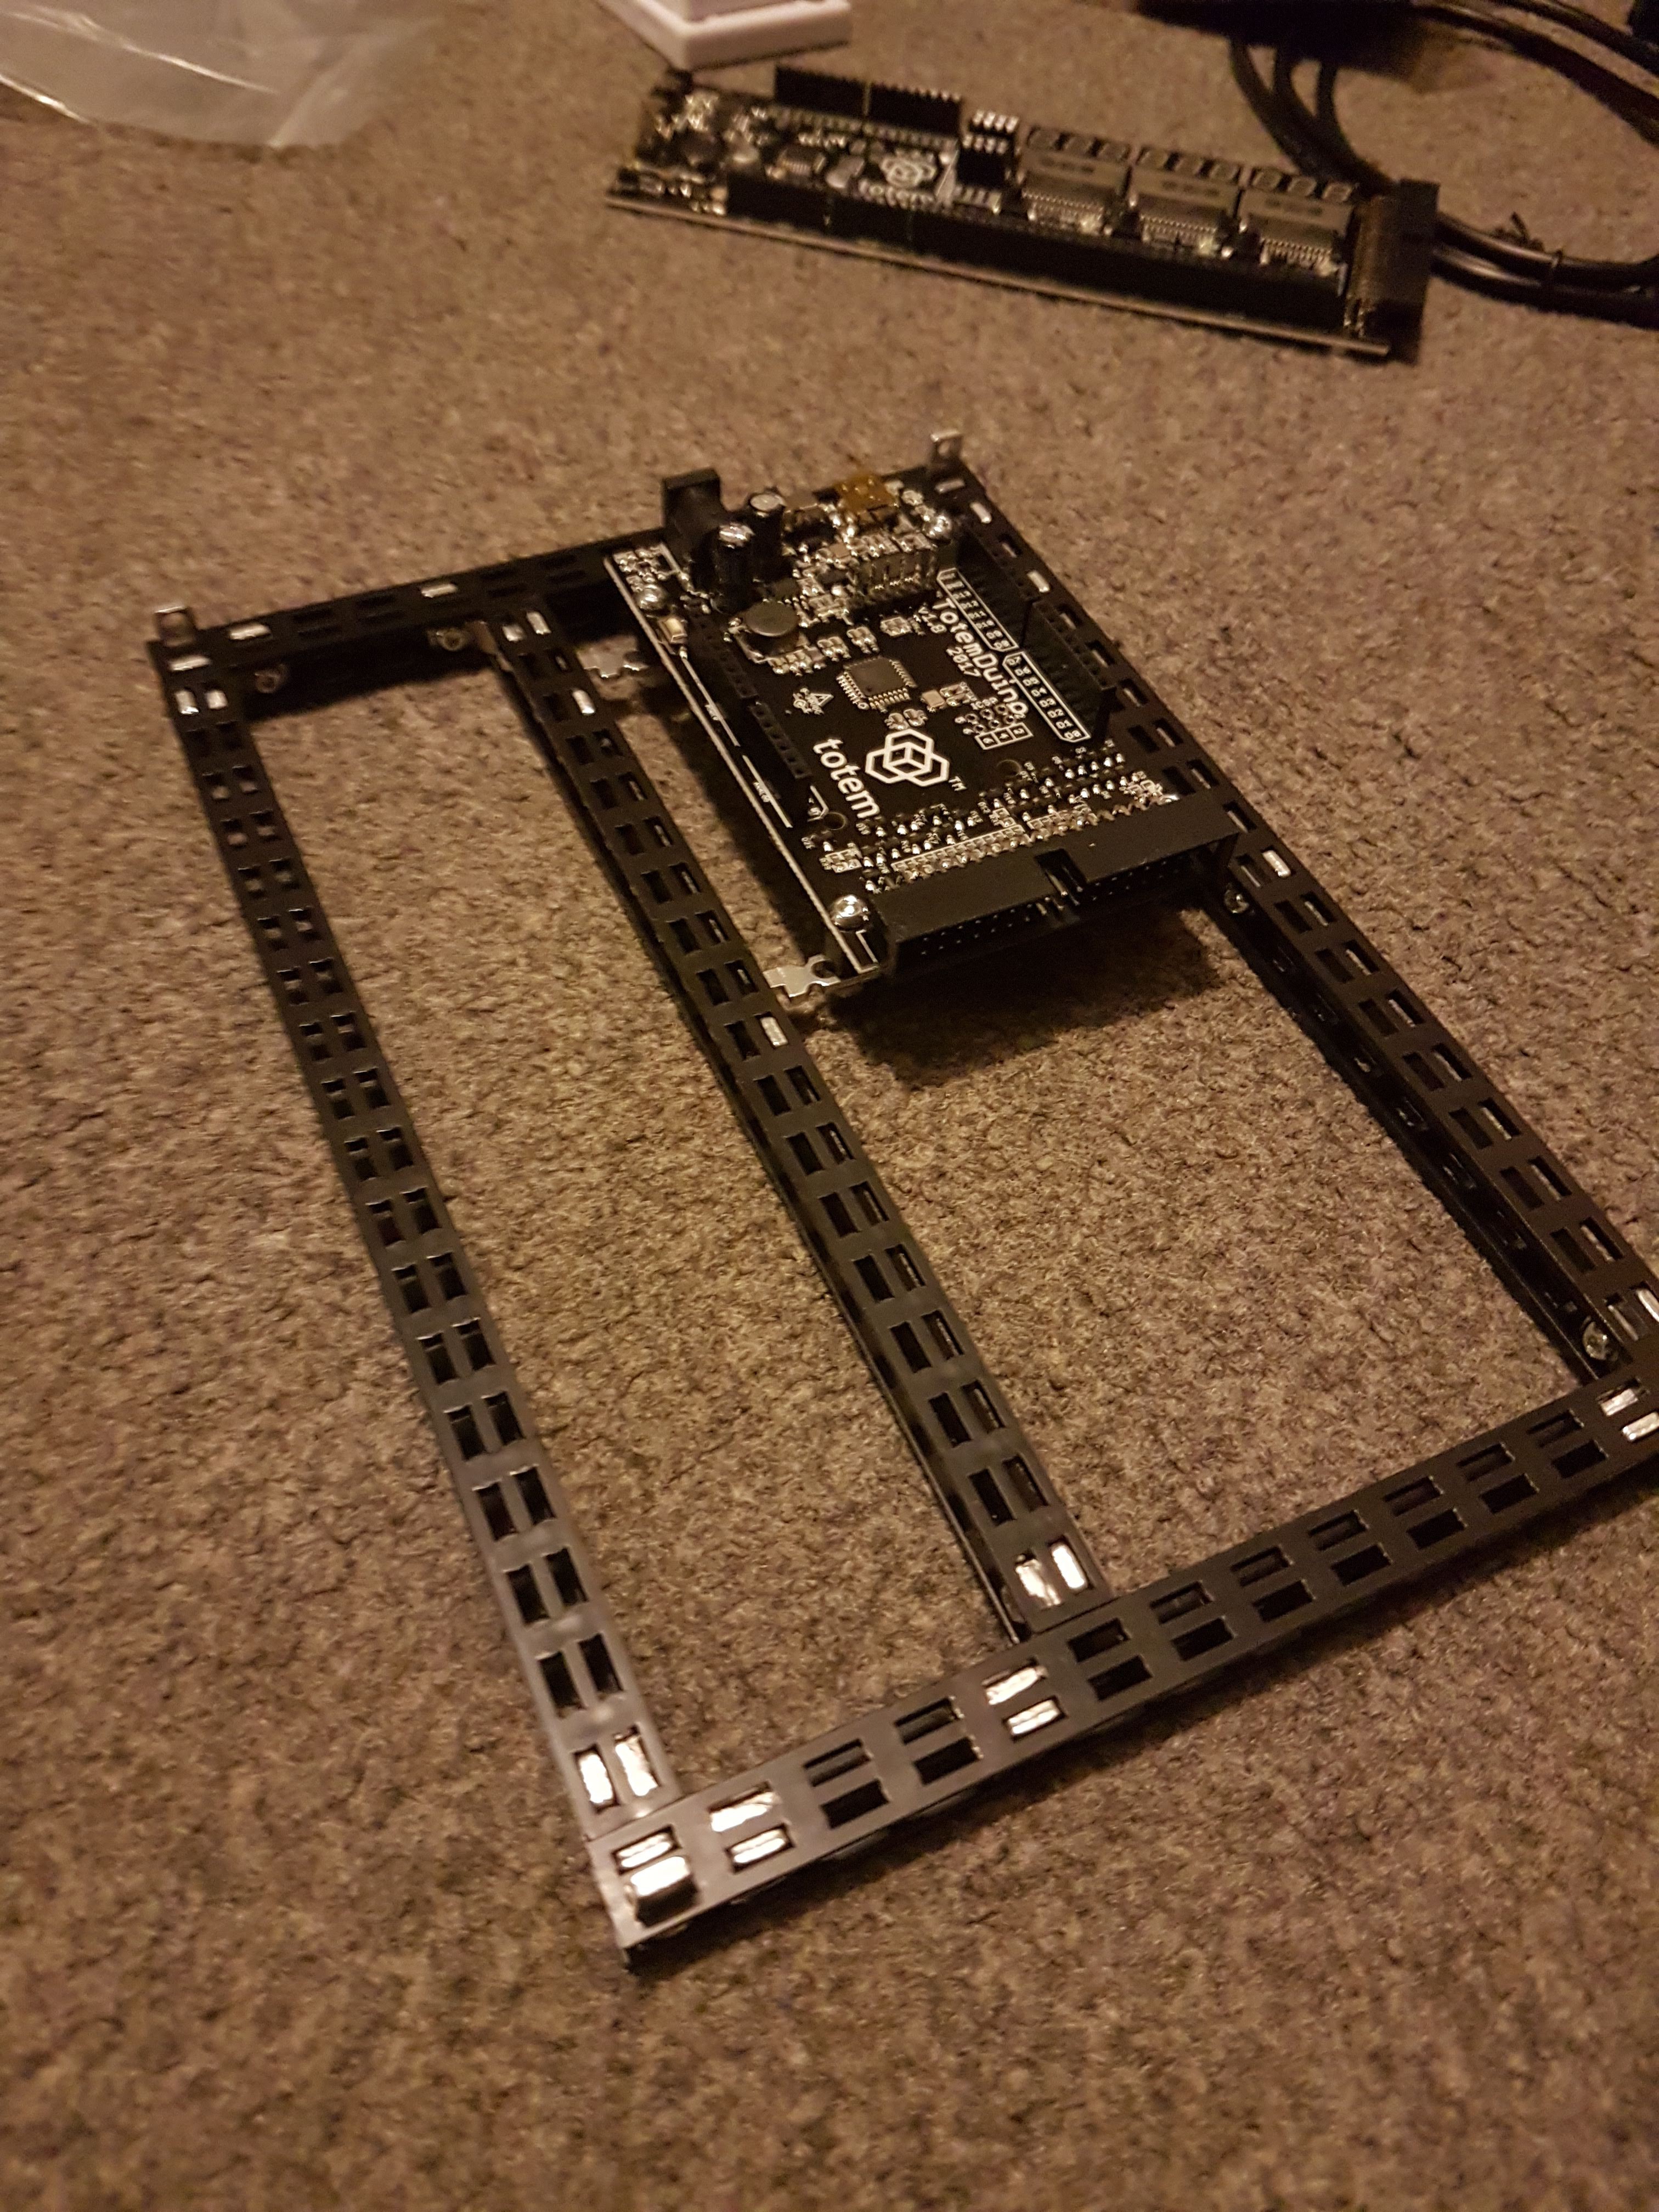
- TotemDuino – our improved version of Arduino UNO;
- LabBoard – a capable experimentation and measuring platform;
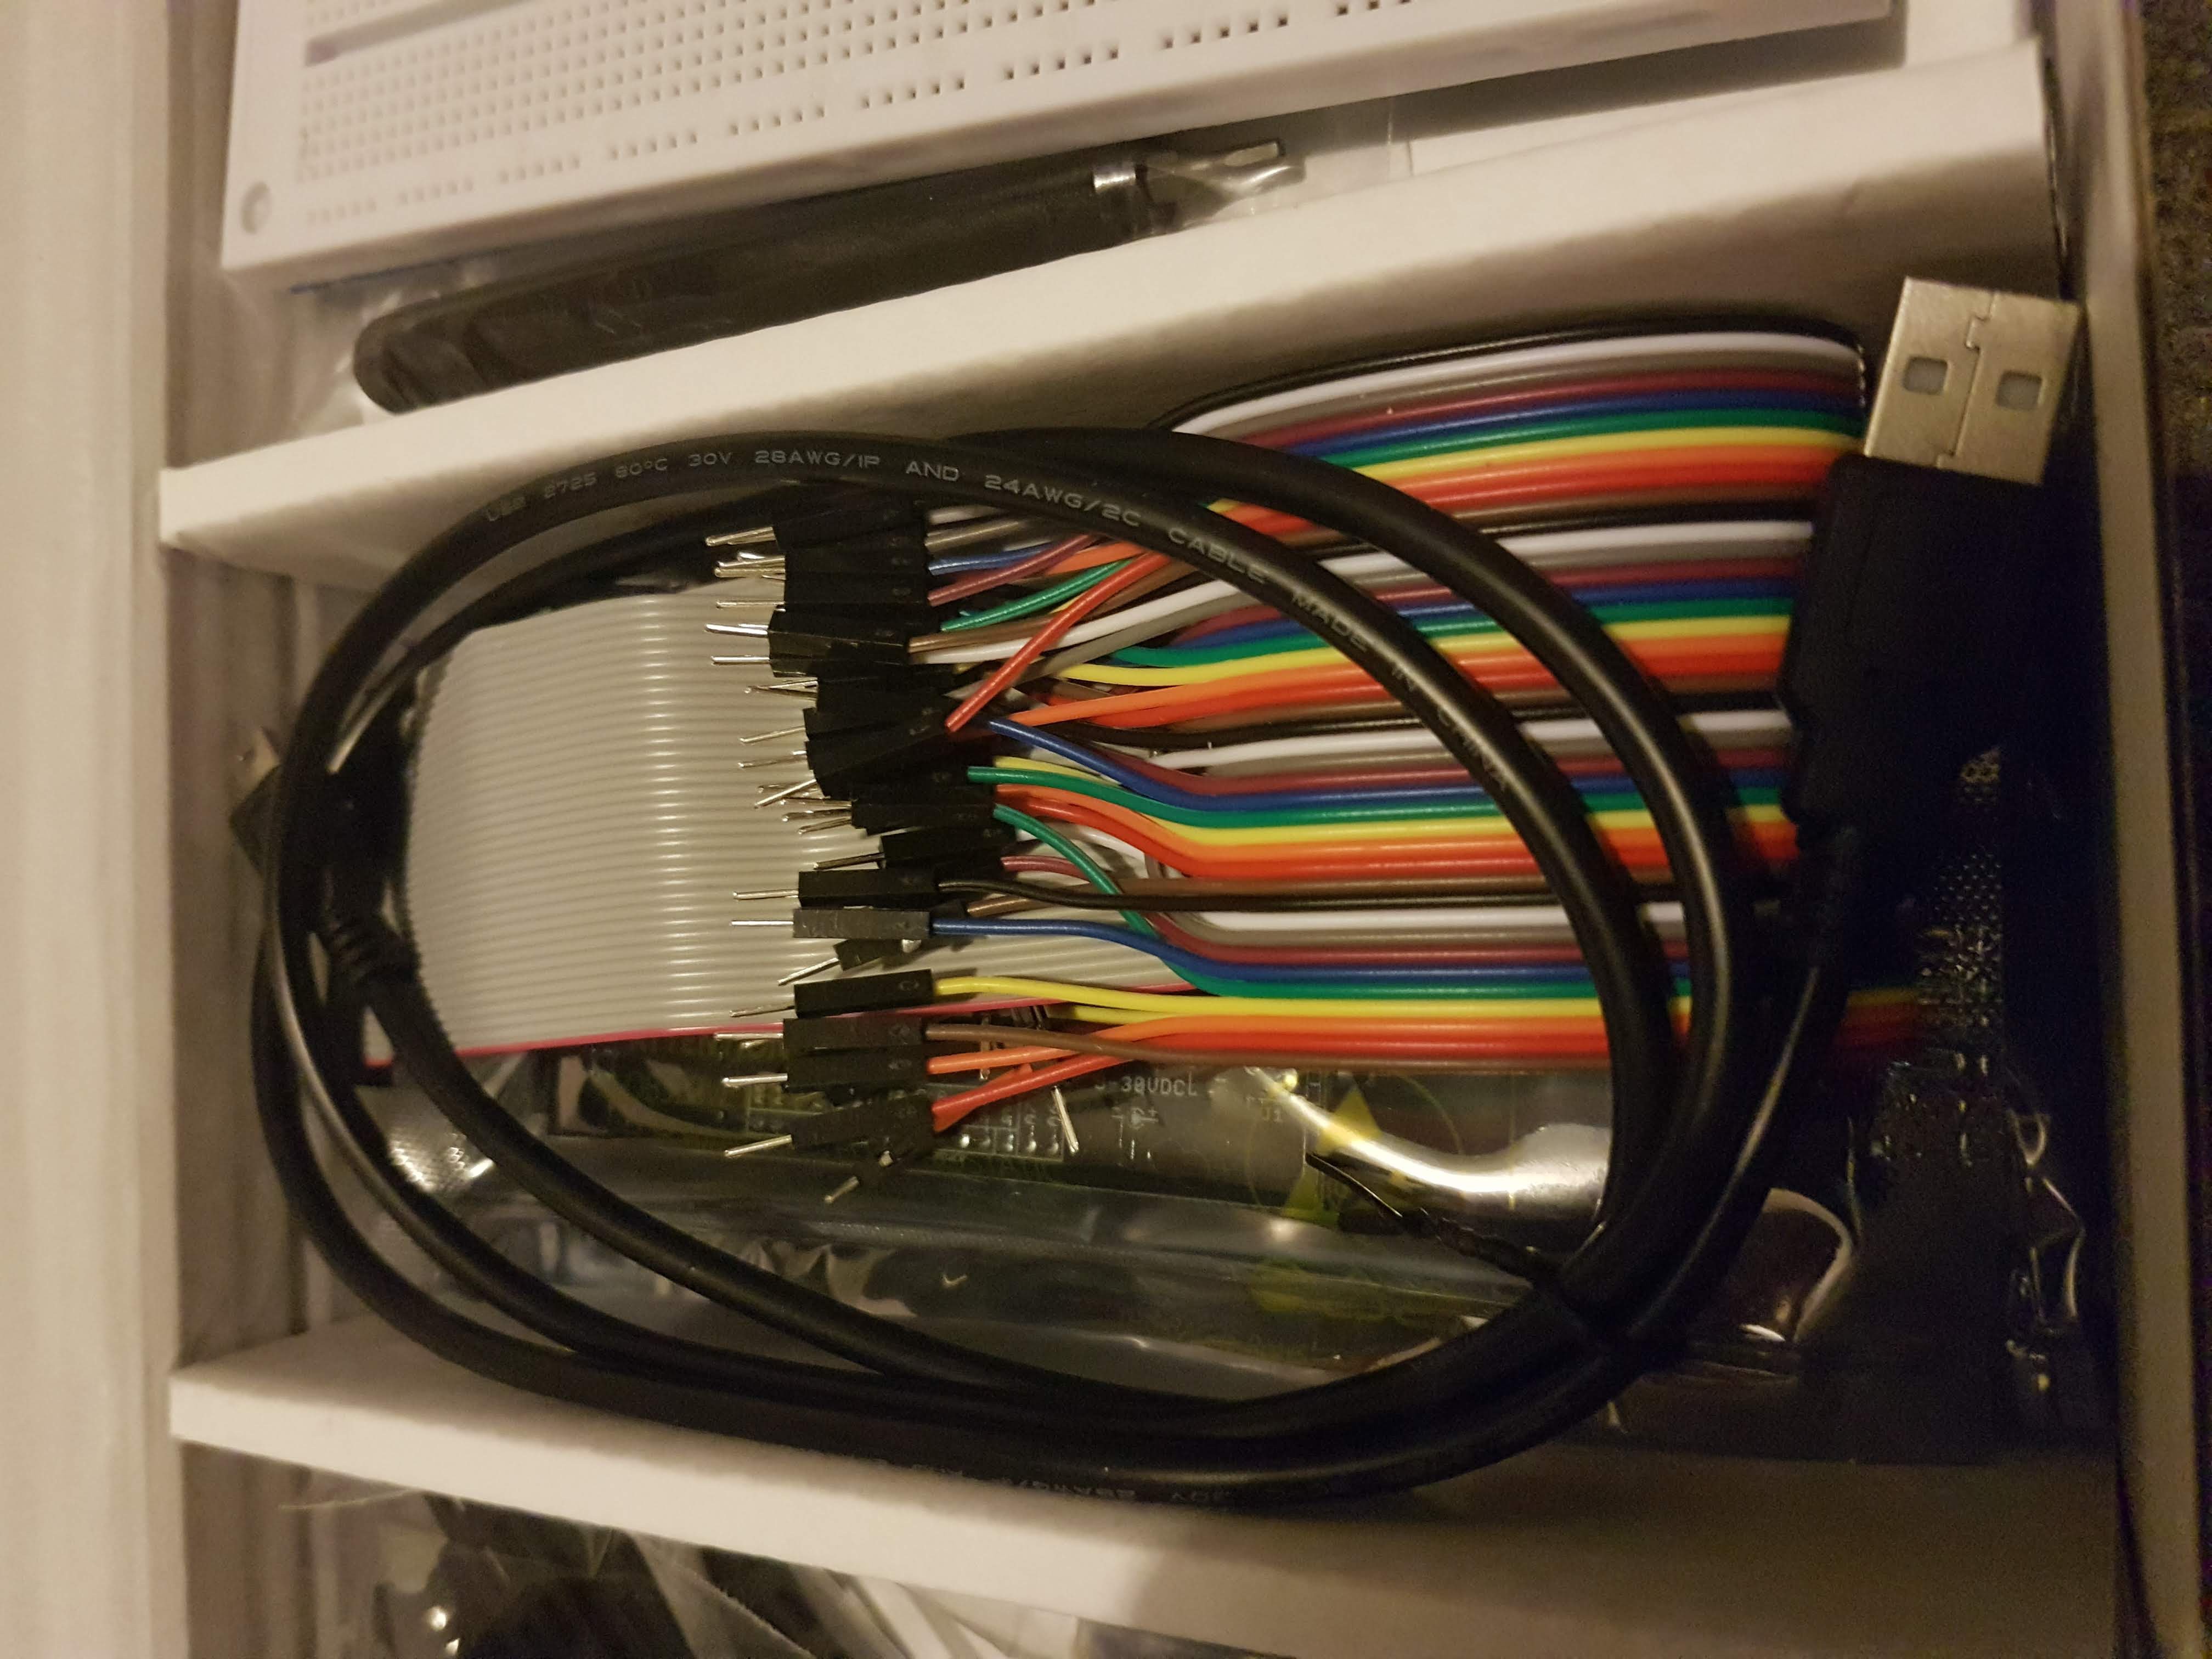
- 34-pin flat cable – use it to connect TotemDuino and LabBoard together;
![]()
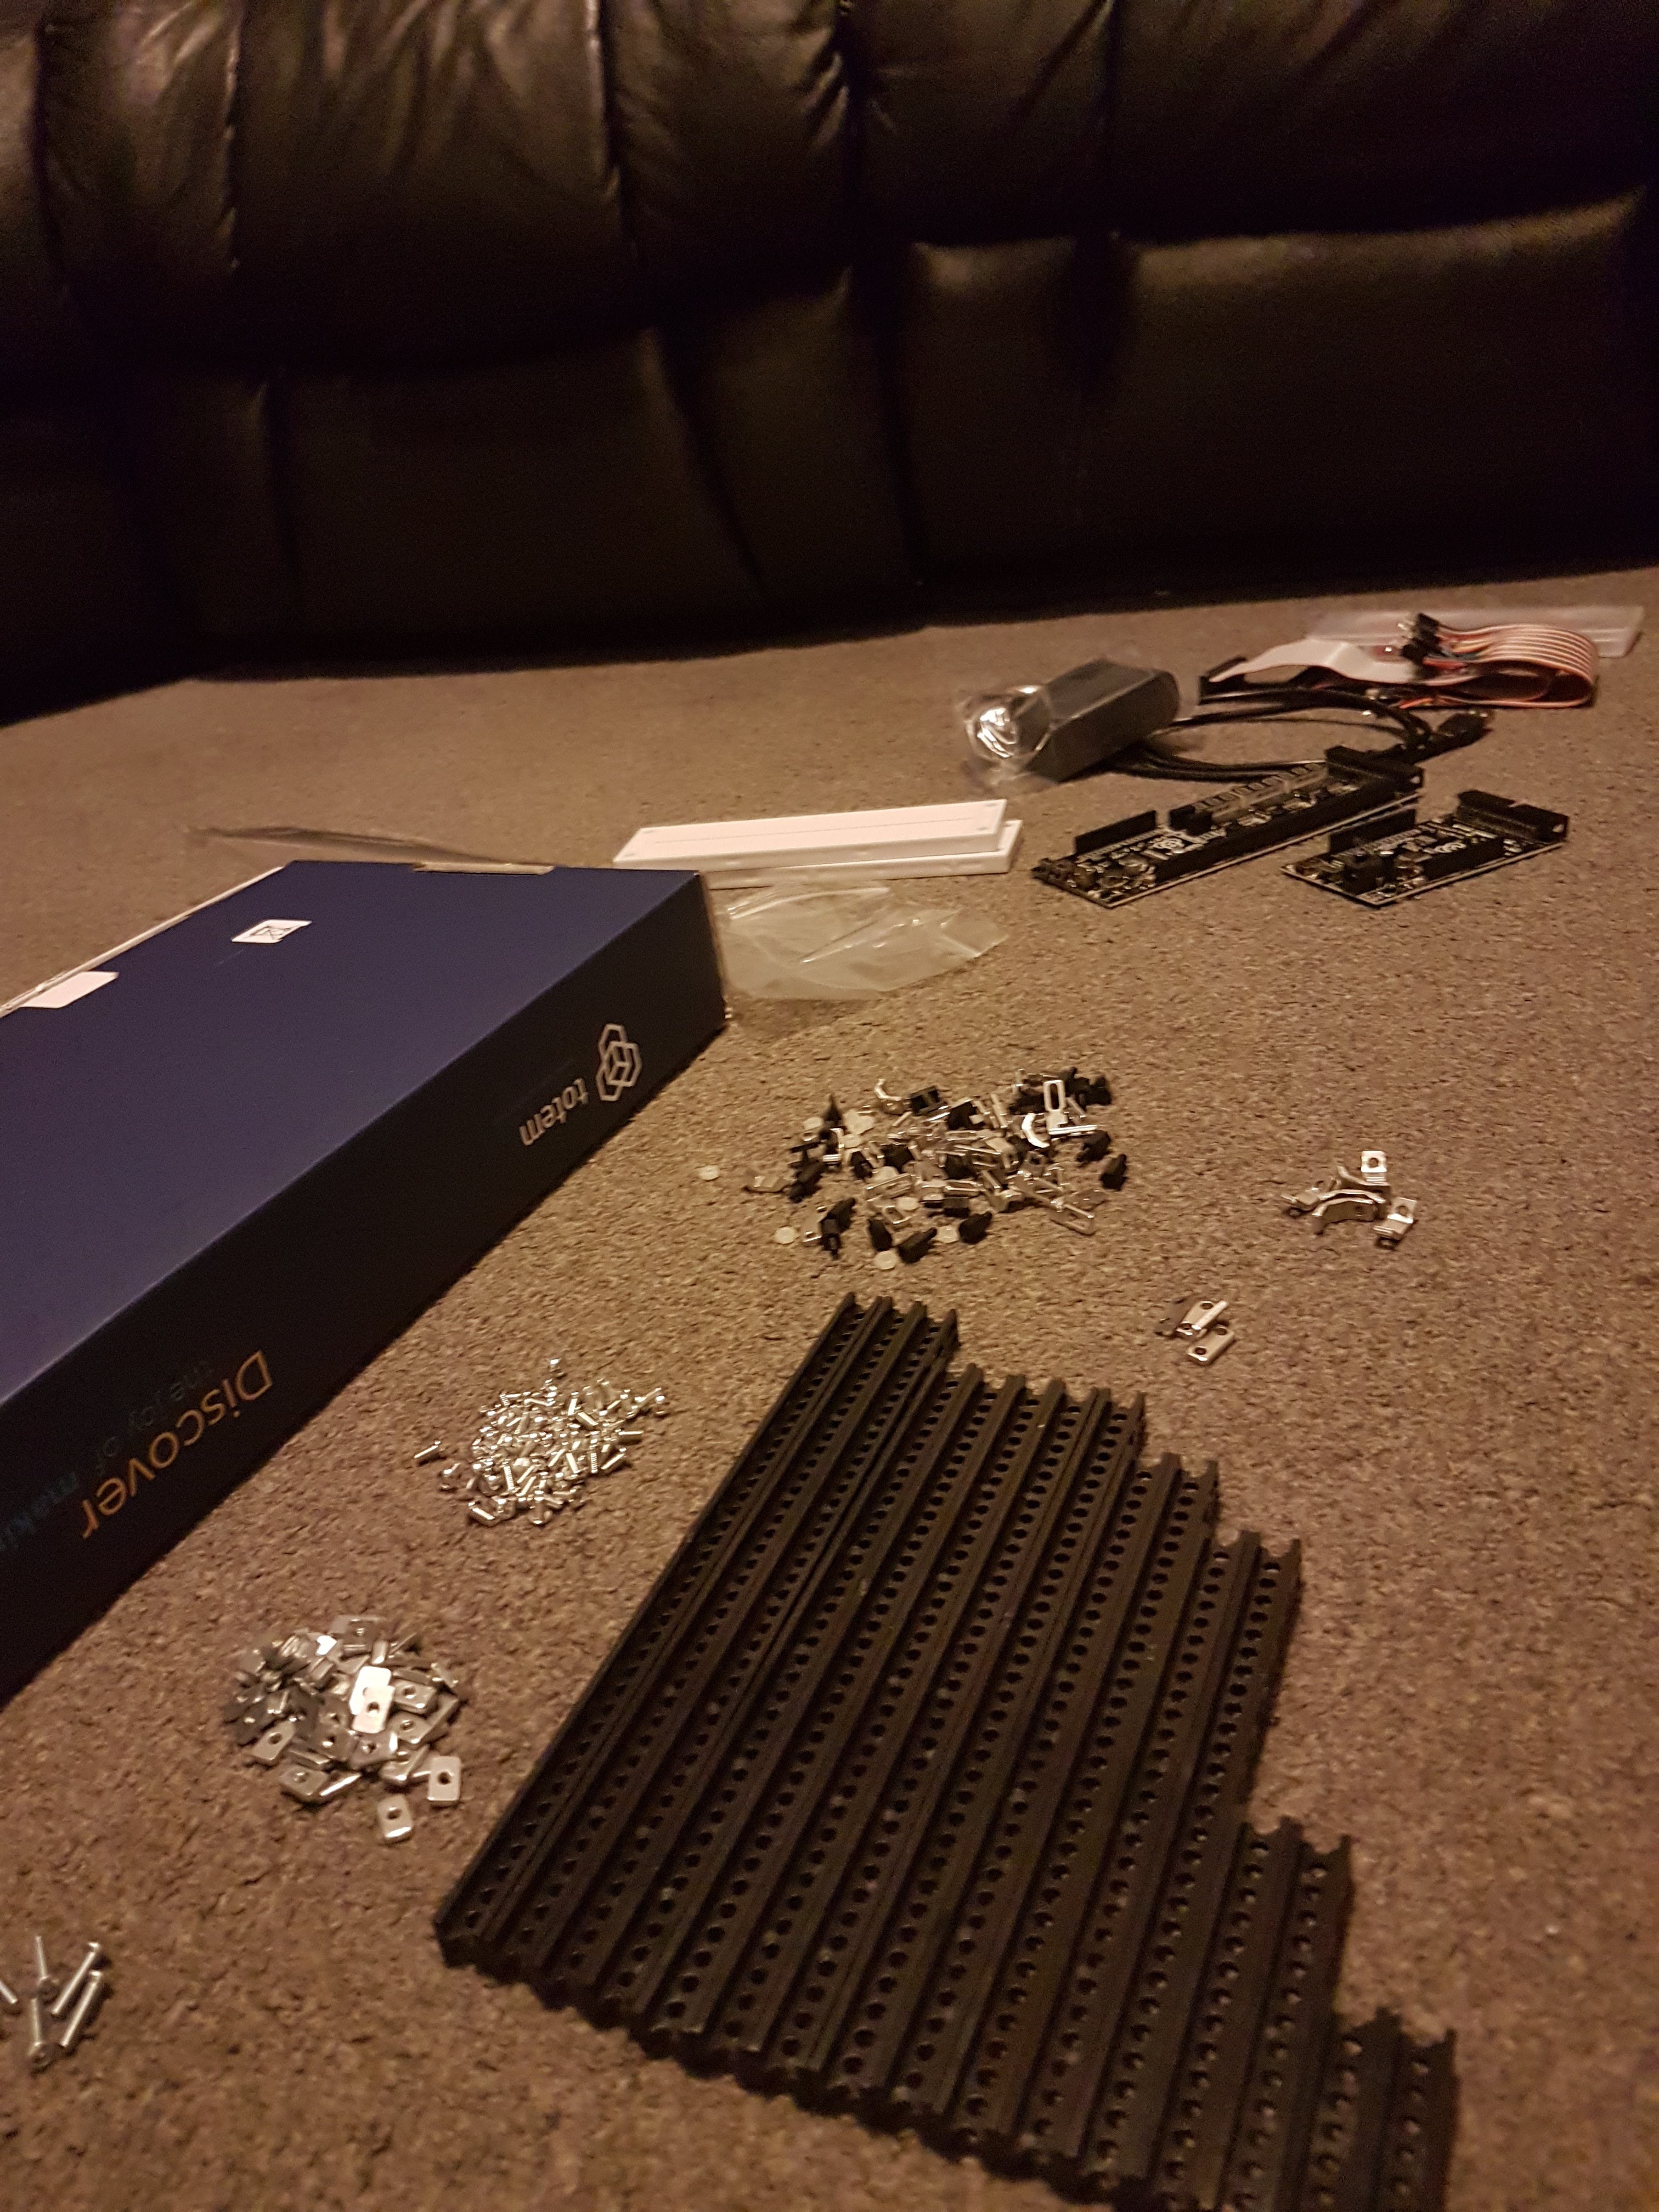
- Collection of Totem construction parts – for building Totem workbench;
- Voltage adapter – to power laboratory from the mains;
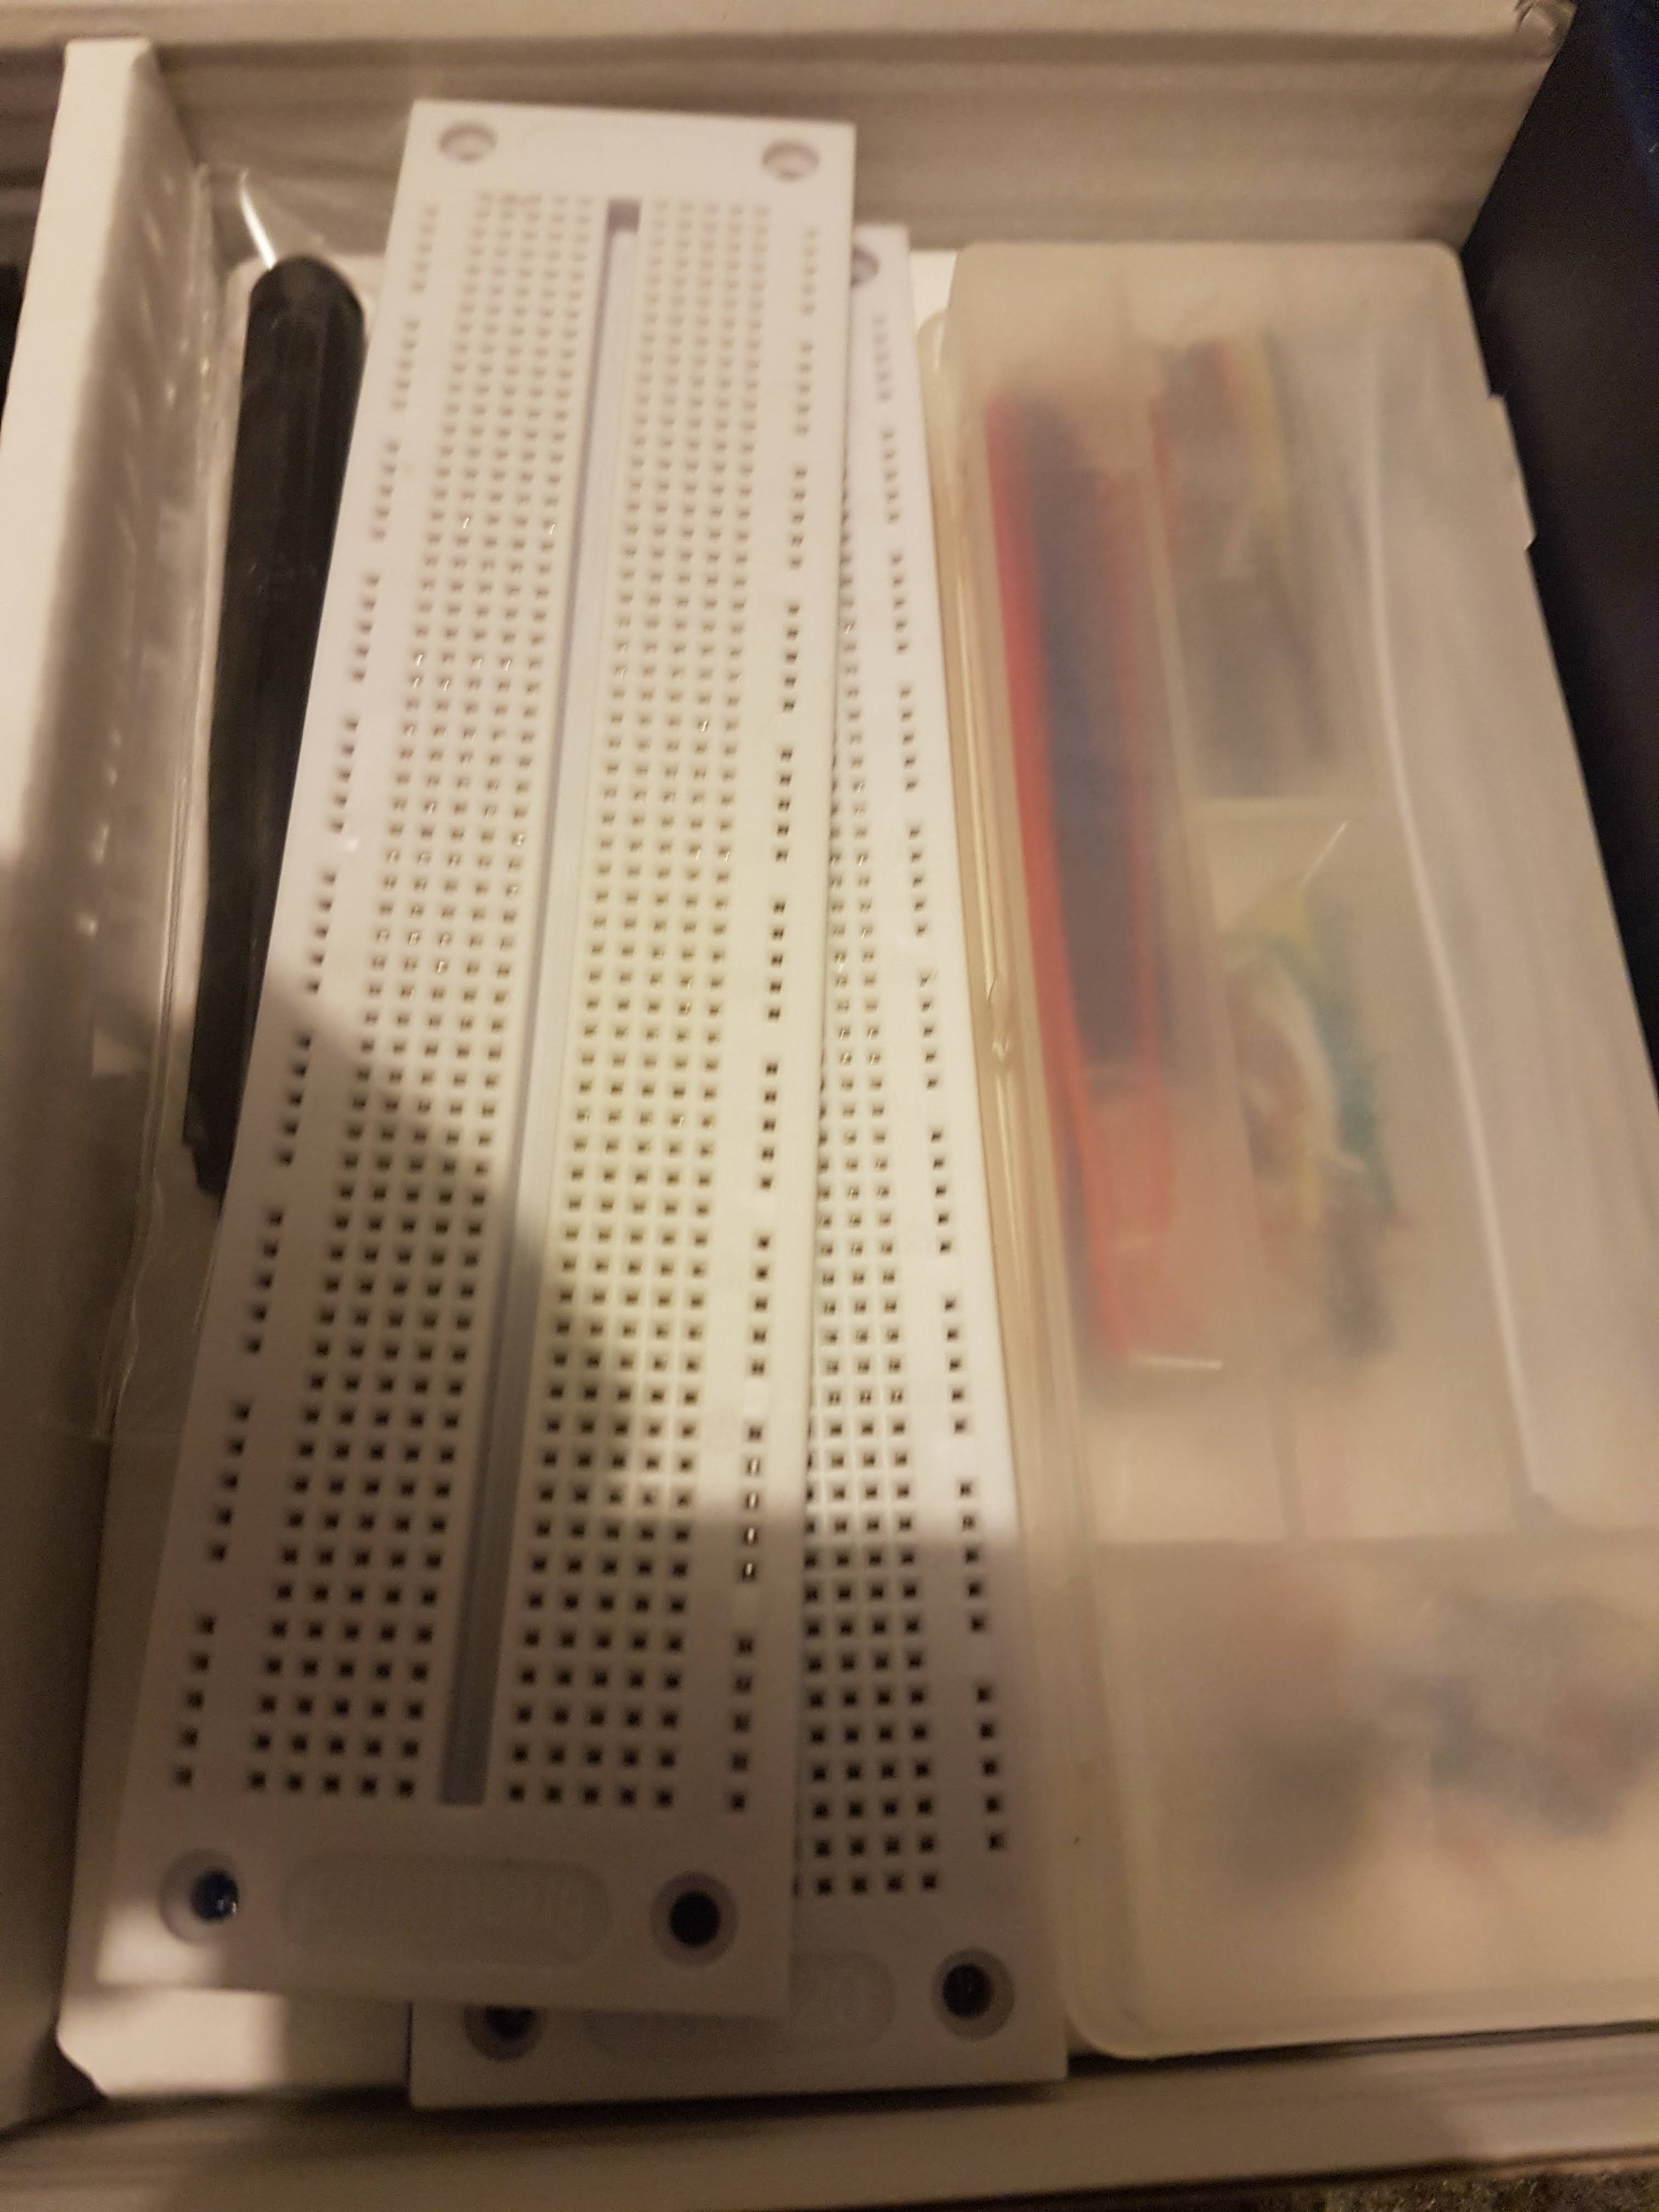
- Breadboards CYB-120 (2 units) – to extend your experimentation area;
- Breadboard cables – Jump wire 20 cm x 40 pcs. U Shape Breadboard Jumper Cable Kit, 140 pcs;
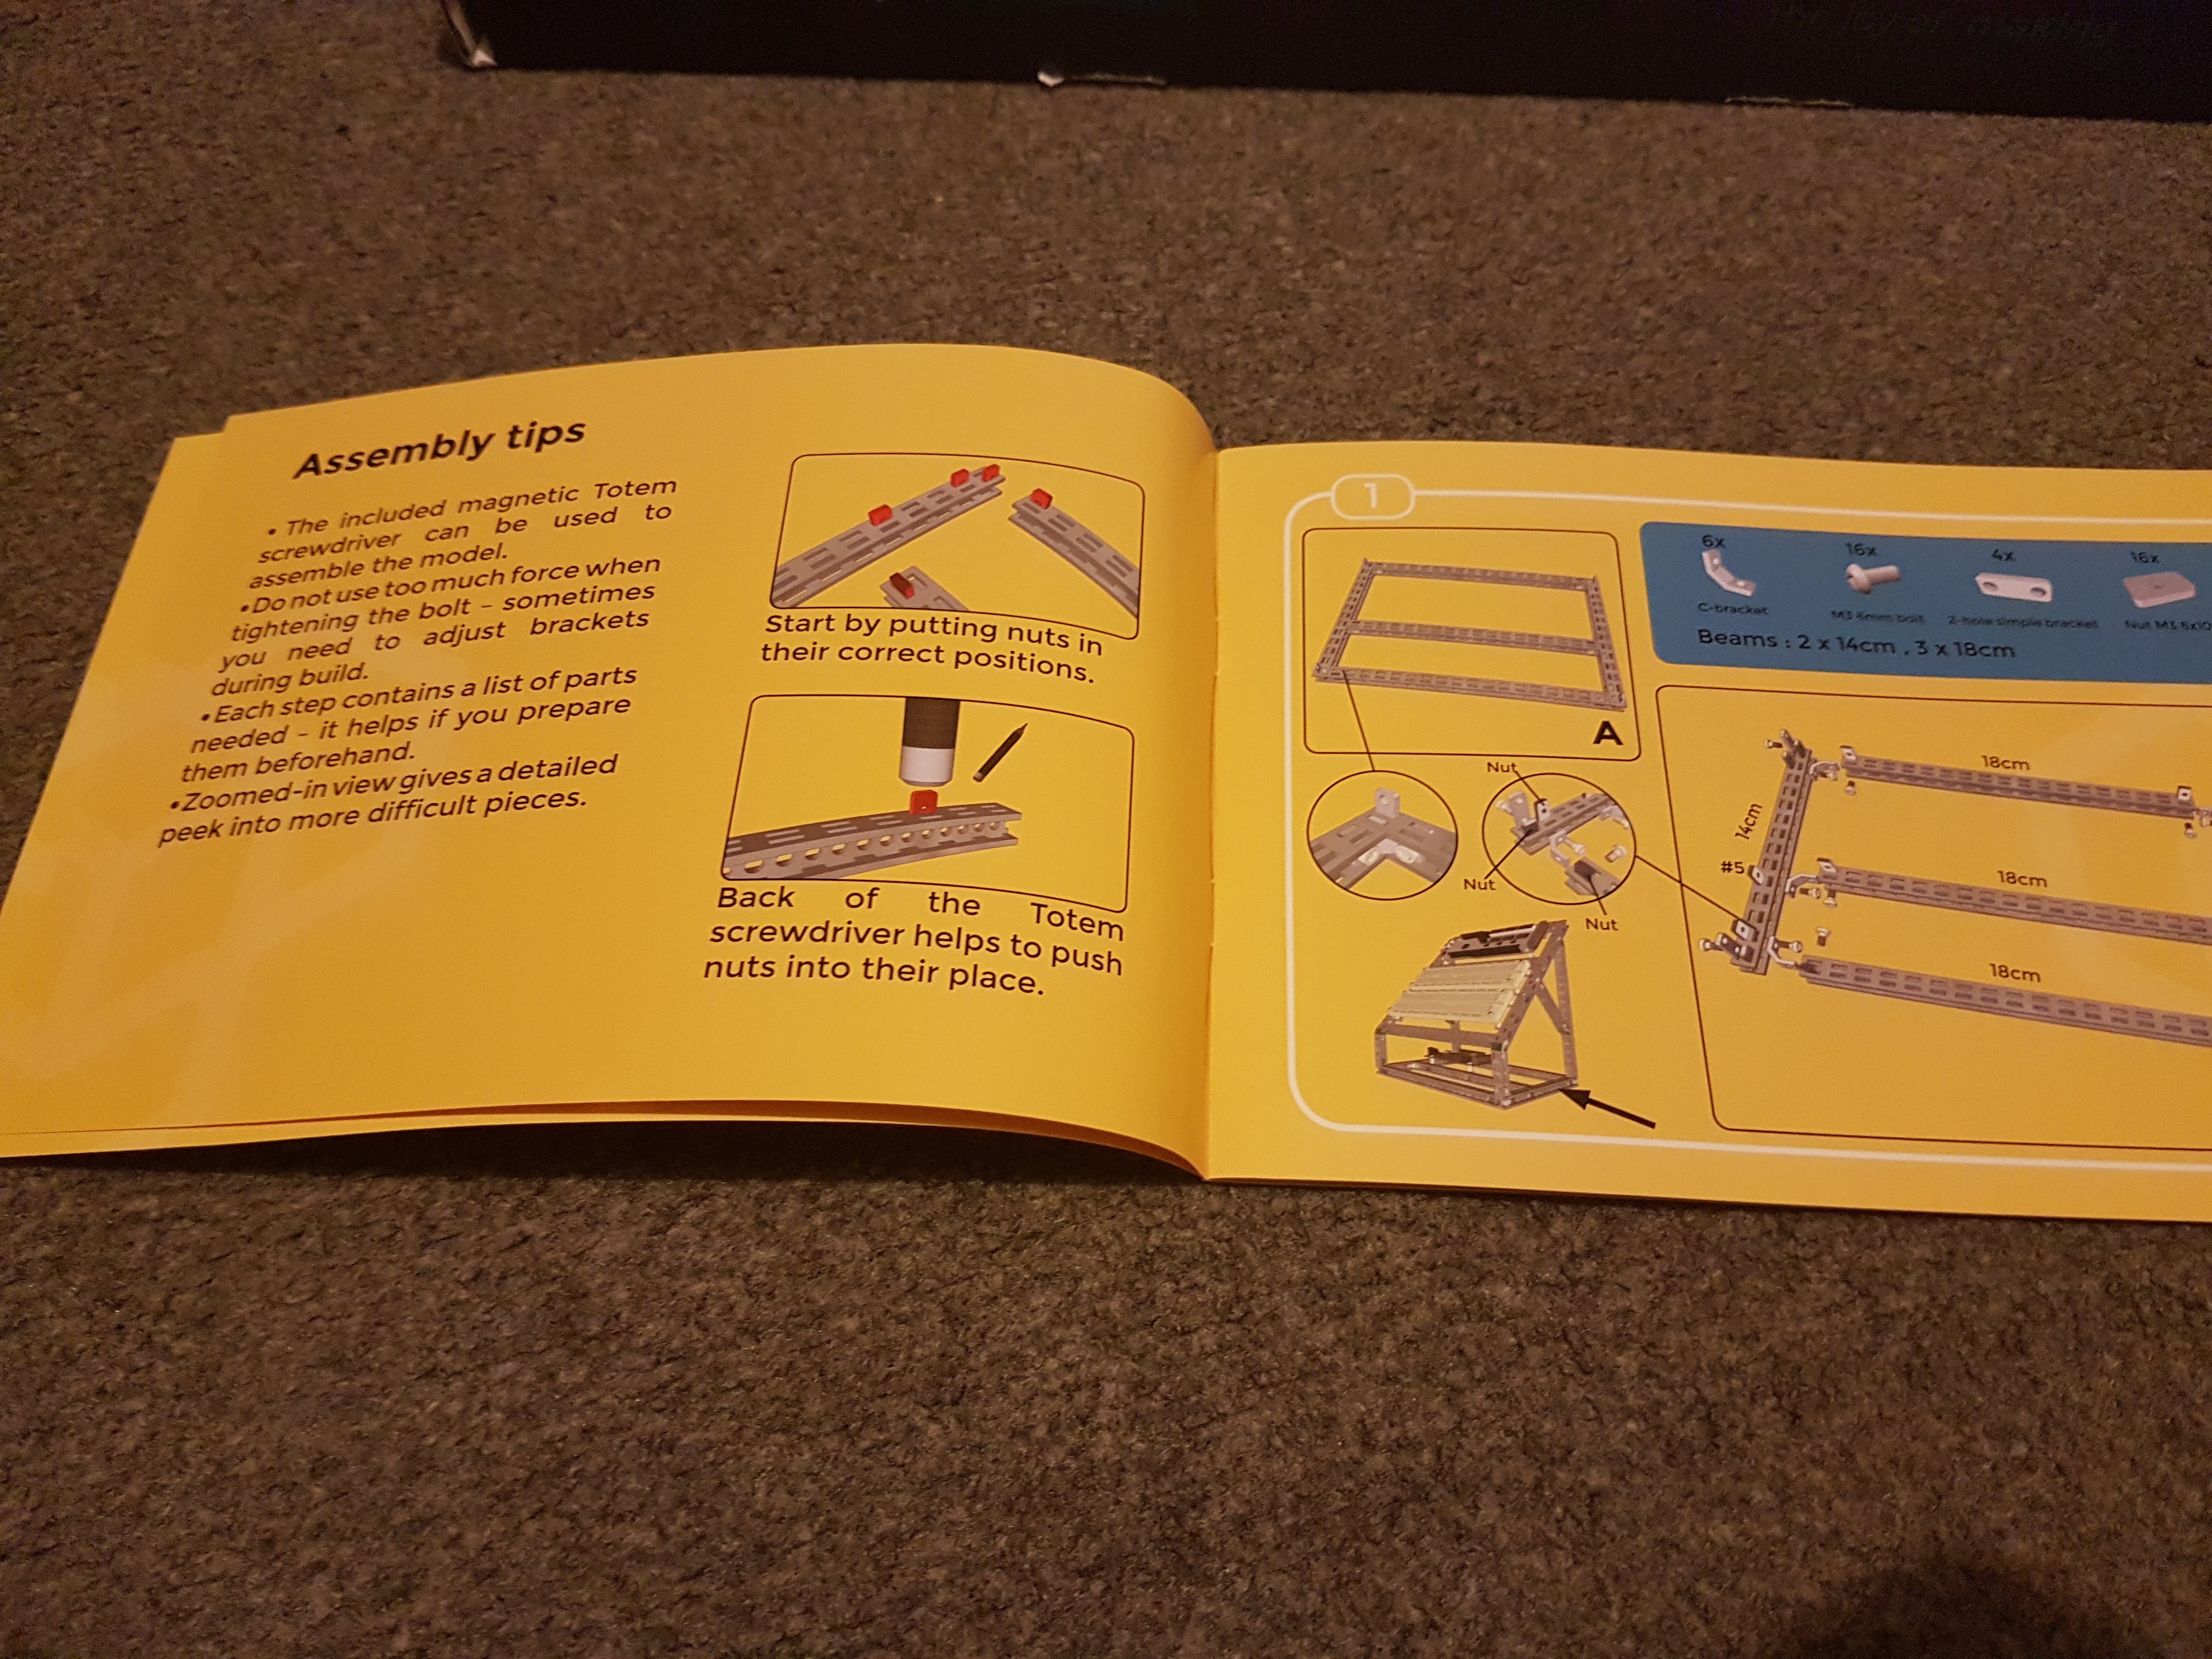
- Building instructions – suggested use of Totem parts for building a workbench where everything neatly mounts together;
- Standard USB 2.0 Mini Cable 1m (A-male to mini-male).
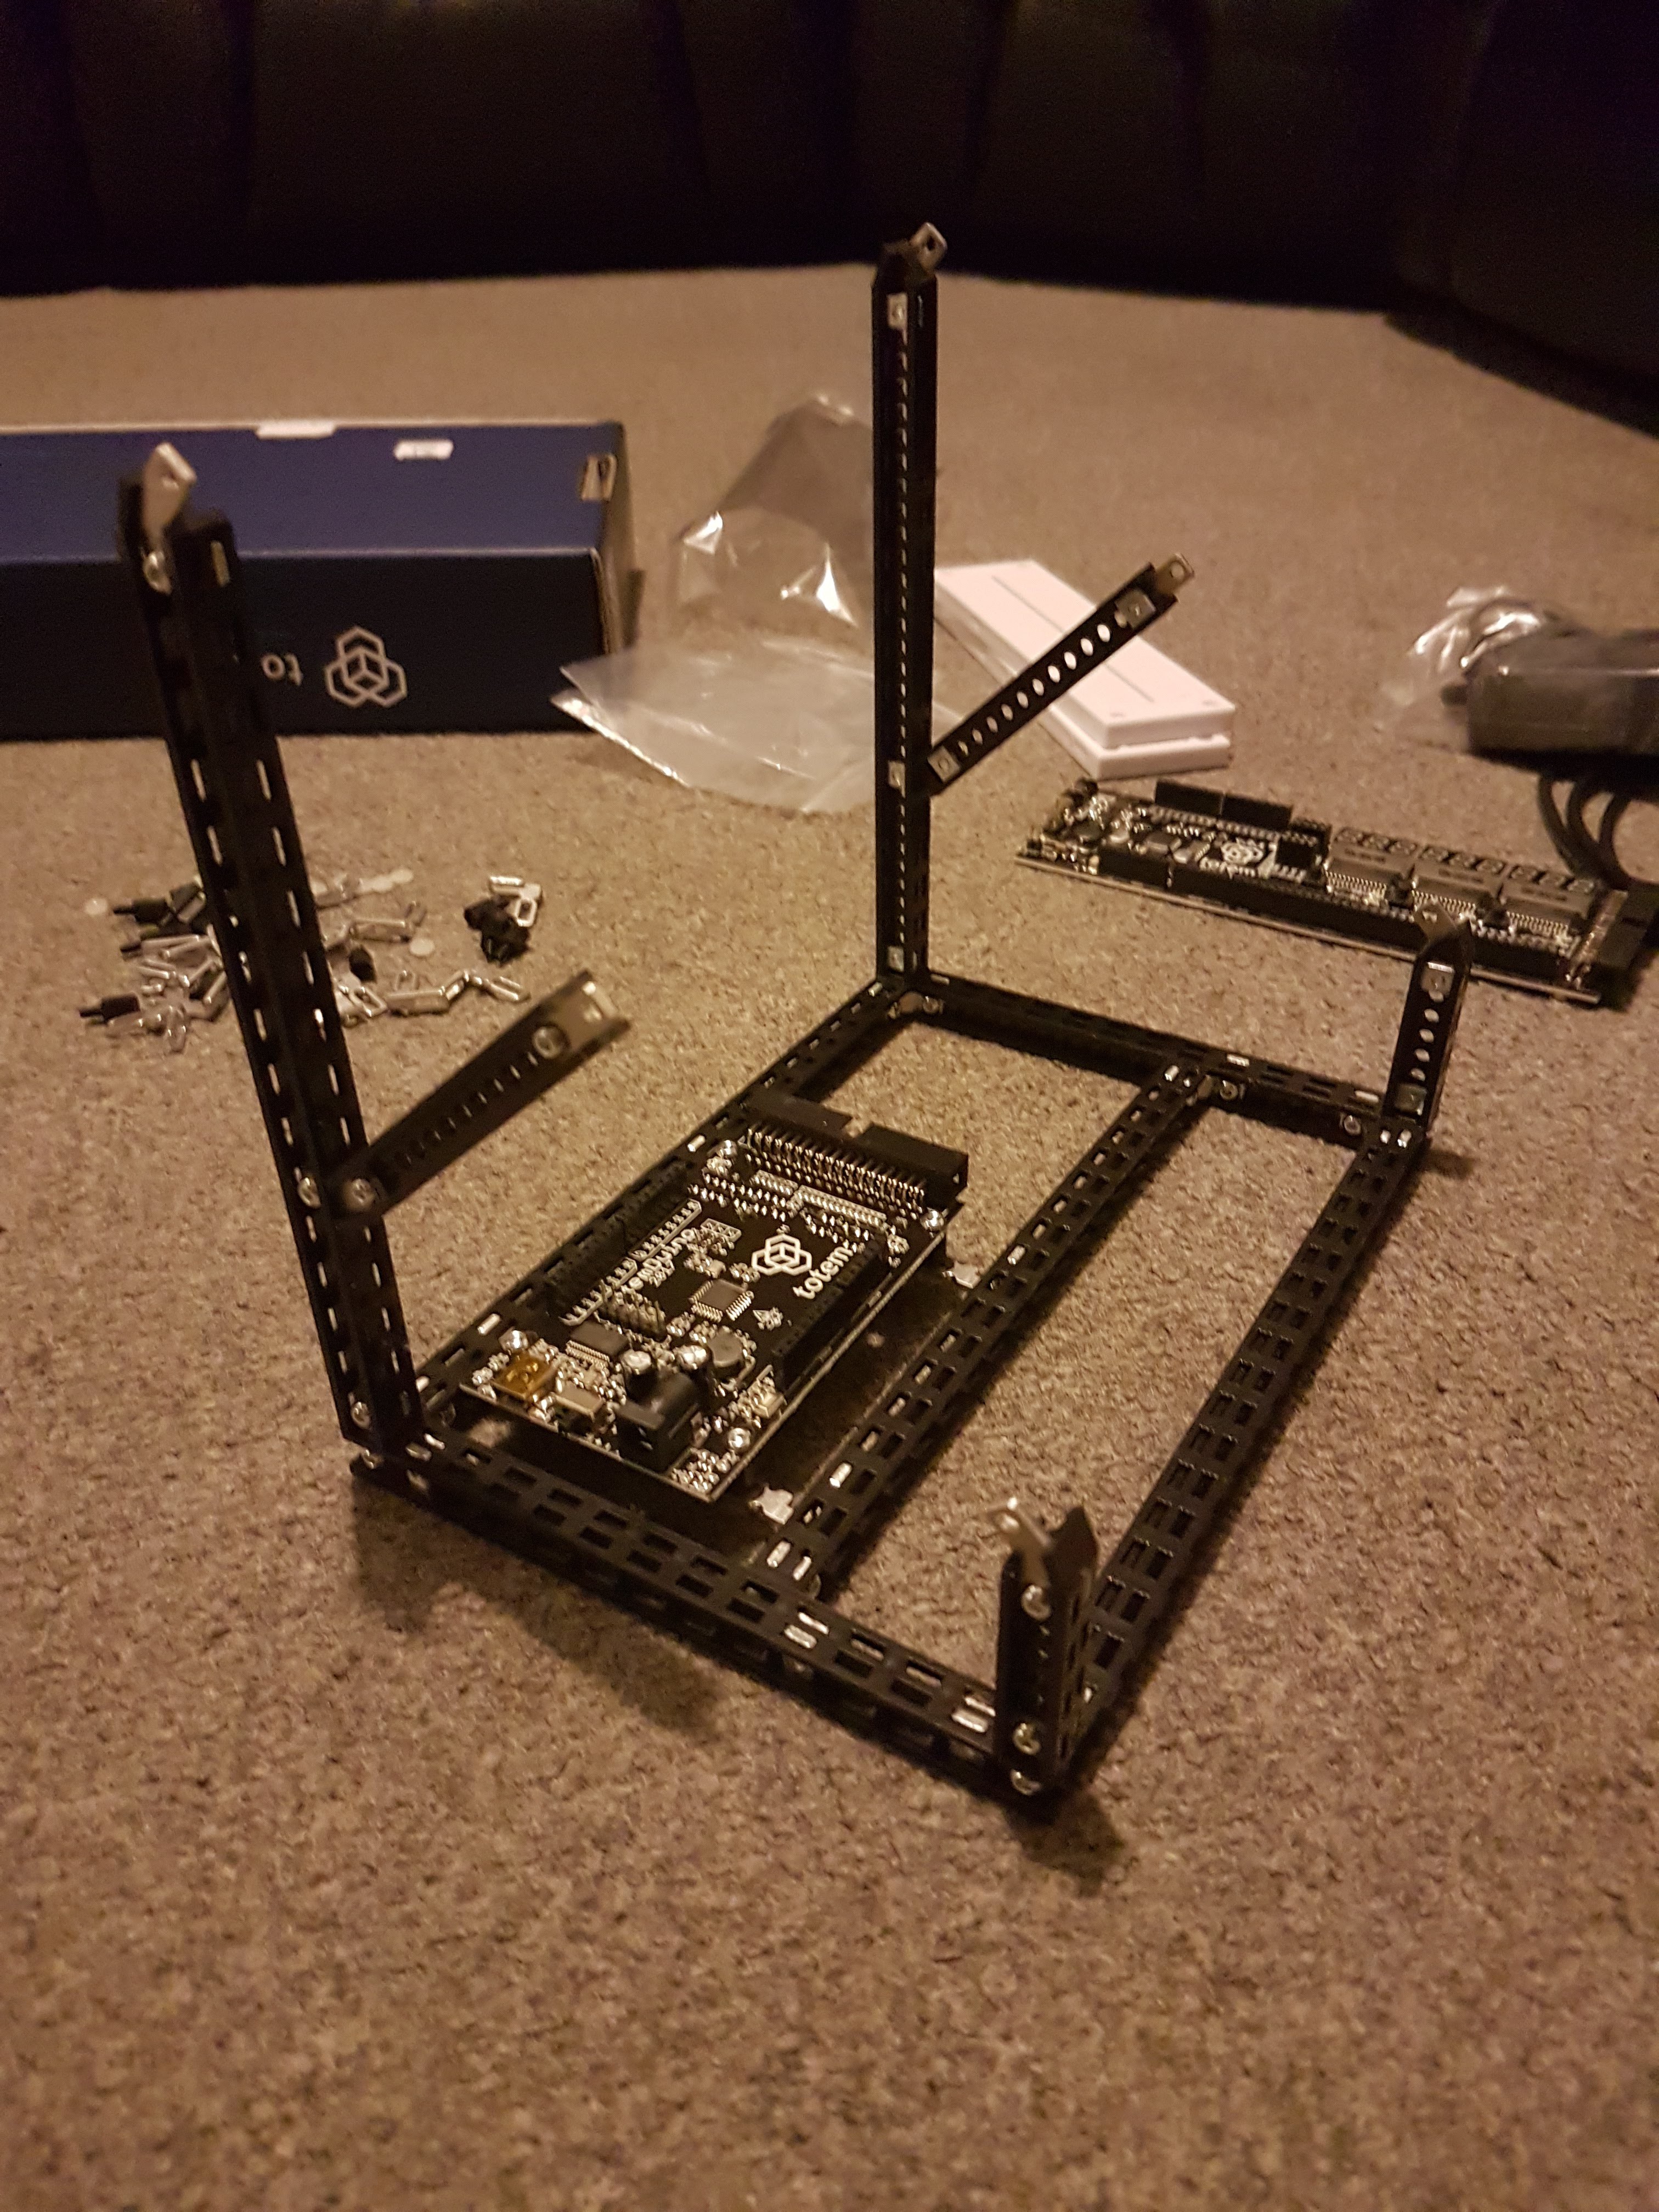
Building
I thoroughly enjoyed putting this kit together. Having recently assembled the little 2WD Car Kit from Totem I found building this an absolute joy. The included parts sheet for reference came in very handy for organising and measuring out parts and accompanied the printed build guide brilliantly. Some of the images in the book can be a little unclear as to where the nut inserts go, but once you have done the first few steps it becomes clear what is meant. The printed guide was a much better reference tool than using the online guide that the 2WD Car Kit requires to use, but I feel that is because I used my phone to view it. Still, the high quality printed document is a nice addition to the kit.
The build itself was fairly straight forward using the included driver (the only tool needed). I did find a few of the screw angles were a bit tight for a fat fingered fellow such as myself when assembling the frame, but the driver does have a wide angle of use to help it still do the job at an angle, plus the order you attach the brackets can also make it easier.
Still, all in all I had a great time assembling this, and look forward to using it :-)
![]()
![]()
![]()
![]()
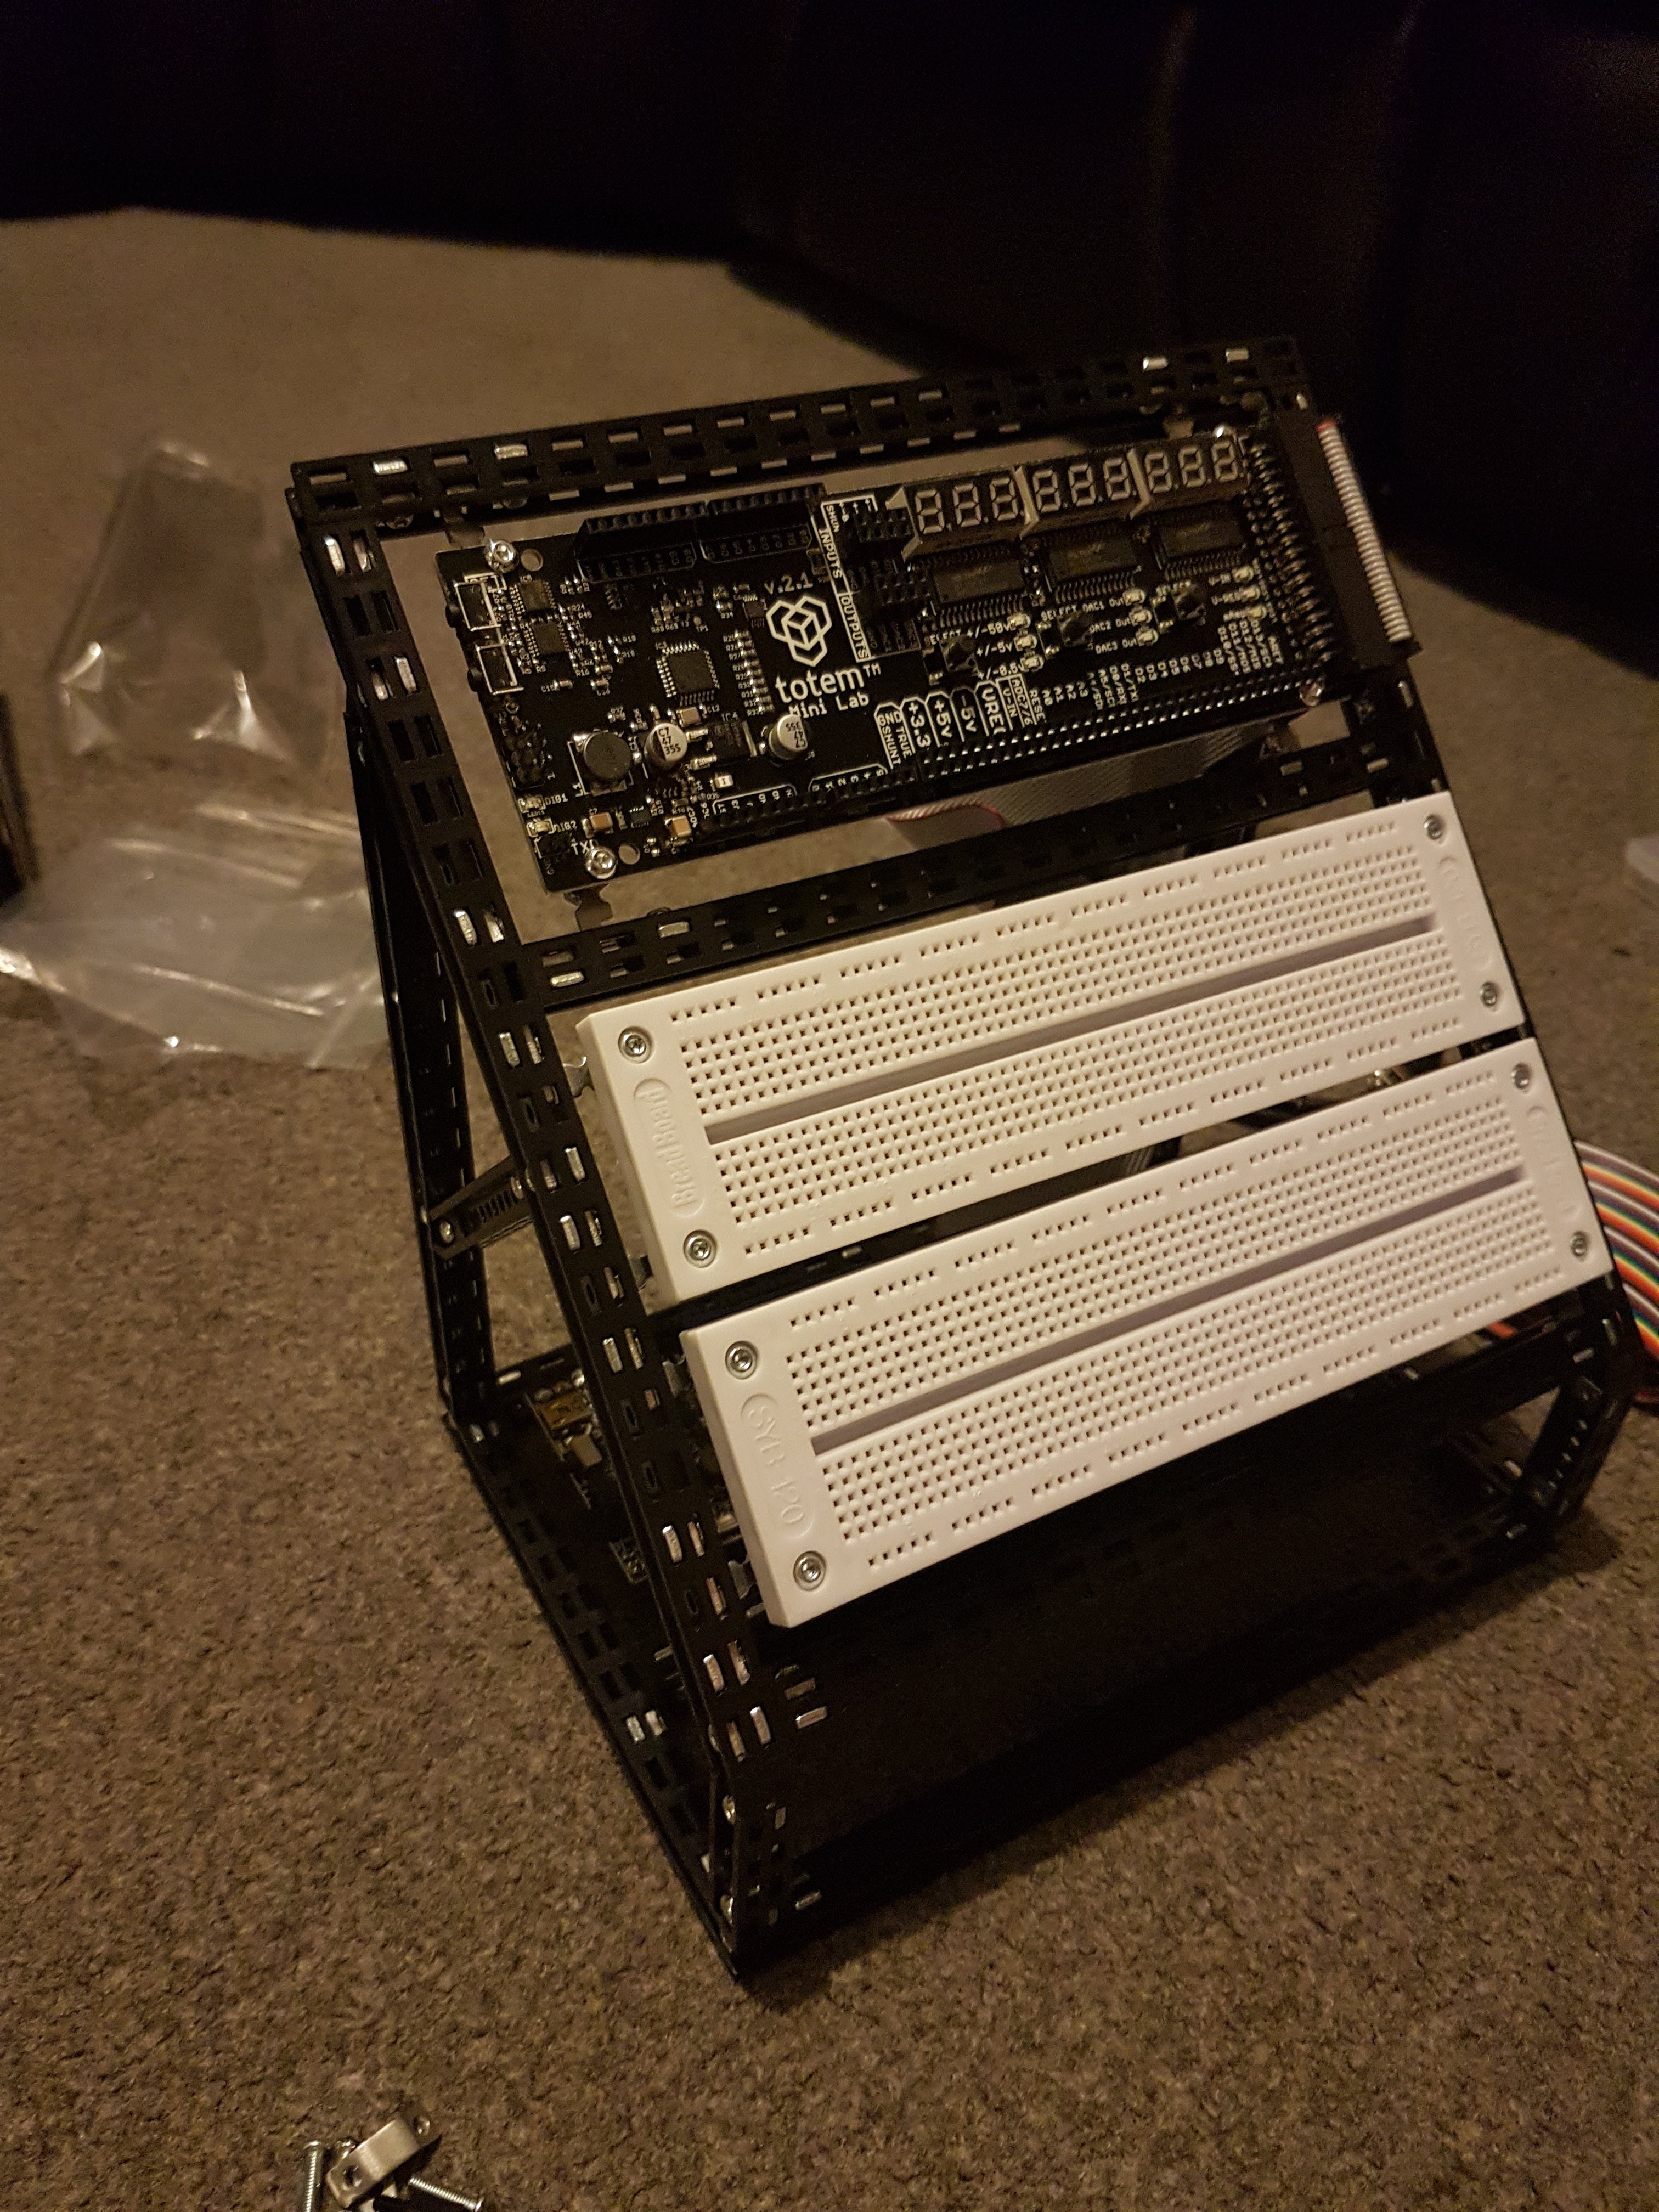
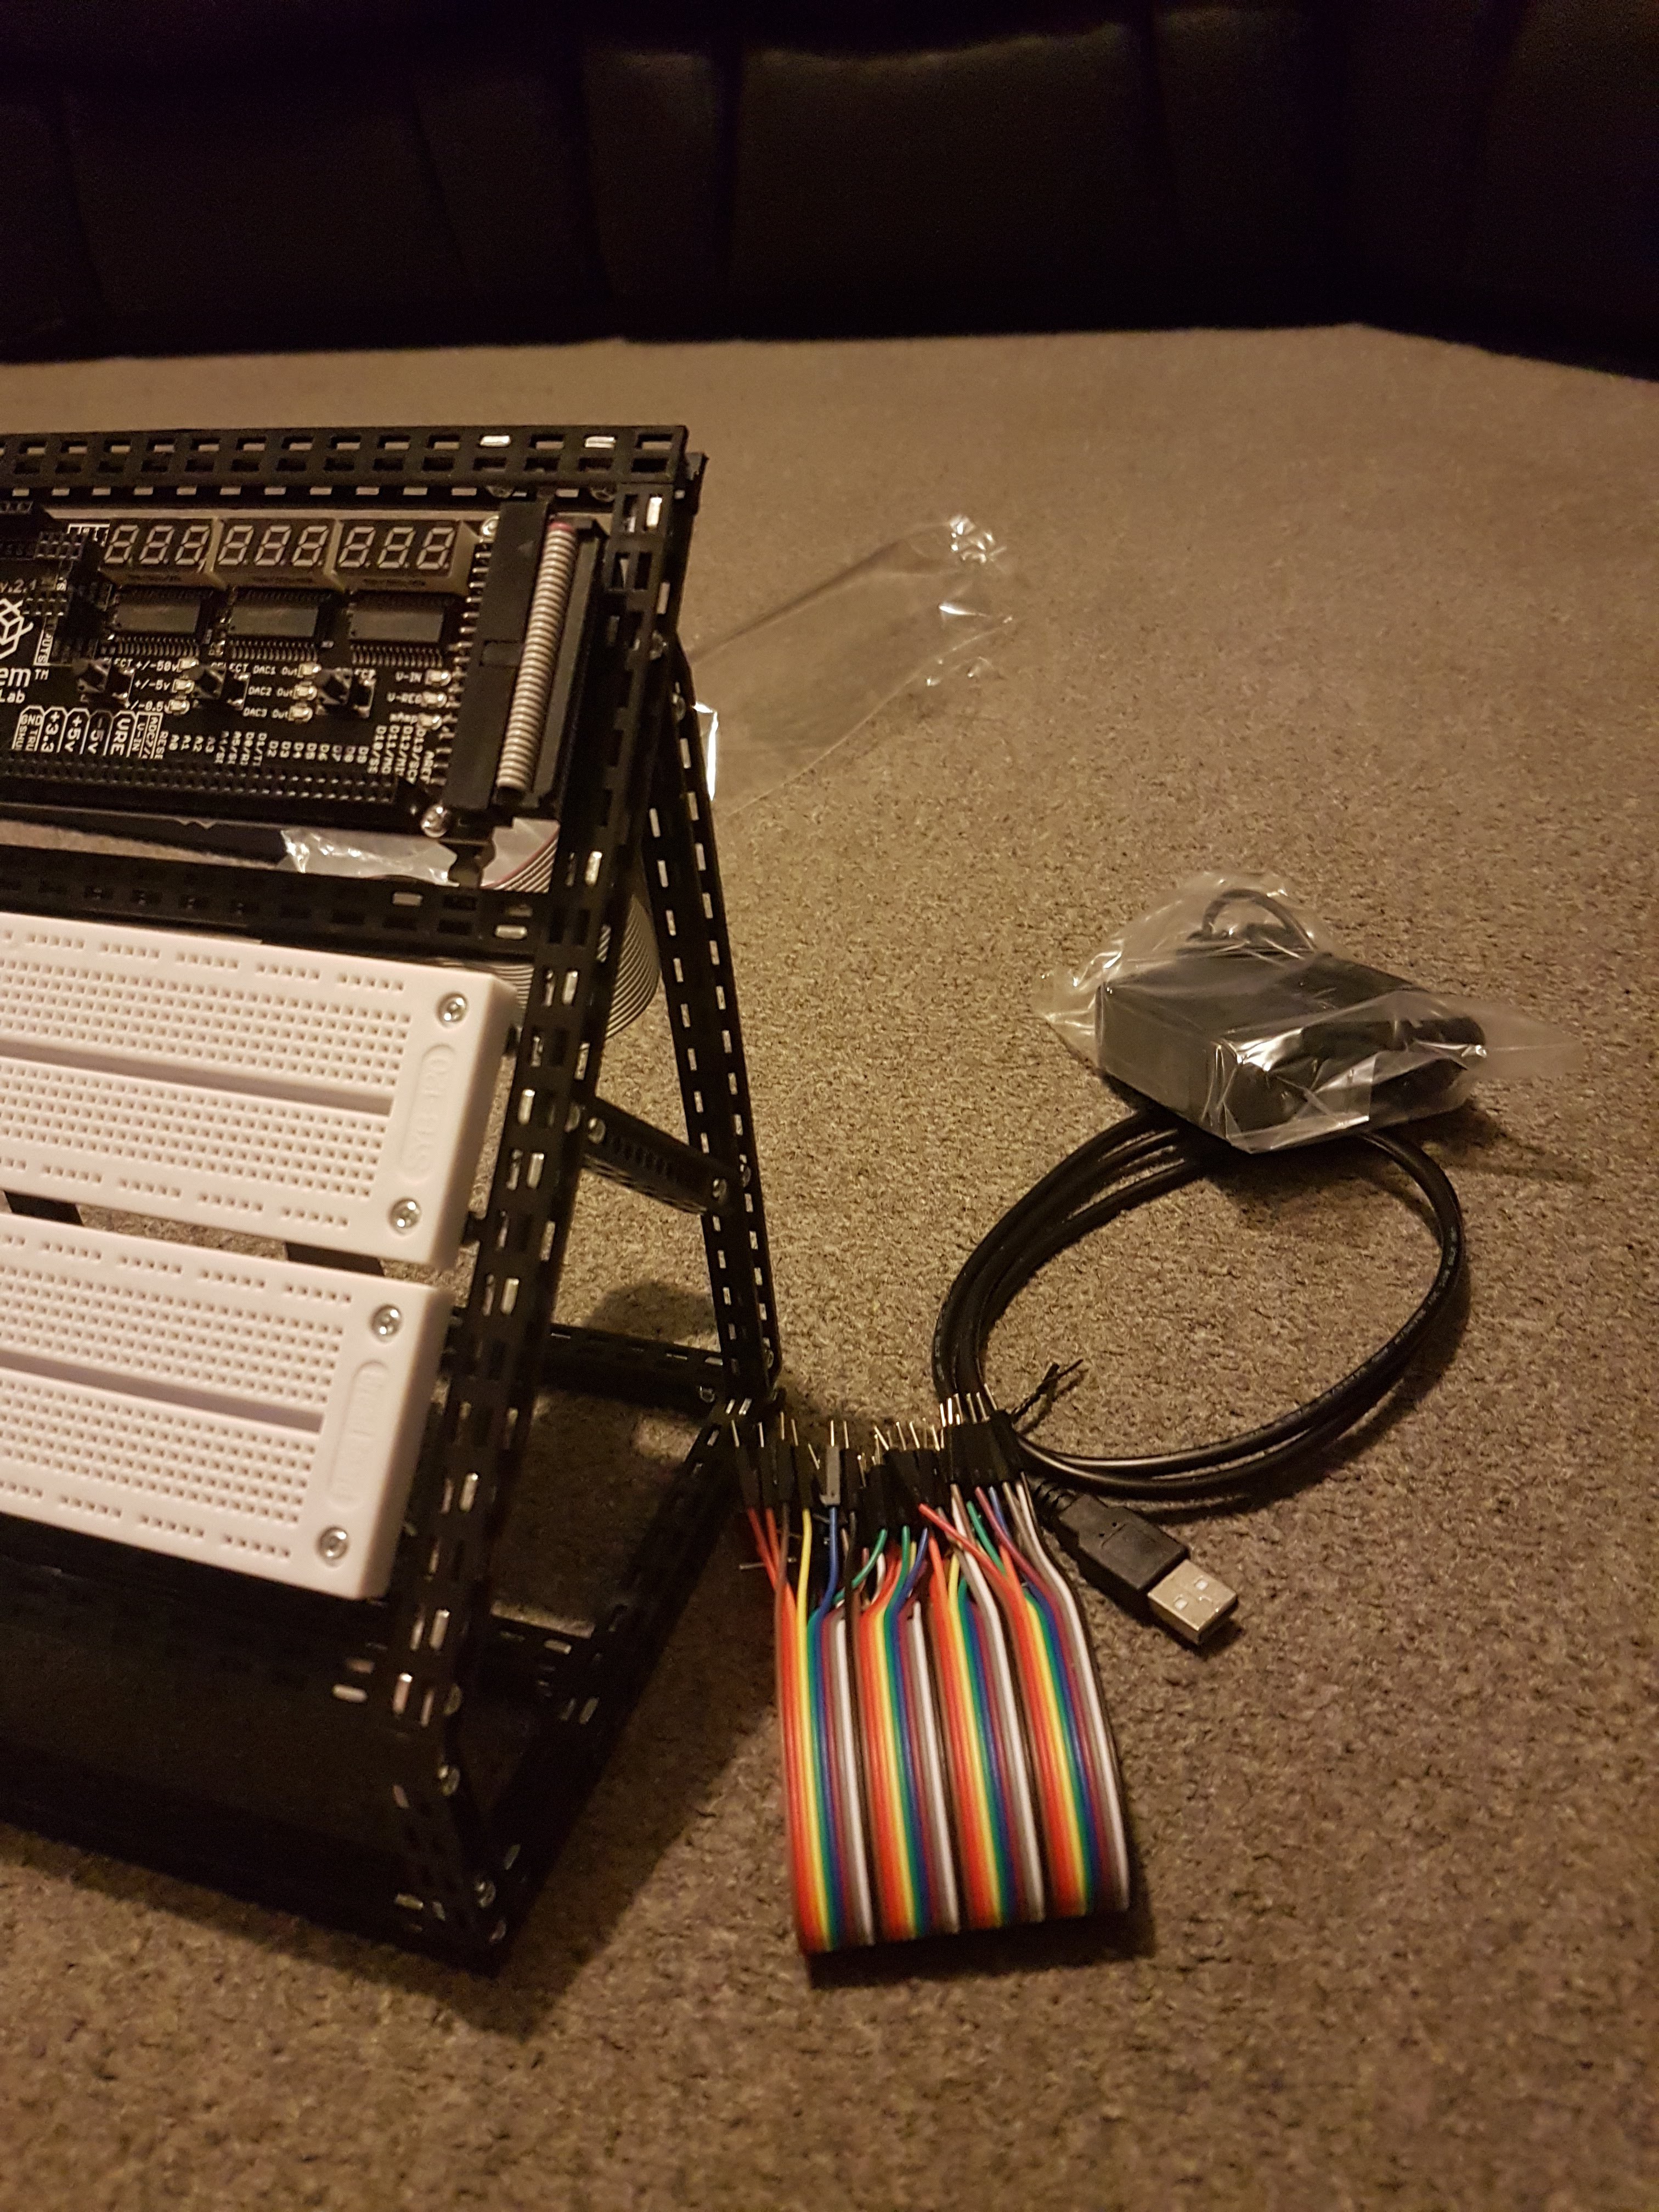
Finished Build
![]()
![]()
Software & Usability
***Software review to follow***
Expansions
It is possibly to add add-on modules to the lab it further increase its value as a prototyping and development lab.
![]()
Outcome
All in all I think this kit is absolutely fantastic. As someone without a dedicated workspace for prototyping and development I was really excited at the prospect of an all-in-one system that could improve my workflow and also tidy up the stack of boxes full of random microcontrollers, components and all kinds.
Once I have received the add on modules I am going to be moving my development for my current projects ( #DIY SamplePad Controller and #Digibone ) exclusively to this lab and will then update the software and usability section of this review. I am also keen to test how this would work in conjunction with a raspberry Pi w/touchscreen setup. Or even use the Maker Kit to build a Pi cluster chassis to add to this build.
I'm really hoping to see Totem continue developing add-on boards for this lab; it's a great form factor, and increasing the options available will really increase it's appeal as a useful tool for makers.
One in particular I'd love to see is a Network-based add-on, build around an ESP32 to add Wifi, Bluetooth and perhaps ethernet ports for IoT development. I'd also love to see some further TotemDuinos developed, using perhaps the Mega as a base rather than the Uno, maybe even including an ESP32 on it rather than as a separate module.
Anyway, I'm really excited by this lab and look forward to seeing where the future takes it!
UPDATE - Using the Lab [26 Nov]
In the last few weeks I have received my add-on boards for the lab. I have received the one on the right in the picture above, and also the...
Read more -
Product Review | Totem 2WD Car Kit
10/17/2019 at 16:16 • 0 commentsBilled as an upgradable smartphone-controller car chassis kit, the Totem 2WD Car Kit does exactly what it says; it is a small kit featuring a Bluetooth-compatible board and a companion app to control it. Despite its size the kit comes with everything you'd need to build a fantastic little platform to use as-is or to build upon.
Unboxing
![]()
![]()
![]()
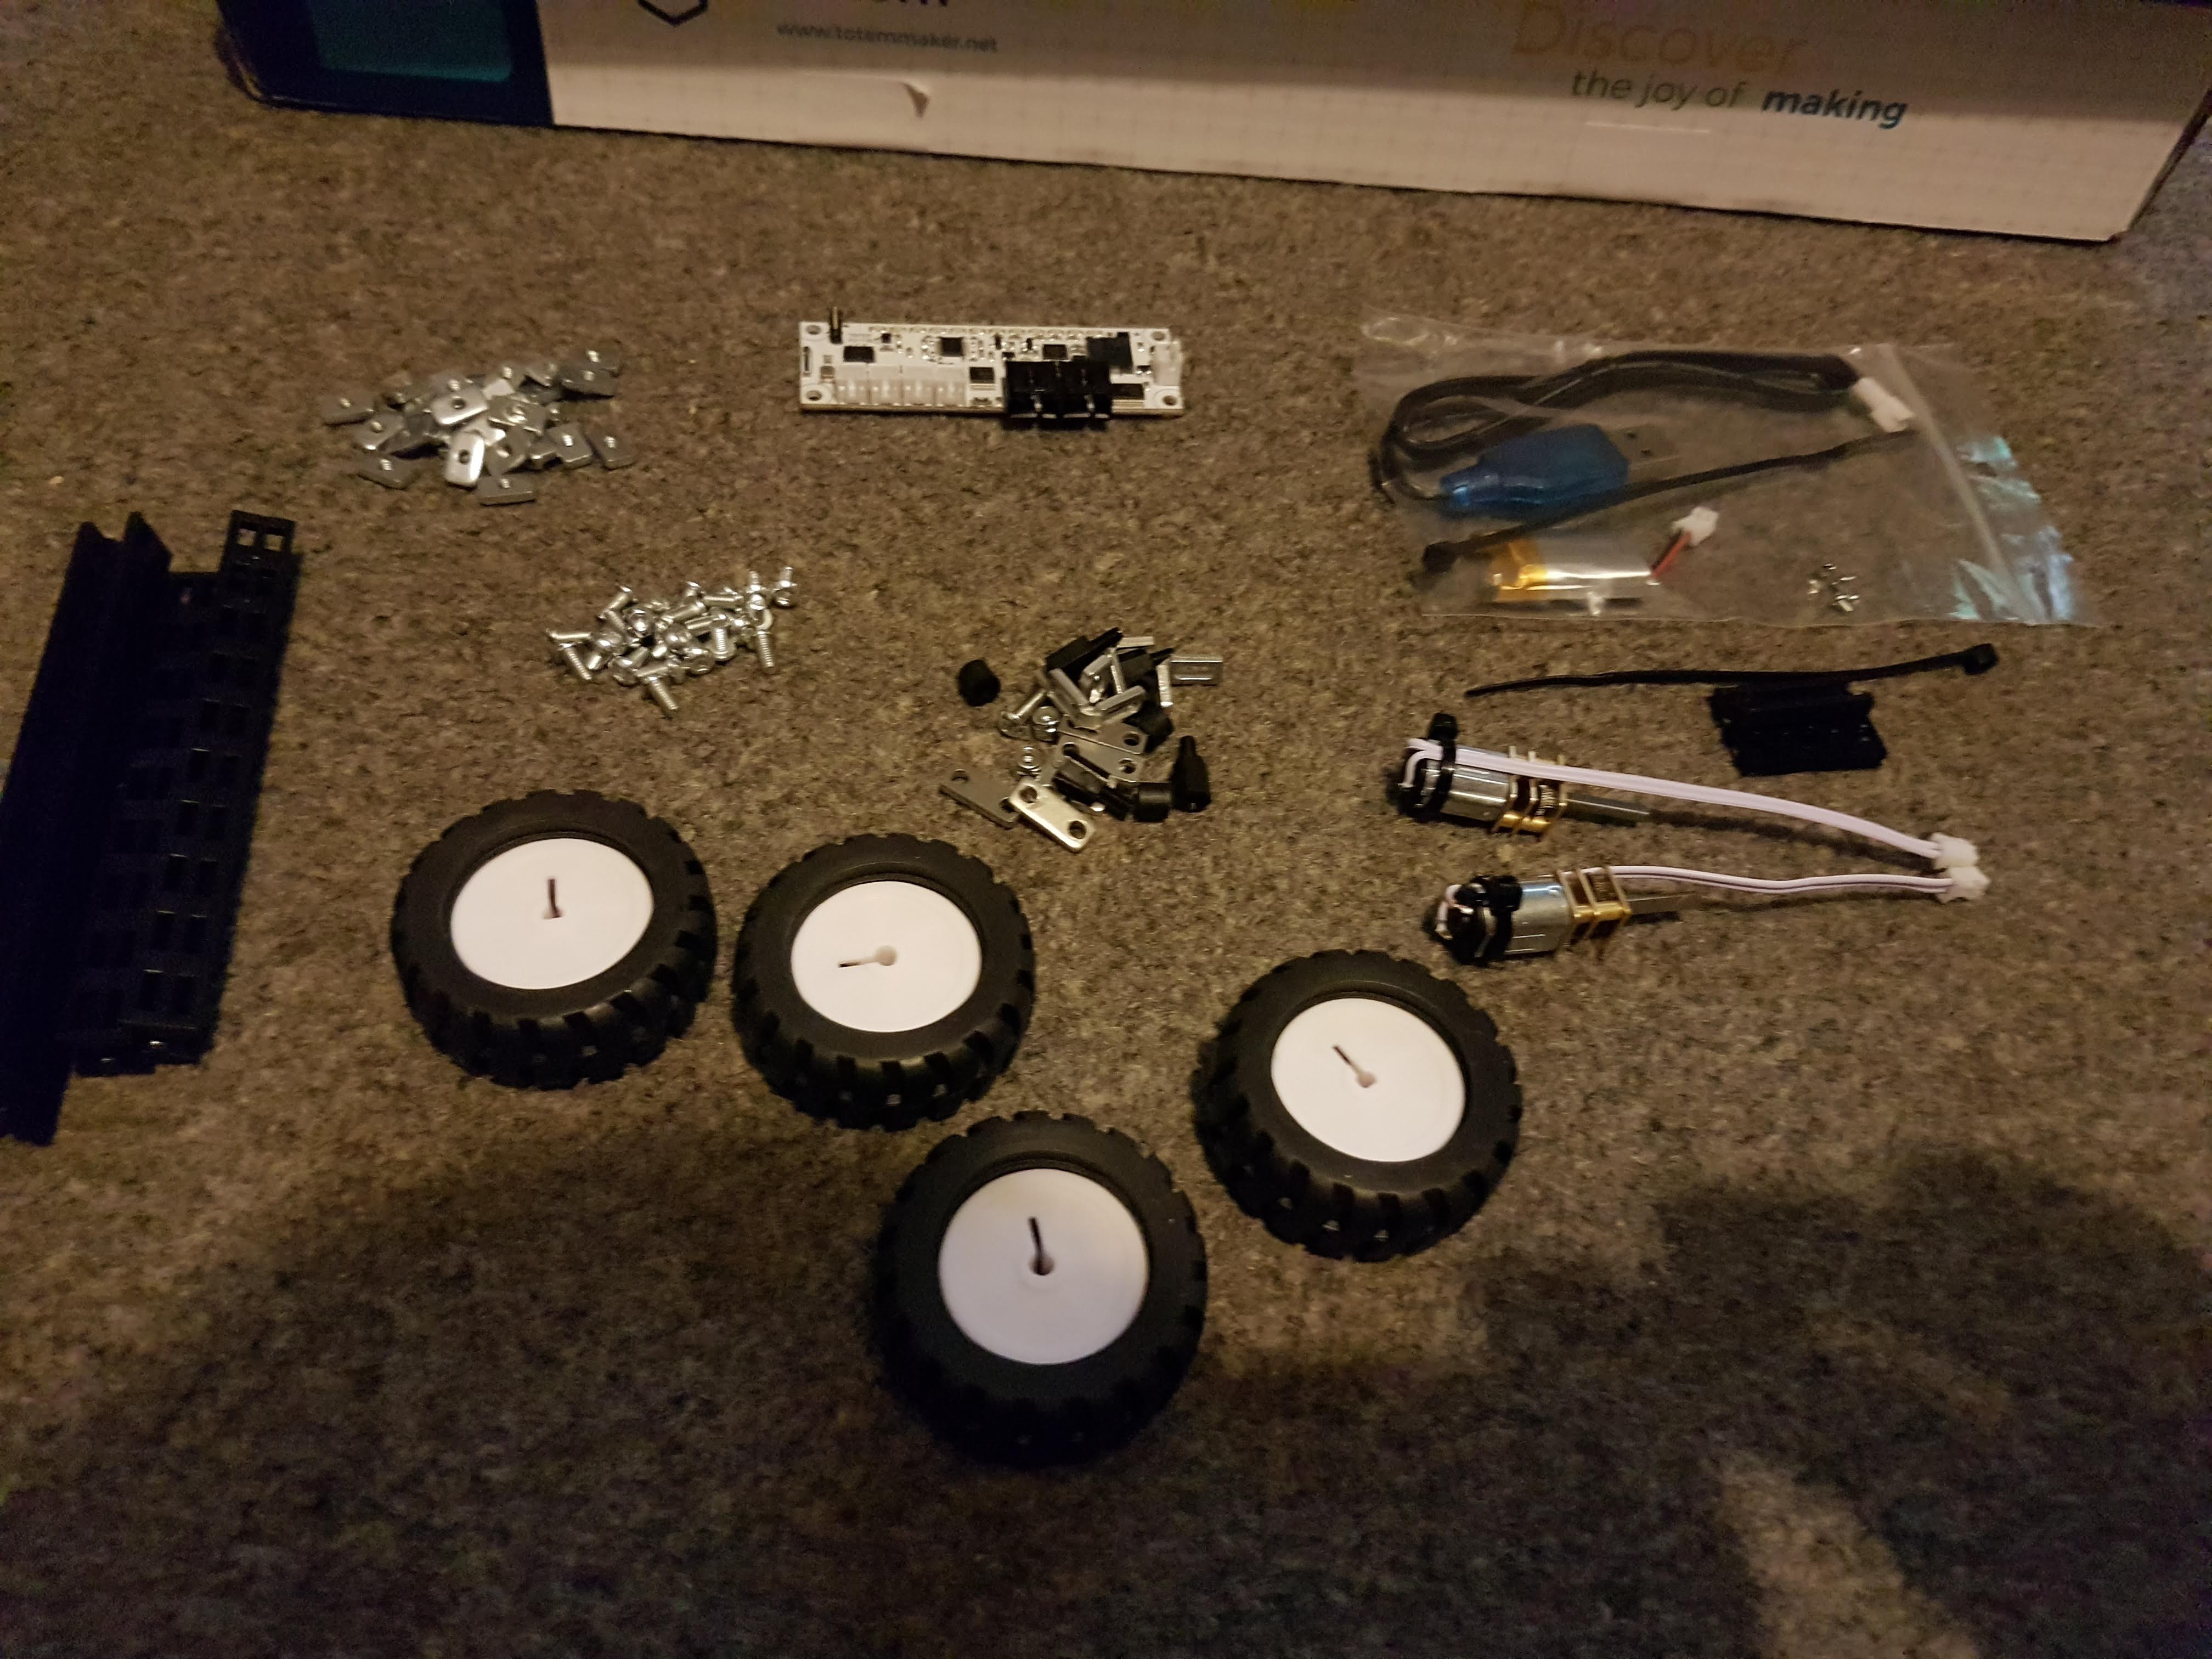
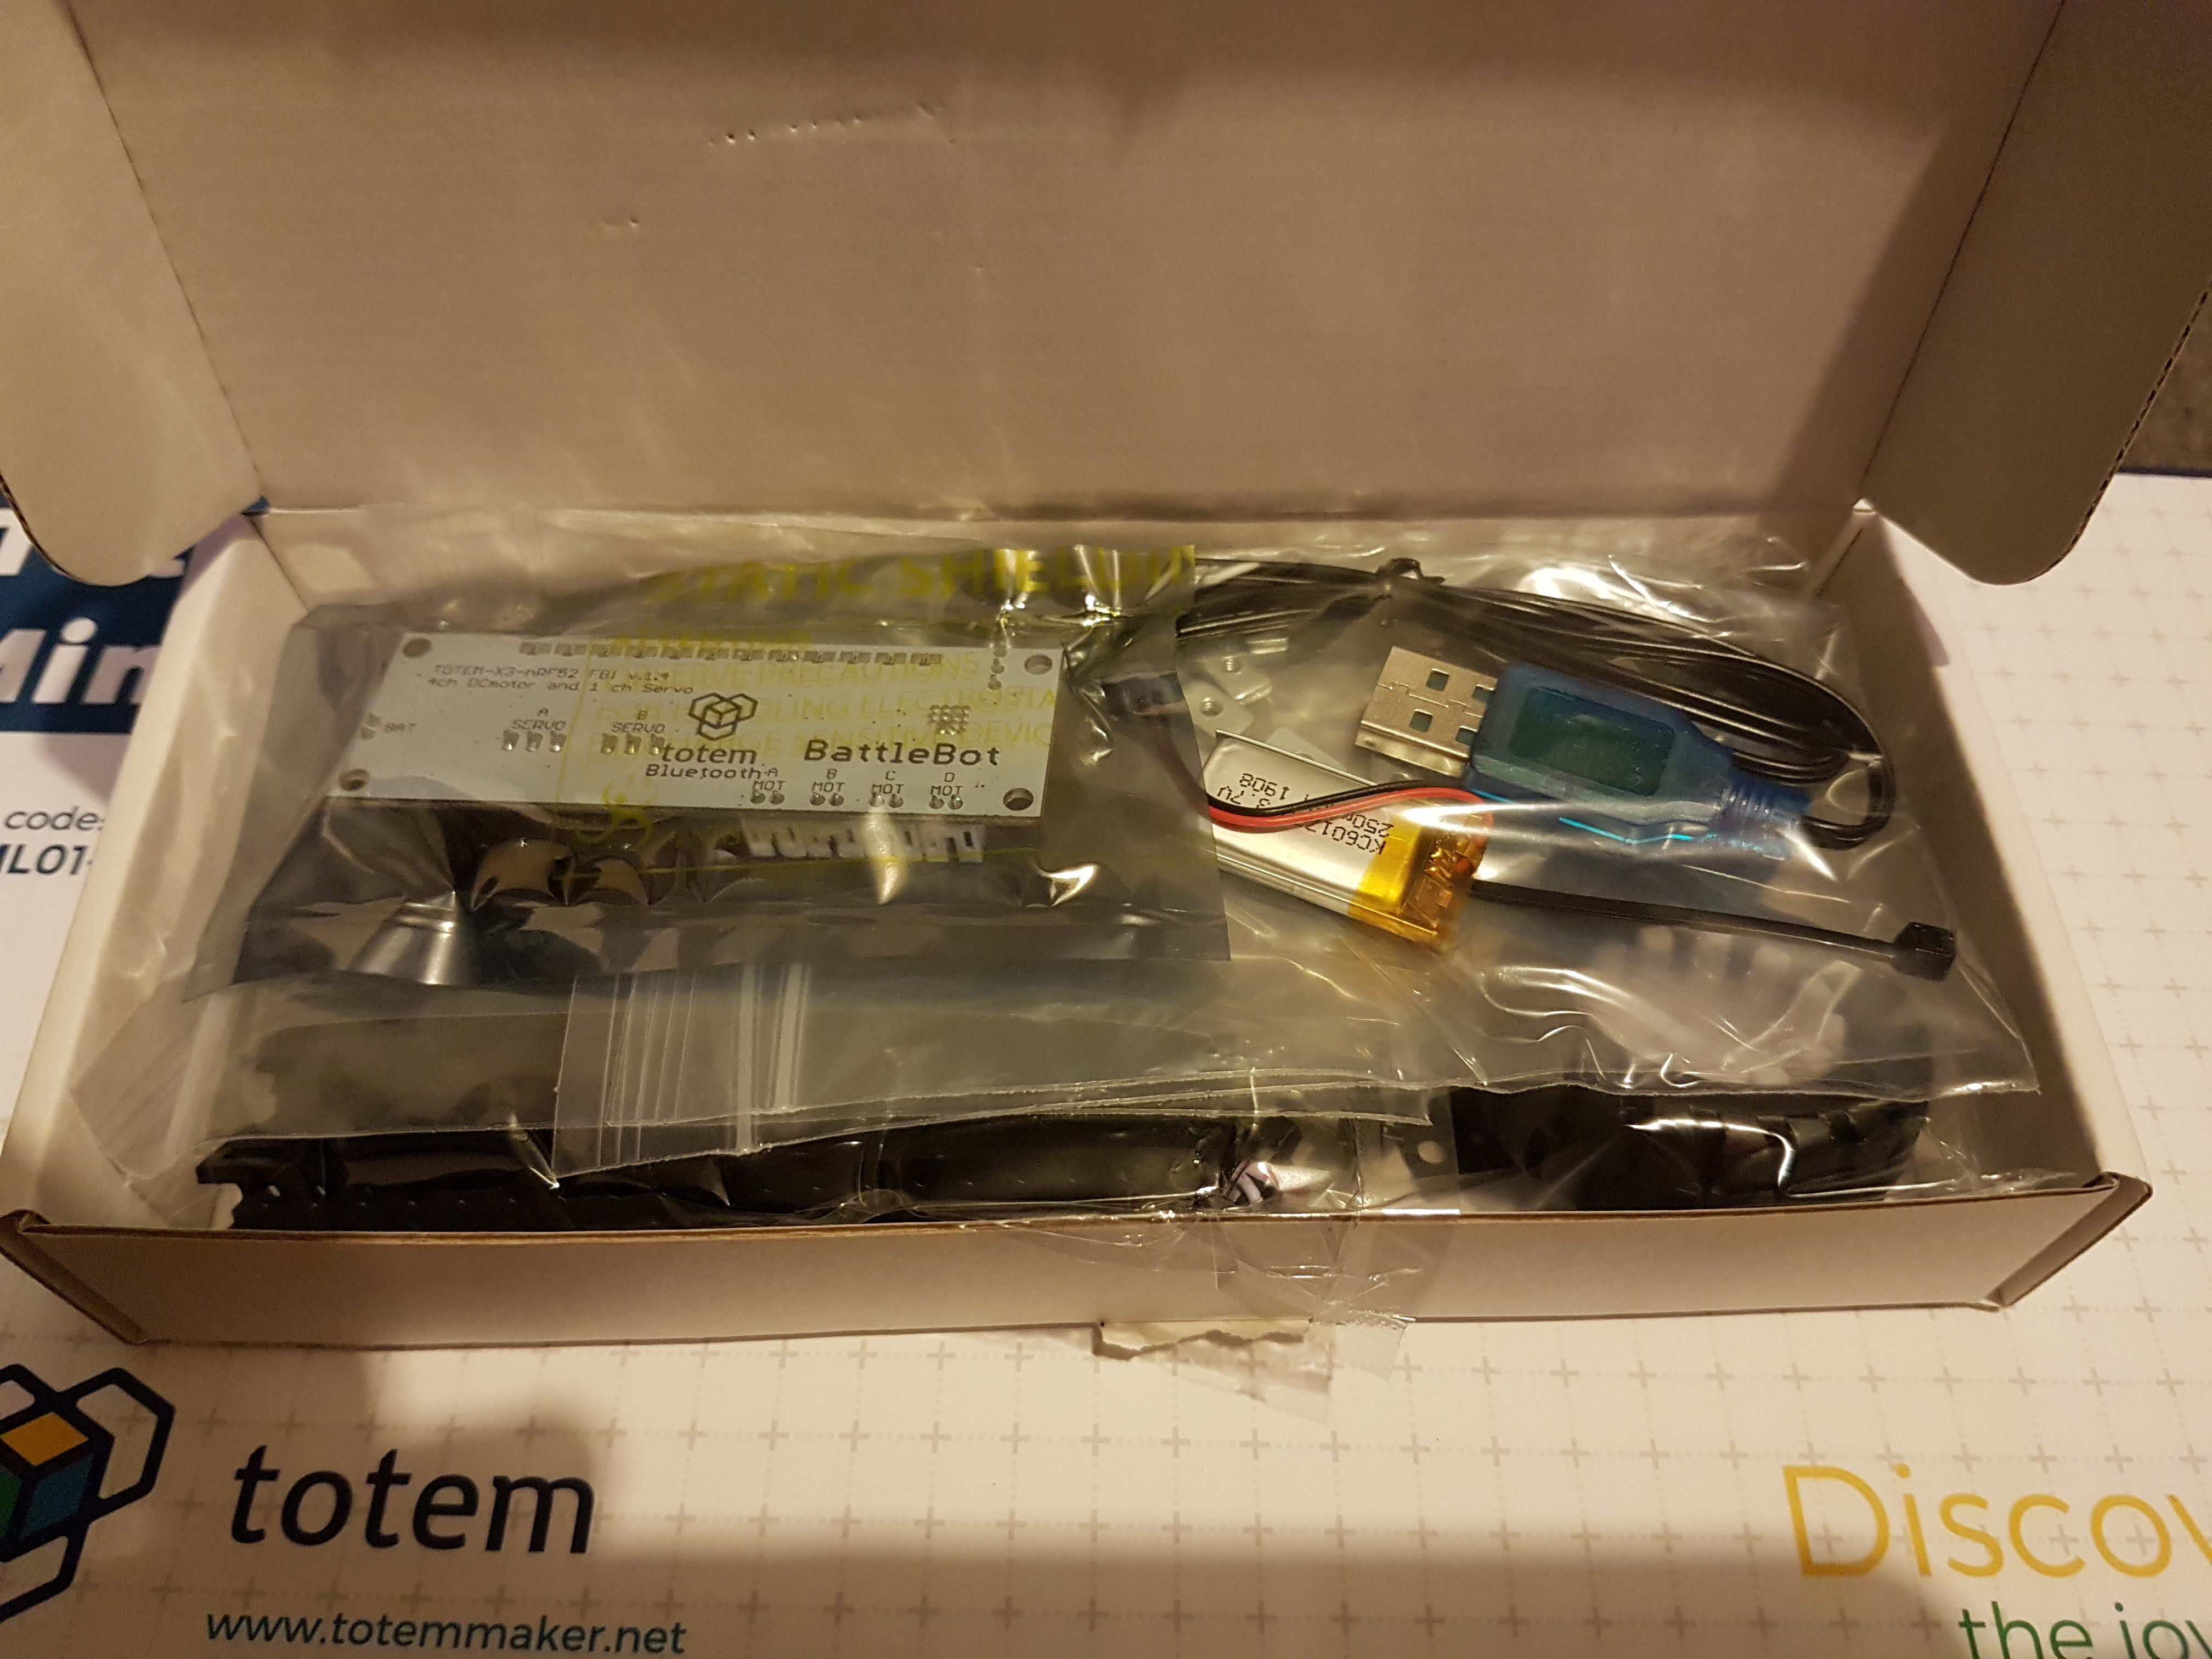
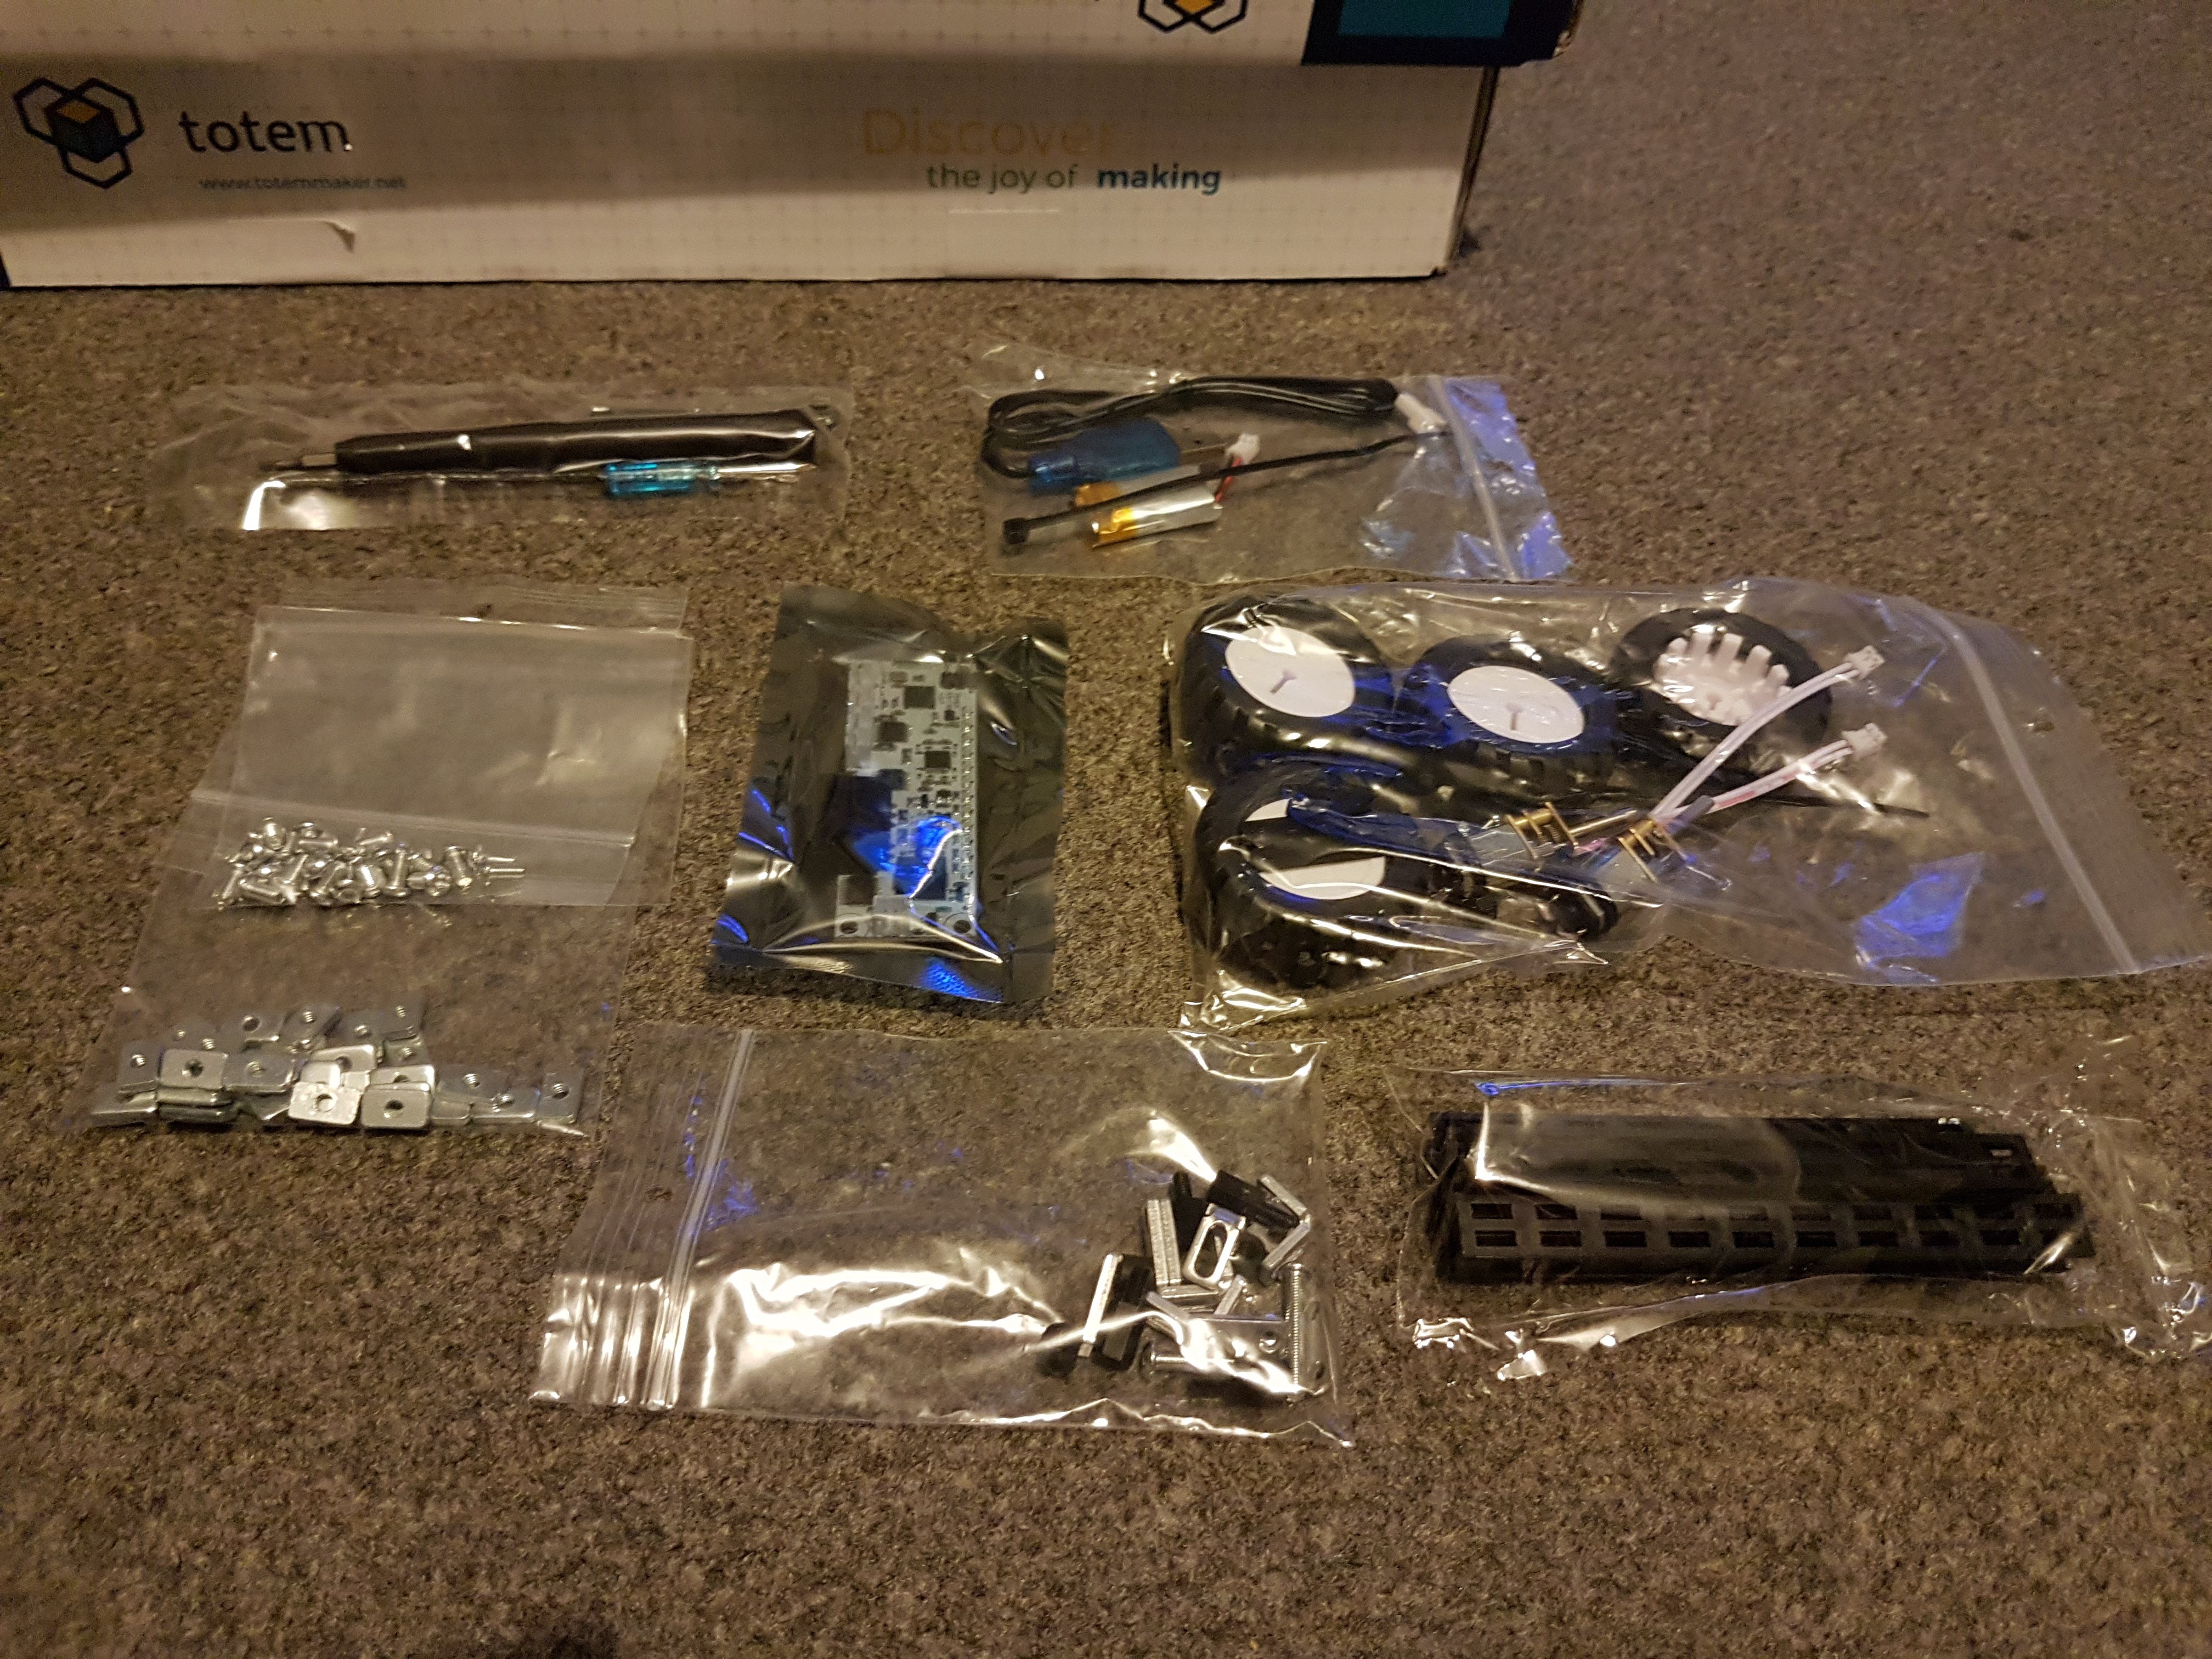
The kit contains the following parts:
- 1x X3-FBI board – Bluetooth motor controller;
- 2x cables – with JST connectors, to connect motors and controller;
- 2x DC Motors – N20 type, with JST connectors, L=16mm shaft, 75:1 gear ratio, 400 rpm shaft output at 6 V;
- 1x Battery – LiPo, 3.7 V, 250 mAh;
- 1x USB Battery Charger;
- 4x Wheels – 2x driving wheels with D-shaft holes (to mount directly on the motor) and 2x idler wheels with O-shaft holes (3.2mm), 44 mm rubber tires;
- Totem mechanics and Tools for building chassis frame.
Building
Building this kit was great fun! The instructions for building are available by following a QR code on the box. The manual is clear, well thought out and makes assembly as easy as possible. The manual is a tad difficult to read on a phone display so I'd recommend using a tablet or a PC, or downloading the manual as a PDF instead of using the onscreen widget. The kit had a few spare nuts and bolts which was a welcome site, they always come in handy. I did notice that the tolerance of the small M3 nut/inserts sometimes varied ever-so-slightly, making is sometimes a little tricky to slot them into the beams. Using the butt of the driver tool as recommended in the documentation definitely helps with these parts. The quality of the included tools are also great. Taking time to align the beams properly when attaching the brackets before fully screwing them in is a good method to follow, and ensures for a flush fit.
![]()
Finished Build
![]()
Software
Once assembled and everything was plugged into the board it was ridiculously easy to get it moving; download the totem app (Link for Android), search and pair with the board via Bluetooth, select the kit you have and start driving! The provided layout gives you the basic controls you need to whizz this thing around, and even has an edit button to allow adjustment.
I would have loved to have seen a USB on board for uploading user written code, but for this size of build the board will already handle everything you throw at it.
I tried some of the other kit controls to see if the commands are the same in all modes and that's not the case. I'm not sure of the board is flashed just to work with the kit its with or if it checks what is connected to it before deciding what it is.
Whatever it does it's a great little drive and the motors are surprisingly torque-y for their size. If the board handled a higher voltage input it would probably go at a fair speed!
Outcome
The final product is a great little platform! The X3-FBI board features in most of the robot chassis kits available, and as such means there are plenty of extra ports for expansion should you wish to build on top of this chassis. The board could benefit from an on-off switch to ease the wear and tear on the battery connector. Another nice feature for future boards would be a integrated charger for the battery, however I can see why they'd struggle to fit the extra components on the board alongside the rest of the things on there (the light bar, speaker, position sensor and the motor driver and ports) without sacrificing the small for factor.
The Totem Beam system is absolutely brilliant - the combination of light, plastic beams reinforced with metal inserts and brackets works really well together, and gives plenty of options for building.
All in all this kit was a fantastic introduction to the Totem system. I am really looking forward to assembling my Mini Lab from these guys, and I'm really looking forward to coming up with a custom structure from their Maker Kit too.
Thanks Totem!
-
Product Reviews
10/14/2019 at 23:38 • 0 commentsIn a few days I will hopefully be receiving a wonderful package from Totem, and I can't ruddy wait!
I came across the company a month or two ago while looking for an alternative to 20x20 aluminium extrusion for my #Digibone project on here; I needed something light and sturdy to build a frame.
After a few days of chatting to Karolis from Totem they were really excited to see what I could use their Maker Kit for, and very kindly offered to send me the kit to use in my project in exchange for a review of it.
Furthermore they are also sending their mini lab kit, which I'm really looking forward to using to streamline my project development moving forward.
When I receive these kits I shall be hosting my reviews as Pages on here, and with the Maker Kit I will be adding plenty of logs to document how I manage to build my DigiBone frame from the kit.
Exciting times!
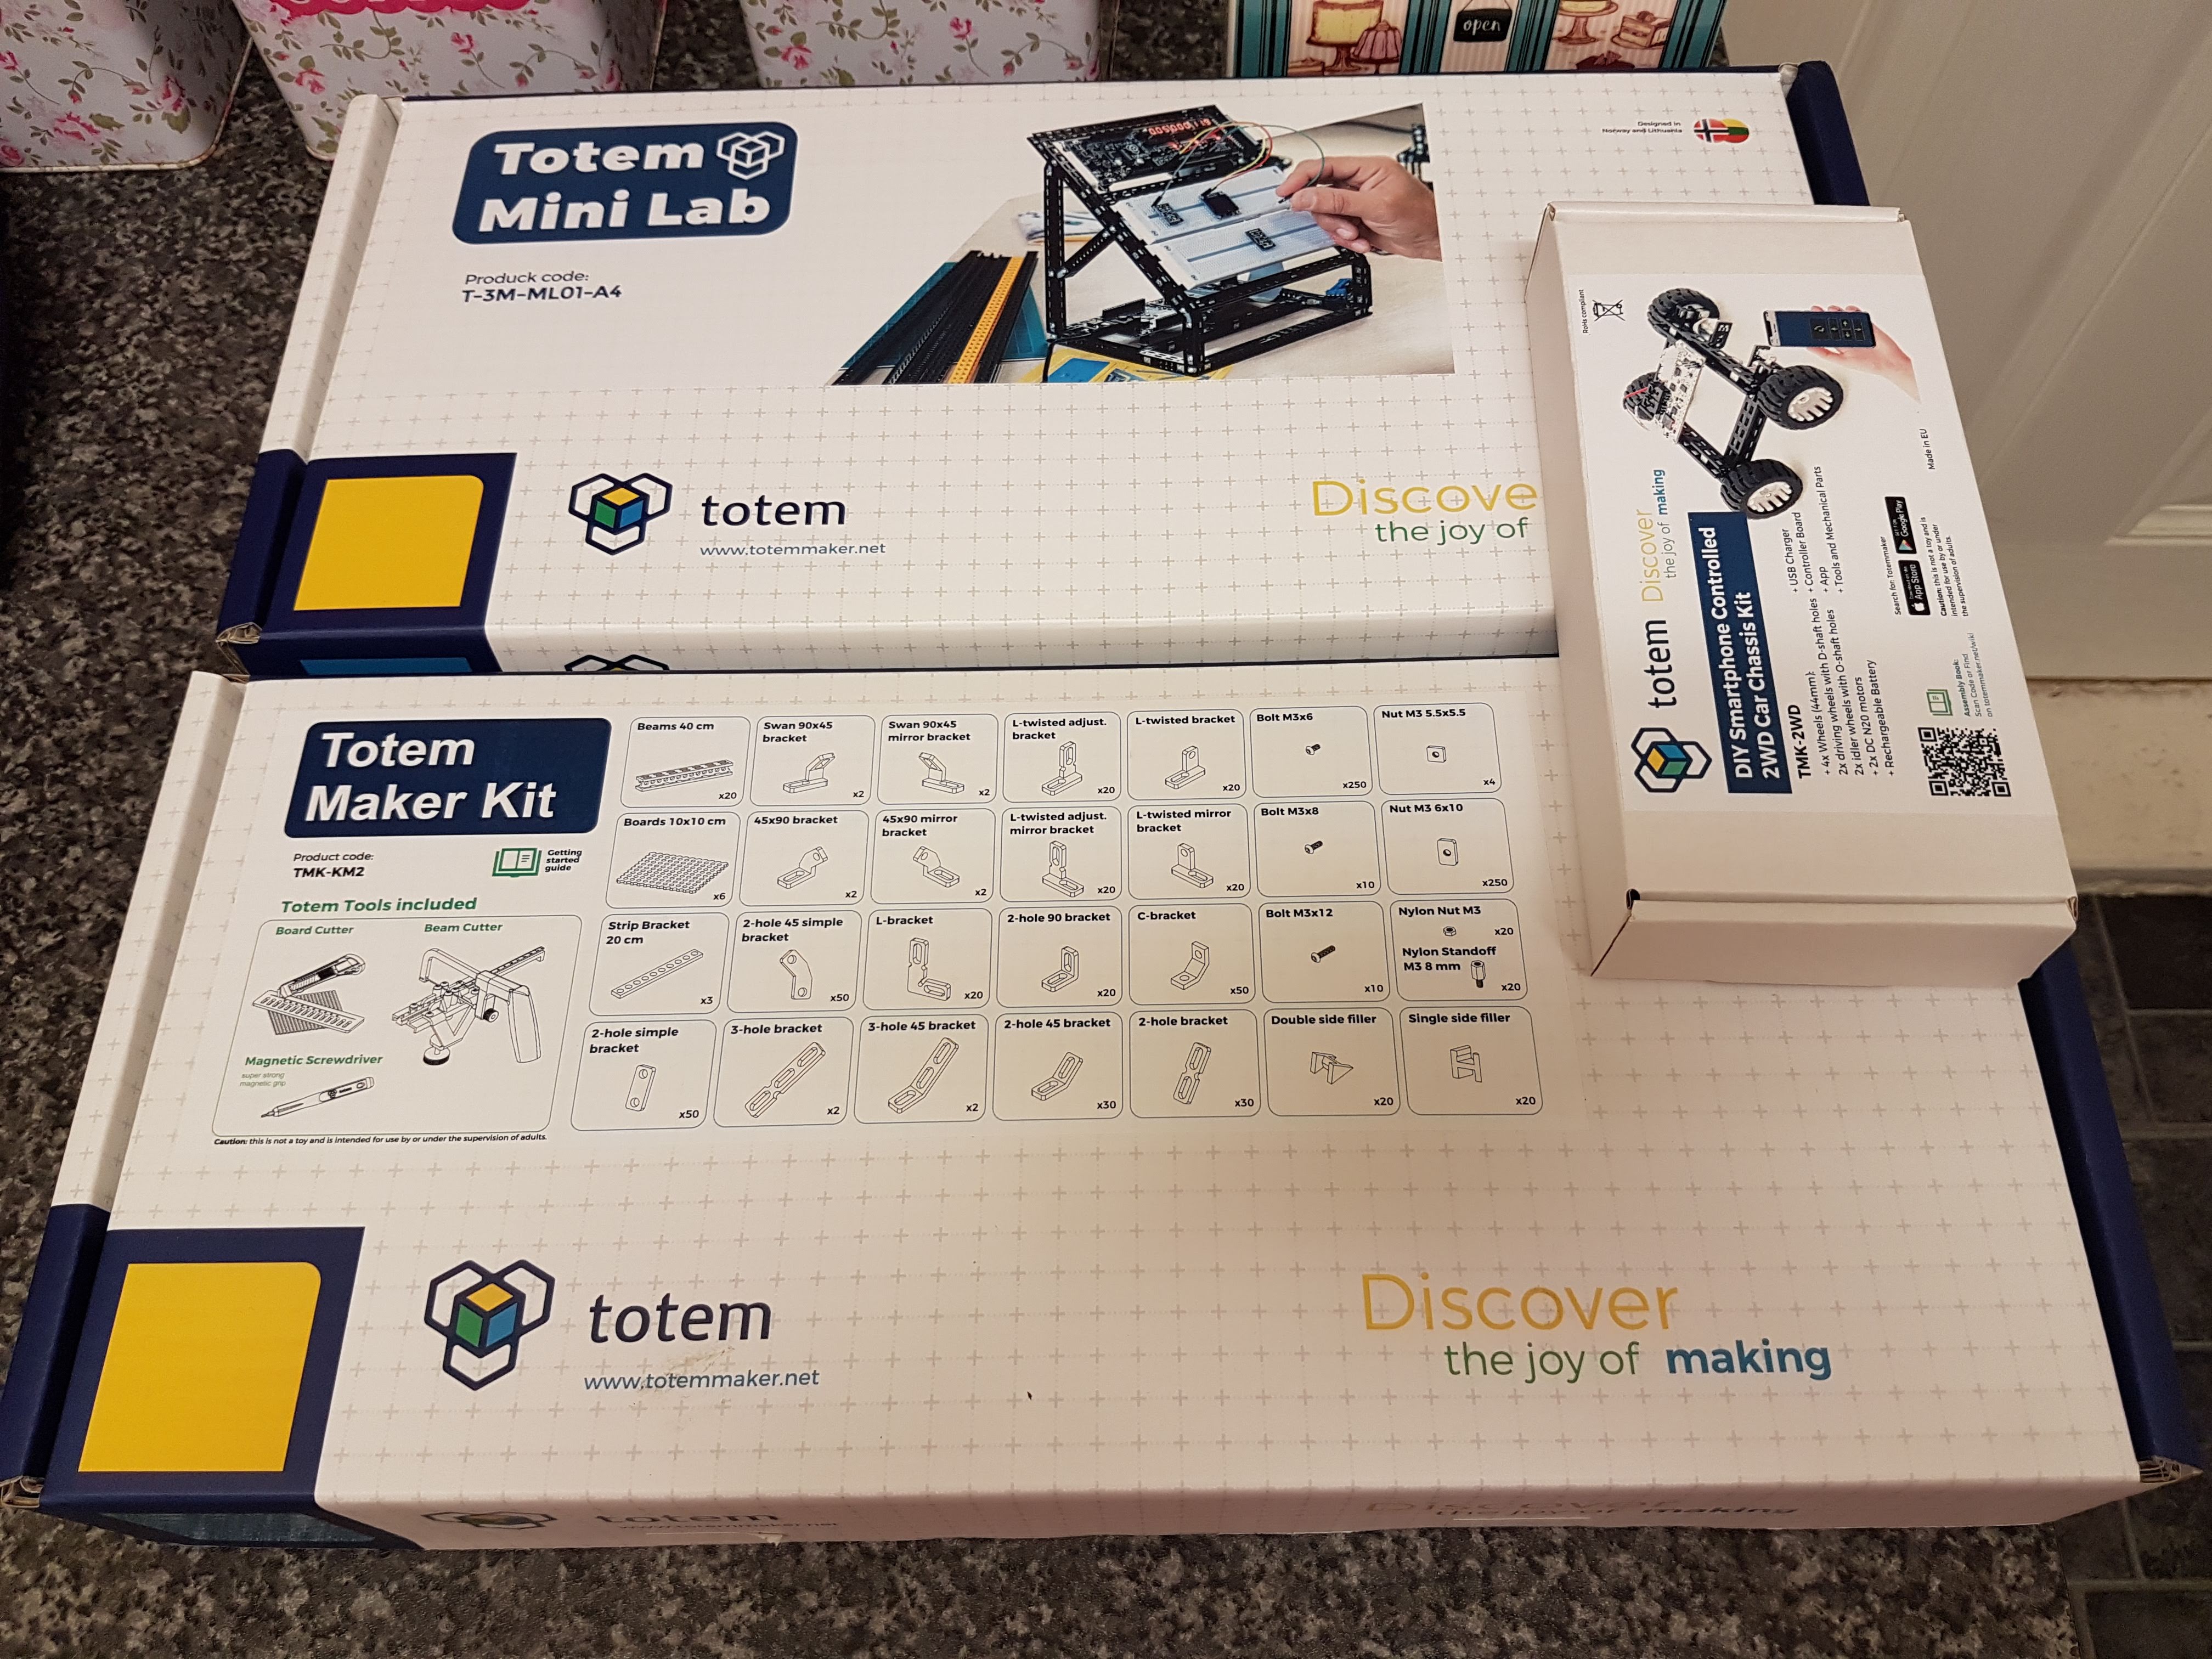
Update | 15th OctoberMy kits have arrived!
![]()
The Maker Kit will be making the basis of the DigiBone project - I'm really looking forward to building a frame and getting the electronics in place to start working on the code. This project has been long in the
works and it's finally time to get it finished.
The Mini Lab looks absolutely fantastic - an all in one prototyping kit with loads of options and possibilities. I'm looking forward to building this and looking to use this as my main prototyping setup alongside a Pi with 7" touchscreen.
The 2WD Car Kit was an absolute surprise - It's going to either something for my son to use or taken to work for driving around the office :-)
-
More Mac stuff
09/29/2019 at 00:20 • 0 commentsI've managed to pick up an old Mac Mini to use as a home server - booyah!
Currently I have an ancient headless pc running Pi Desktop x86 software with a hard drive attached for media sharing.
I always wanted to do more with this box (sticking a lightweight Ubuntu install and using it to run some test C# MVC Apps) but never had anything to host our media. Plus, the media wasn't managed; it was just a shared folder essentially.
Now with the old Mac Mini (the old white one with a tonne of i/o; late 2009 I believe) the plan is to replace the hard drive with a chunky ssd, add some more ram and stick the Mac Server App on it, alongside Plex and potentially iTunes.
Can't wait to finally have a proper little home server running :)
-
eBox 3300/3310
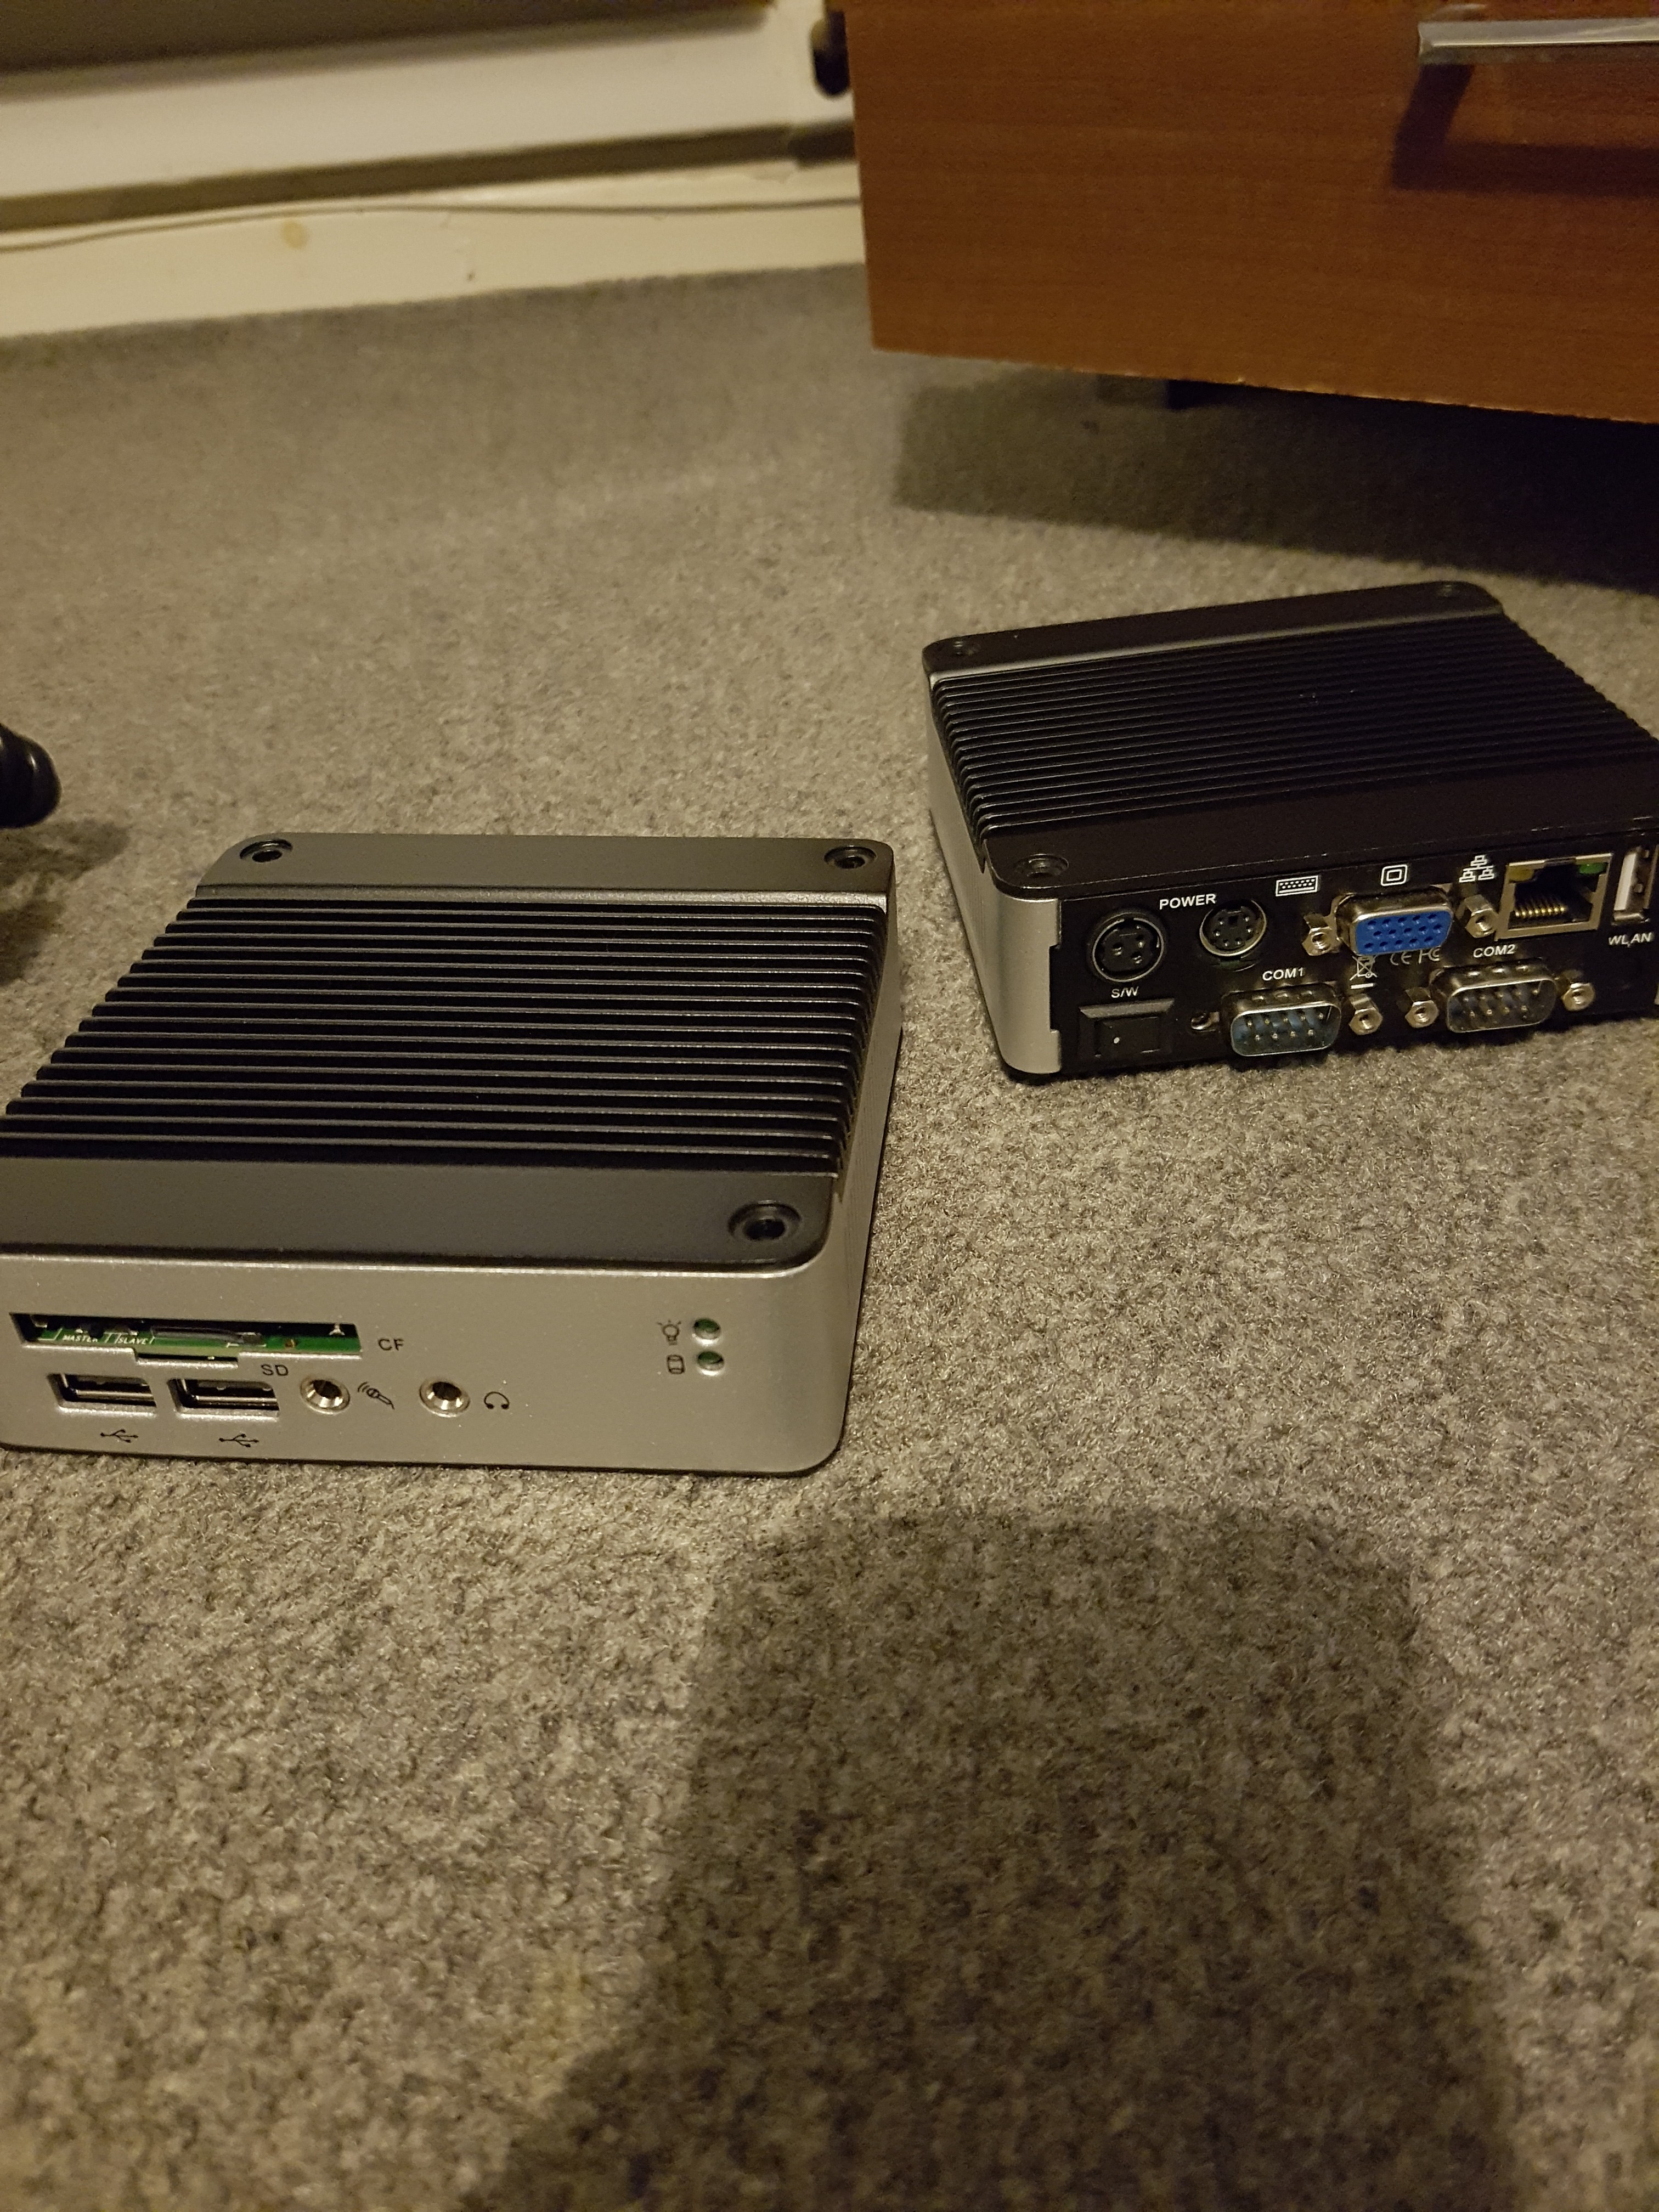
07/19/2019 at 21:14 • 4 commentsI'm off on holiday for a week in a few hours, but when I get back I'm going to be playing with these:
![]()
One was given to me without a power supply by a friend of mine, and it took a few hours disassembly and googling to find out what it actually was; the ebox 3310. It had been running machinery software in a factory. Perfect for a lightweight Linux and running some python applications.
While looking for the wierd 3 pin connector it uses for power I stumbled across a 3300 on eBay, new, going for £15. I had to buy it ha ha!
Now it is here , it turns out to be a -H model with suppprts a 2.5 inch drive. Ideal!
![]()
I was going to look into perhaps sticking a Pi in my son's room and adding some basic automation stuff, but I'm tempted to use one of these.
-
Return of the Mac: more mac adventures
05/10/2019 at 00:36 • 0 commentsA lot has happened since I put together the Mac Pro a week or two ago.
I filled the Mac Pro with 32gb of ram from an old server at work, so it was running beautifully. However, as it was it was too big to get any kind of wife approval certification, i had to think of something to downsize my foray into the Mac world. So, after a few days of looking I managed to swap it for a few broken iMacs (mid 2011). After combining parts from the three machines I had a working 21.5" imac with 8gb of RAM and a 1tb hard drive.
As it stands I've got it up to High Sierra, and its worming great. I've messed sriu d with boot camp and got it dual booting Windows 10, even though bootcamp software for that machine would originally only allow a win7/8 install. Adding some updated boot camp supporting drivers to the Windows 10 install tomorrow to complete that bad lad.
Also toniggt I have almost completed another Mac Project - turning an old bricked Dell Latitude into a Hackintosh.
It's running brilliantly, after a few days of tweaking and configuring. Just need to add a supported wifi card and then its a fully fledged MacBook Pro, as far as it's concerned :)
Up until a few weeks ago I wouldn't entertain owning Apple products as I've never been a fan, but these last two weeks of building and playing has been such an eye opener. I'm pretty much going to be shifting all my music making, coding and work projects to my two mac devices, instead of a tonne of old Windows laptops and a handful of Linux boxes.
Can't wait!
-
FrankenMac: Cobbling together a Mac Pro
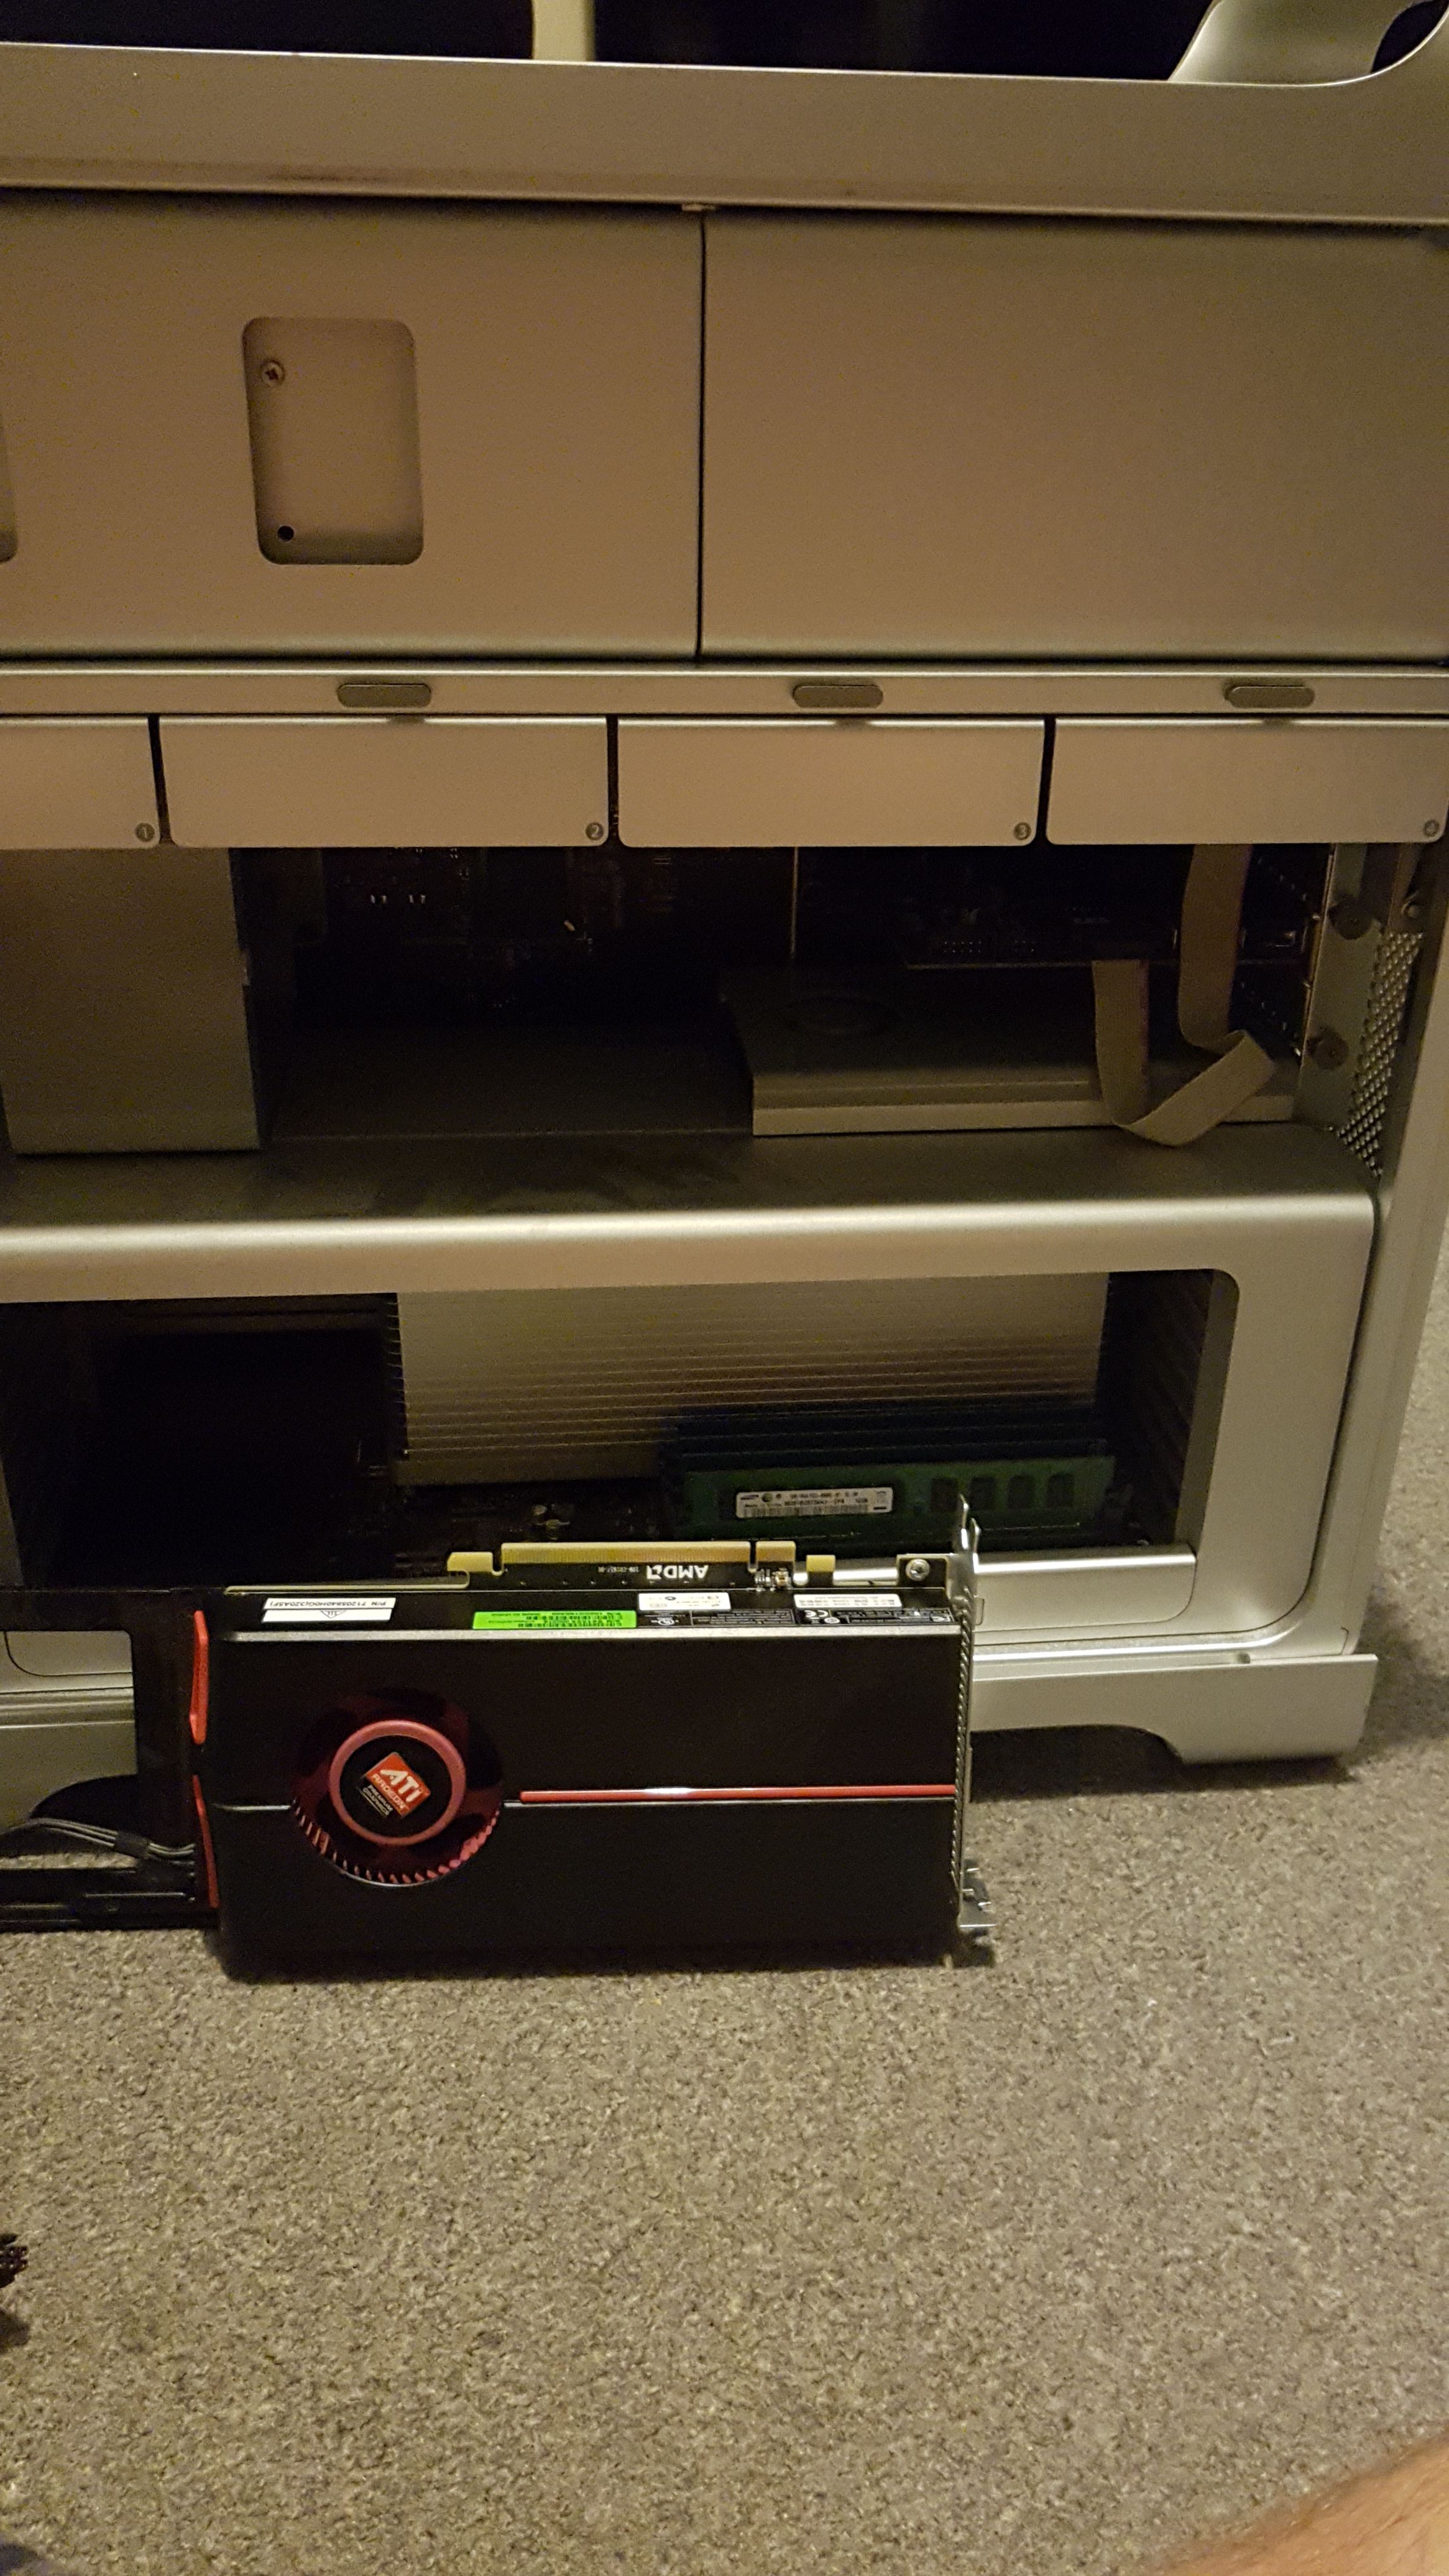
04/18/2019 at 23:49 • 0 commentsOver the last few weeks i was given permission to scavenge some parts from the pile of dead/retired Macs at work.
These old Mac Pros ran our recording studios, and did a cracking job at it at that, for years before being upgraded to more modern machines.
The base model I'm working on is an early 2009 model, based on the configuration of it. I've added some RAM to take it up to 4gb for now, and have added the later-model Radeon graphics card to replace the Nvidia GeForce GT 120 that was in it.
Tomorrow I will see if it posts; if it does it'll be time to wipe the drive, reset admin bios passwords and reinstall an operating system.
I'm in two minds whether to use it for my brass recording work (it would be an absolute beast to use with my Behringer X18 mixer) or to use it as a server.
![]()
-
Hackaday 2018 Contest Entries
04/13/2018 at 19:48 • 0 commentsThese are the projects I have entered into the contest - please give them a like and a follow!
Any and all likes are greatly appreciated; I'm really looking forward to investing all seed money into parts for my projects.
Cheers!
-
Pi Tower Idea
11/24/2017 at 11:40 • 0 commentsI've just been looking through some Prototyping and cluster stuff for Pi and Arduino type boards, and had an idea
It would be pretty sweet to get an little old PC case and stuffing a few boards in there.
They could be powered by the case's PSU, and could have their GPIO pins routed to breakouts on the the back (where the PCI slots are) or the front (to the disk drive slot for some kind of easy access prototyping bit).
A KVM could perhaps handle switching between boards, or one board could act as a master and either SSH or VNC into the other onboard devices.
for Arduinos and suchlike the i2c bus could be taken advantage of, allowing all SBCs to be able to communicate with them. Ethernet shields could also be an option for some boards.
Connectivity - a network switch could be added inside to handle networking between the boards inside, with a port routed to a connector on the back for internet/other network access. A HDMI Switcher would also be a great addition to allow output switching where needed.
An i2c display in the front of the case would be great for feeding back networking information and displaying what device is connect to what.
Perhaps I'l be able to look into doing something like this in the future...
-
Aquariumatic: Project rethink
09/02/2017 at 01:01 • 1 commentI've been doing a lot of work and revision to the #Aquariumatic project as of late.
Over the no the the project has evolved from being a wired, tethered, limited system to being an open, expandable wireless lot platform with so many potential uses.
With this in mind I am contemplating a rethink on how I document this project.
I am going to archive the current page, tidy up its contents and use it to reflect on how the project has progressed between the versions and how it has made it to this point.
I am then going to create a new project, dedicated to the IoT Controller/Hub setup, then create a new project page for the Aquariumatic variation on the setup, in addition to new project page for each and every variation upon the platform.
To go with this I am going to rewrite all code currently used in the project to reflect its new structure, with the Aquariumatic-specific code to be rewritten as an add-in module.
Watch this space!
:-)

Craig Hissett's pages
Trombone player for @dennisband | @WestoeBand | @Cre8iveSessions Systems Developer