danjovic
-
Assembling the PCB
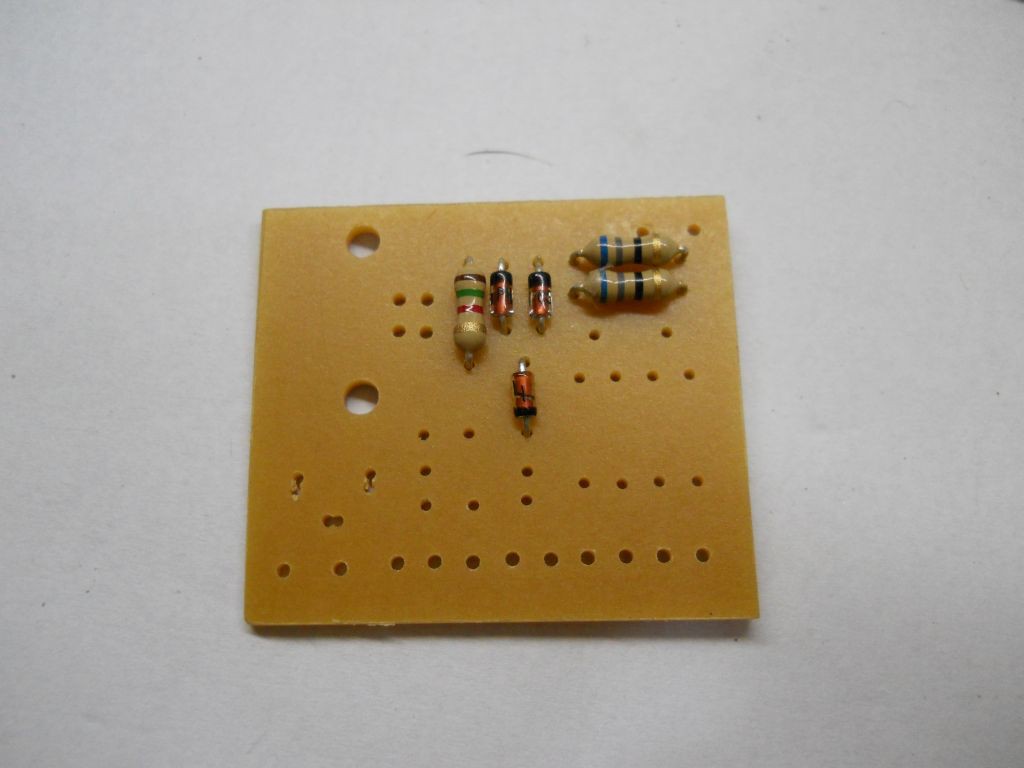
03/15/2016 at 03:17 • 0 commentsThe board as assembled quickly as it doesn't have much components. I started with the resistors and zeners, then placed and soldered everything else.
![]()
![]()
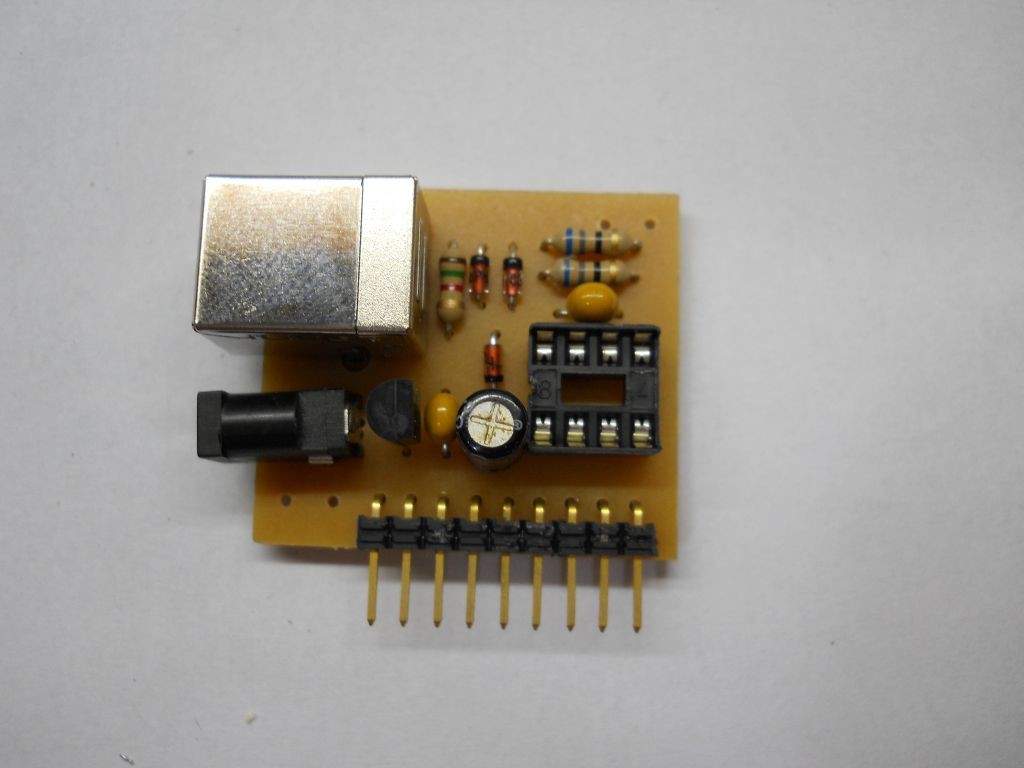
The last part of the assembly was to insert the ATTiny85 in the socket. It was already programmed from a former project ( #Oh Cheat! ). I'll cover the programming in the instructions.
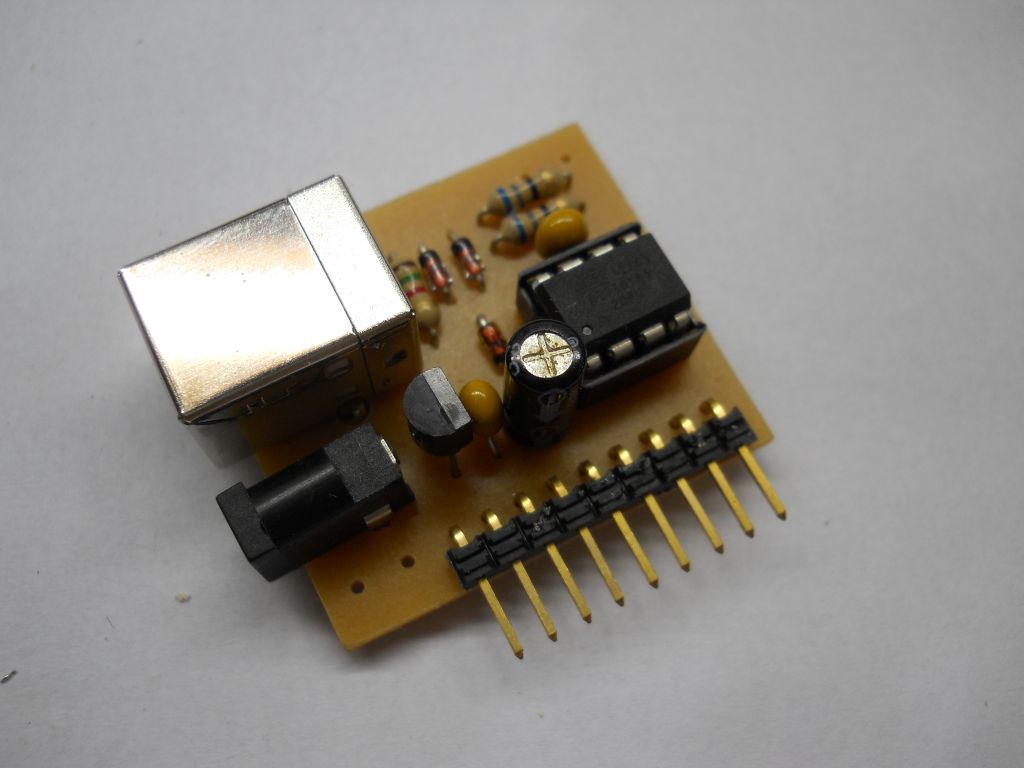
The board was ready to be tested:
![]()
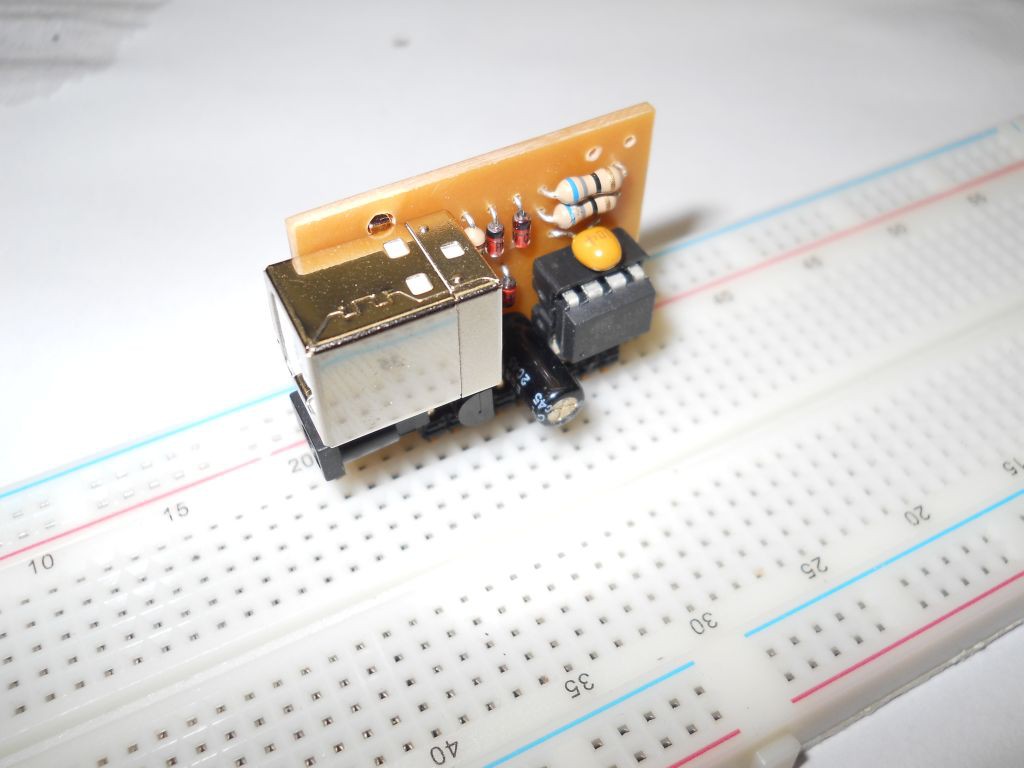
It fits well in the protoboard, but the capacitor is taking too much room. Maybe it's better to use the board from the backside or assemble the circuit in the protoboard first then insert the Silspark at the end.
![]()
The first test, of course was to blink an LED. Here it is!
![]()
-
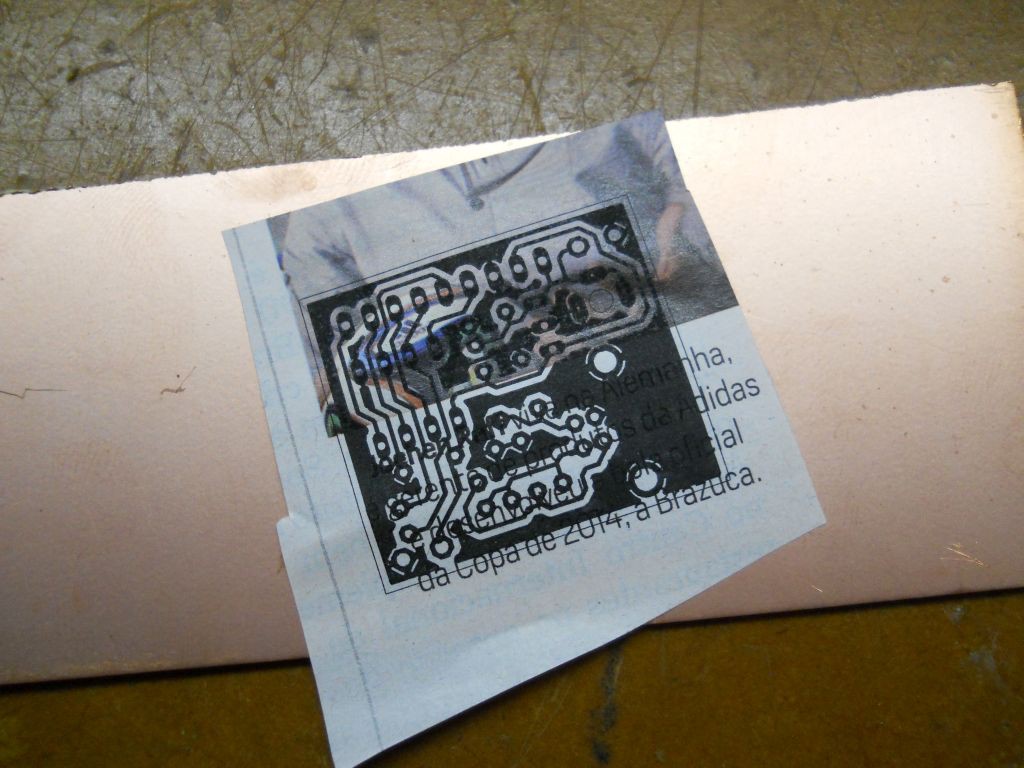
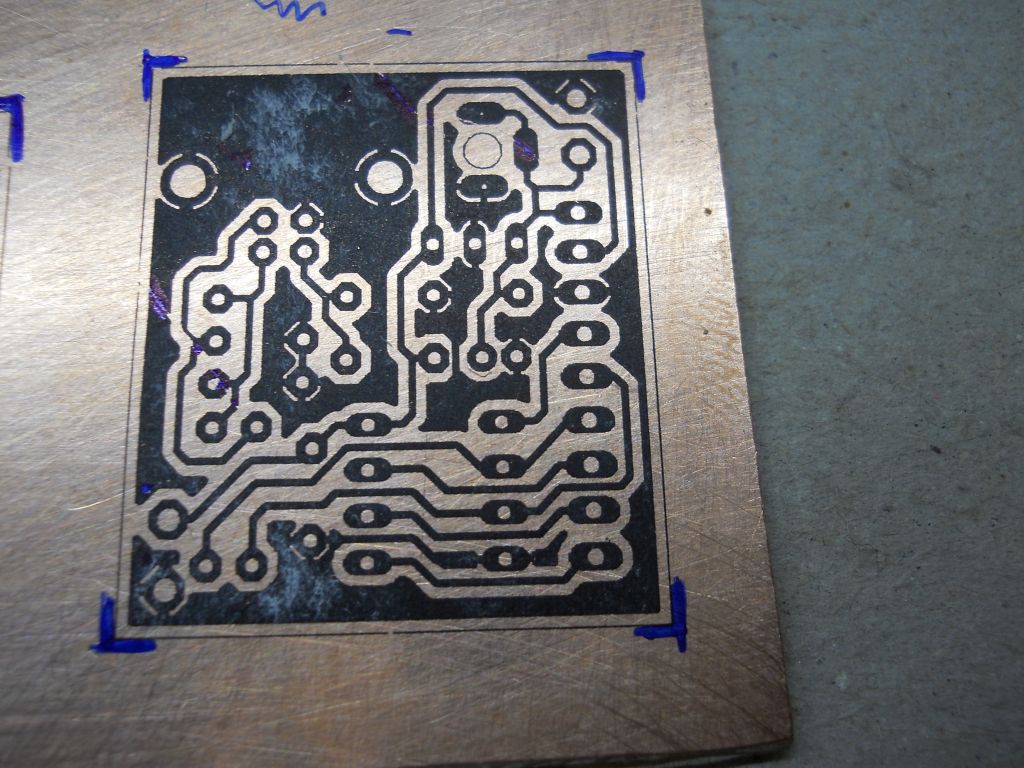
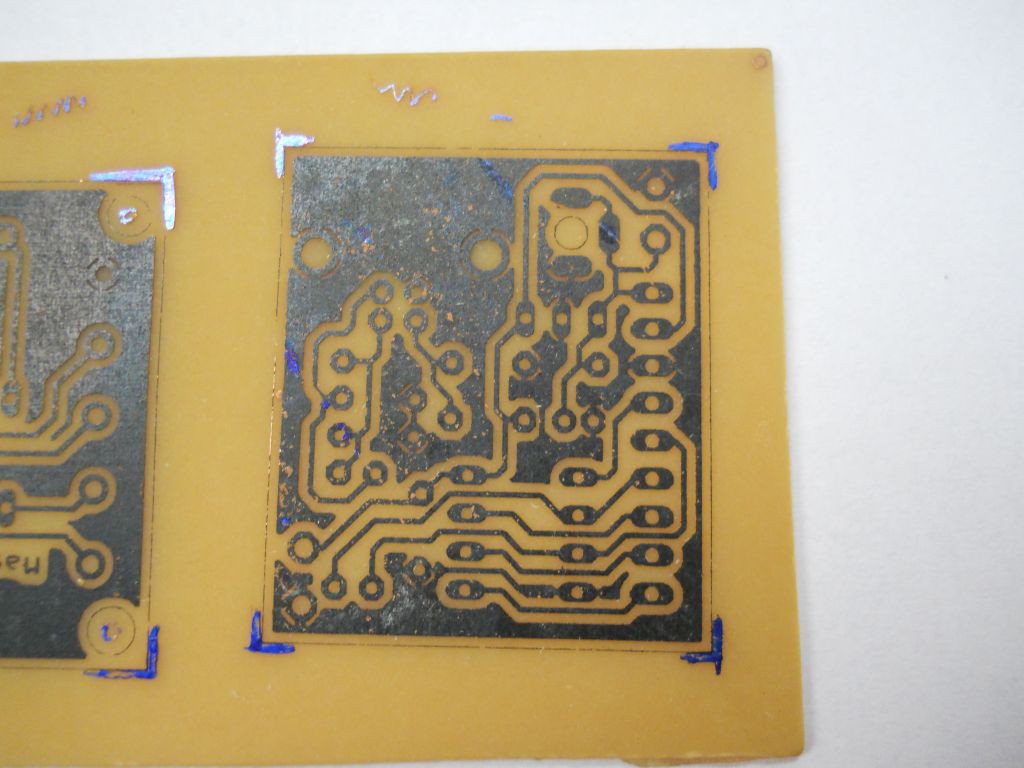
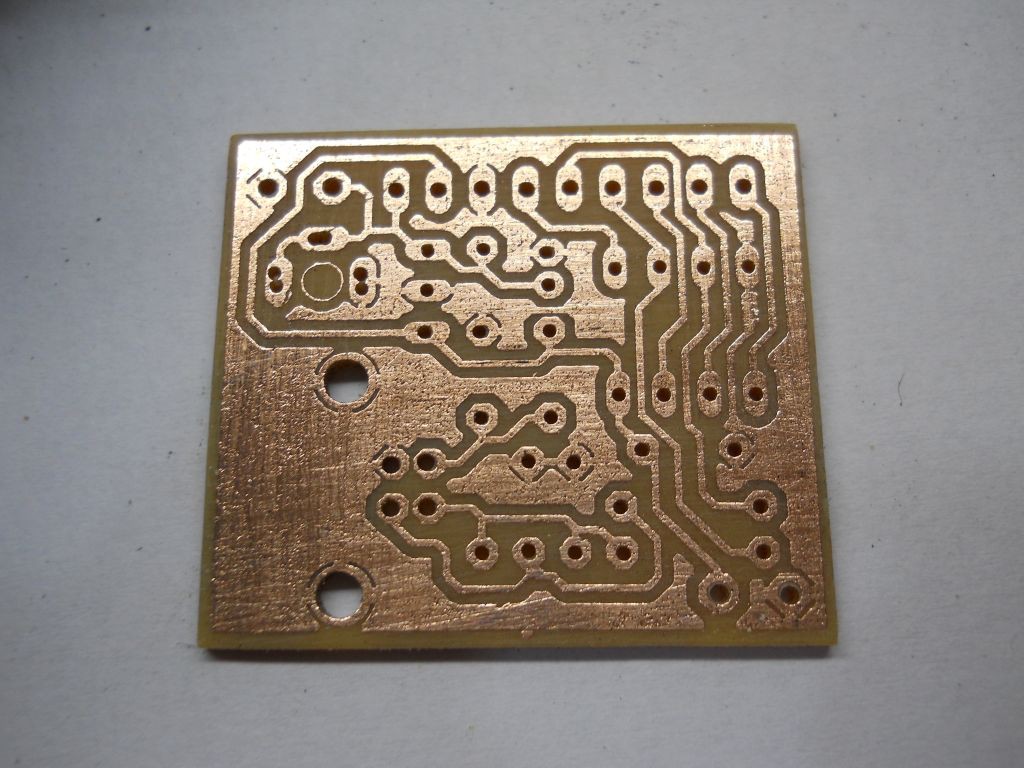
Making the PCB
03/15/2016 at 02:53 • 0 commentsThe PCB was etched using tone transfer method. The board layout was printed on a couche paper sheet from a magazine.
![]()
![]()
![]()
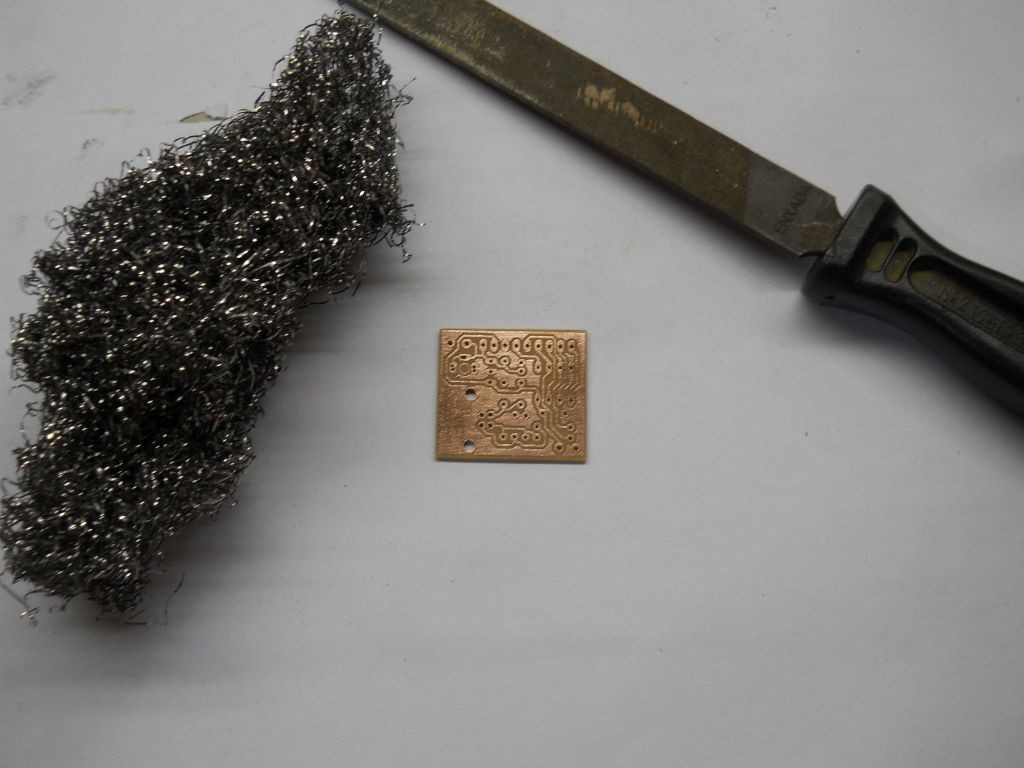
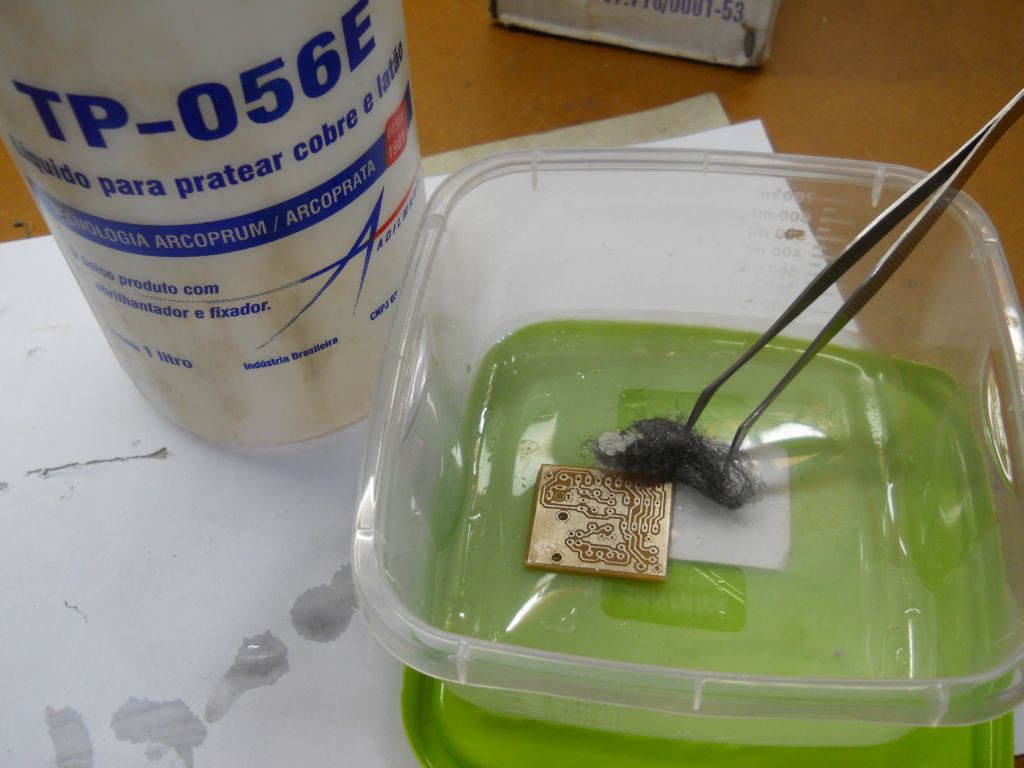
The board was then etched, drilled and trimmed.
![]()
![]()
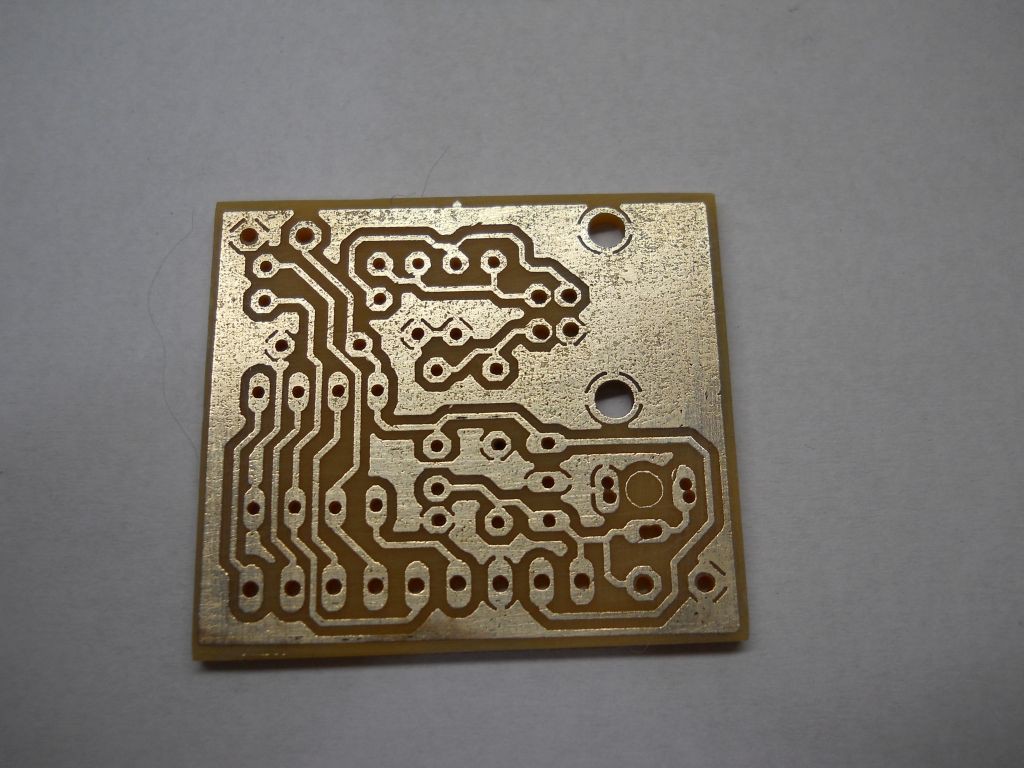
A final touch was adding a silver cover over the copper using TP056E. This stuff really works. I have boards without apparent oxidation that were protected in 2008 when I bought this stuff that now has expired for over 6 years and still work, not quite as good than before it expired though.
![]()
![]()