-
Poor man's Toslink cable - no connectors needed
05/30/2016 at 17:09 • 0 commentsToslink cables are commonly available online and in stores, however when running them between components or on GoodenoughCNC machines, the frustration persists that a pre-made cable with connectors is never the right length. But fear not, we found that you can simply make the cable yourself and the system works just as well as with purchased cables.
A pre-made cable of 1m length can be obtained for around 2$ with connectors, 1mm PMMA fiber with no shielding for about 0.09$/m, so we can have a significant cost saving using it.
Now reliable connections are the first thing that comes to mind, however that are much simpler to achieve then expected because:
- Cutting PMMA cable with scalpel produces a nice flat cut
- Toslink receivers and transmitters come with dust caps
- Dust caps are easy to drill with 1mm drill bit
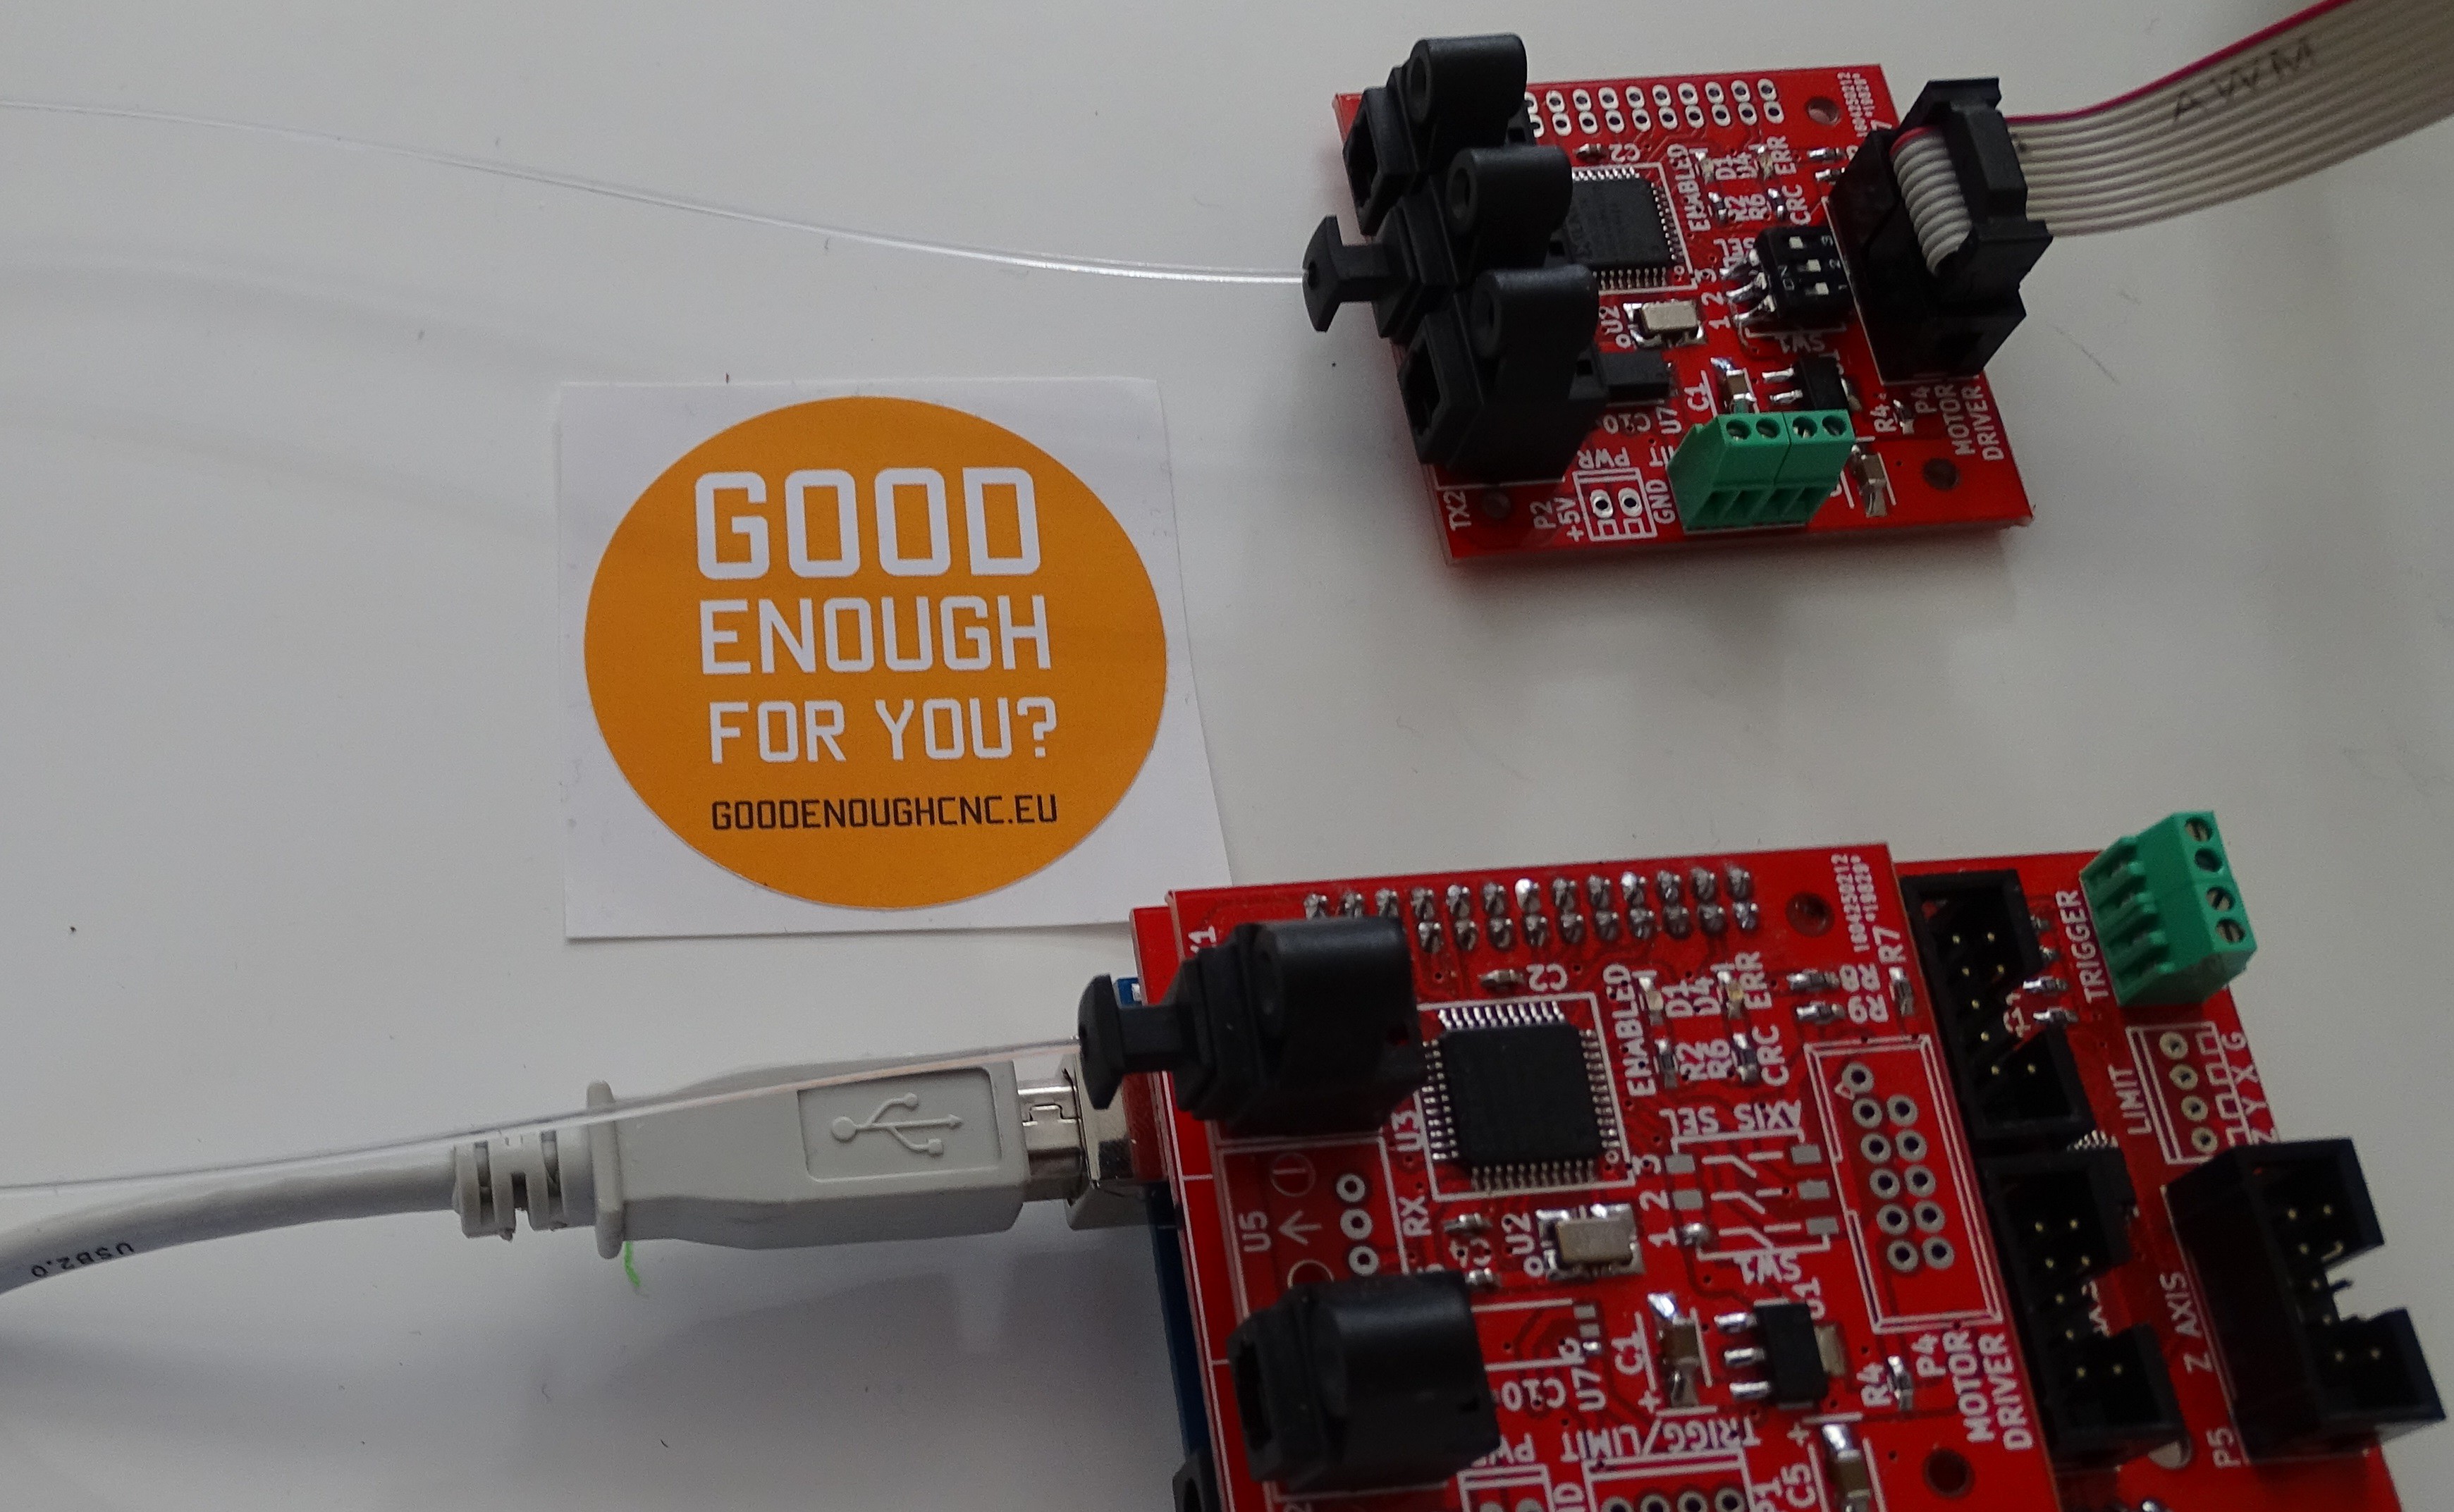
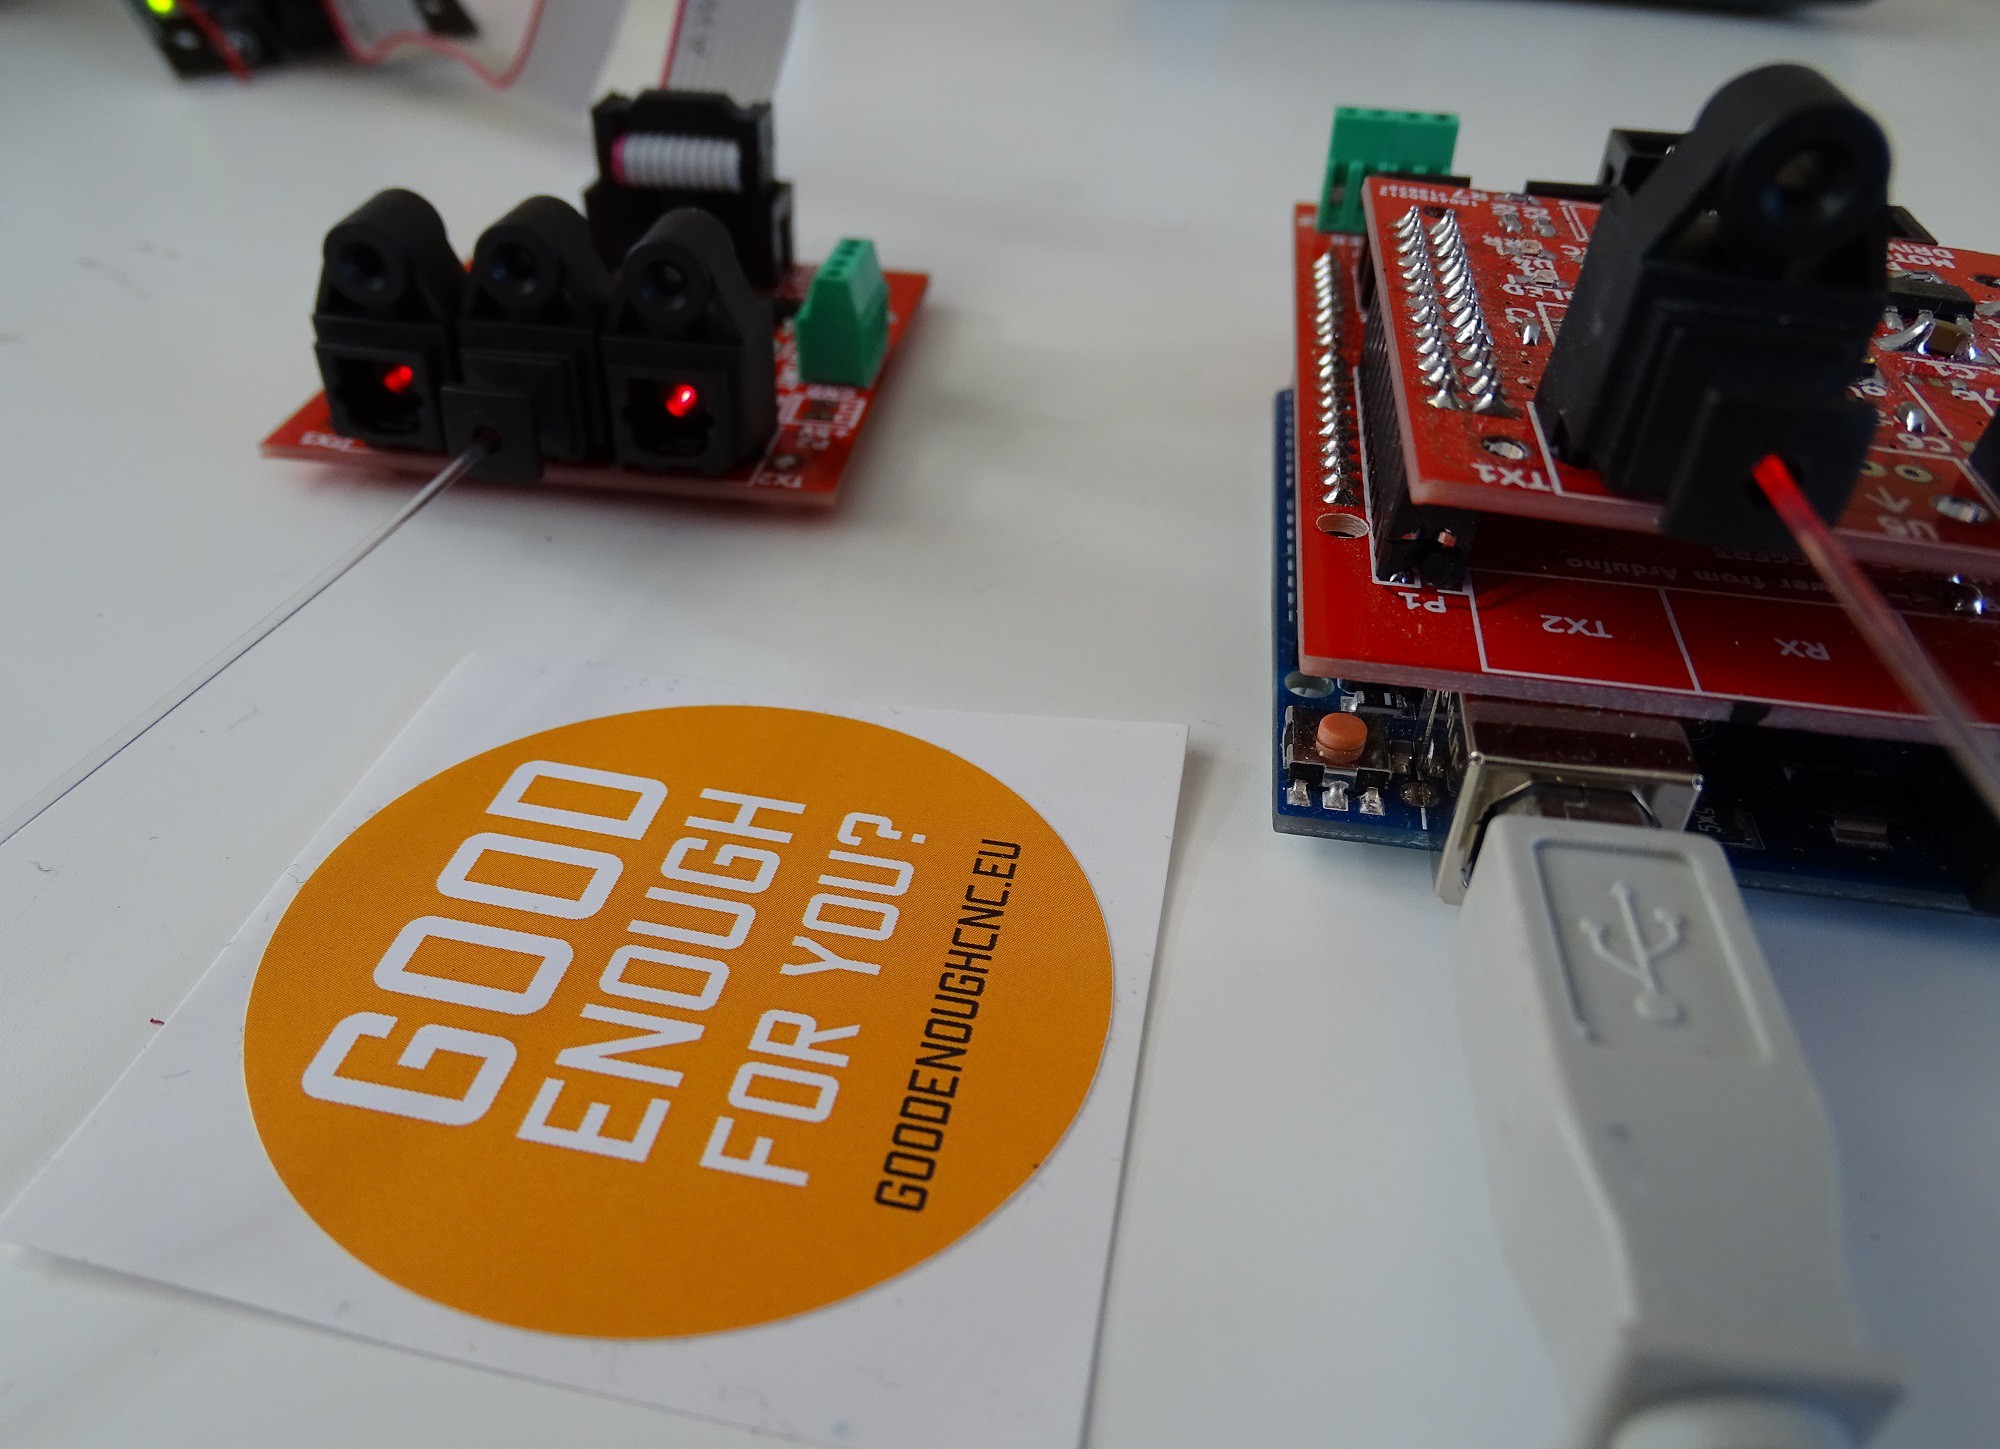
Thus to make our own cables, we can simply cut the fiber in length, drill a hole in the dust cap, push the fiber in all the way and ad a drop of glue such that it can not slide out of the dust cap.
A simple hack like this, makes our wiring much simpler. Because the fiber is transparent, you can see a nice red glow on it. ToslinkCNC connection can be simply tested with your custom cable by observing the error light on the receiver board.
Another neat thing about clear PMMA fibers is that you can run them almost unnoticed everywhere.
-
Improved version of ToslinkCNC
05/30/2016 at 14:44 • 0 commentsThe version 2 of the system ToslinkCNC is improved with a number of new features. You can check out the blog on previous version here.
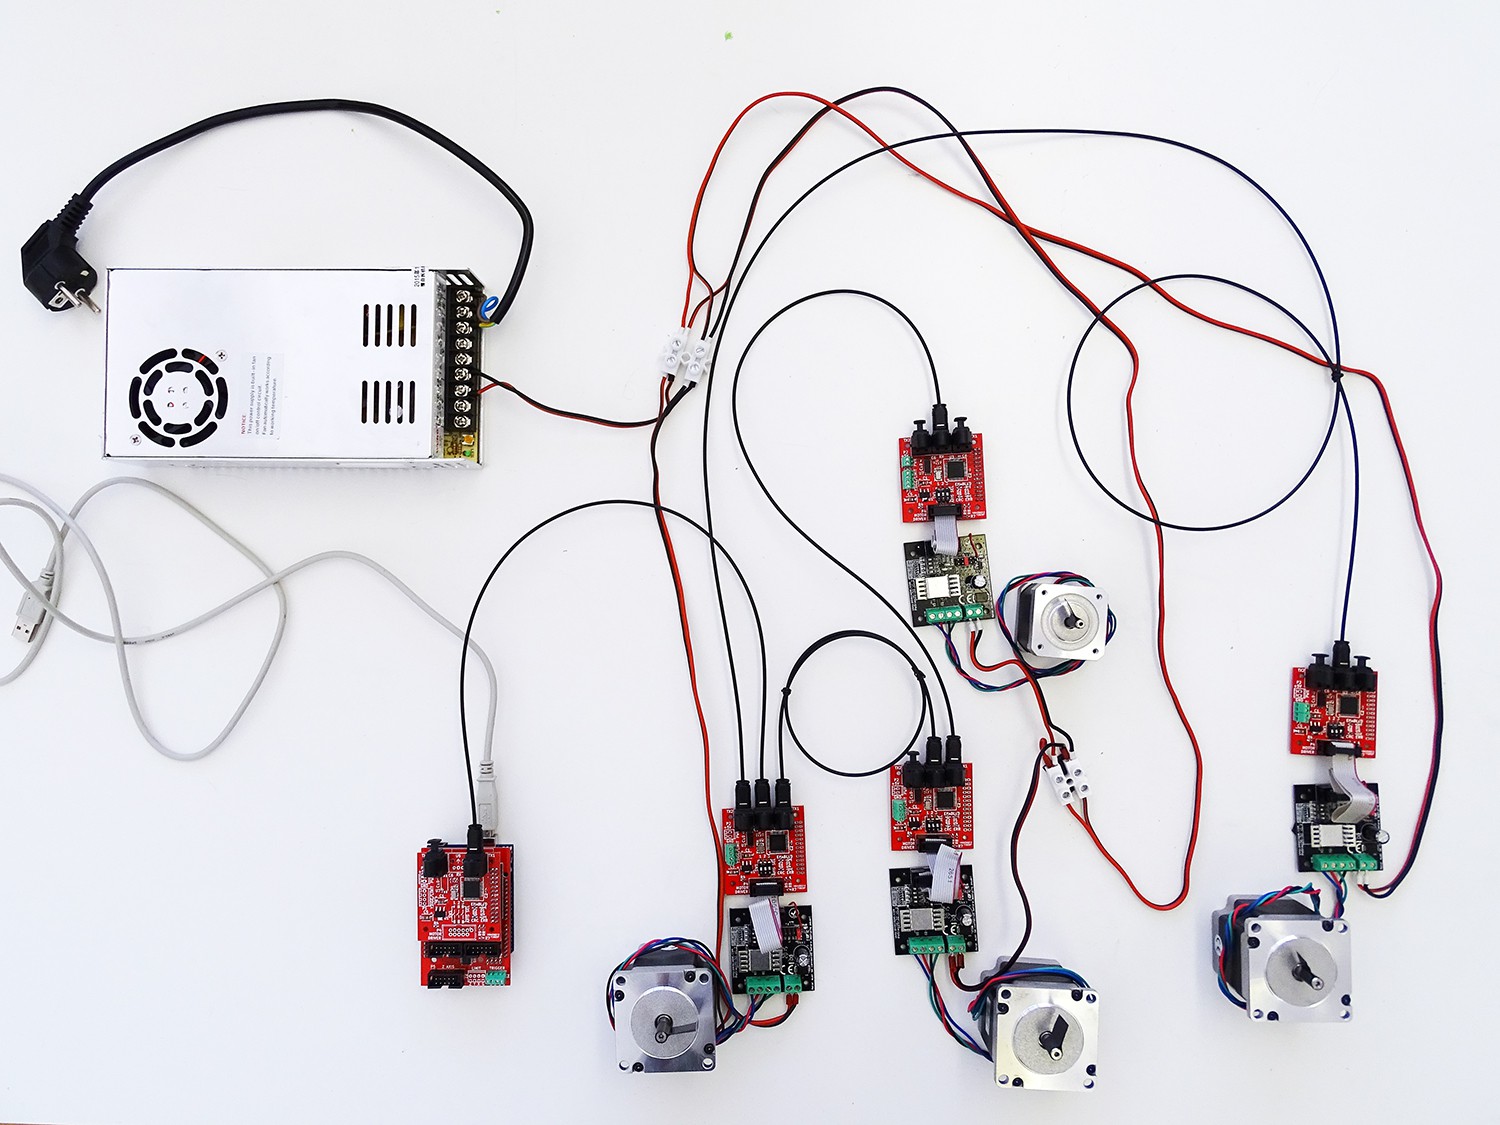
Using the previous version for about 5 machines we’ve learnt a lot, a number of changes now make it much better. Hardware footprint has been reduced and unified, such that the CPLD based optical board can now be a transmitter or receiver, only with a firmware change. The optical control system can now be seamlessly integrated with Raspberry Pi, Arduino, Planet-CNC controller or any other CNC control system operating with step and direction signals. This makes it perfectly suitable for new machines being built as well as a retrofit of older systems.
ToslinkCNC main board is designed as a single axis device, featuring one receiver and two transmitter optical interfaces and a number of electrical connections through two versions of interfaces. RaspberryPi connector contains signals for 3 separate axis and enable signals, such that the board can be a transmitter for the complete system or extended with a shield to connect to other controllers. On board there are connections for 5V power input, one input and one output as well as a screw terminal or IDC port for step, direction and enable signals to connect to a stepper driver. The RaspberryPi connector also contains pins for JTAG programming of the main board. Currently there is only one shield available that doubles as the interface for the transmitter connected to Arduino or PlanetCNC controller. When the main board is in function of the receiver, stepper drivers can be connected to it, our default choice being PoStep25-32.
The version 2 is not yet perfect, however we are successfully using it with GoodEnoughCNC Hybrid machines also in challenging conditions, for example with plasma cutters. Future work is required to add proper support for end-switches by significantly optimizing the CPLD code and adding a few more features.
-
GoodEnoughCNC using ToslinkCNC
05/30/2016 at 13:27 • 0 commentsCheck the video to see how ToslinkCNC operates on GoodEnoughCNC Hybrid machine. In this case it is used on the cnc machine with a mill head, but it was already successfully used with plasma cutter as well.
-
ToslinkCNC Walkthrough
05/30/2016 at 13:17 • 0 commentsWe prepared this video to walk you through the ToslinkCNC setup.
ToslinkCNC
CNC machine control modules with Toslink optical cables. http://goodenoughcnc.eu/
 Musti
Musti

