-
1Step 1
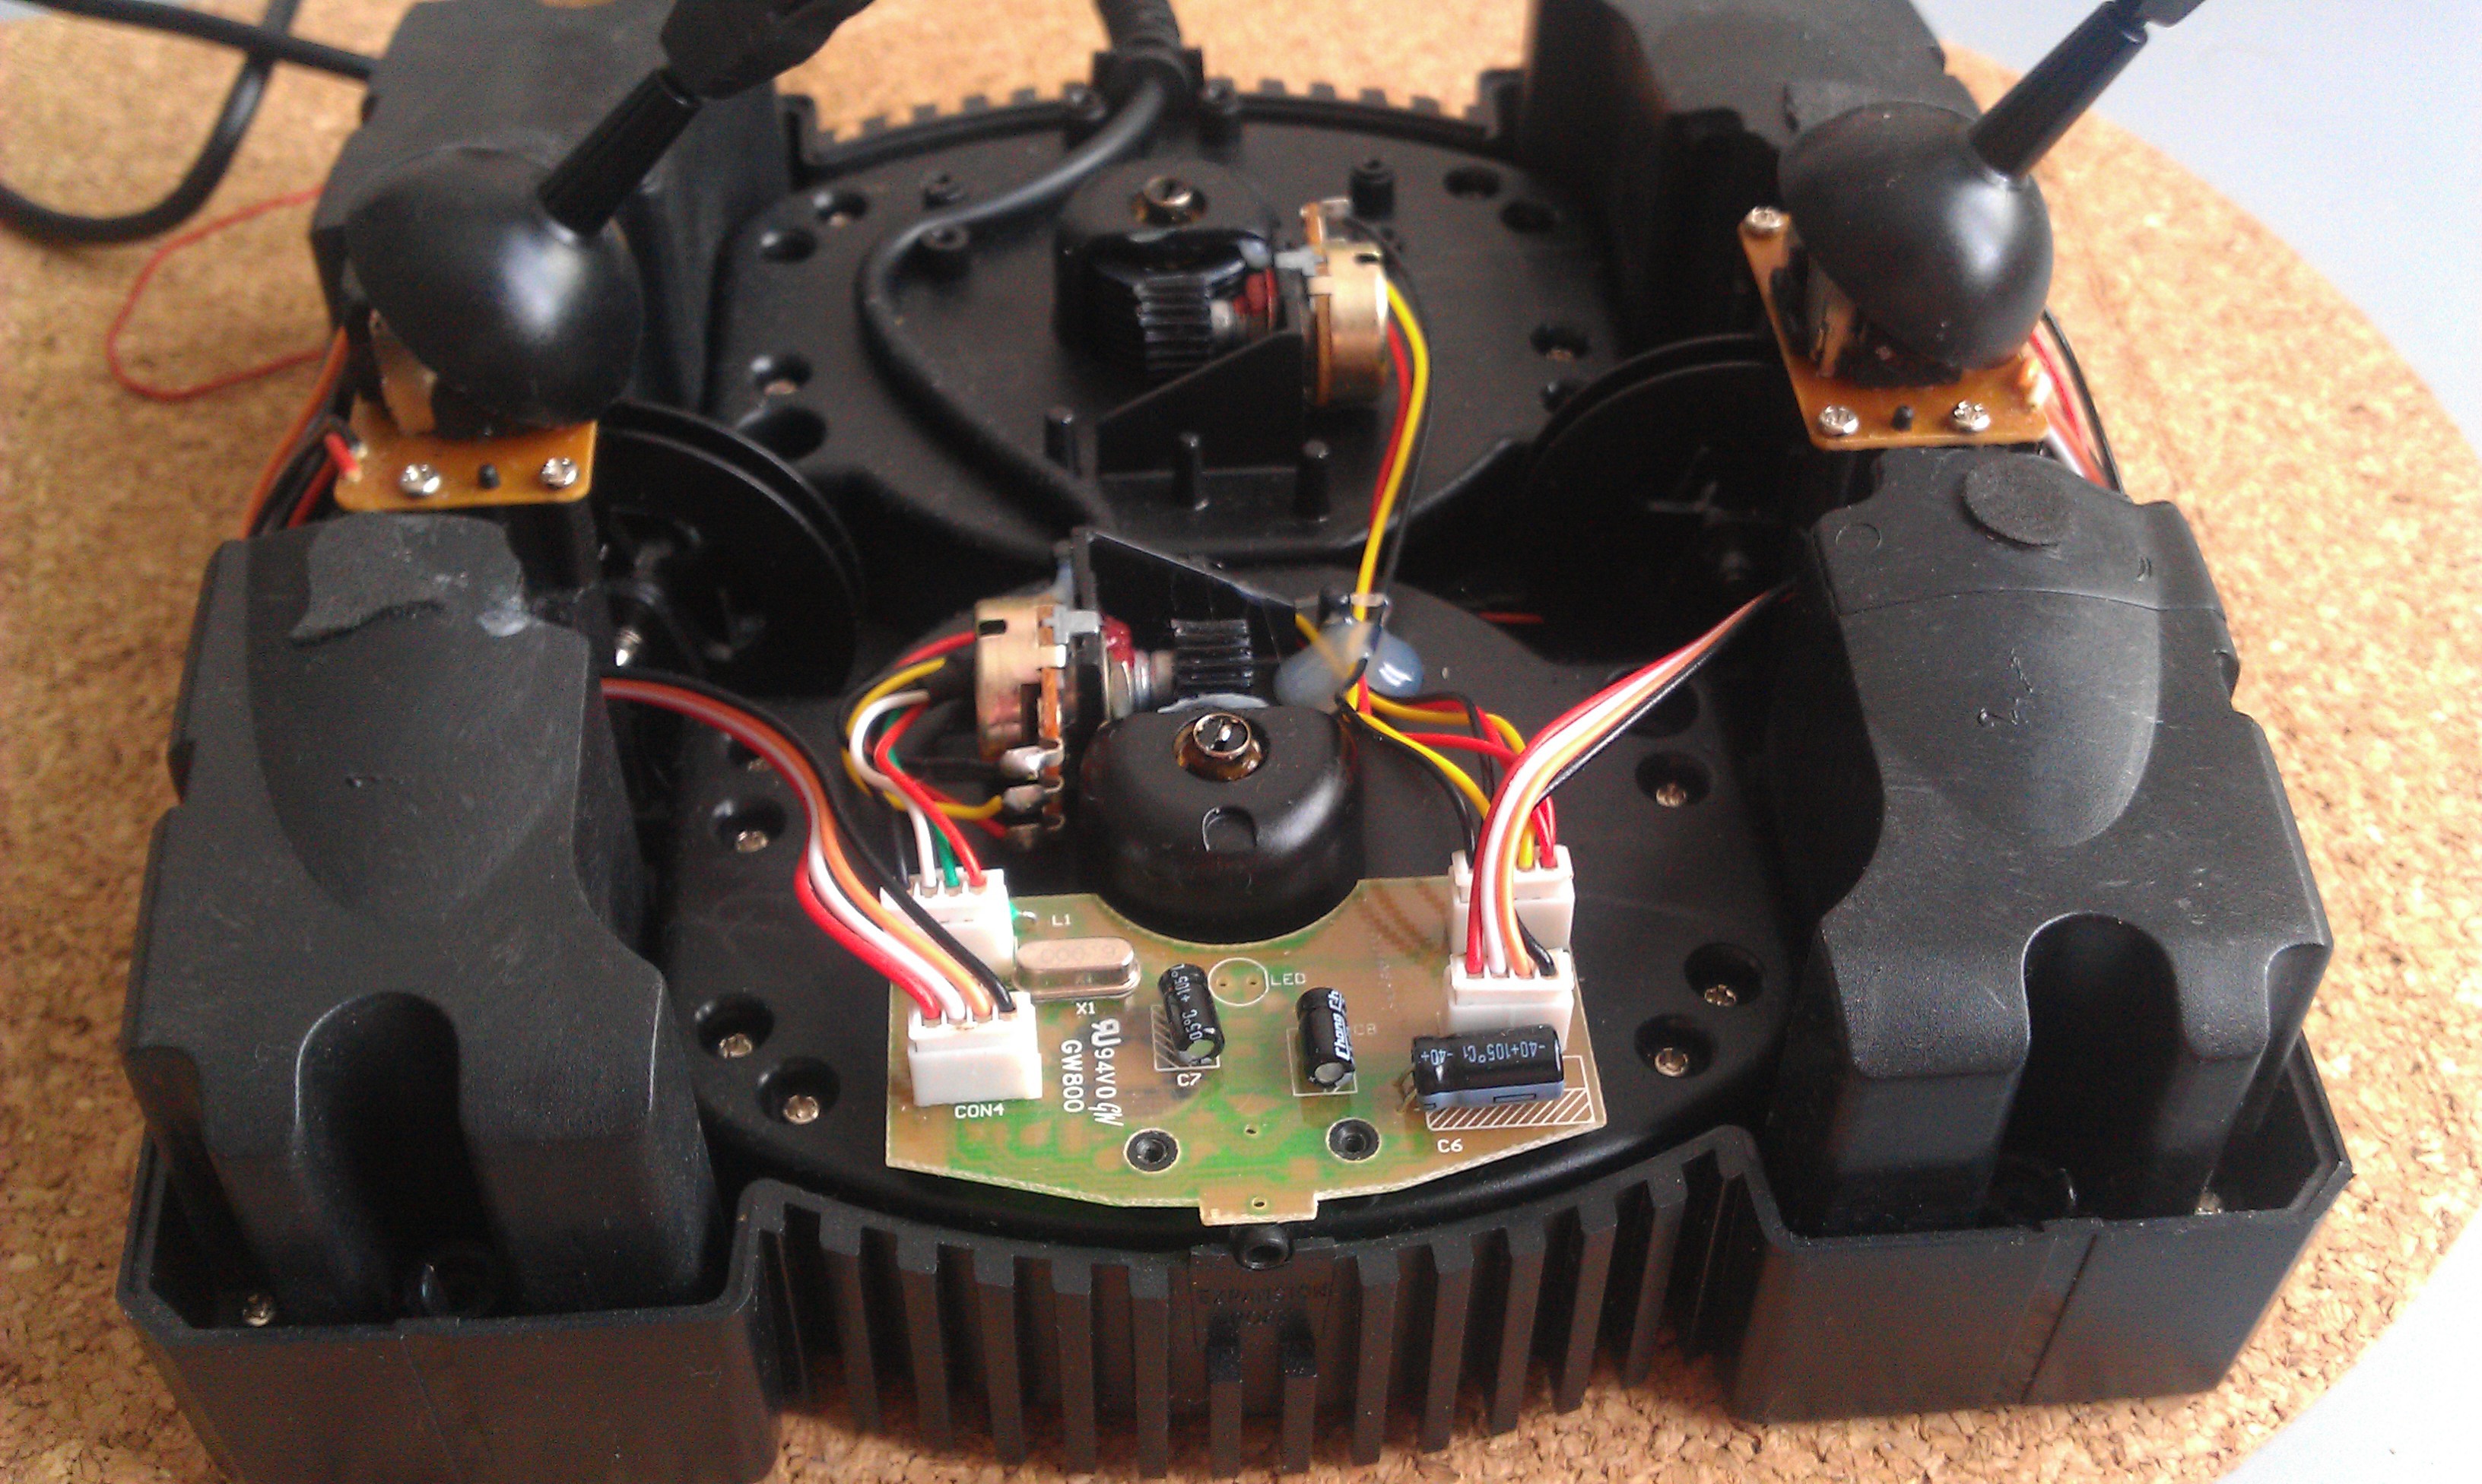
Open up the Gametrak, unplug everything and remove one potentiometer and sliding tower block. (I forgot to take a picture of this, image from here: http://janoc.rd-h.com/archives/129)
![]()
-
2Step 2
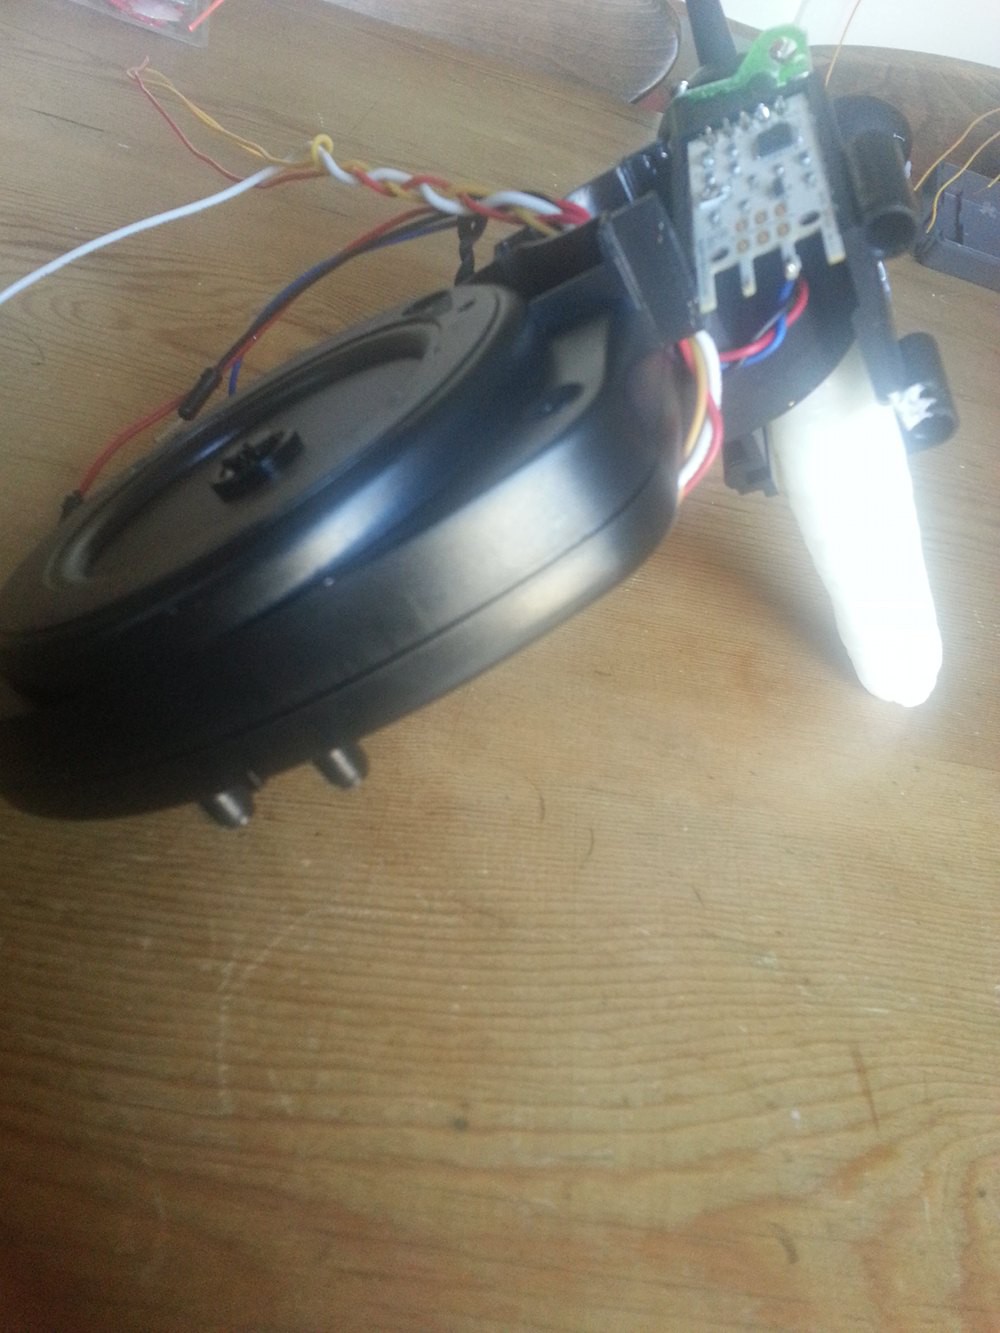
Use epoxy to glue the tower to the potentiometer casing. If using a wind sensor solder long wires to the V+, GND and OUT pins of the wind sensor. Seat it in the gap it magically fits perfectly into as shown below. Tidy your cables! I pleated mine and threaded them through the hole created where the tower and potentiometer housing meet. I also created a handle with polymorph and attached it to the underside.
![]()
-
3Step 3
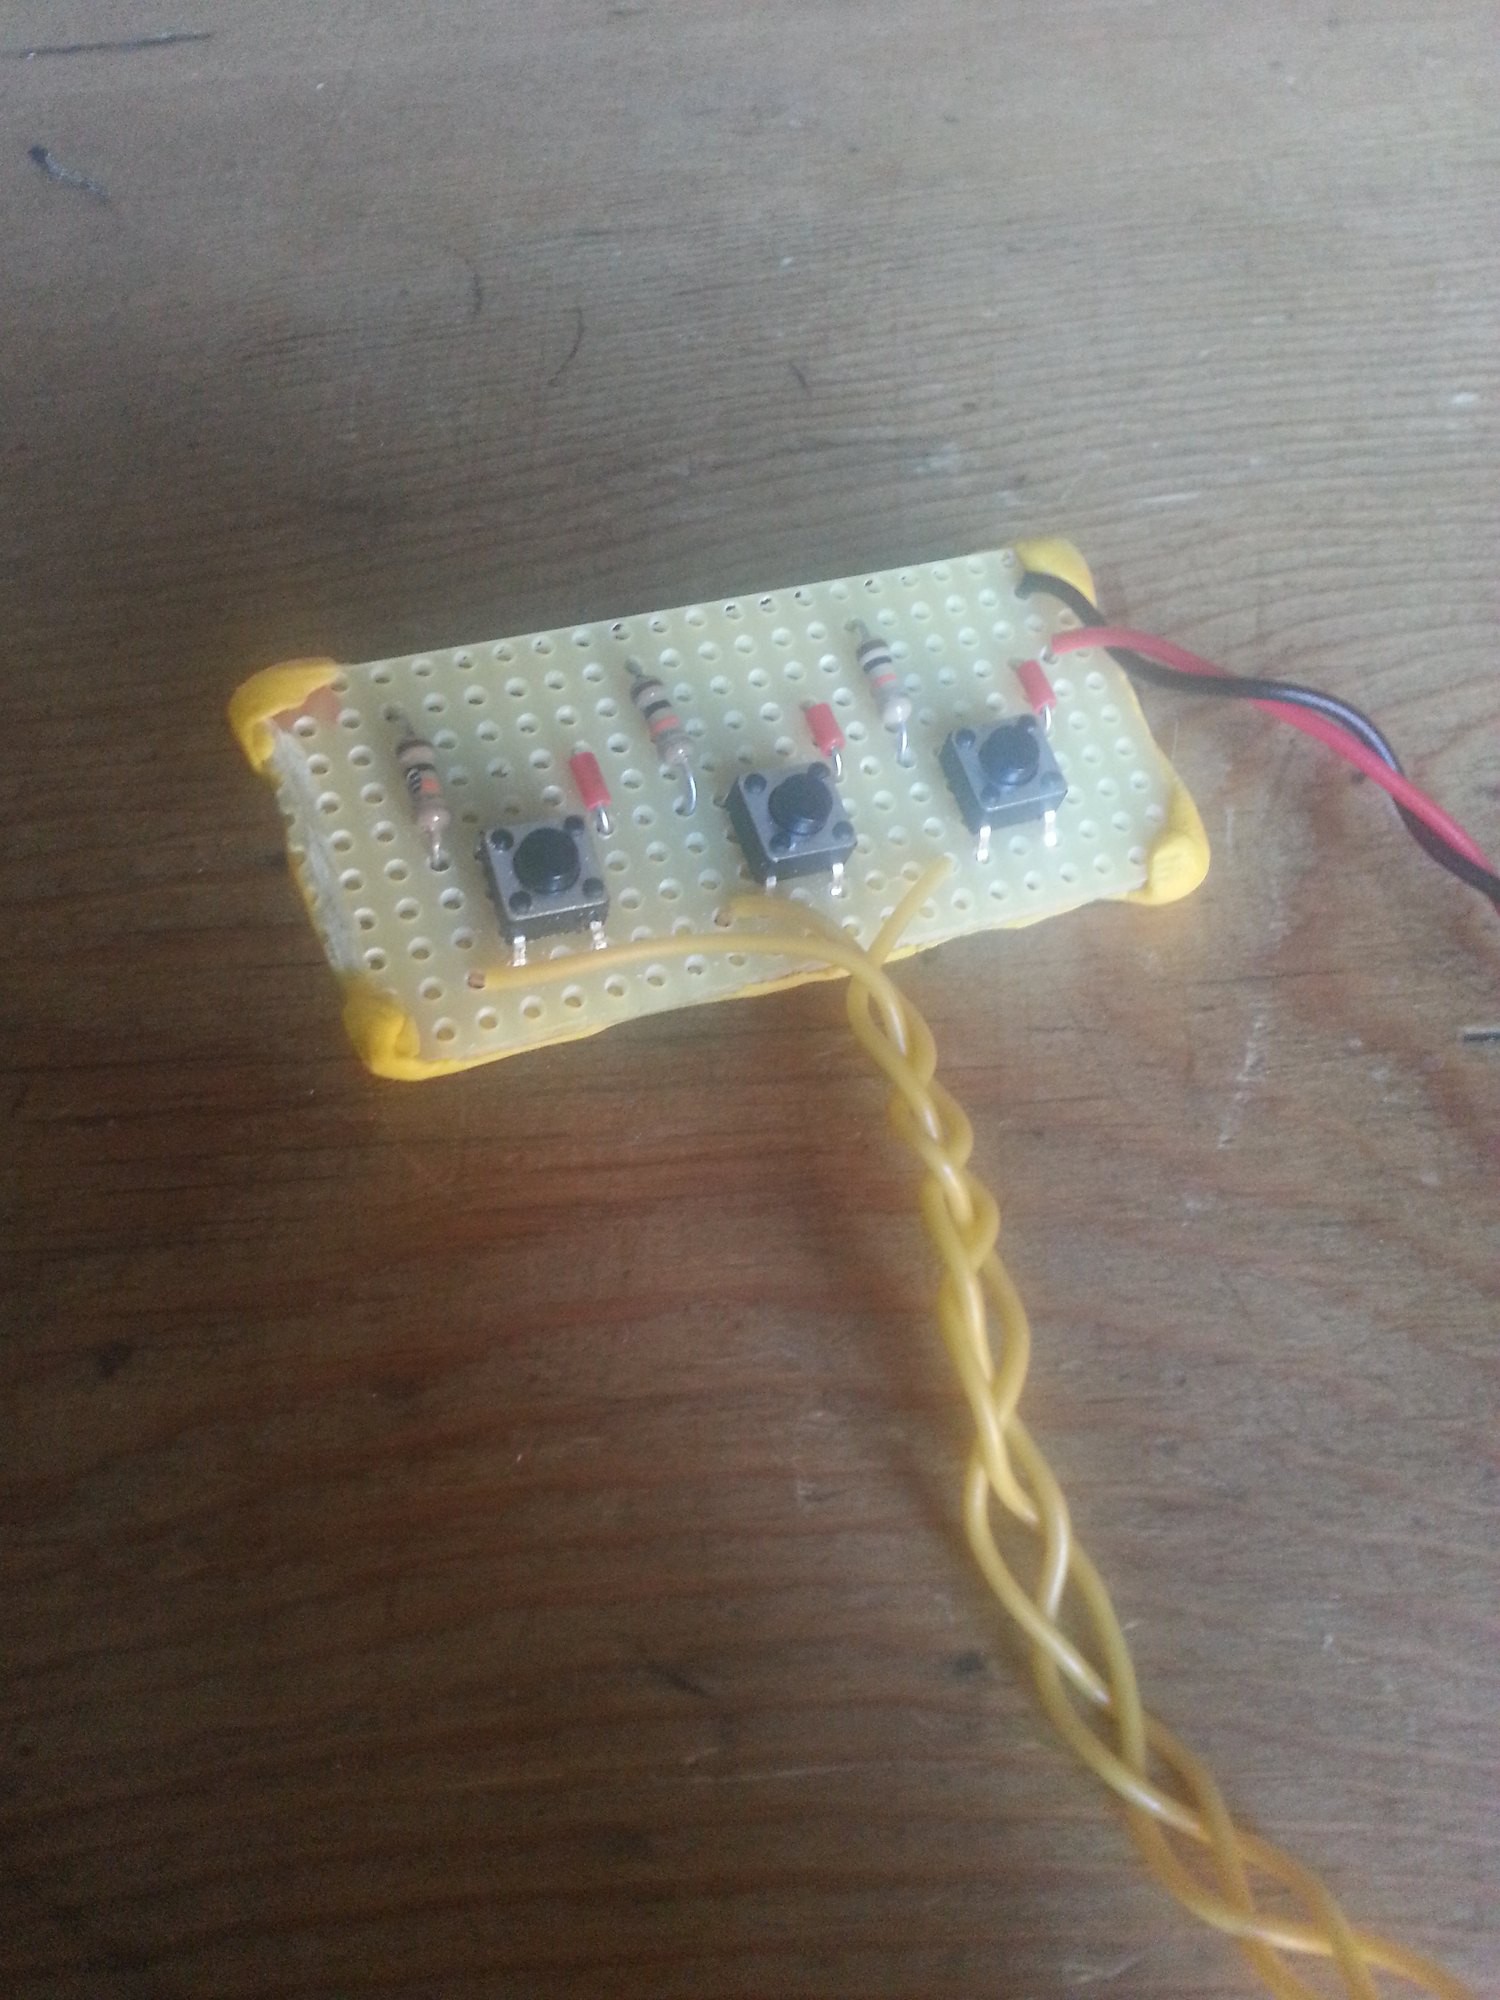
For the wind version... Solder parts for the button board onto a small piece of stripboard. The schematic for the layout can be found in the Fritzing file on the projects github repository. Cover the back and sharp edges with Sugru.
![]()
-
4Step 4
Use some more epoxy to affix the button board above the handle.
![]()
-
5Step 5
For the mouthpiece sensor mount the piezo sensor within the mouthpiece using sugru to hold the base in place. Use polymorph to create a holder for the mouthpiece an attach it to the side of the Trombino like so...
![]()
-
6Step 6
Drill two holes in the lower half of theArduino box and fix it to the top of the potentiometer housing. Thread wires through the holes. Add in the Arduino, ethernet shield and breadboard and hook up the parts currently attached to the housing. Open up the git repo and use the test sketch to ensure everything is working correctly so far.
![]()
-
7Step 7
Solder on the parts for the second part of the strip board and affix it in the lid of the box.
![]()
-
8Step 8
Place the lid close to the bottom and wire everything in, trying to keep the wires short. There is very little clearance at the top of the case so anything attaching to the shield should not have extra height (eg no jumper cables!). After everything if hooked up close the box! If i wanted to fix it down permanently it is able to close all the way but for the moment I have rubber banded it incase there are any alterations that need to be made.
![]()
Trombino
The Trombino is a trombone like interface which produces both sound and OSC data. It is being created as a tool for teachers and musicians.
 iPodling


Discussions
Become a Hackaday.io Member
Create an account to leave a comment. Already have an account? Log In.