-
Memory addressing and R/W works
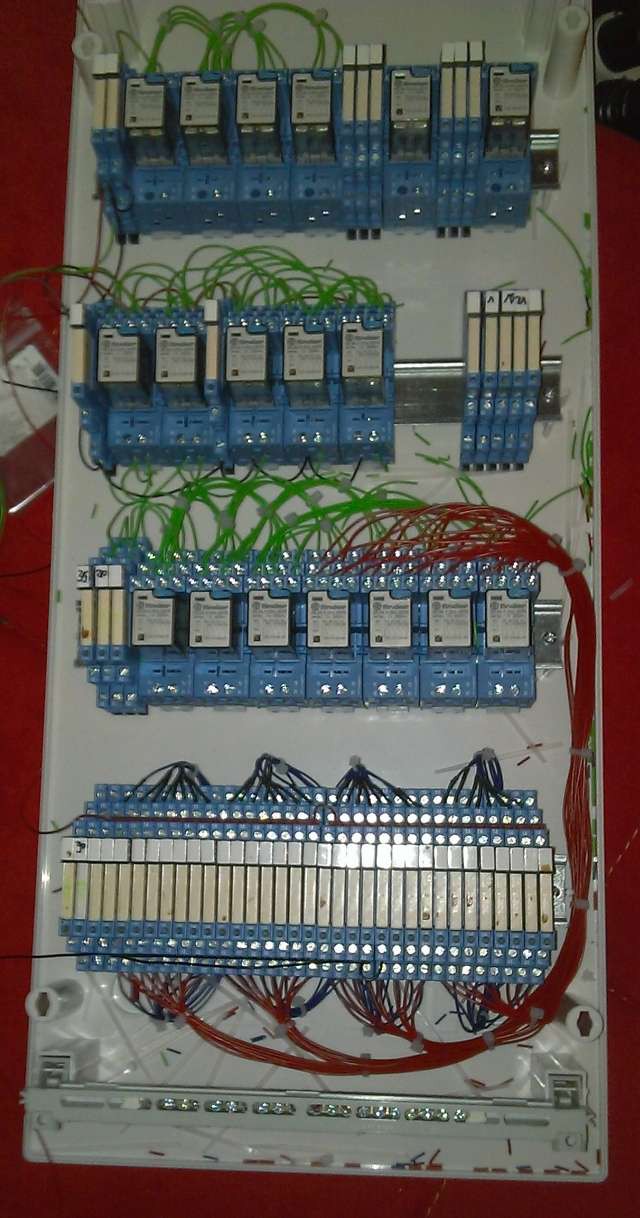
04/25/2016 at 17:58 • 0 commentsThe memory addressing and read/write operations work after having finished the wiring.
You can select a 5-bit address by clocking +24V or GND to the 5 address relays to set or reset them.
The memory multiplexer selects the one of the 32 cells and puts its state to the ALU-Multiplexer which can store the bit into the ALU a,b,c cells.
A +24/GND clock on the write wire will write 1/0 to the cell.Video will come.
-
Wired the memory
04/07/2016 at 21:11 • 1 commentRow 3 and 4 are the memory demultiplexer and the memory itself.
To save wires and relays, I use resistors to latch the relays. The advantage of it is that clocking +24V will latch a bit ON and clocking the GROUND will latch it OFF.
A relay can still hold the on-position with less than half of the nominal coil voltage, so this hack is very useful.I´ll modify my actual design to this kind of latching also for the address- and ALU-multiplexers. It will make the computer more powerful with a minimal amount of effort.
![]()
-
ALU wired
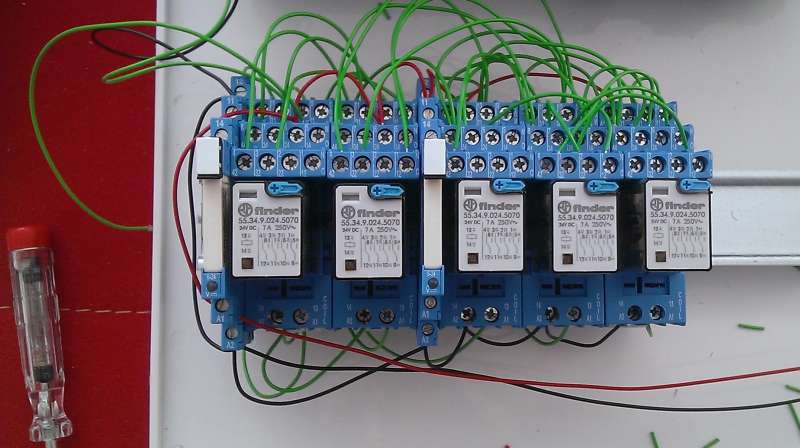
03/20/2016 at 13:43 • 0 commentsFinished wiring the ALU.
The seven Relays from left to right:
1) Reset I/O Multiplexer
2,3) Multiplexer (latching, read mem to A, B or Carry, write sum or carry to mem)
4) Reset ALU input A,B,Carry
5,6,7) Input A, B, Carry (latching)
![]()
-
Build started
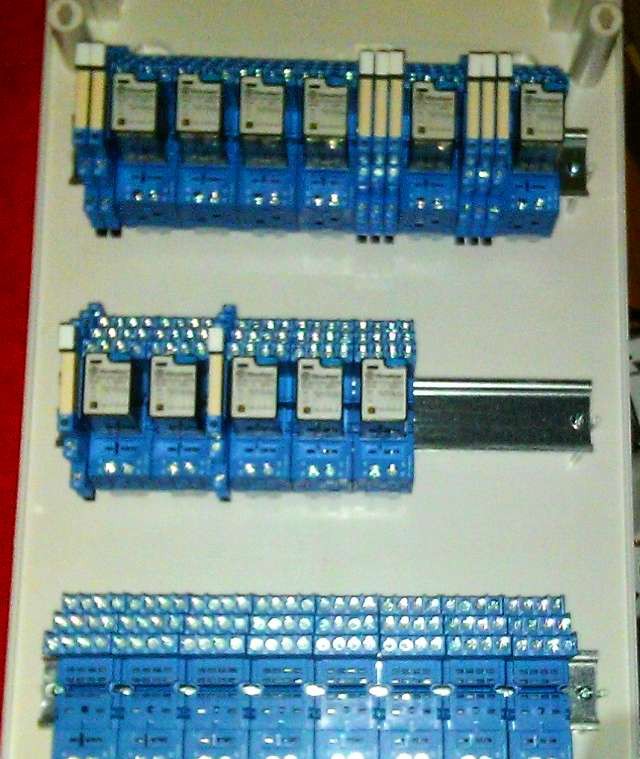
03/18/2016 at 20:39 • 0 commentsPlaced the relays for the command demultiplexer and ALU - preparing for wiring.
I was lucky to get the nice 4poles industrial relays for cheap on Ebay. They are used, but in good condition.
![]()
Relay Computer
A relay computer on hat rails Big loud relays, Turing complete, NO f**king diodes
 Paul Kocyla

