Mercedes Benz L319 restauration
research shows, that the world will propably run out of petrol before this van is back on the road. That is why it runs on bio diesel.
research shows, that the world will propably run out of petrol before this van is back on the road. That is why it runs on bio diesel.
To make the experience fit your profile, pick a username and tell us what interests you.
We found and based on your interests.
Some partly finished sub-projects are in progress. As a major workshop re-arrangement is planned (big milling machine incoming :) and it will take some time, this post sums up the current status.
For the frame parts, a negative frame/assembly support was build. The single struts end in an plate with two screw holes to mount towards the frame:
A form was build to recreate the frame struts:
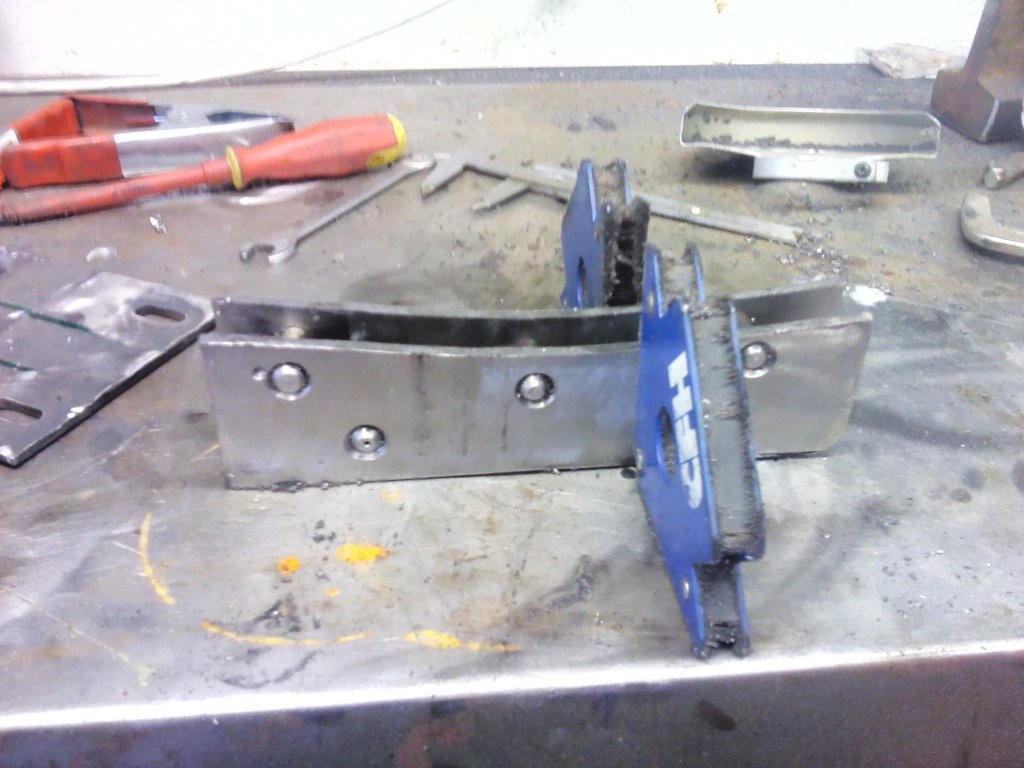
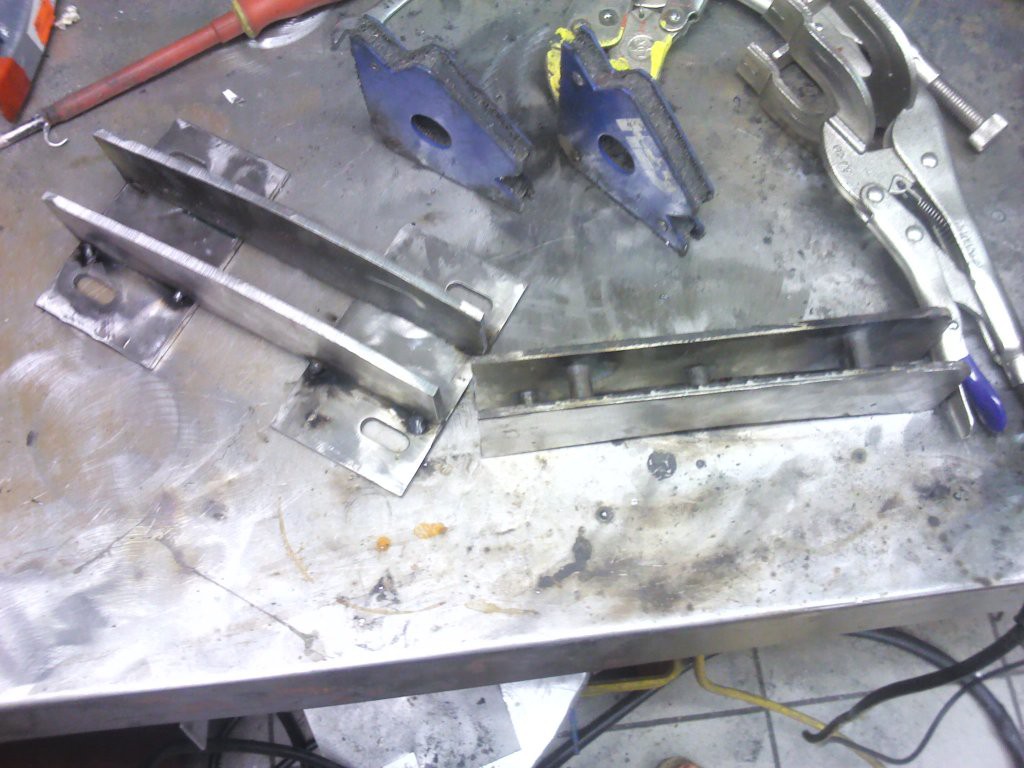
Reinforcement was added to the outer part (not shown here). Frame parts still to be build...
The rear corners are one of the main parts that attract rust on all of these vans:
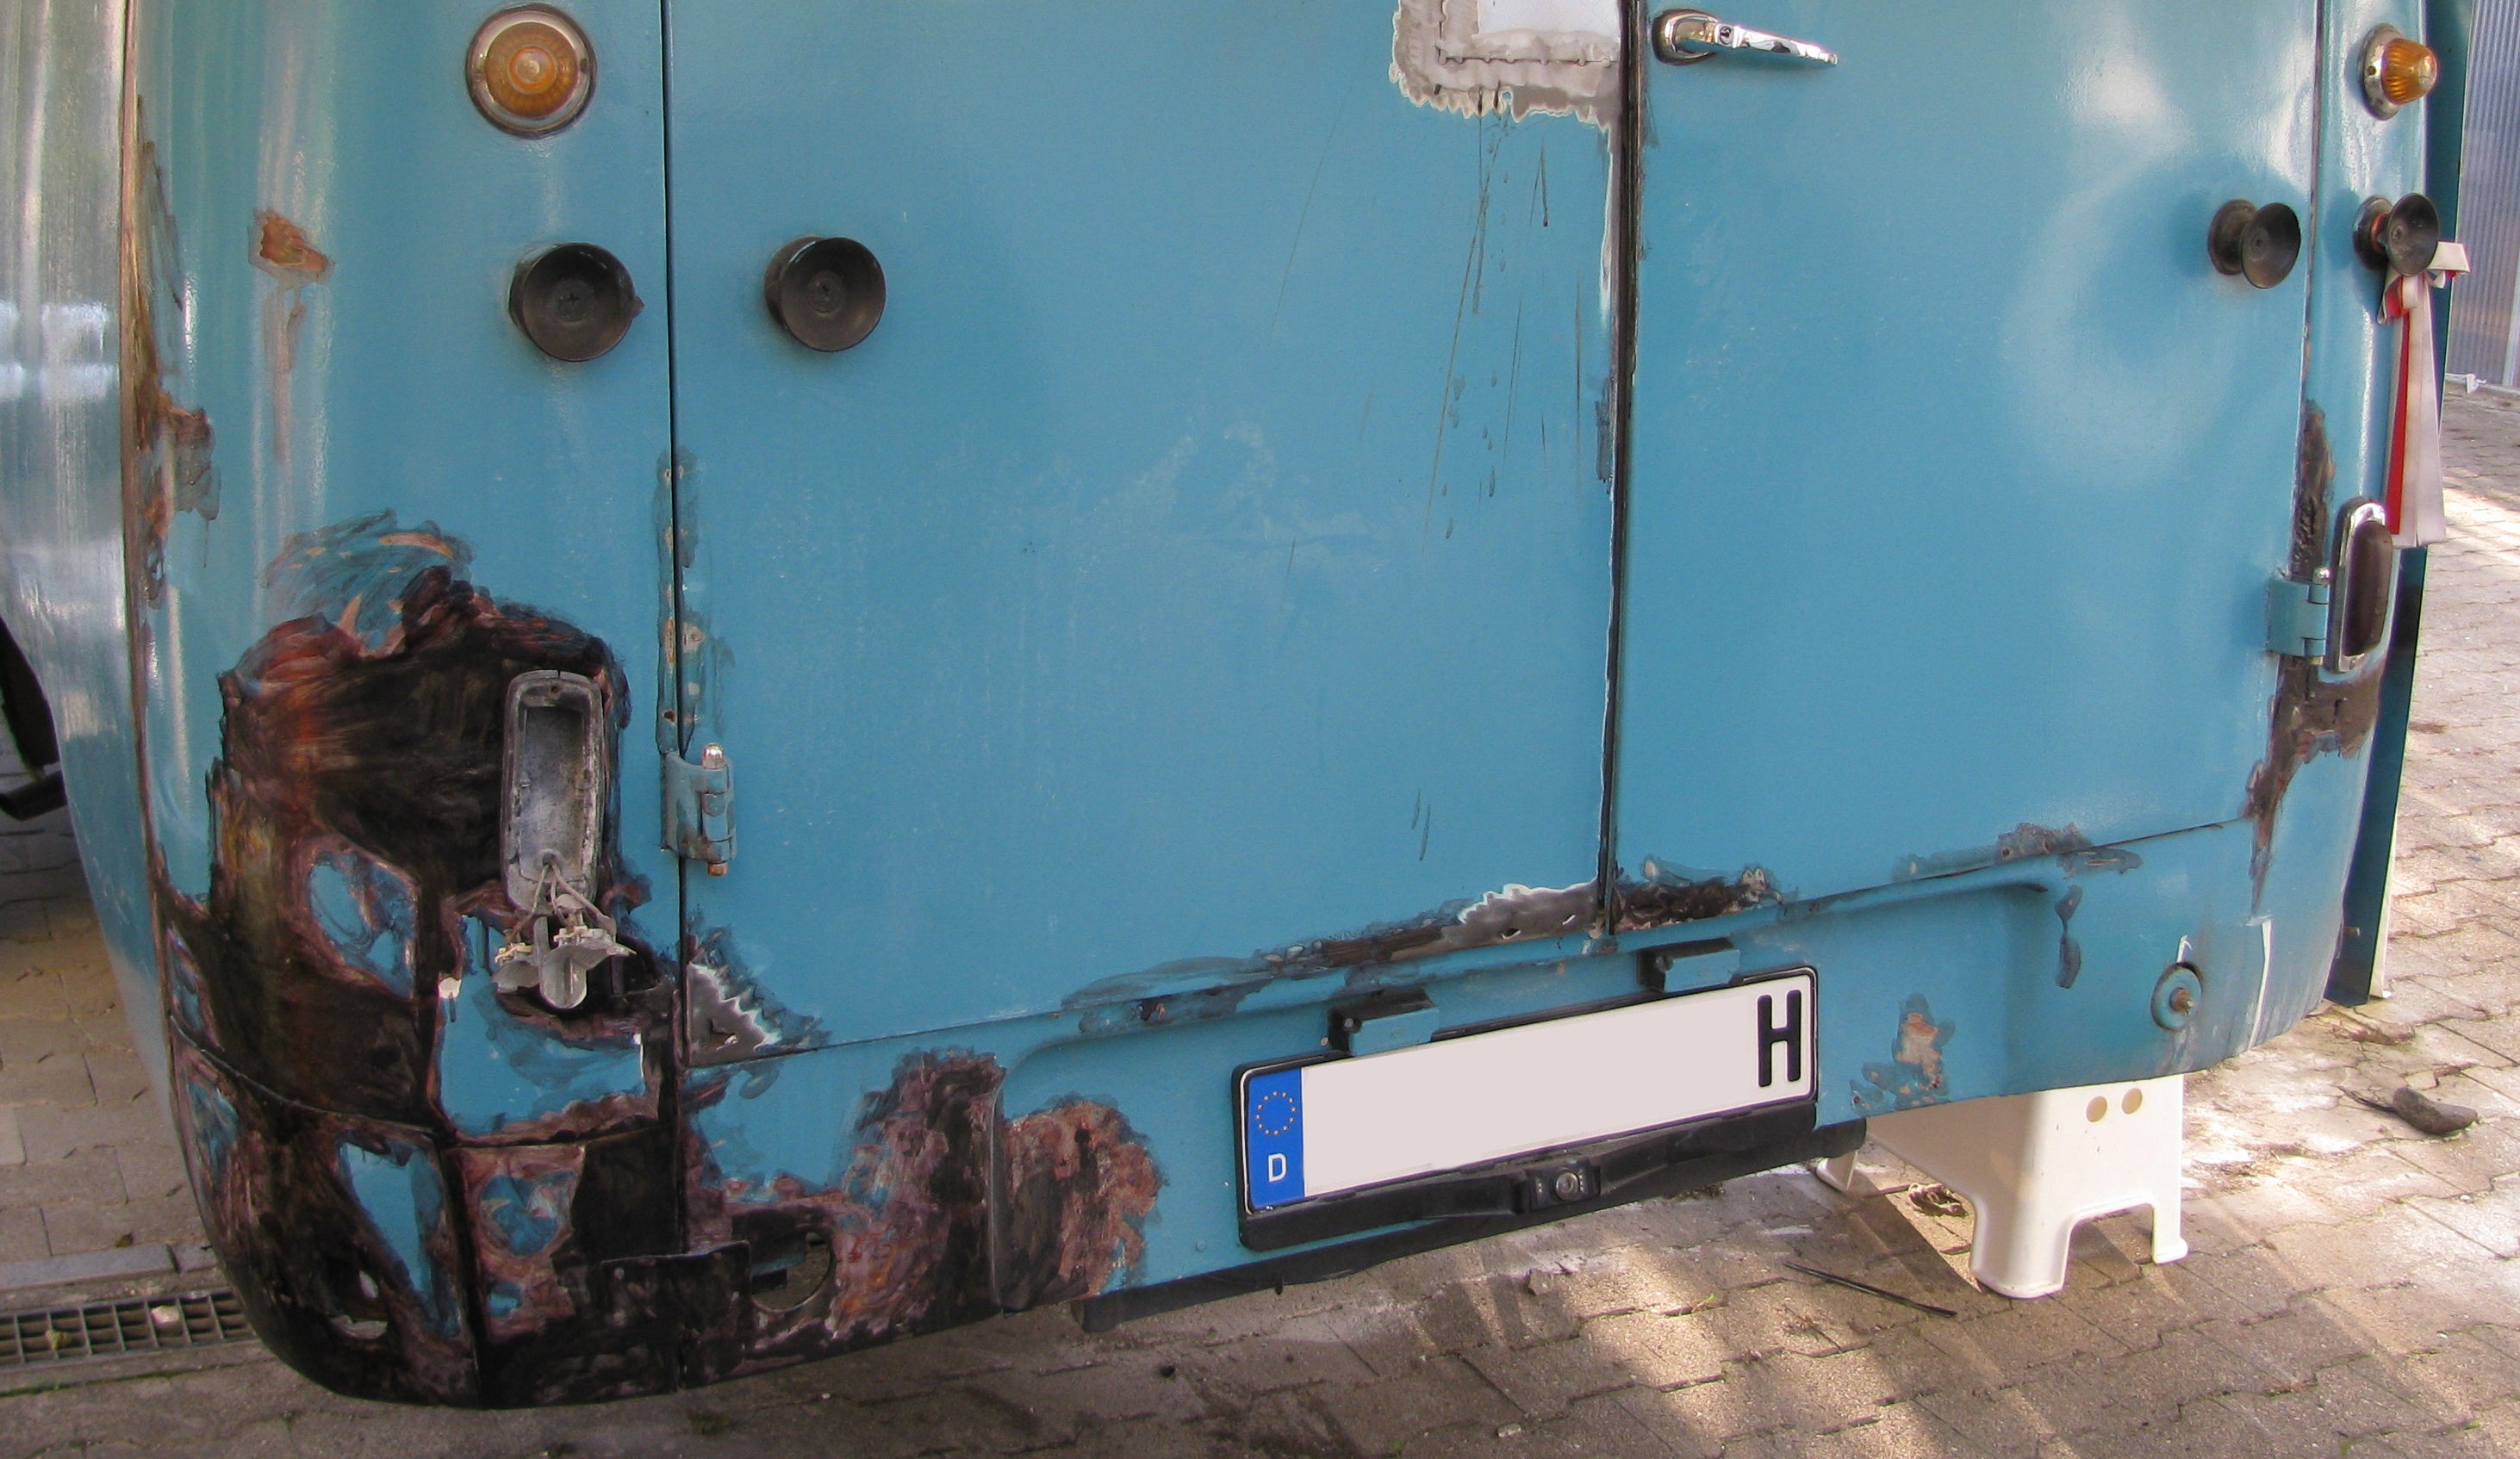
There is a company that sells re-build corners. They are good quality and fit, but two corners would cost half of what I paid for the van, and I want to push my metalworking skills, so...
The traditional way to create sheet metal car panels is by stamping. As I got no big hydraulic press there must be another way...
After obtaining the corner dimensions and some math voodoo, we got a slottet piece of paper...
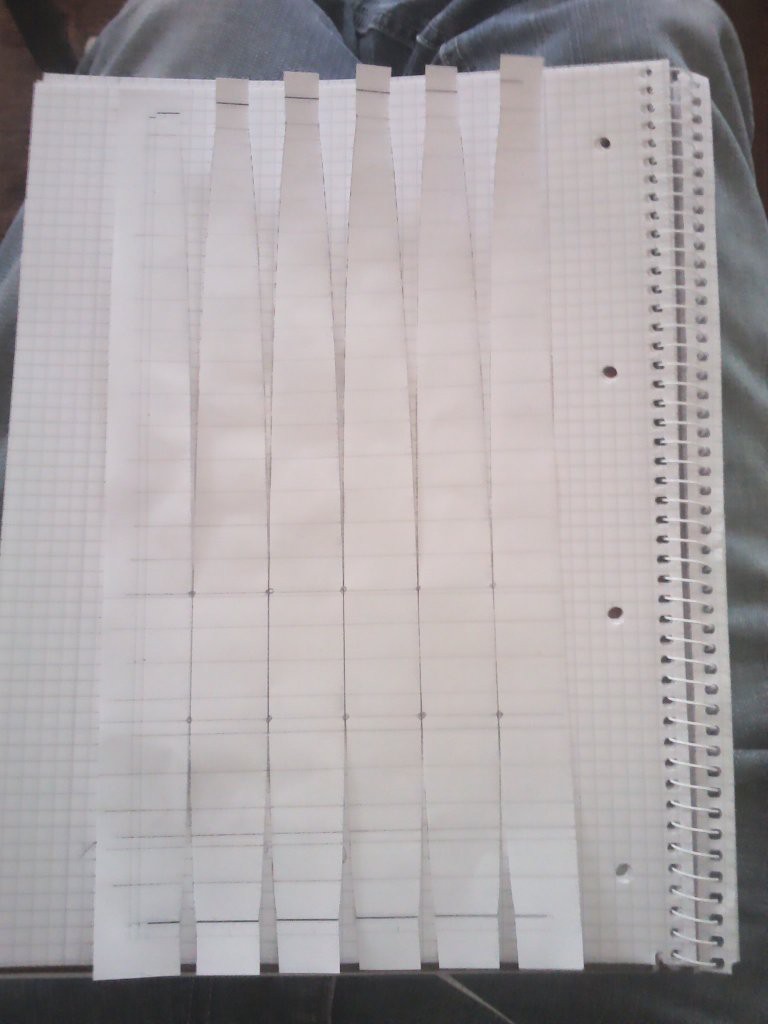
...that assembles into something threedimensional after application of some tape:
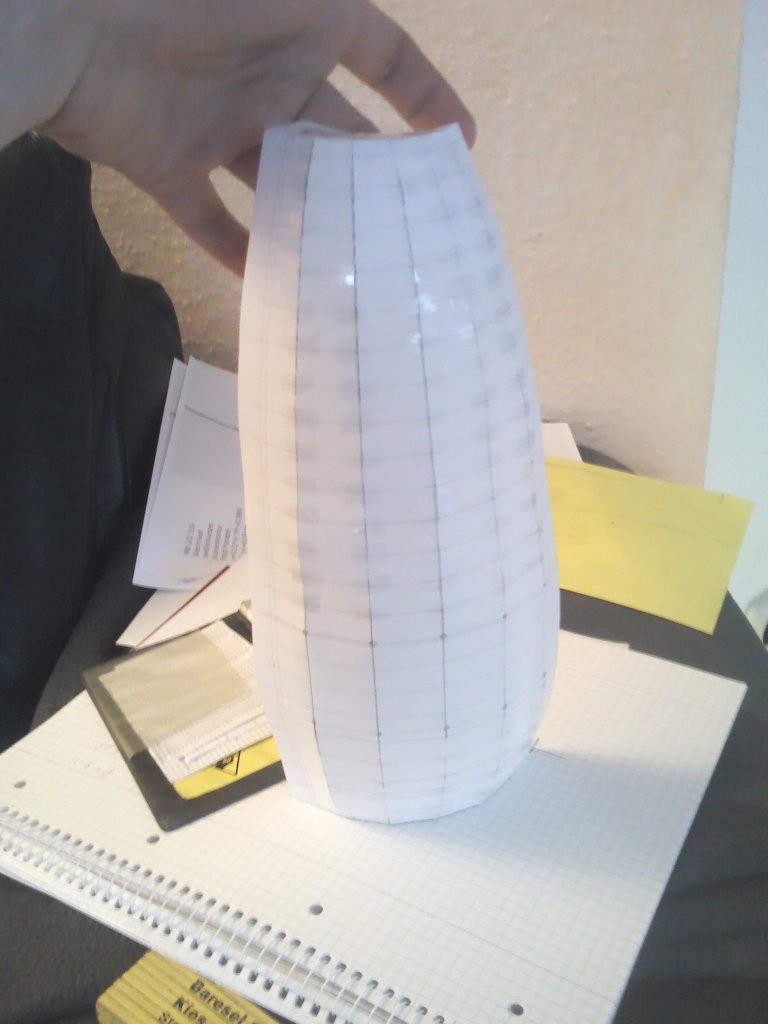
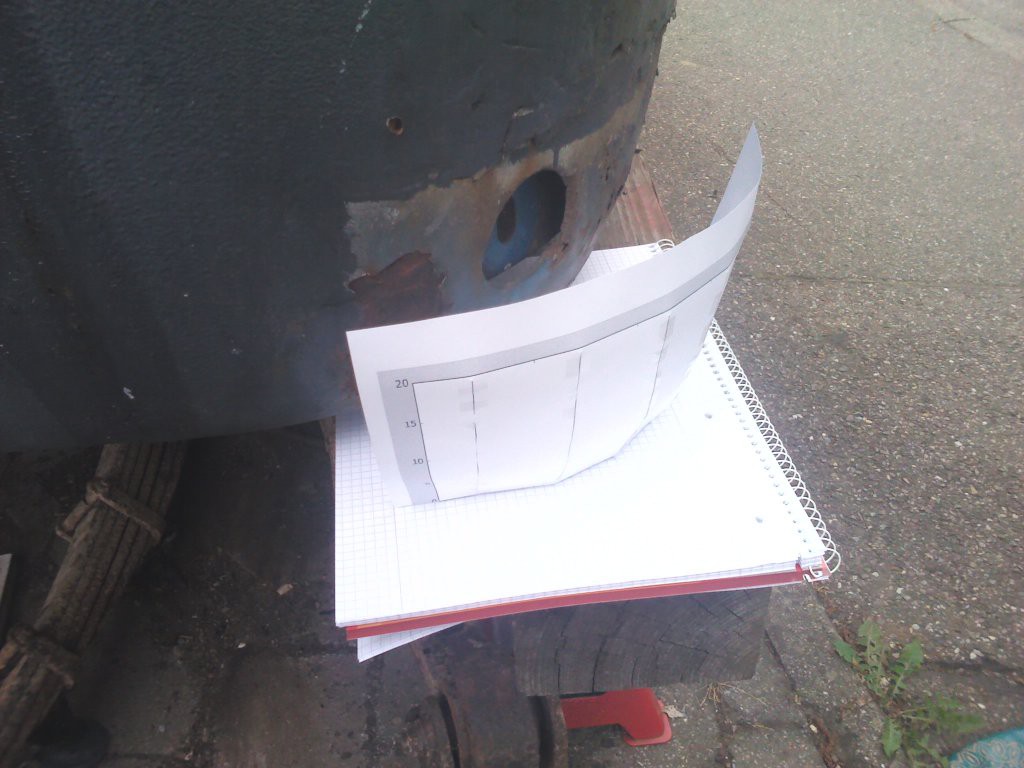
...and build a gigantic paper-mache/oregami-van. Not.
As I've got an A4 paper printer only, multiple pages with the right pattern were printed and taped together:
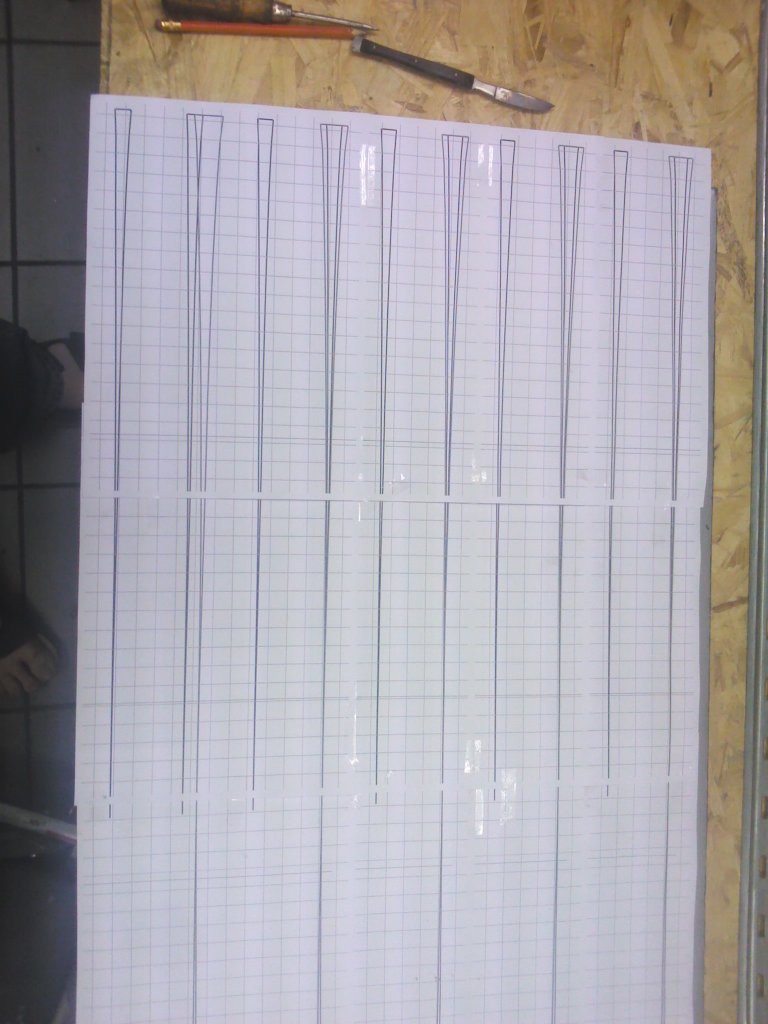
It is possible to transfer the lines to a sheet of metal by application of acetone. As an solvent, acetone dissolves the laser printer toner and lets it stick to the sheet of metal by some pressure (rubber roll):
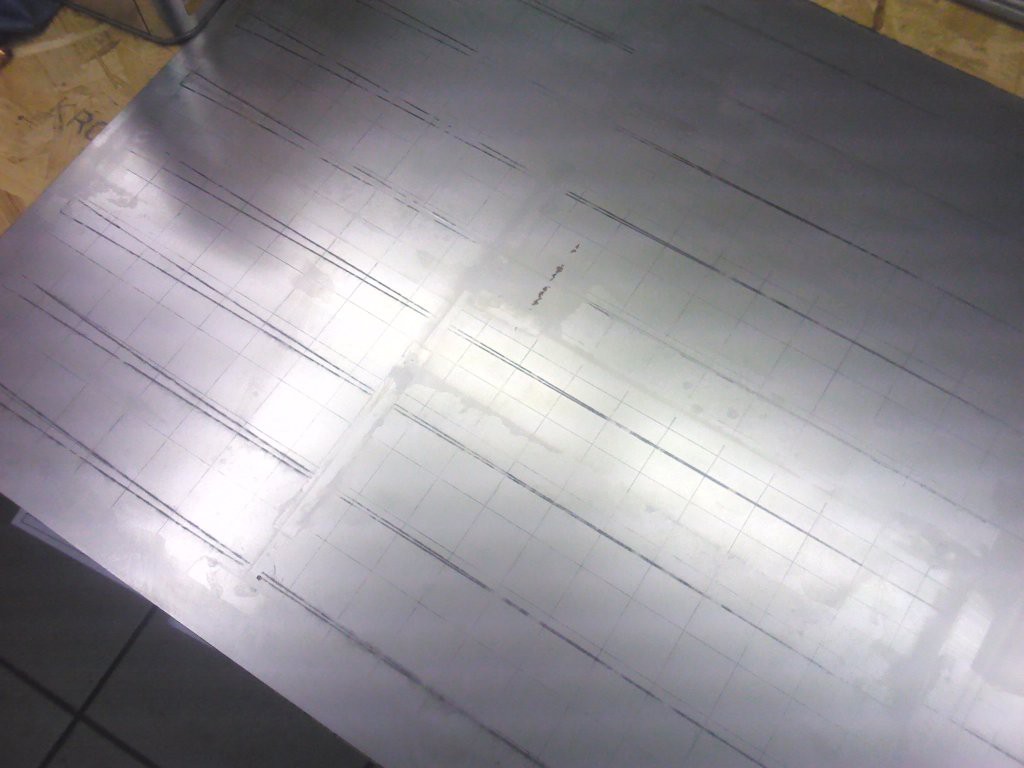
A wooden support structure helps to bring the sheet in form:
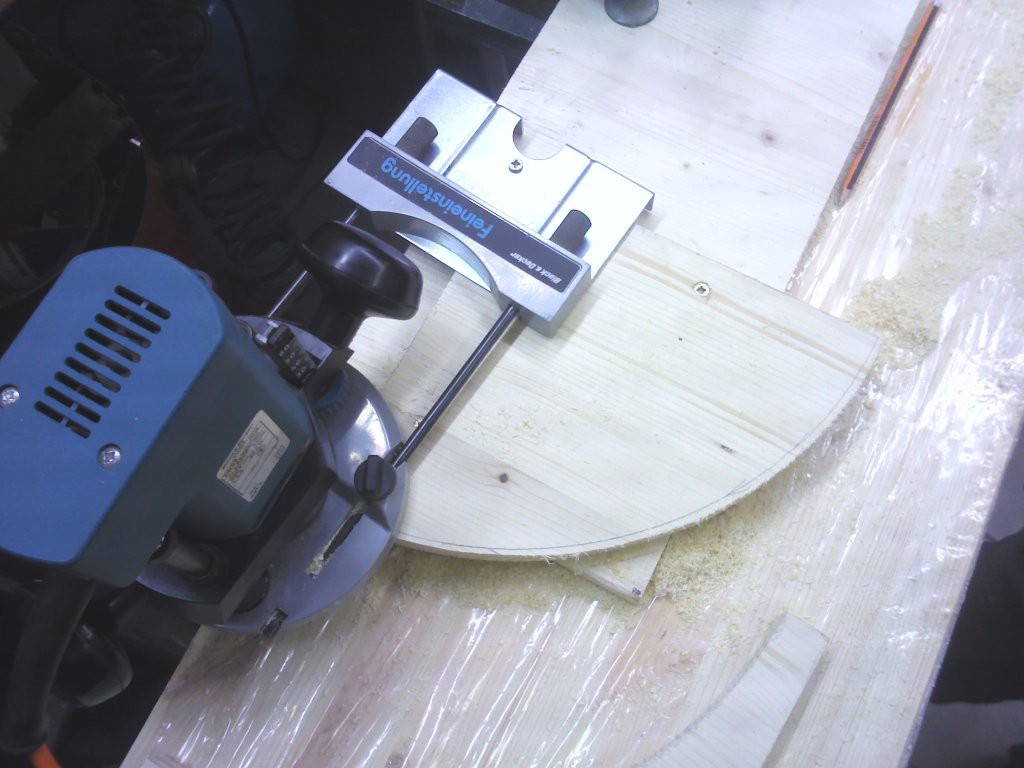
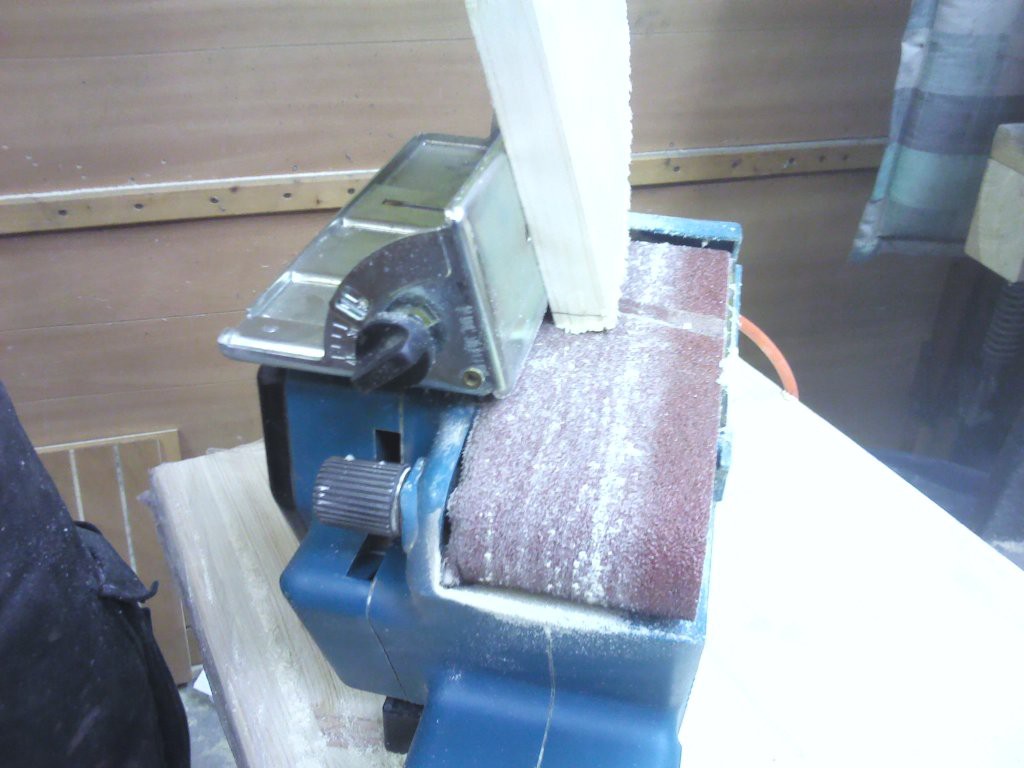
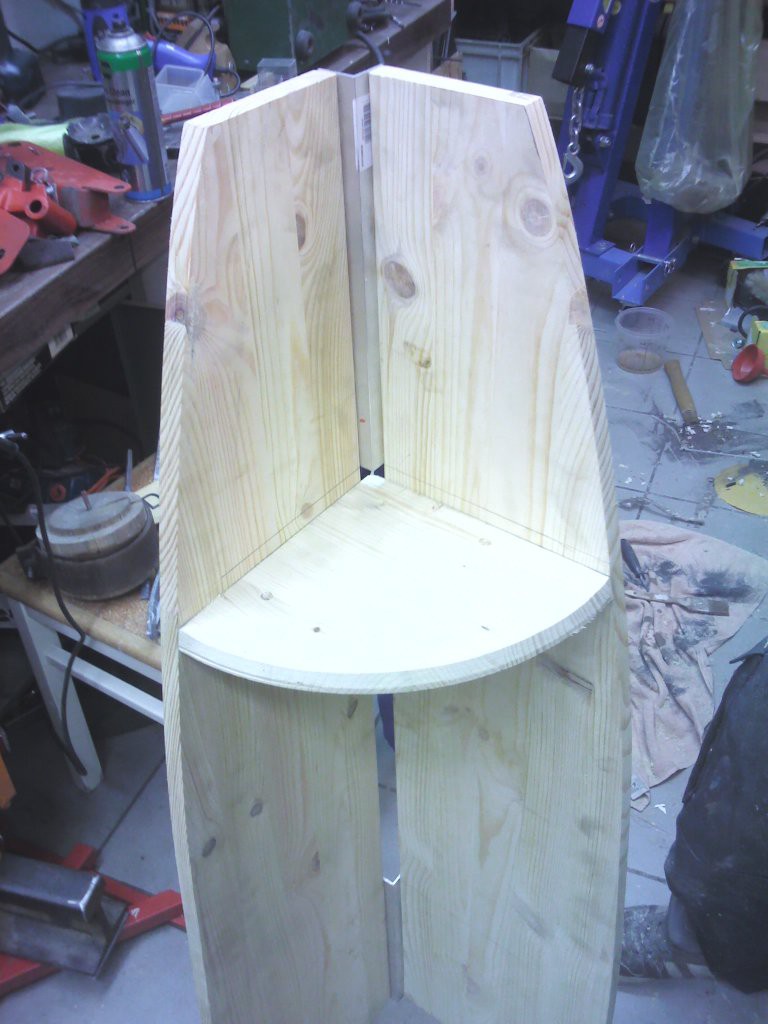
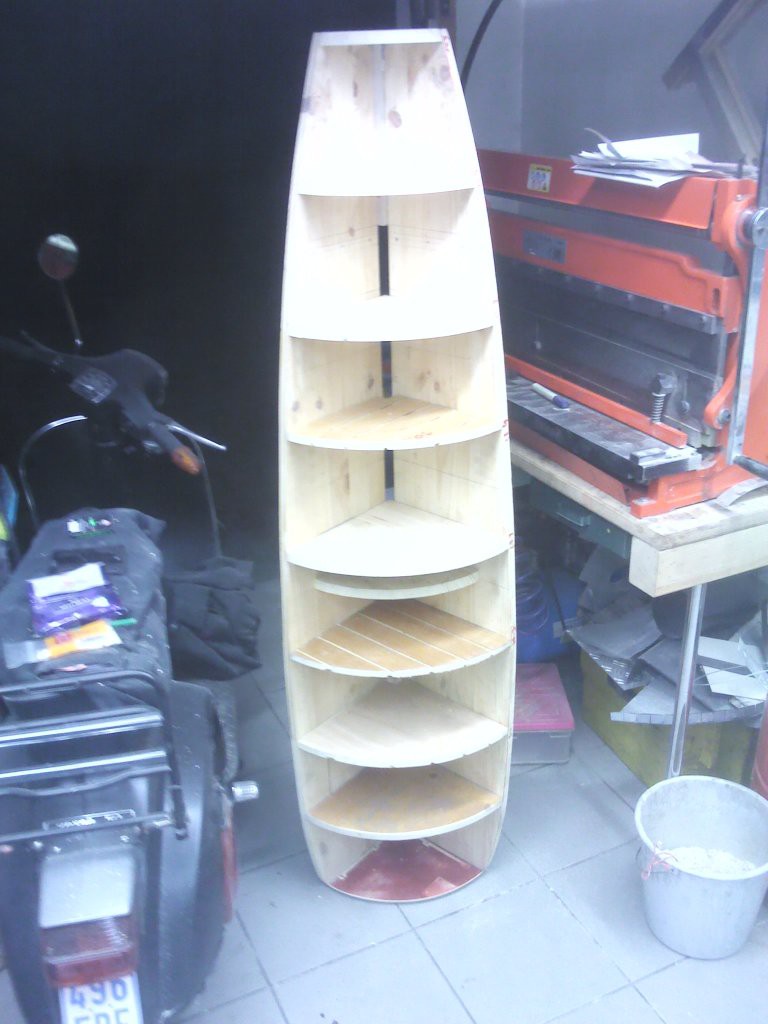
Cutting in progress:
Tension belts are used to bend the sheet of metal in place, MAG spot welding is used to fix the sheet in place:
The Argon gas bottle was empty after a first WIG test weld to adjust the current for best results, so I had to stop for the day and take a ride to the hardware store for a refill. Filling the gaps with TIG welds, grind and beat the surface flat, bend over the edges etc. is planned next.
Updates on corner-rebuild can be expected in the next weeks. As usual, I am low on spare time, the daytime job, friends and other real life stuff need attention, too...
The hose package of my "new" ESS TIG welder gives electric shocks and the trigger makes bad contact, which leads to the power relais flapping around and the circuit braker triggering.Initial state after removing the tape which held it together: Damaged insulation, bad solder joints, missing insulation/hose too short. Previous owner: electronics engineer and prof. welder !?
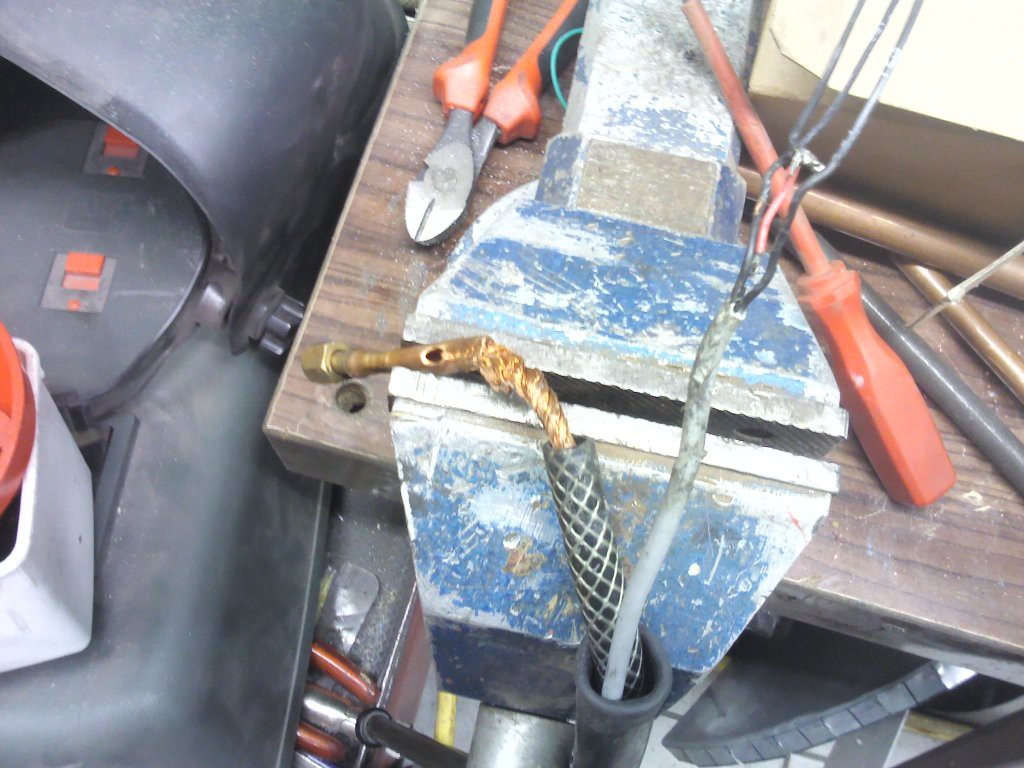
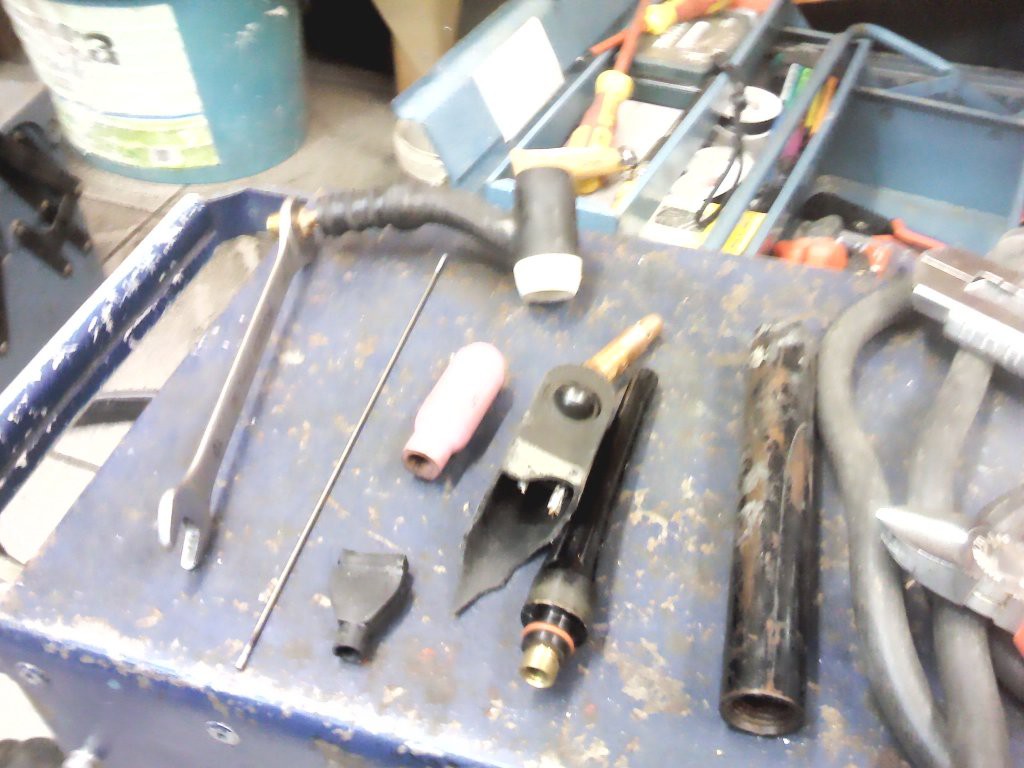
After shortening the inner conductor (open crimp connection, cut away a few centimeters re-crimp):

Switch reattached (original solder joints were broken, insulation damaged; note additional rubber protection):
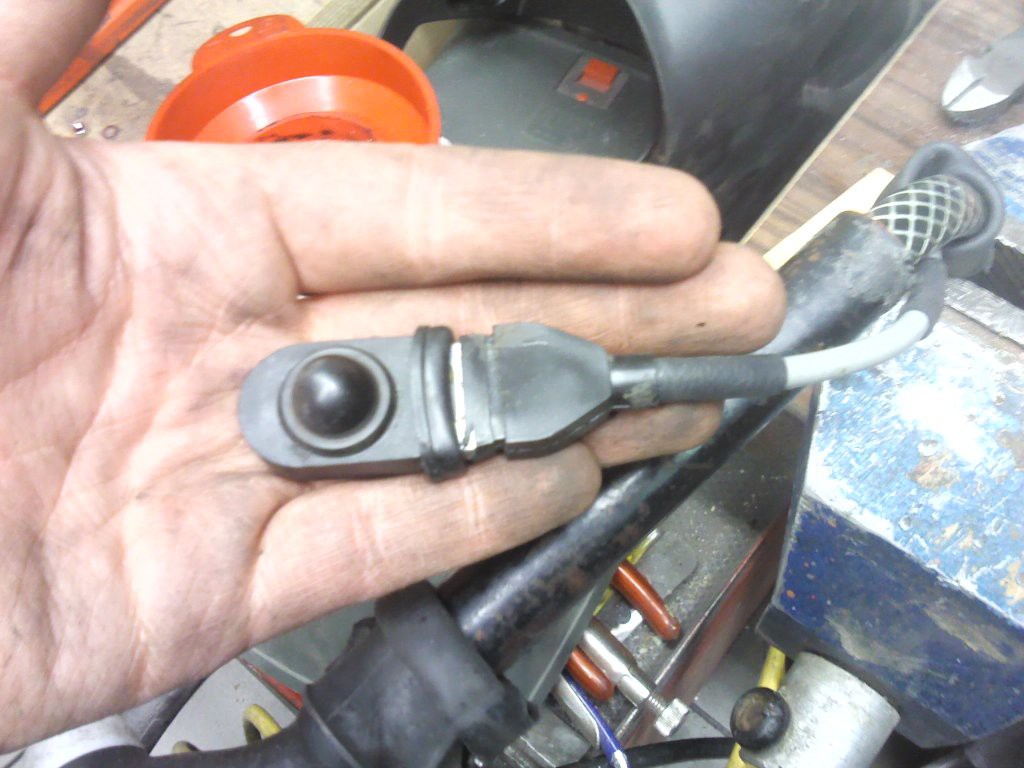
New tape applied:
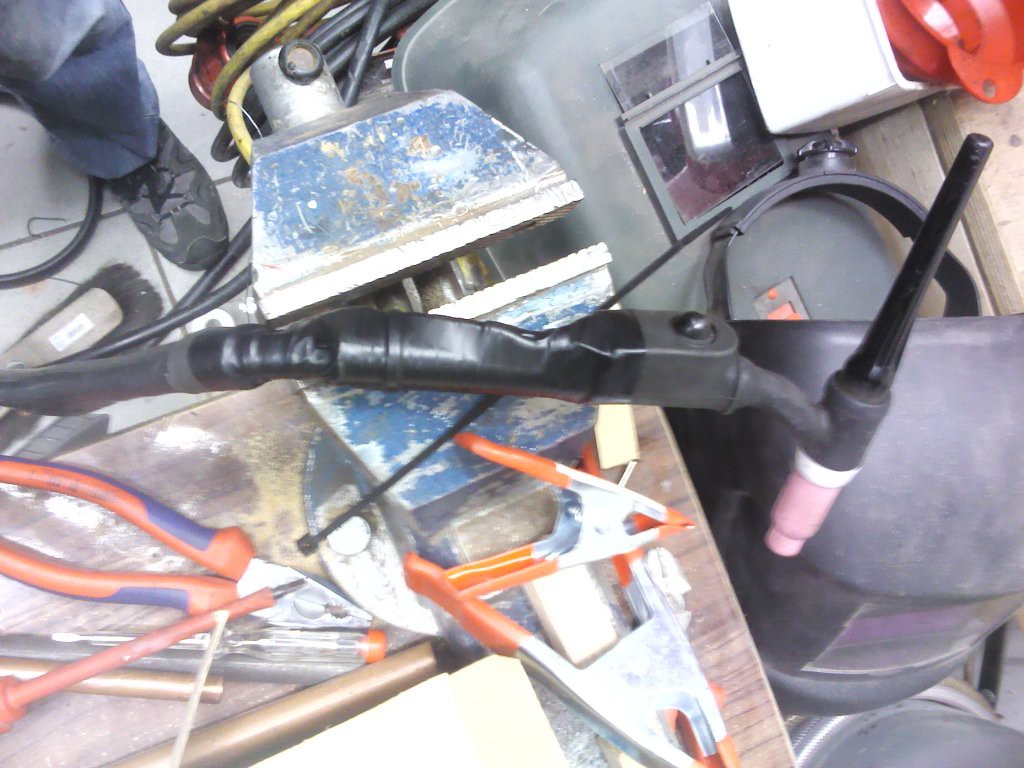
The "Welding Basics & How-To TIG Weld - Livestream" video (two parts) from Eastwood Company is a nice intro (1h) into basic TIG welding:
The biggest (kinda idiotic) issue was to "find" the switch which enables the local current setting pot on the welder - d'oh! Enlightenment ;)
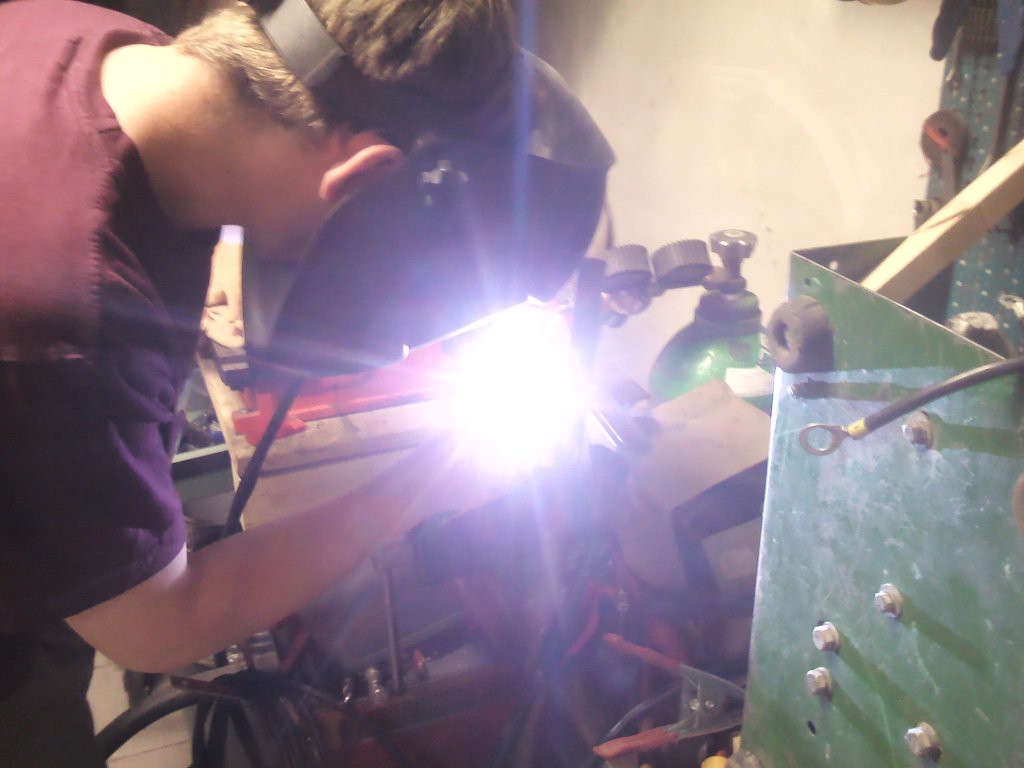
First impession: Yep, TIG welding enables precise control of heat input/location and welding pool. This is an improvement (precision-wise) over MIG/MAG. Great :)
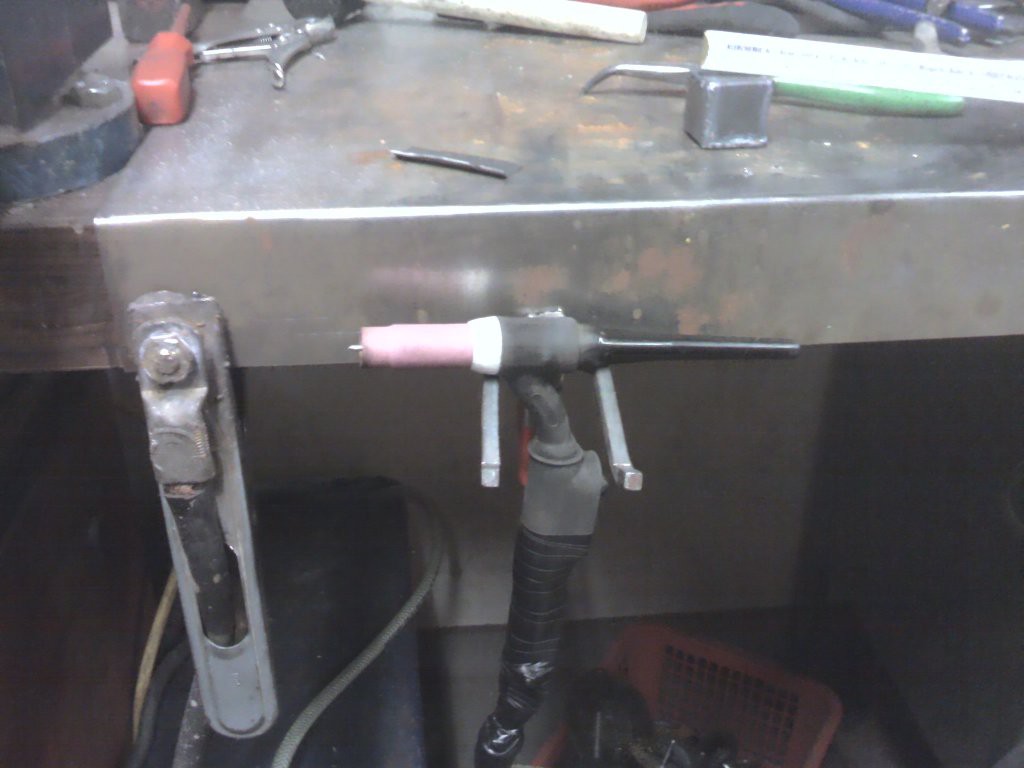
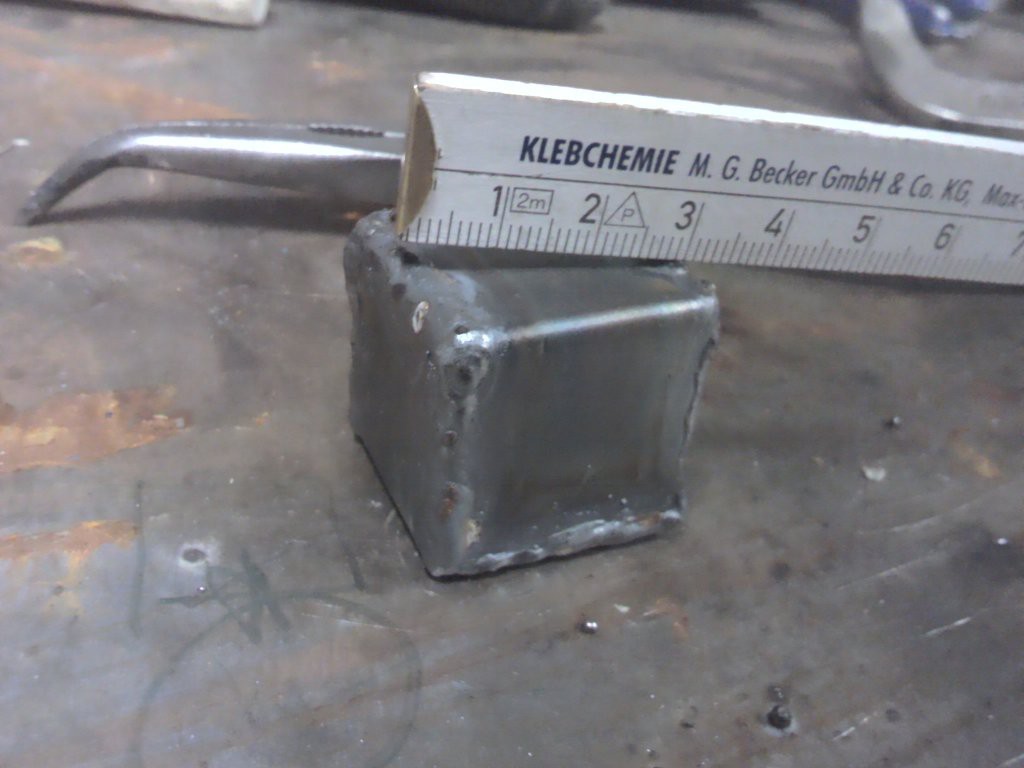
To try out the TIG welder (never used one until now), I created a small cube out of two U shaped 1mm thick 3x9cm strips of metal:
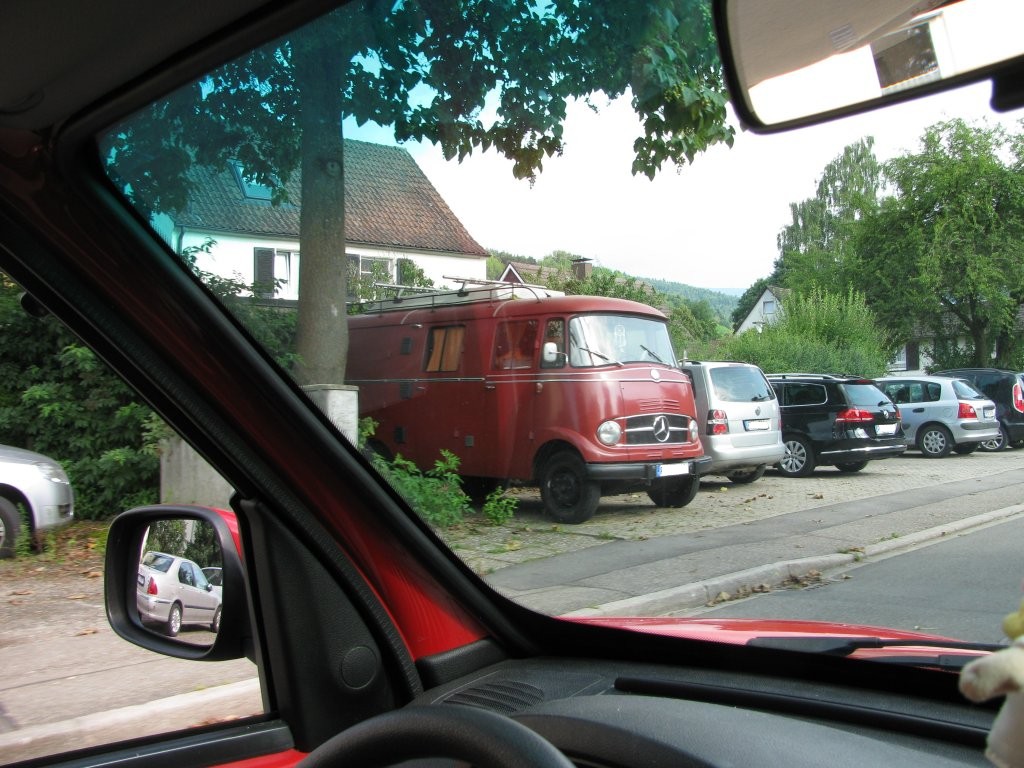
This one is/was a fire truck with a big gasoline engine. You can tell this based on the motor hood (additional cooling slots, (closed) hole for water pump), the flippable stairs on the side and the flat rear.
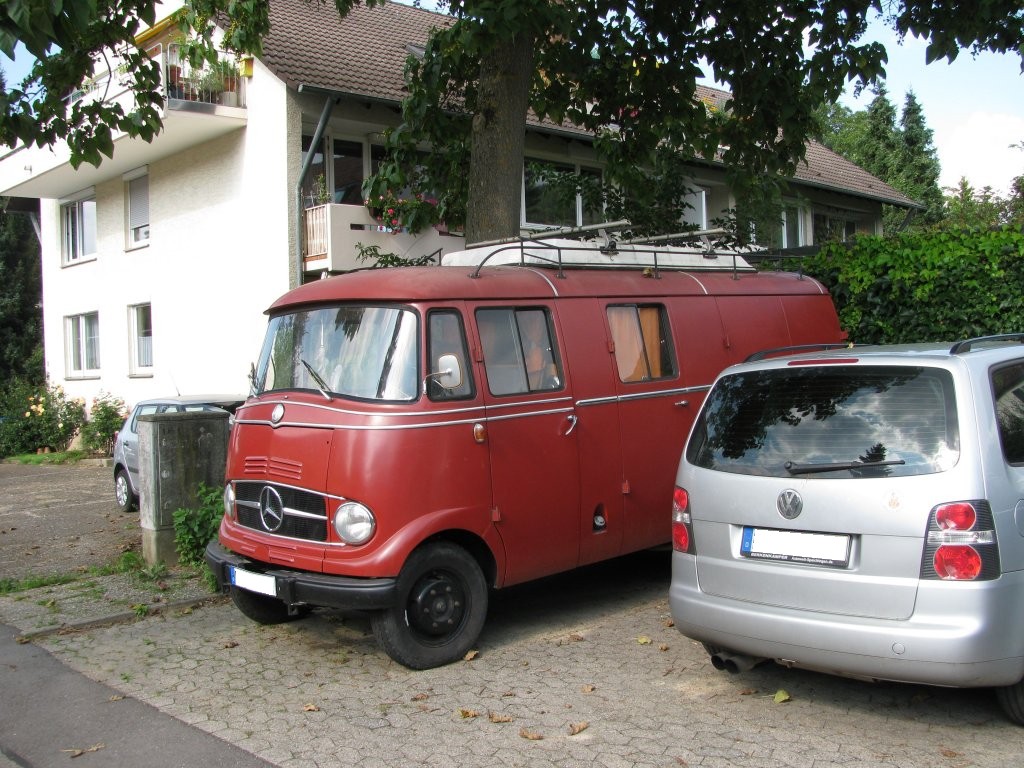
Other news:

hmmm... yo dawg, I herd you like roof racks, so I put an roof rack on your roof rack so you can transport while you transport:
so lets check if it fits...

seems comfortable...
...but as the roof rack is not prio 1, it was put in the basement to wait until next winter for some indoor-metalwork&solarpanelmountbuild-fun.
In the following picture, the parts painted with rust protection primer were completely gone due to rust and are replaced now:
The edges of the part that holds the number plate needed replacements, too (again, see areas painted with rust protection primer):
There is no way to replace the support structure with the outer sheet metal parts in place, so they need to go:
(c)rusty!
It is obvious that parts need to be replaced...
(some numbers are wrong in this sketch!)
After the 3rd iteration...
A farm nearby had a "trailer" to give away. It turned out, that the "trailer" in fact was an L319 pick-up cut in half! Time to rescue the useable parts...
The rear axle was a bit heavier than thought, so back on wheels we rolled it into the garage...
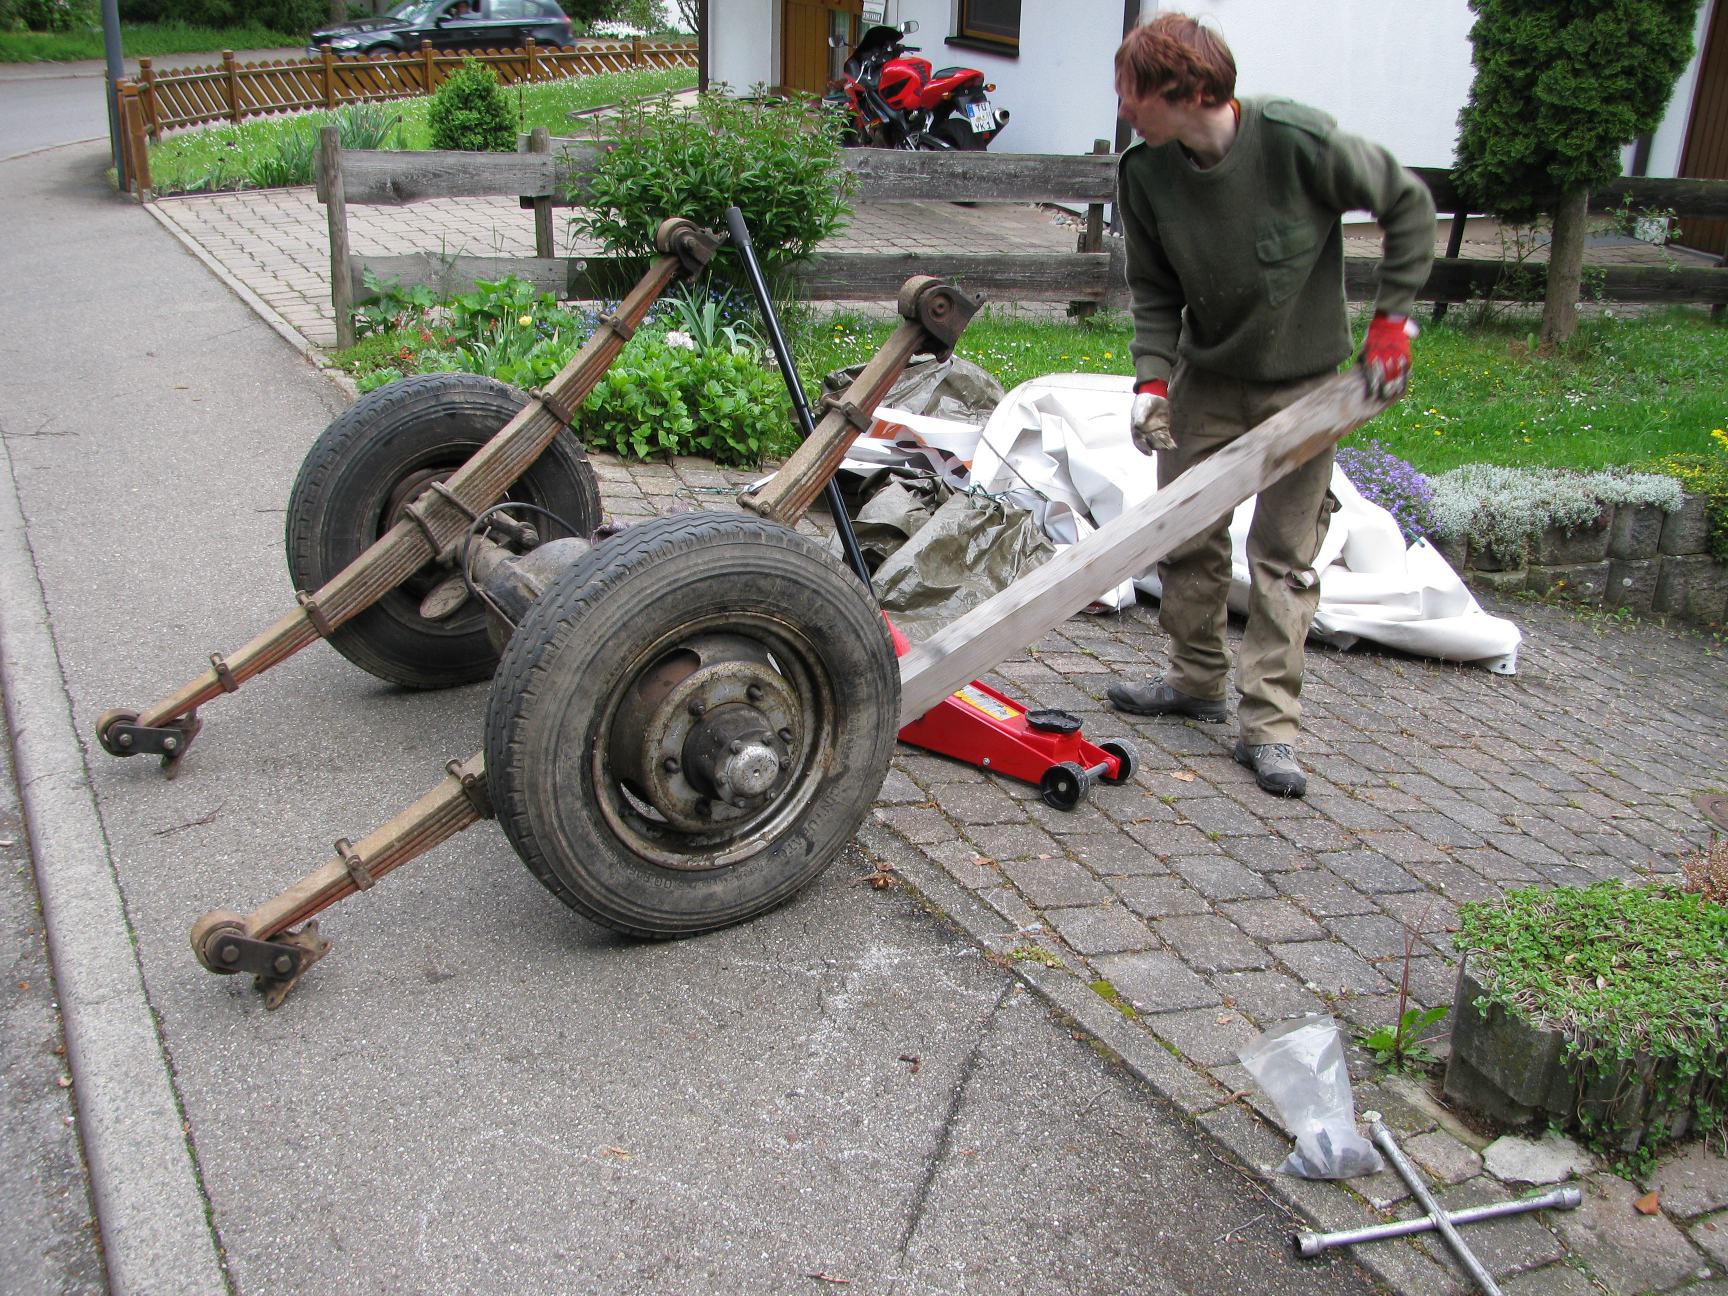
What happens if you really need to lift something heavy? The local hardware store does a "next 3 hours 20% off" campaign. I've never seen the hardware store that crowded: Cars all over the place, no shopping carts left - did we miss the zombie apocalypse warning in the weather forecast? Anyways, a nice way to get stuff for online prices, but without shipping cost

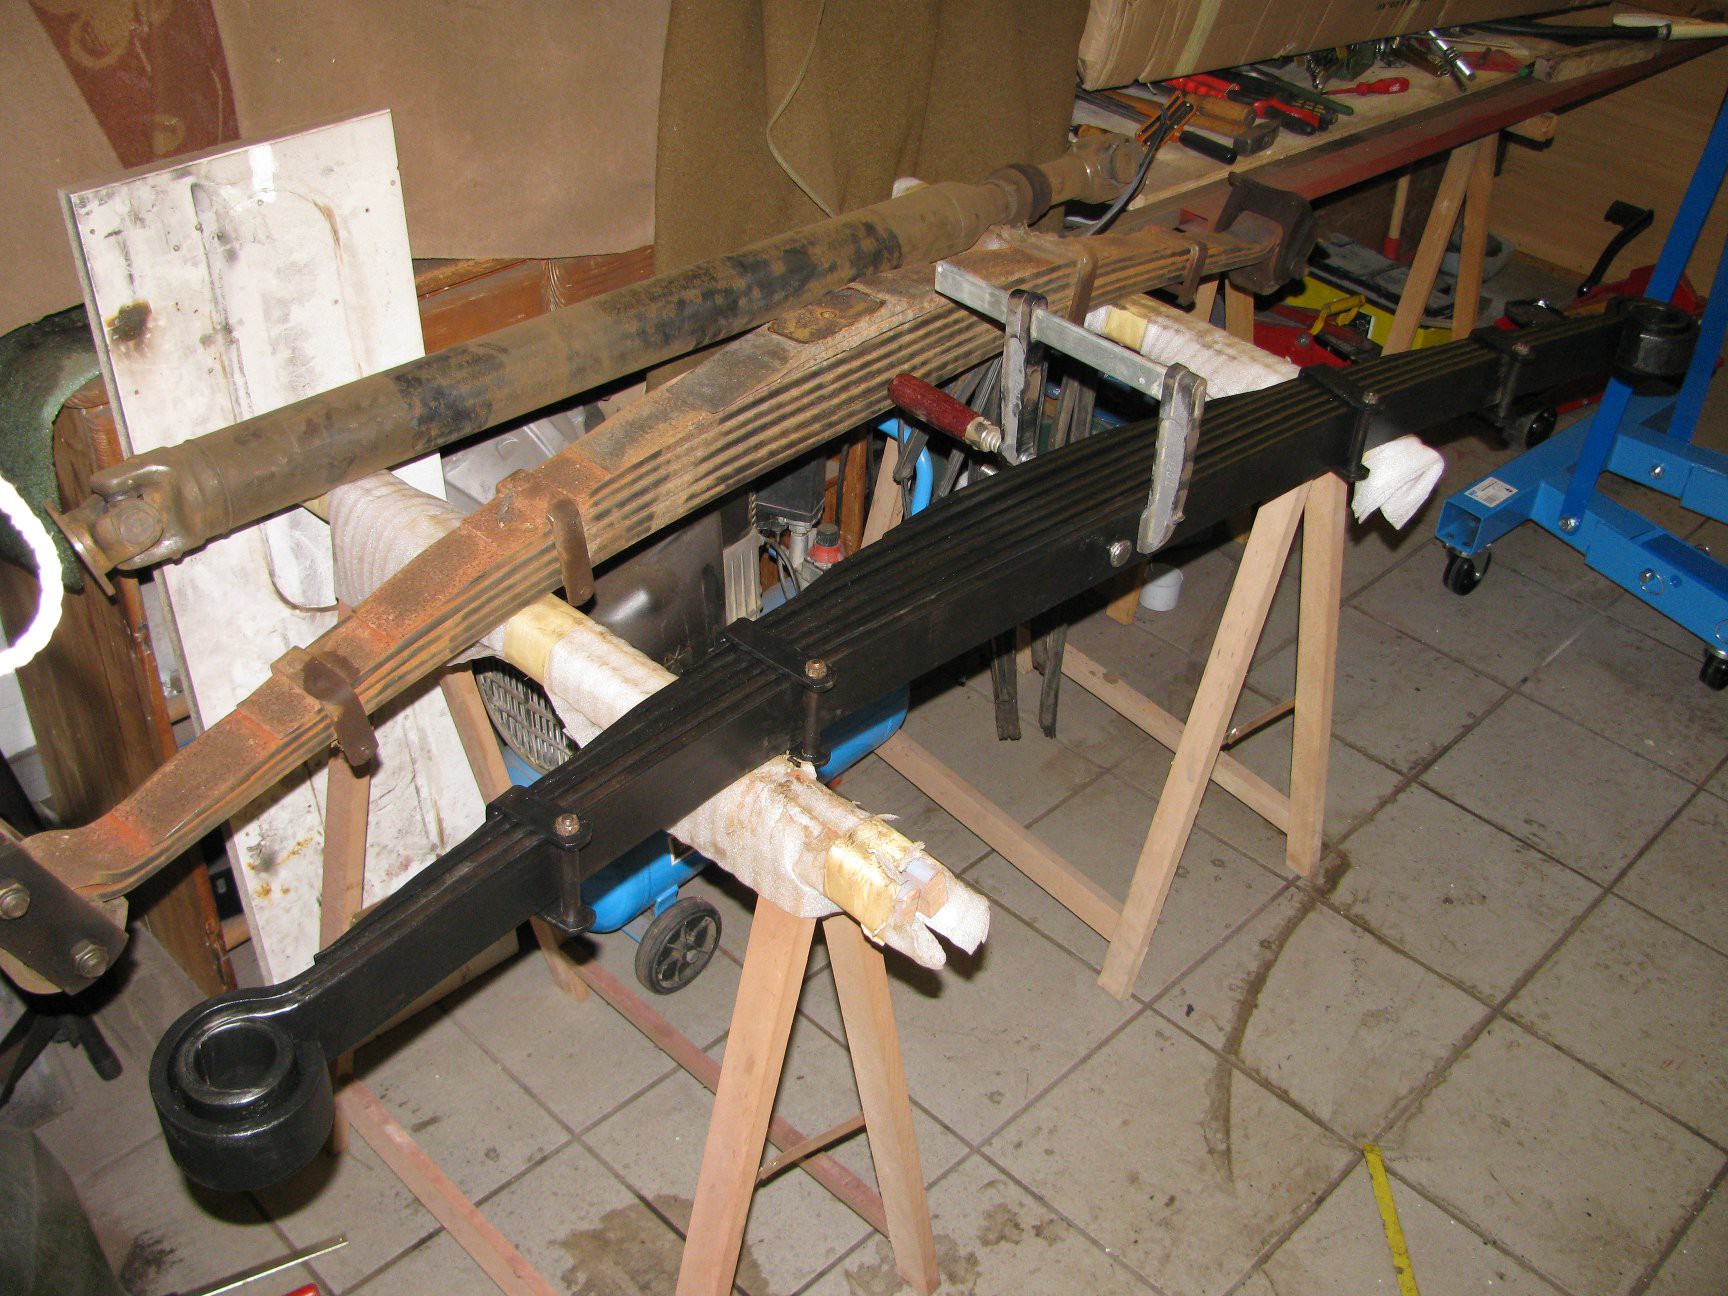
After disassembly, rust removal, painting, lubricating and re-assembly one leaf spring look nice again (red stuff on the right one is just dust), the other will follow soon:
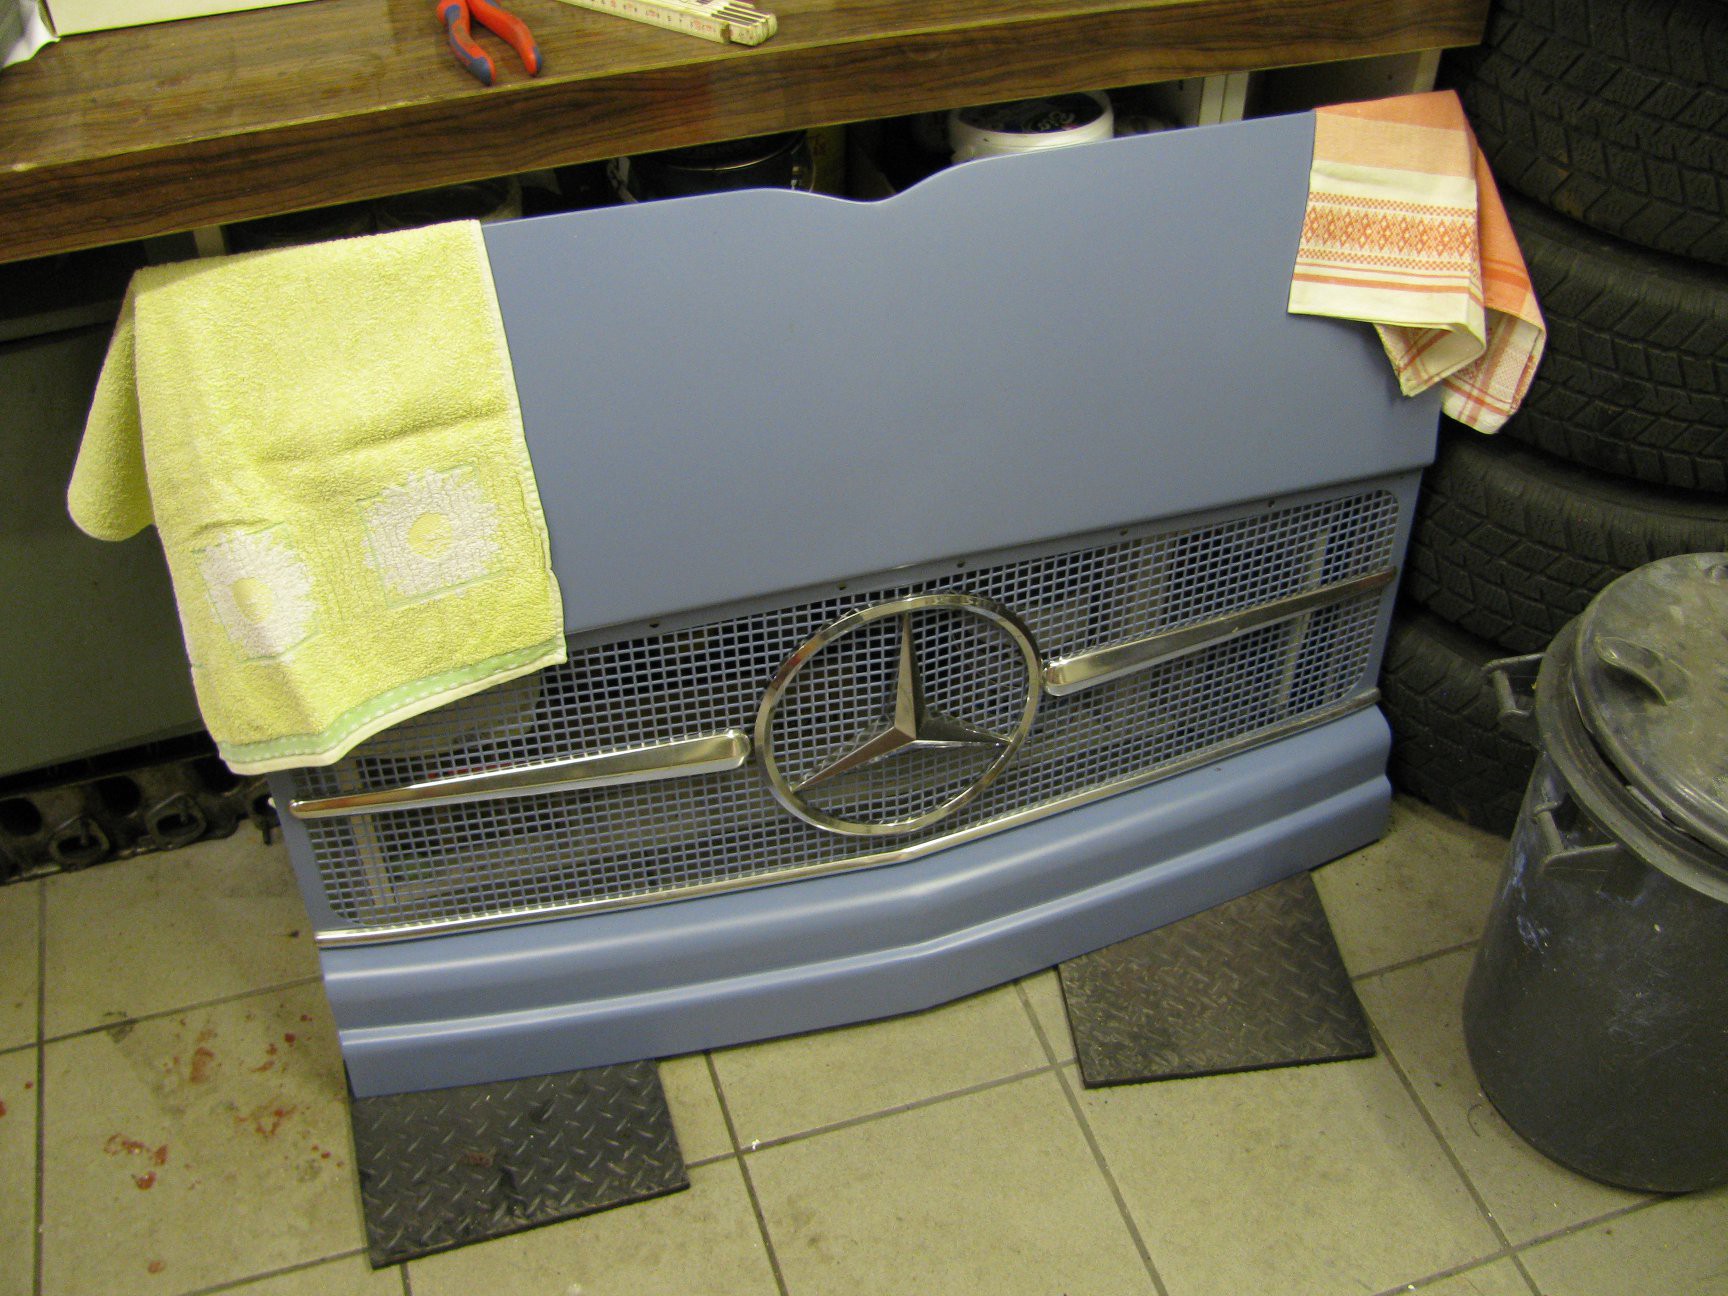
The original color of the van (under the heavy layers of paint) is a special mercedes mix, so we picked the closest RAL color. The hood (again after rust removal, rust protection primer and final color), looks quite nice (upper trim strip not mounted yet):
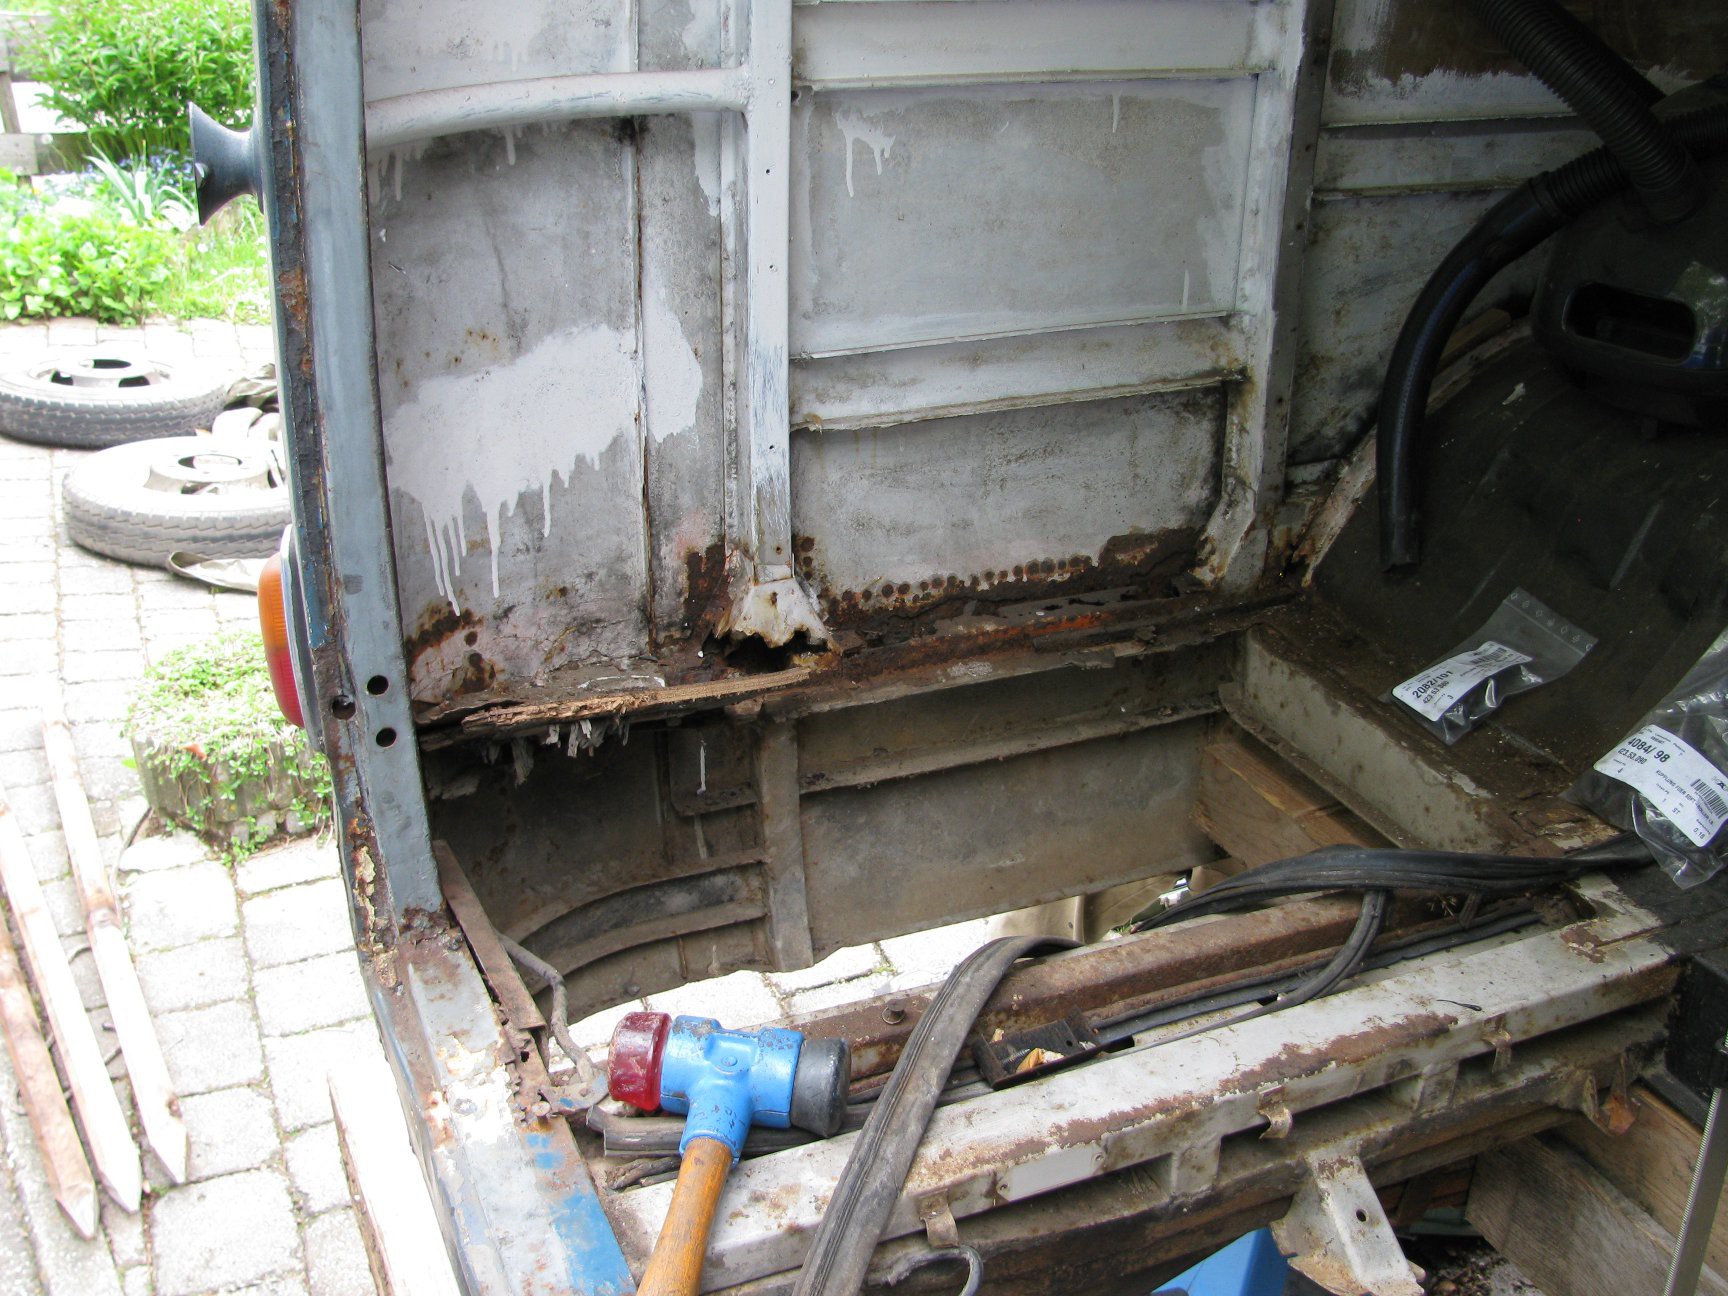
The following image shows one of the locations which are damaged by rust. We need to replace parts of the outer skin and support structure.
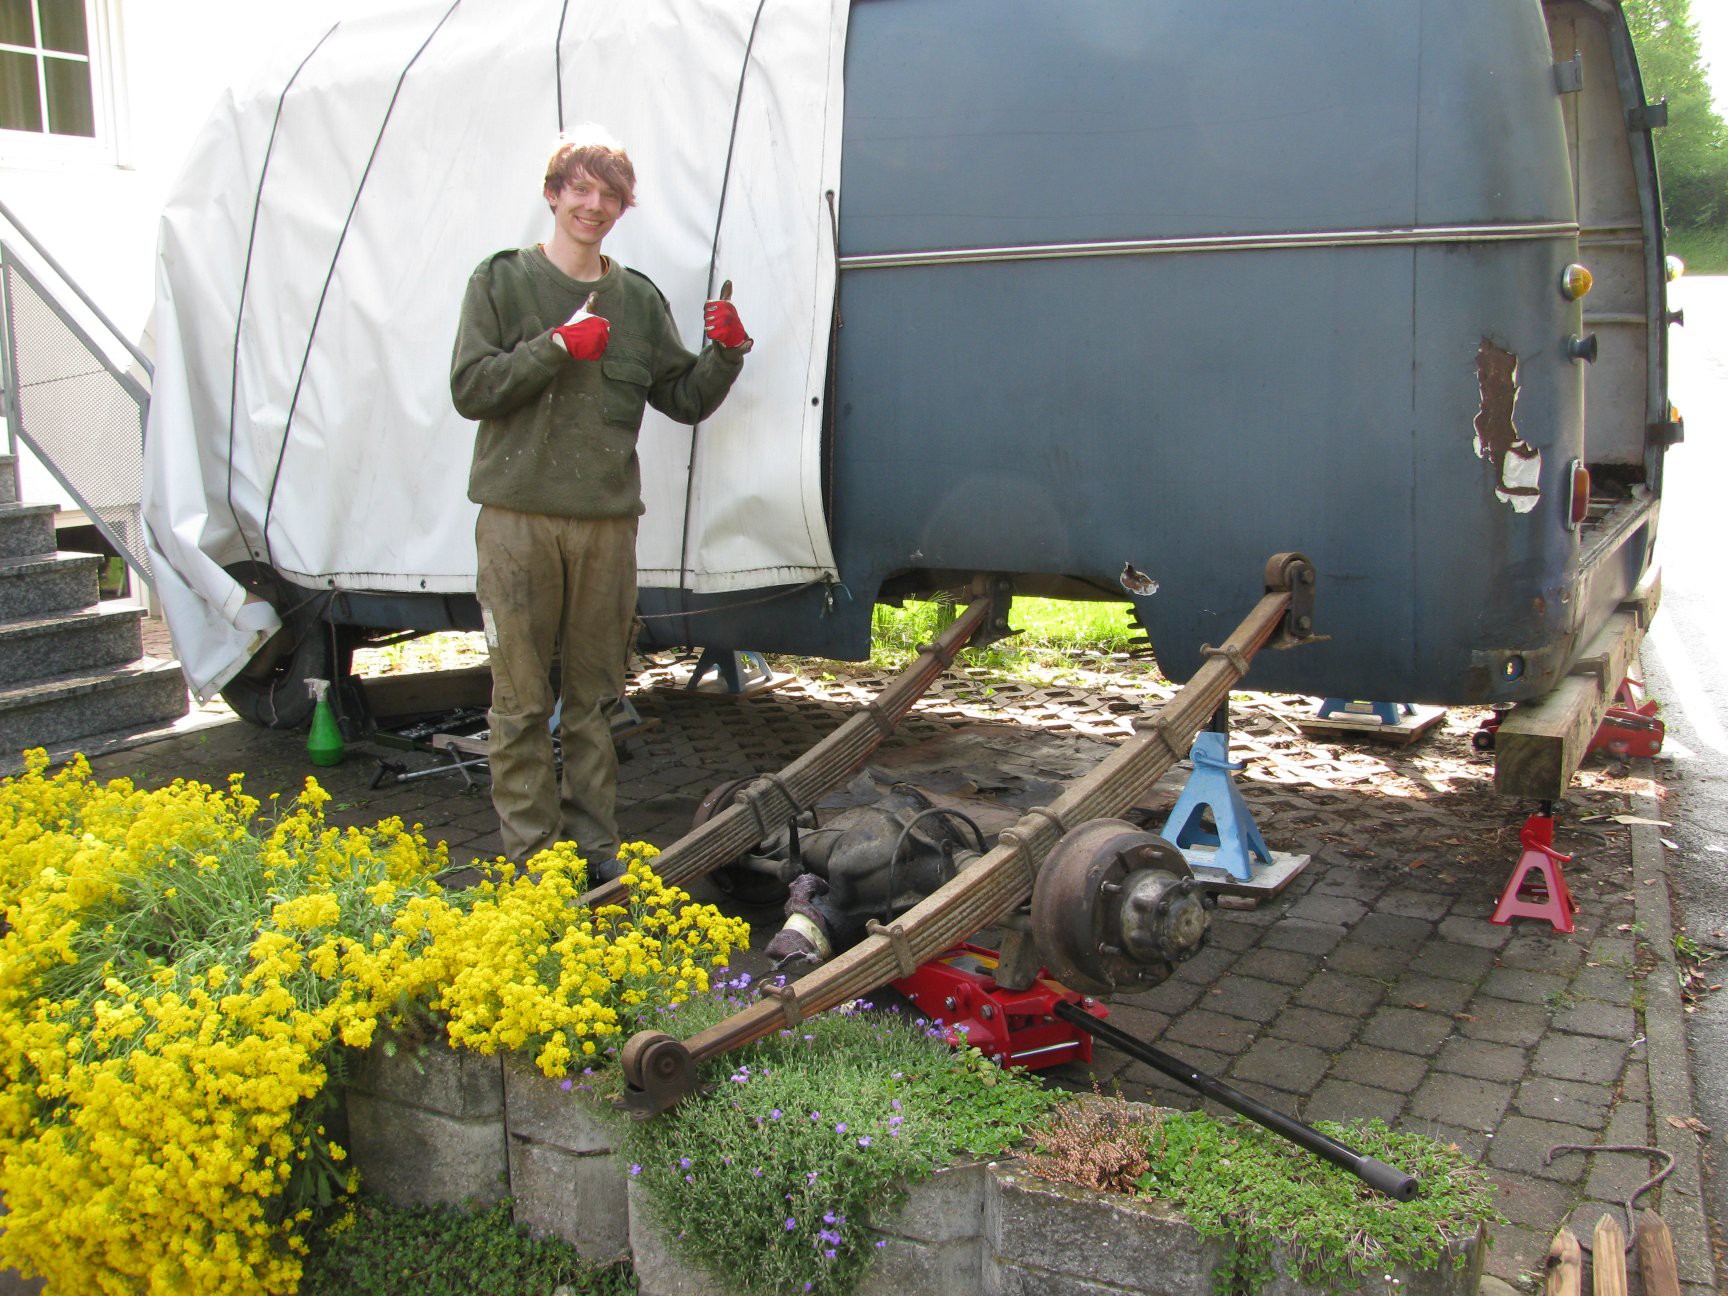
To get better access to these locations, and wait with this until the welding and metal work skills got better, we decided to get the rear axle out.
The rear axle is mounted on flat springs. There are 16 screws which mount them to the chassis and two dampeners. The dive shaft and break needs to be disconnected, too.
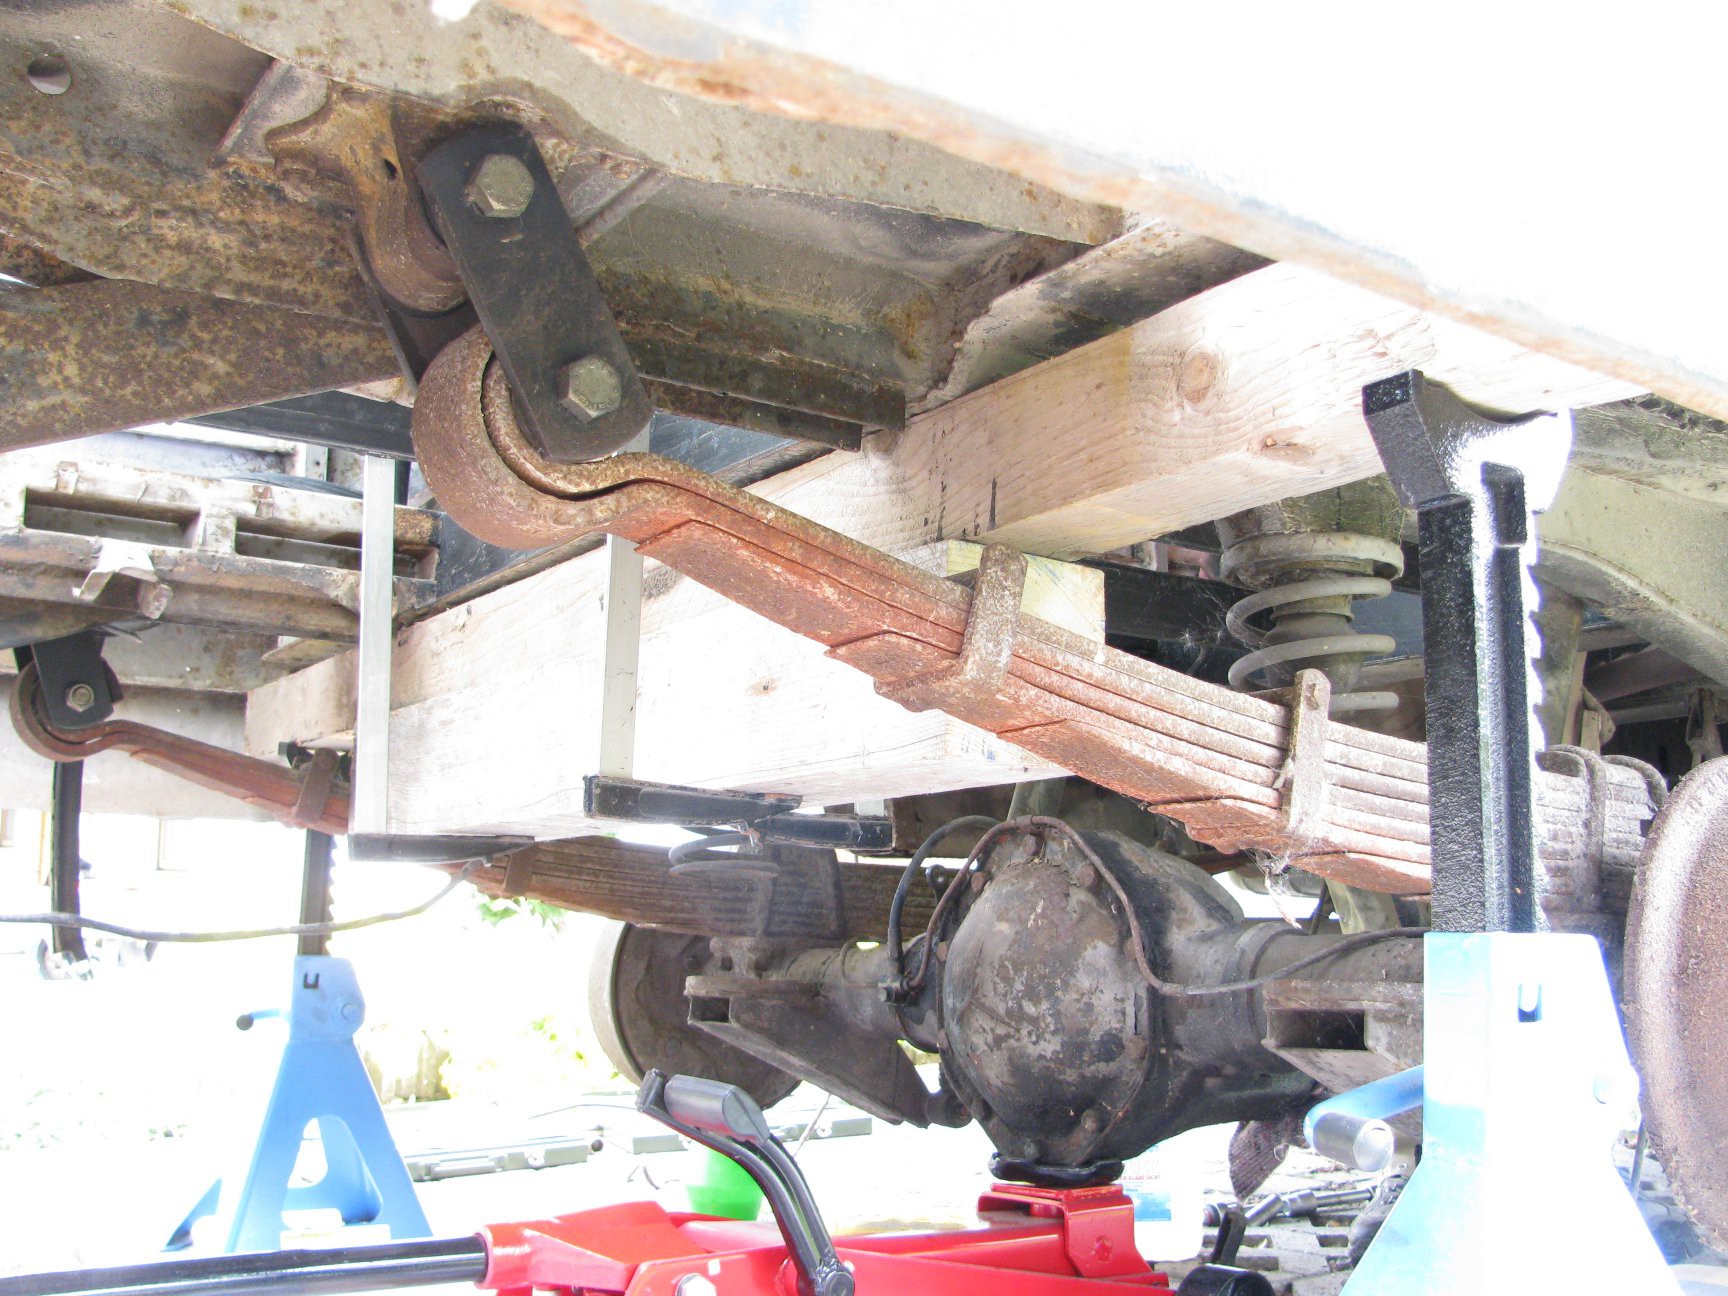
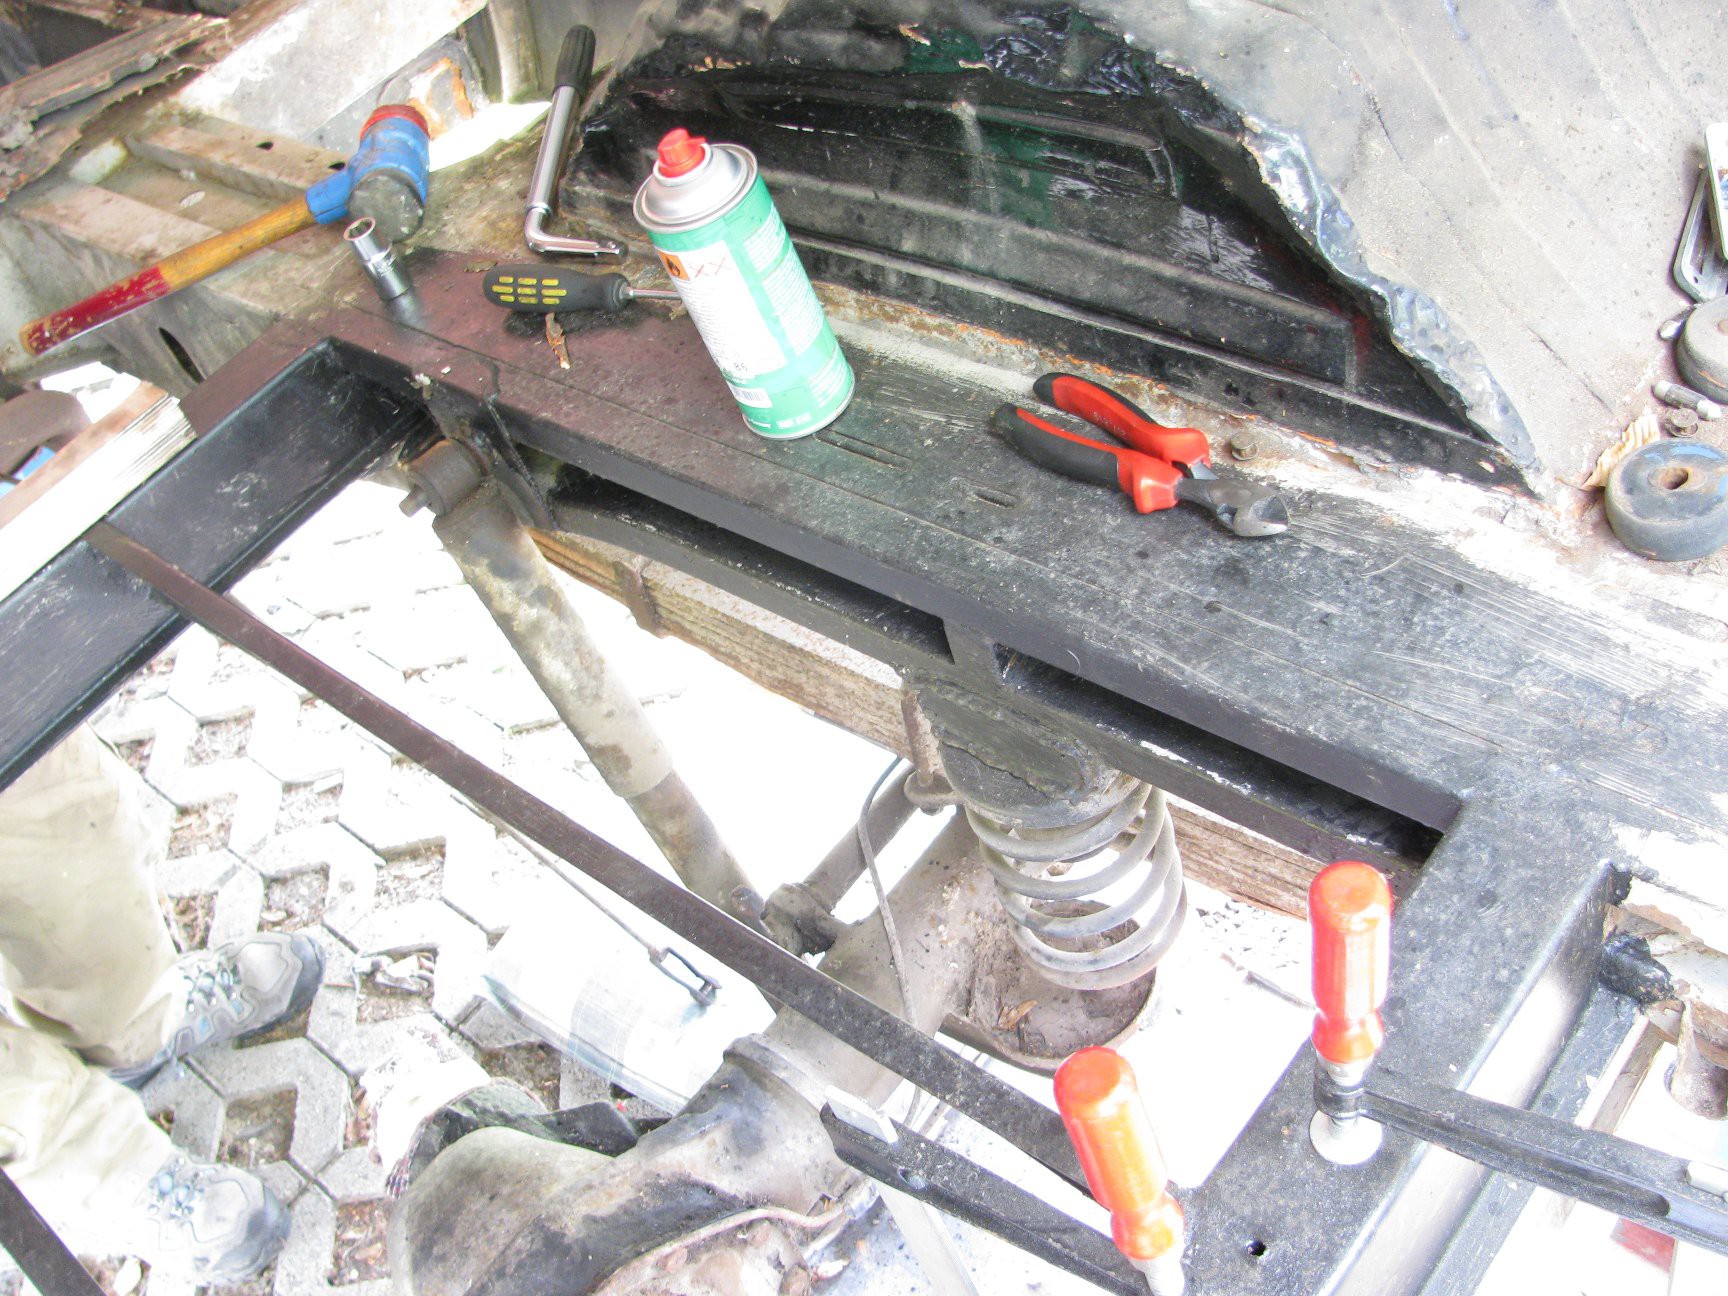
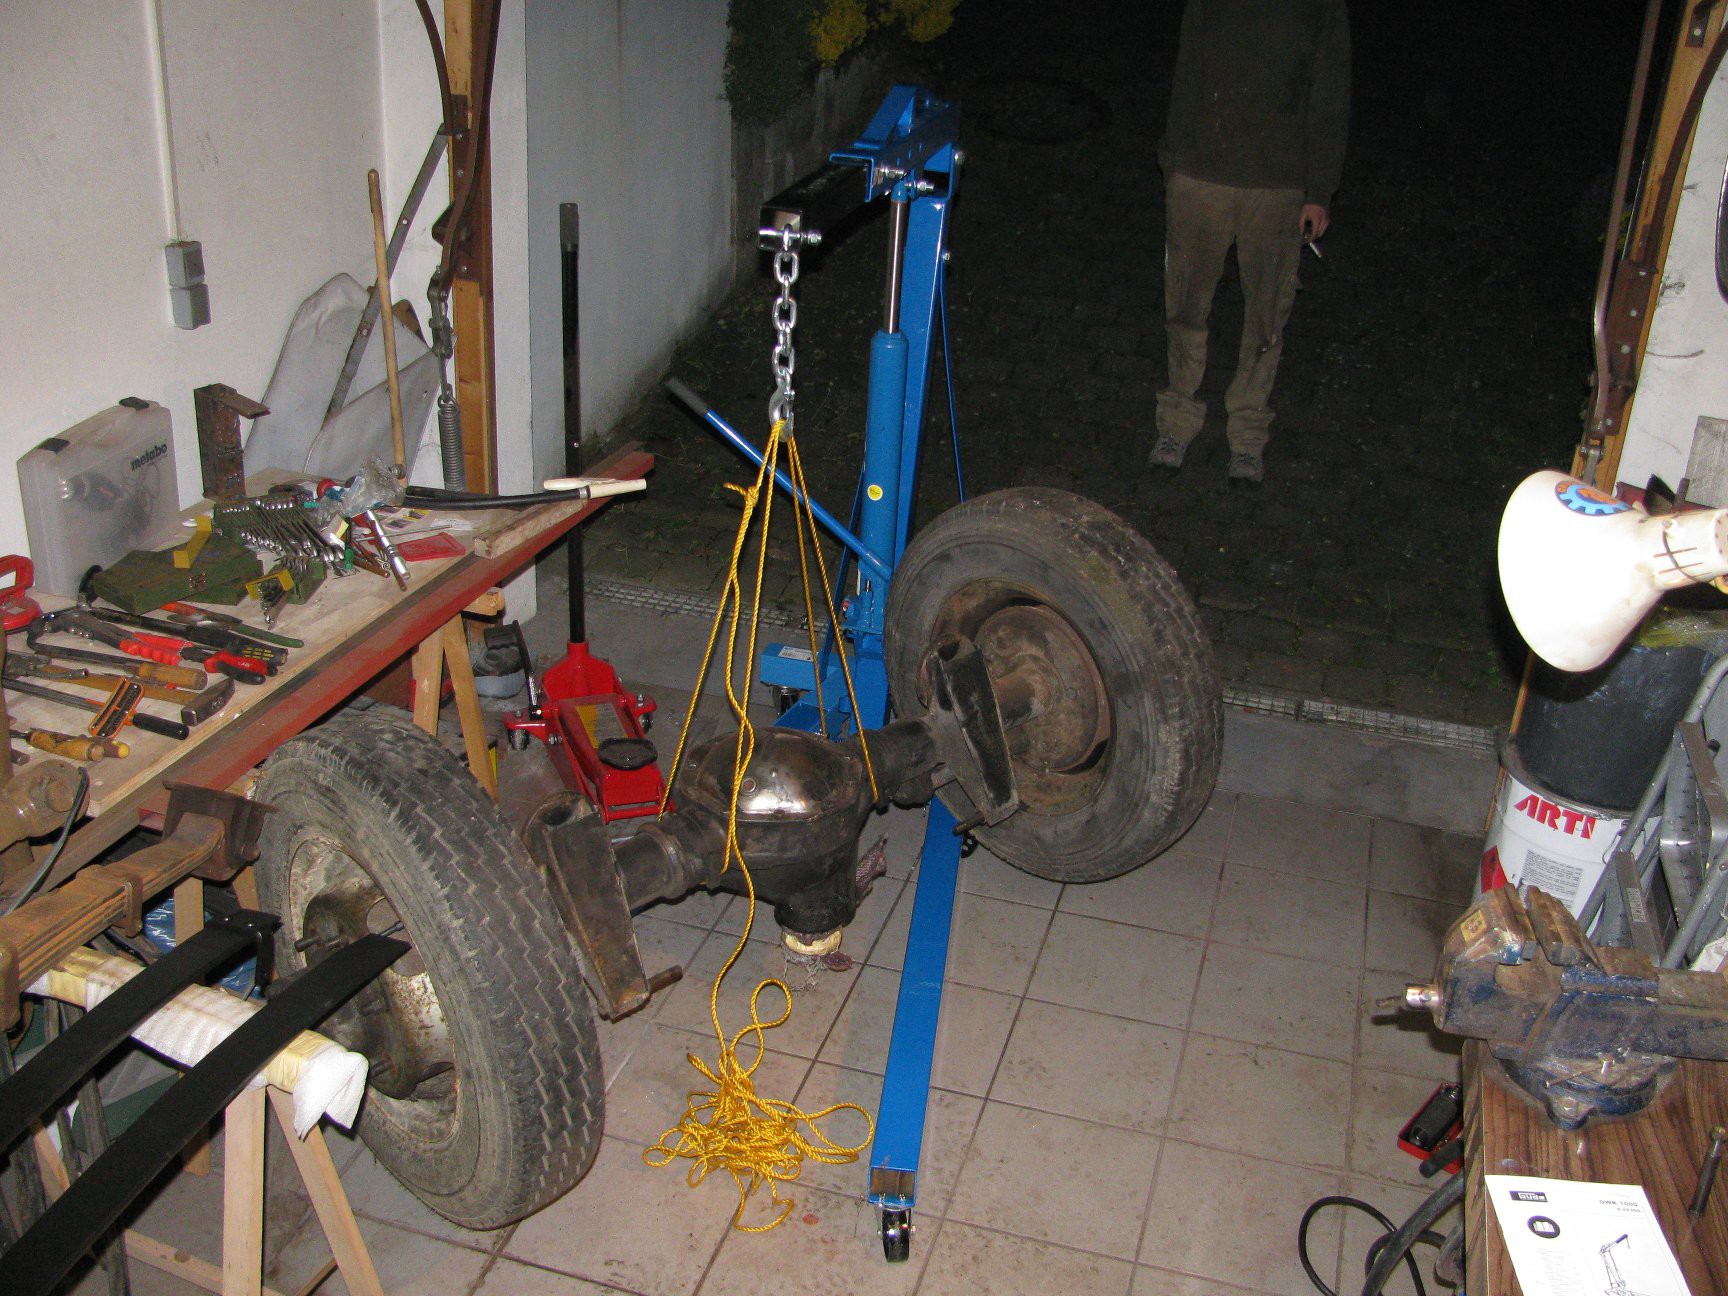
We used a moveable car lifter to support the differential and move the rear axle around.
We had to saw off a part of the exhaust pipe, because some genious screwed and welded it together instead of just screwing it. D'oh!
Over an hour of maneuvering later... Success:
Hover-Van, Hover-Van,
Does whatever a Hover-Van does.
Can he swing from a web?
No, he can't, he's a van,
Look out, he is a Hover-Van!
In the summer of 2012, we stumbled upon a nice project to get into car stuff: an MB L319. So heck, we just bought it.
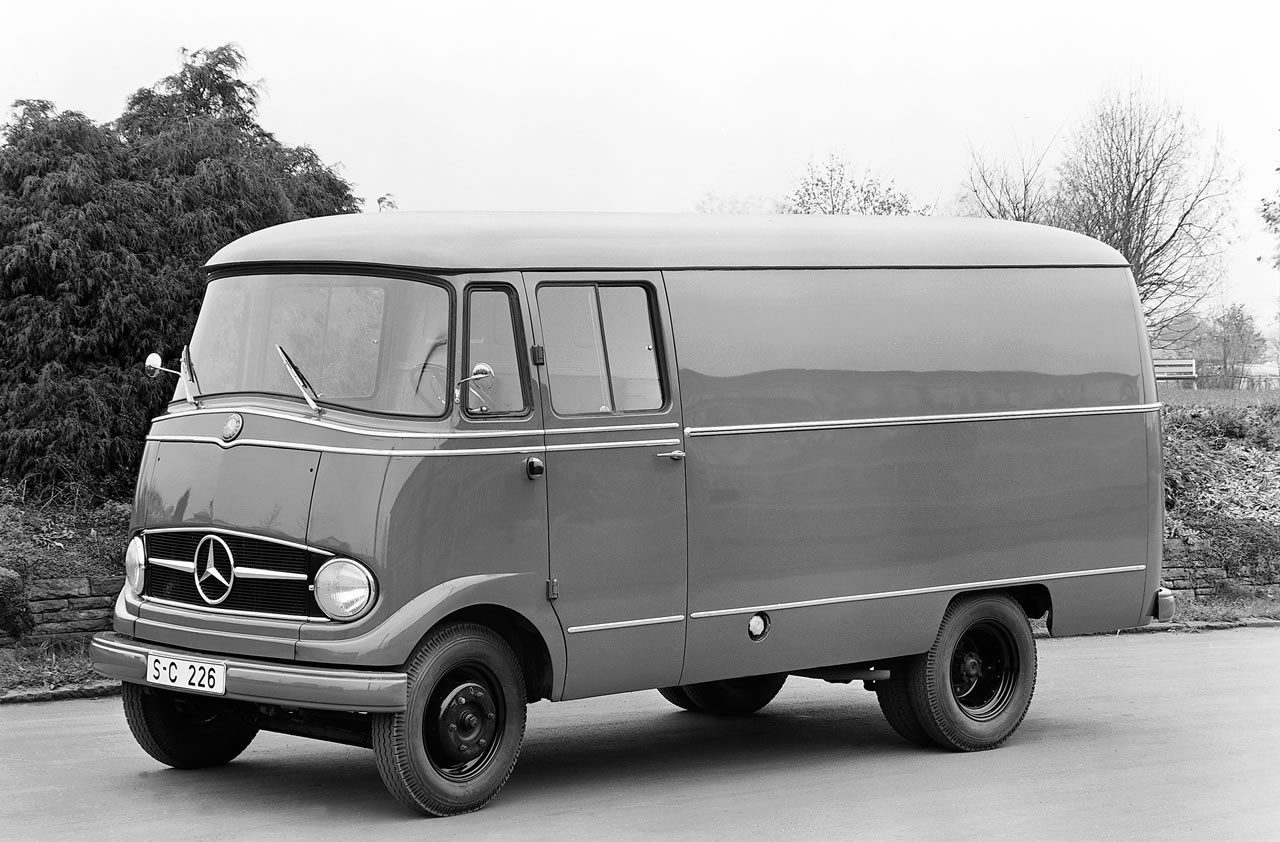
It was used as a delivery van for heavy stuff for some years, then modified to a camper and used until 2007.
It was possible to drive it home on its own wheels, which was an adventure by itself: It began with a tow-start, on the highway parts of the roof paint splattered off, sand-like rust particles trickling down everywhere, the smell of diesel, deep rumbling noise caused by the vibrating massive wood furniture - all this while traveling at maximum speed of ~40mph...
The starter does not work and there is a lot of rust damage at the inner structure and shell because there were holes in the roof at some time in the past. Due to all the rust and the damaged wood floor, we ripped that all out back home.
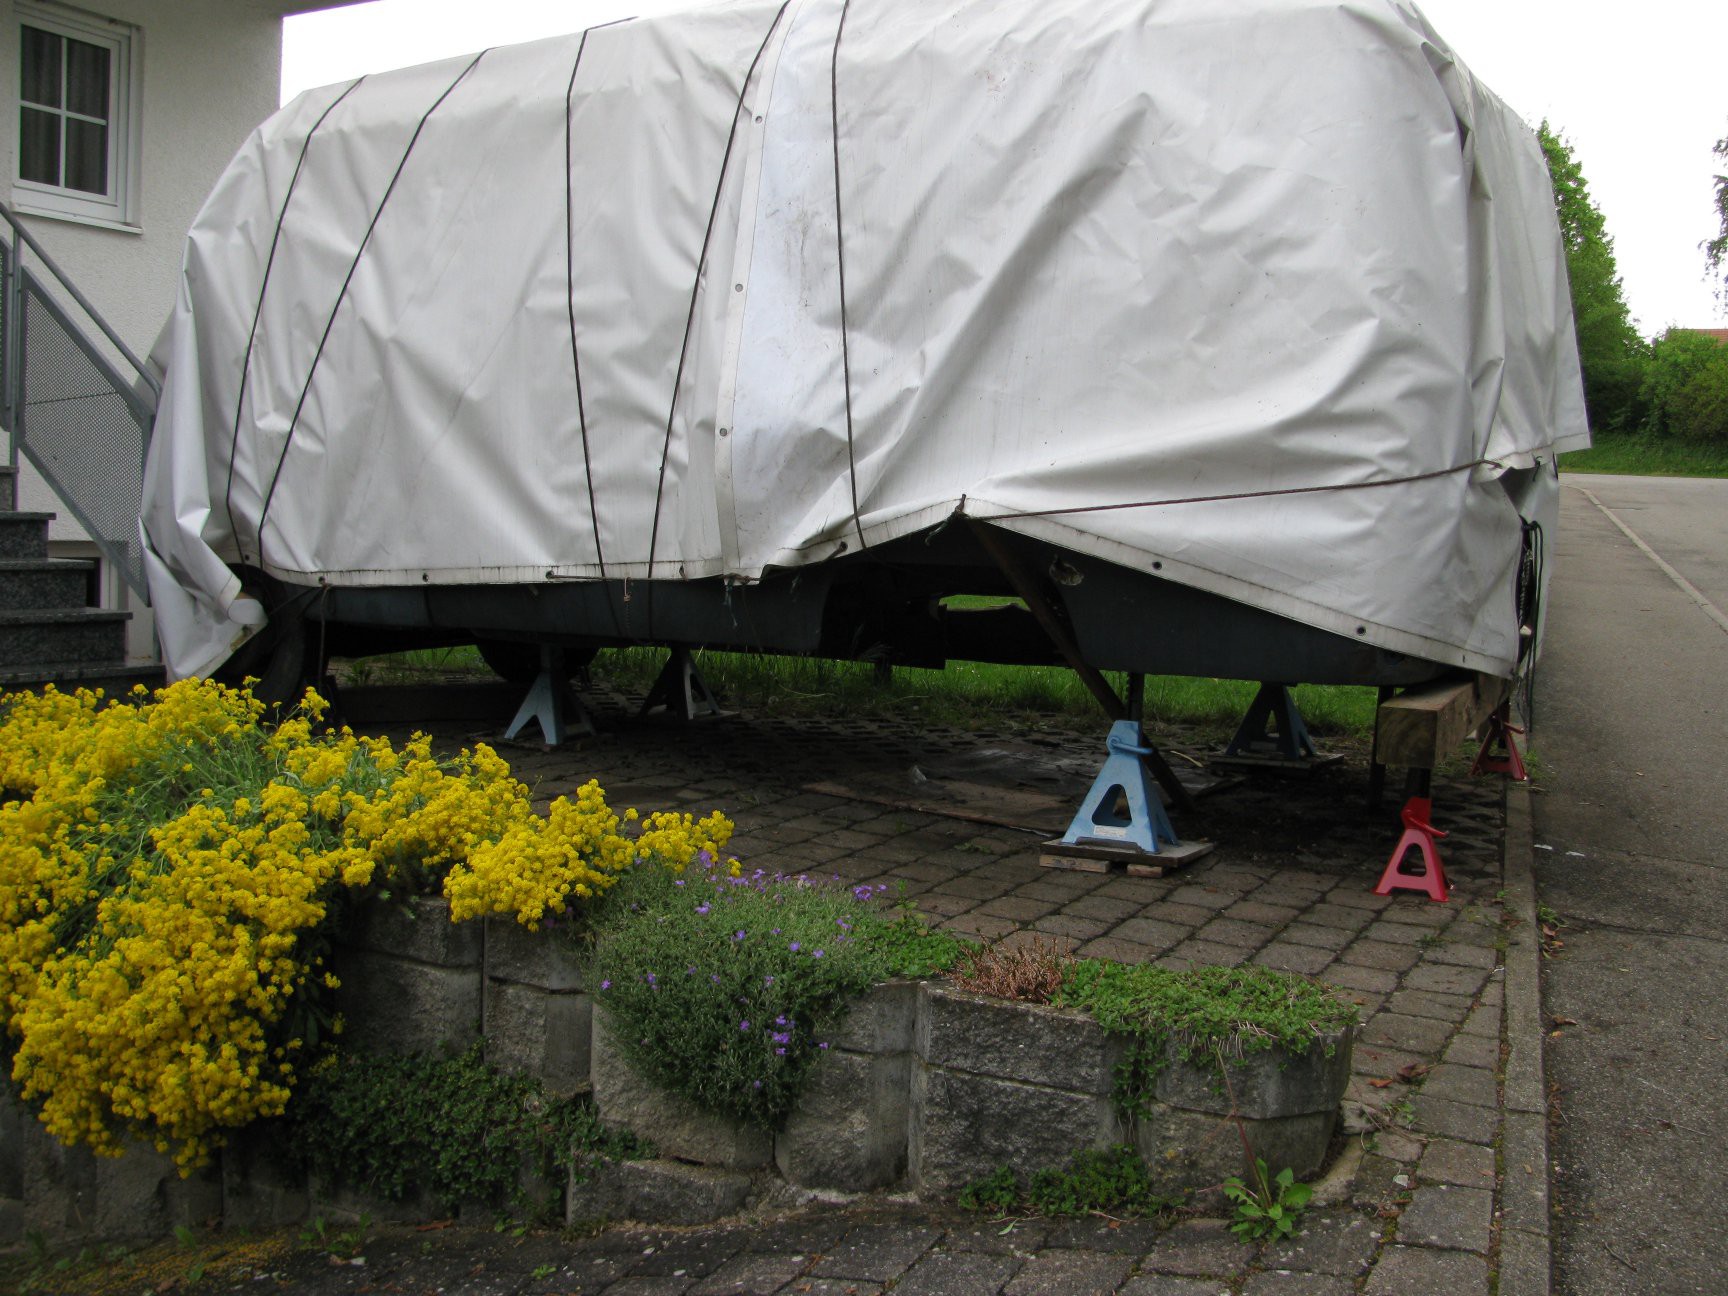
Winter 2012/2013 came, and the L319 went into hibernation, covered by an big old PVC advertising poster for glasses.
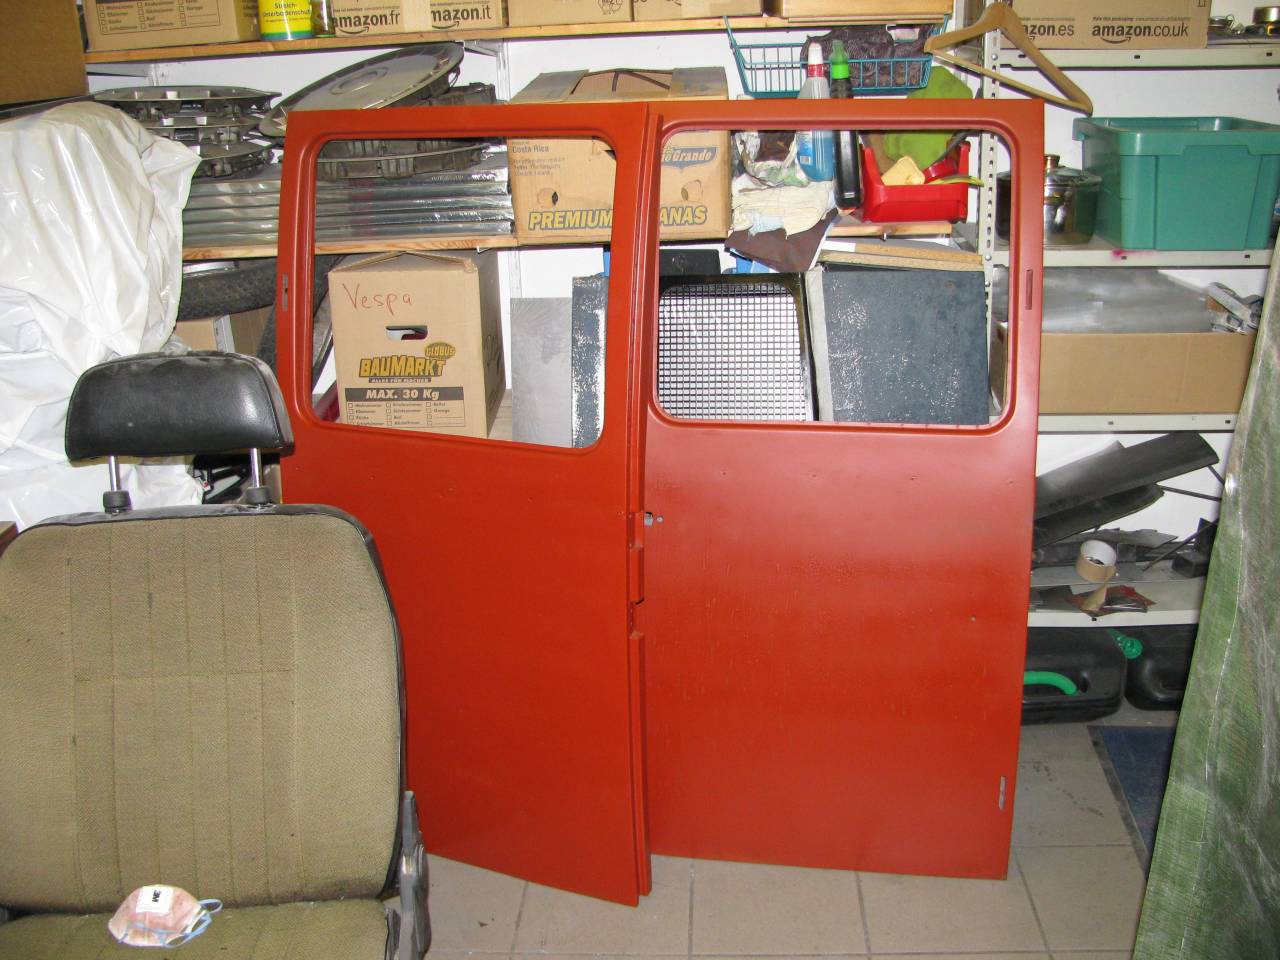
Time to get a welder and more tools (all bought broken and then repaired to learn how they work), practice welding etc... In 2013, not much happened on the car itself, except on the back doors, where we started first tries in metal work and painting.
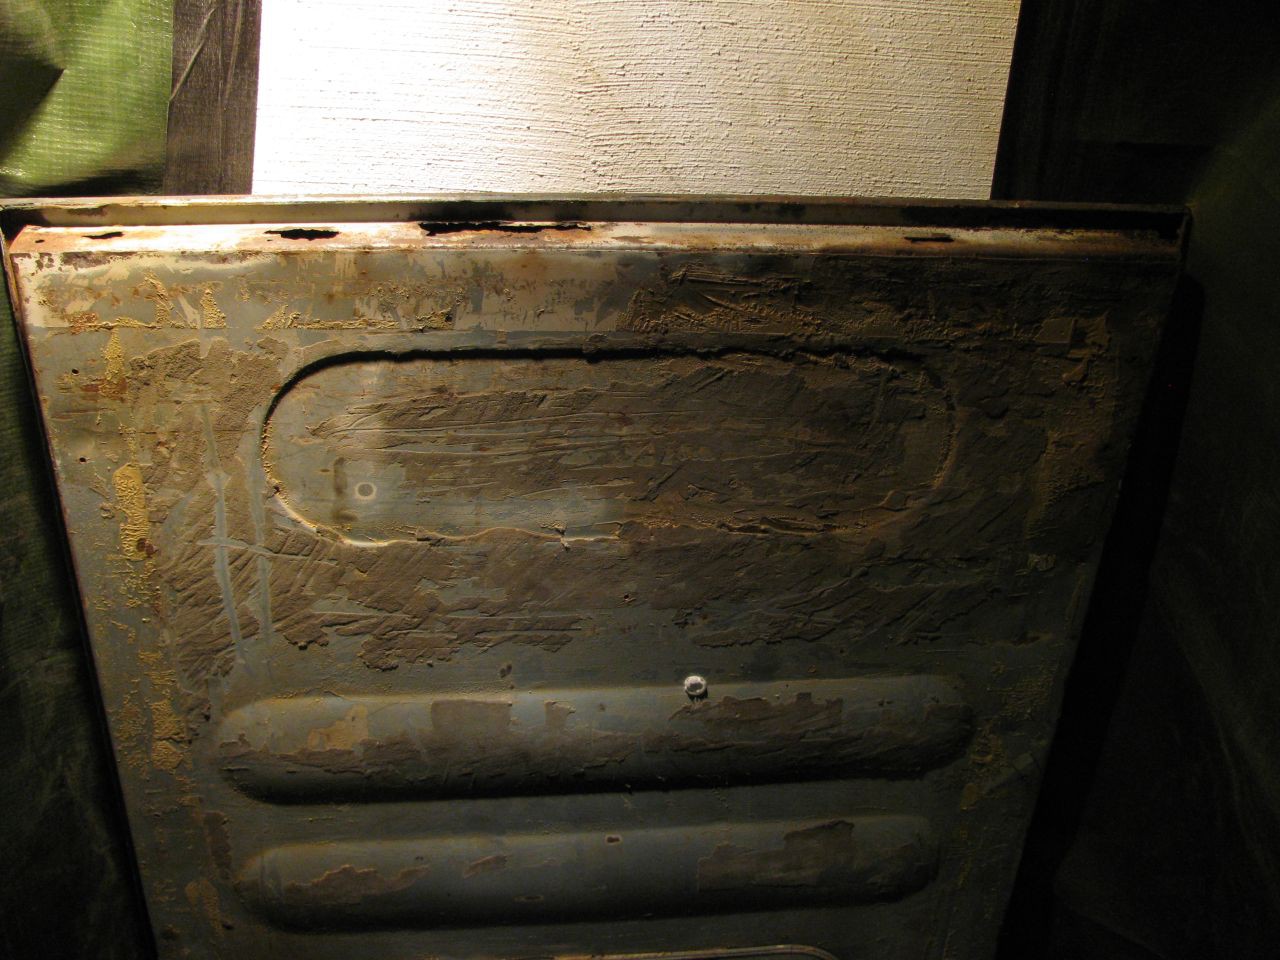
Initial condition on the lower/innser side of the back doors:
some welding later...
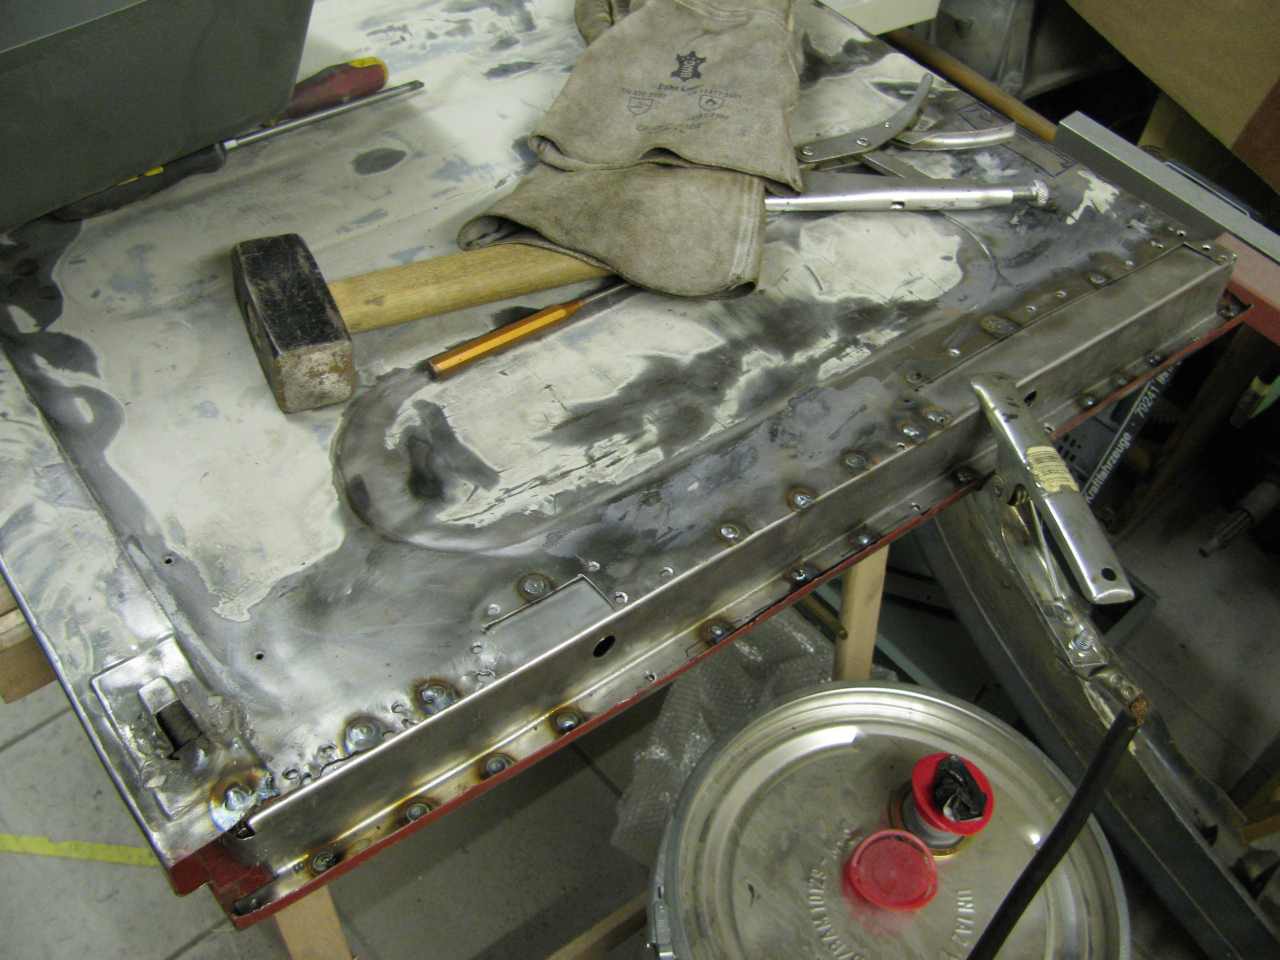
The spot welds were grinded down, the surface leveled out by lead body work.
An improvised spray booth out of foil, tape and the garage door...
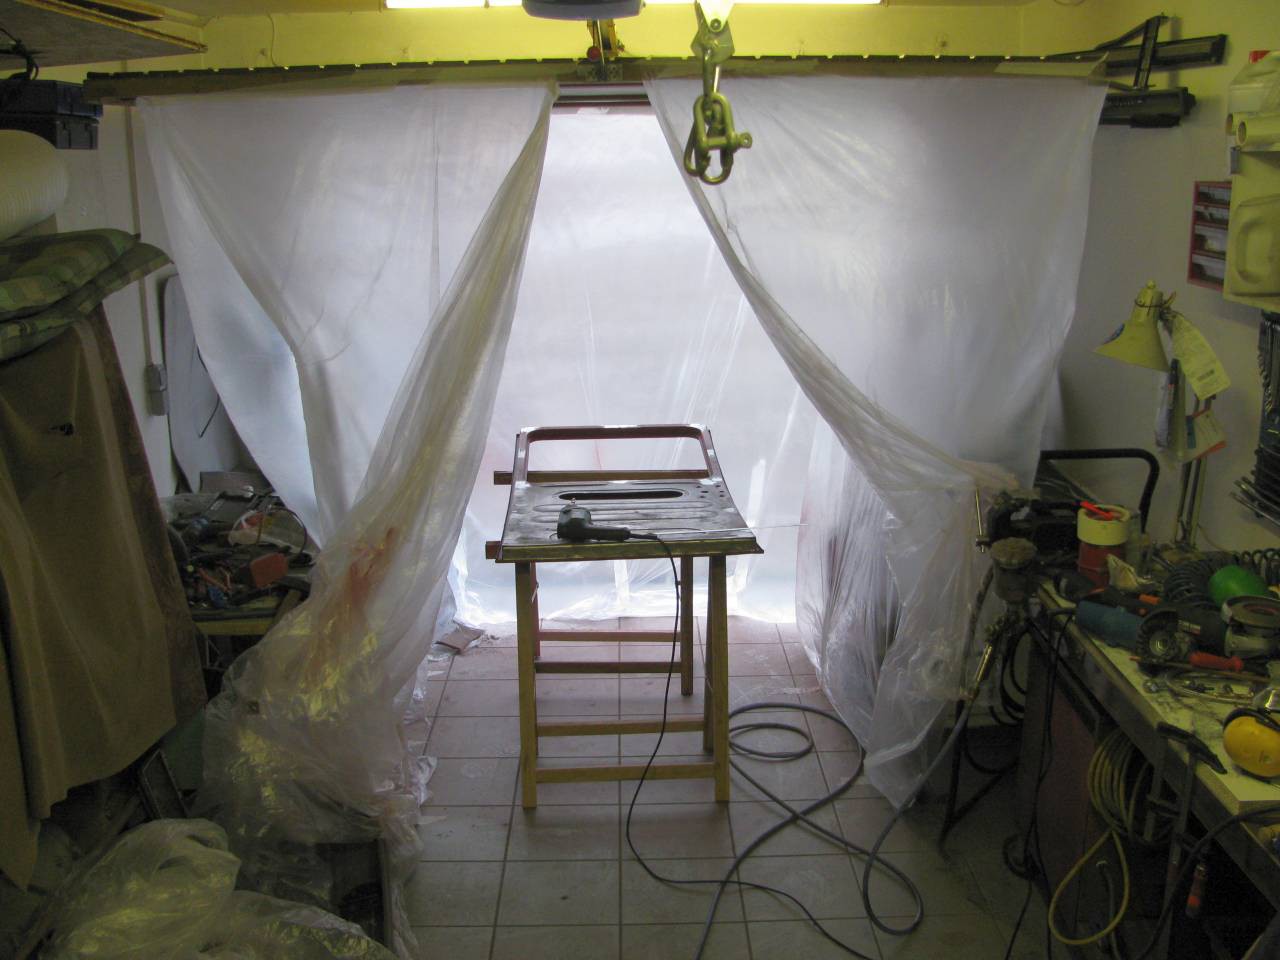
...gives quite nice results for the rust protection primer:
Out of personal reasons (finished B.Eng., new flat, ...) and other projects (replacing the cylinder head on an BMW which was really interesting by itself, ...), nothing more happened on the L319 in 2013.
Winter 2013/2014 came, and the L319 went into hibernation.
Create an account to leave a comment. Already have an account? Log In.
Is the project still ongoing? It looks like seriously difficult work.
Thanks for your interest. Yes, still ongoing. Spare time is limited, time coordination difficult and I want to do things "right", so slow progress. In the meantime, I had a lot of welding practice and now feel ok to butt weld 0.8mm steel sheets in free air. Over the last few weekends (and propably the next one(s)) the rear corner shells get rebuilt. The plan is to do 4 corners in total (2 for my van and 2 for someone else with the same van). This includes a wooden support structure, slicing sheet metal just the right way, bending it around the support structure, butt welding the cuts together again, drilling holes for the rear lights/bumper mount... I'll try to post an update soon. Regarding "seriously difficult" - its more like not getting afarid of the big mess and breaking it down to "easy" tasks that meet the personal skill toolbox.
The best of luck. I still think it is difficult & definitely time consuming. Look forward to seeing updates..
Become a member to follow this project and never miss any updates
 Quinn
Quinn
 Val
Val

 Jan
Jan
Hi Rawe. what hapend to this project? is it still going? do you post on another site?
I just bought me a 59' L319 and would like to get Benzer-Bus-friends :)