 Brenda Armour
-
1Step 1
Sending Sensor Data to IBM Bluemix
I used this excellent video by Ryan Baxter exclusively to achieve the deployment of sensor motion data to Bluemix The video was made in Nov 12, 2014 and Bluemix has changed. His video can be found here: . He was using a Beaglebone Black as a gateway and I am using a Raspberry Pi B. I had to make some modification to his code to accommodate the changes to Bluemix which I have documented. The screenshots in the video have changed so if you do follow the video than you may have to improvise to get where you need to be. Basically all you are doing is connecting a device and than creating a service. Then you can create a APP. You also need to sign up for a free trial from IBM. If I missed a step please let me know
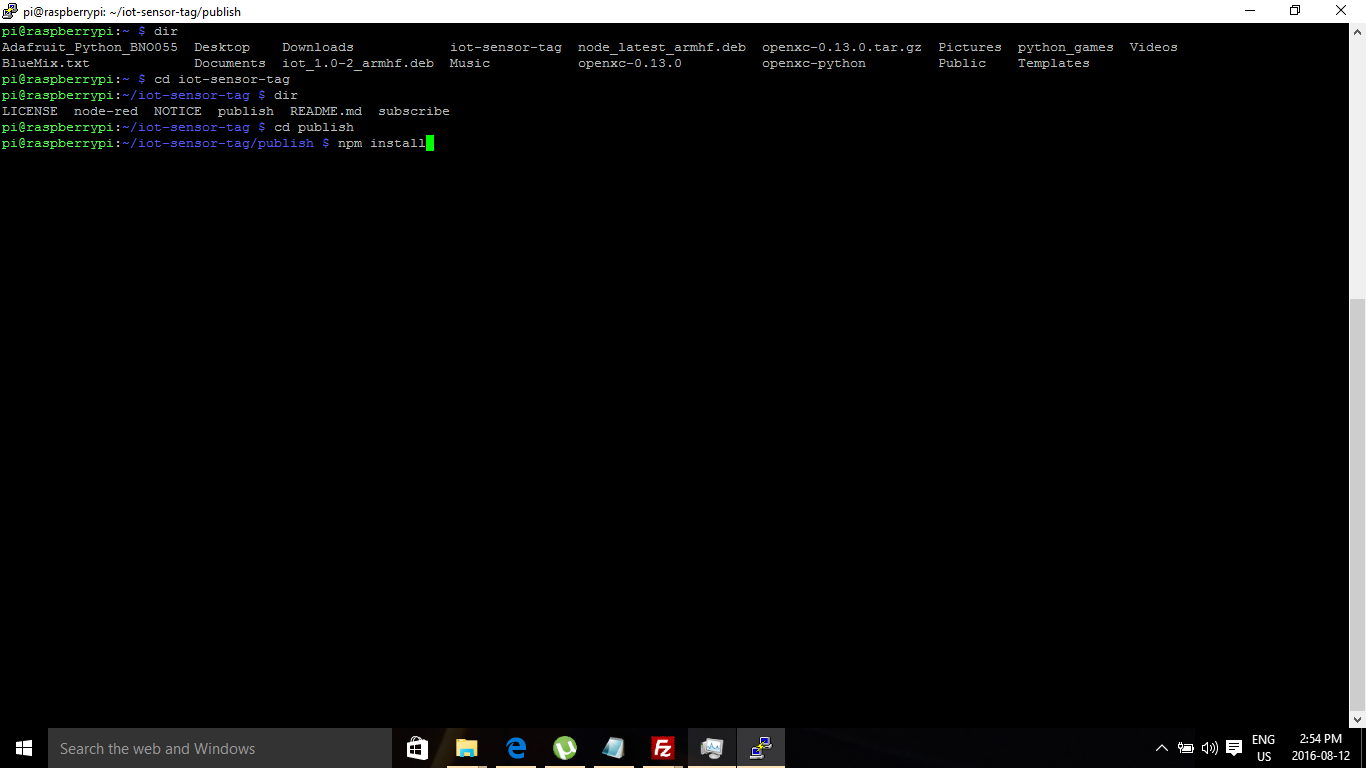
At your terminal (I'm using Putty) use Git command to clone the repository . Found here - https://github.com/IBM-Bluemix/iot-sensor-tag.
git clone https://github.com/IBM-Bluemix/iot-sensor-tag![]()
Move to the publish directory and execute the command npm install – You may see some warnings but as long as they are not errors it should be okay.
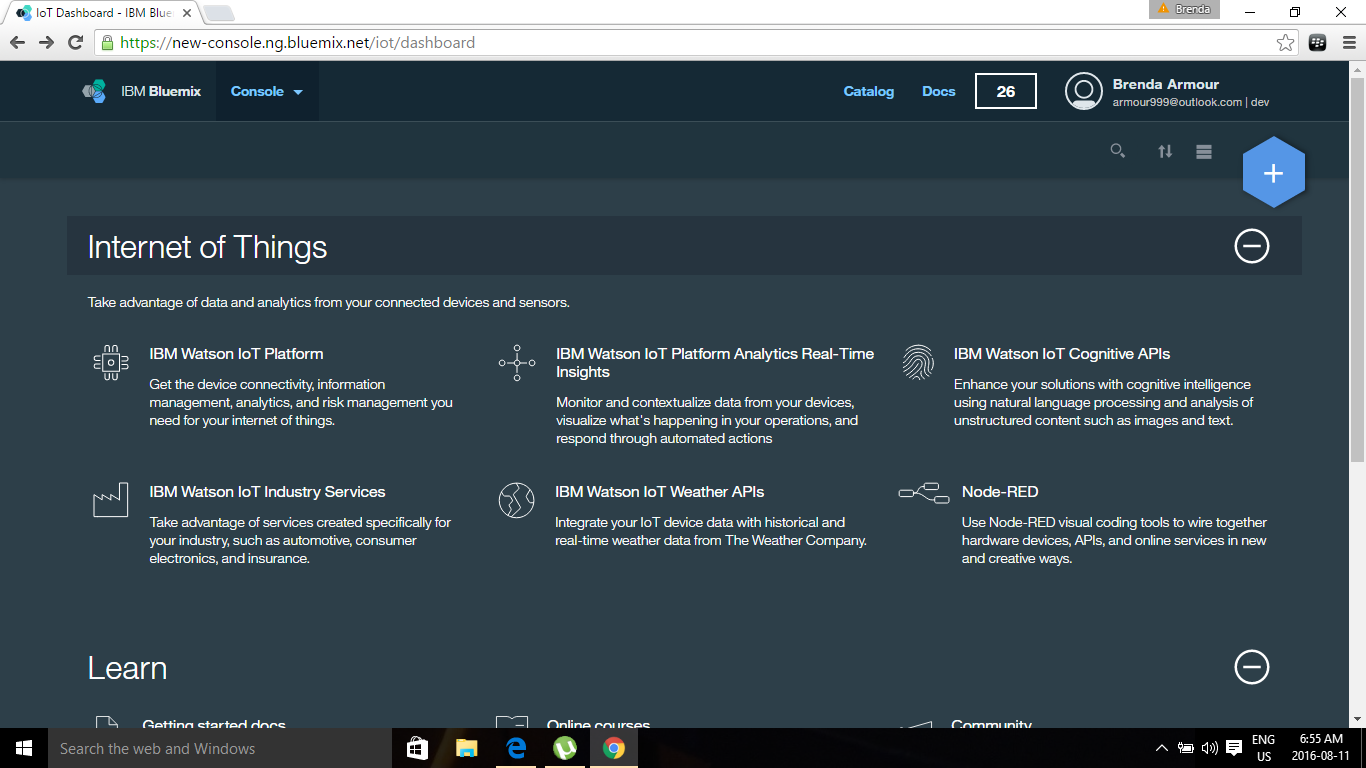
Now lets set up our Raspberry Pi in Bluemix ;
Console for IBM. Click on Catalog.
![]()
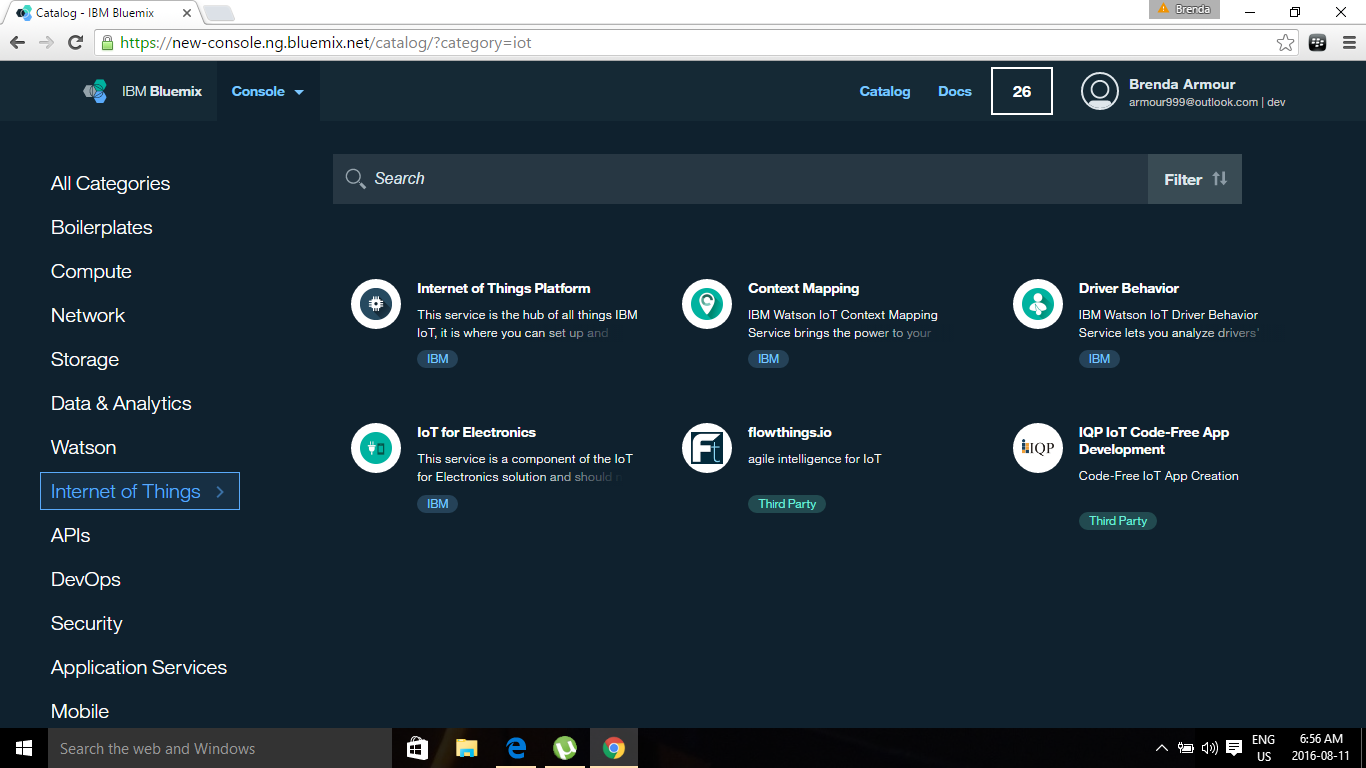
Select Internet of Things on the left. Now select Internet of Things
![]()
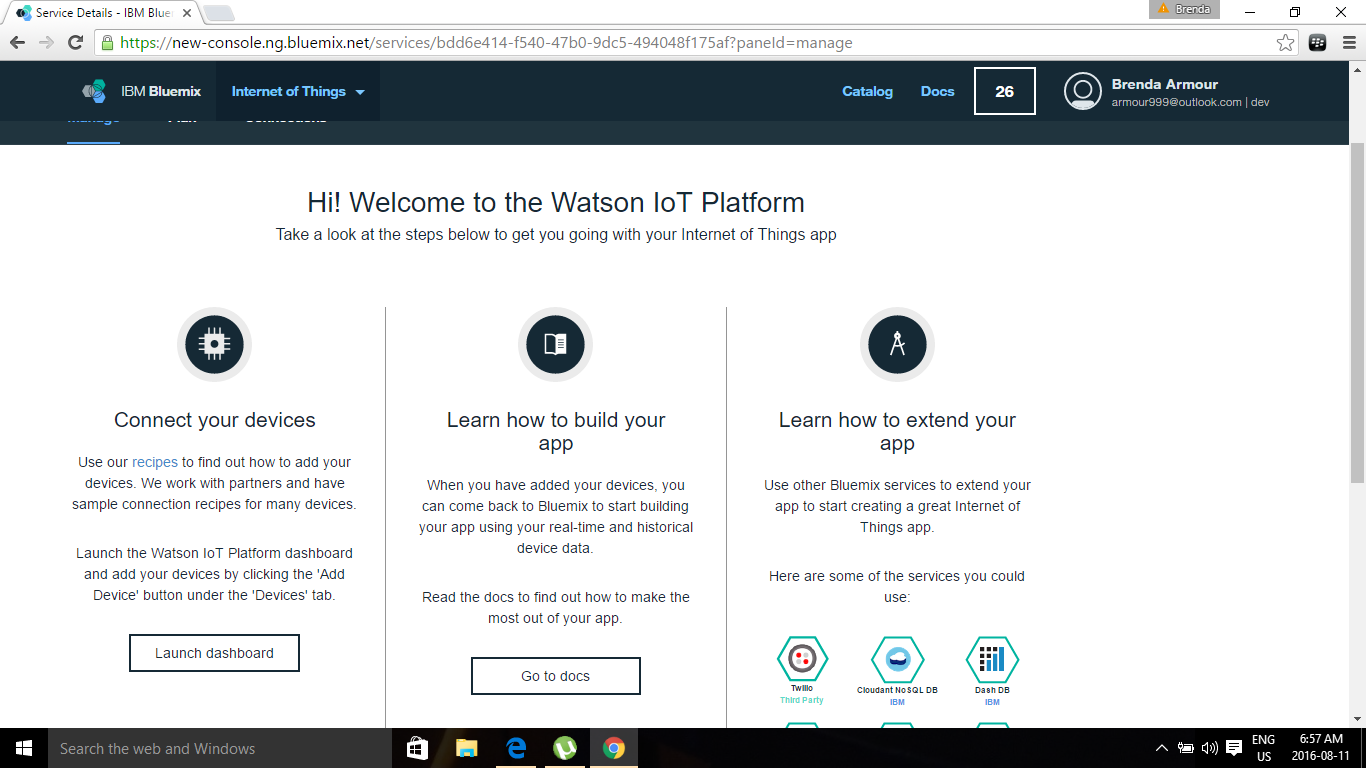
Under Connect you device – click on Launch dashboard
![]()
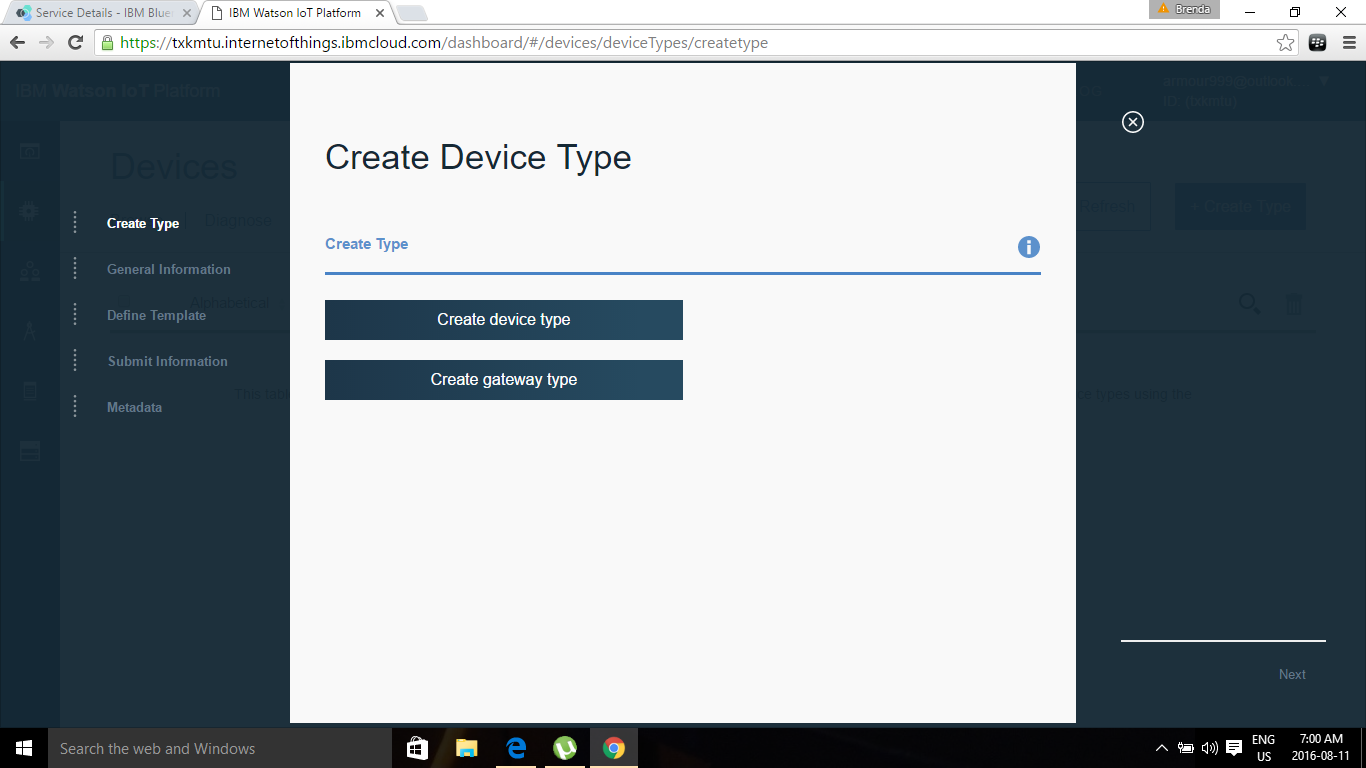
Select Create Device Type
![]()
Select Create device type:
![]()
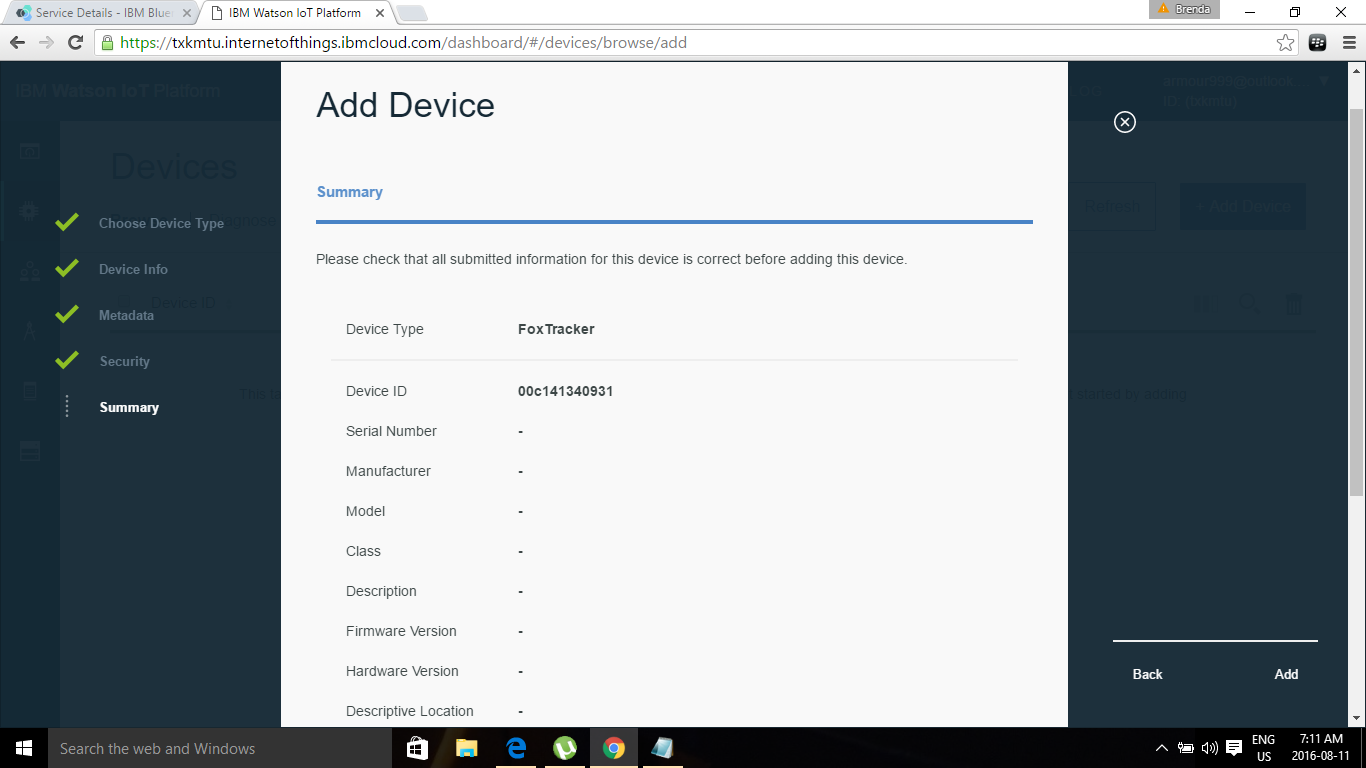
Name your Device. Add the MAC address for the Pi. The MAC address can be found using ifconfig. All other fields are not mandatory
![]()
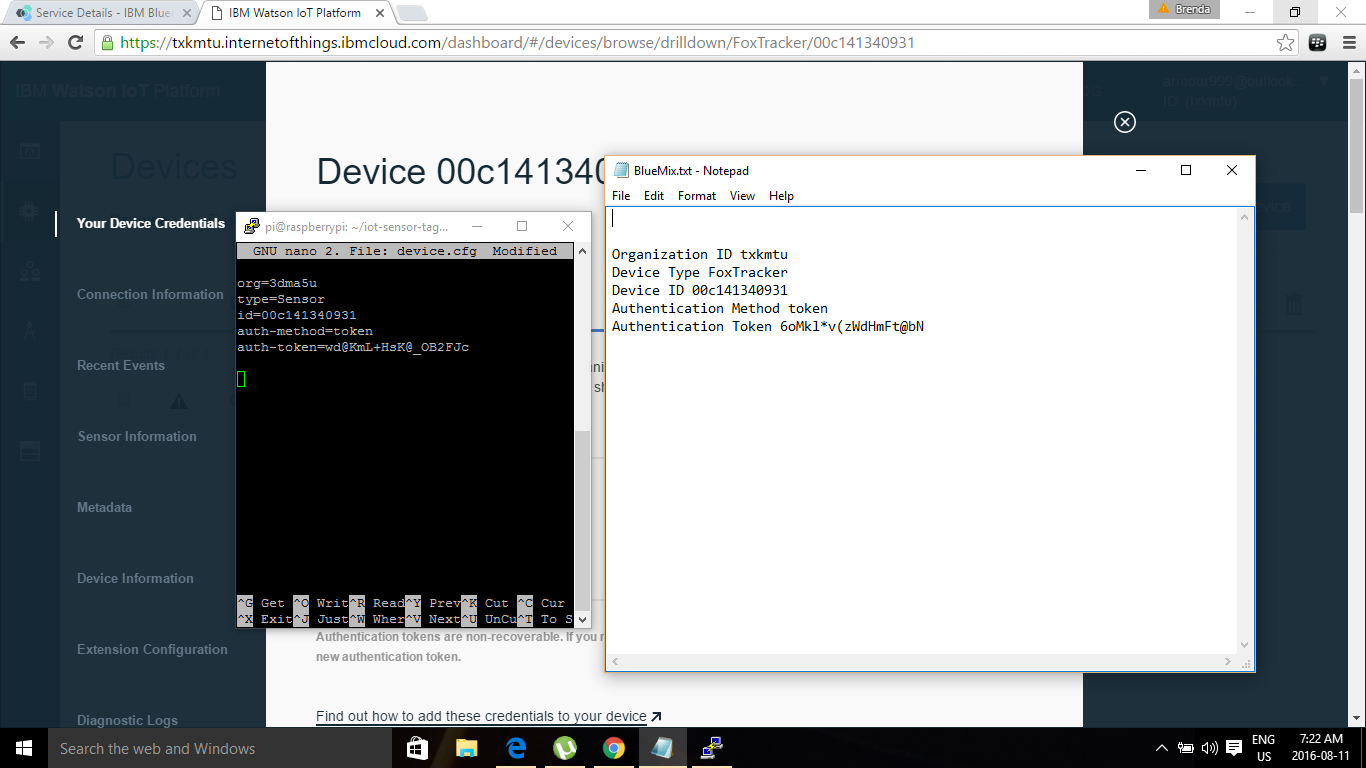
Generate you credentials . This is where I had to modify the code. During the setup you have to create a config.properties to store you credentials generated by Bluemix. This screen shot shows what I copied from Bluemix to Notepad. I changed the field names to match his code. My credentials have changed so I'm not concerned about showing them. The device.cfg shows one set of credentials modified to work in the program. If you view his video the syntax has changed to the example in Notepad. Use sudo nano within the publish directory to copy your credentials to that was generated by Bluemix.
![]()
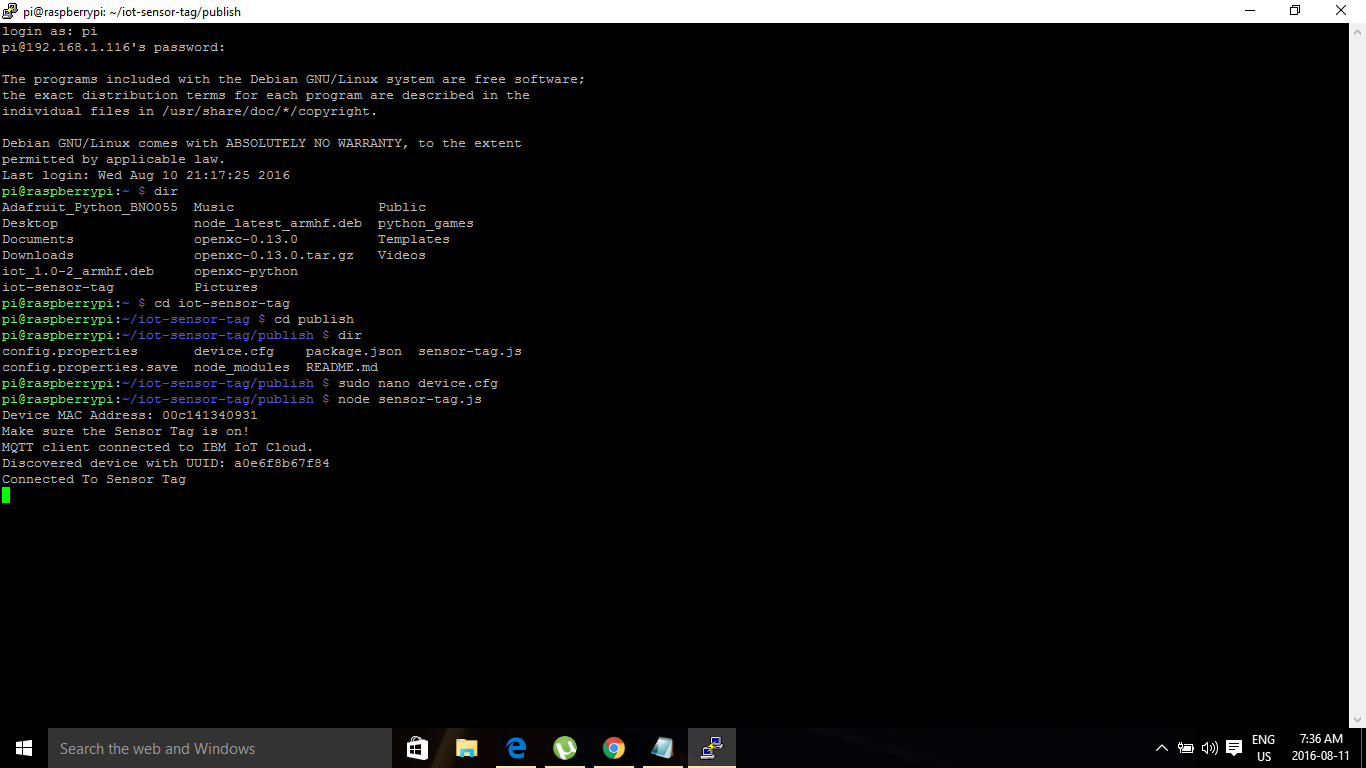
Now we can start the program from the publish directory.
Node sensor-tag.jsMake sure your sensor tag is connected and you should see this in Putty.
![]()
Lets go back to Bluemix. Connected to fox tracker
![]()
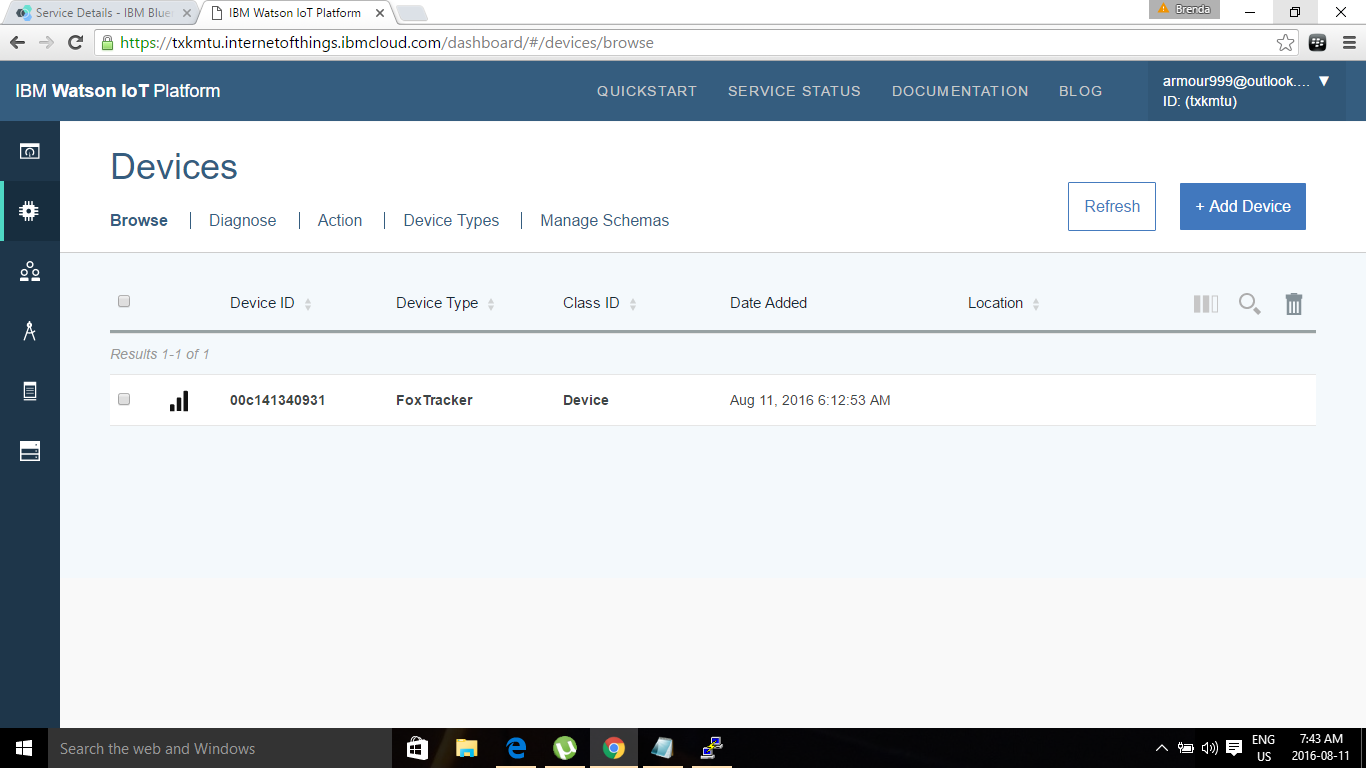
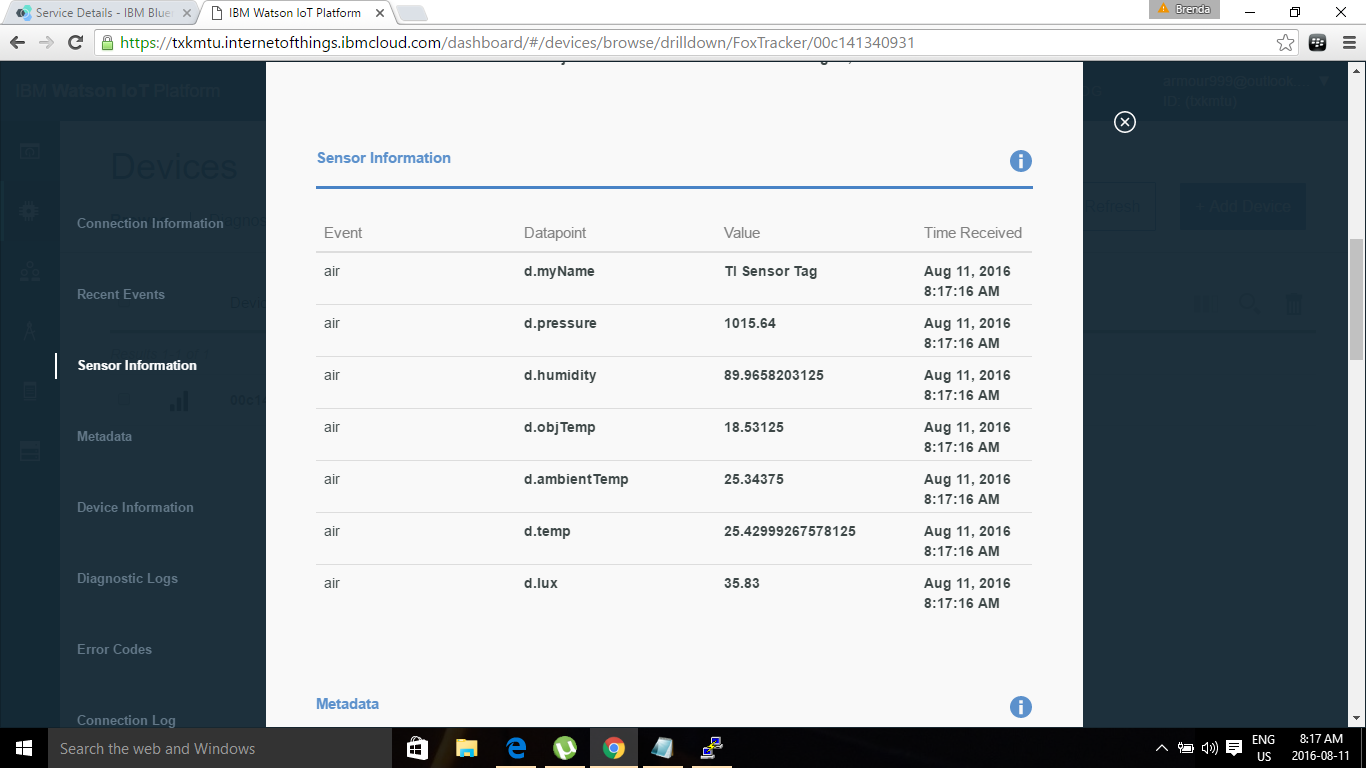
Sensor data coming in !
![]()
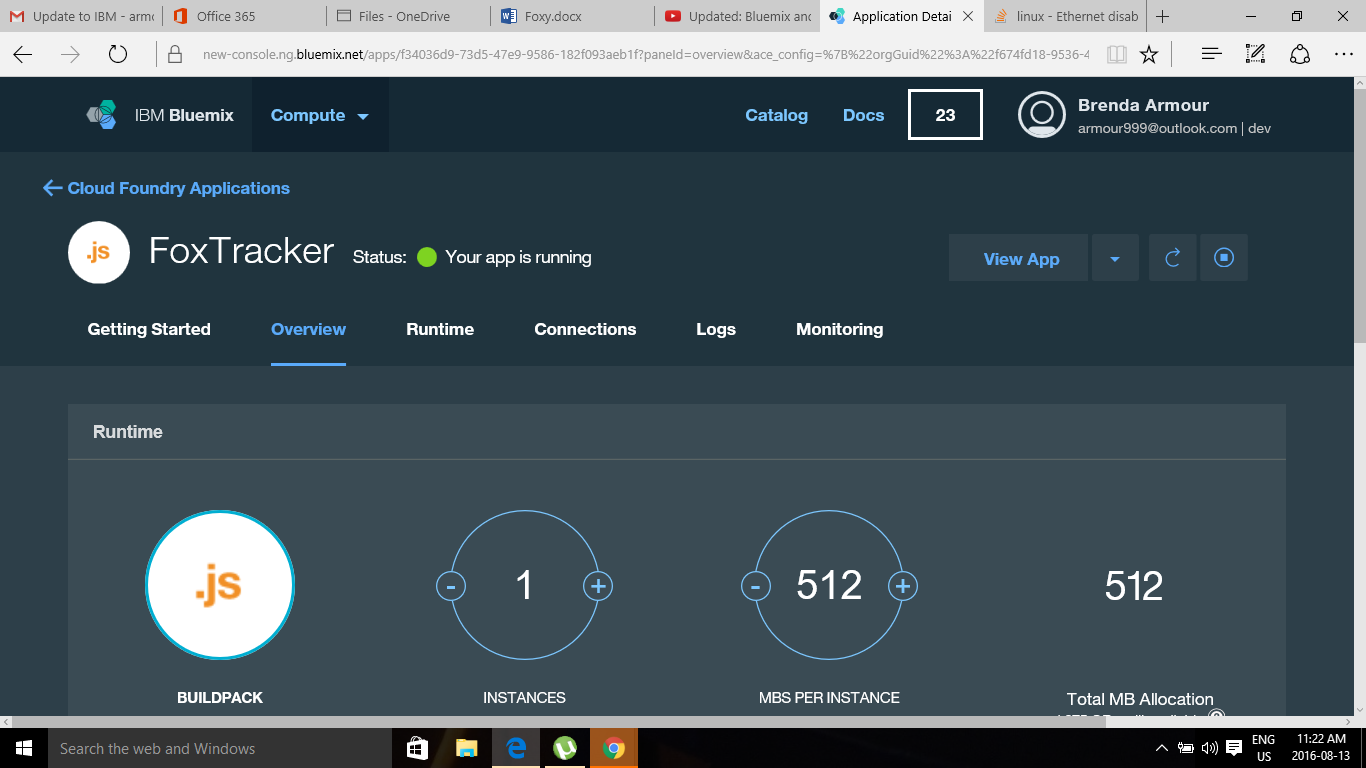
I have created an app for the Fox Tracker .
![]()
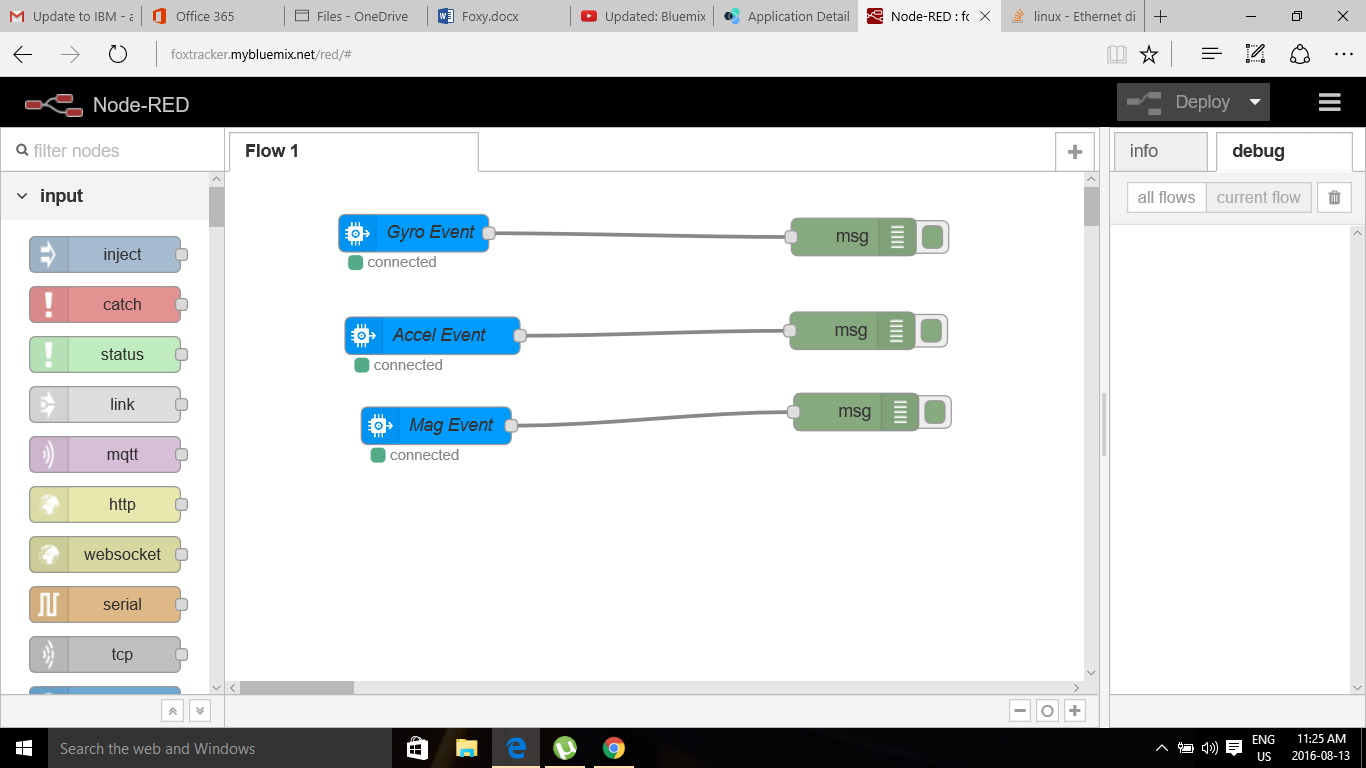
Click on view App. I also imported a node red flow from the git repository.
![]()
-
2Step 2
Setting up Node Red Palette
I have the latest version now of node red (v 15.2) There are 225,000 modules available in their library which can be found here.
I intend to add a camera for the project. The idea is to measure Indoor Weather conditions vs Outdoor conditions. One of the biggest challenges for feral cats is surviving winter conditions in Canada. I am using Freeboard for the dashboard. Info on Freeboard can be found here. I am using the sensor tag to measue inside conditions and the module Open Weather Maps:
Install Open Weather Map. This will install two nodes. Two nodes that get the weather report and forecast from OpenWeatherMap. An API key is required to use these nodes. To obtain an API key go to OpenWeatherMap.You must register. Copy the key to Notepad and then copy the key to the node info. I entered my current latitude and longitude to get a current location where I live.
Cats in Motion
To help build a perfect shelter for feral cats and protect them from the harsh climate. To reduce suffering for those who have no voice.

Discussions
Become a Hackaday.io Member
Create an account to leave a comment. Already have an account? Log In.
Actually I prefer to install [url=http://www.shareitmod.com]shareit mod[/url app rather than other app that enables users to share content peer-to-peer between devices in real time. You can [url=http://www.shareitmod.com]try it[/url too!
Are you sure? yes | no