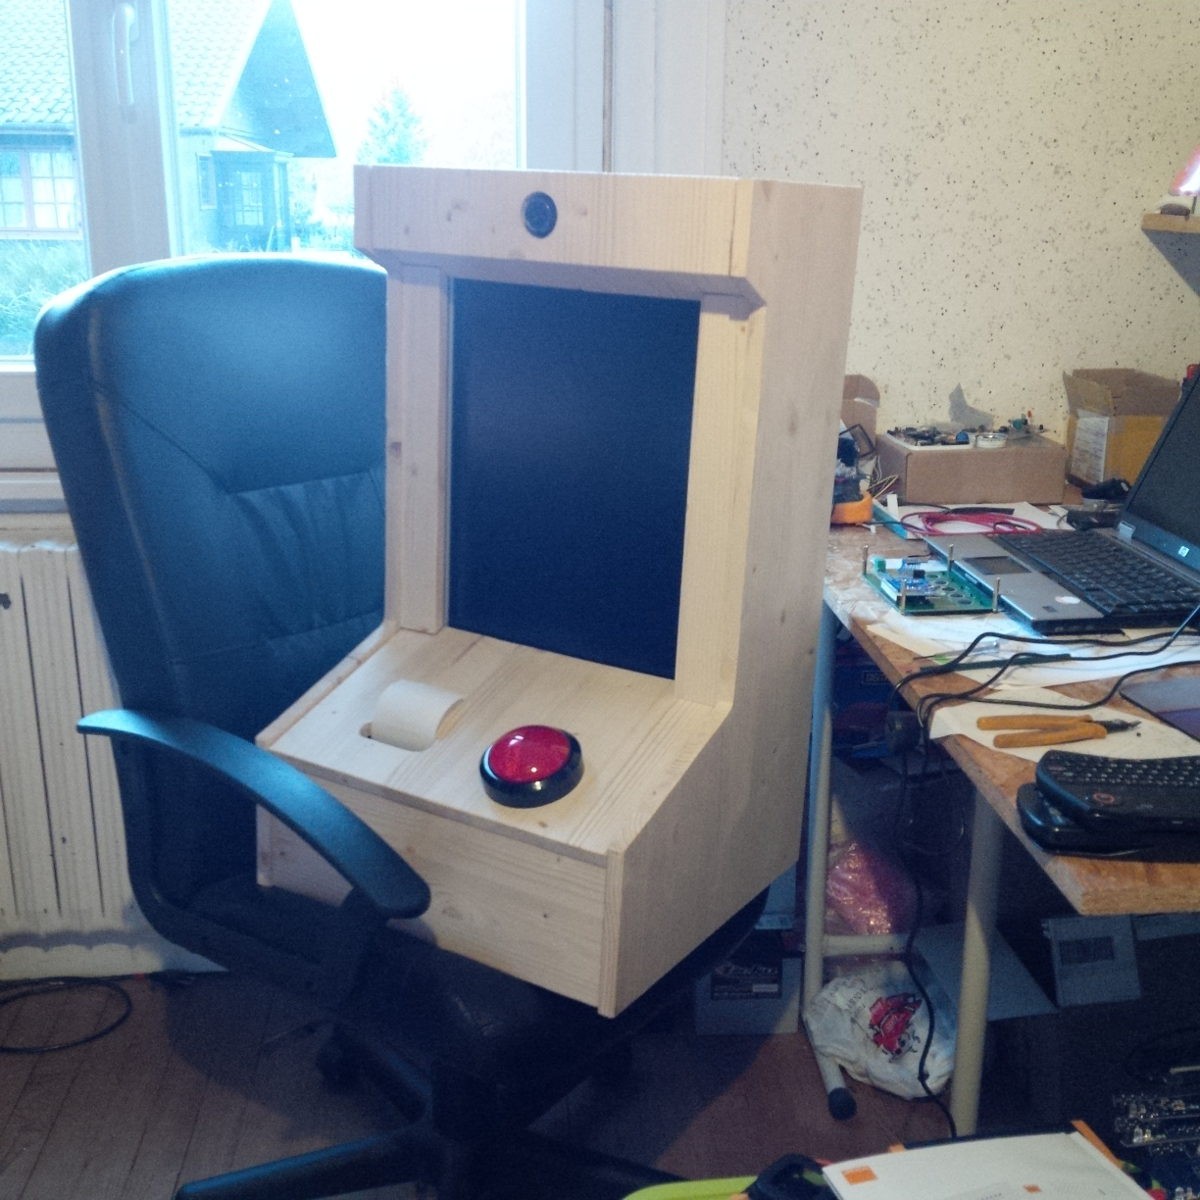
-
"Time-scan" with the booth software
01/30/2019 at 20:52 • 0 comments -
Time-Scan effect
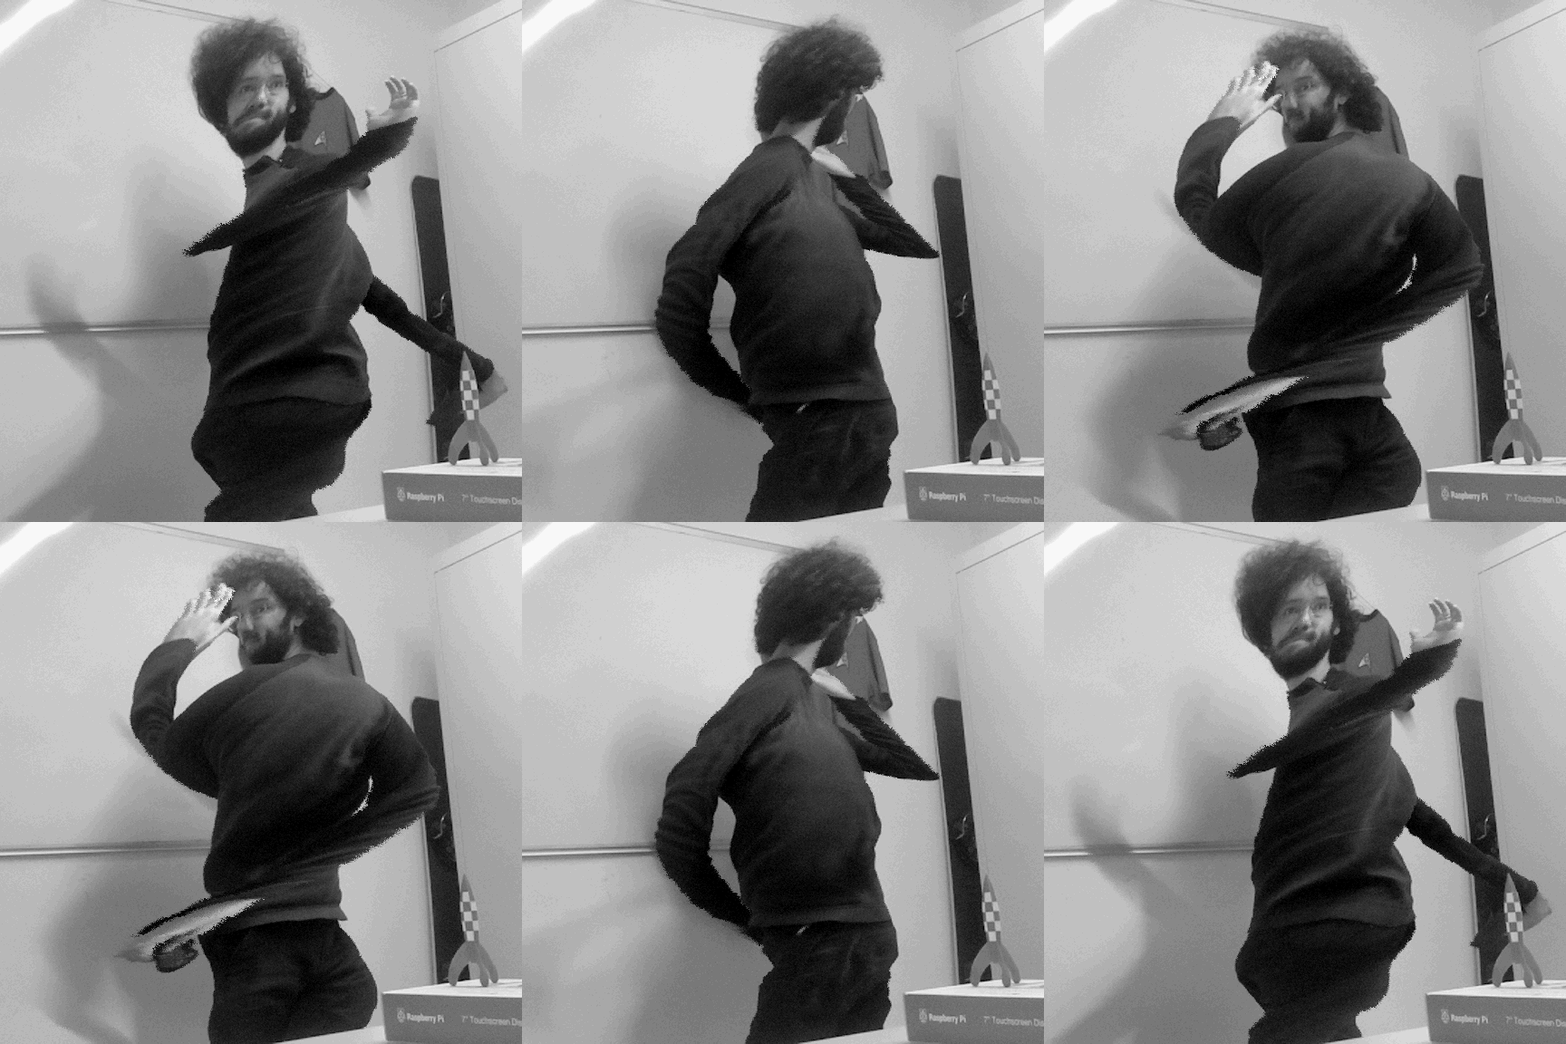
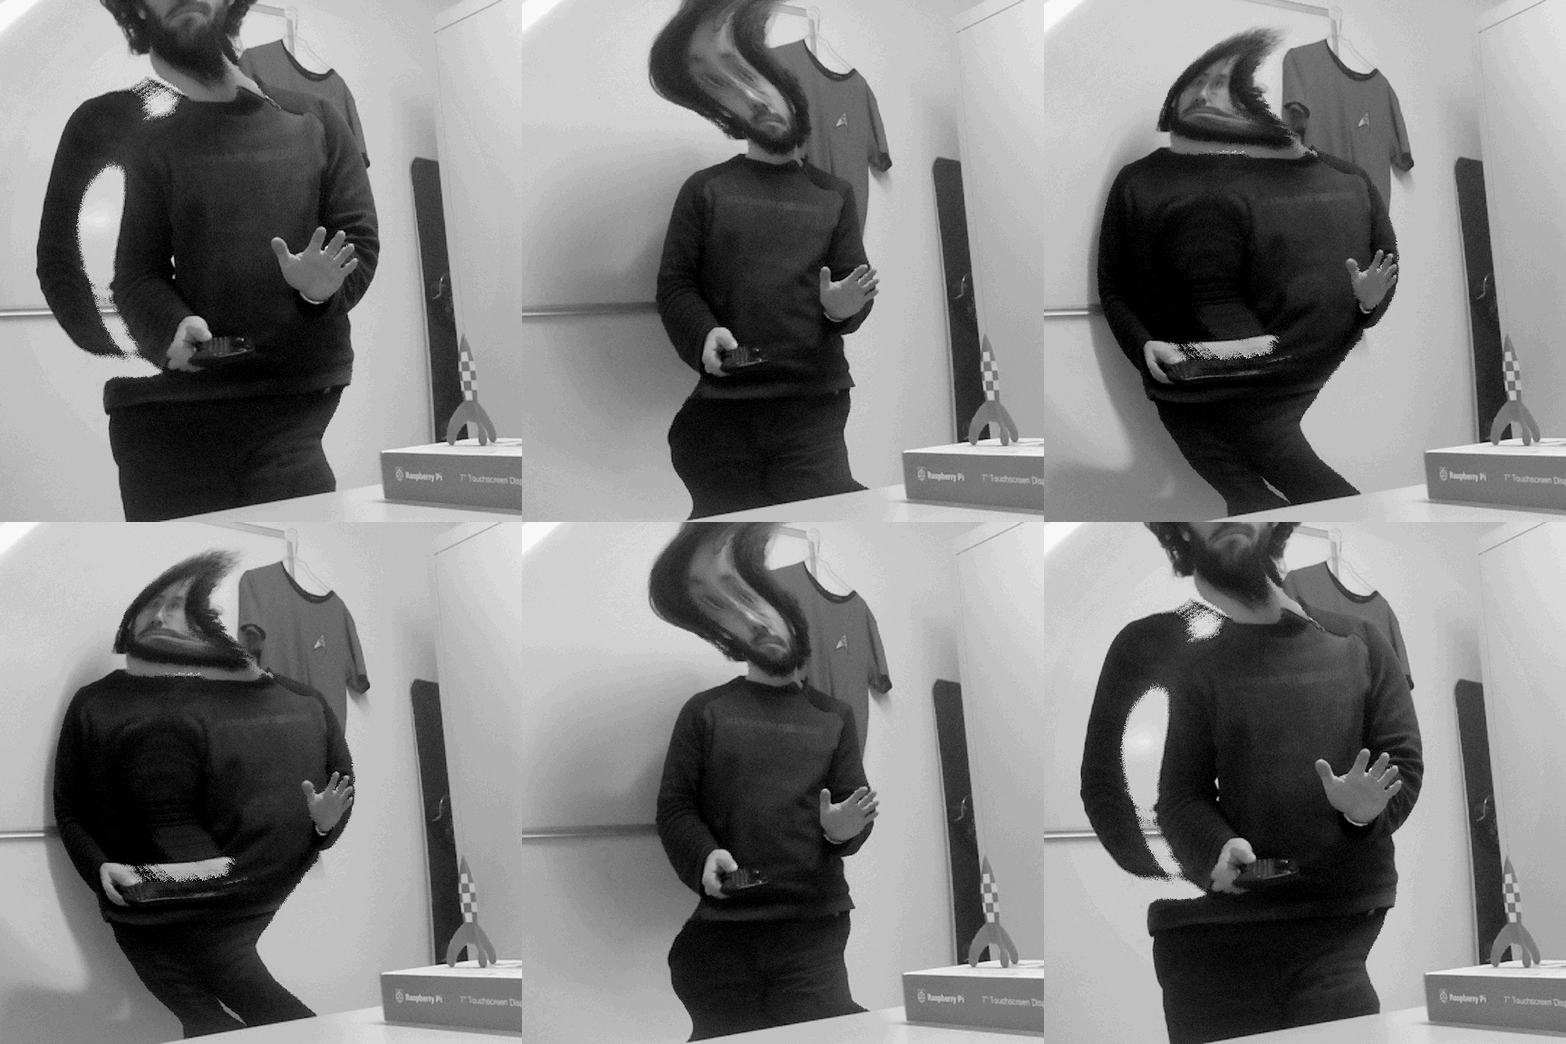
01/29/2019 at 13:35 • 2 commentsFor quite some time now, I'd like to add a creative mode on the photobooth. And I had the idea of a real-time "time scan" effect.
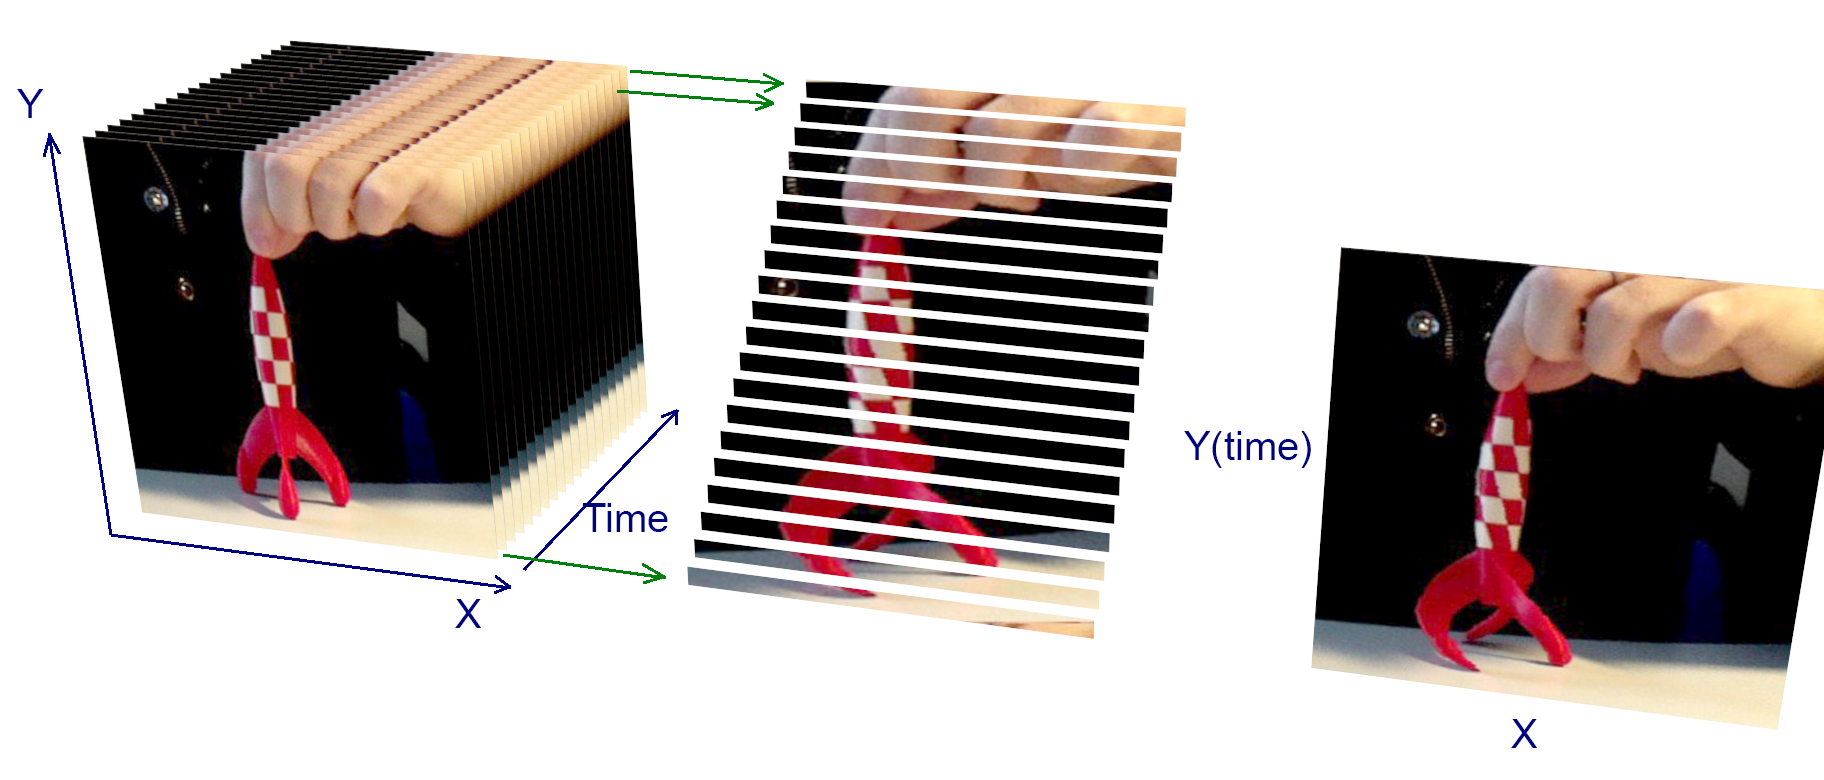
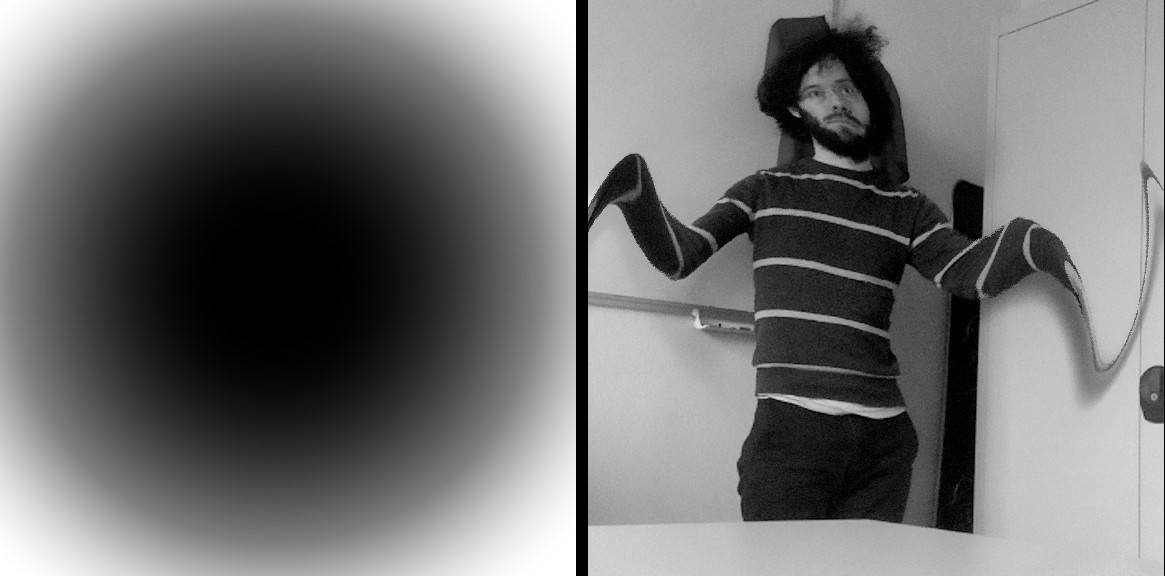
The idea is to apply a different time delay for each pixel of the image. For example the bottom line has no delay, and gradually to the top lines there is more delay:

The frame rate of the video input should be quite high in order to have the full image scanned in around 3 seconds.
After exploring different solutions, I got some help directly from raspberry pi forum user 6by9. As he told me, I then derived the raspividyuv C code. And it runs rather fast. The camera acquisition is at 90 fps, the rotating buffer filled accordingly. The rendering is at around 30 fps for 15% of total cpu usage.
The code is still messy but can be found here : github RaspiVidYUV.c and the raspberry pi forum page is here: https://www.raspberrypi.org/forums/viewtopic.php?f=43&t=230926
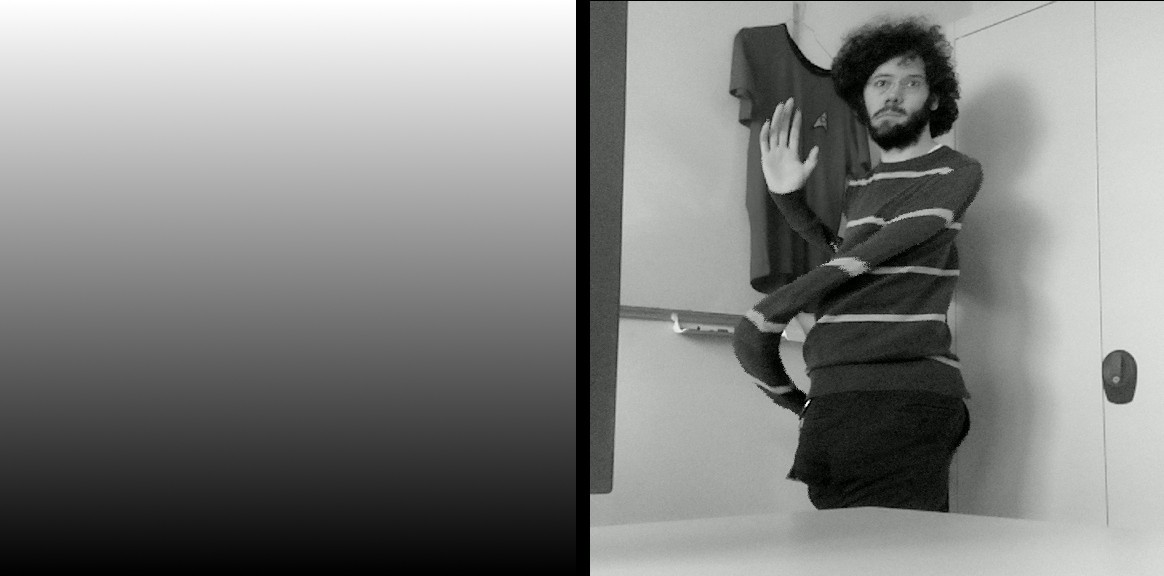
The code uses a greyscale image to determine the time delay of each pixels, so it is not limited to a vertical scan.
For a vertical gradient :

For a circle gradient:

-
Sharing button and flexibility
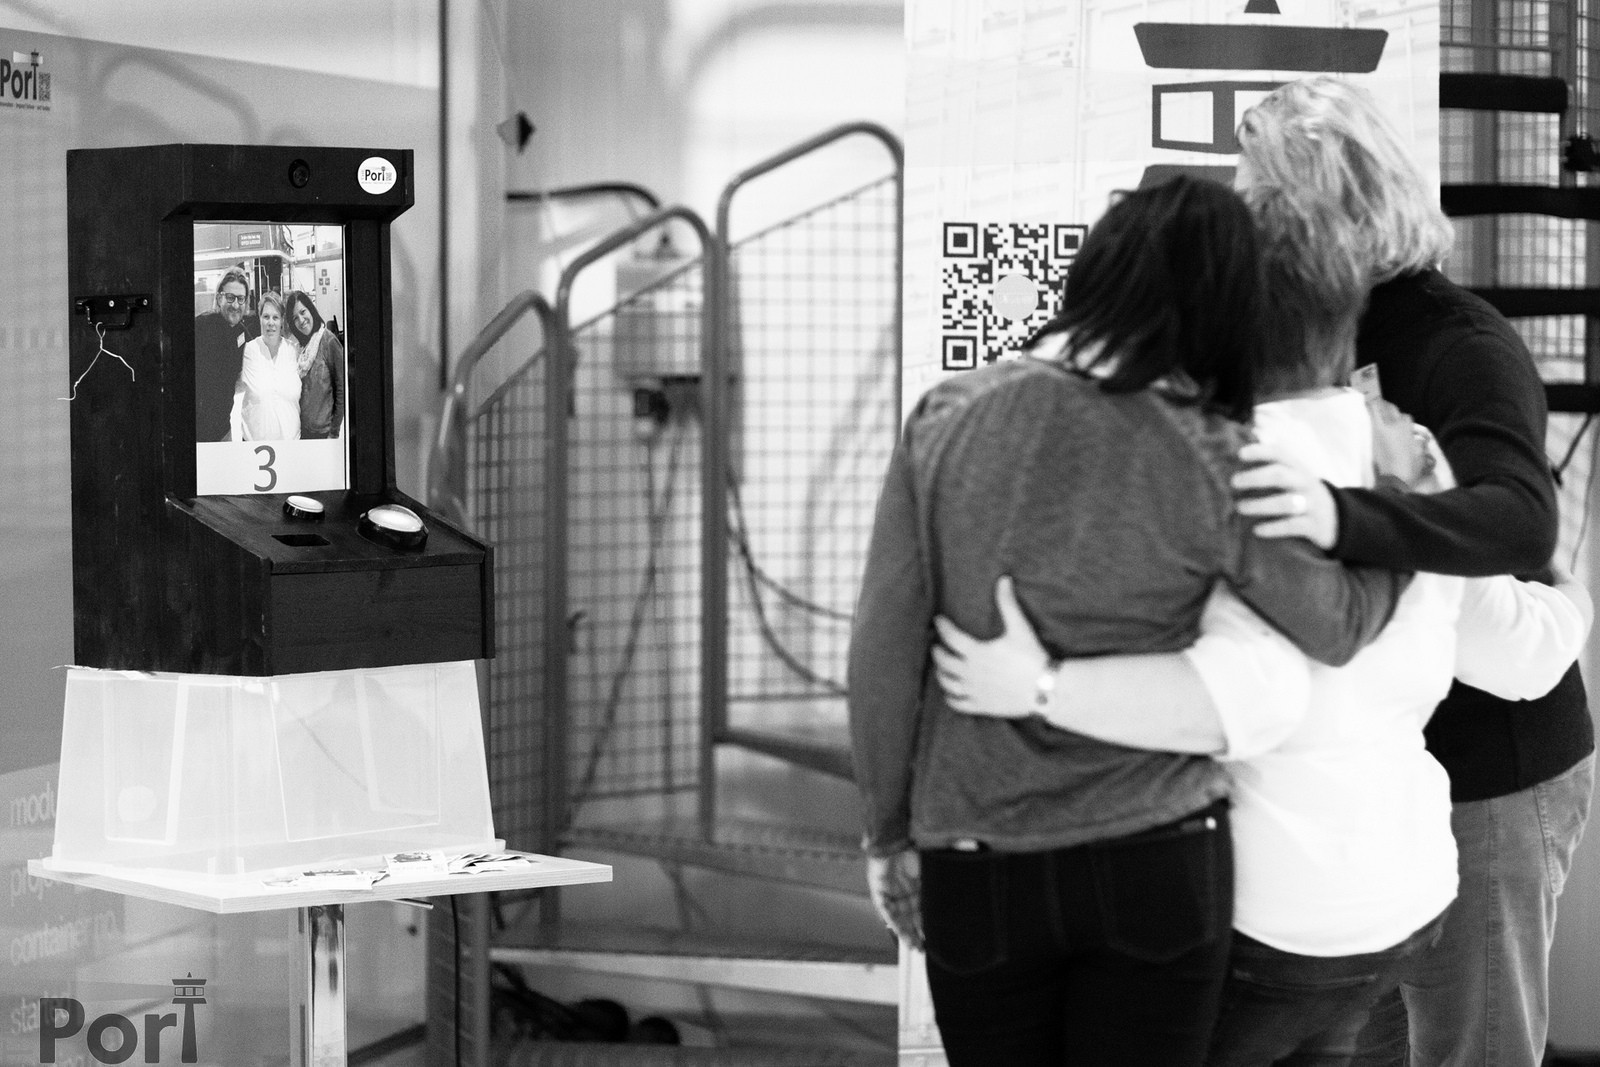
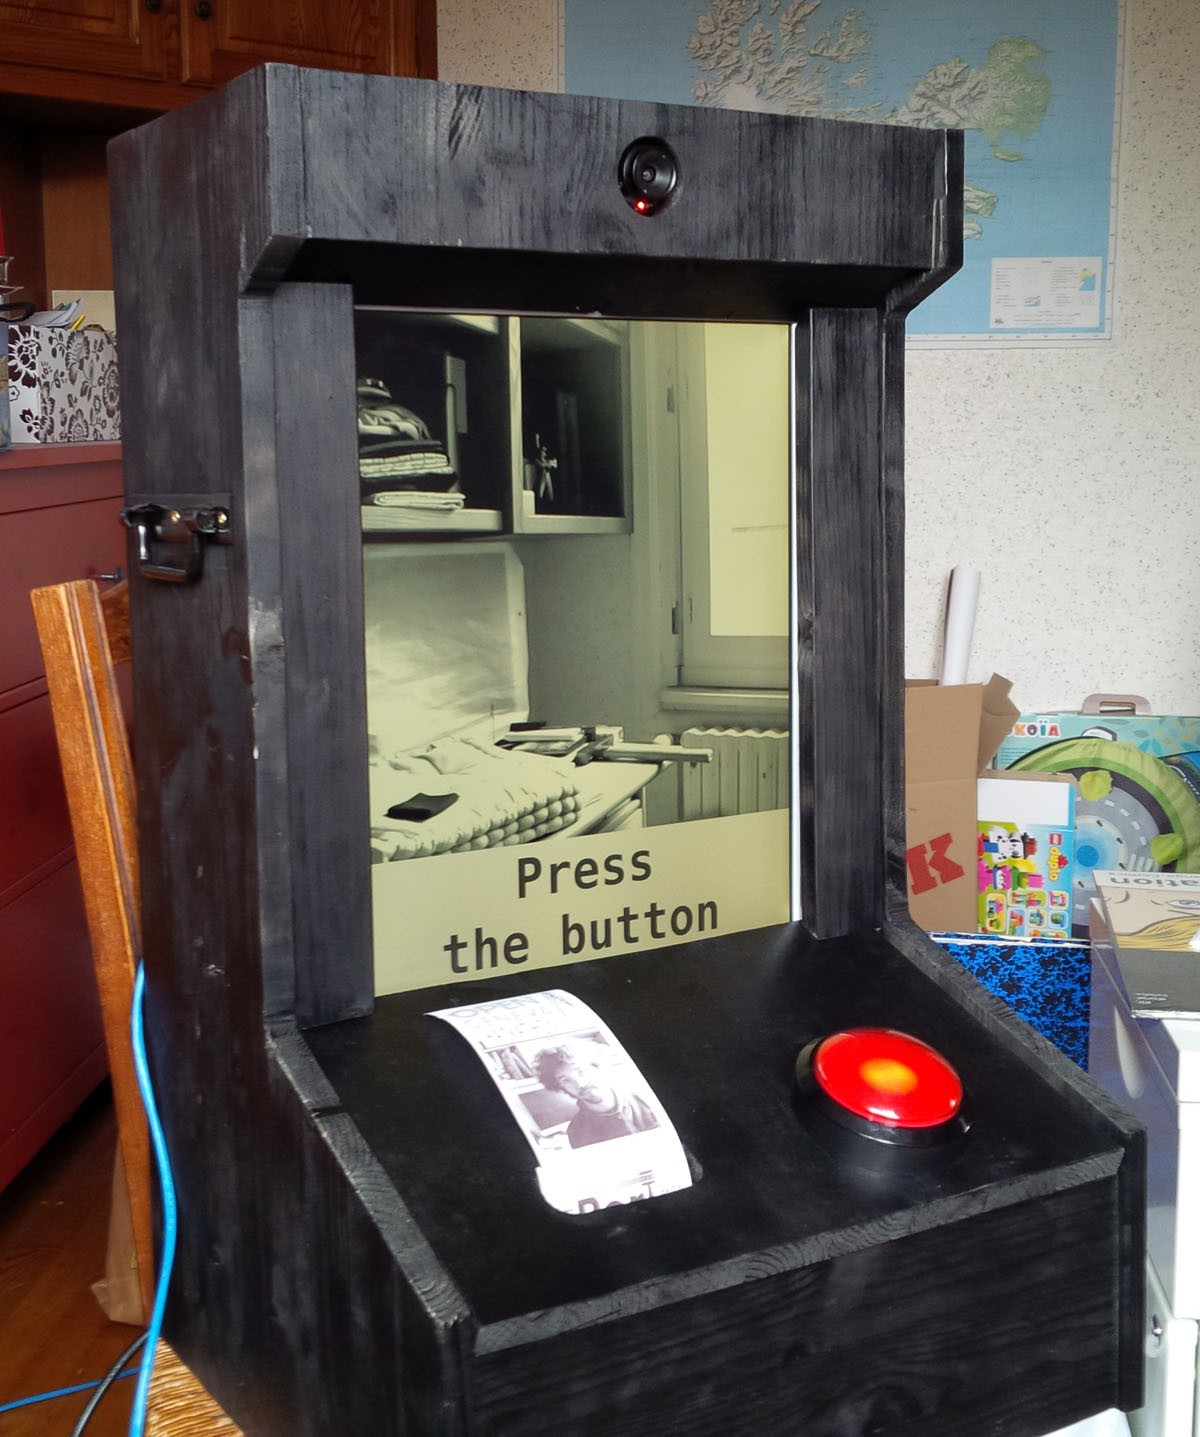
04/22/2017 at 09:06 • 0 commentsI've worked on the code for the Port Hackathon last year. I've put another button in the front panel if you'd like to share the picture taken and printed on a Facebook album. It was used for ThePort2016 and TEDxCERN. After the countdown, a screen appears for 10 sec asking you if you want to share the picture on the facebook album of re-print the picture. The album adress is printed on the tickets.
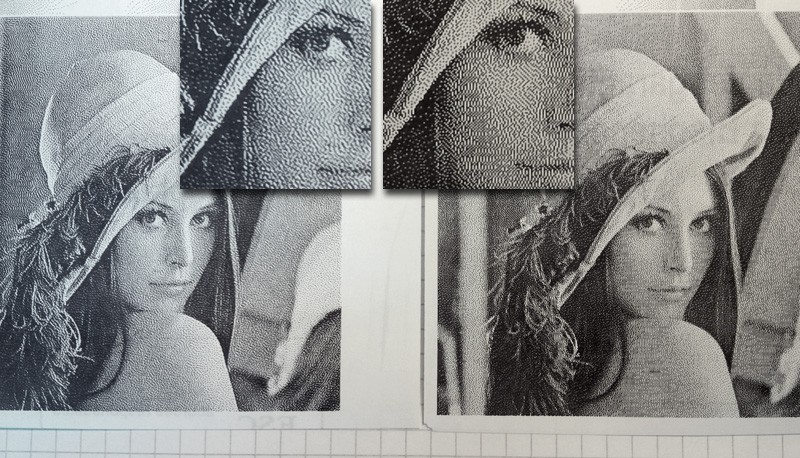
I recently update the code to use different printer commands. I was contacted by someone with a different printer model. Still Epson, but the TM-T88IV. It seems working fine now, and it possible more printer model can now be compatible. There is more settings now in the config file, it takes image files for the ticket header, and you can choose two different dithering algorithm.
Right is the classical Floyd-Steinberg, left is the Jarvis Judice Ninke dithering (Translated in Java the nice C code from https://github.com/petrkutalek/png2pos/blob/master/png2pos.c )
-
Small mod
04/05/2016 at 13:03 • 0 commentsAfter the quite successful entertainment brought by the Sefli machine on the Juggling Convention, I had to modify a bit the functionality for the Open Geneva Hackathon.
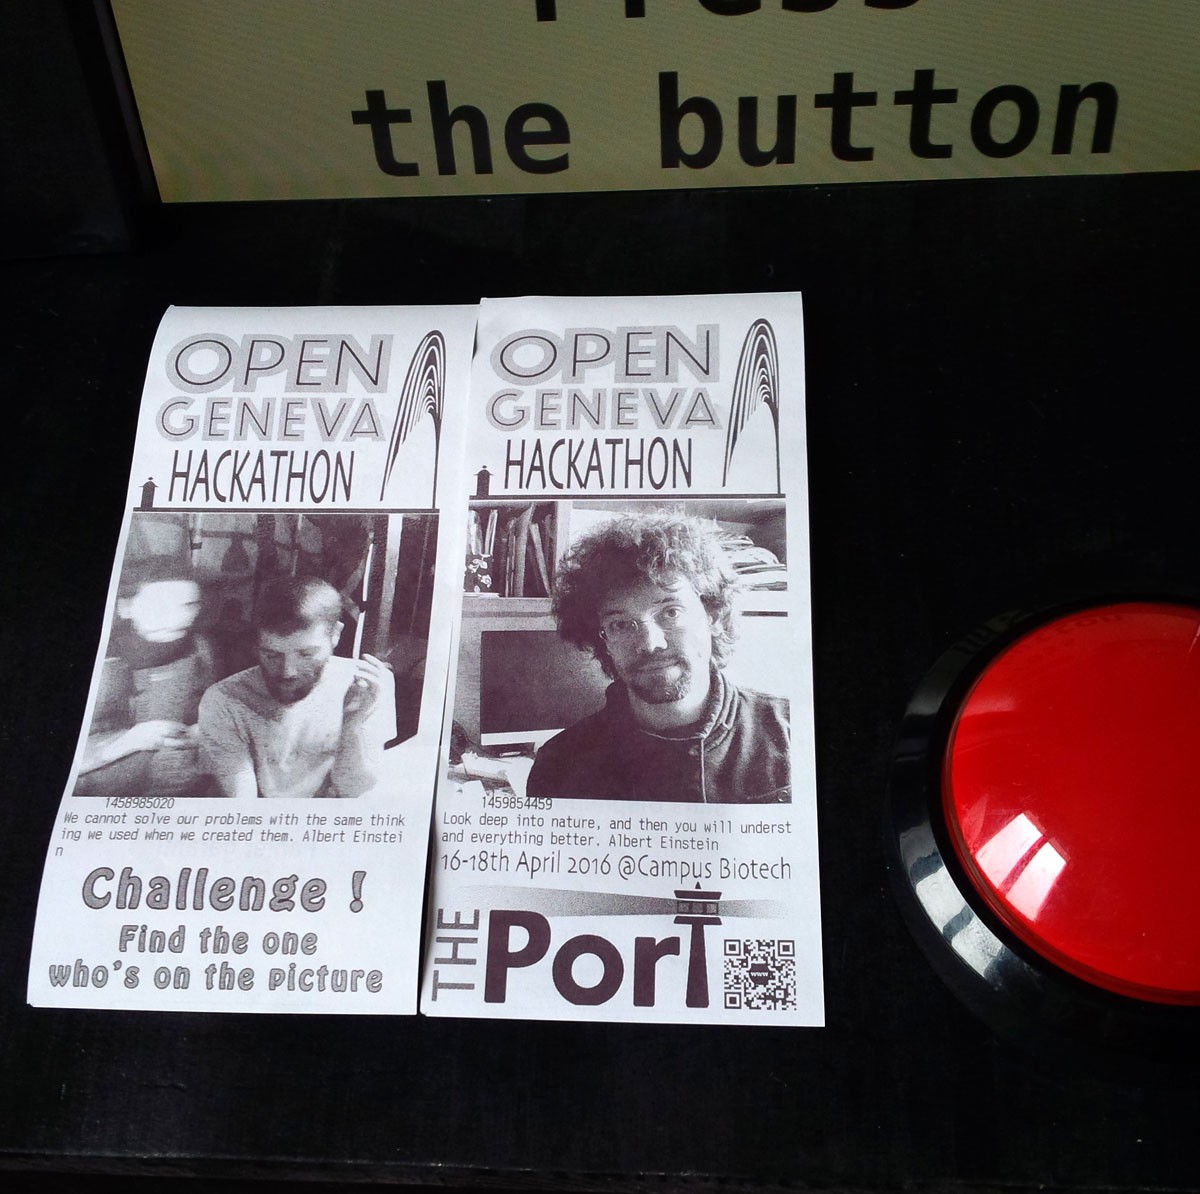
There is a big countdown of 10 second once you press the button. You don't know when the picture is taken during this interval. It is like a lottery, sometime the printed ticket don't show your face but the one of someone else with the text "find who's on the picture !"
-
Case filling
03/29/2016 at 15:55 • 0 comments -
Raspberry-pi to LED
03/29/2016 at 15:46 • 0 commentsThe big buttons could be filled with a big bright led. That's quite nice, I have to find a way to drive it from the Raspberry pi GPIO.
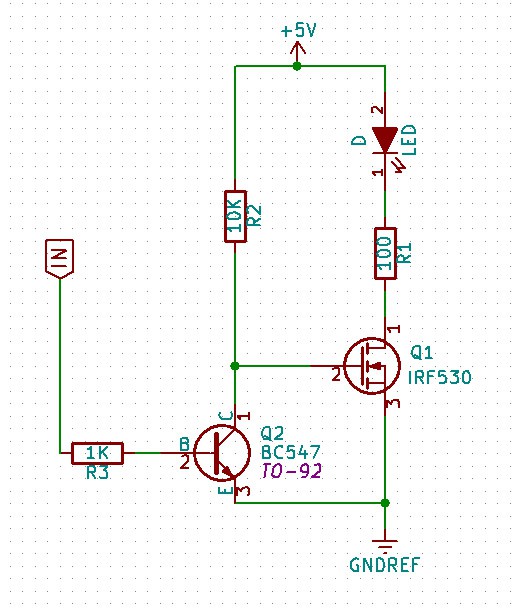
I have around Mosfet IRF530, but the need more than the Rpi 3.3v level to drive a reasonable current. I added quick and dirty transistor BC547.
To connect the button to the raspberry pi, I configured the GPIO with a pull-up, and the button shorts to 0V.
-
Wood case
03/28/2016 at 10:34 • 0 comments
Free Beer Selfie
Take a chance to offer a free beer to a stranger ! Or be creative with a photobooth.
 Muth
Muth
