 Ben Lim
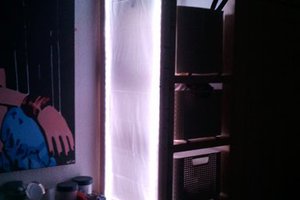
I think a DIY light alarm can be made more interesting than a light on a shelf or a smart bulb because of the possibilities in mounting. I wanted a realistic effect, so I mounted my LED strips on my windows, so that it would look like light was pouring in from the outside, increasing my motivation to wake up. Inspired by Smart LED Window.
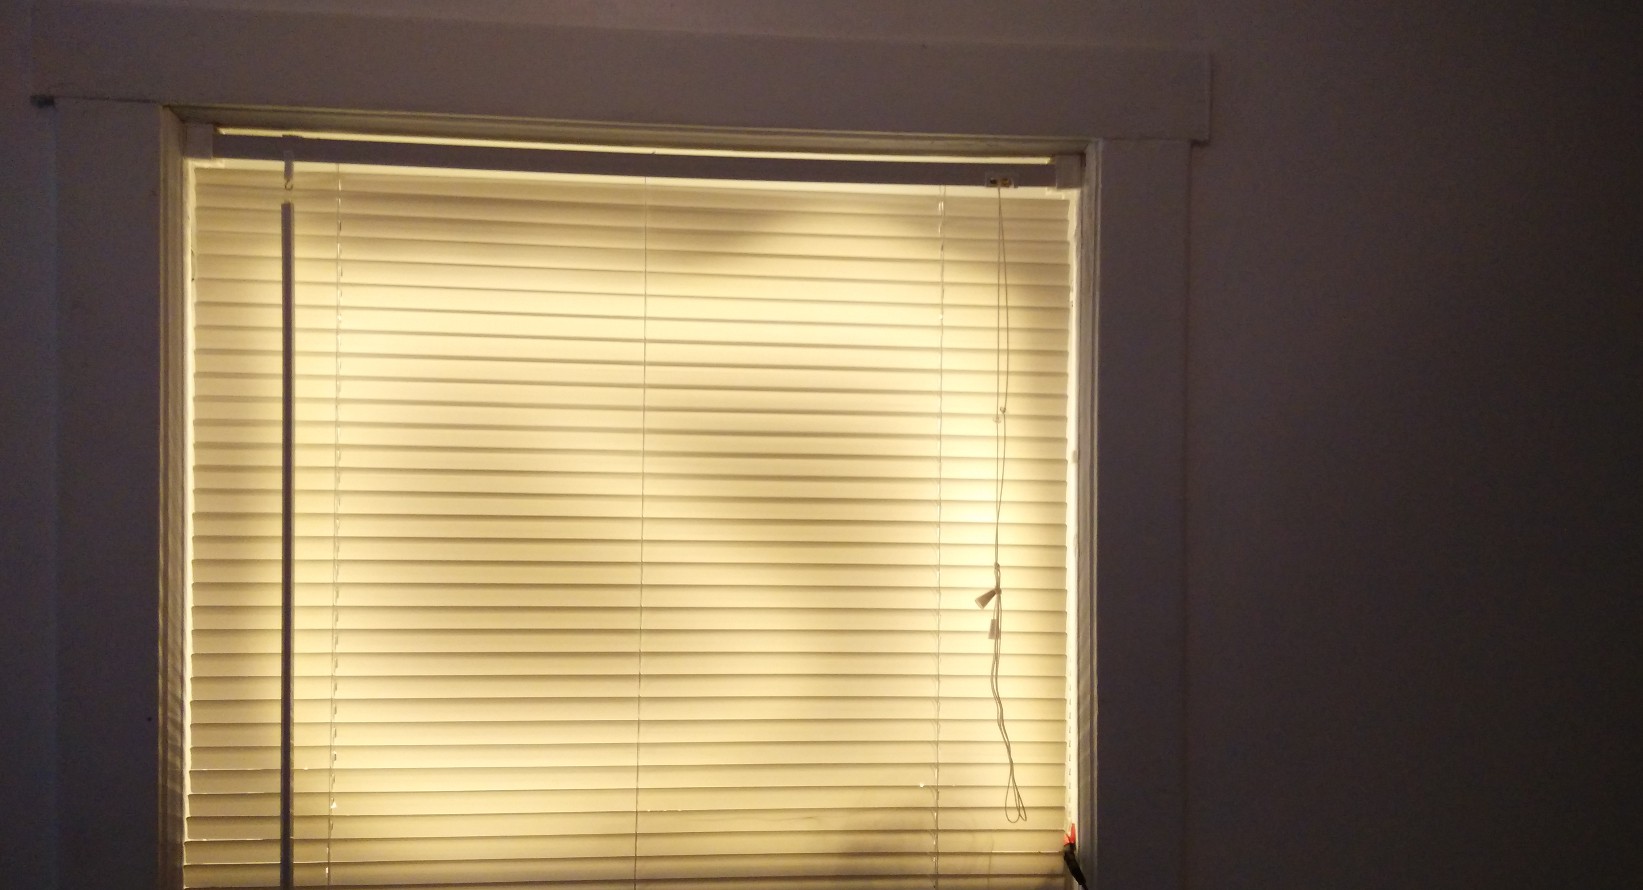
This is how my LED window looks like. It was pretty good, and fooled me sometimes where I would get out of bed in a panic, thinking that the day was already well on.
I built this board because there is no board on the market that targets LED strips specifically. My first few designs were a pain to move around because it was just a bunch of wires on a breadboard. Soldering them up on a perf-board kept the wires neat, but it took a bit of time and I still made mistakes. So I wanted a solution that keeps the wiring neat, and has all the components that I wanted in a way that would make it easier to share, so I decided to make an Arduino shield, because I have found that when people say they own an Arduino, usually that is an Arduino Uno, especially for people who have just started in electronics.
Apart from being a light-up alarm board, I also included some other features such as an nRF24L01 radio to talk to other microcontroller boards, and wiring to support colored LED lights. It also has educational opportunities because the shield has components with different levels of difficulty: LEDs are the simplest, followed by getting high powered devices to work with MOSFETs, and then working with RTC modules, and finally, radios. There is a pathway of increasing complexity that should prove to be an interesting challenge. When the learning is complete, the result is an interesting product. It could be a remote controlled lamp or a multicolored display.
From a enthusiast's perspective, the board is useful for driving high-current devices like motors and LED strips and the built-in modules enable timekeeping and wireless communication for automation projects on a single neat board.
*The DC jack connects to the VIN pin to power the Arduino. A 5V supply is not enough to power the Arduino properly, so a voltage regulator must be used on the PWR line to step down the voltage to 5V before powering the Neopixel strip.
 matt thurstan
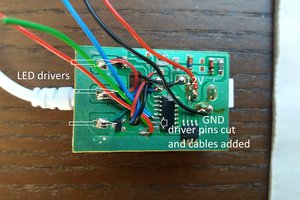
 Chris B
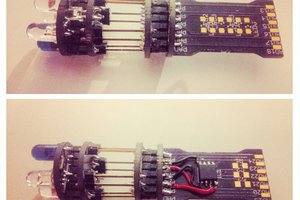
 davedarko
 Oakmizer