MobileWill
-
Center Button Test
05/30/2016 at 02:30 • 0 commentsOne thing that was missing is the use of the center button. The point of the demo is just to make sure all the hardware works. I added a simple X/Y reset when pressed. So if you loose the box outside the bounds of the display it will reset to the center. It’s a bit hard to hit the center button until I reprint the case for better movement of the joystick. The center button also turns the LED on for a bit, but it is hard to see until I print the joystick cap in a clear filament.
void bCClick(){ boxX = 64-boxXSize; boxY = 32-boxYSize; digitalWrite(LEDPIN, HIGH); delay(200); digitalWrite(LEDPIN, LOW); }![]()
-
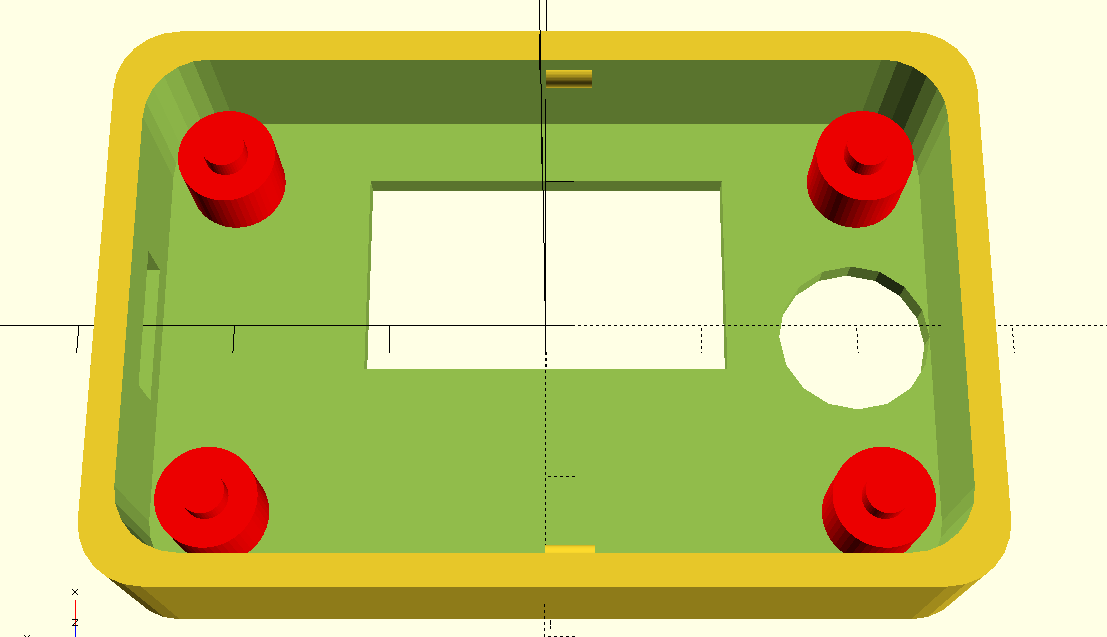
Larger Joystick Hole
05/30/2016 at 01:53 • 0 commentsAfter working on the box demo, I realized the hole for the joystick needs to be a bit larger. In some directions it touches the hole’s edges. Here is a picture of the larger hole. I haven’t had a chance to print it yet but it should be the right size now.
![]()
-
Faster Demo Box
05/30/2016 at 01:52 • 0 commentsAlong with the recent Bay Area Maker Faire and some other projects, I haven’t had much time to really work on the SUPEROLED8. The one change I did do was increase the repeat rate so you can hold the joystick and the demo box will move across the screen much faster. Here is a quick GIF of it in action.
![]()
I switched from using the AnalogButton library to doing my own simple analogRead while updating the position. It’s much better! The use of the library kept things nice and it added other options like hold. It would be up to the user which to use, depending on their project.
-
Analog Button Values
04/20/2016 at 04:37 • 0 commentsHere are the values used to read which pin is depressed via a single analog input.
- None - 1023
- Center - 453
- Up - 382
- Down - 0
- Right - 169
- Left - 290
SUPEROLED8
Development board for ATmega32U4 complete with 128x64 OLED and 5 way navigation button.