-
Hardware Available & New Firmware!
01/04/2019 at 19:48 • 1 commentAfter dealing with some parts shortages in 2018, We've finally completed another batch of Mechaduinos!
Fully assembled Servos are now available here! PCB kits are available here!
We also released an update to the firmware! The calibration table can now be stored in flash memory! The Mechaduino Manual has also been updated (links below).
Quick Links:
- Manual New 11/26/2018!
- Firmware New 11/26/2018!
- Order here!
-
Mechaduino 0.2 PCBs Available
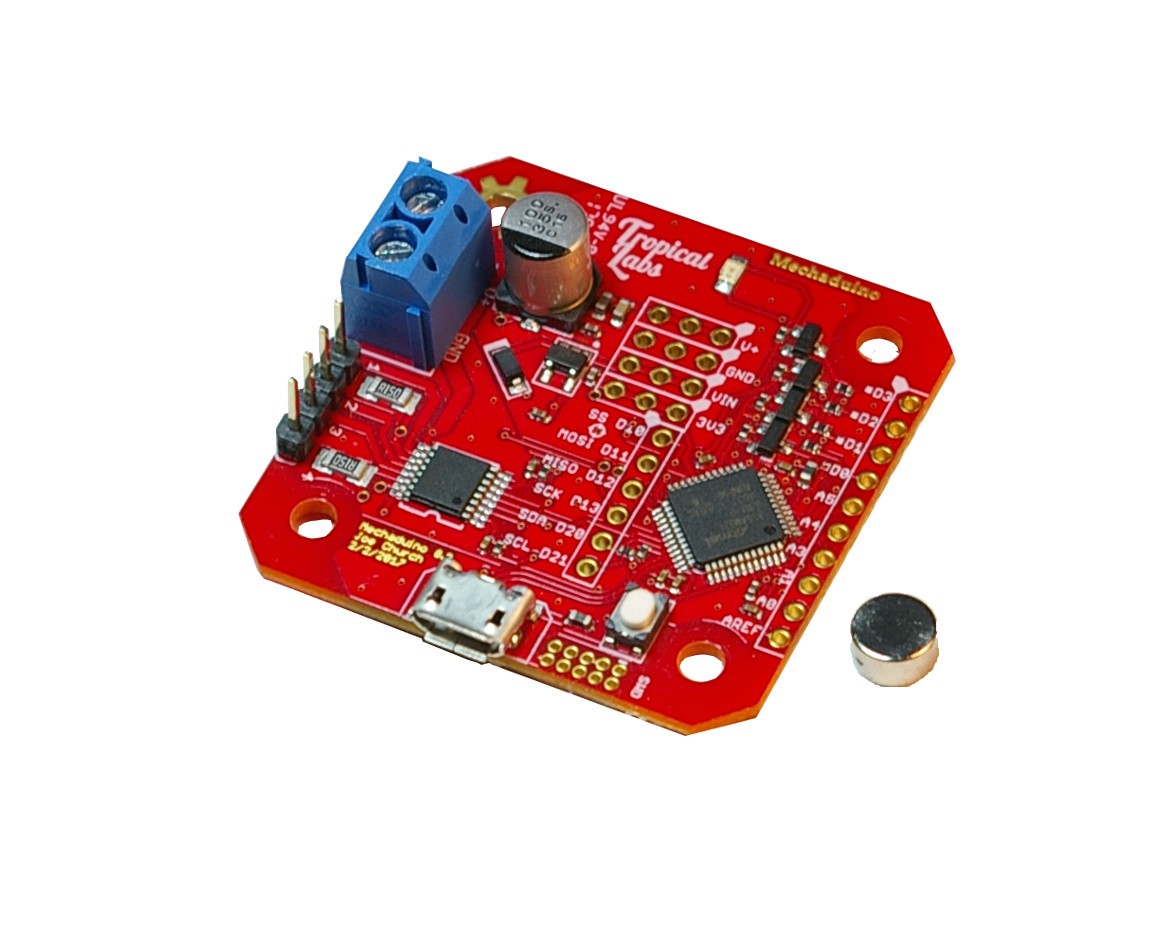
05/06/2017 at 06:55 • 1 commentThe updated Mechaduino 0.2 PCB kit is now available for purchase here. A list of updates is available in the latest version of the Mechaduino Manual, and all source files are available on Github.
![]()
-
Update!
04/09/2017 at 22:44 • 0 commentsWe have another batch of Mechaduinos in production that will be available for purchase on our website in a few weeks. Sorry for the delay. We decided to add a couple of improvements to the boards which slowed things down a bit. We will be posting details about the improvements shortly in an updated version of the Mechaduino manual. We'll upload the updated source files to github as soon as we've polished them up.
-Joe
-
Improved firmware released
11/25/2016 at 19:13 • 0 commentsHi all,
We've uploaded a significantly improved version of the Mechaduino firmware. It is available here (master branch of our repo). Older versions of the firmware are still available here and here.Improvements include:
-Menus now work!
-Faster control loop (running 6kHz by default)
-Ability to adjust PID gains from menu (does not use non-volatile memory yet, so you do have to update firmware for permanent changes, but this makes tuning a lot easier).
-Generate sine/commutation table on startup, this makes it easy to experiment with different commutation profiles
-Lots of documentation in code
-Much cleaner code ( no more "magic" numbers, etc)We are almost ready to release a Mechaduino Manual that covers hardware, firmware, and example code. Please stay tuned!
-Joe -
CW & CCW Pins Example
11/22/2016 at 01:51 • 2 commentsHere's a quick example showing one way to configure two digital IO pins to control the Mechaduino. Pull pin 2 low and the Mechaduino moves CW, pin 3 and it moves CCW:
First, run the calibration routine and copy the lookup table in to parameters.cpp.
Next, add the following code in the bottom of the setup function in Mechaduino.ino:
    pinMode(3,INPUT_PULLUP);  //pin for + direction
    pinMode(2,INPUT_PULLUP);  //pin for - direction

    enableTCInterrupts();     //start in closed loop mode
    mode = 'x';
...and then enter this code in the loop:
void loop()
{
  if (digitalRead(2) & !digitalRead(3)){
    r+= 0.01;
  }
  else if (digitalRead(3) & !digitalRead(2)){
    r-= 0.01;
  }
  delayMicroseconds(5);
  //serialCheck();
  //r=0.1125*step_count;
}
In this example we use the position mode 'x', and increment/decrement the setpoint based on the pin state. You could also use the velocity mode 'v' and set the setpoint to a velocity based on the pin state.
-
Position loop example: setting angle in code
10/25/2016 at 23:18 • 1 commentHere's a quick example demonstrating how to change the setpoint of the position control loop:
![]()
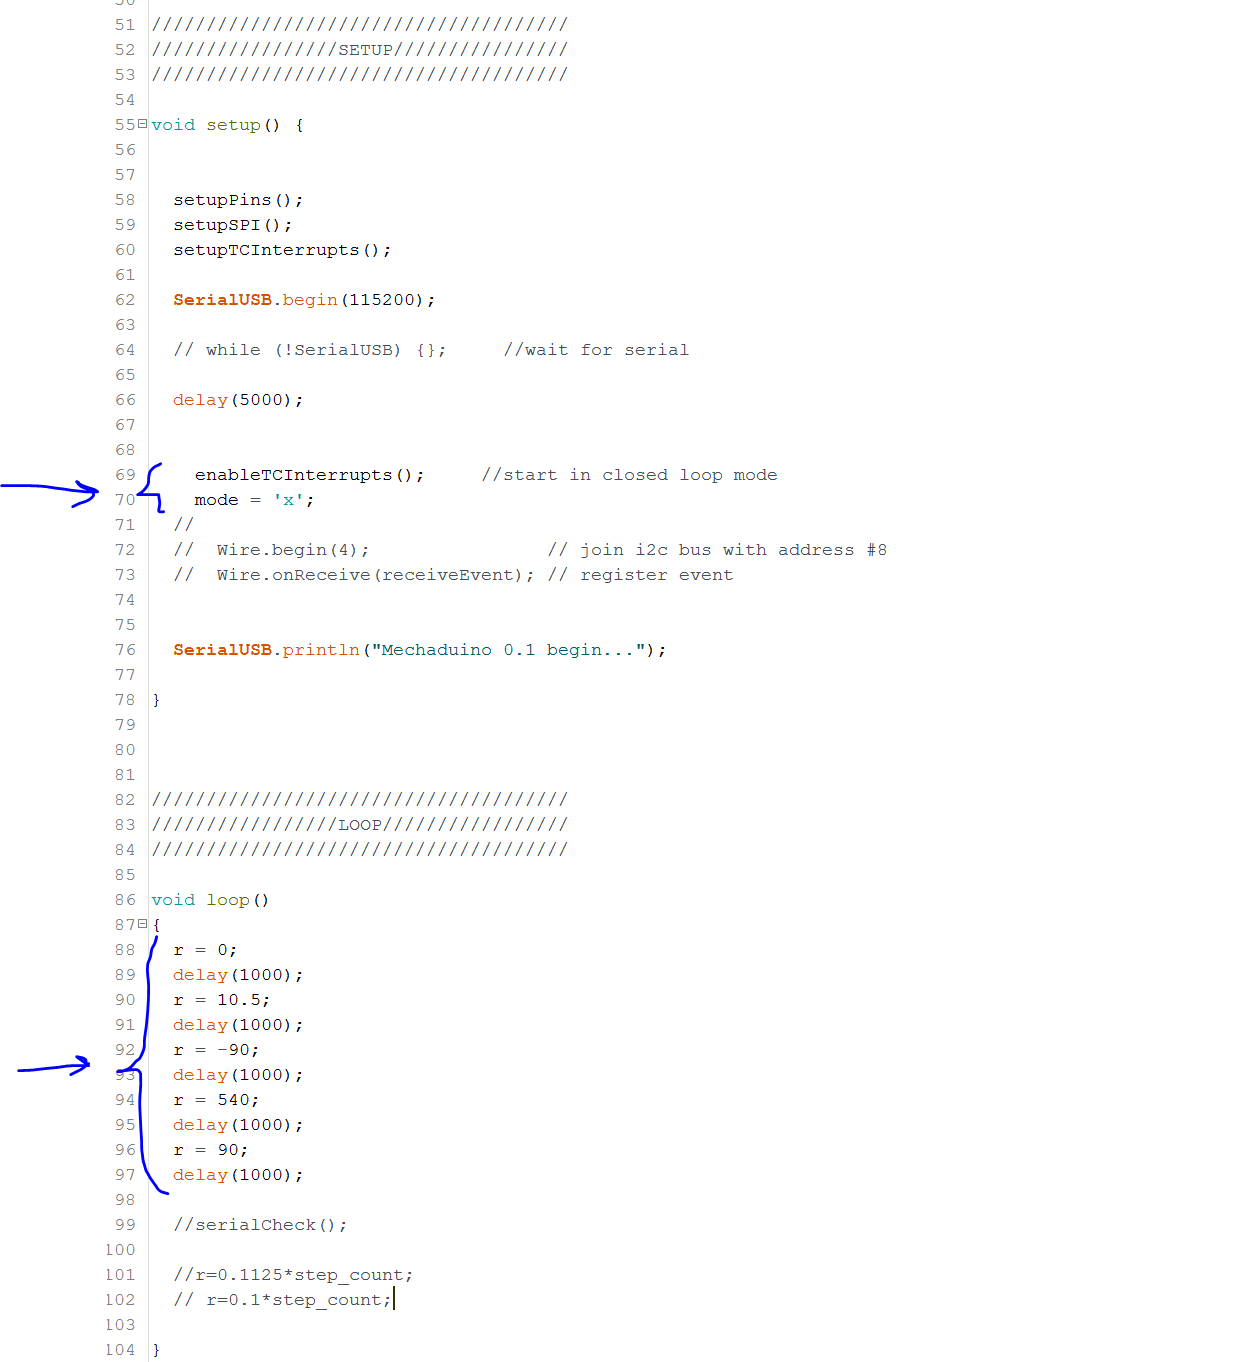
This motion was implemented as shown below. "r" is our global setpoint variable. Since the control loop is implemented using interrupts, you don't really have to worry about it in your main loop once it is enabled!
-
Mechaduinos in the wild?!
10/09/2016 at 12:01 • 0 commentsIf you ordered Mechaduino hardware through our Kickstarter, you should receive your reward any day now (If you haven't already)! Sales from our website should start to appear next week! We've also heard from quite a number of folks who couldn't wait and built there own! If you would like to share your Mechaduino applications or design modifications, please feel free to post below in the comments!
-
Shipping Kickstarter Mechaduinos!
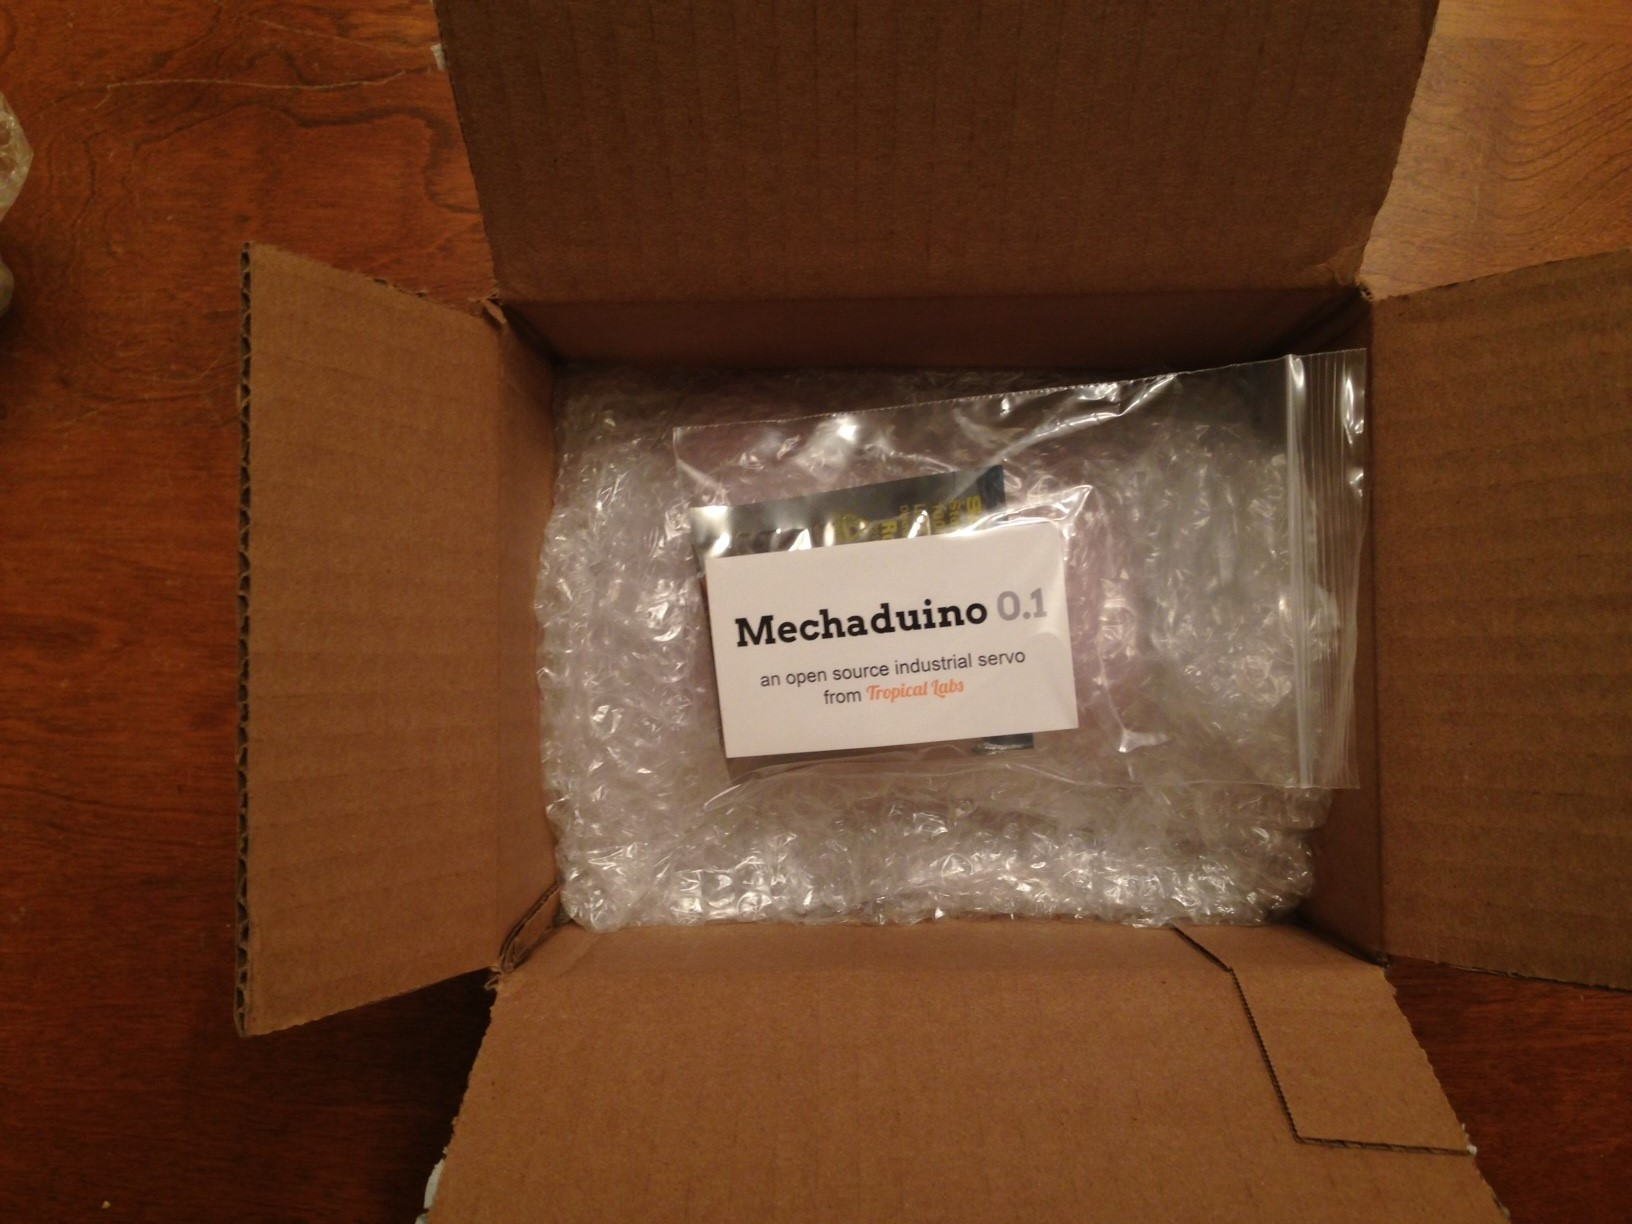
10/01/2016 at 05:29 • 0 commentsWe began shipping our Mechaduino Kickstarter rewards this week!
![]()
-
Step/Dir Interface Demo
09/15/2016 at 13:07 • 2 commentsI've created a little video demonstrating one way to configure a Mechaduino to work with the popular RAMPS 1.4 3D printer shield. Check it out:
Mechaduino
Mechaduino is an affordable, open-source, industrial servo motor. Position, torque, velocity, and custom modes. Arduino compatible.
 jcchurch


