 frankstripod
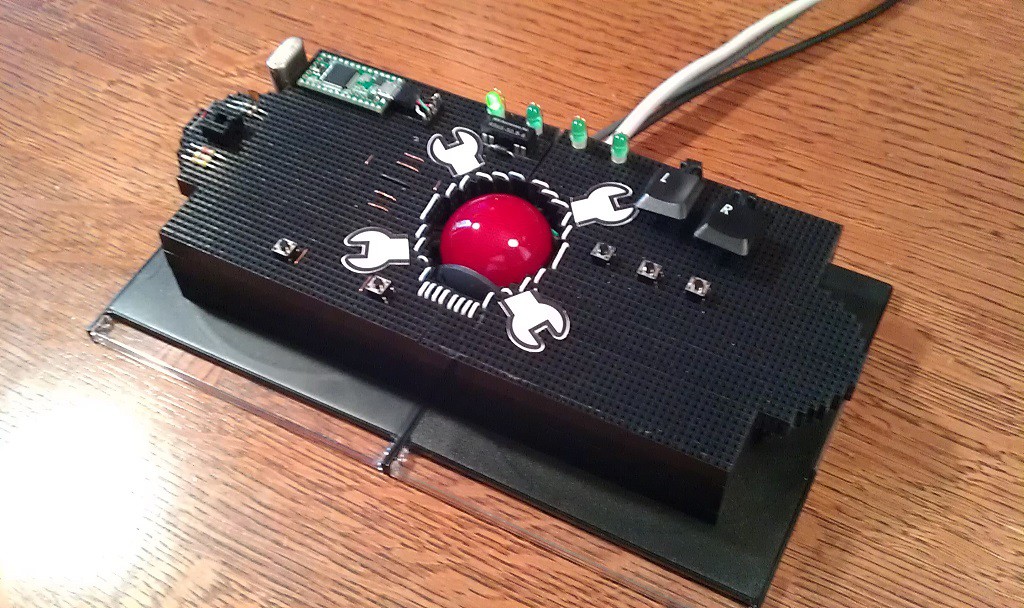
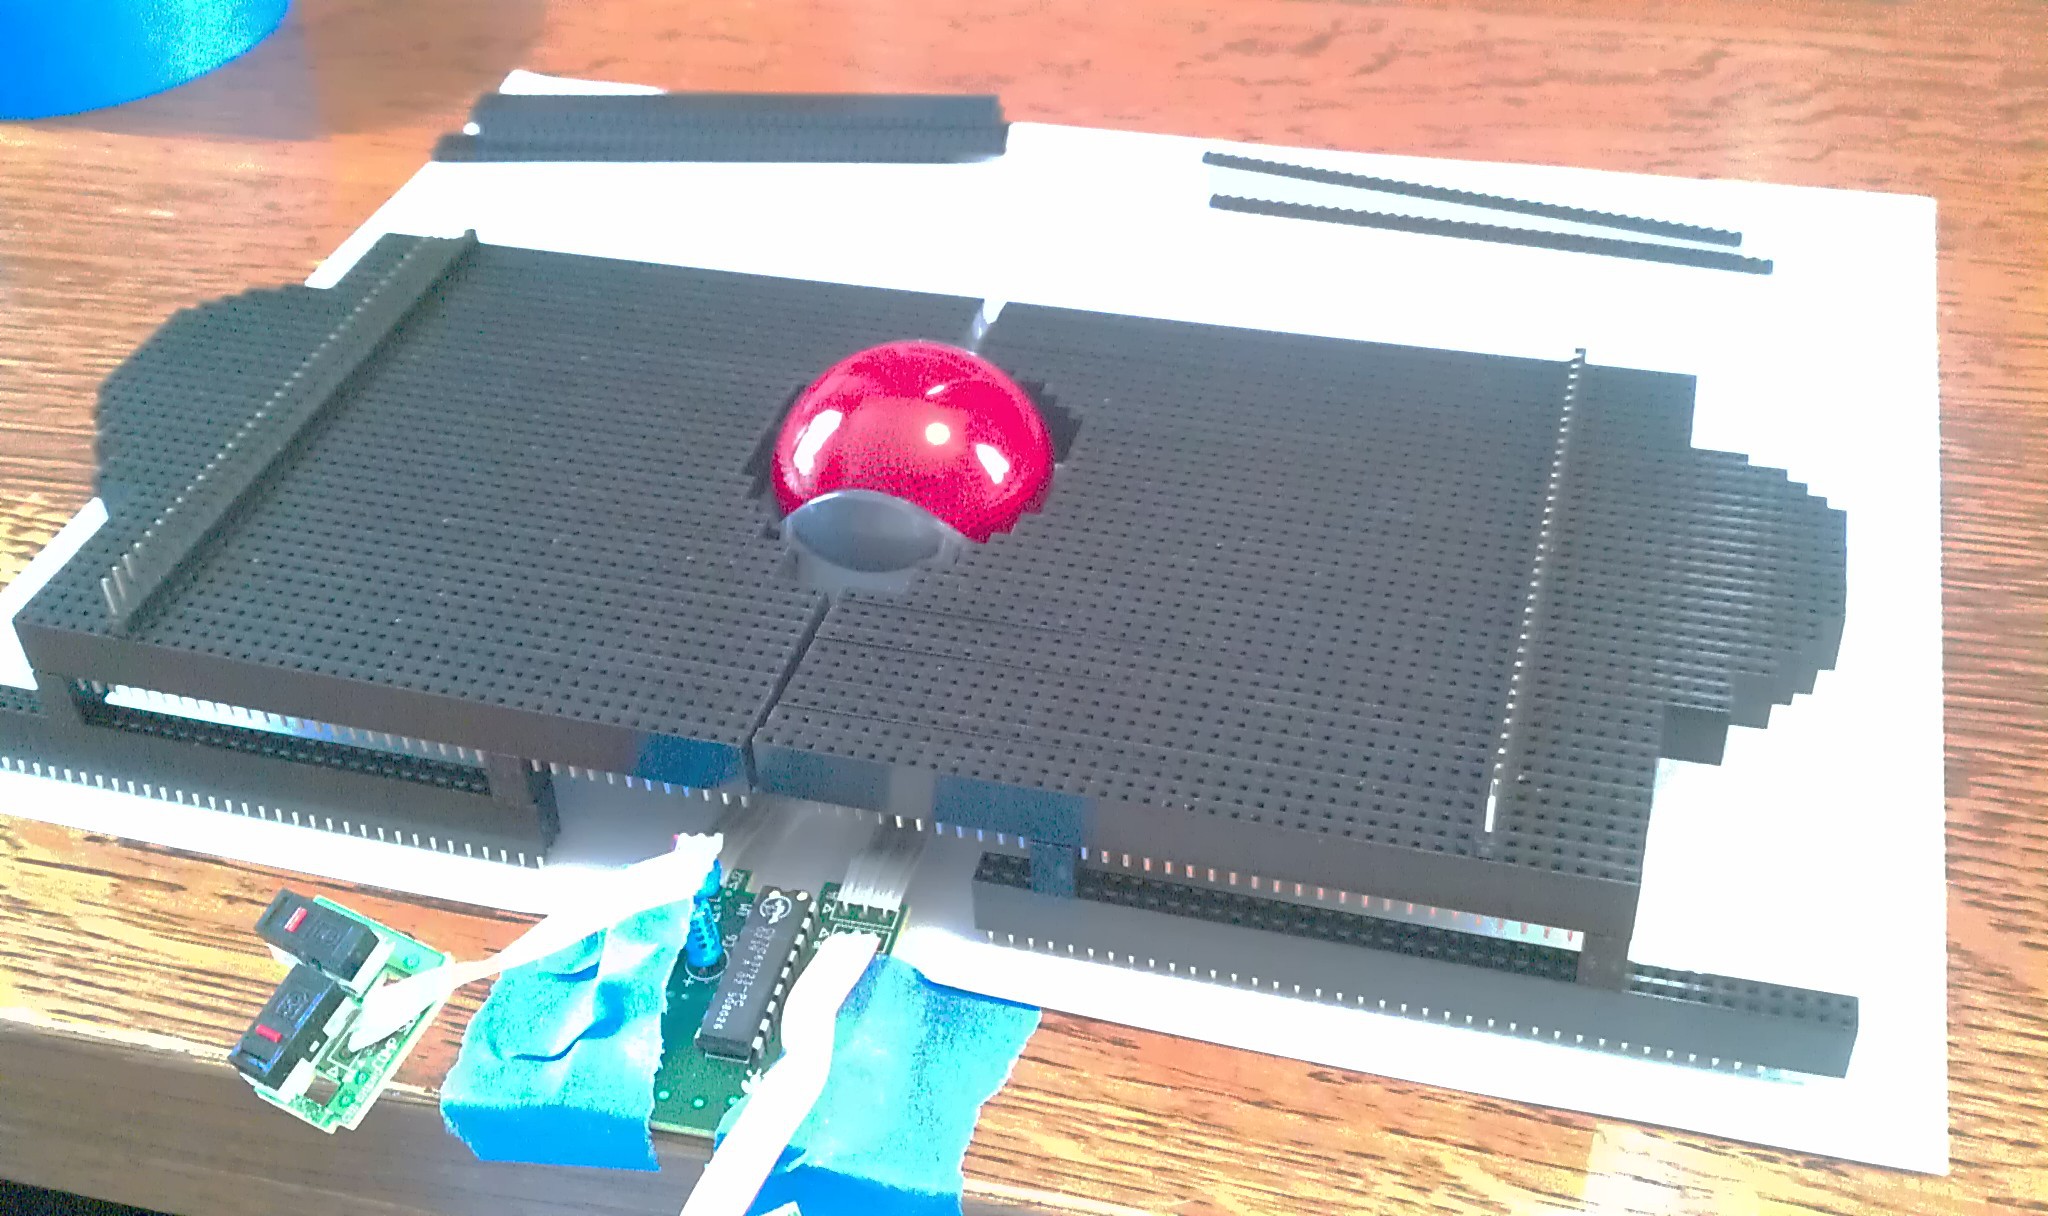
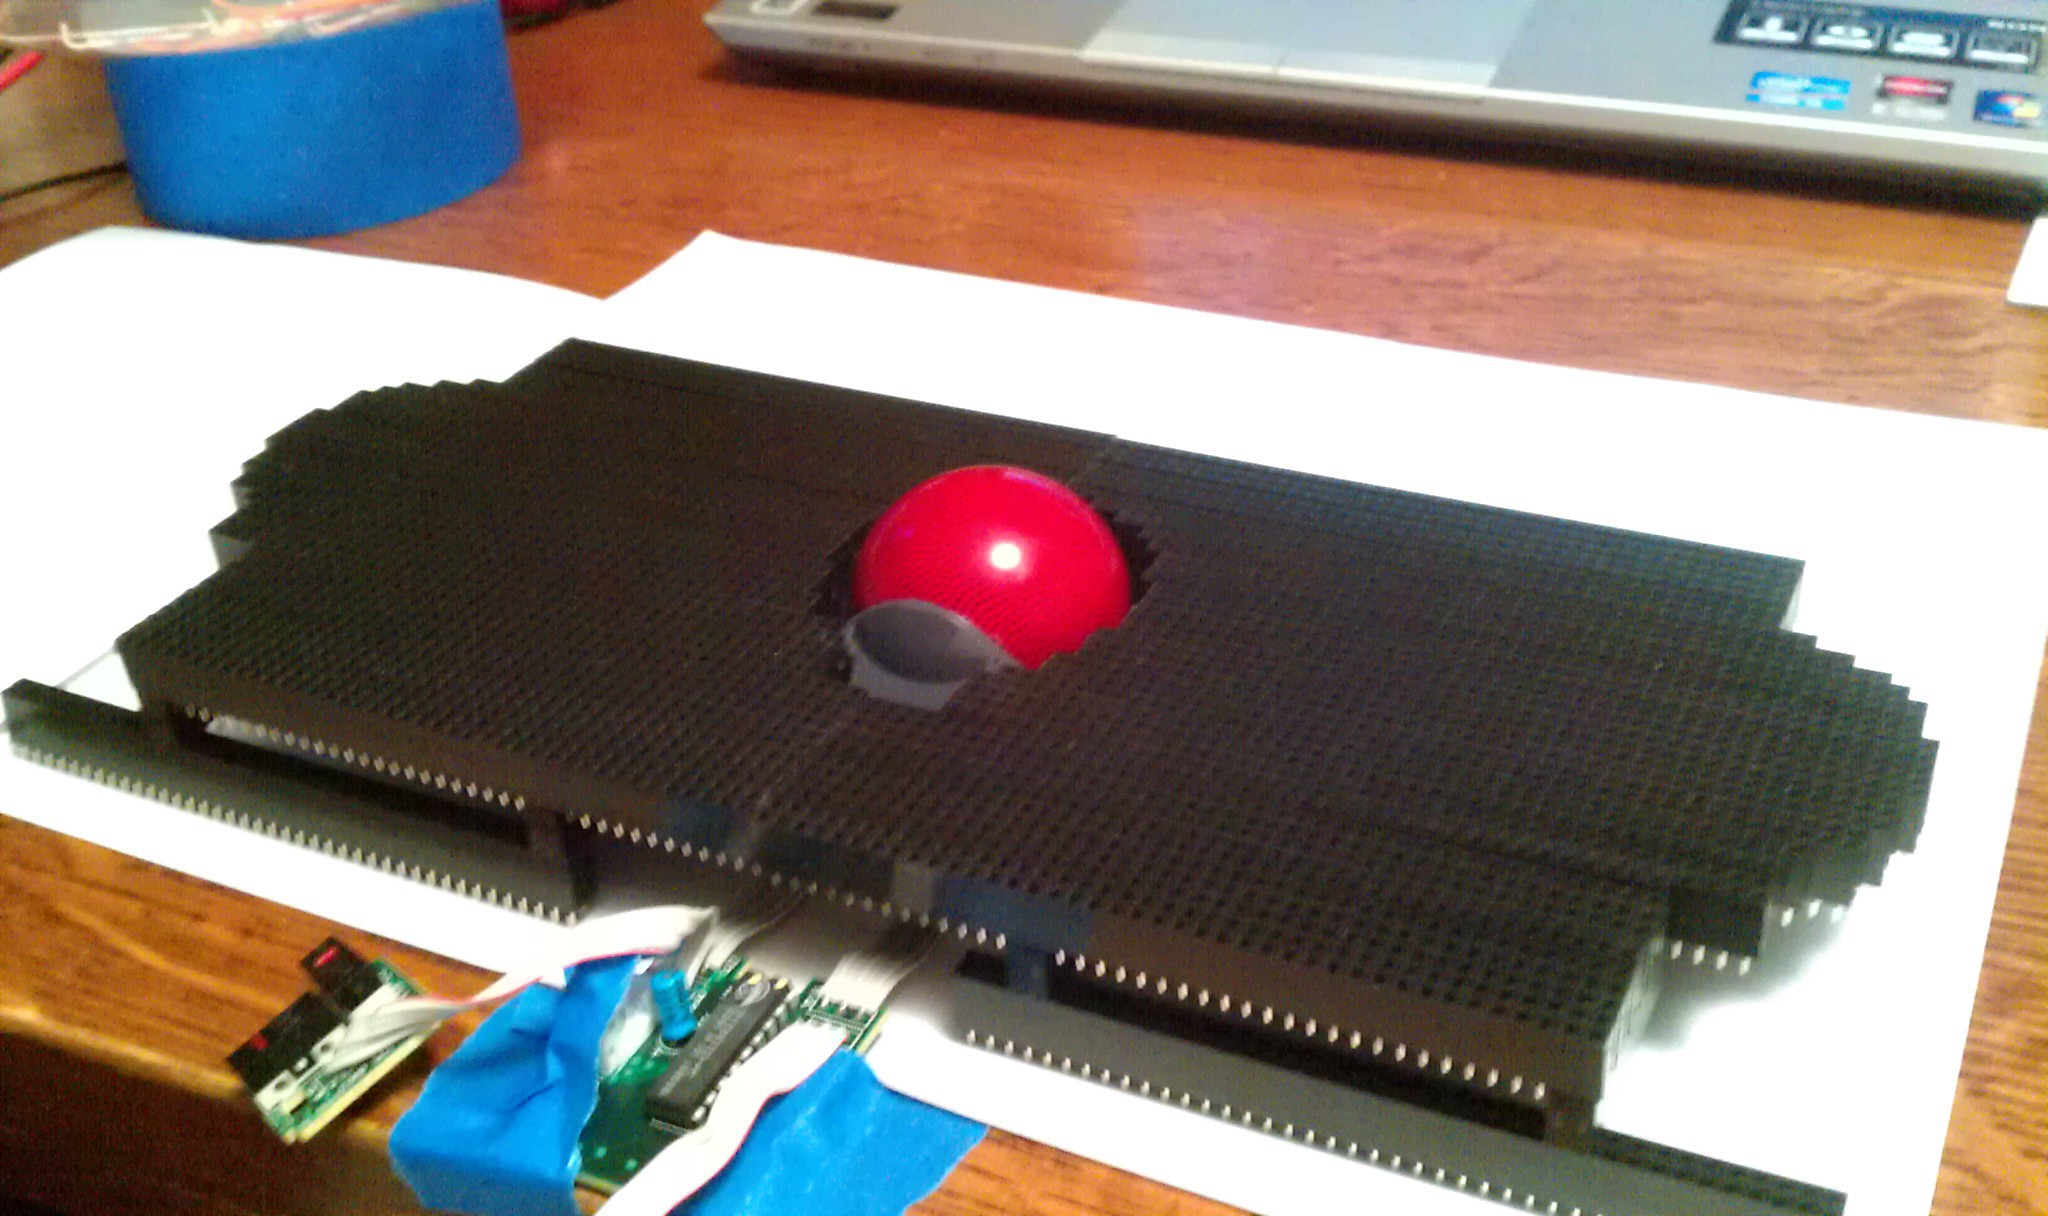
Finally make the USB Trackball controller I always needed. Inspired by Caleb's thecontrollerproject.com. A defective left hand prevents me from moving from mouse to keyboard quickly, or typing efficiently. If you ever held game controllers upside down, or crossed over left and right, you know some of the problems I have. The only mouse that works for me with minimal pain or frustration is the Logitech Trackball Marble Mouse.
Project goals:
1. Make several designs around accessibility issues.
2. Make some mistakes and learn from them.
3. Make the ultimate pointing device designed for my hand.
4. Long term goal is to build up a work area, experience and determination to contribute to thecontrollerproject.com.
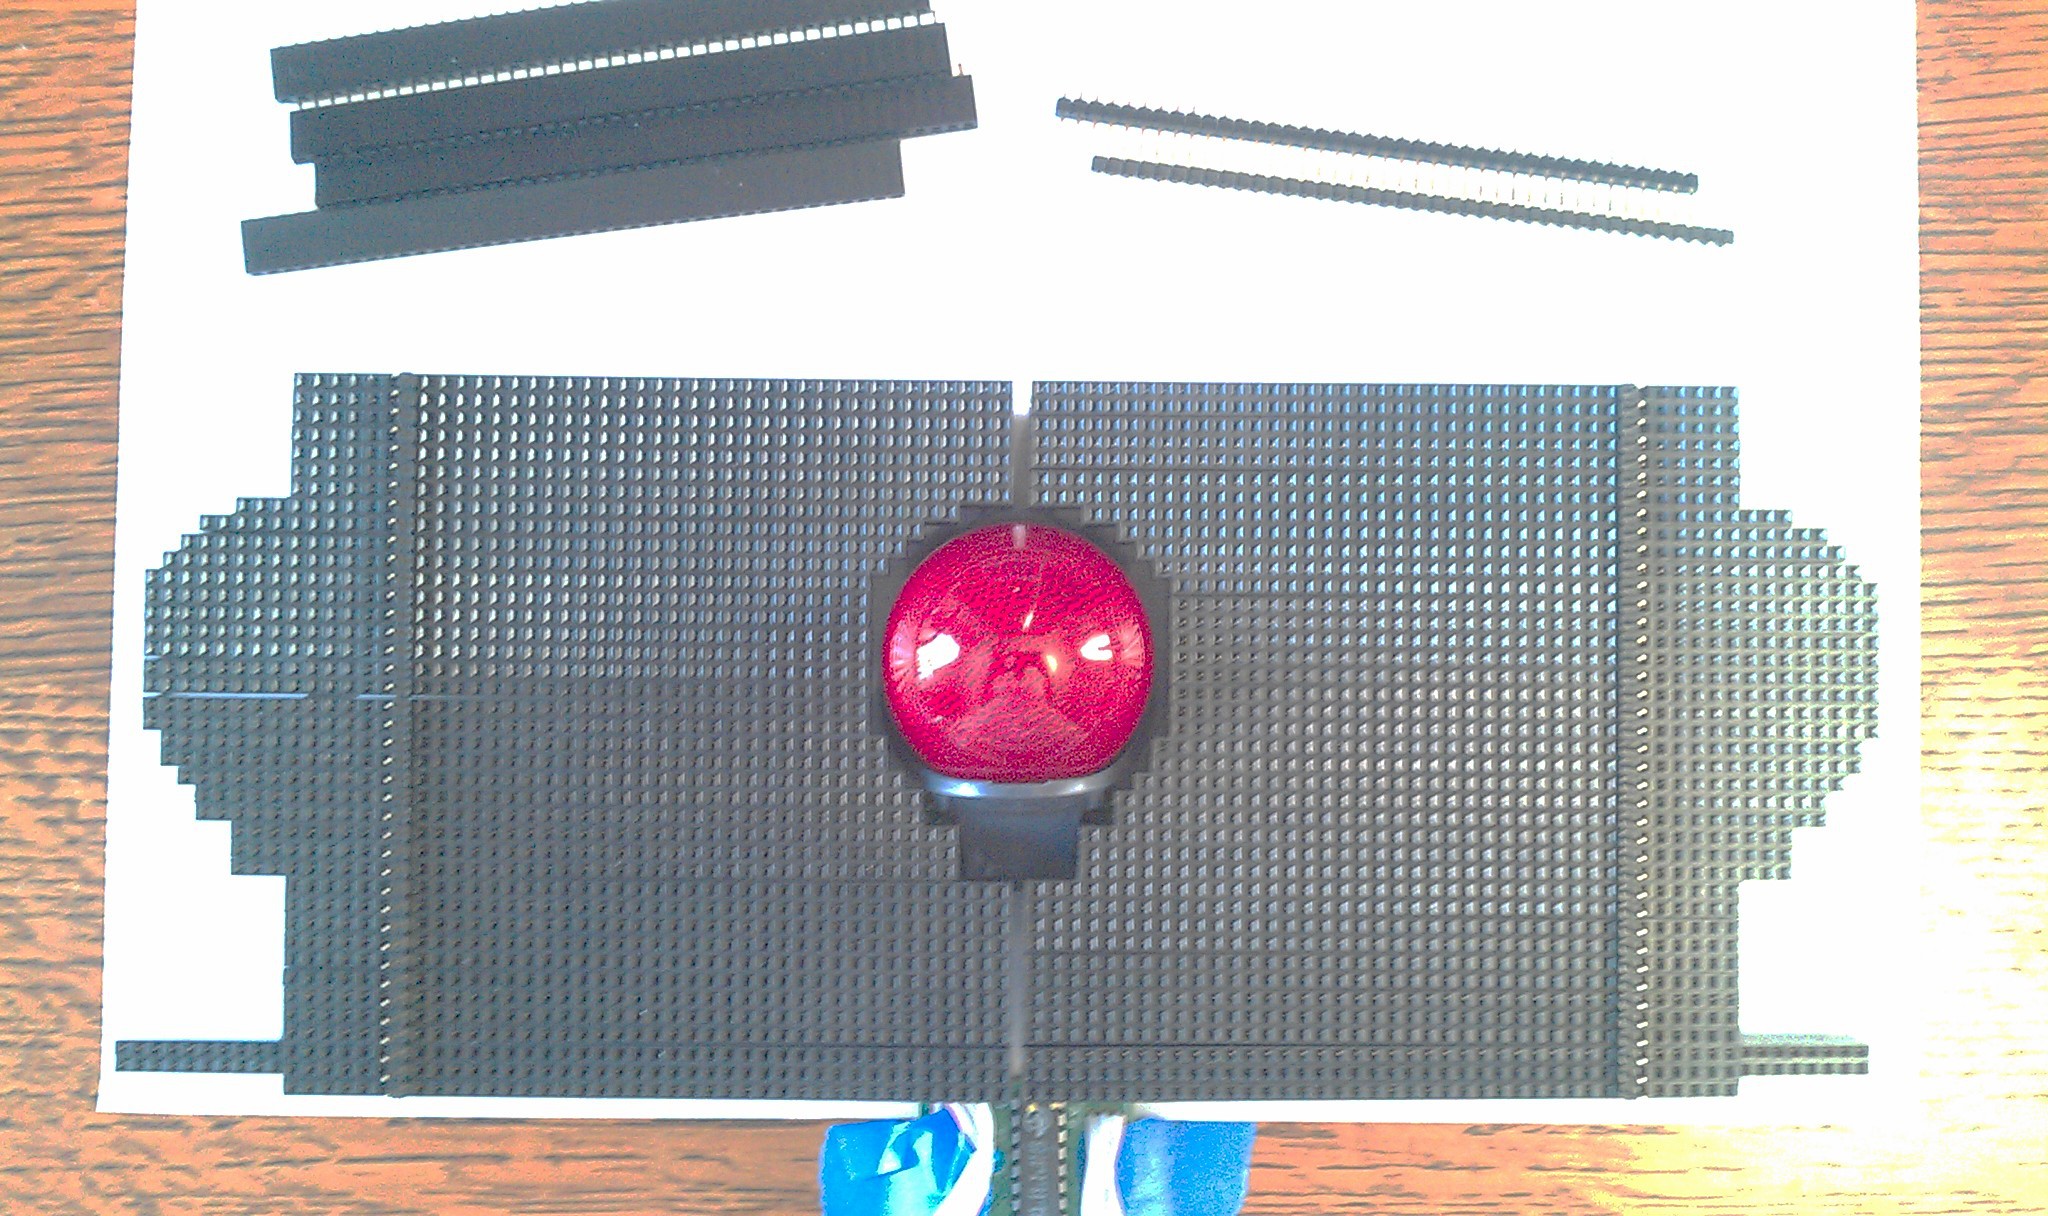
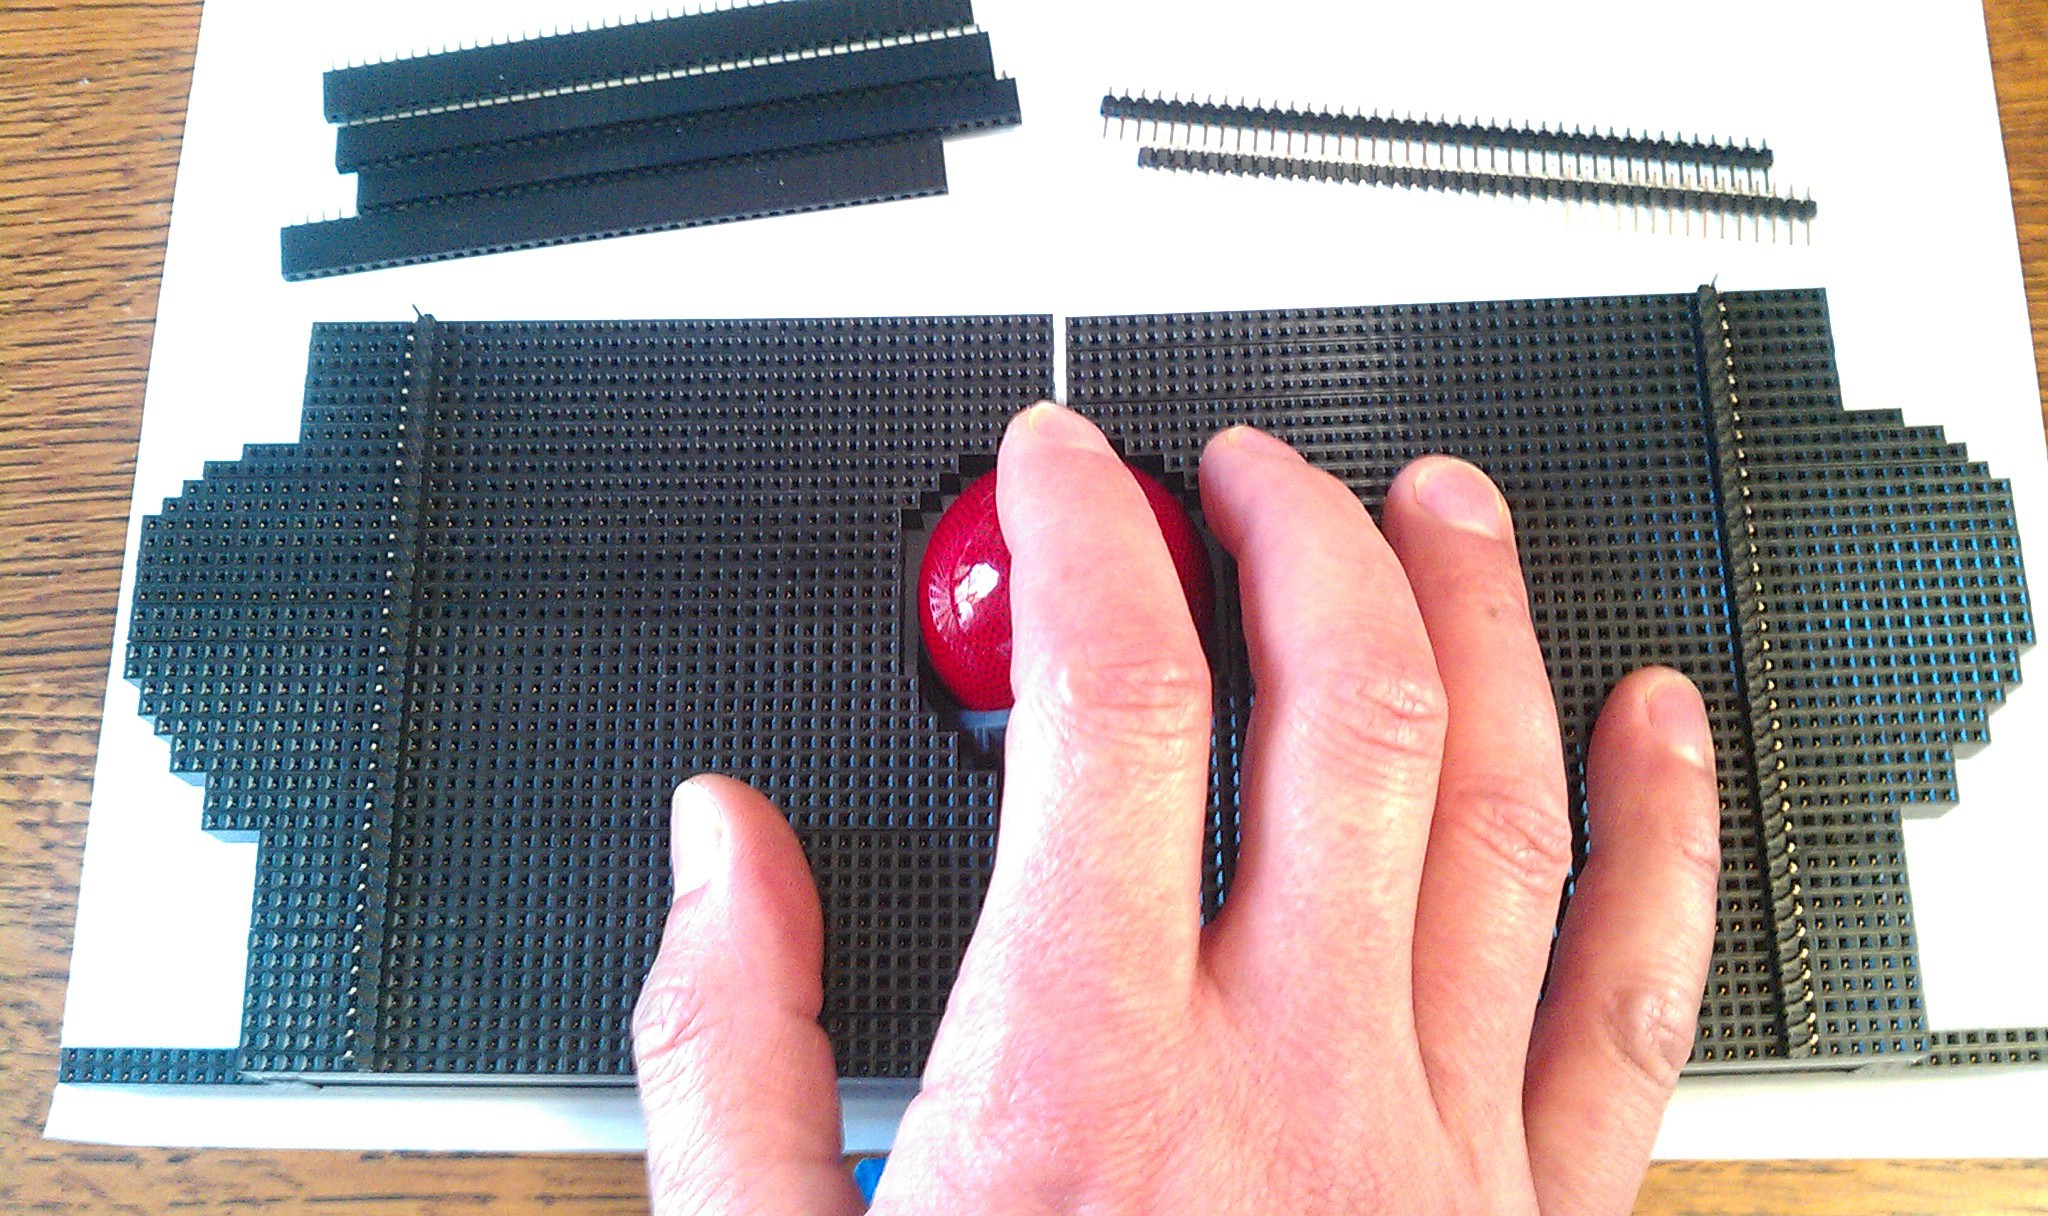
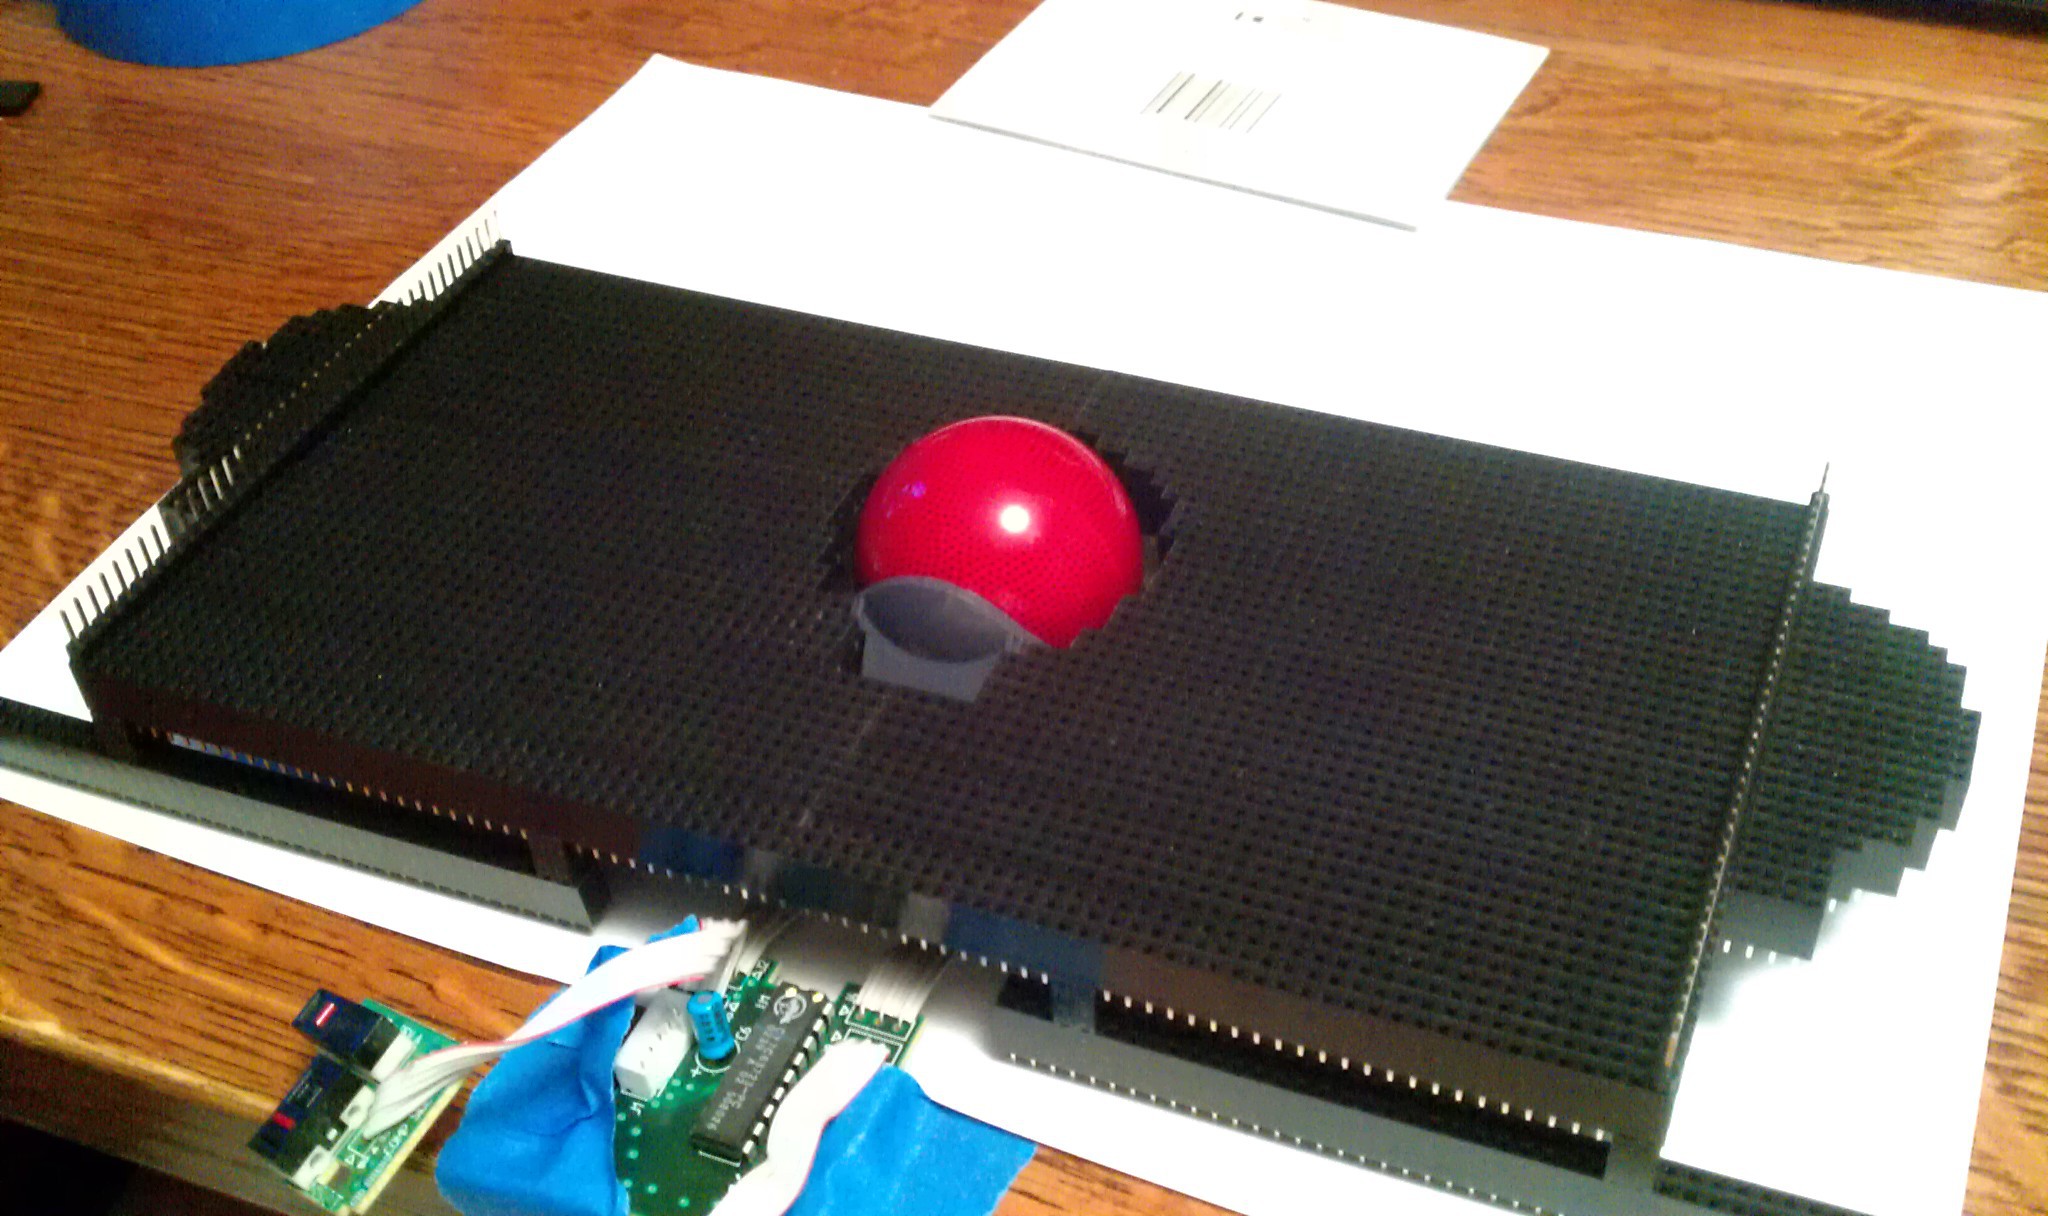
I am going to start hacking the Logitech Trackball Marble Mouse, and build around that first, then hopefully move up to more effective designs.
Wish List:
Must be cross platform, Win/Linux, No Drivers
Teensy USB Development Board
Movable buttons for different finger positions
Programmable buttons and keys
Ergonomic
Hand molded
Soft surfaces
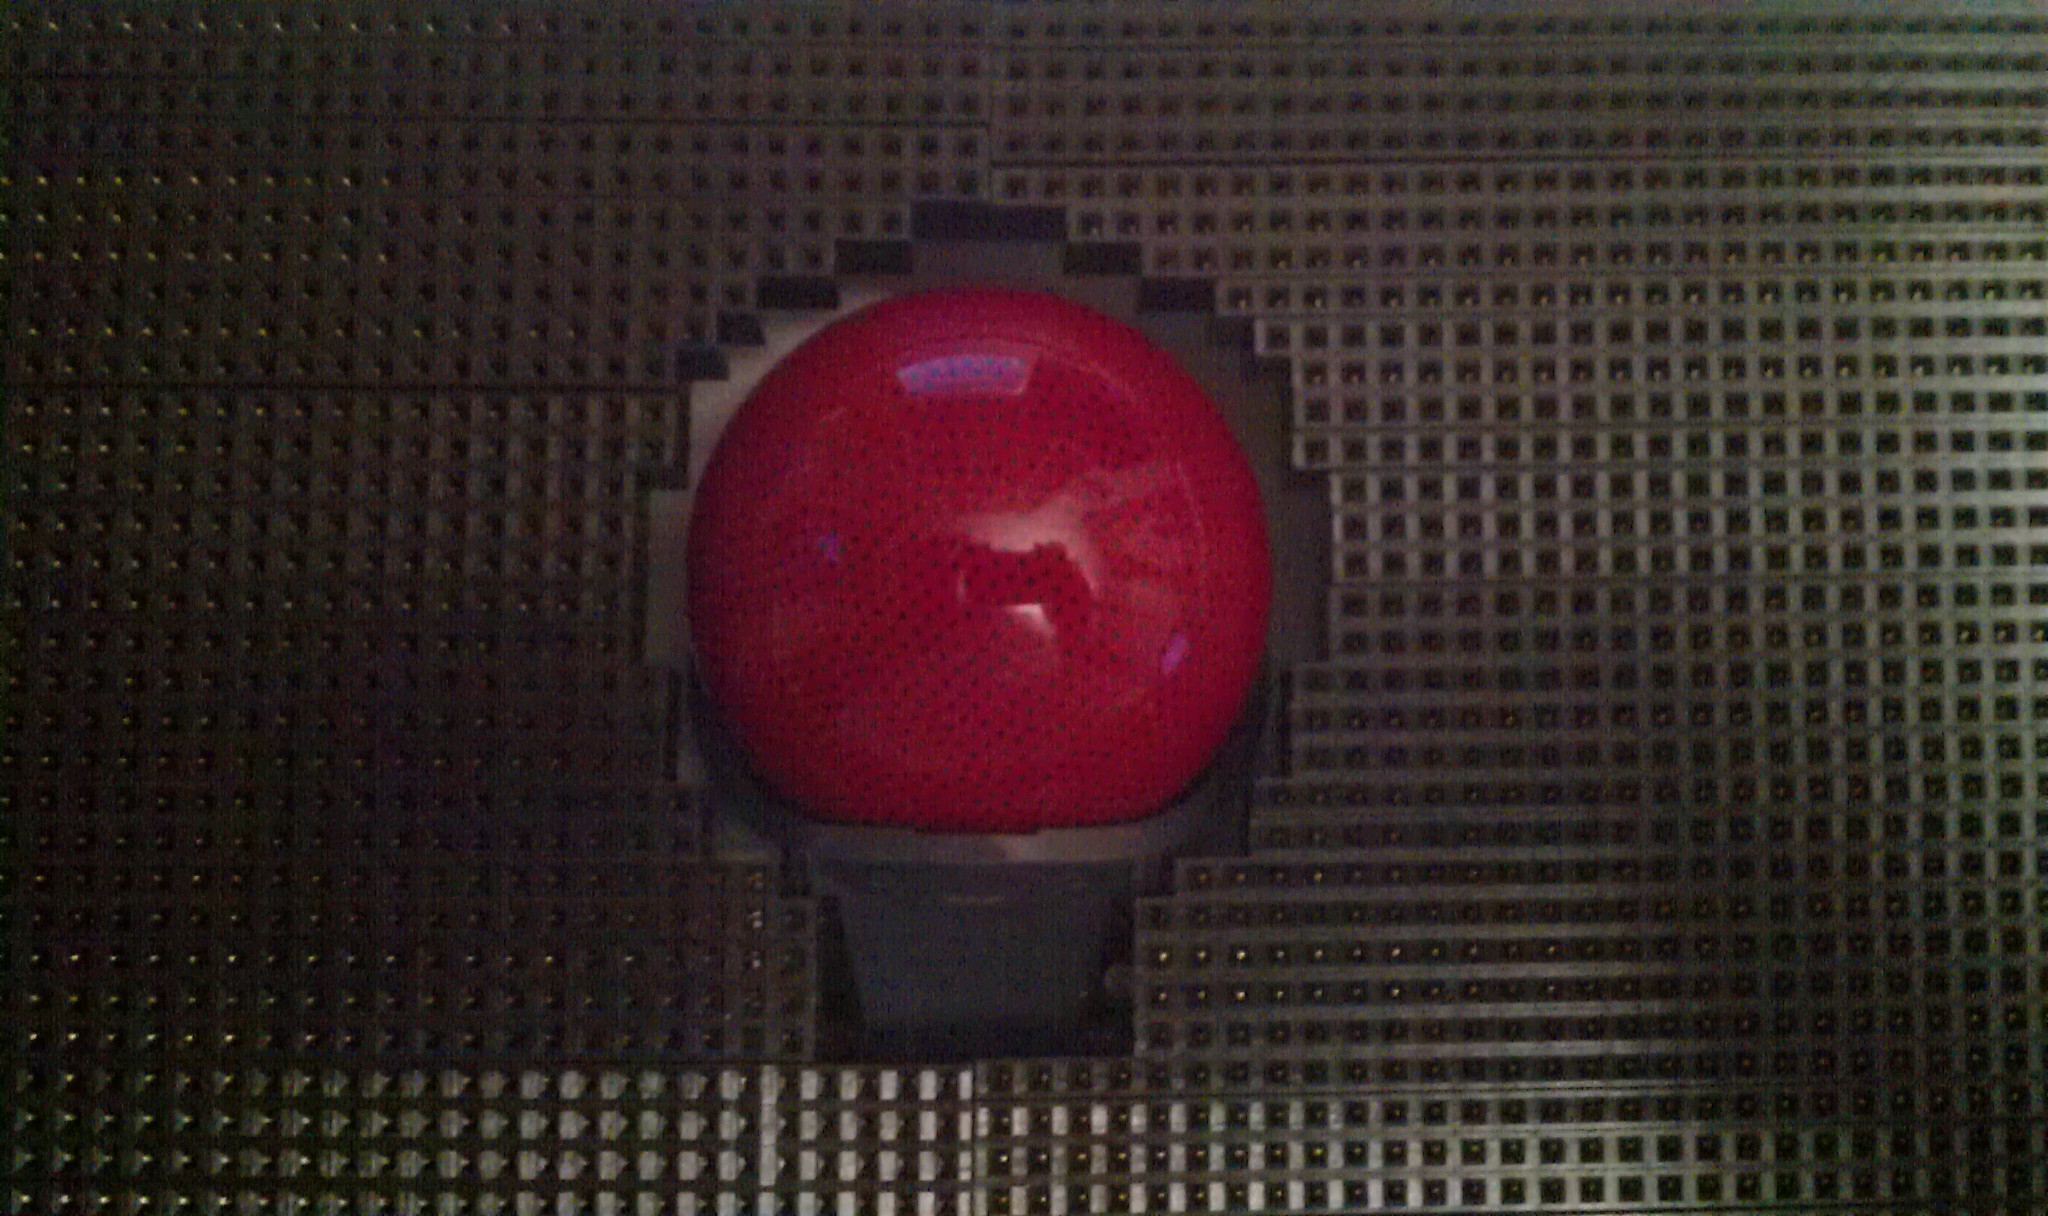
Logitech Trackball Marble Mouse:
Likes:
Smooth ball control and exact positioning.
Mouse movement, left, and right buttons do not require
drivers.
Screen position stays intact when letting go and grabbing
device.
Dislikes:
Shape does not fit my hand well
Position of the third and fourth buttons
No wheel
No middle button
No Linux software support
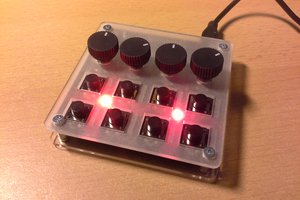
My Button Wish List:
Left Side:
Left click
Left click Open in New Tab (=Ctrl+Left click)
Left click Drag Lock
Right Side:
Right click
Enter
Copy
Paste
Backspace
Middle button
Scroll wheel
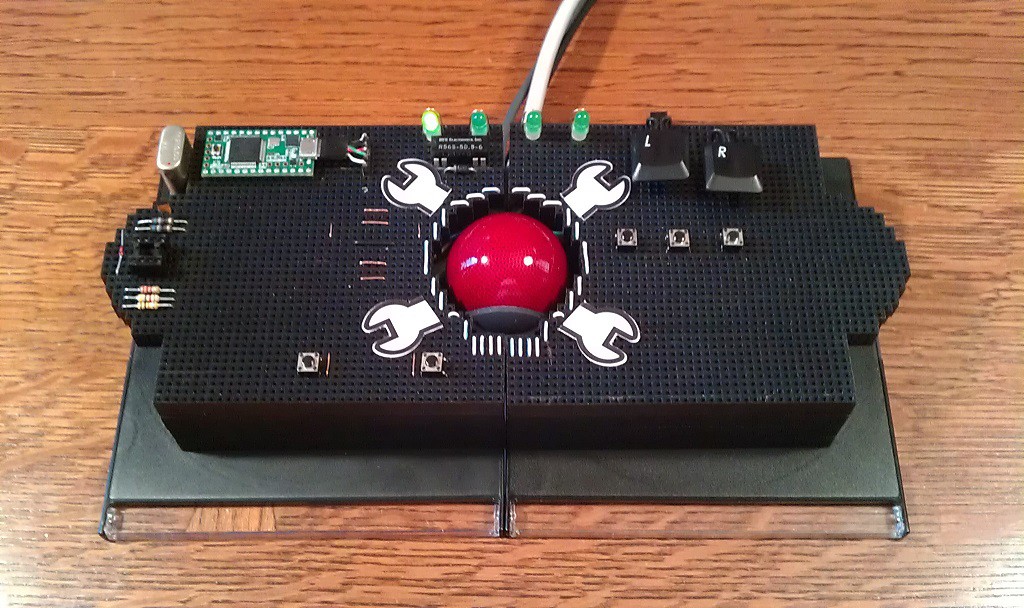
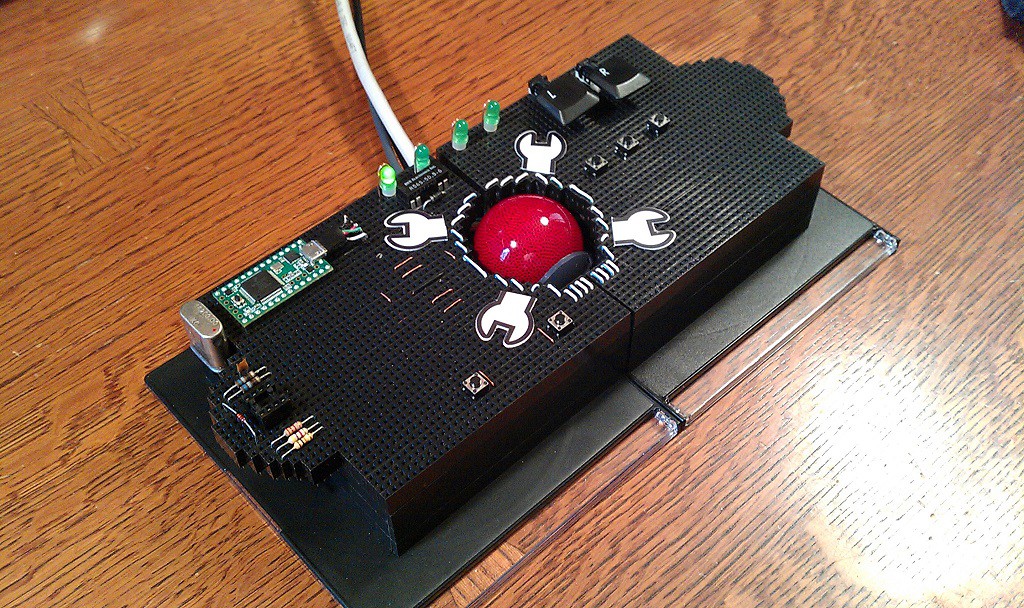
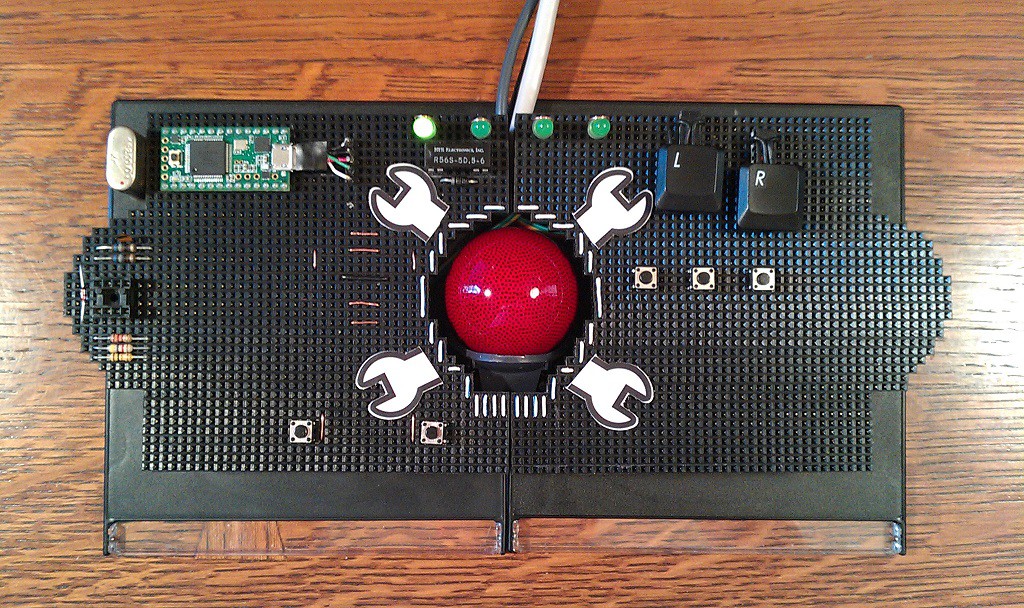
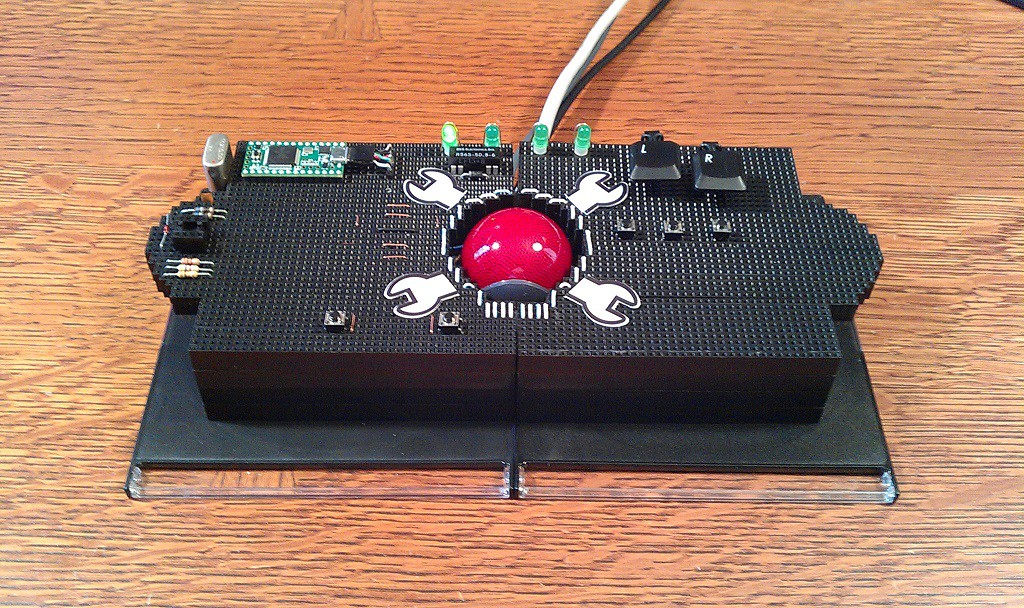
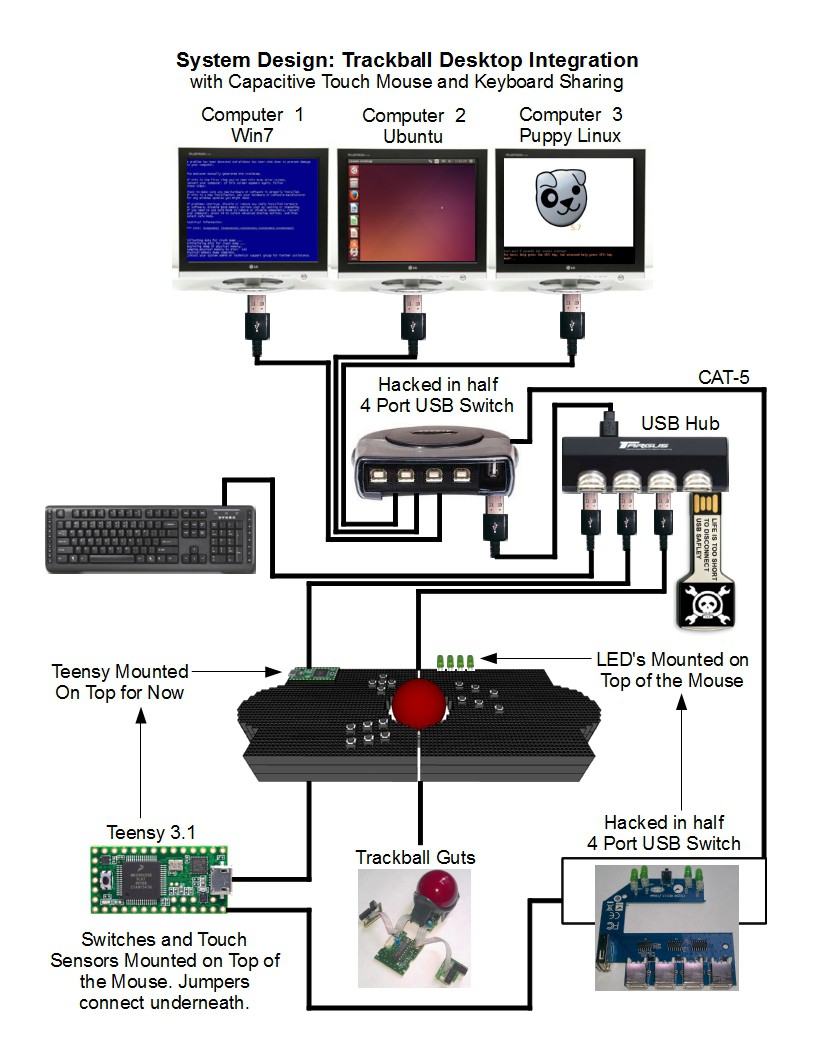
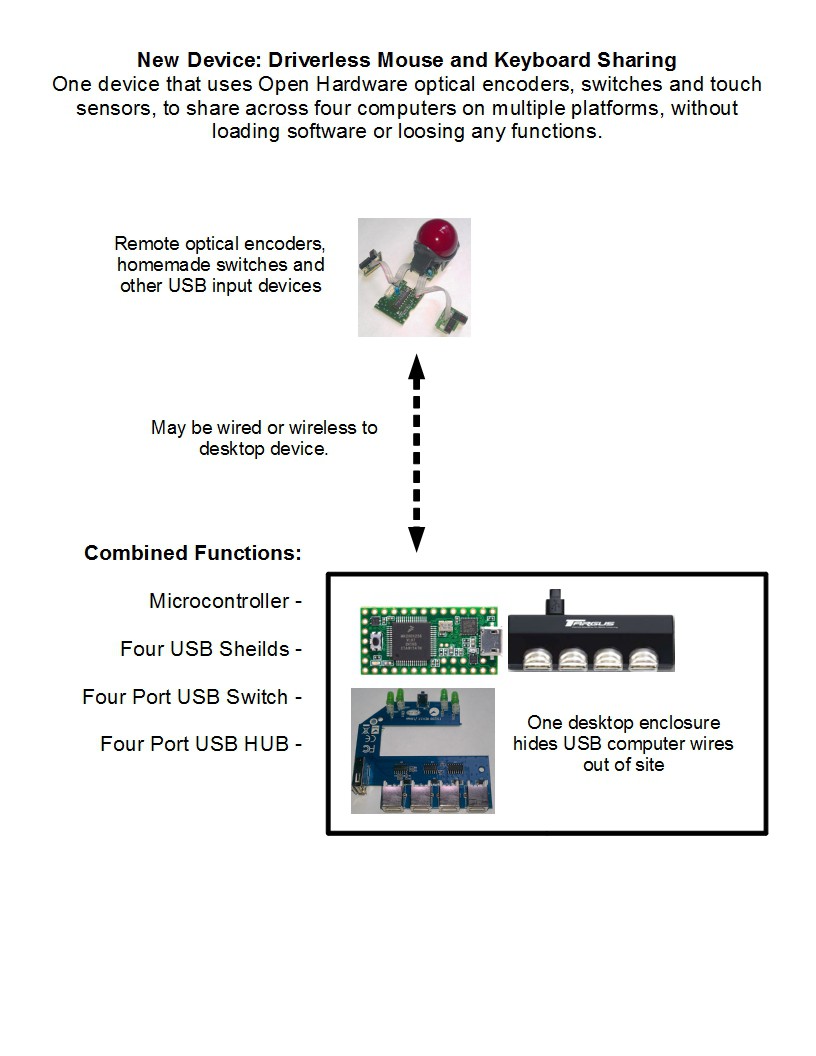
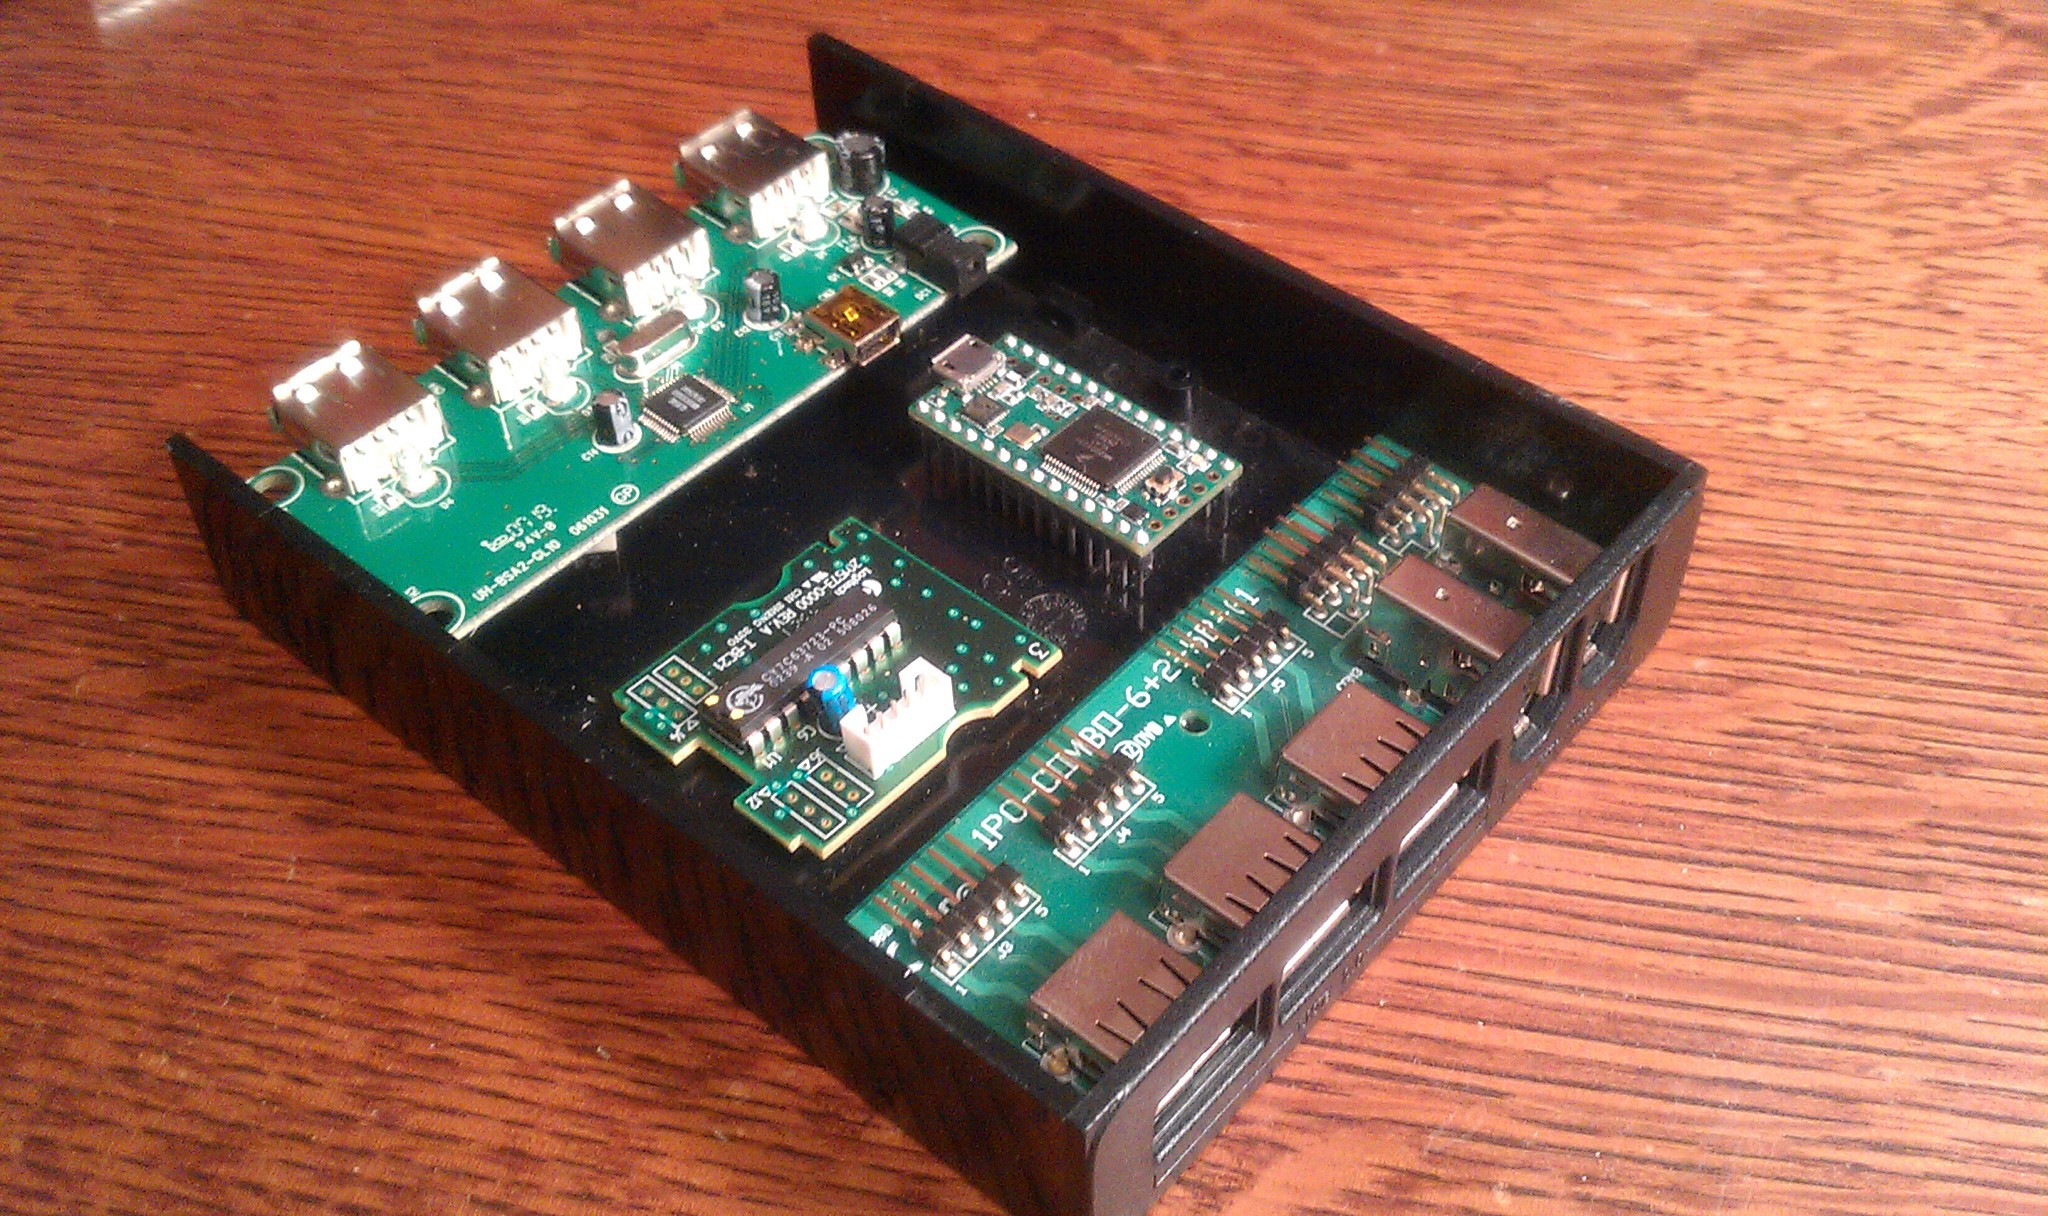
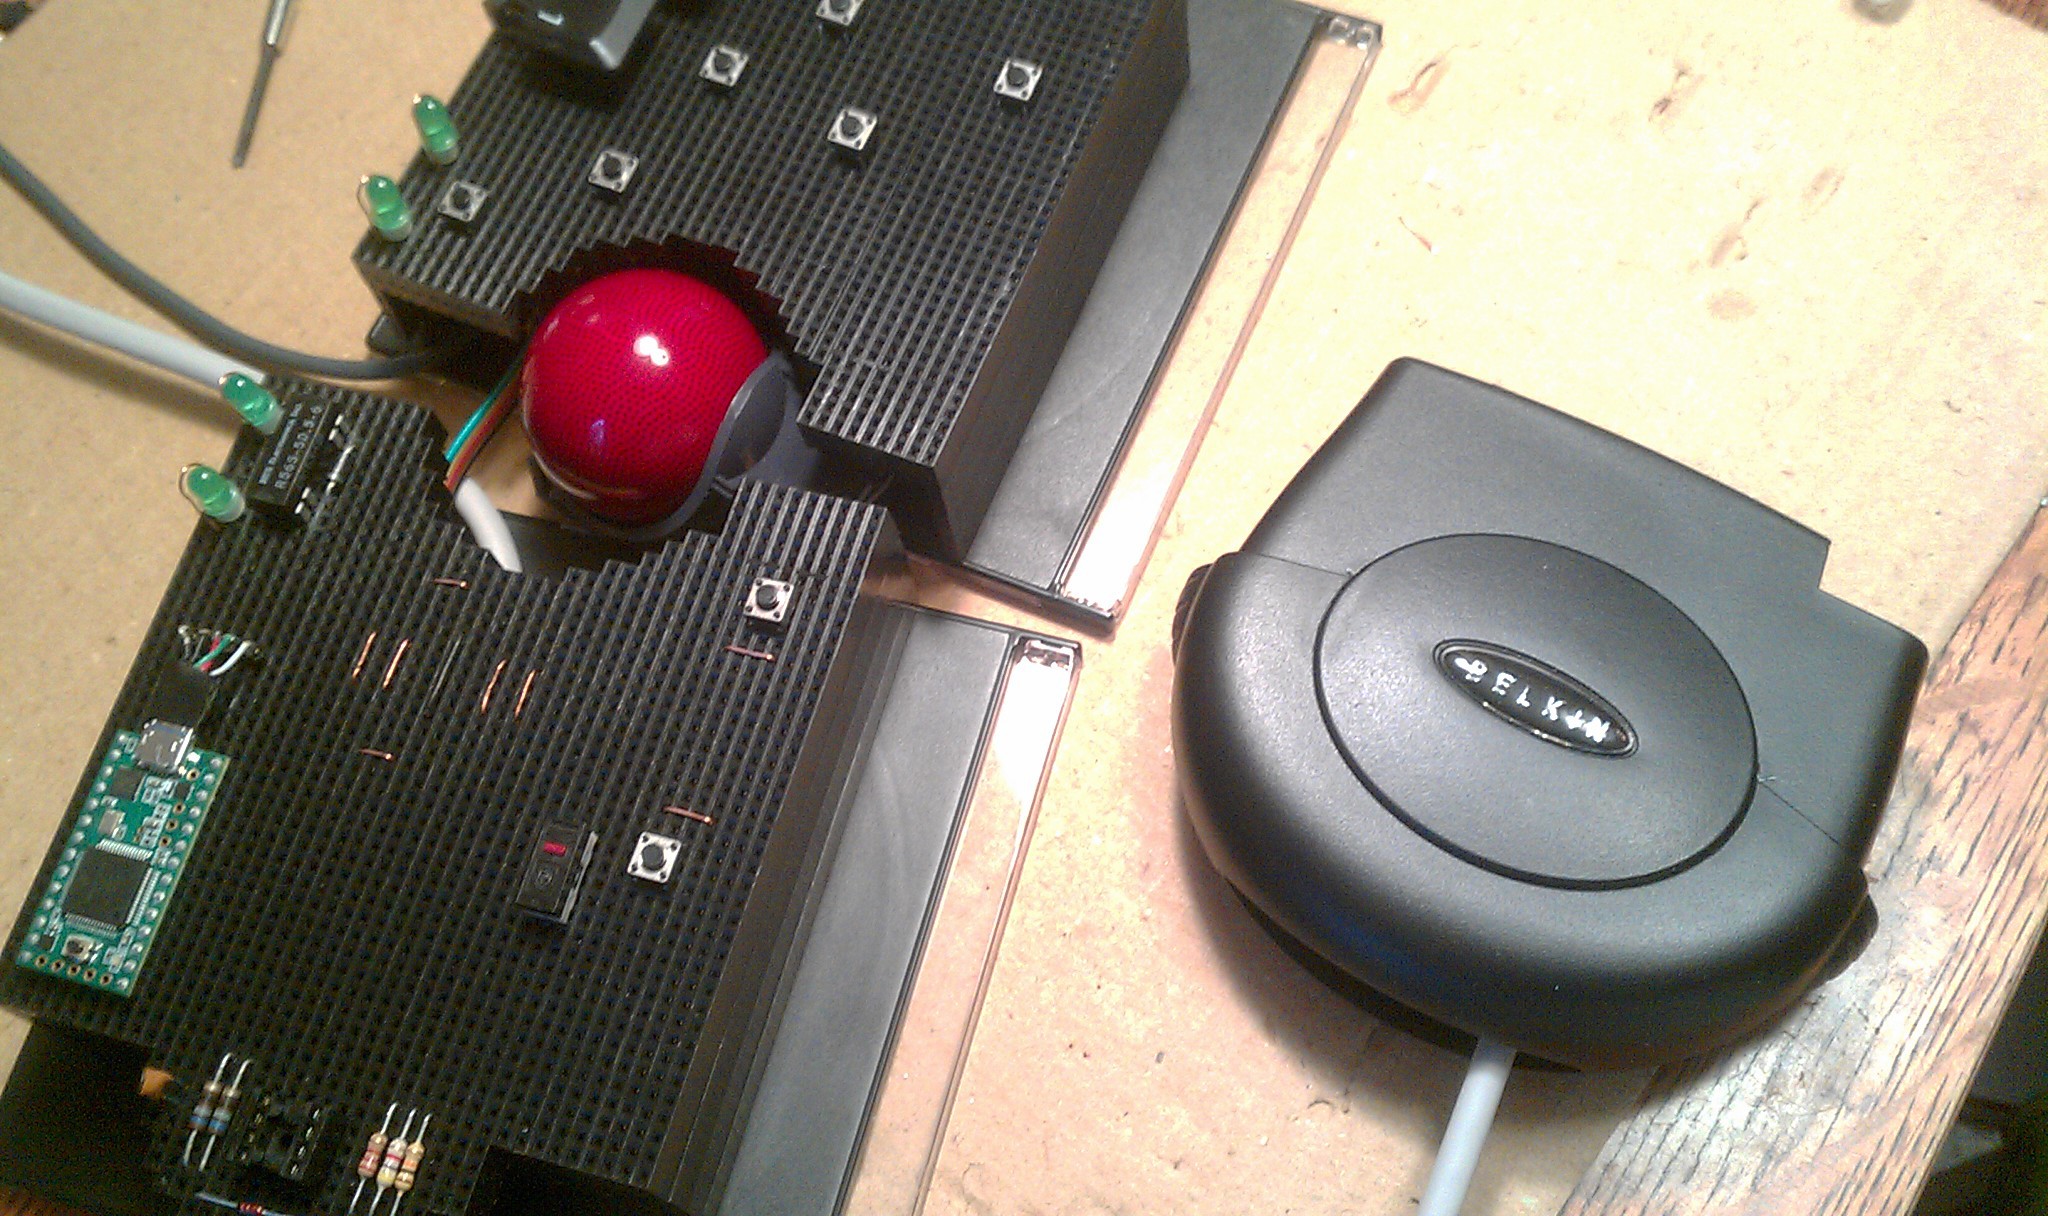
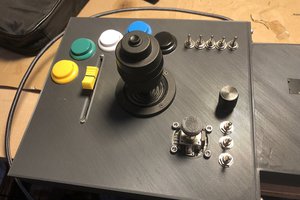
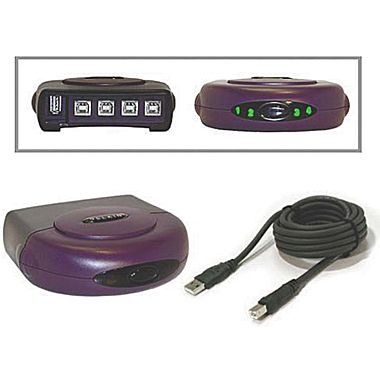 I hacked
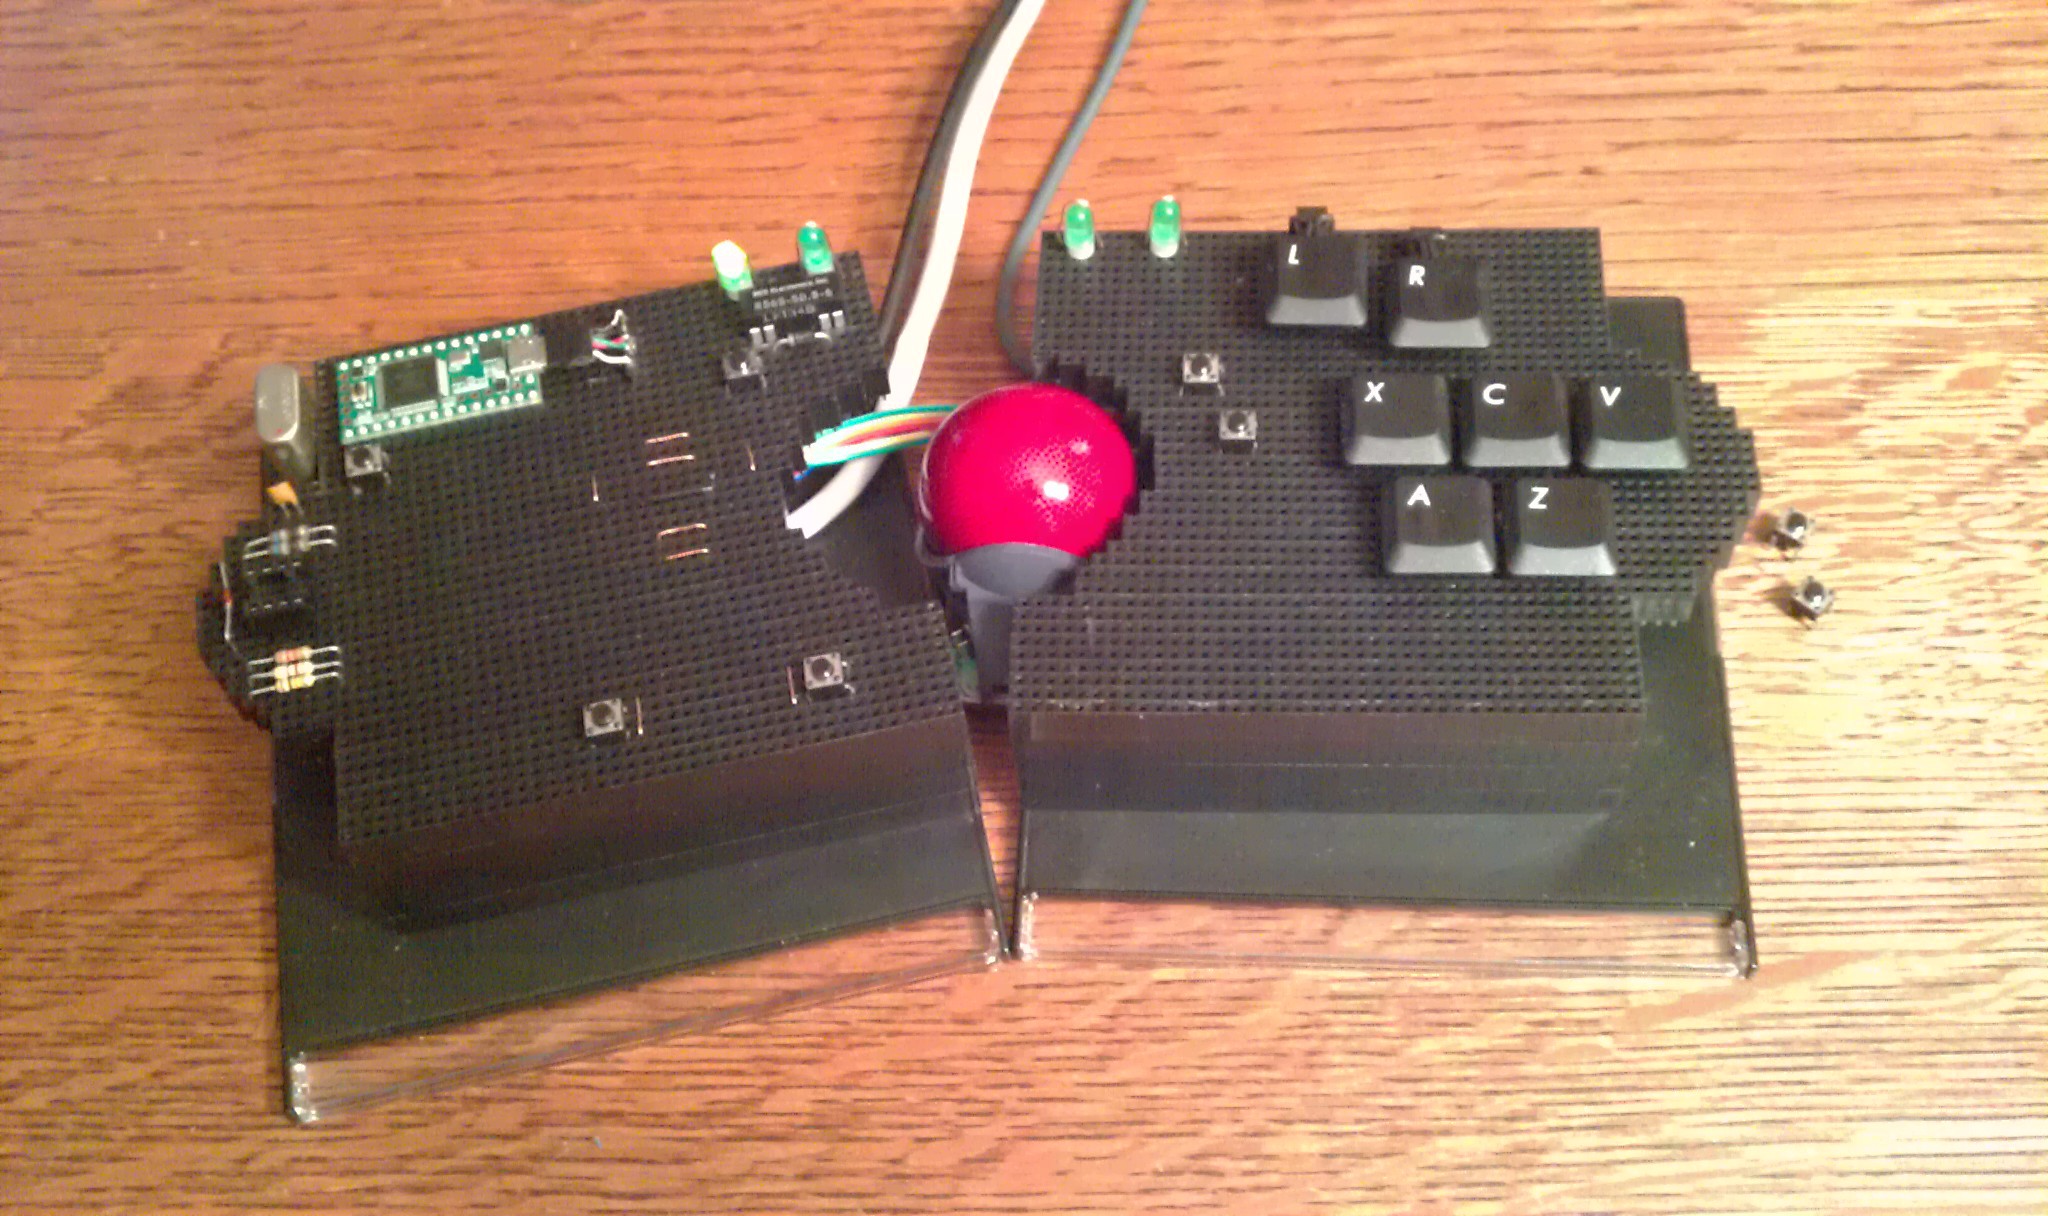
the USB switch into a hardware solution by having the Teensy
Microcontroller do the switching for me.
I hacked
the USB switch into a hardware solution by having the Teensy
Microcontroller do the switching for me.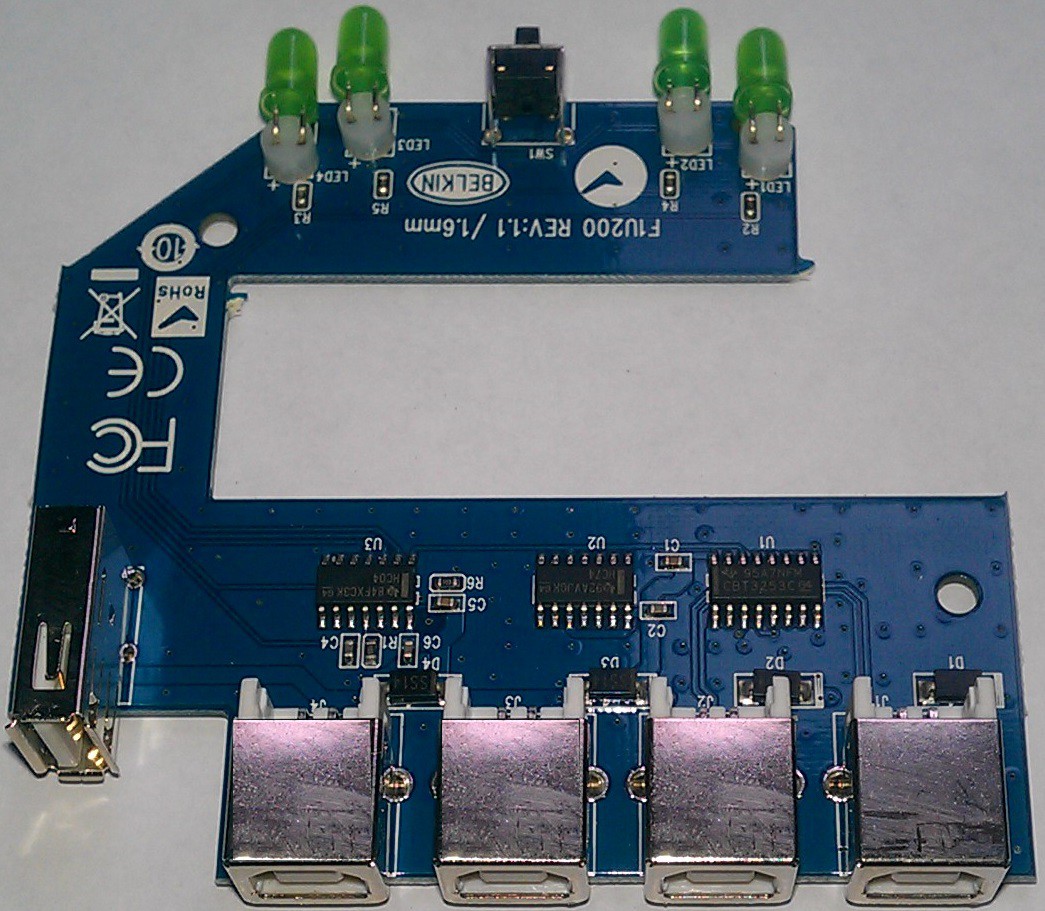 If you cut the board in two, I would want the lower half behind the desk, out of sight with all the wires. The upper half looks like it needs a hacking onto the top of my trackball!
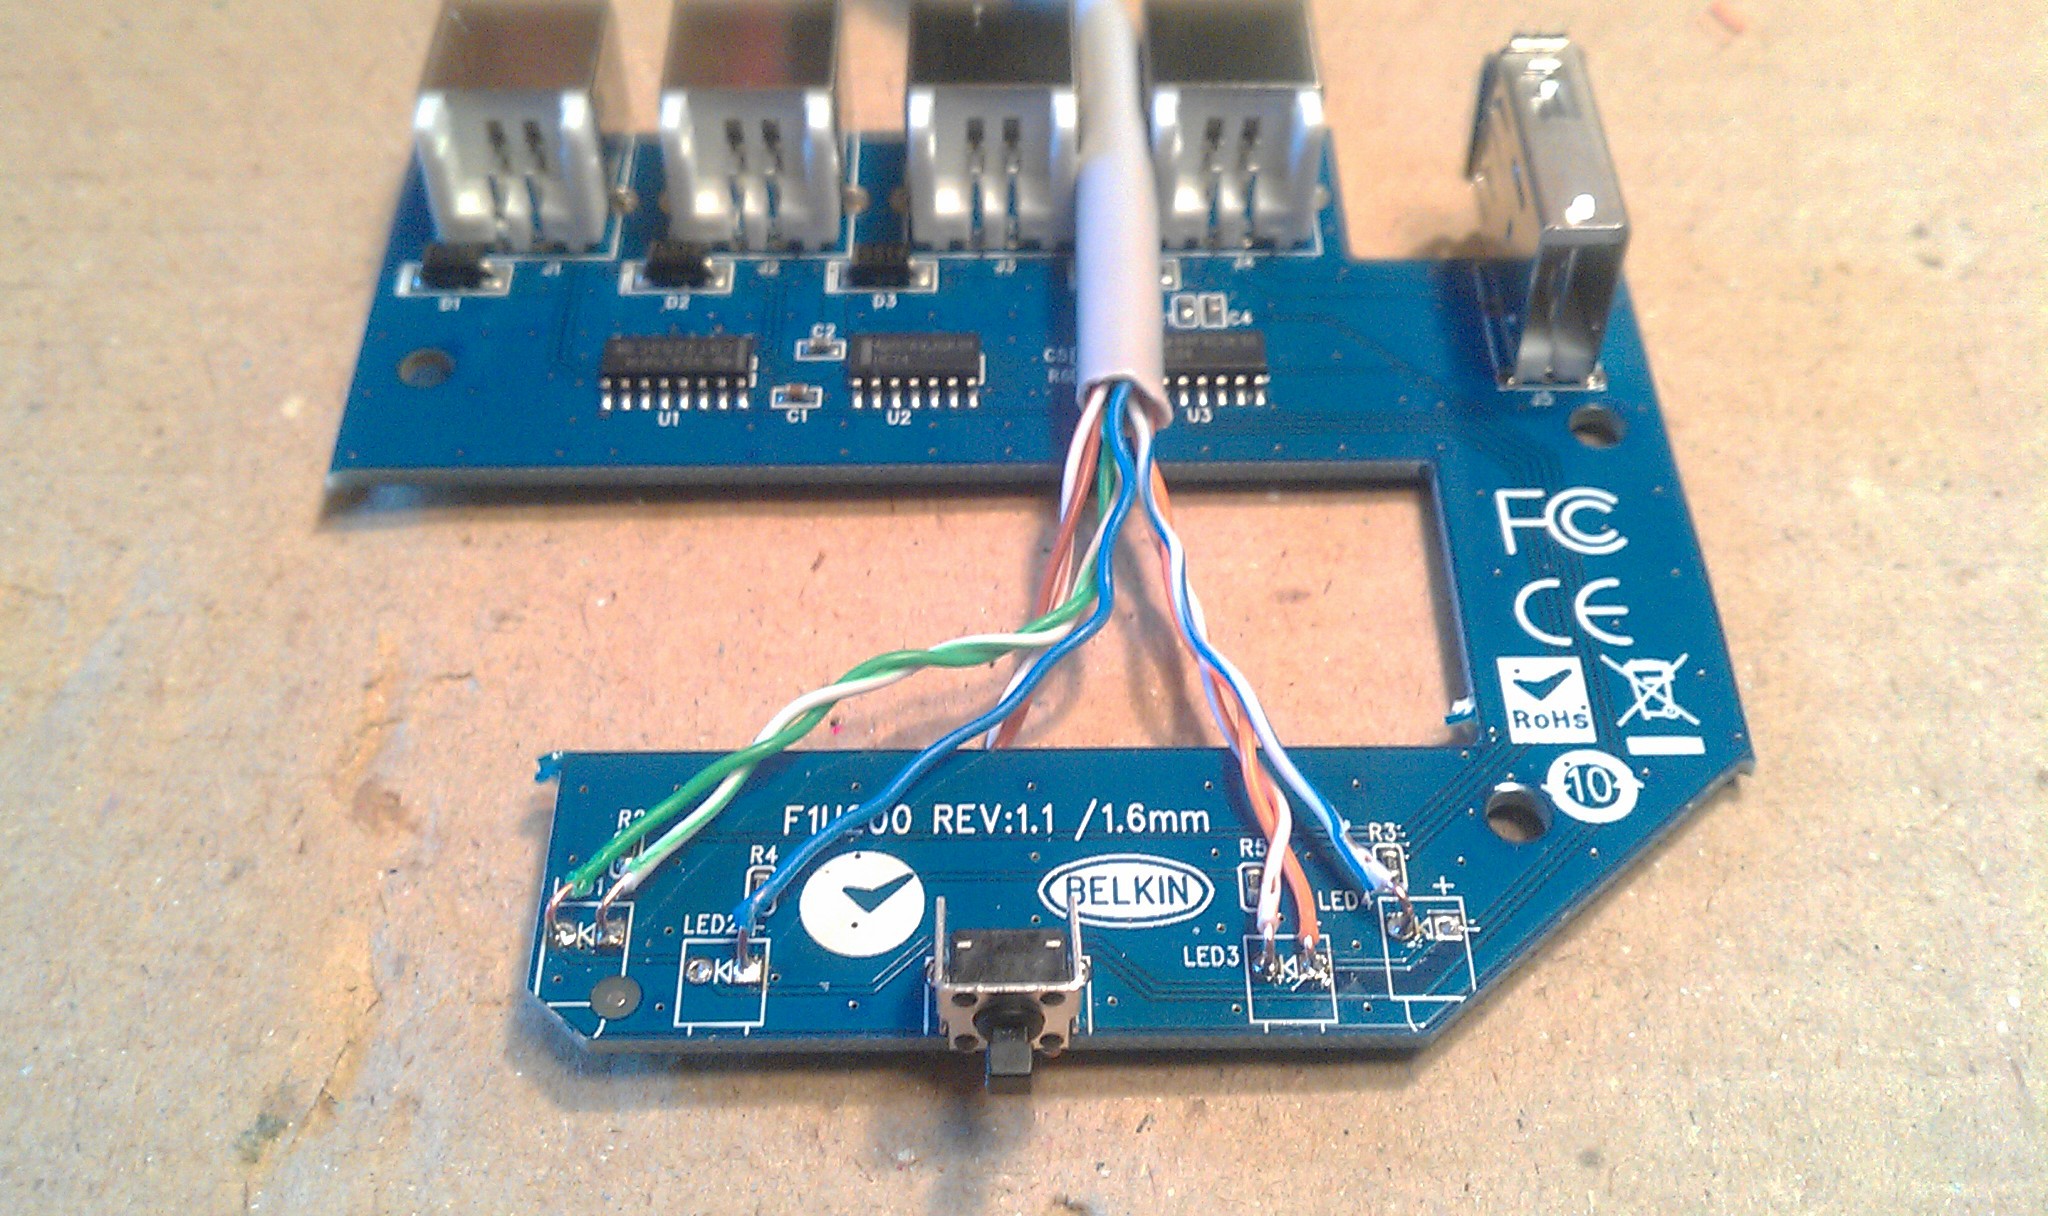 I tested the circuit with a multimeter and the wiring was confusing at first because the left pair of LED's connect anodes to ground, and the right pair connect cathodes to the same ground. To keep it simple, and to utilize the built in resistors...
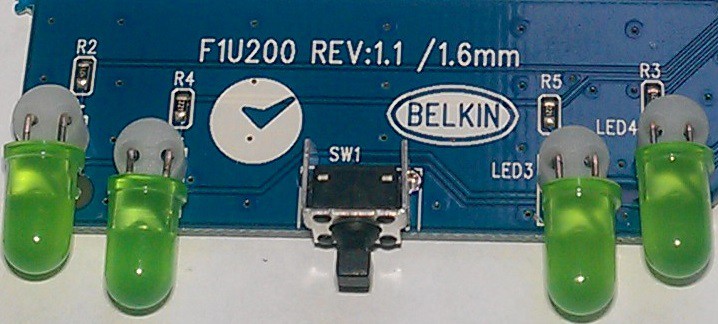 ... I kept the circuit the same through the CAT-5 wires:
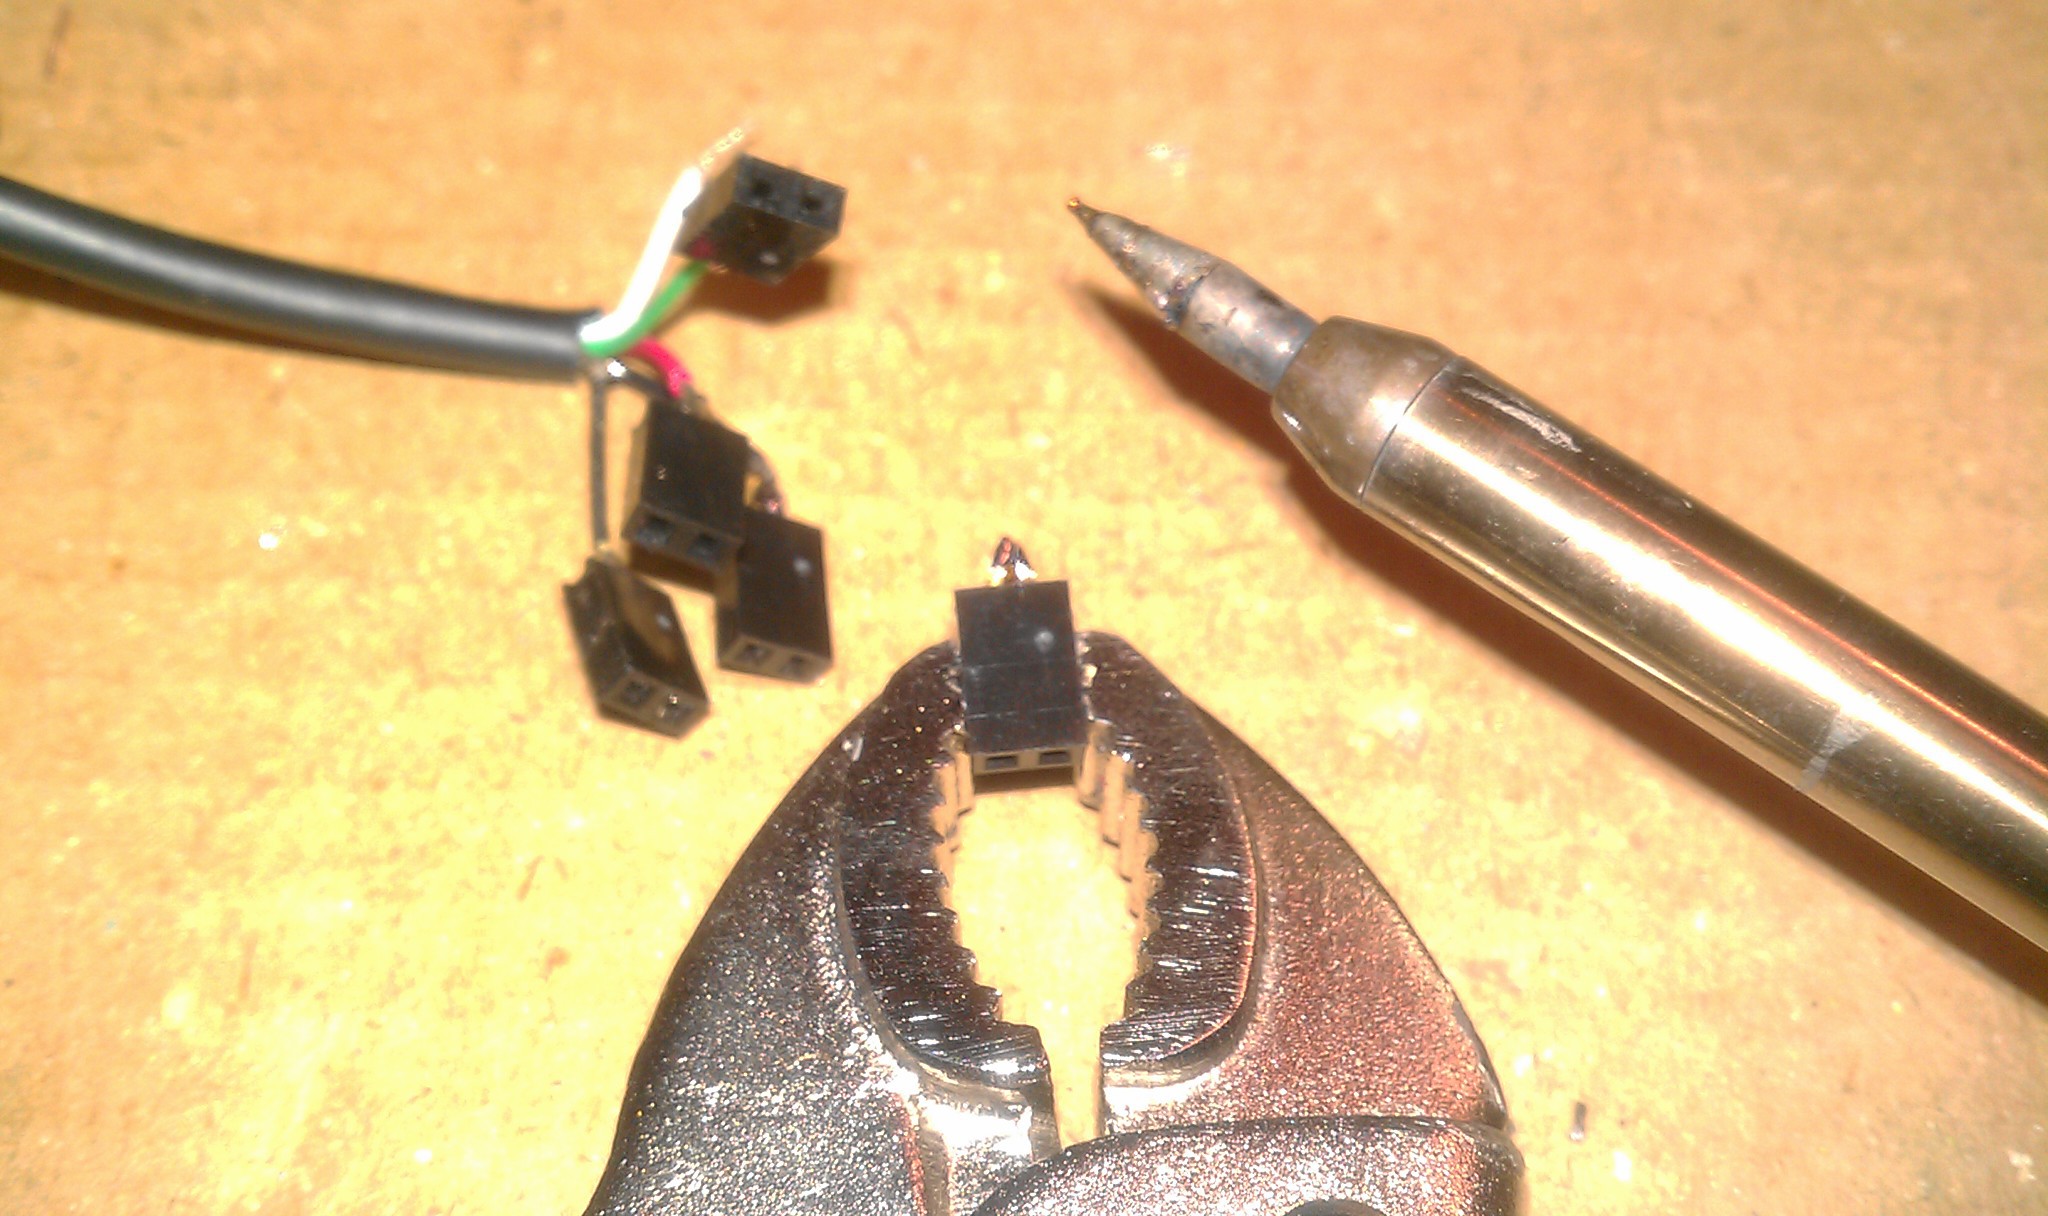
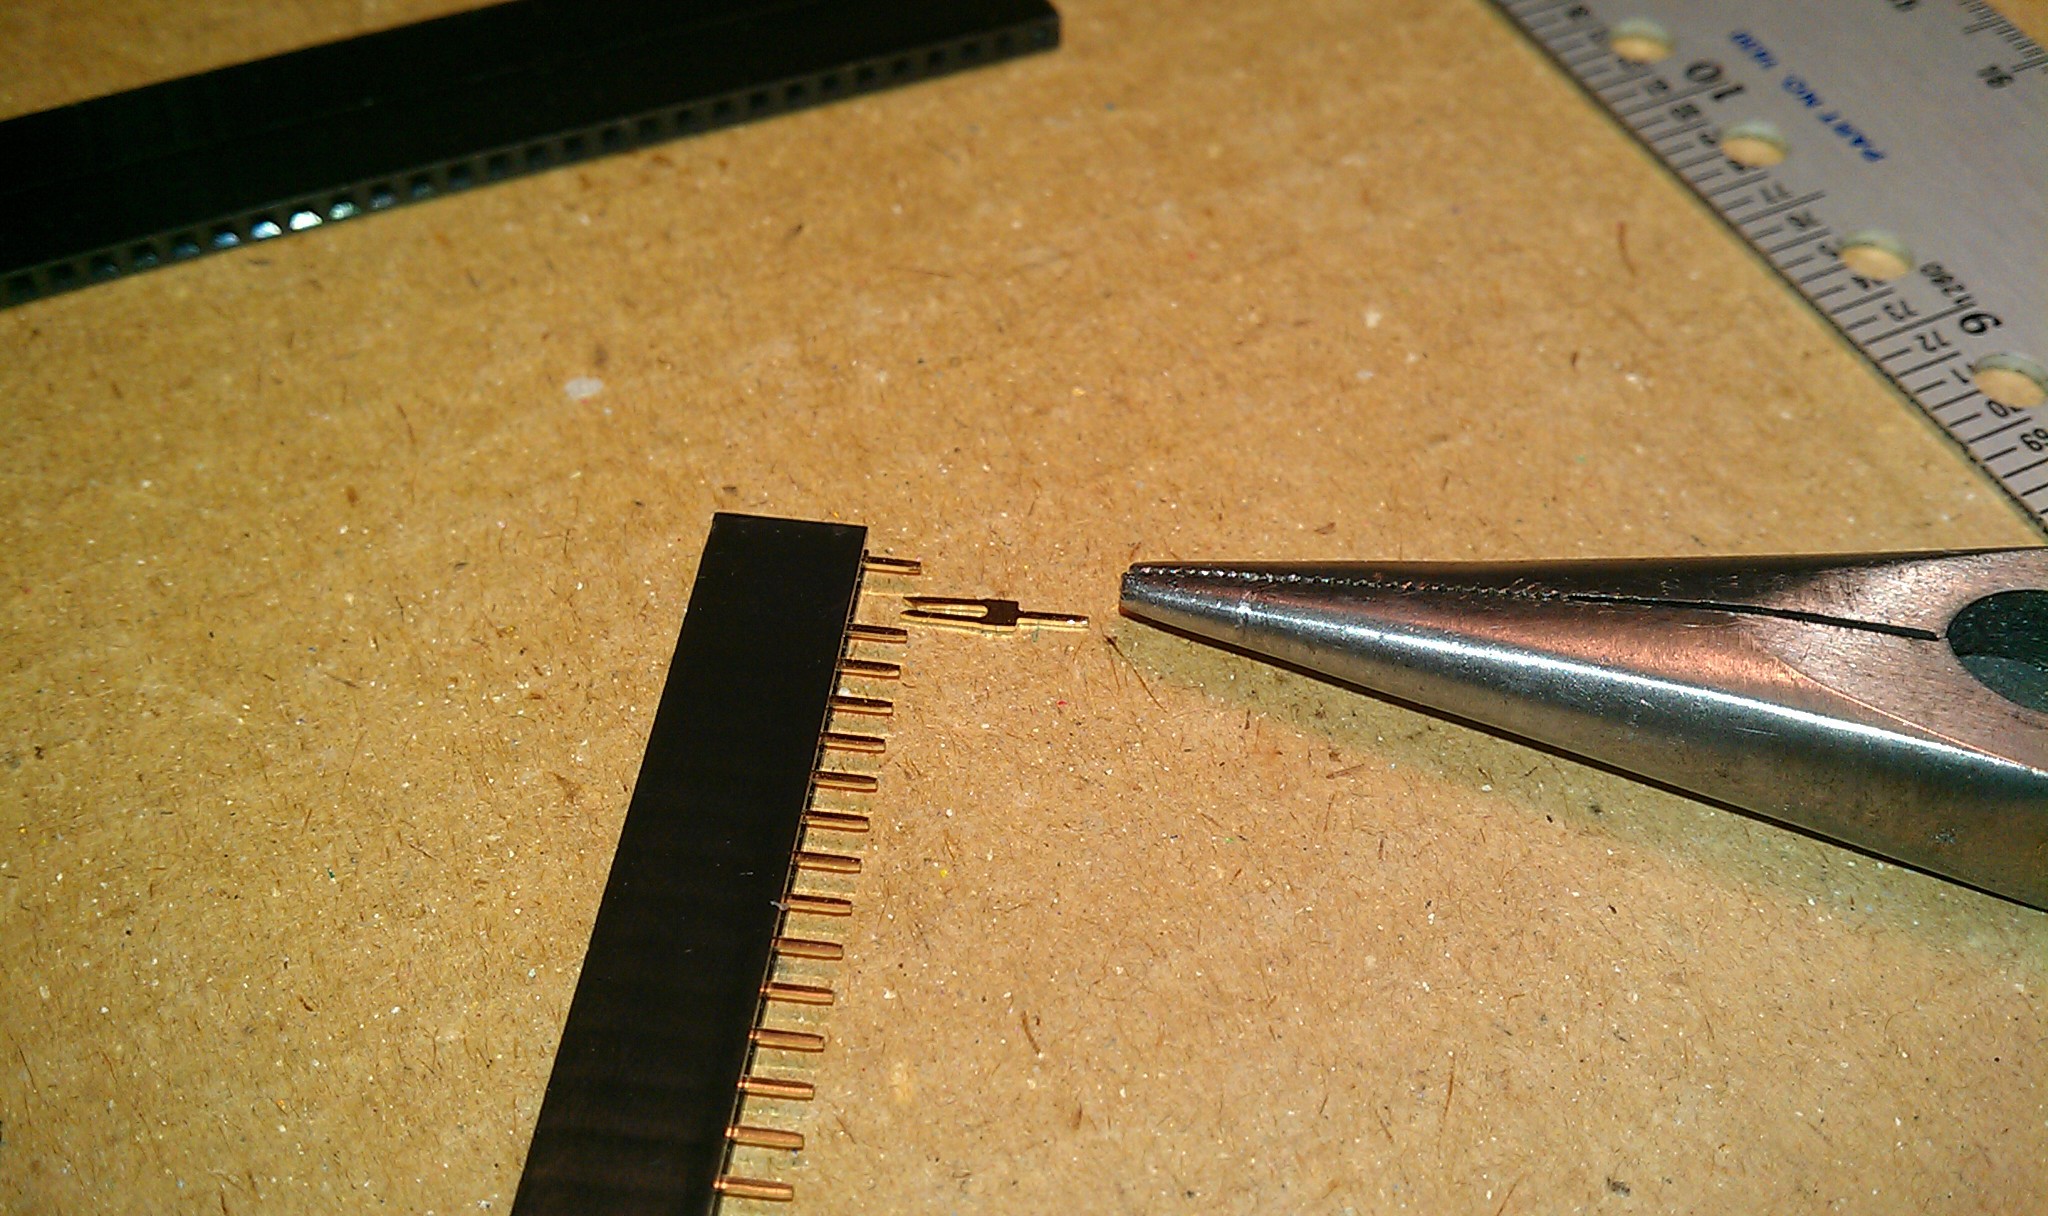
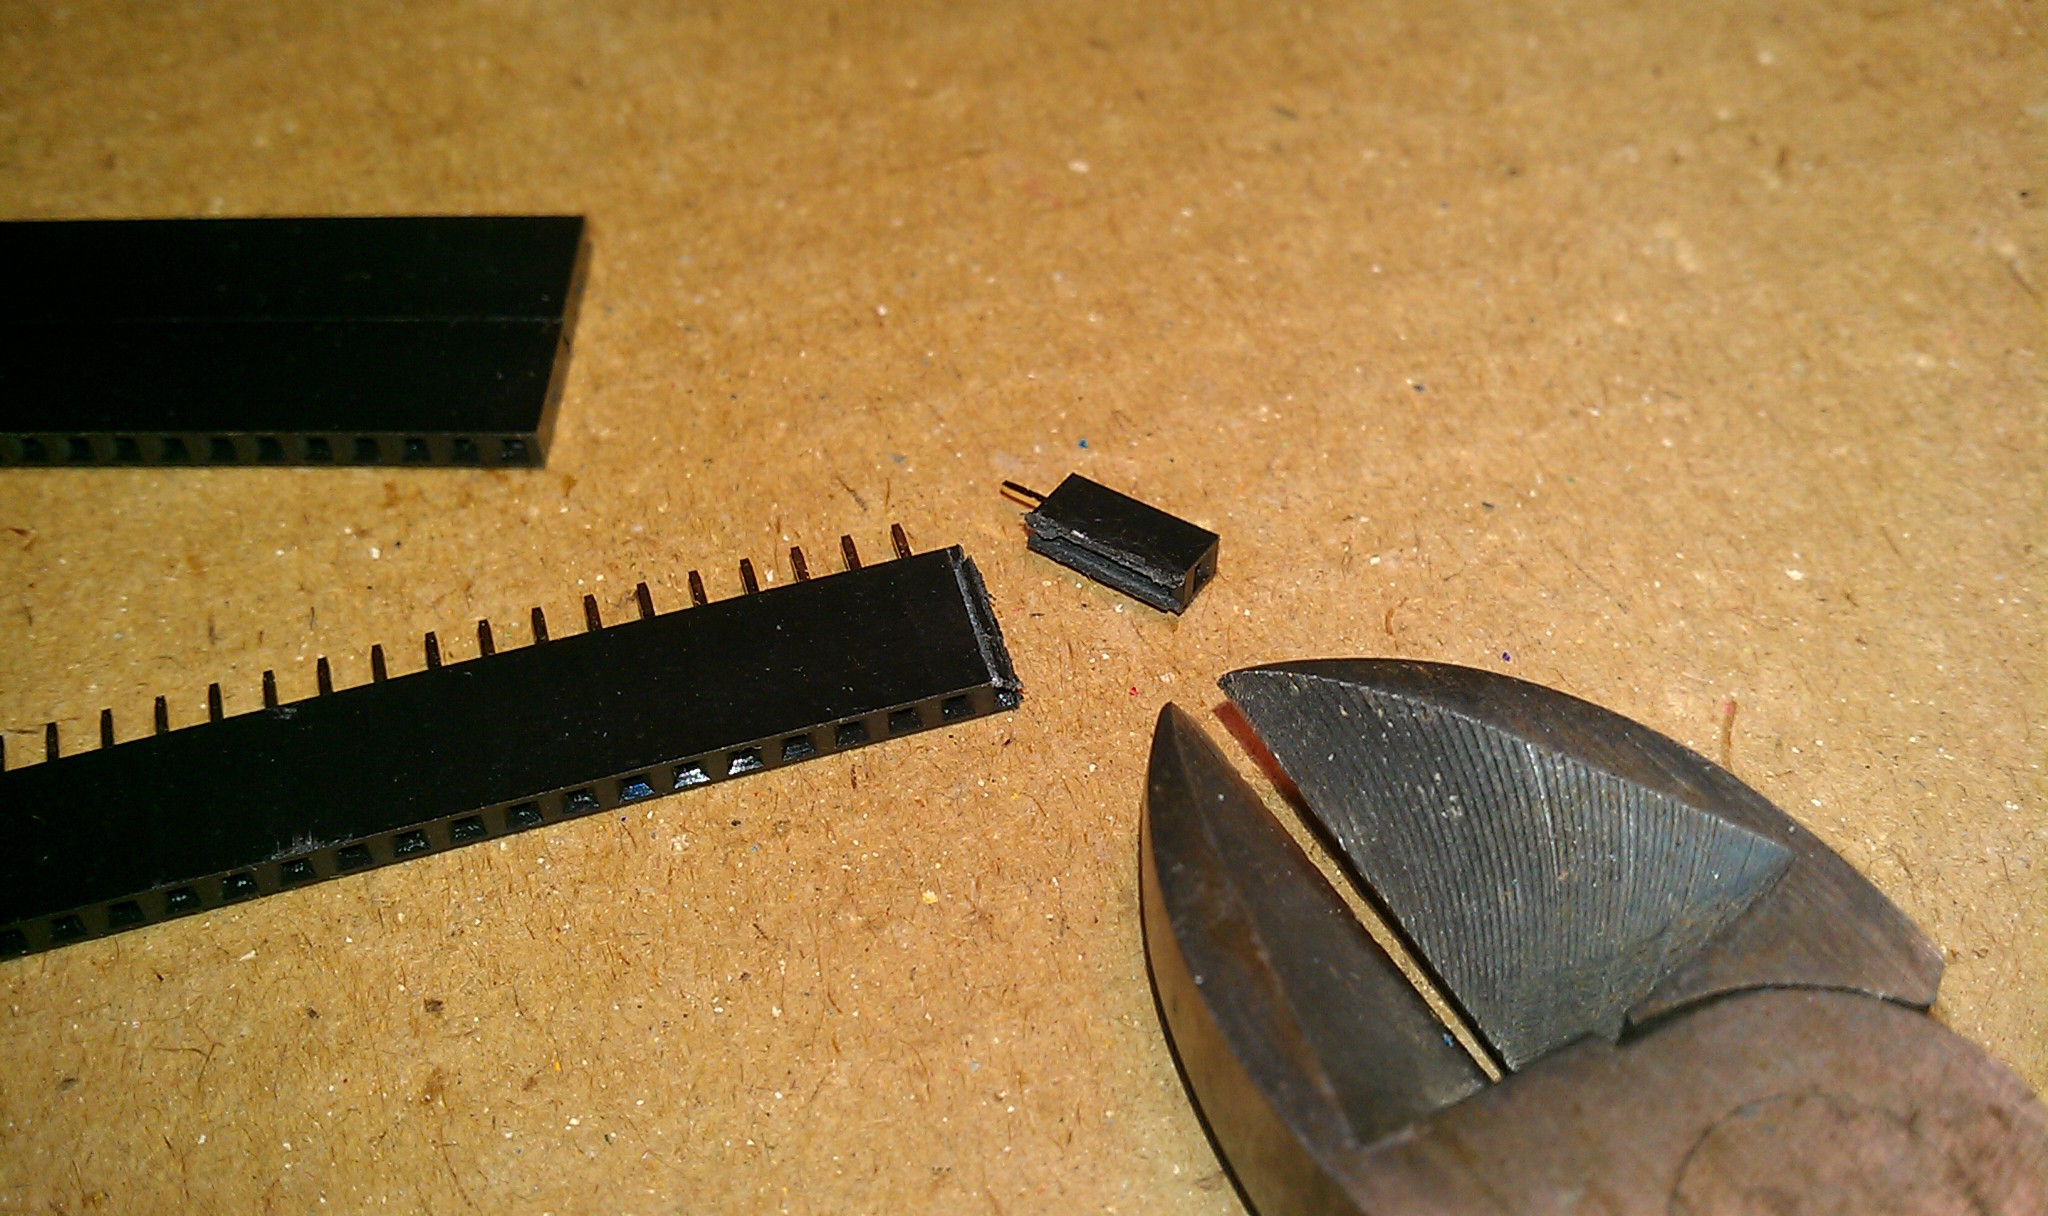
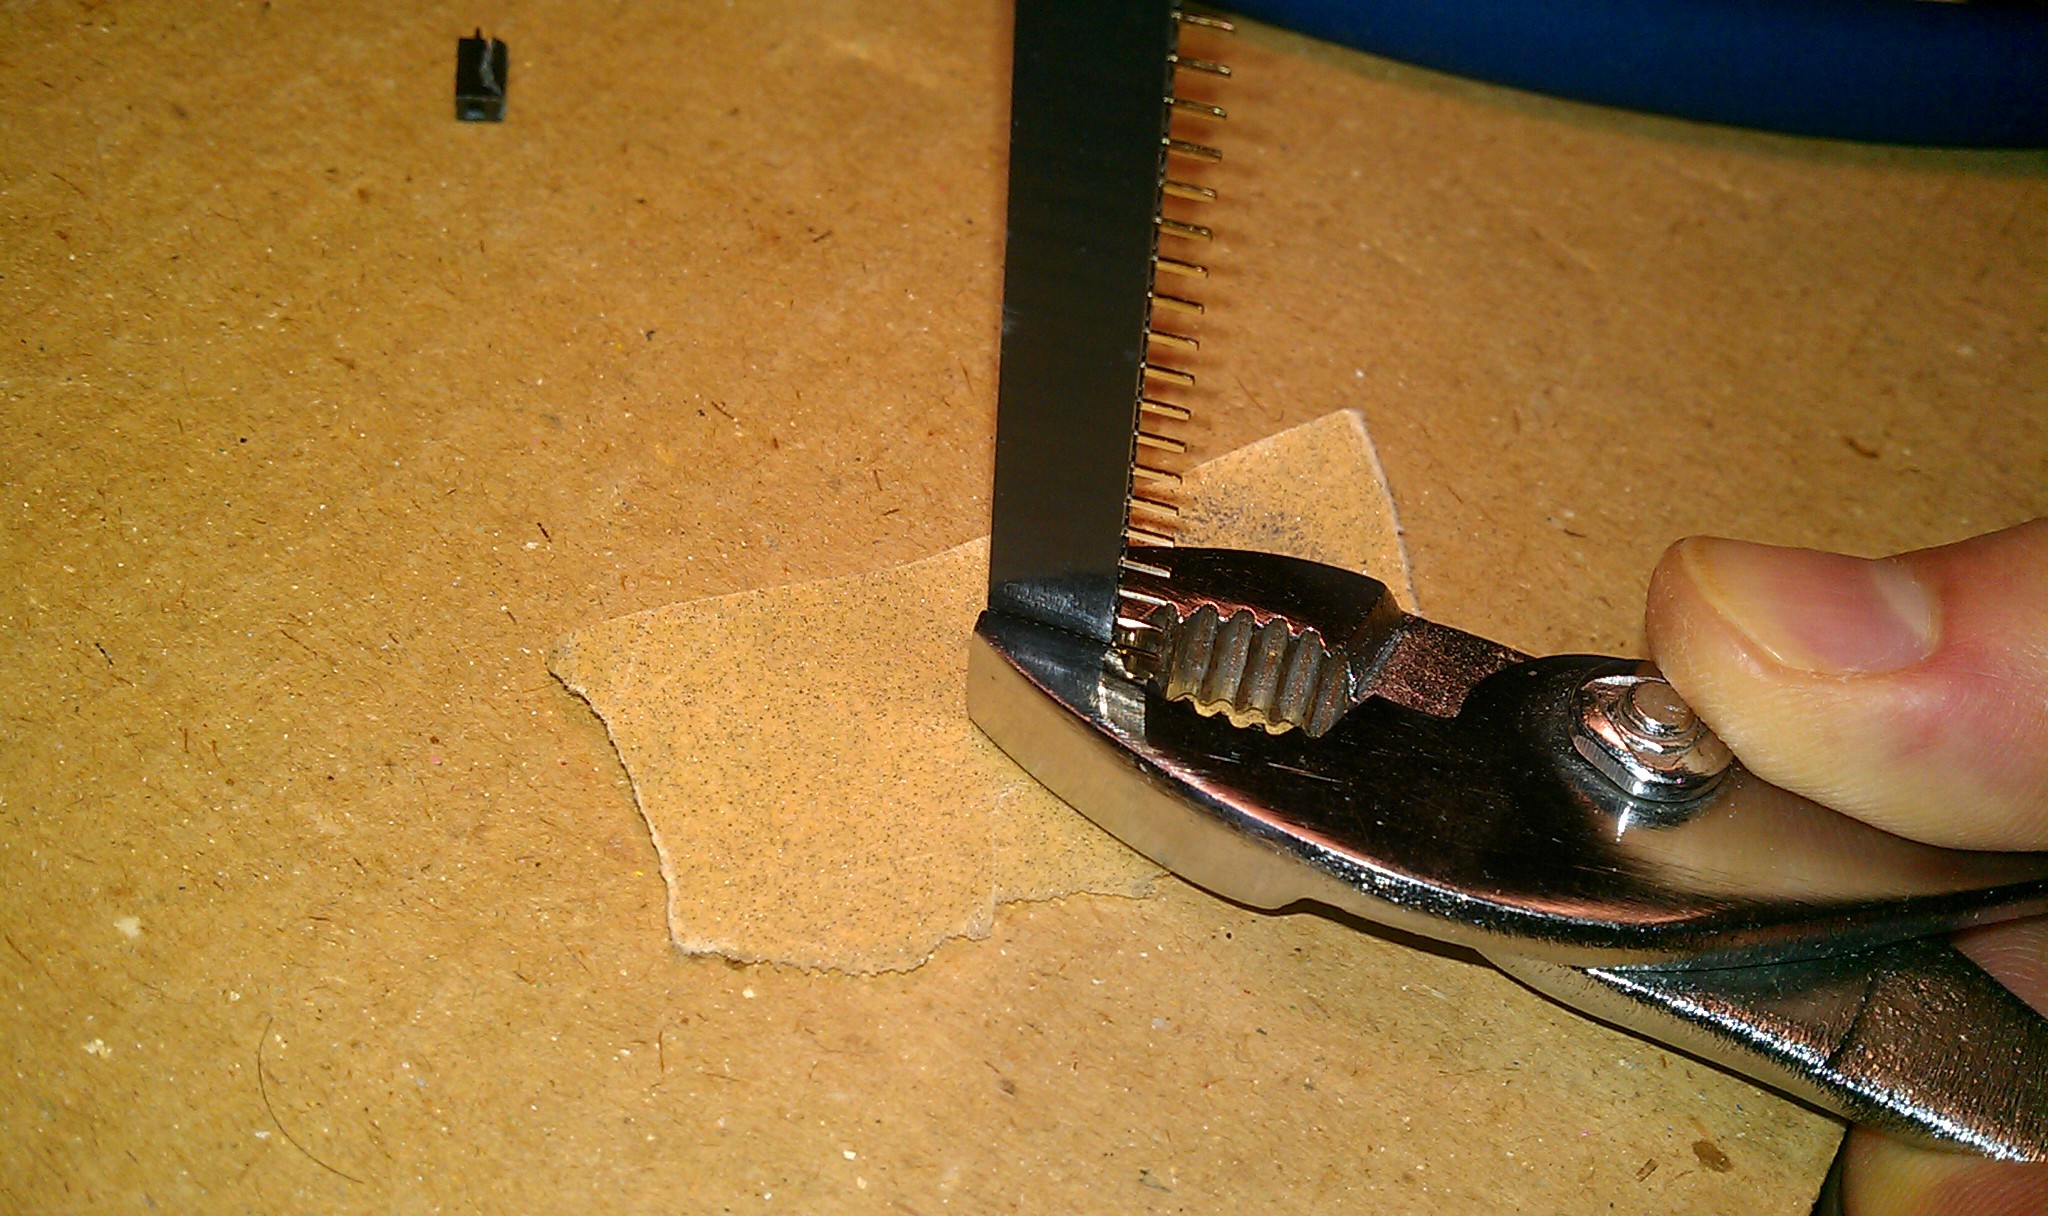
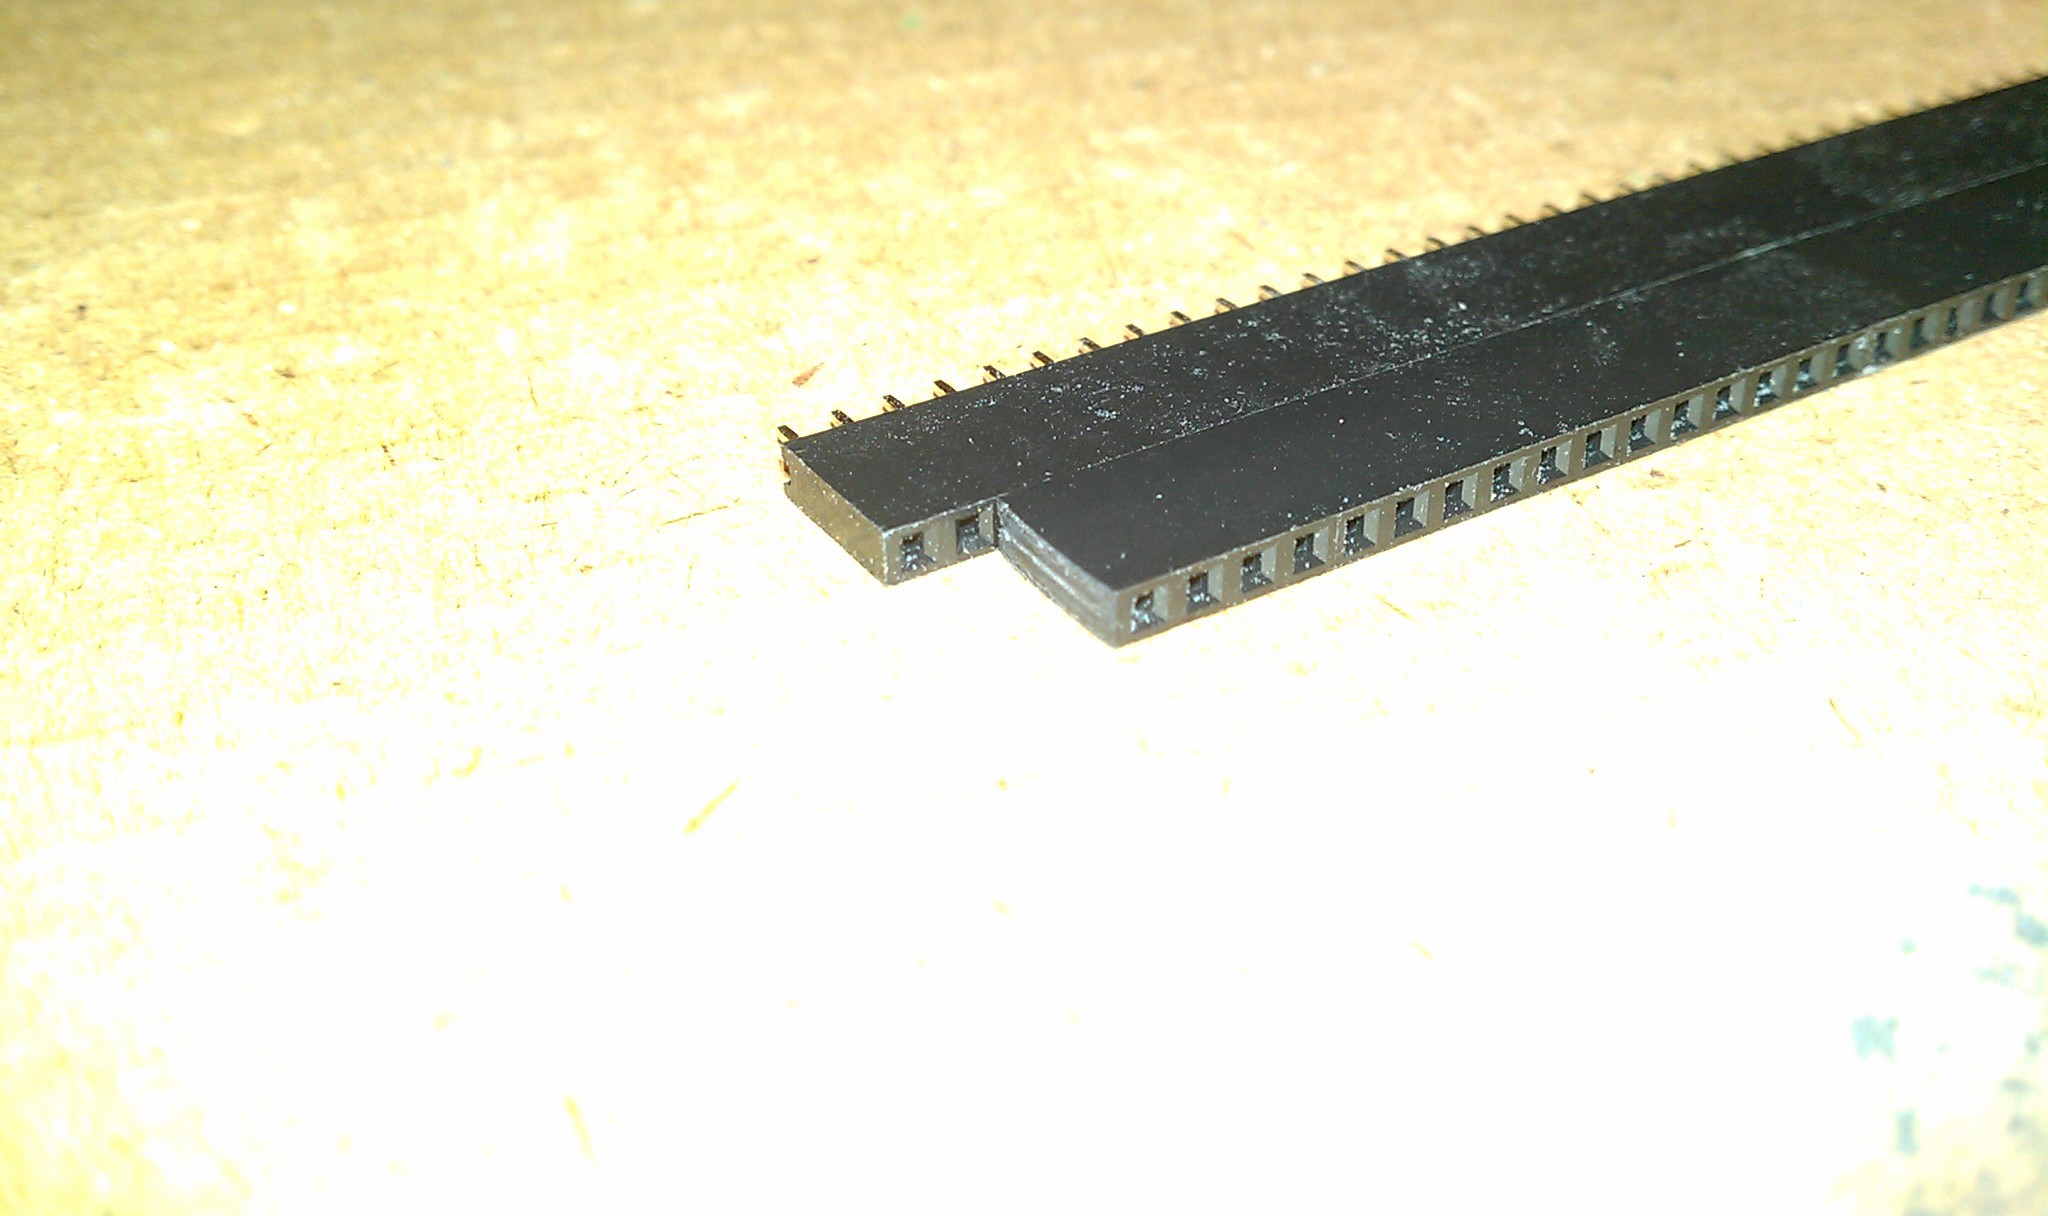
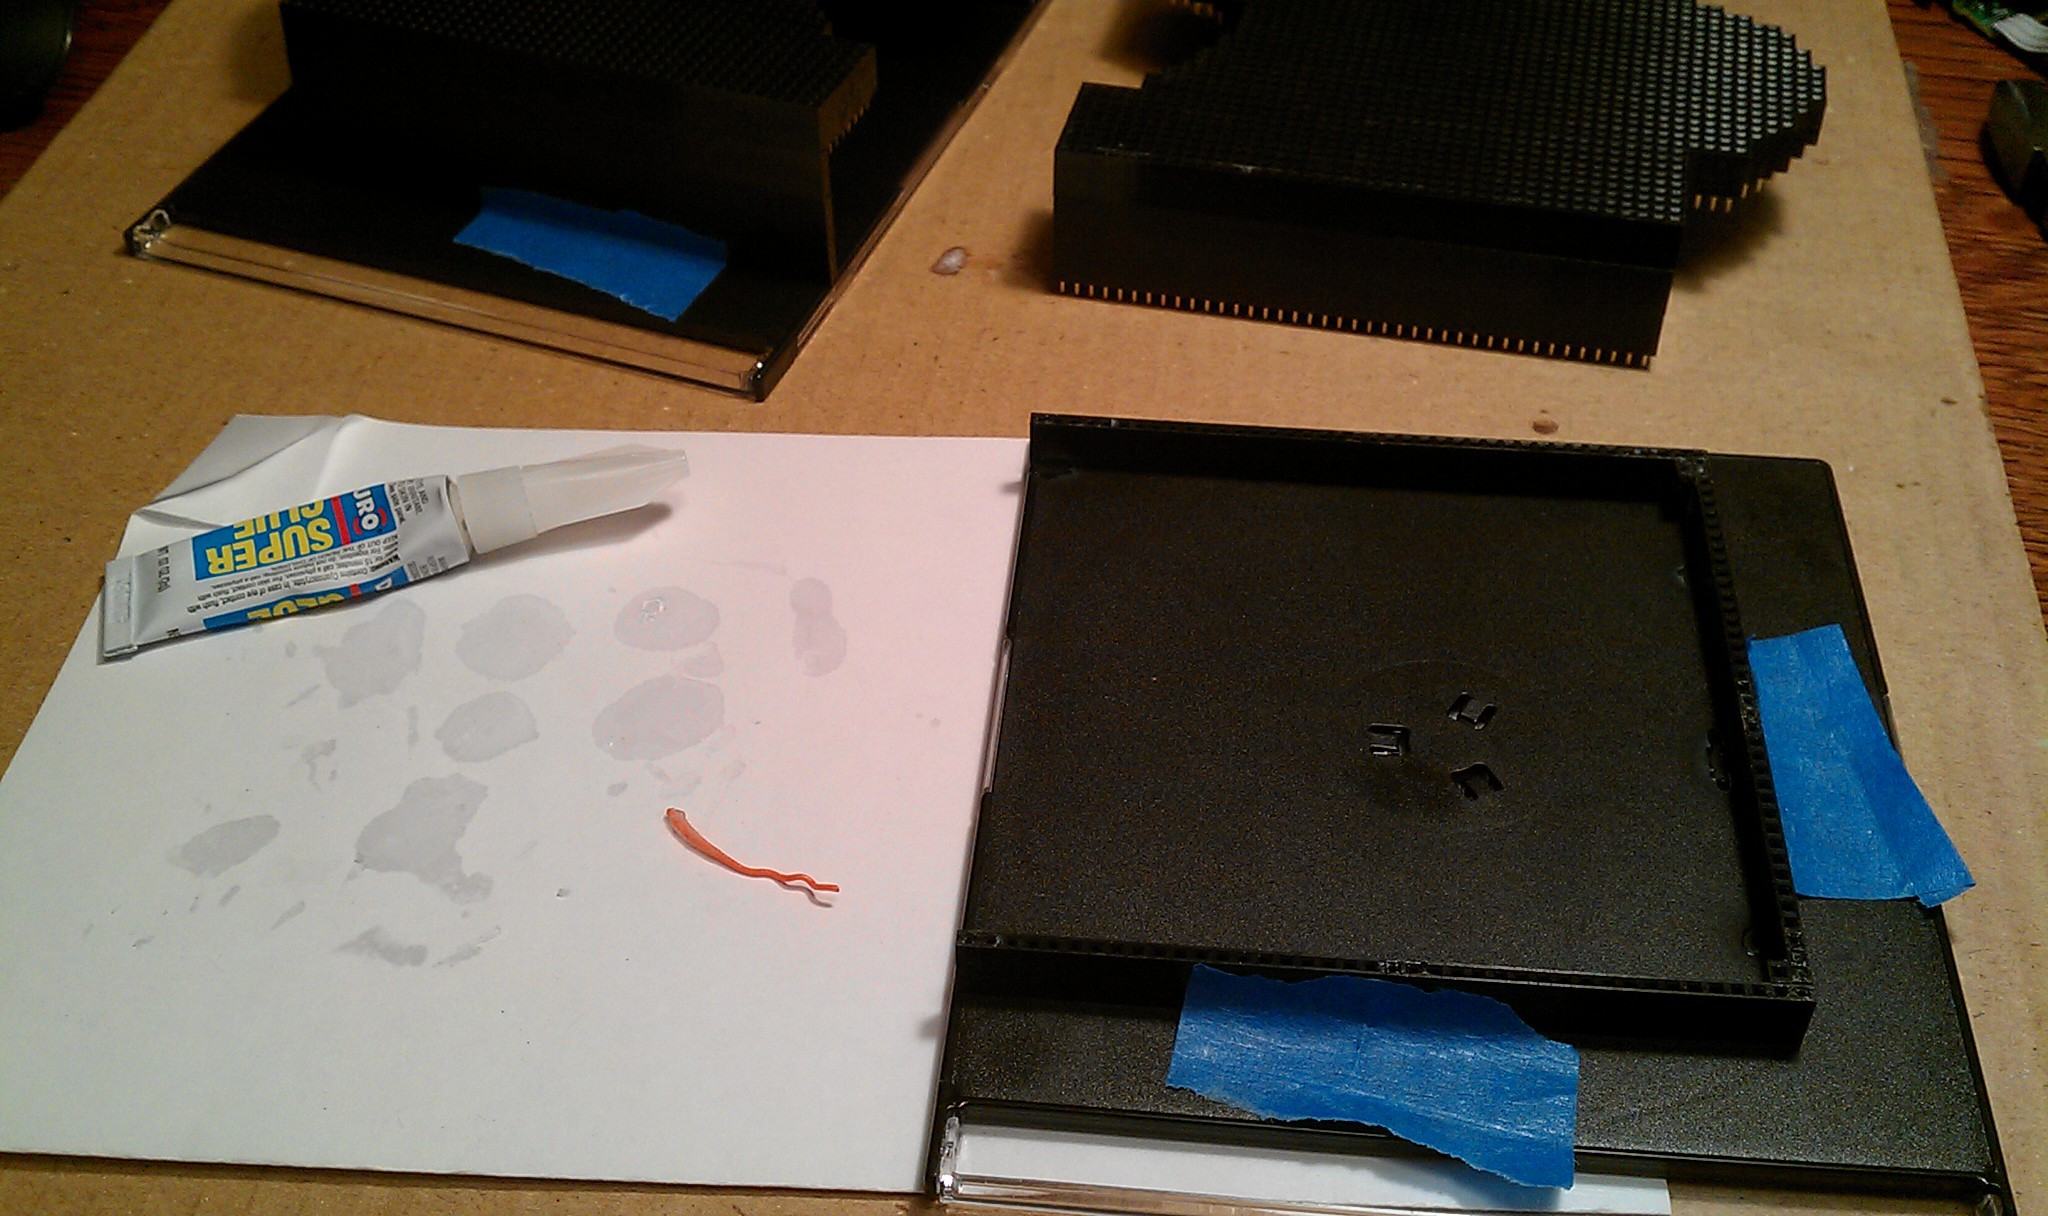
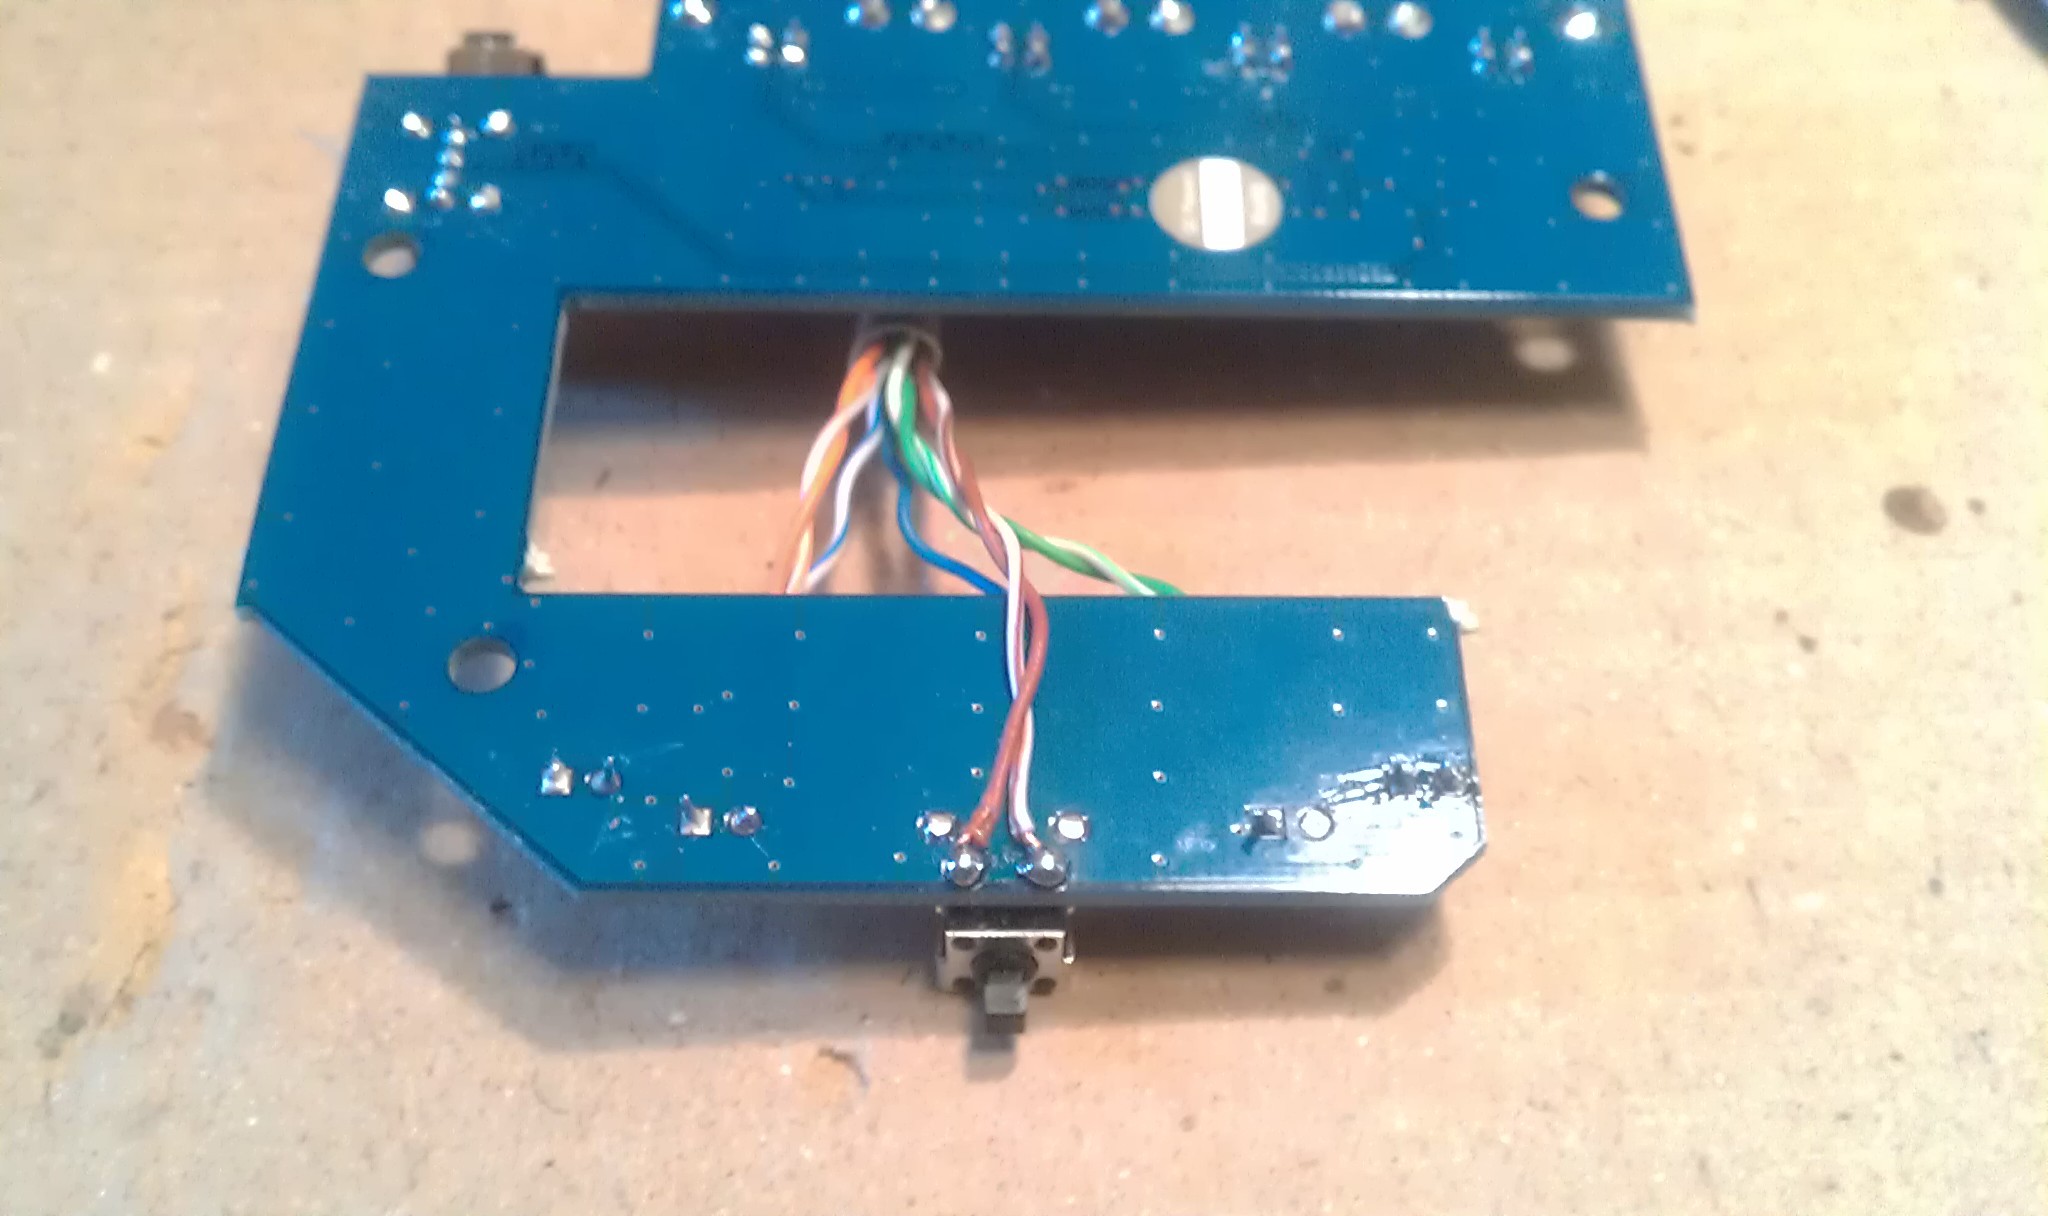 Homemade two pin female jumpers made from two pin headers.
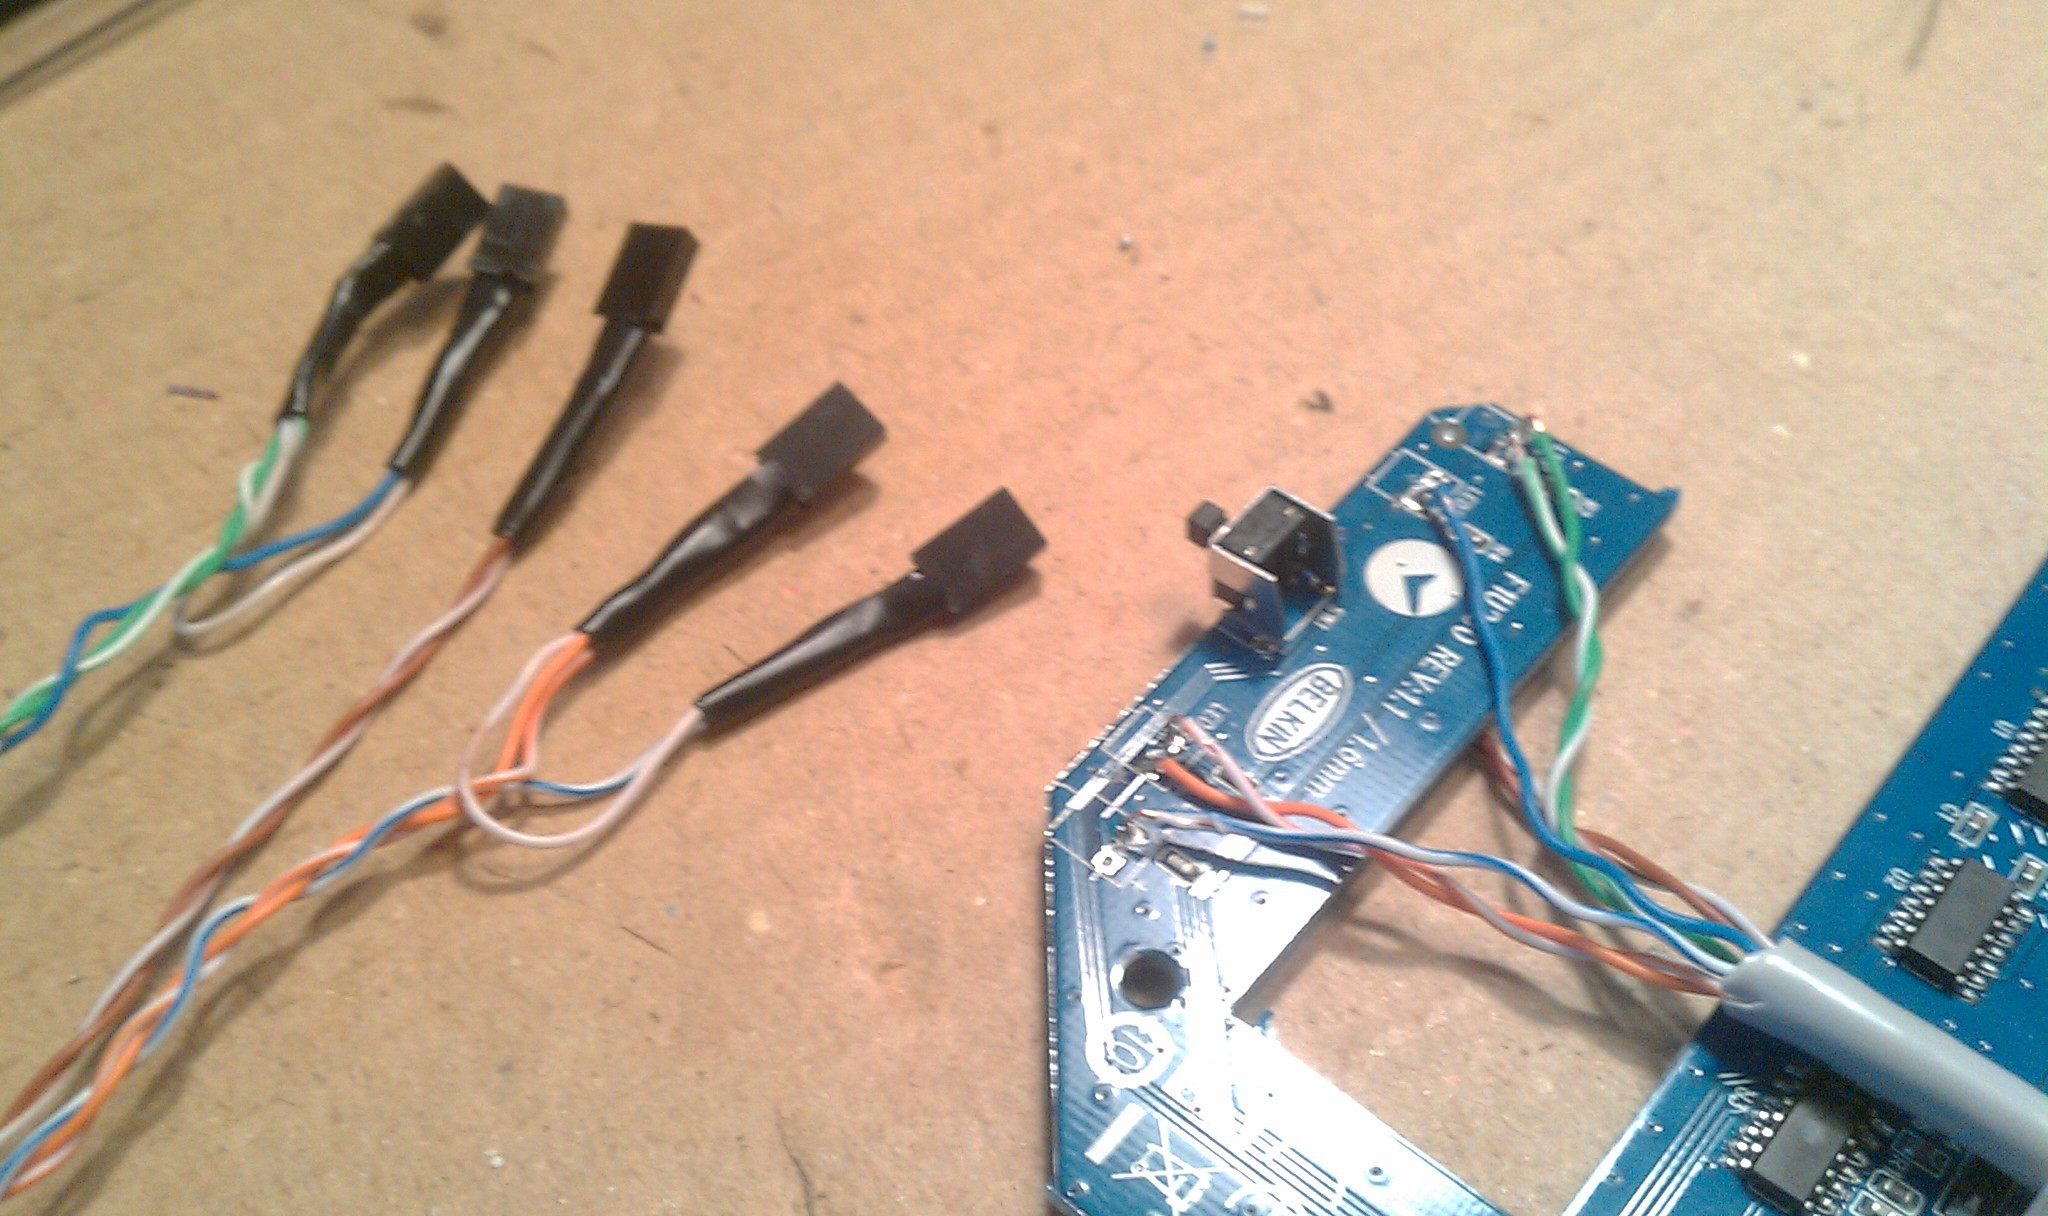 Back in its shell. Cable runs through missing LED hole, strain relieved by a cable tie on the inside.
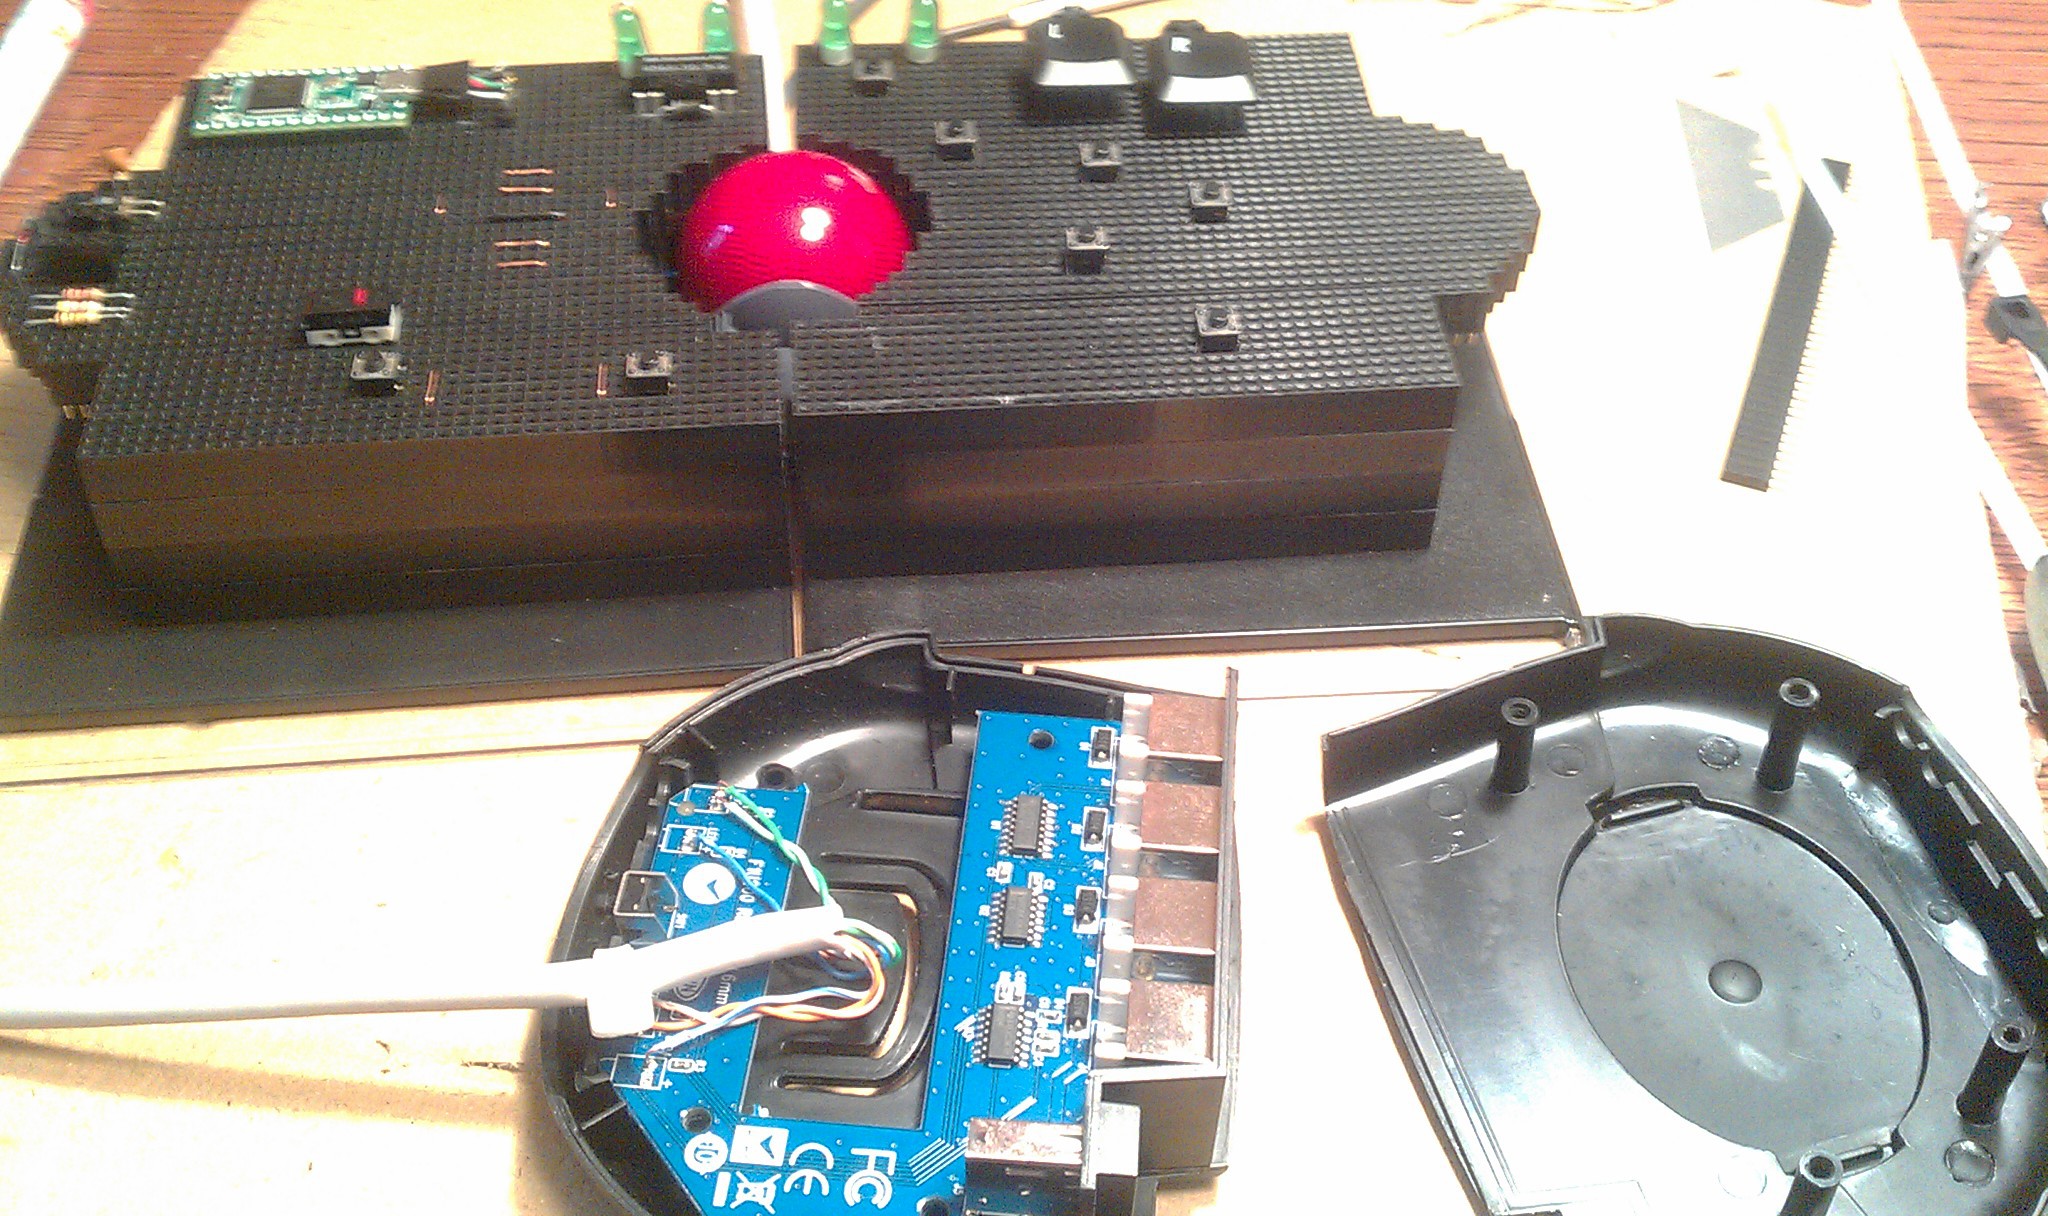
 ... and kept alive to see its own working LED's amputated and transplanted on my track ball.
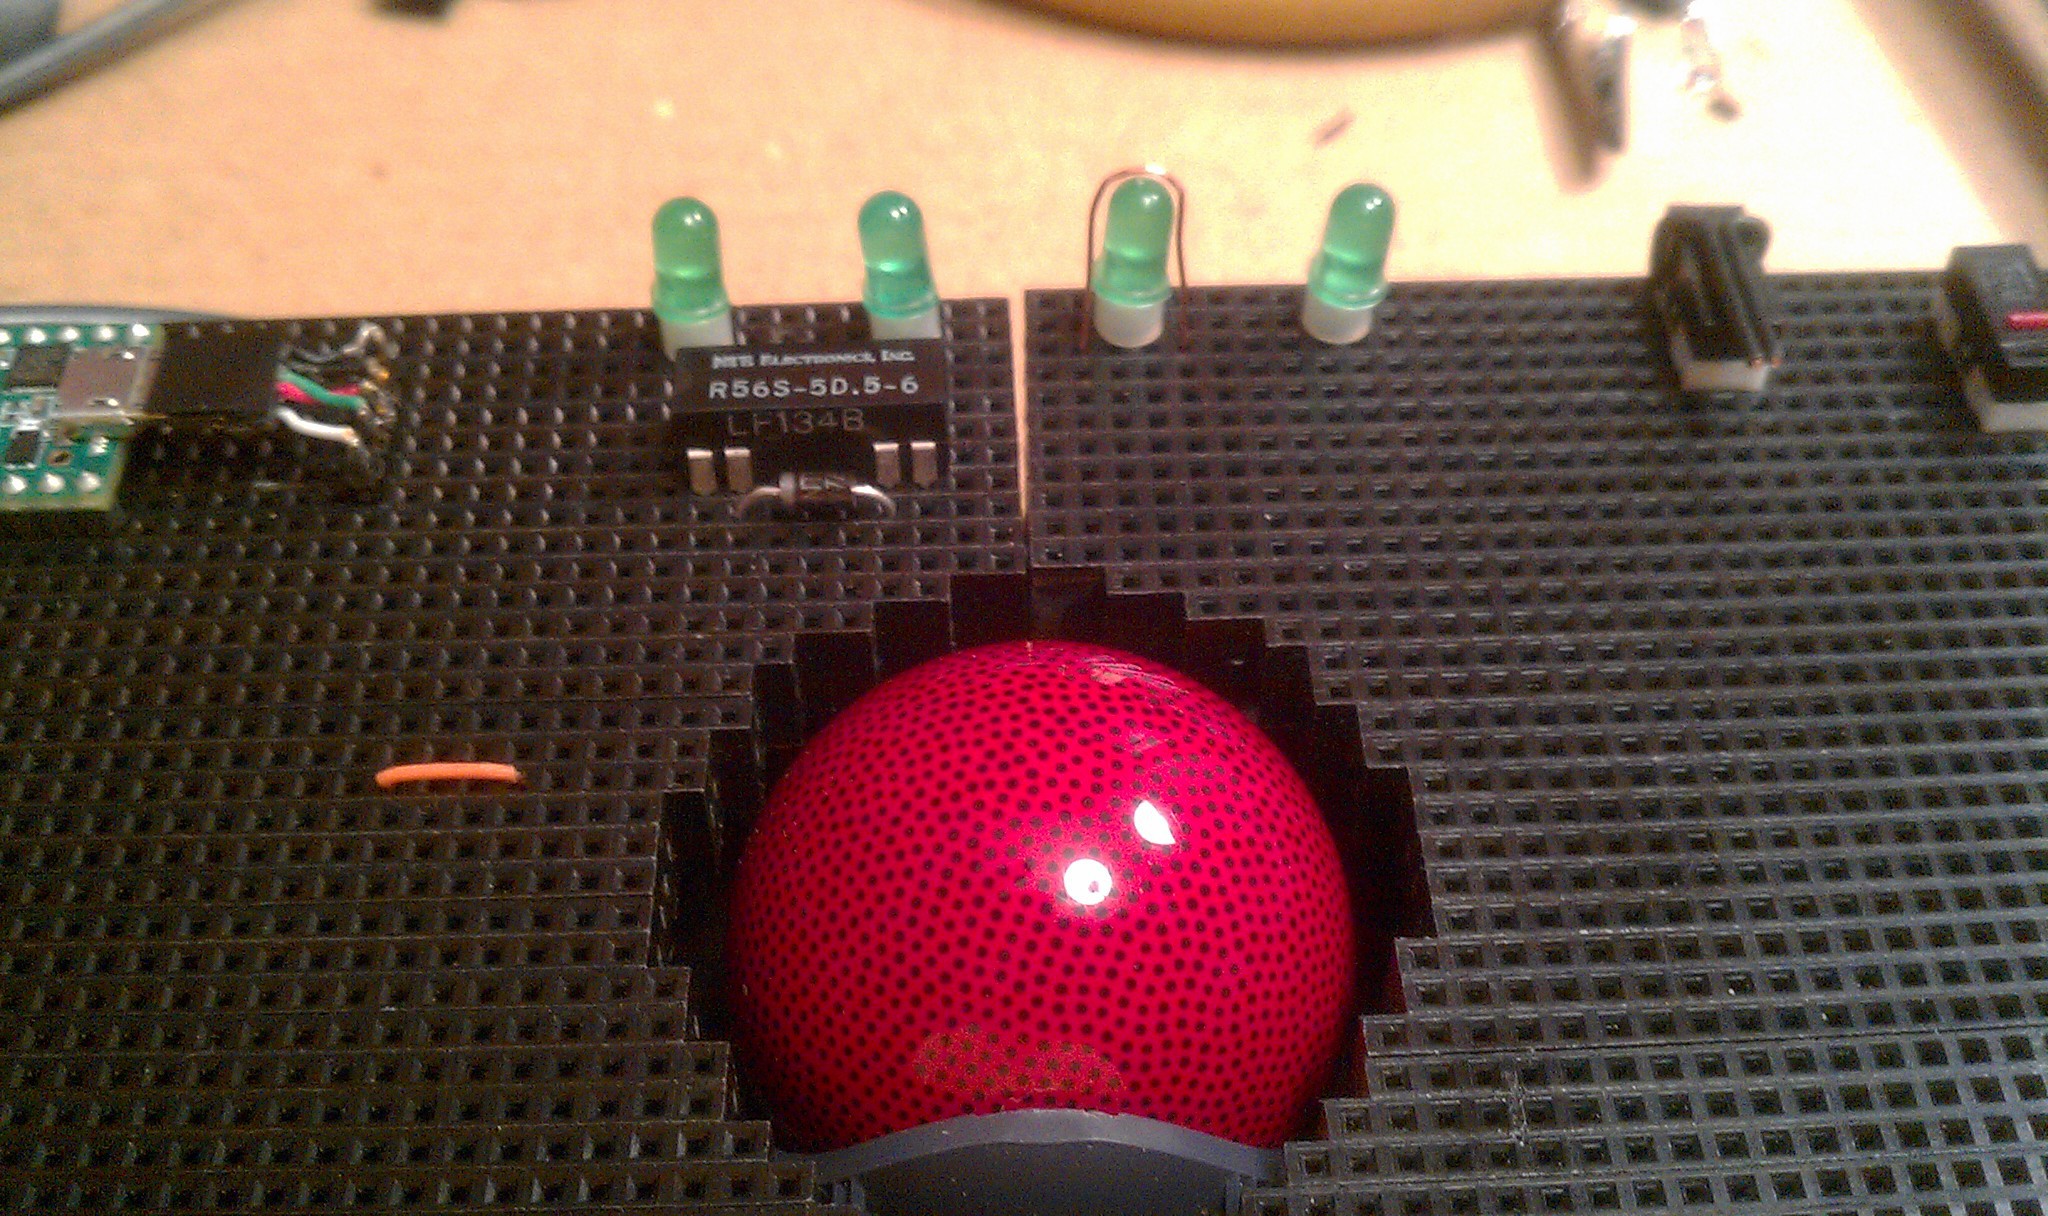 The wire on the third LED is a hacked experiment for touch sensors on LED's.
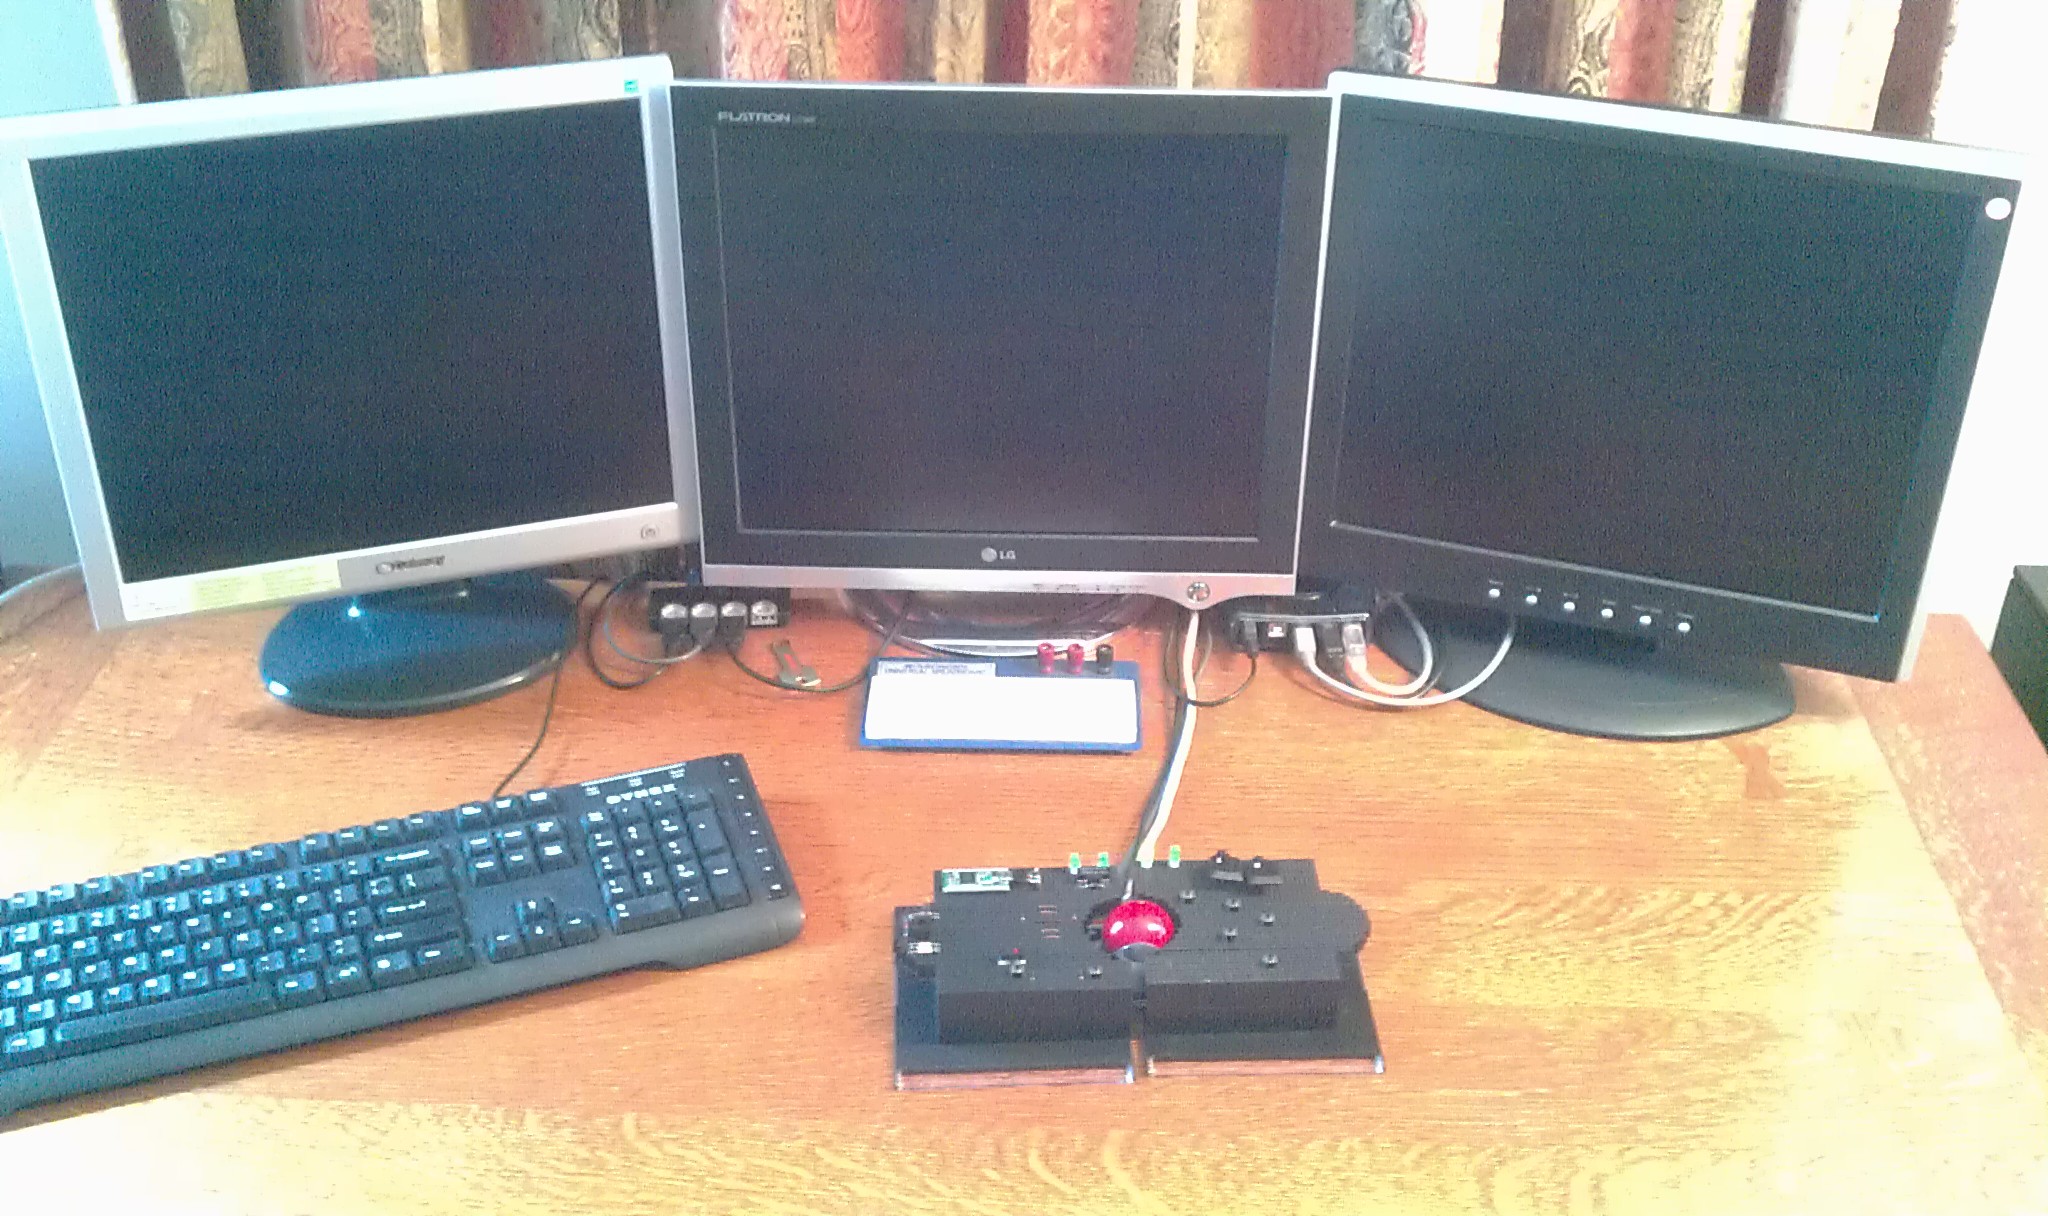
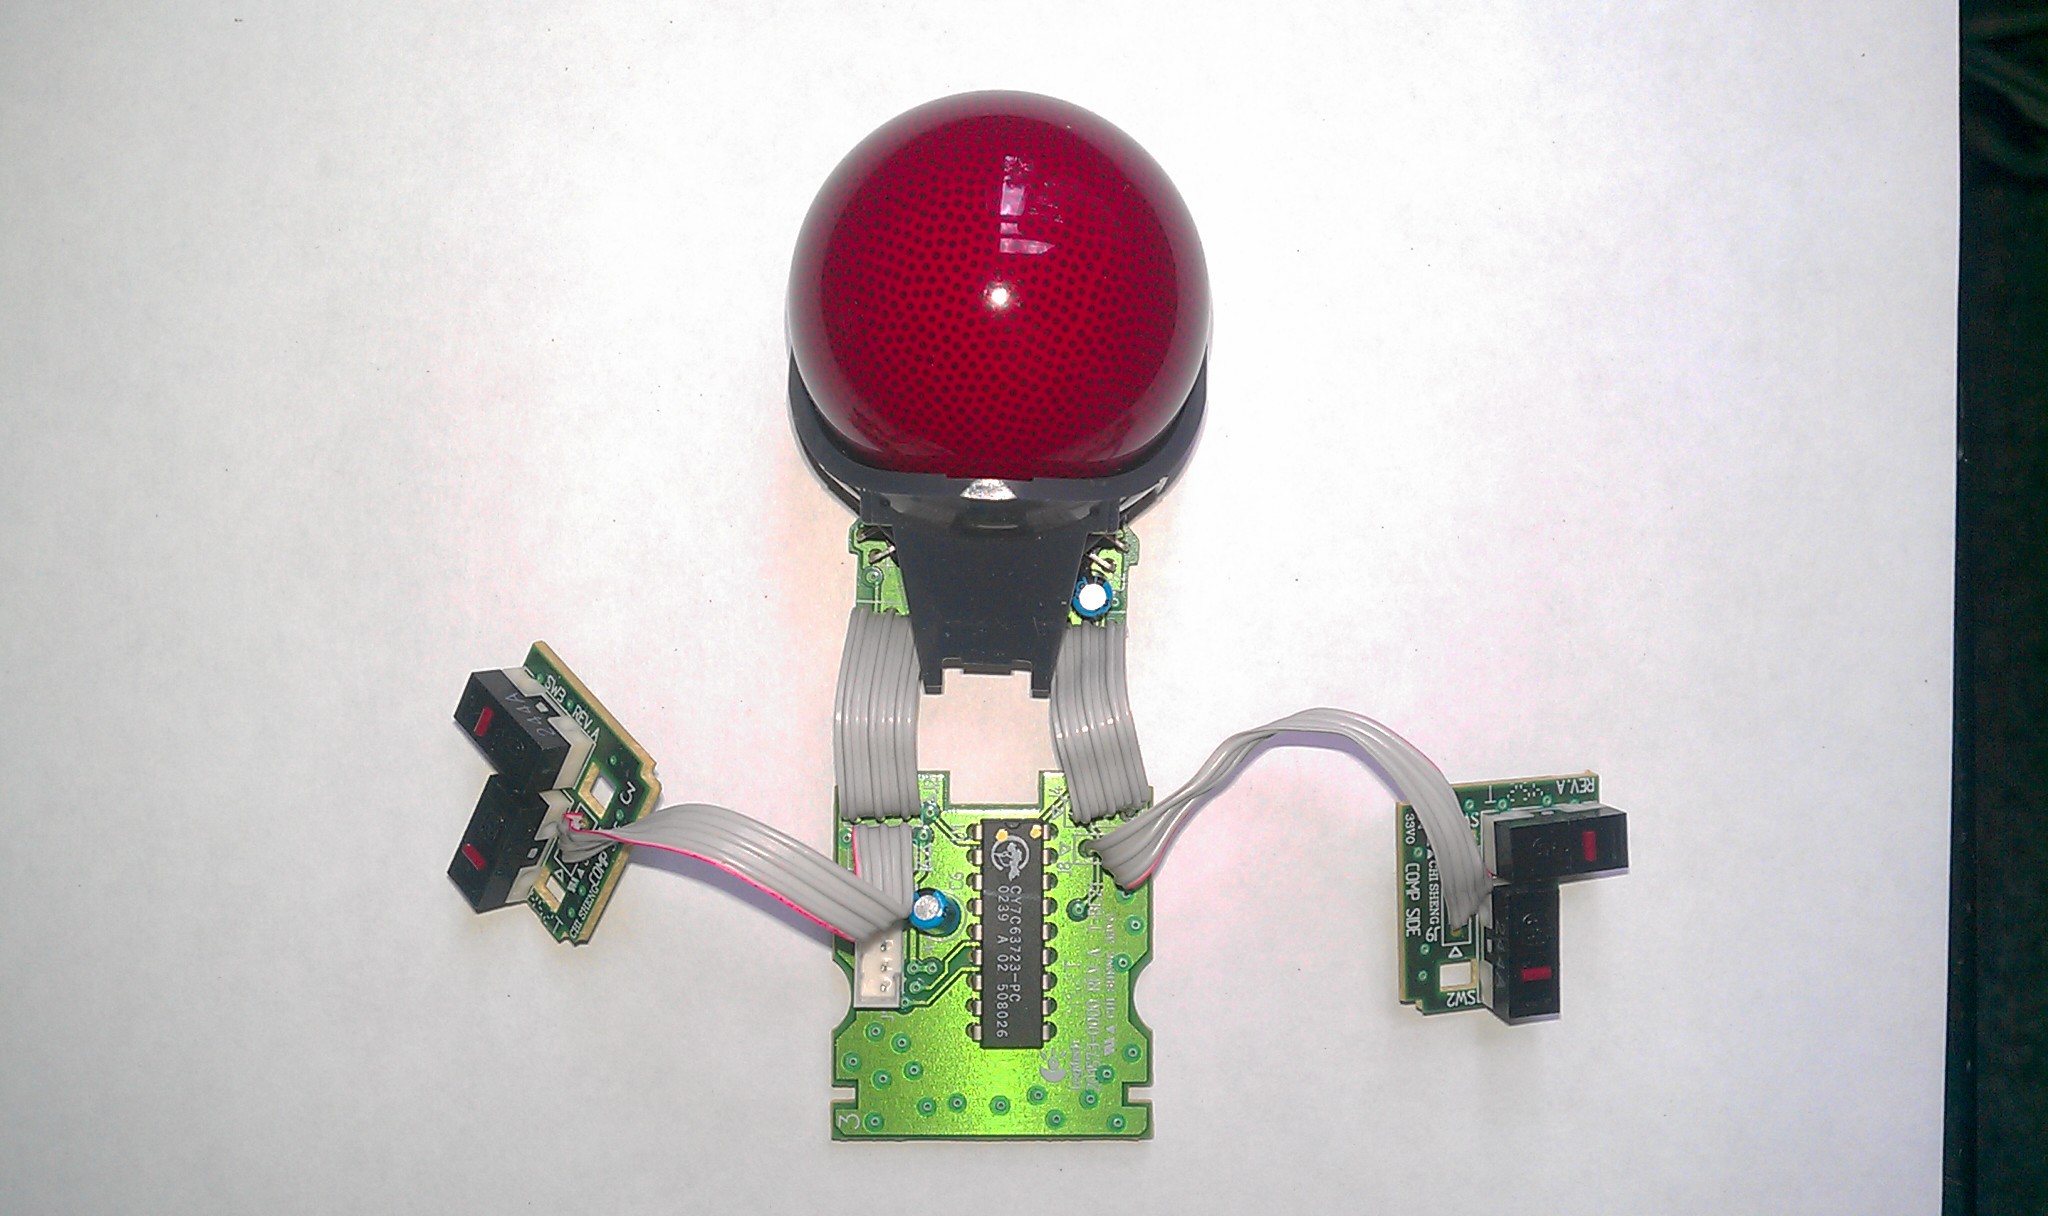
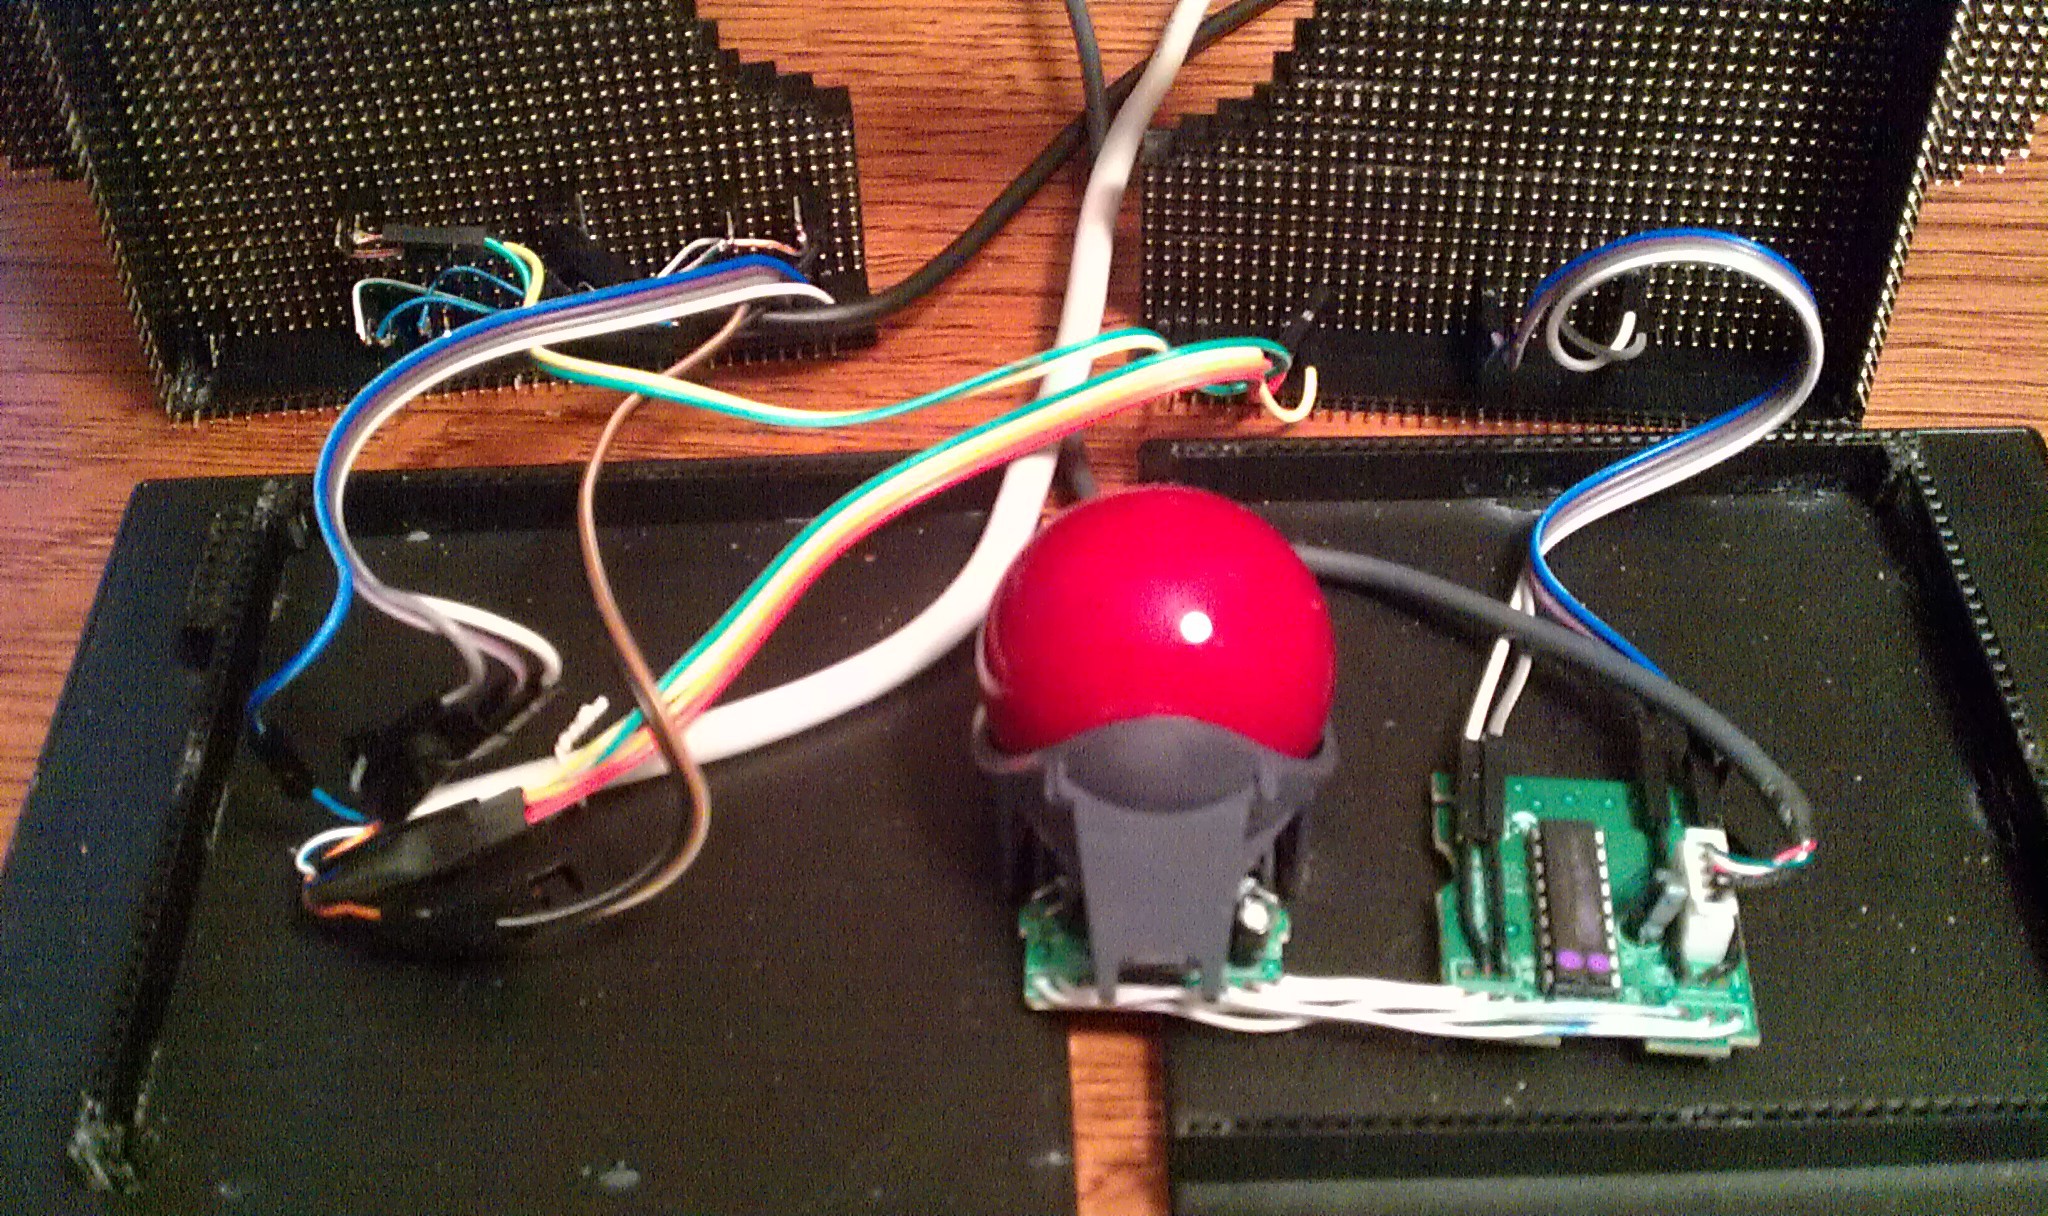 Then plugged directly underneath the transplanted LED's
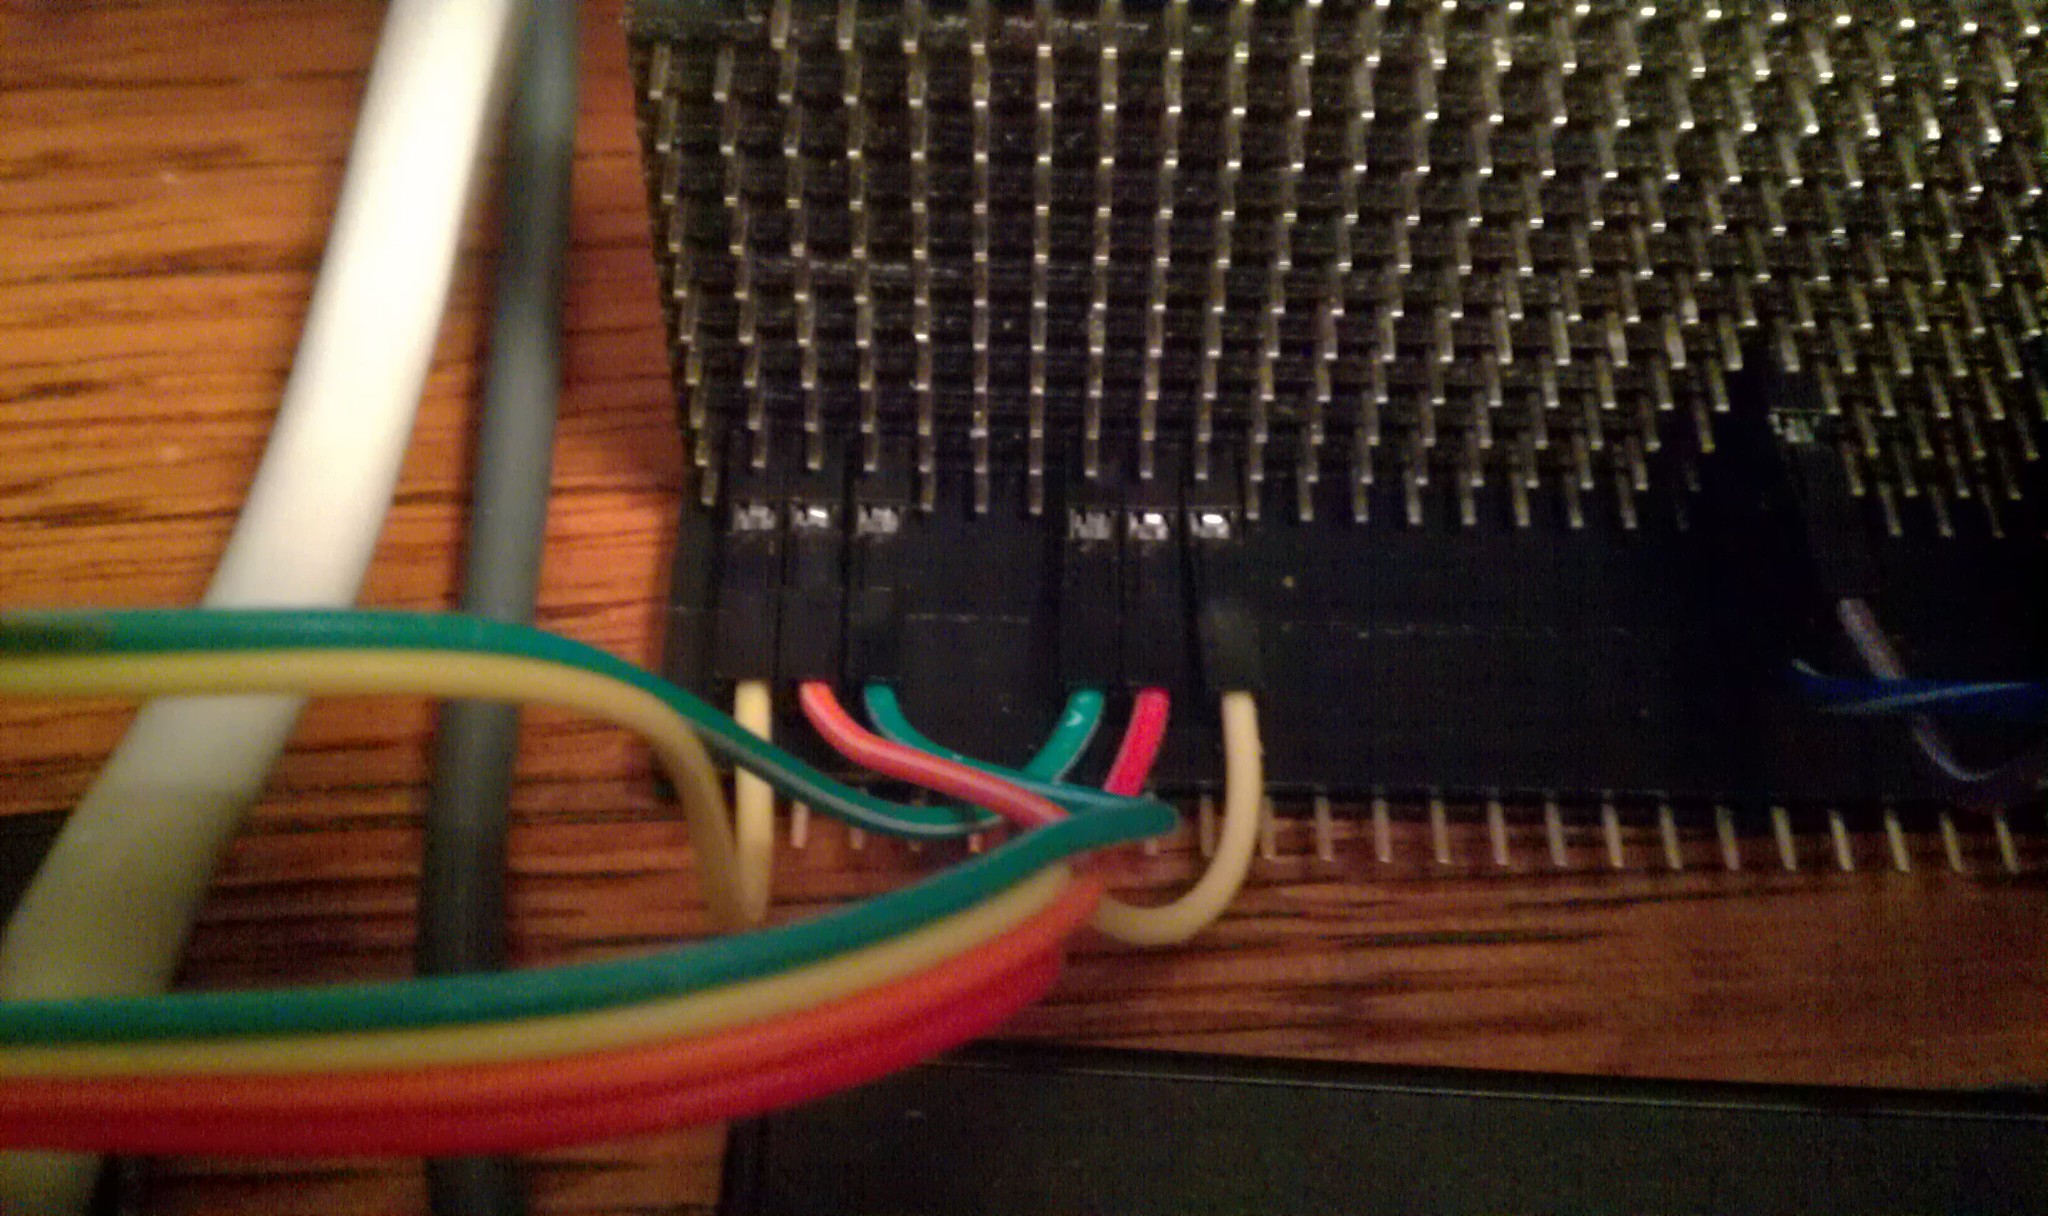 The third jumpers connect under the touch sensor wires.
 I used an NTE R56S-5D.5-6 reed relay: (5v, 3.8v min), and a "flyback diode." The relay does not have a built in diode. (the "R56S-5D.5-6D does; that first "D" is tricky.
 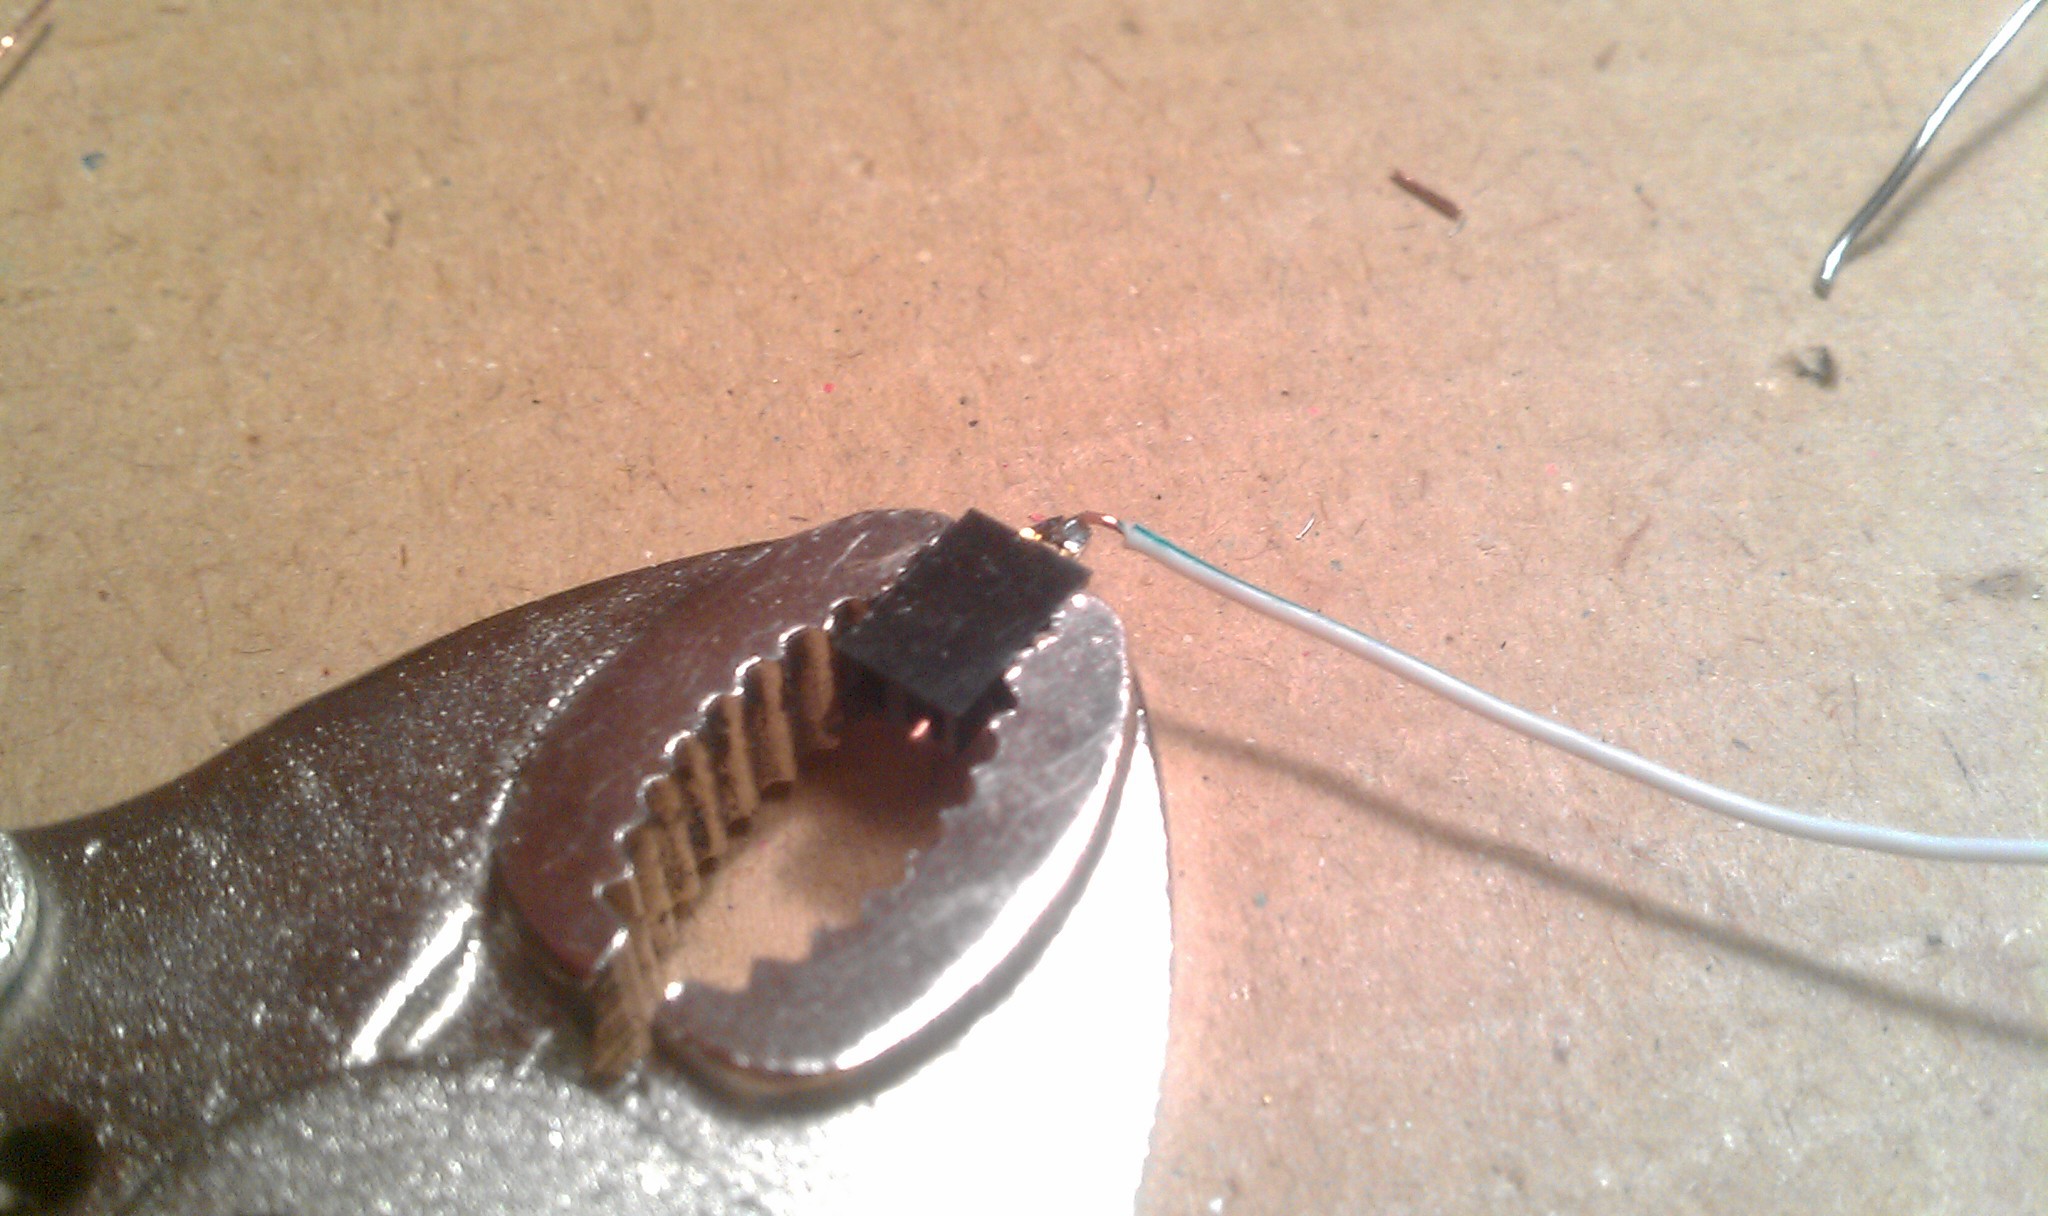 The two header sockets have the wire insert 3mm pin fix. The two male pins are bent together into a two pin jumper, and then soldered to the wire. This connects the relay to the diode in parallel. See relay pins pictured above.
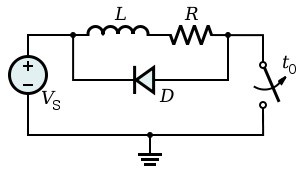 Two pin jumpers relay to diode:
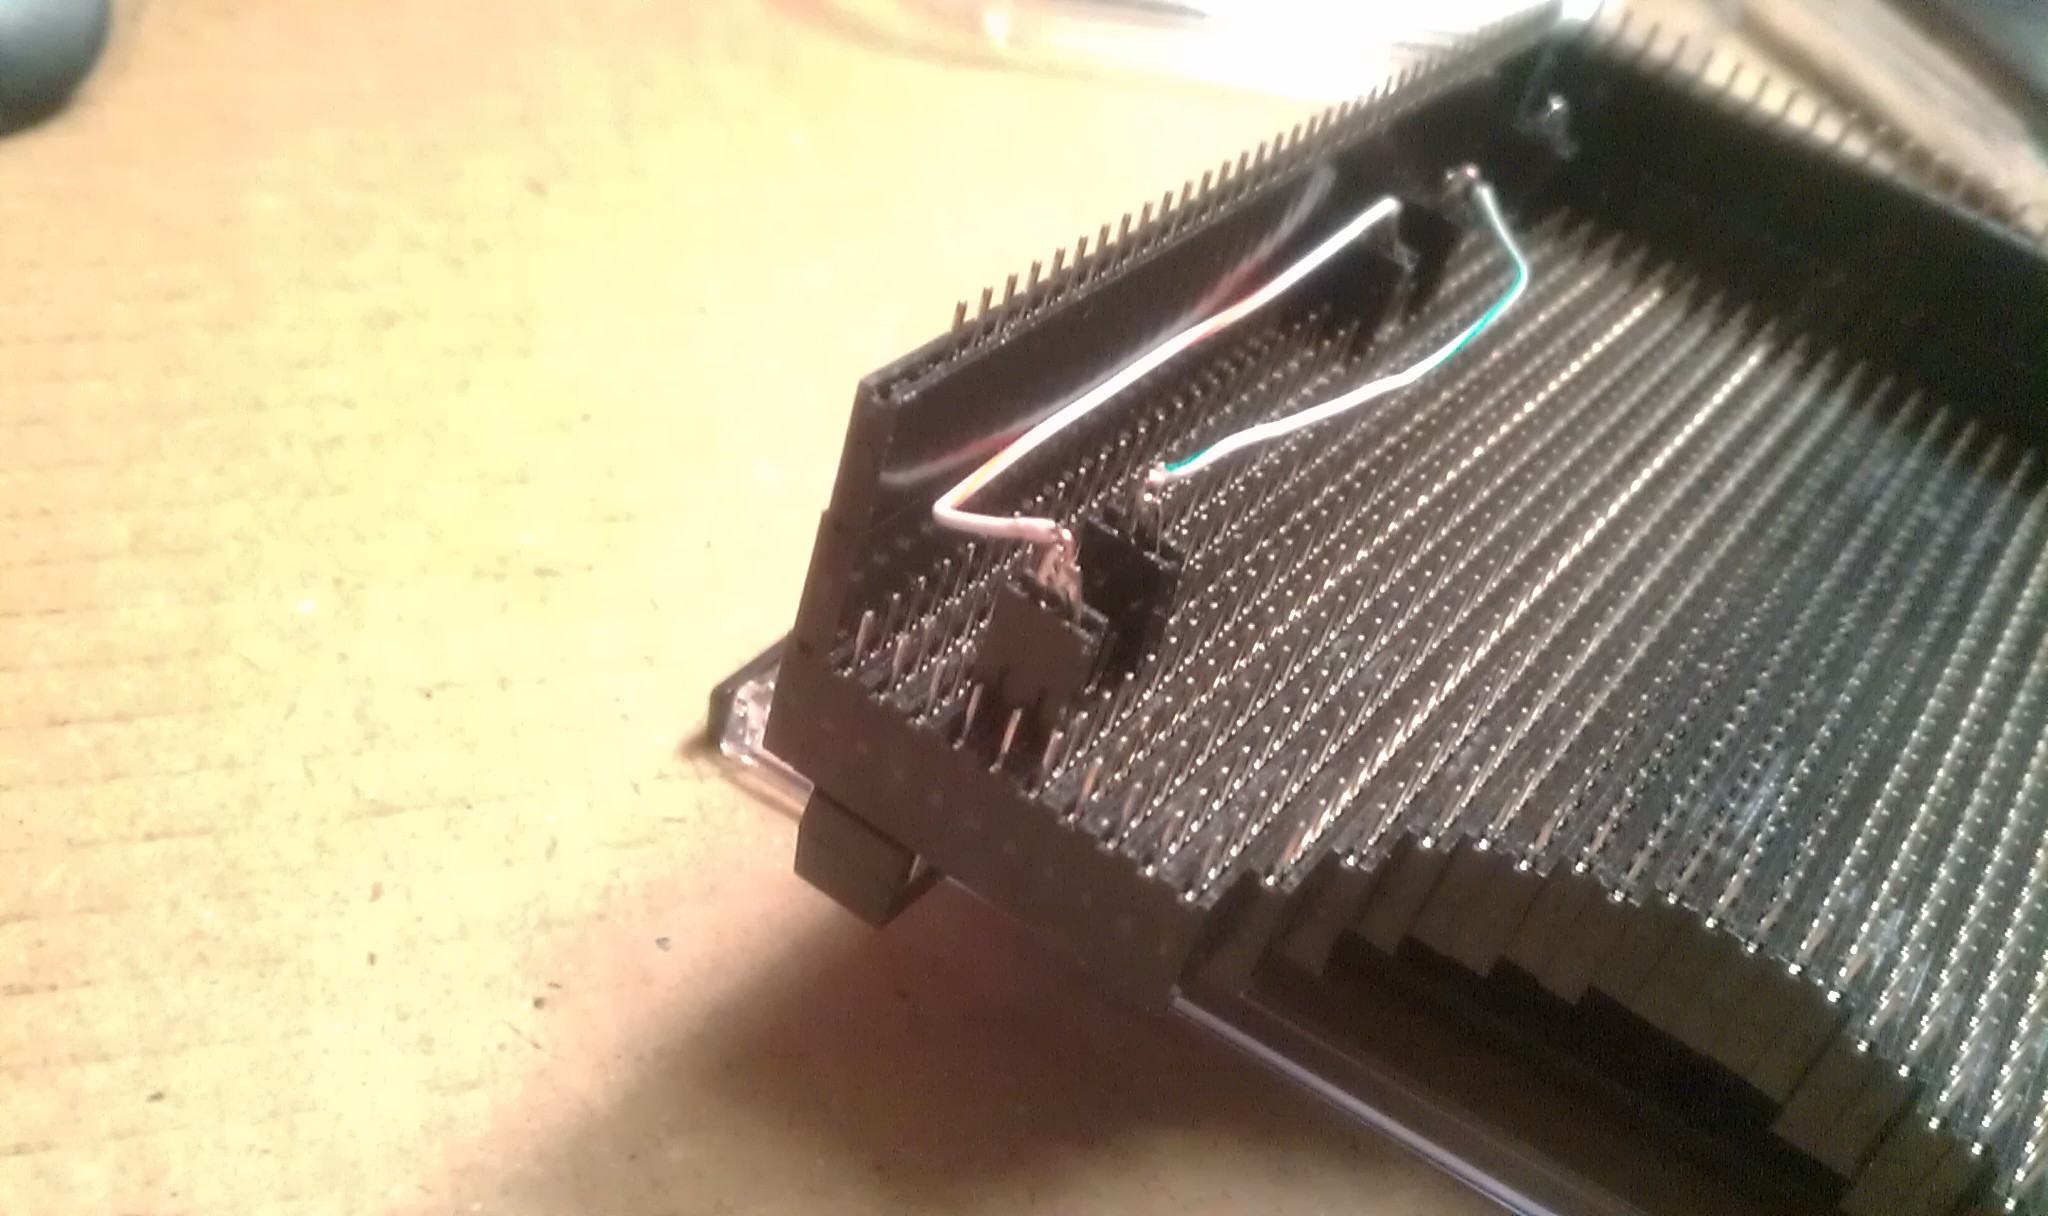
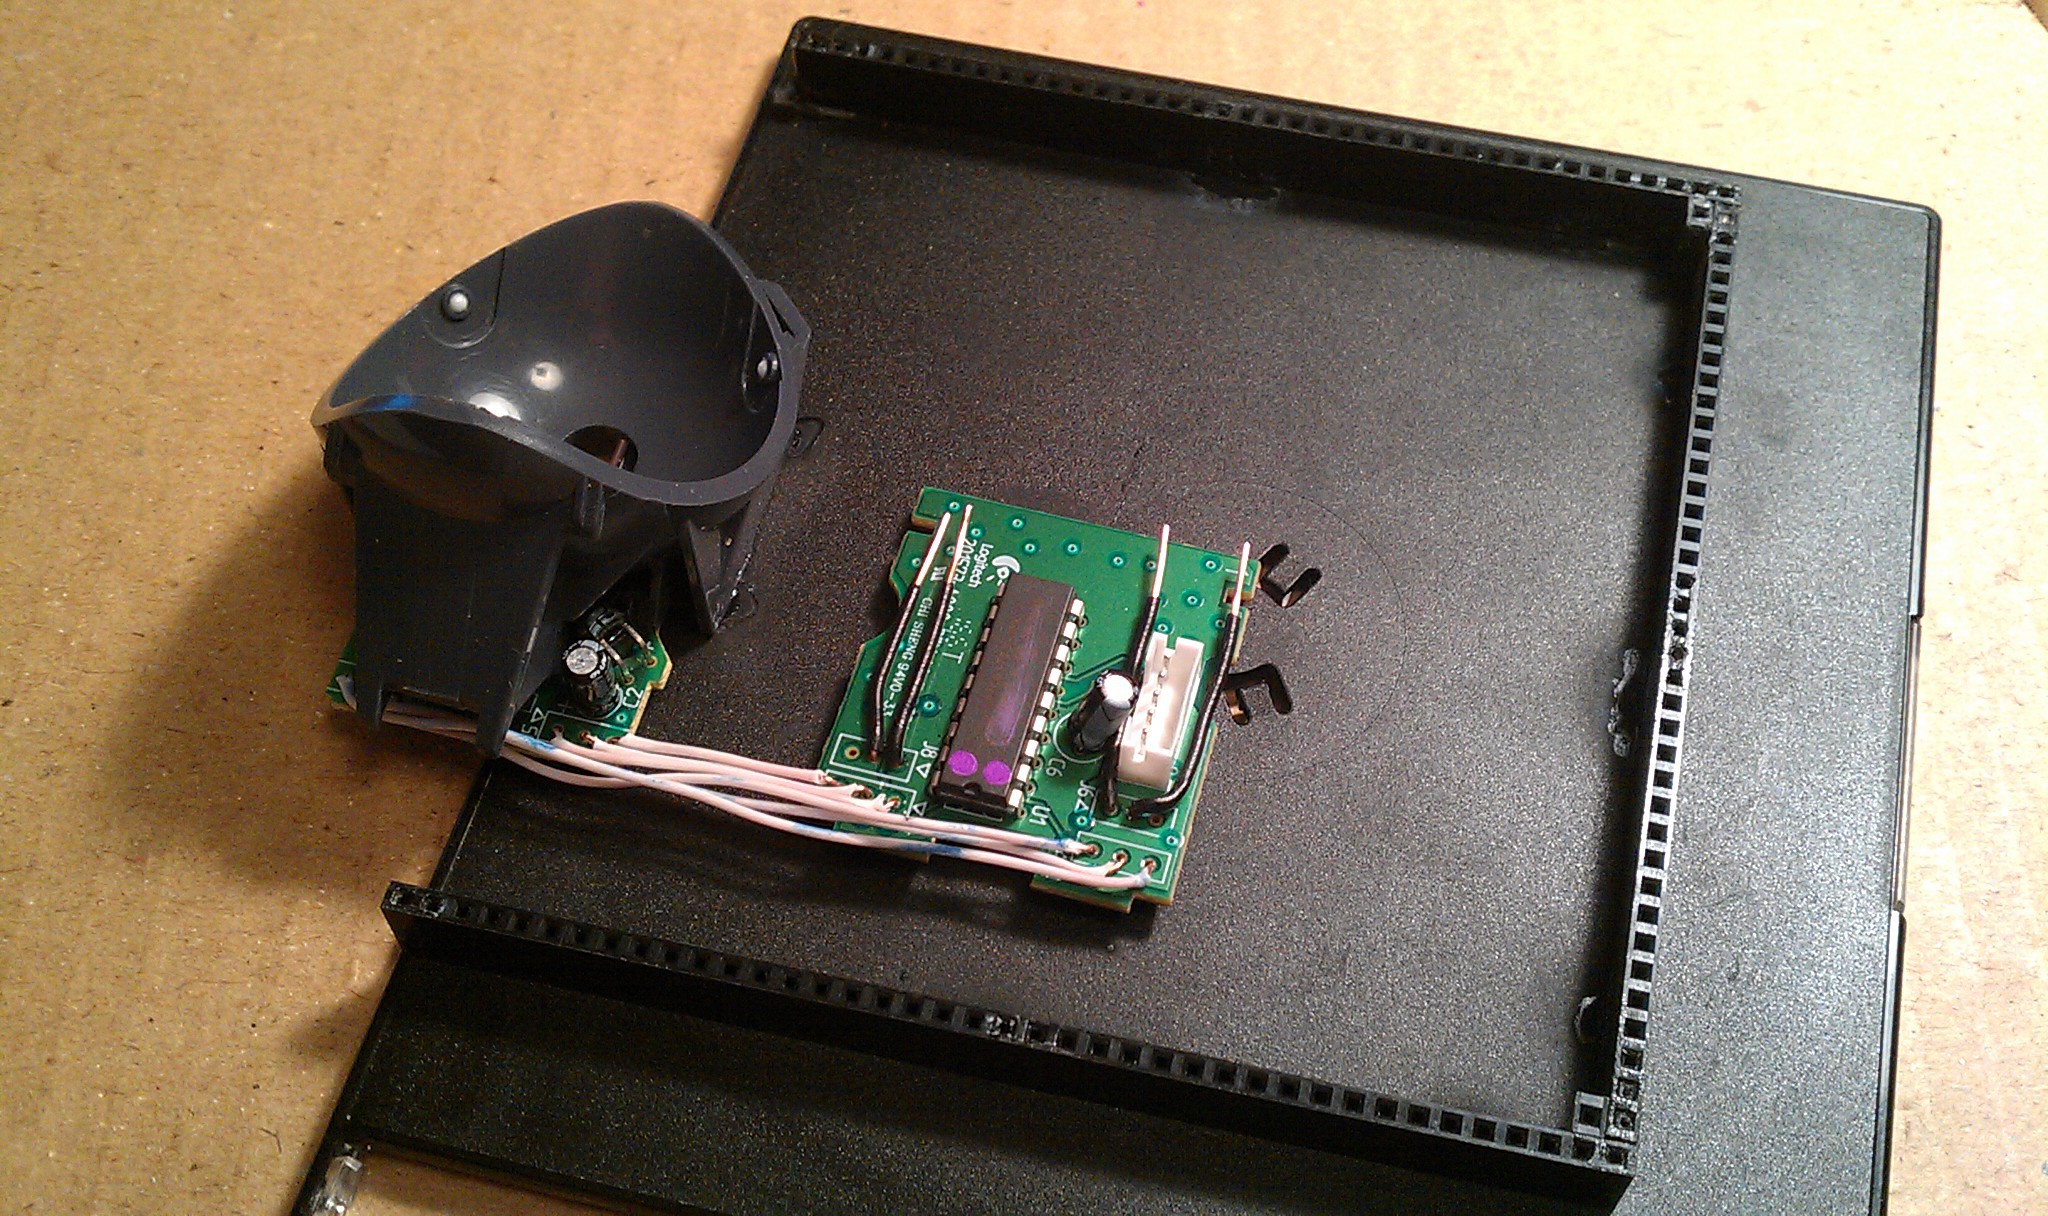
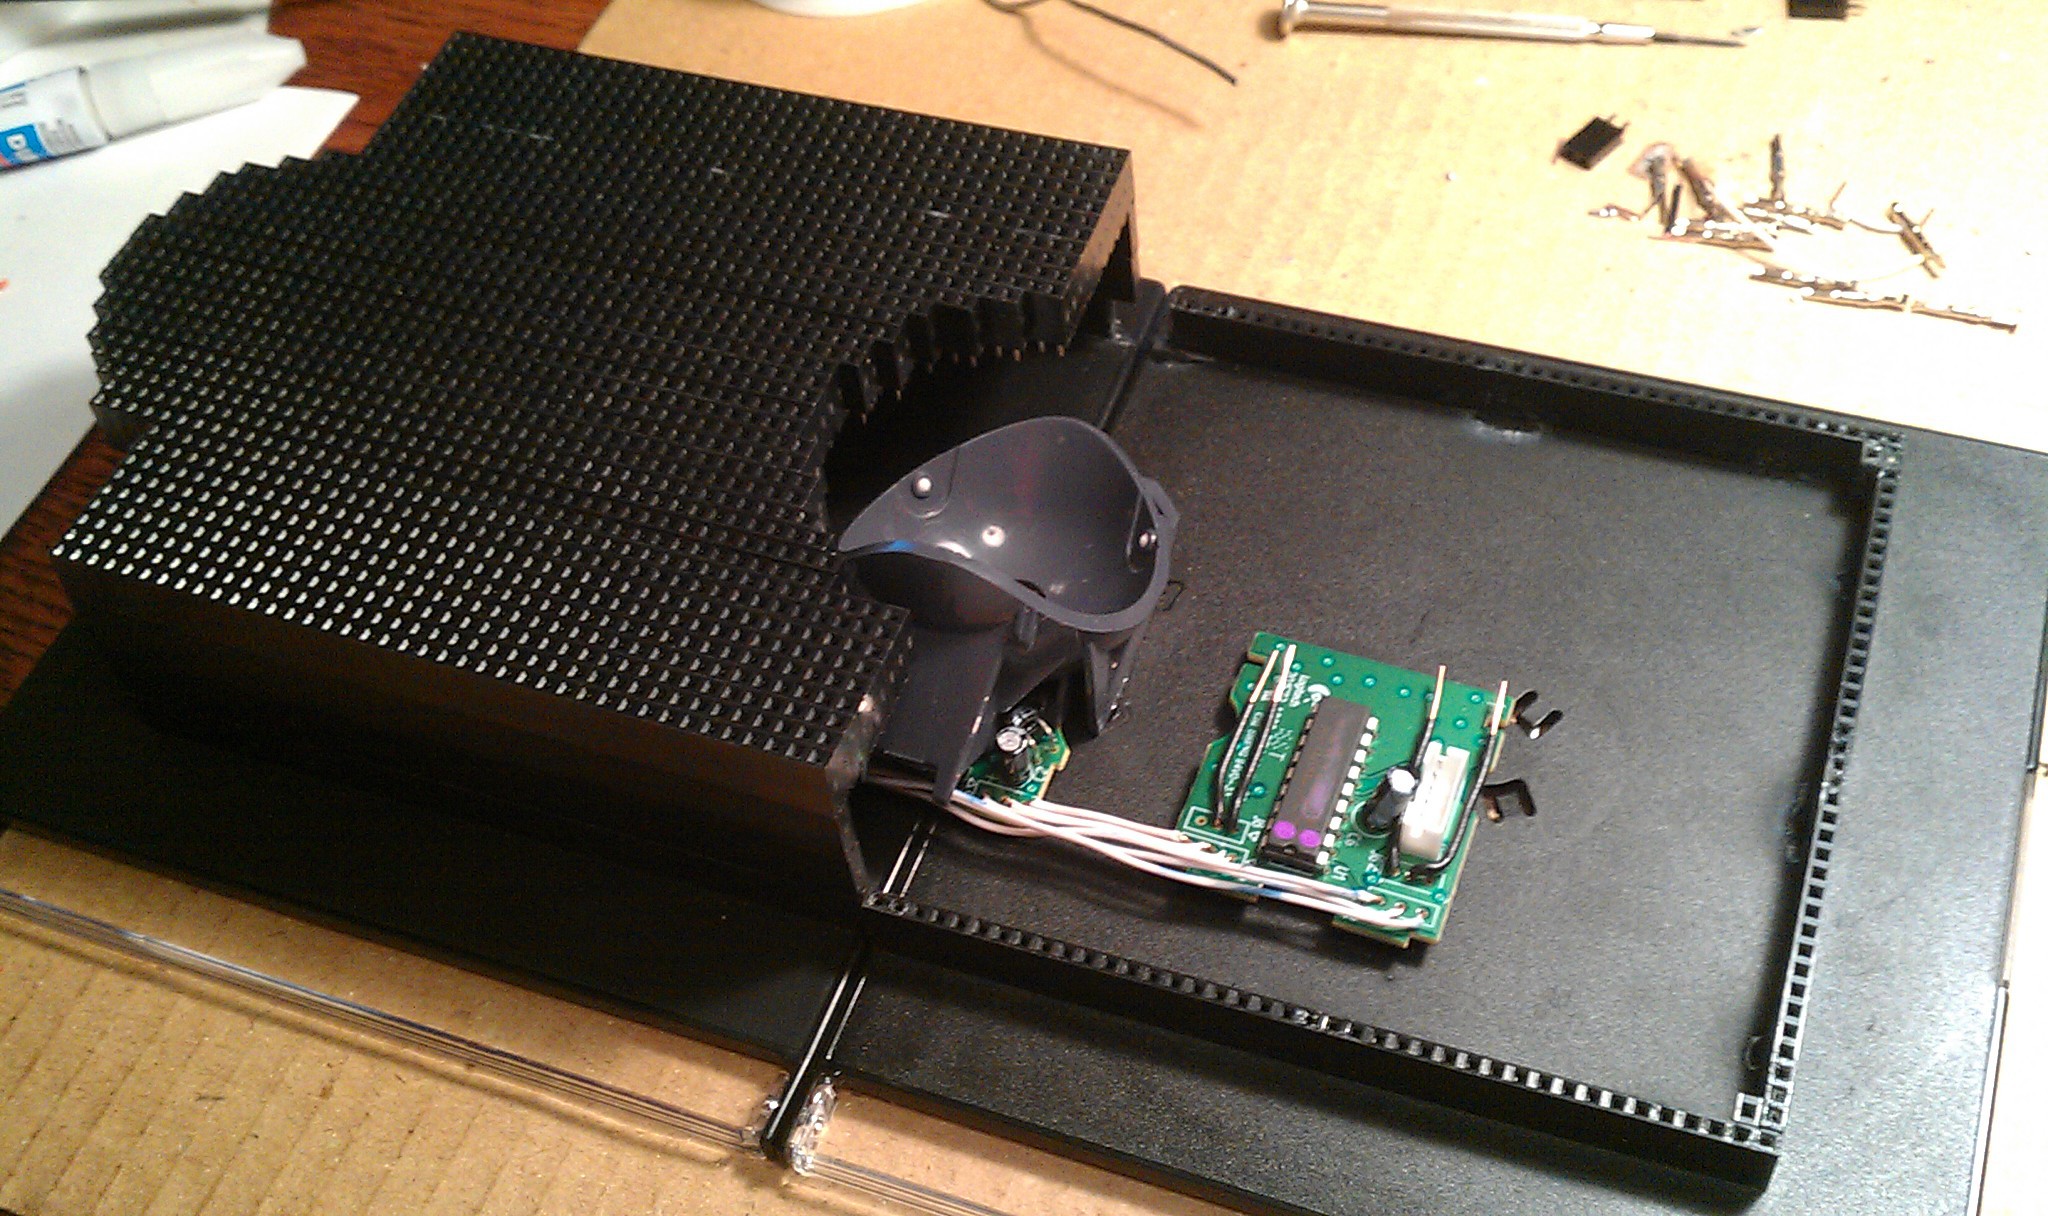
 Its an old style crystal from an old amplifier (I think). I wouldn't think of mixing old tube style components with newer 3.3v logic, but when I saw it, I knew it was going to give my trackball the retro feel it was needing to make it even more artsy. Then later I found out those pin inserts actually made a perfect socket for it.
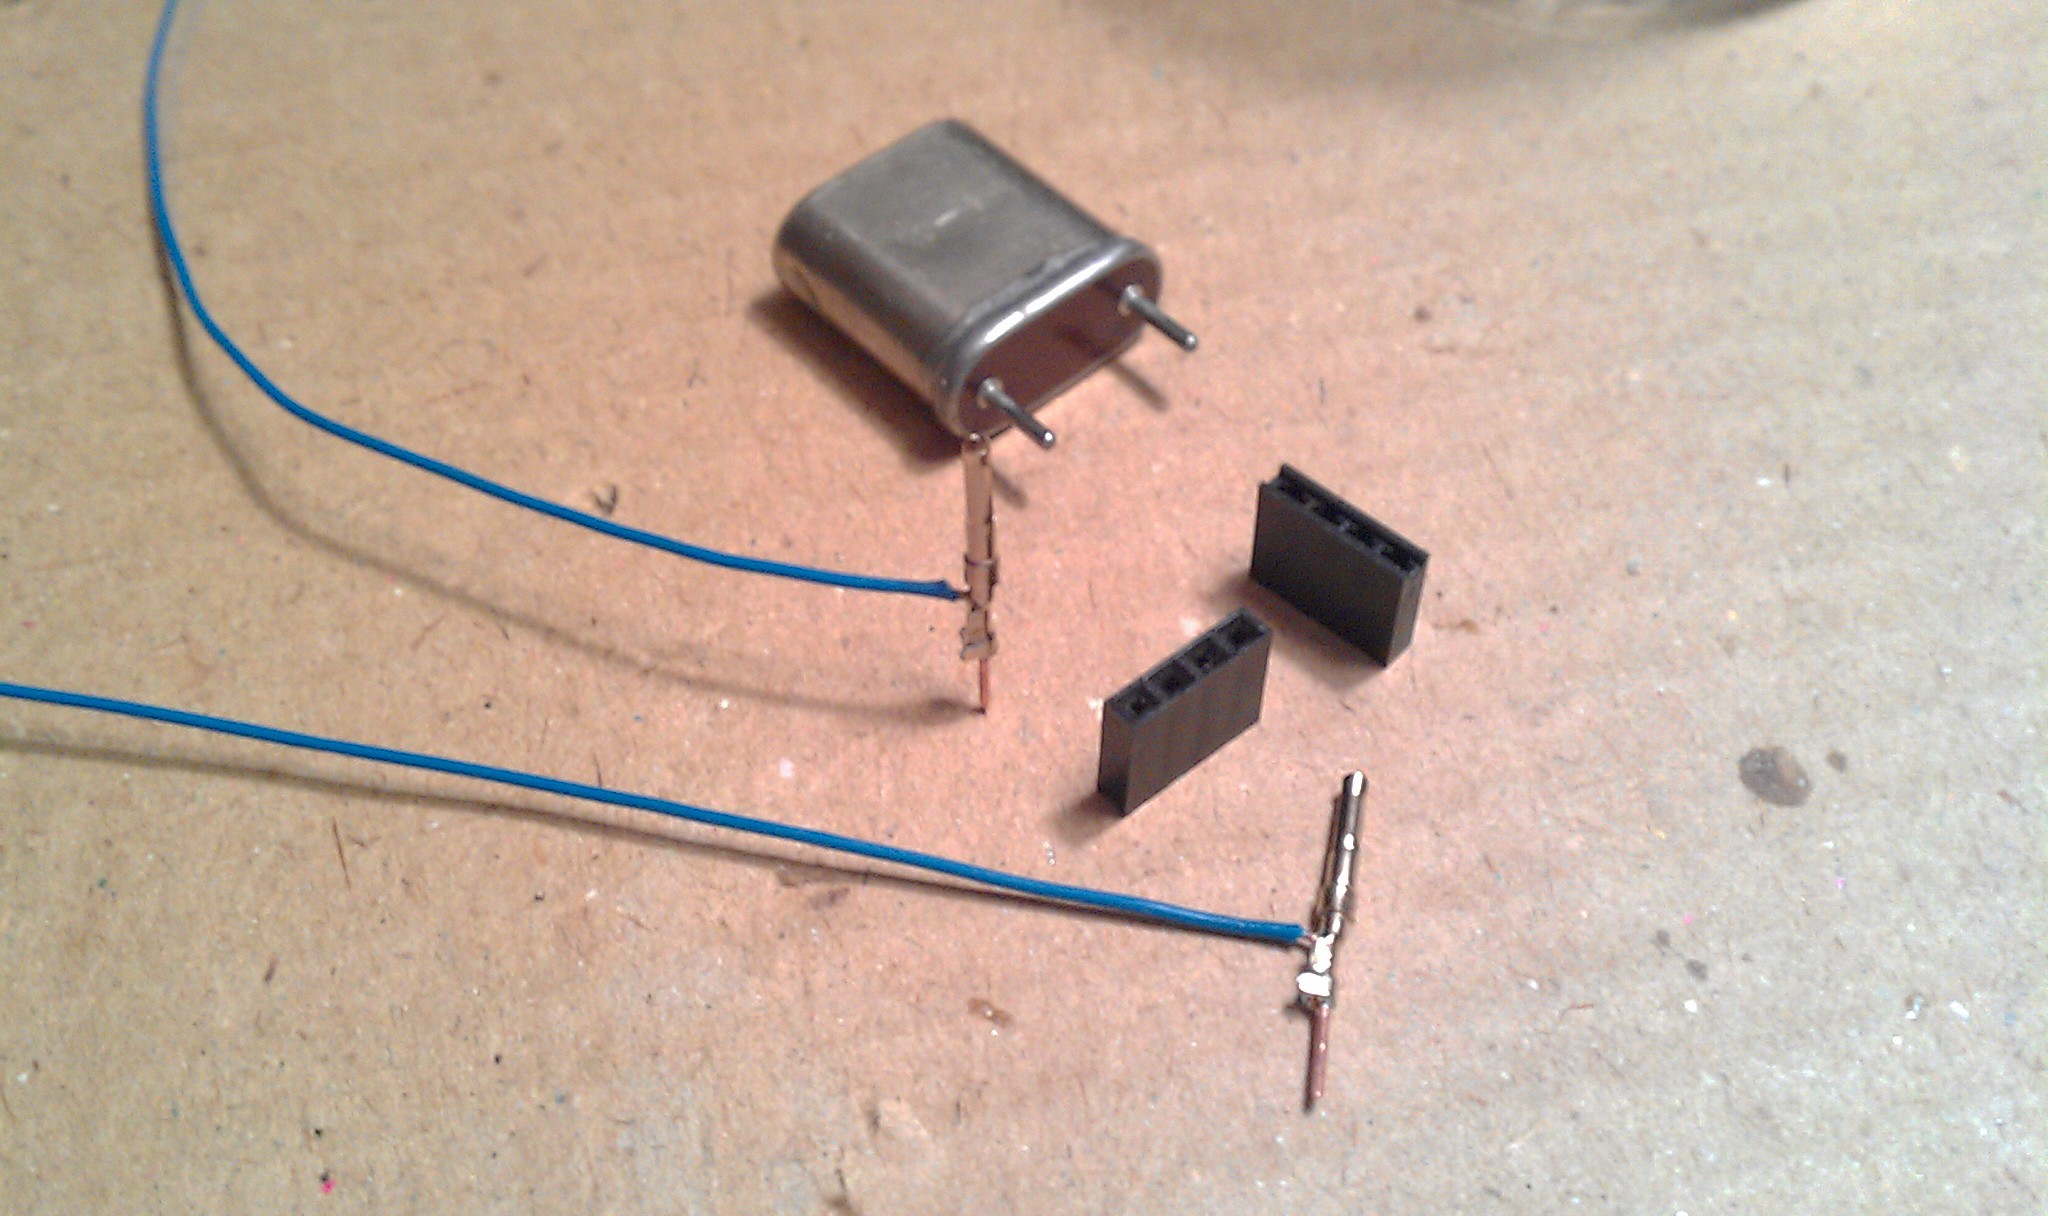 Deadbug Style!
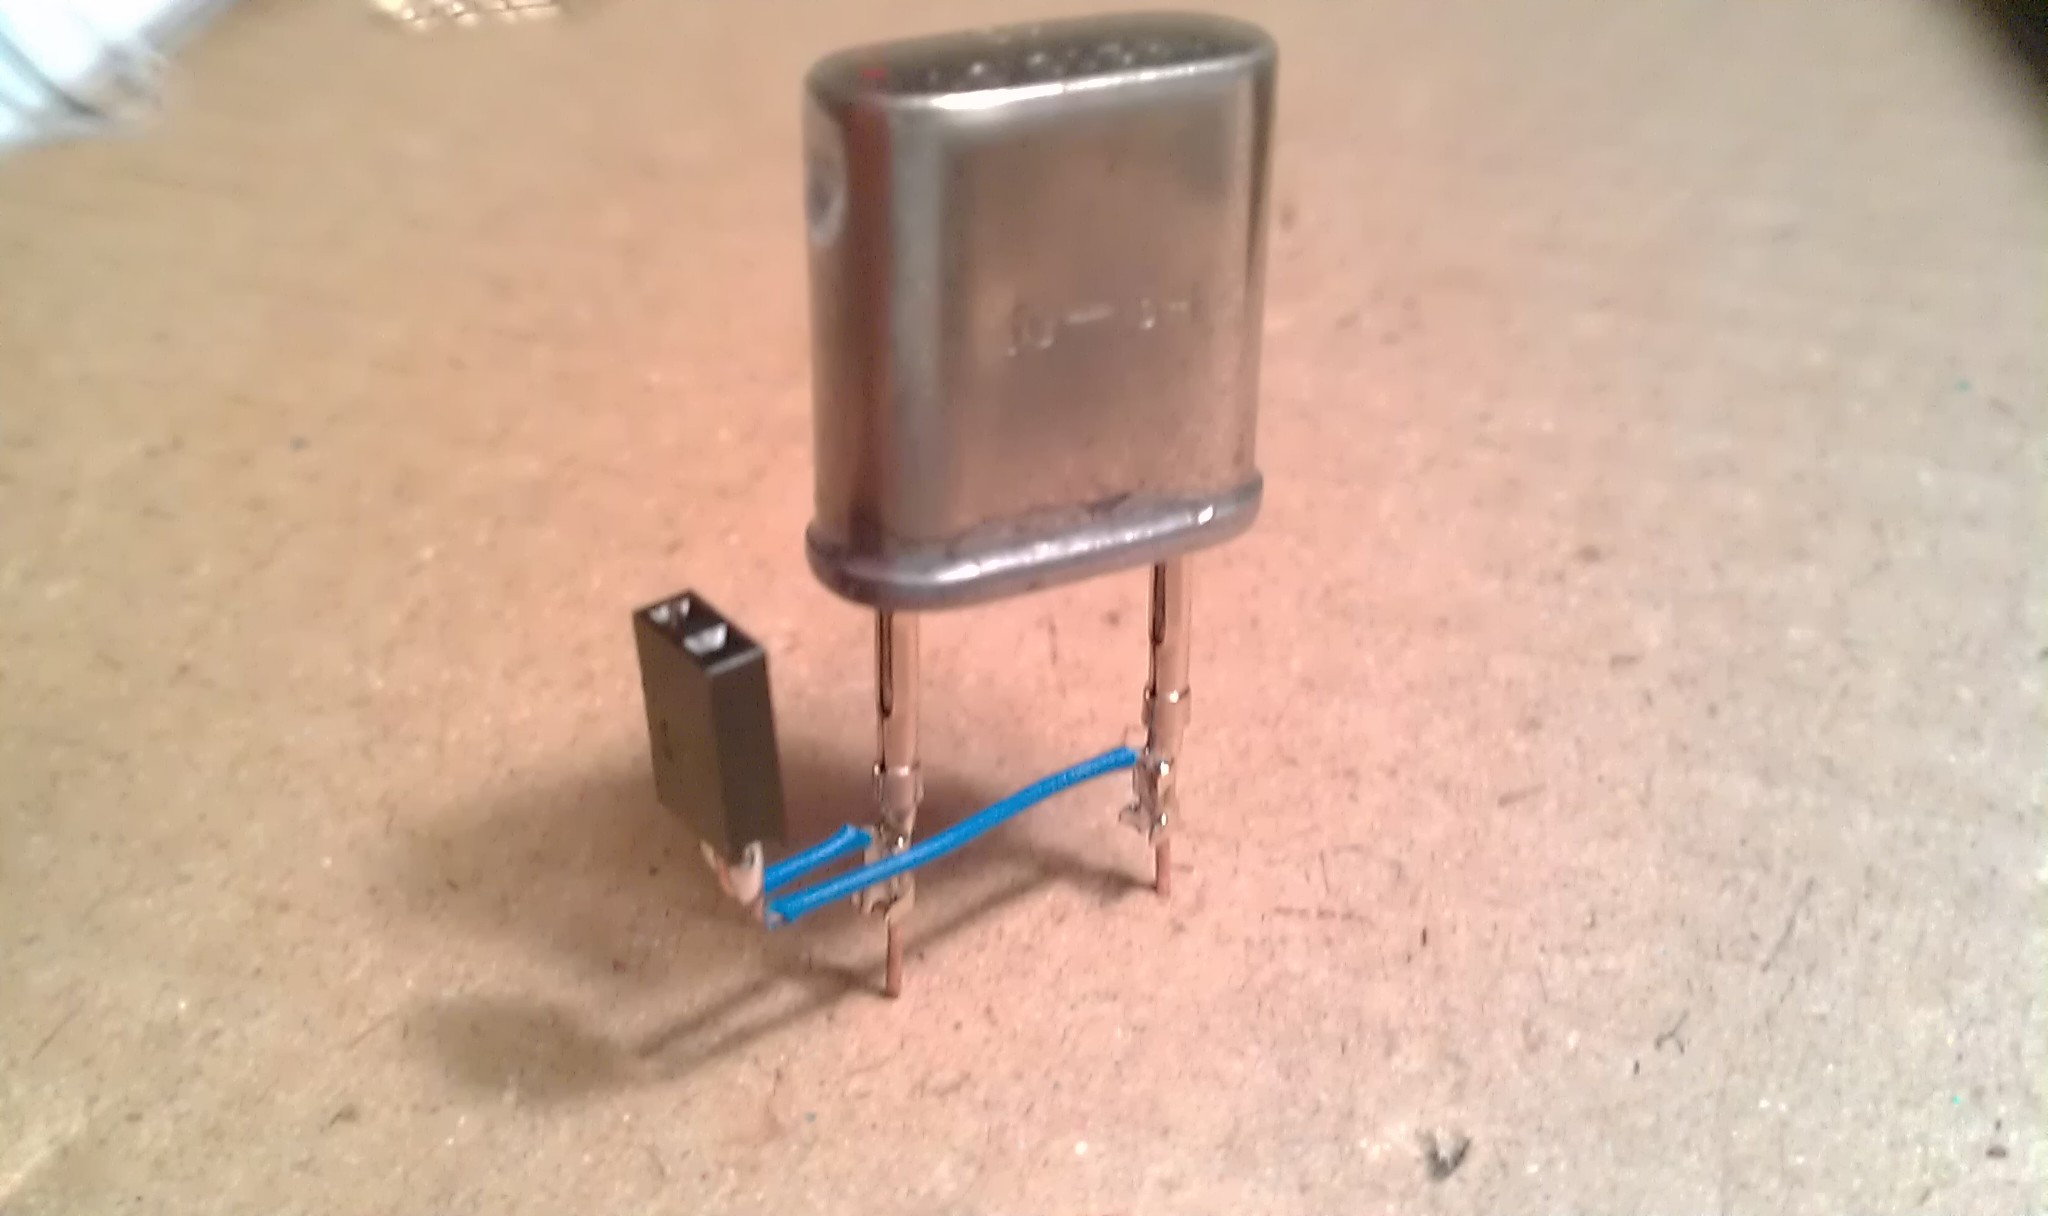 With headers of course.
 The alligator clip test lead is pointing to the two sockets to the crystal.
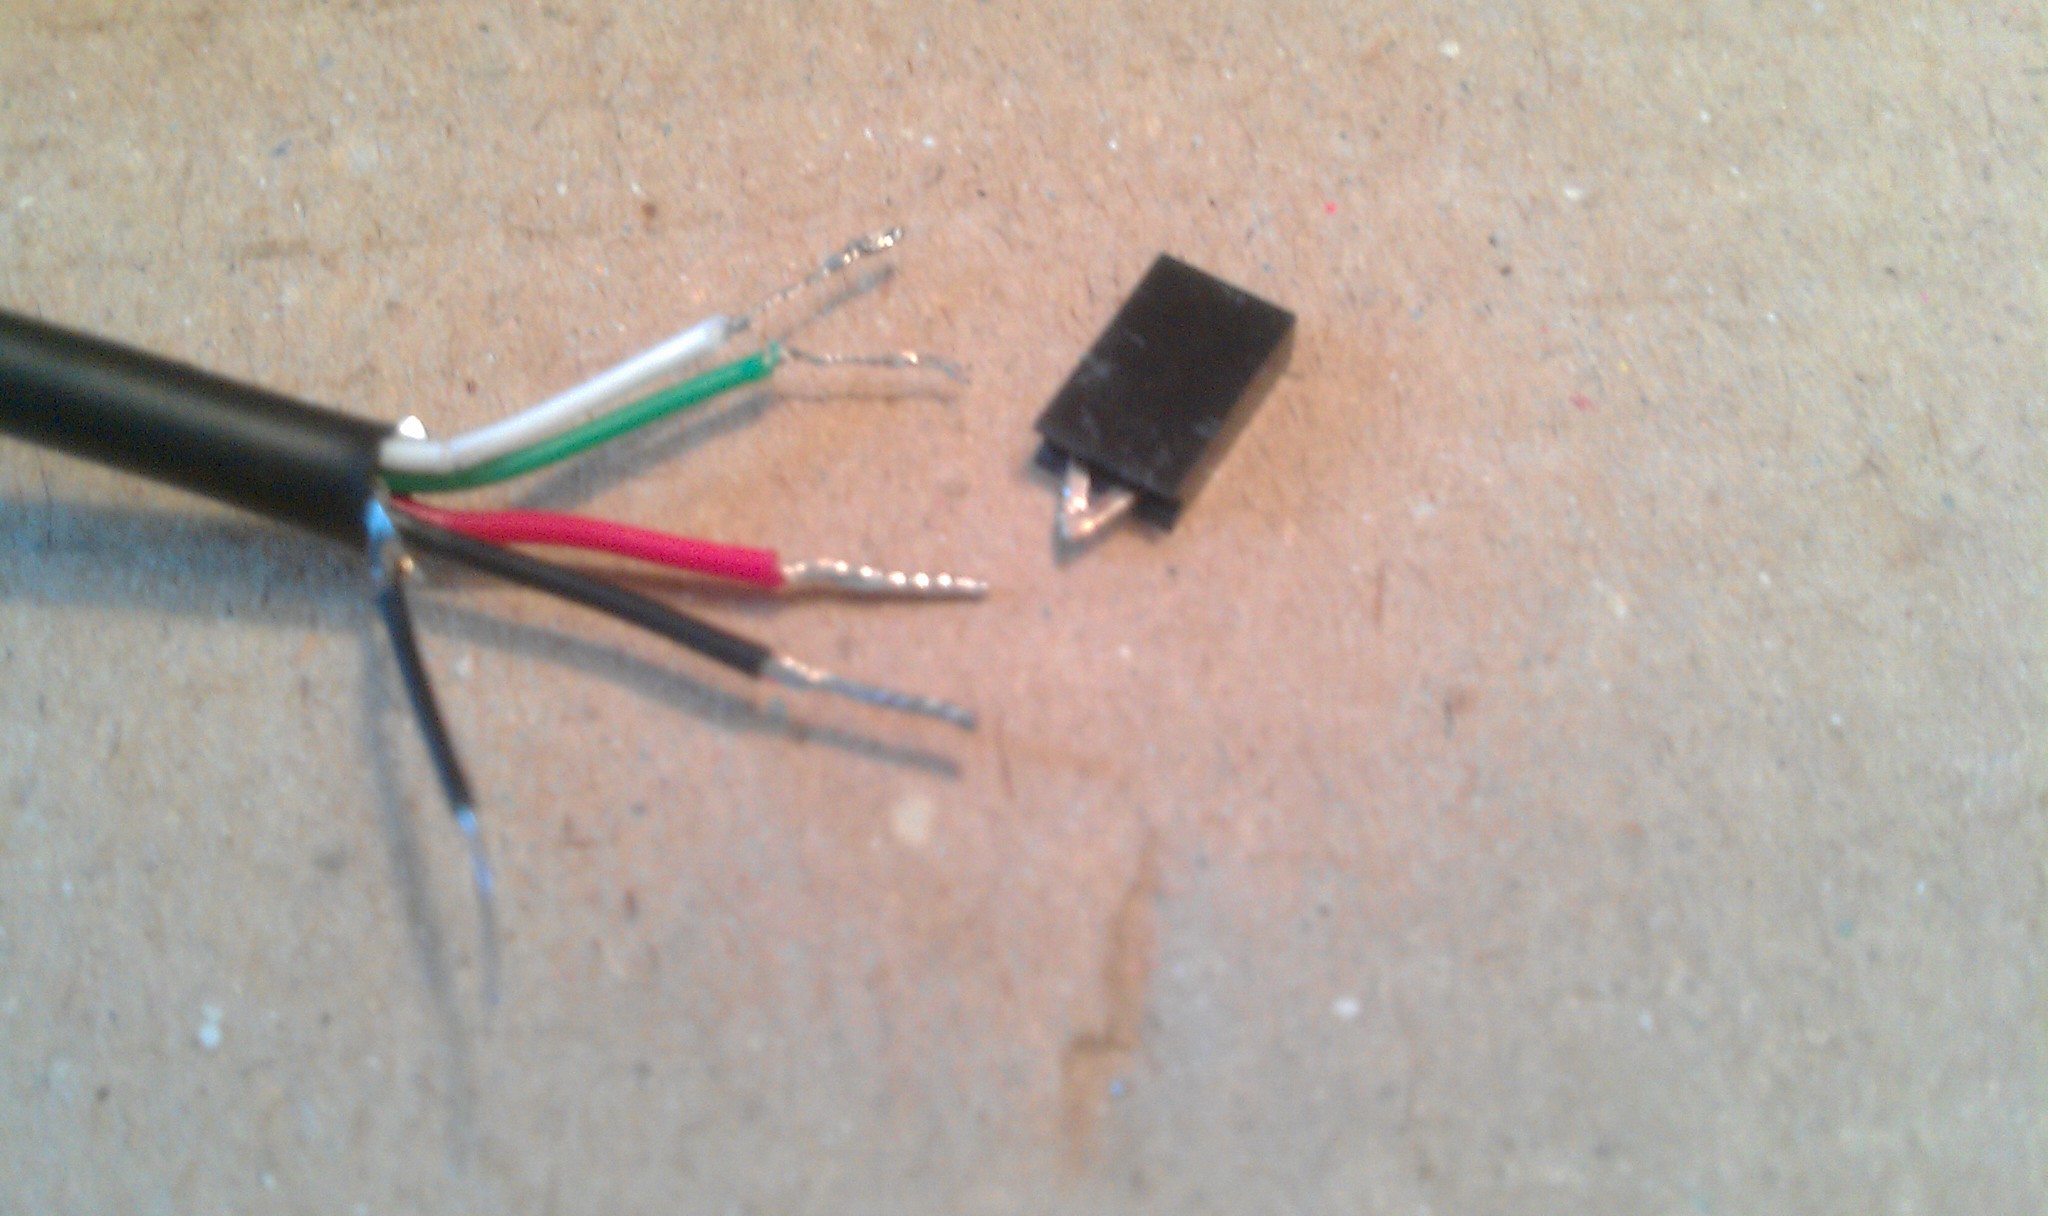
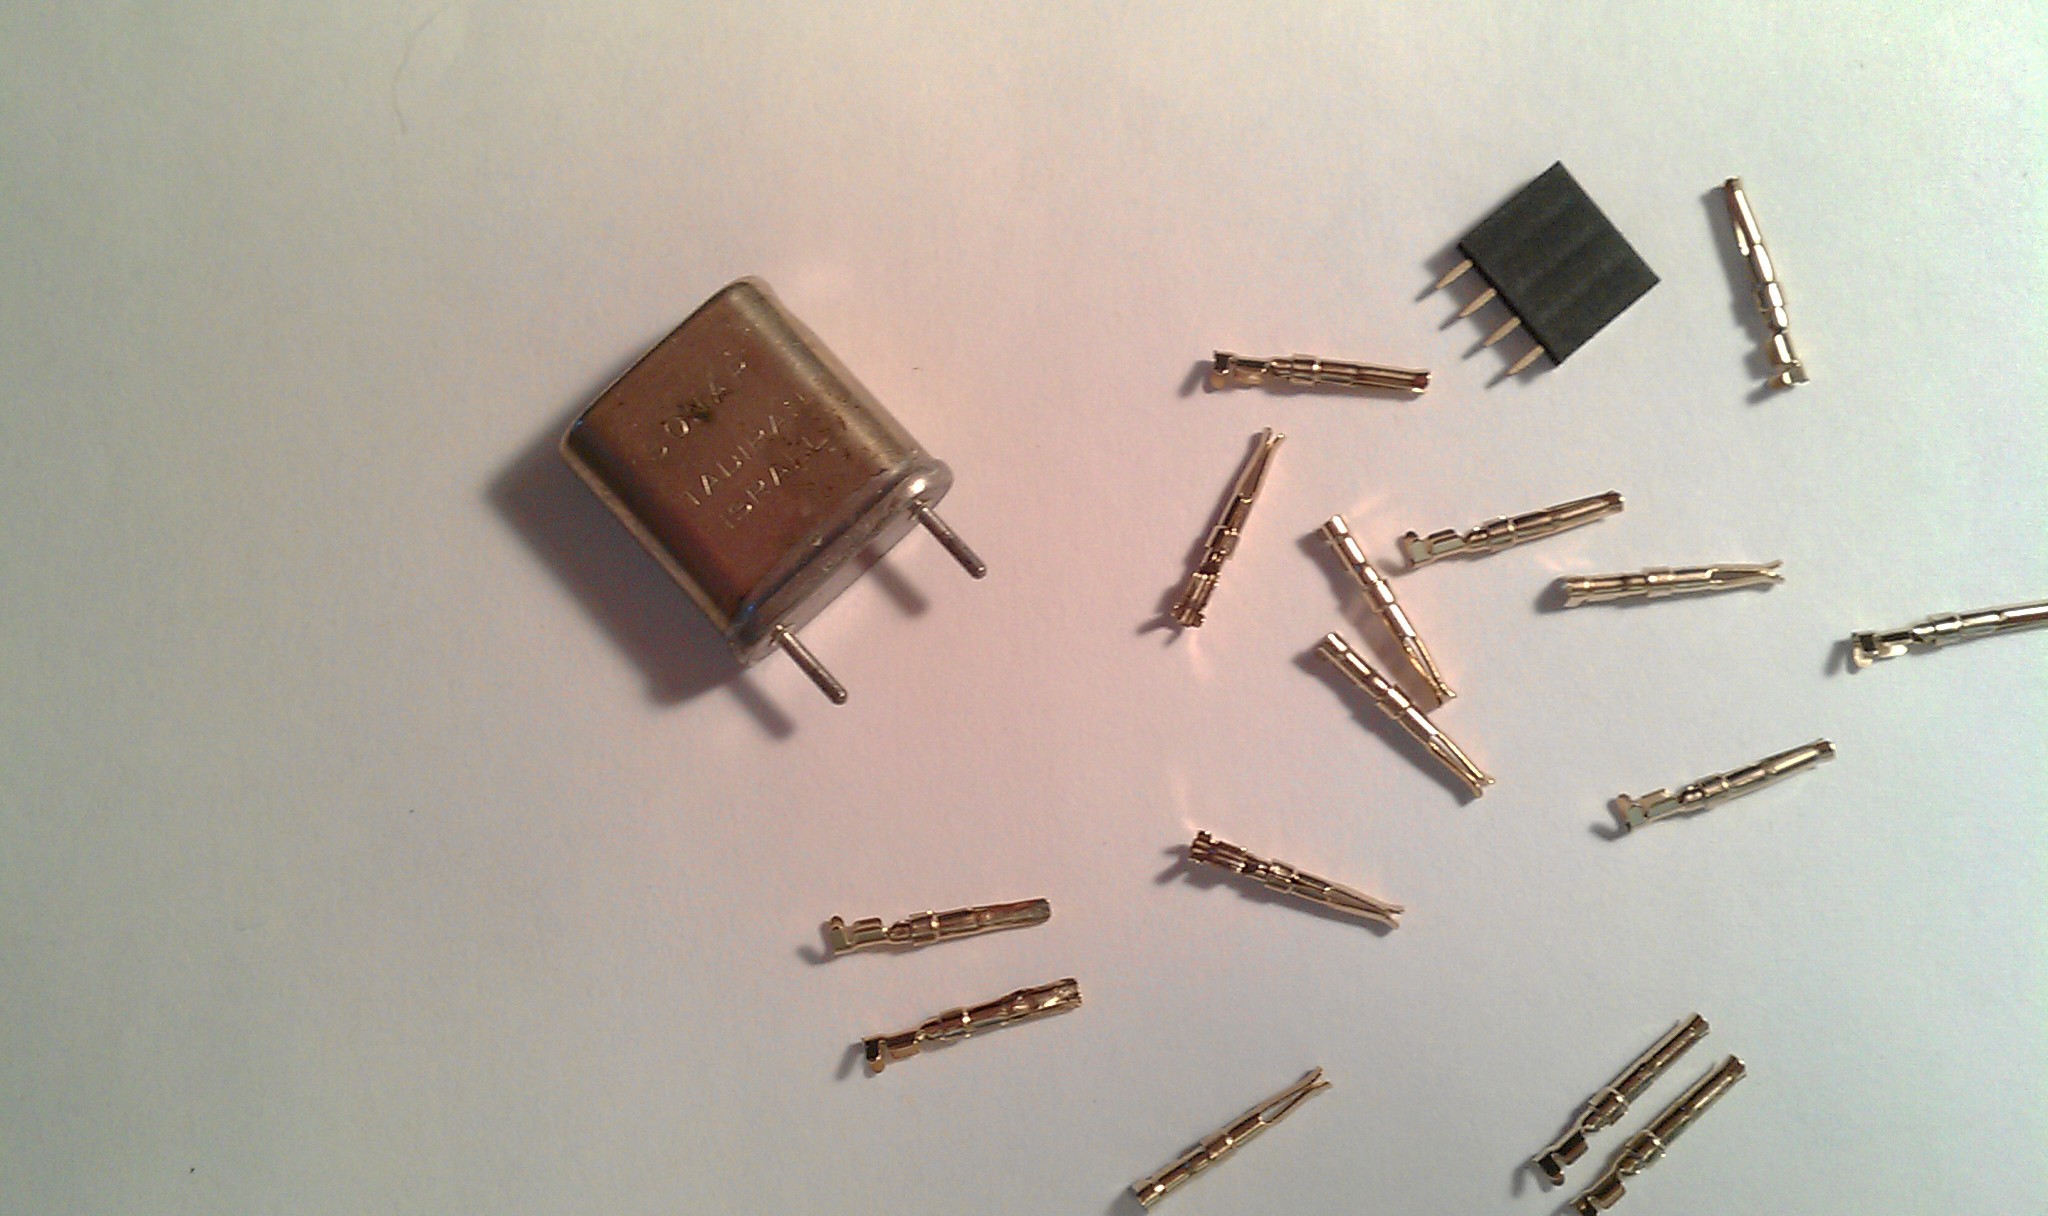
 5x
5x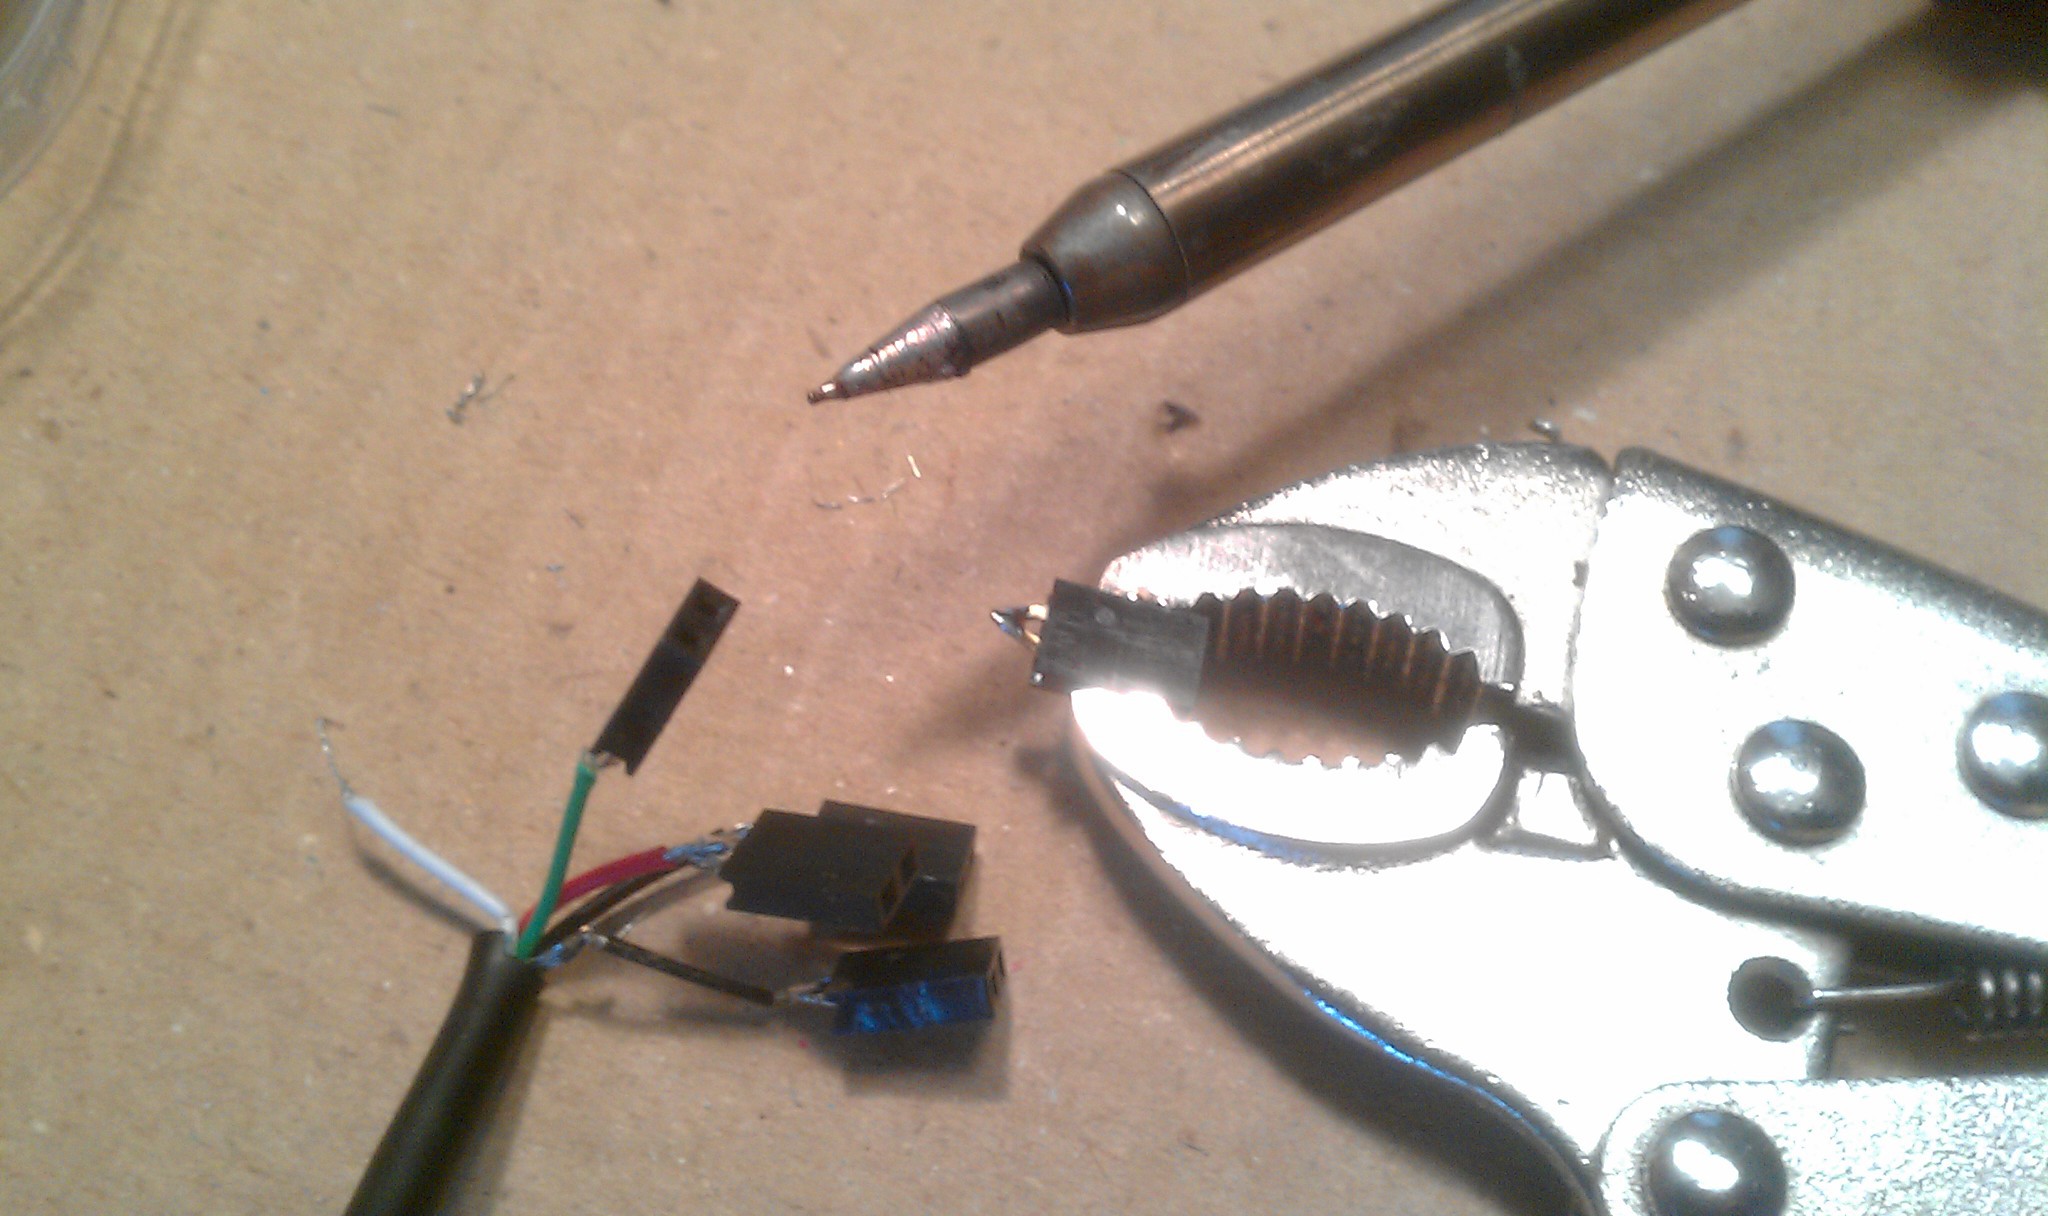 Two pin header sized squares of electric tape between each.
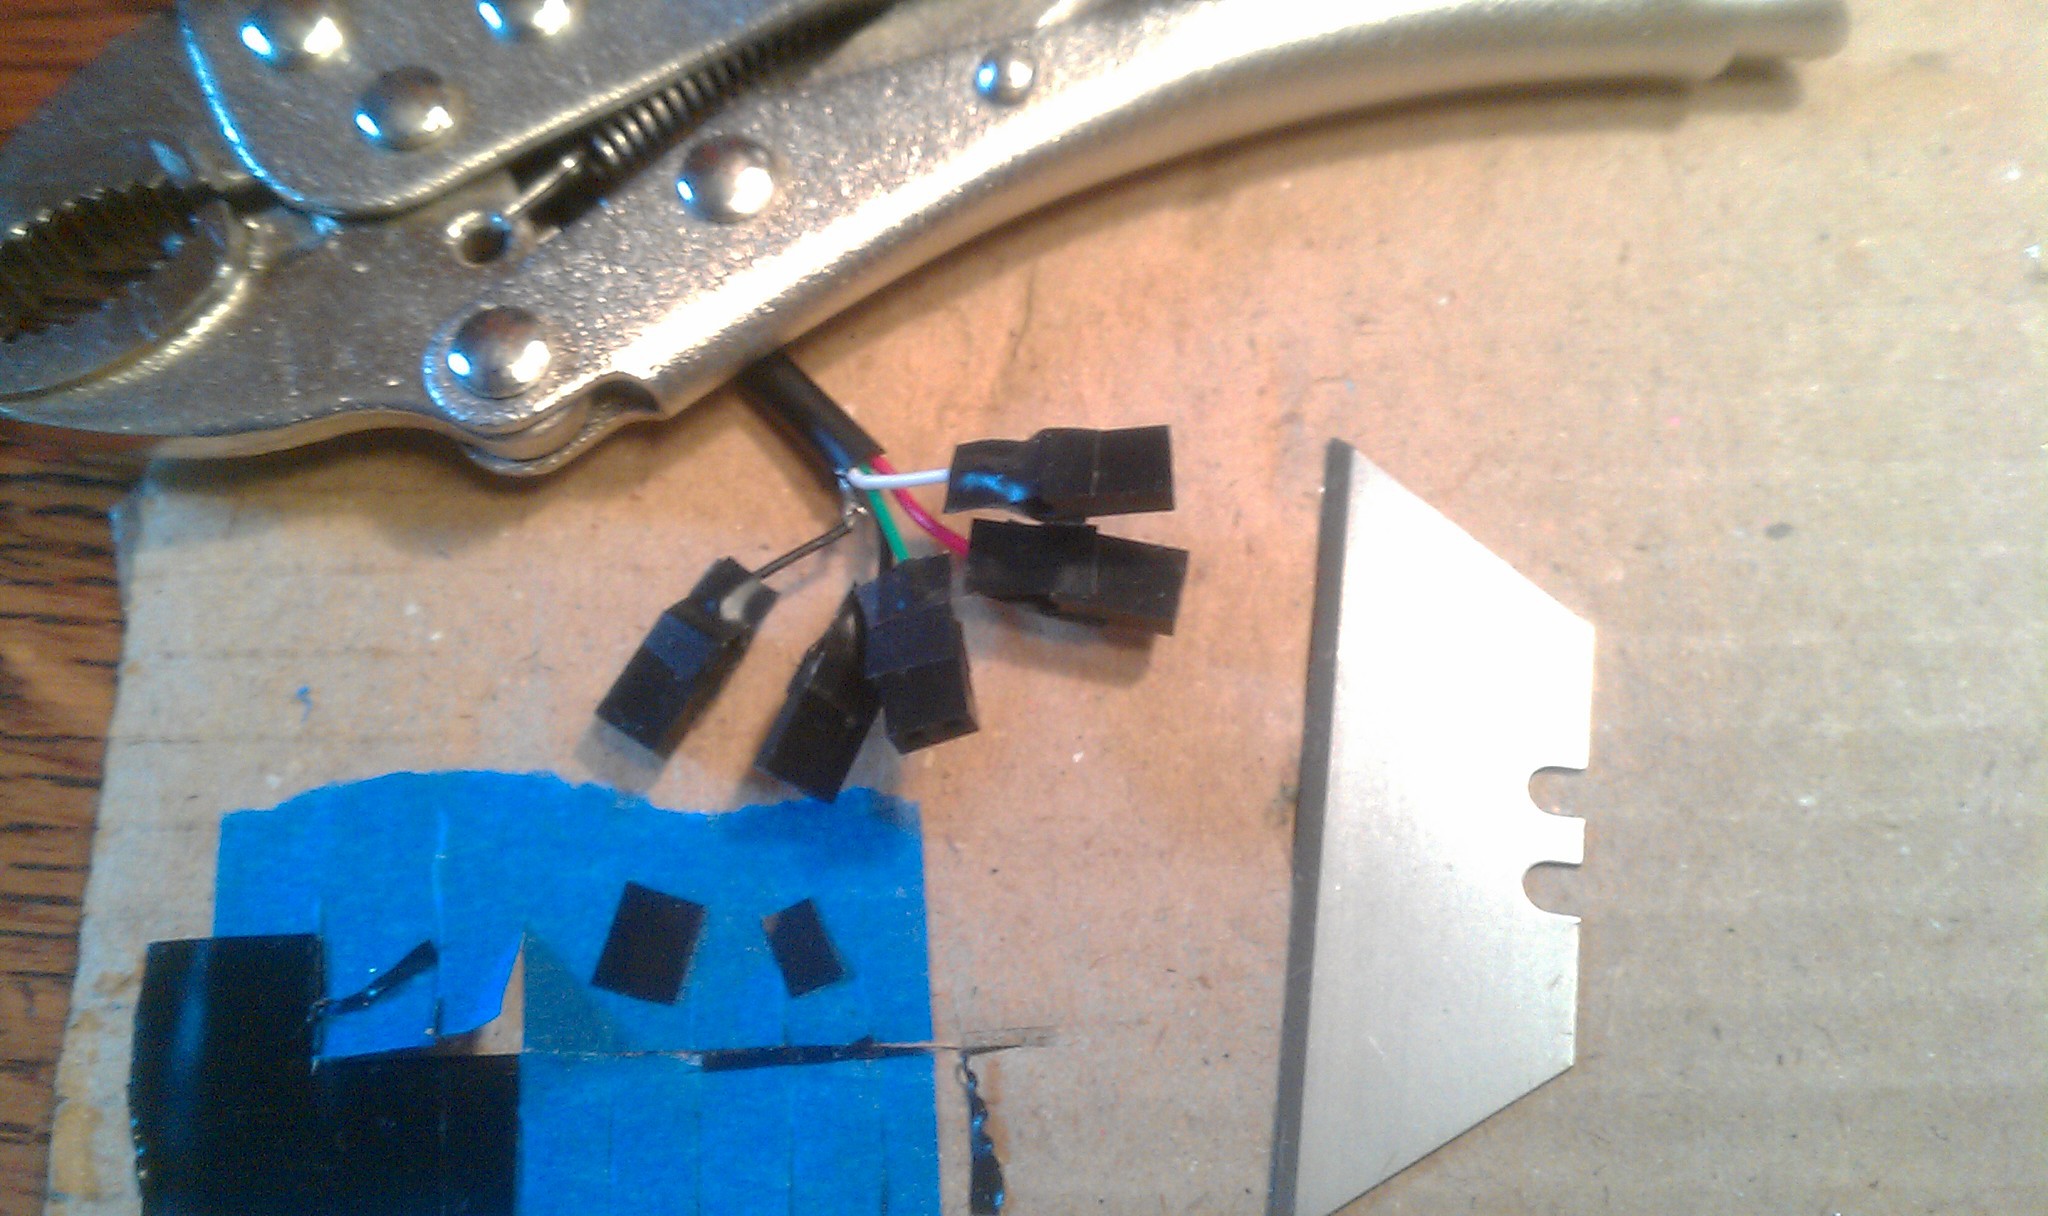 All five super glued together (held in position with two male header strips not shown.)
 Plugged in underneath.
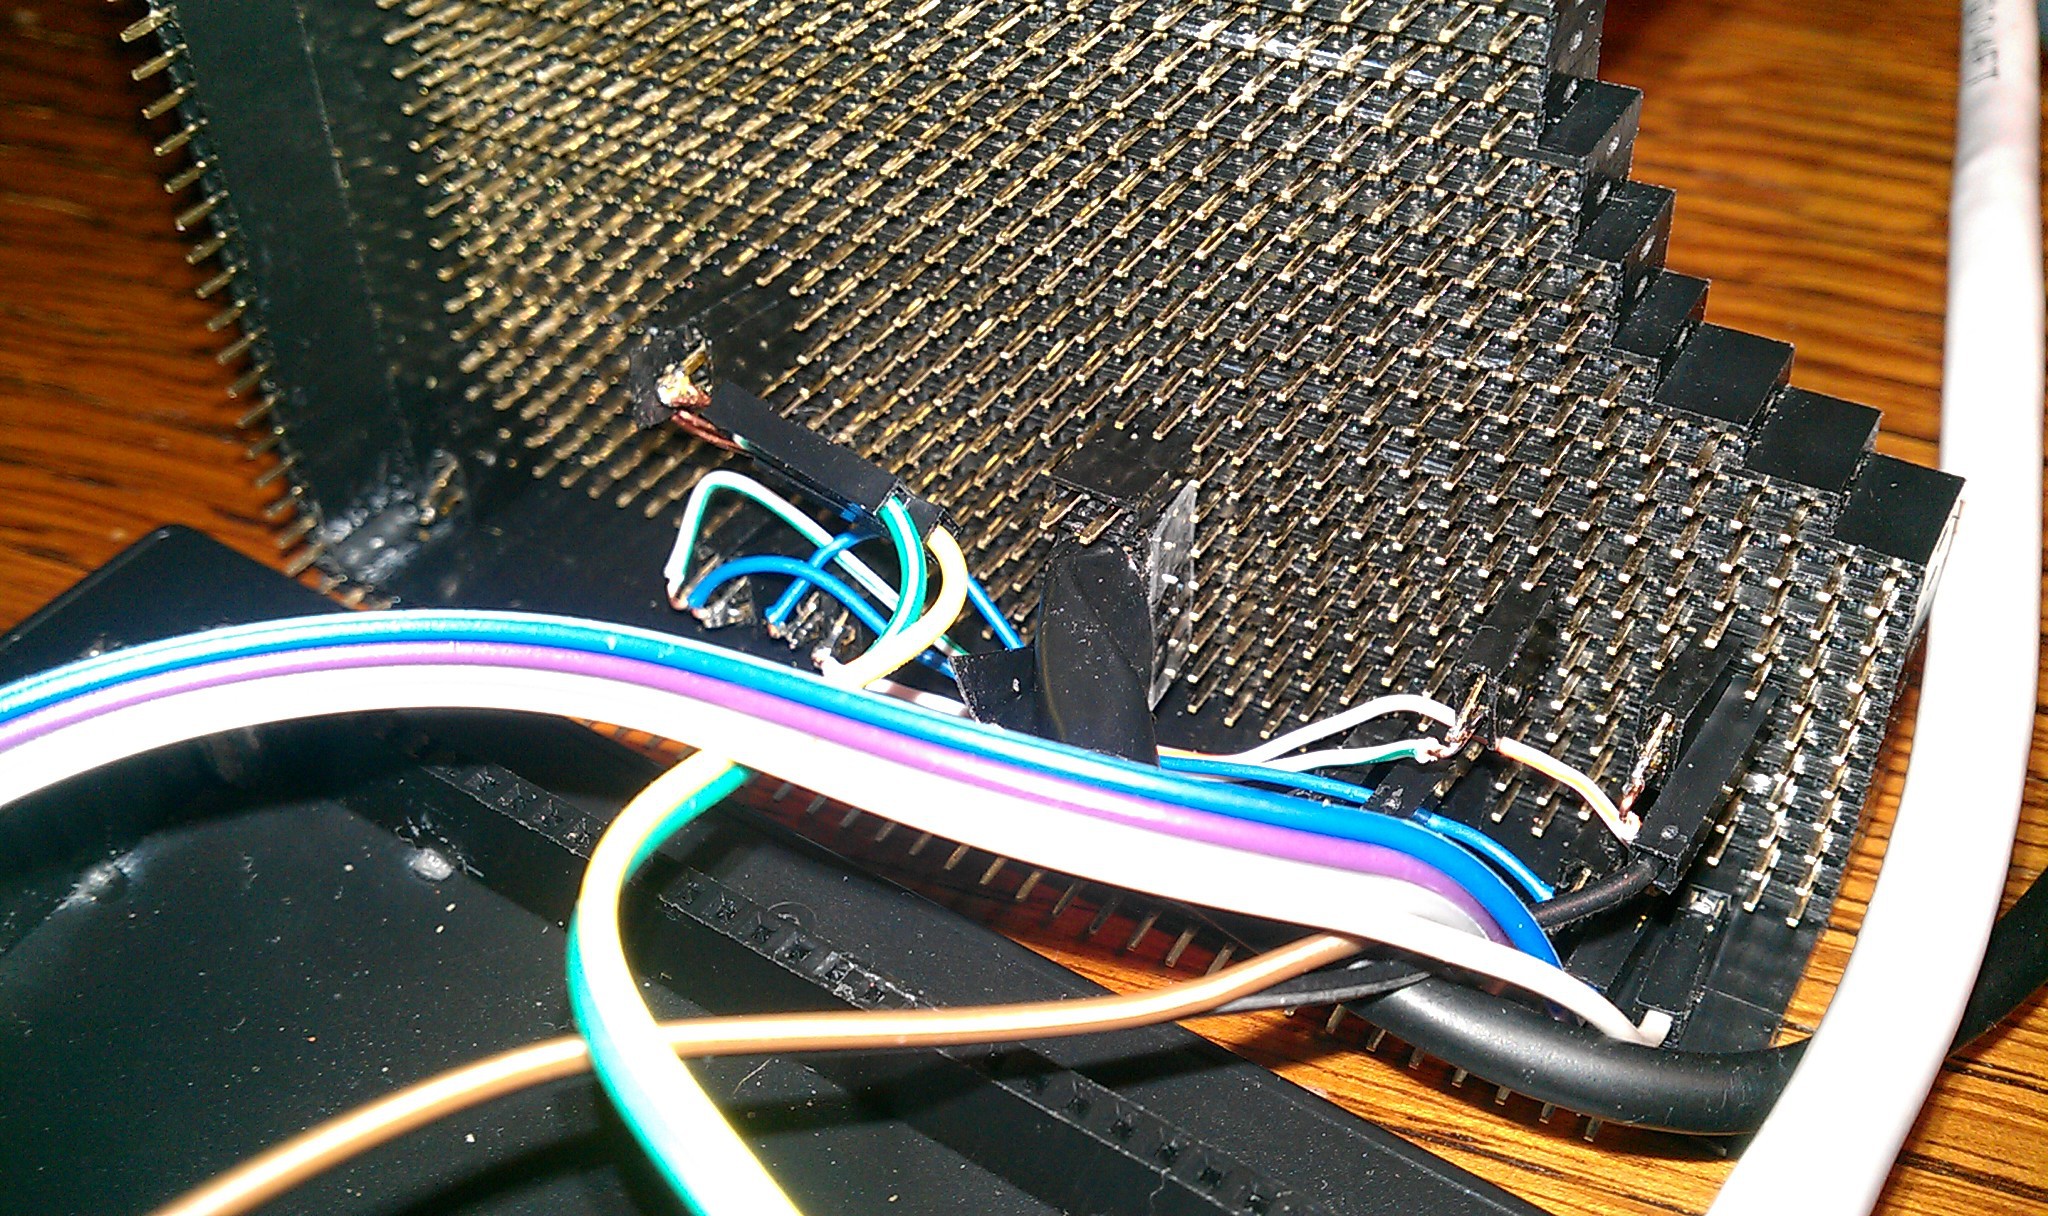 On top I chopped an old USB micro cable for its connector. I had to be careful not to bend the delicate wires barely held on with glue. Soldered to a five pin male header, plugged into place.
 Each pin is duplicated to its corresponding female socket.
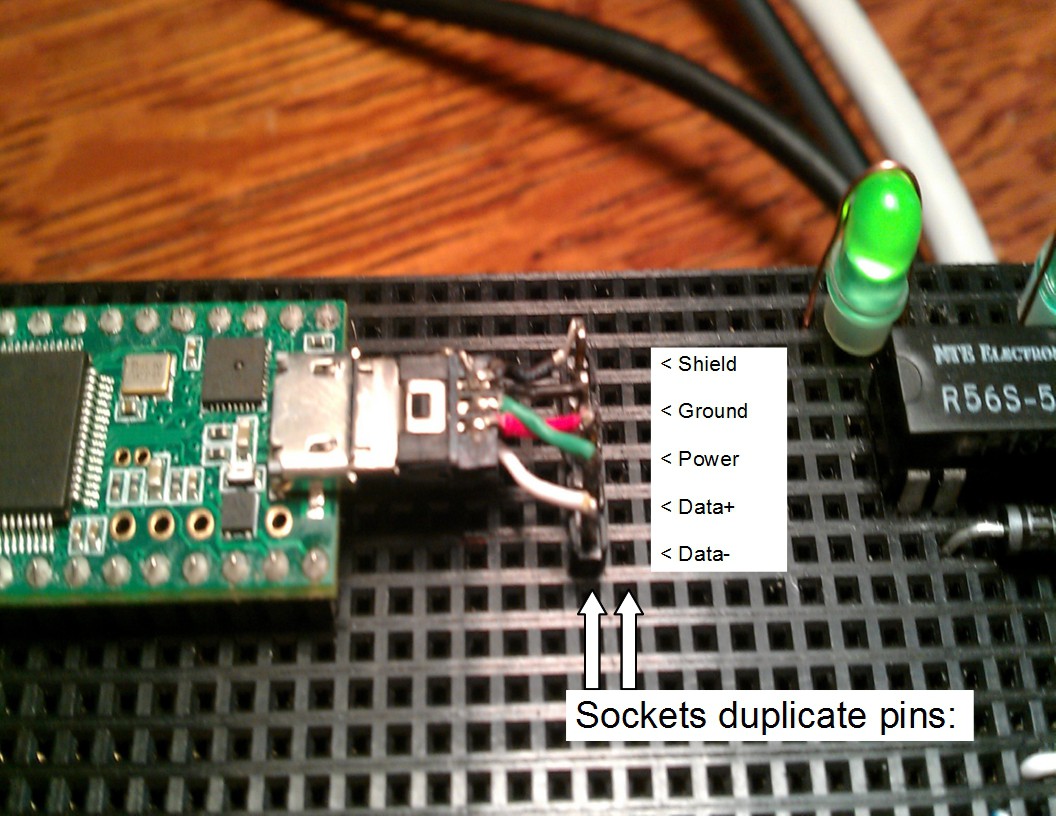
 Then keyboard caps L and R were pried off of an old PS2 keyboard. The wire wrapped around the bottom, making a telegraph style button. Supper light touch and slightly flexible, but defiantly needs something like a 3D printed upgrade.
 Chopped
it, soldered it, hacked it.
Chopped
it, soldered it, hacked it.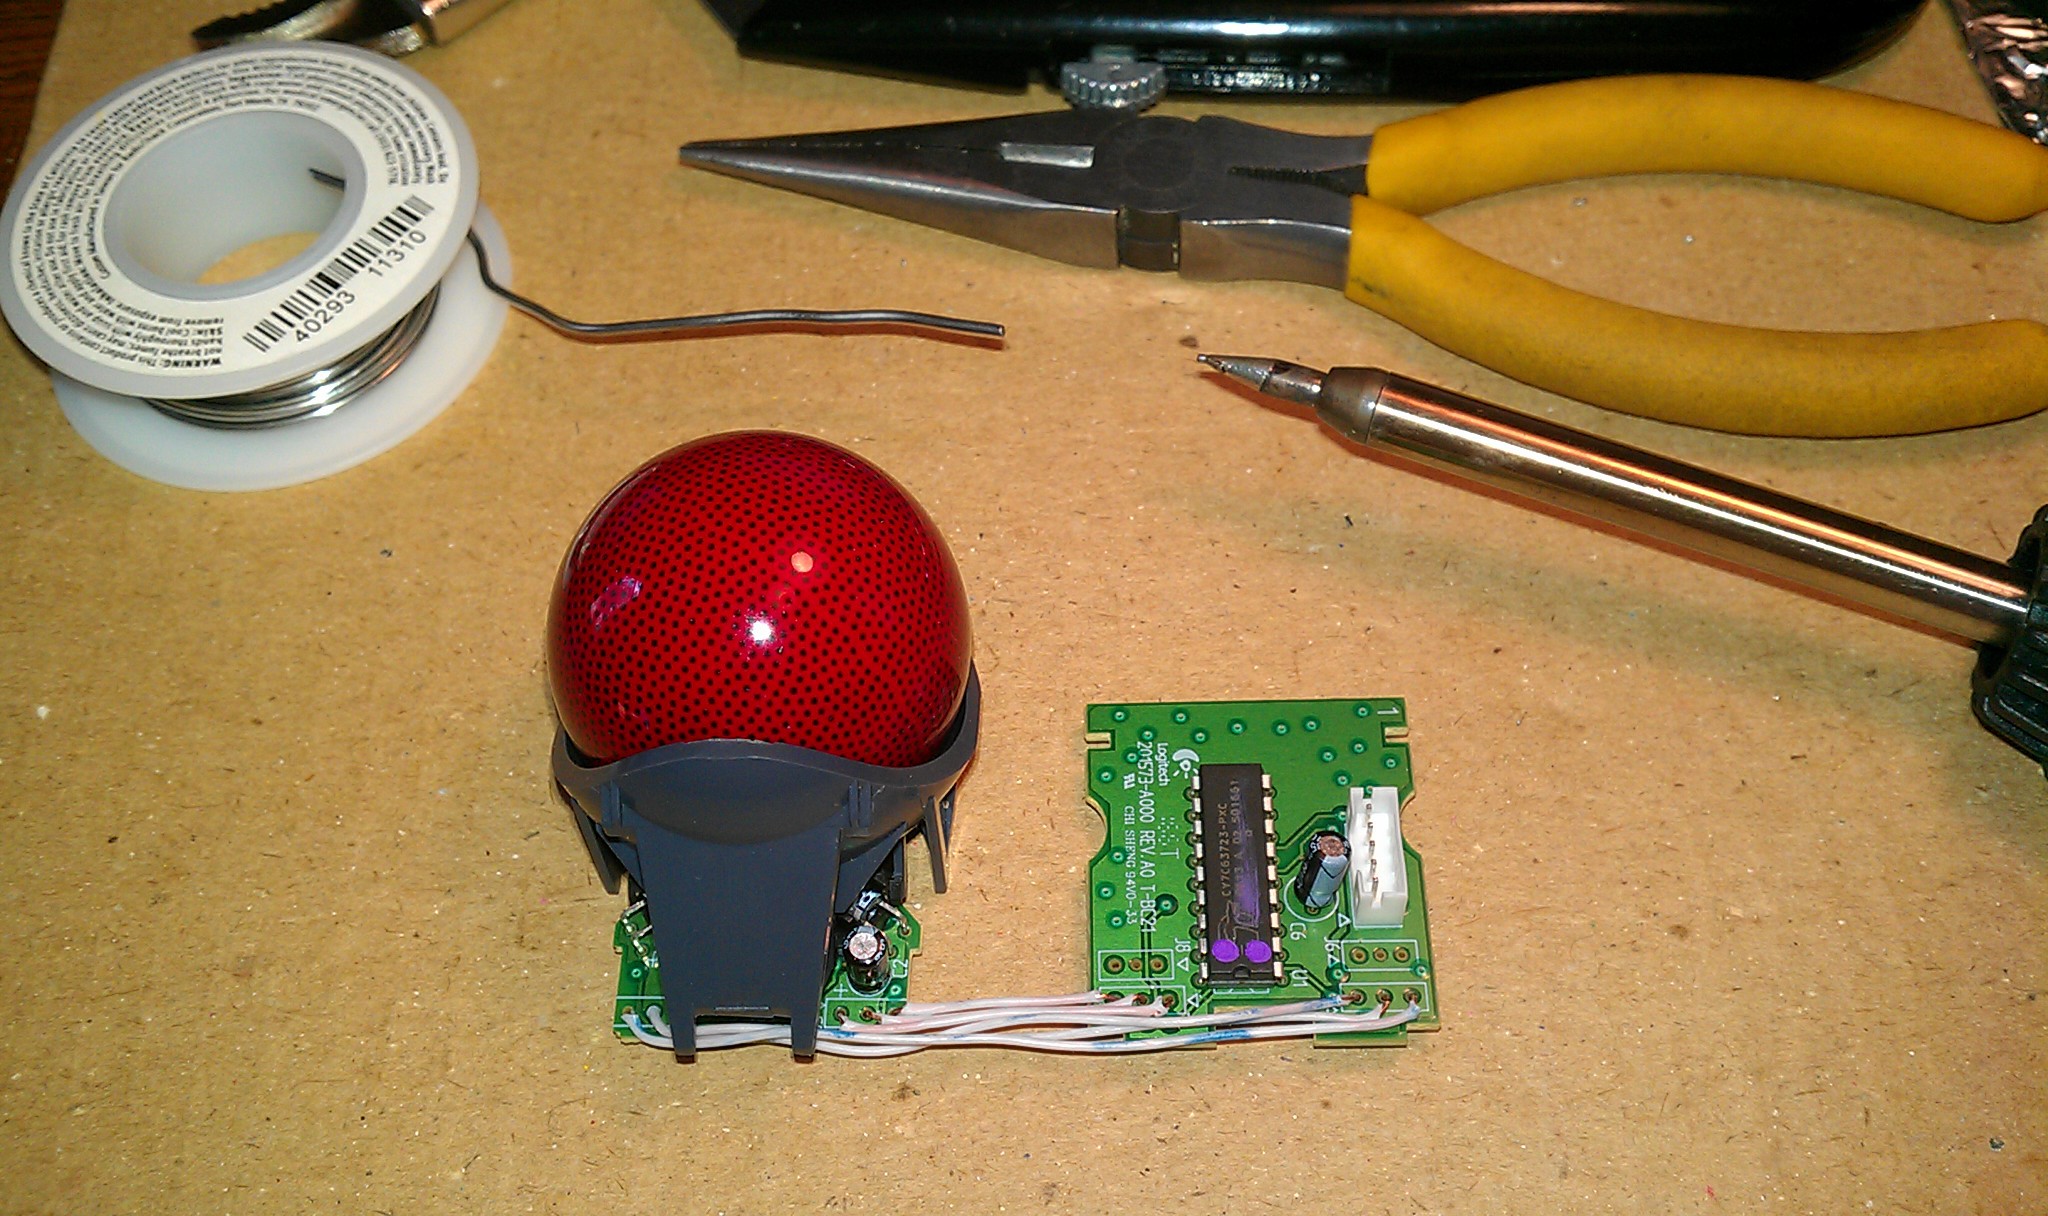 Dead bug
style. I soldered the wires long through the holes to keep air space underneath.
Dead bug
style. I soldered the wires long through the holes to keep air space underneath.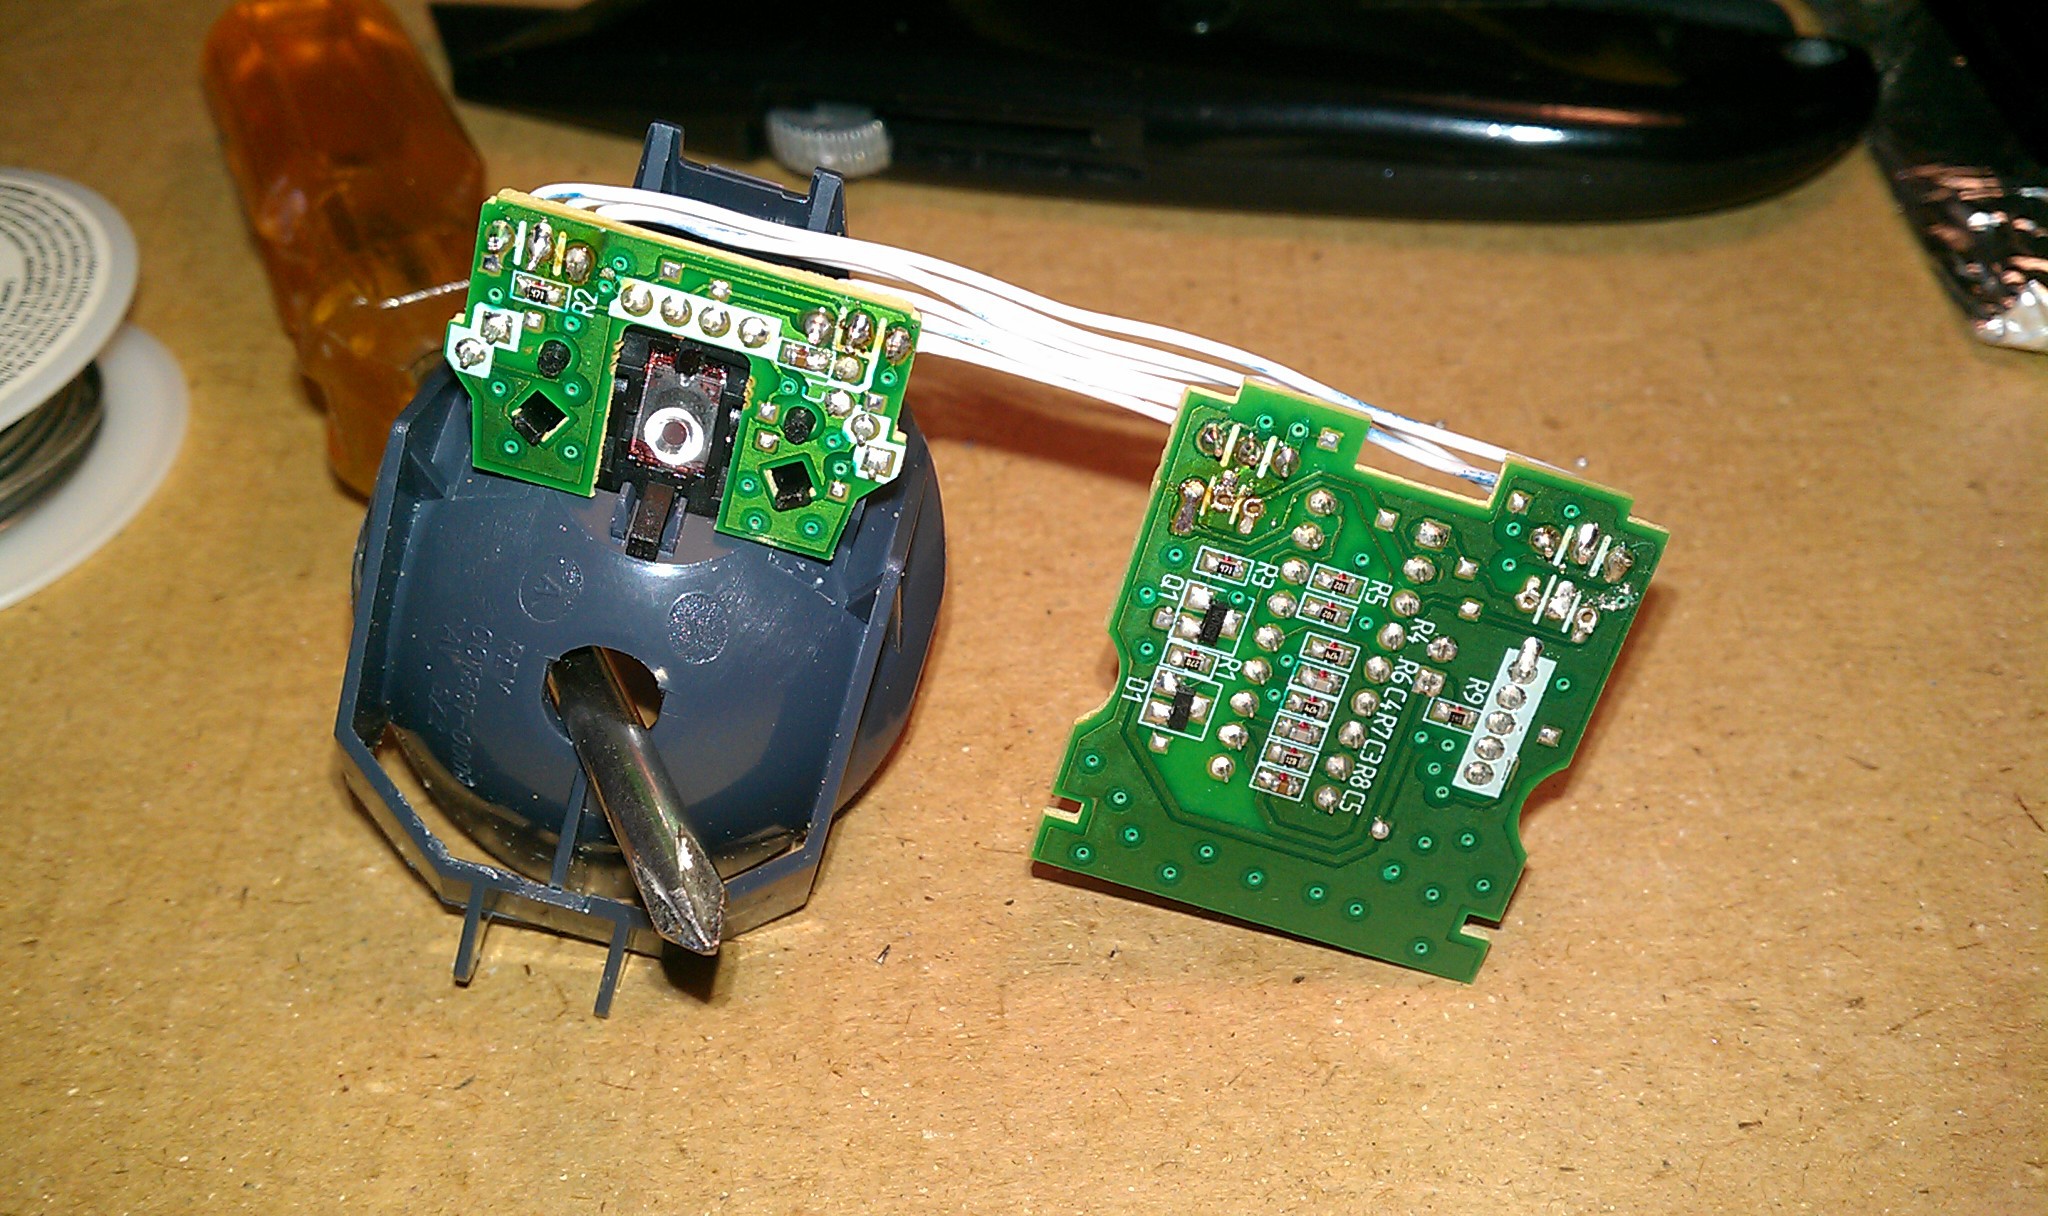 The
black 20 gauge wires soldered on top work with the female jumpers. These are for backup left and right mouse buttons if the Teensy is disabled.
The
black 20 gauge wires soldered on top work with the female jumpers. These are for backup left and right mouse buttons if the Teensy is disabled.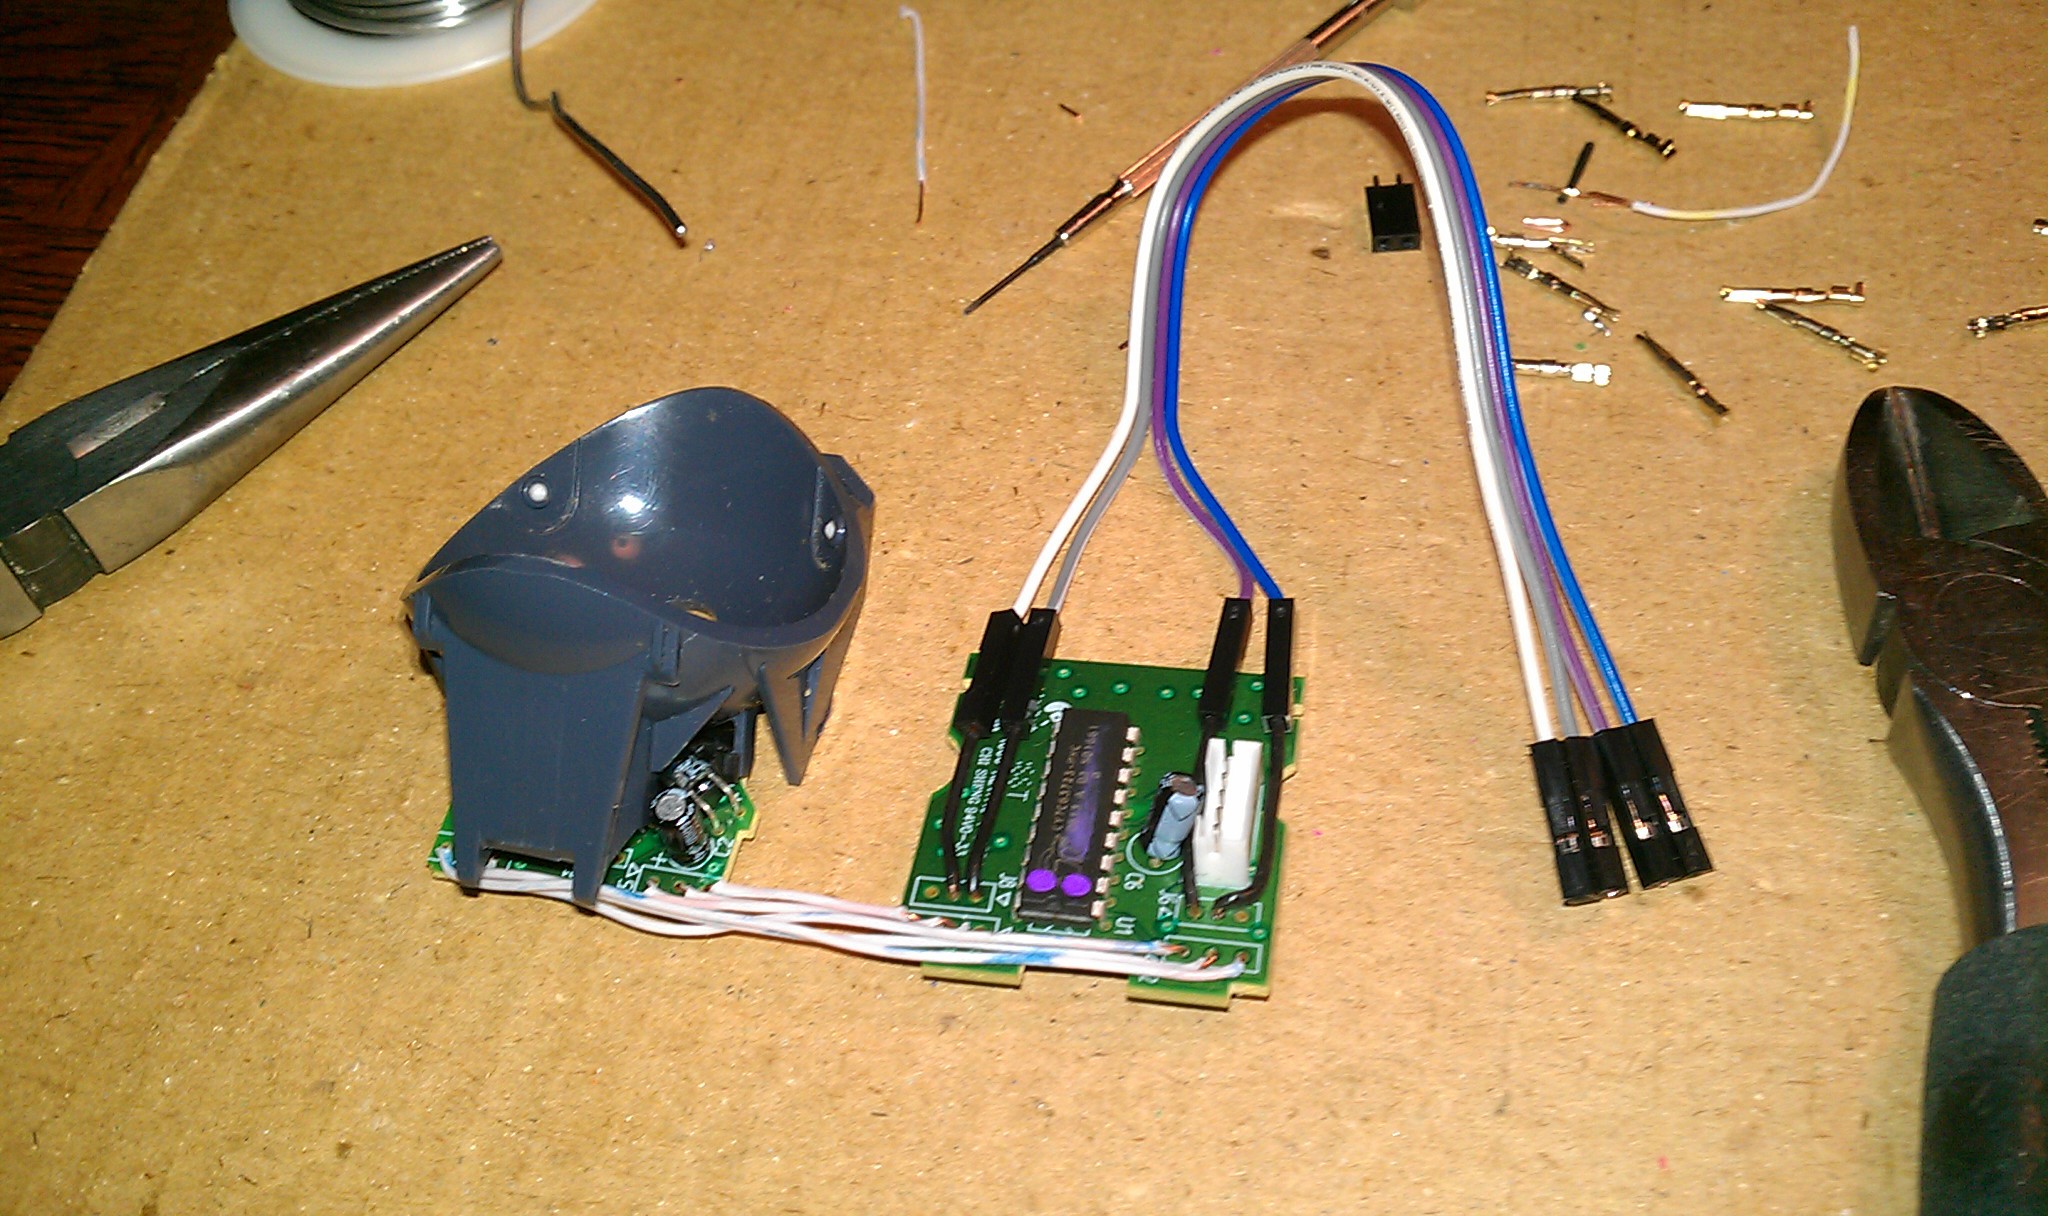
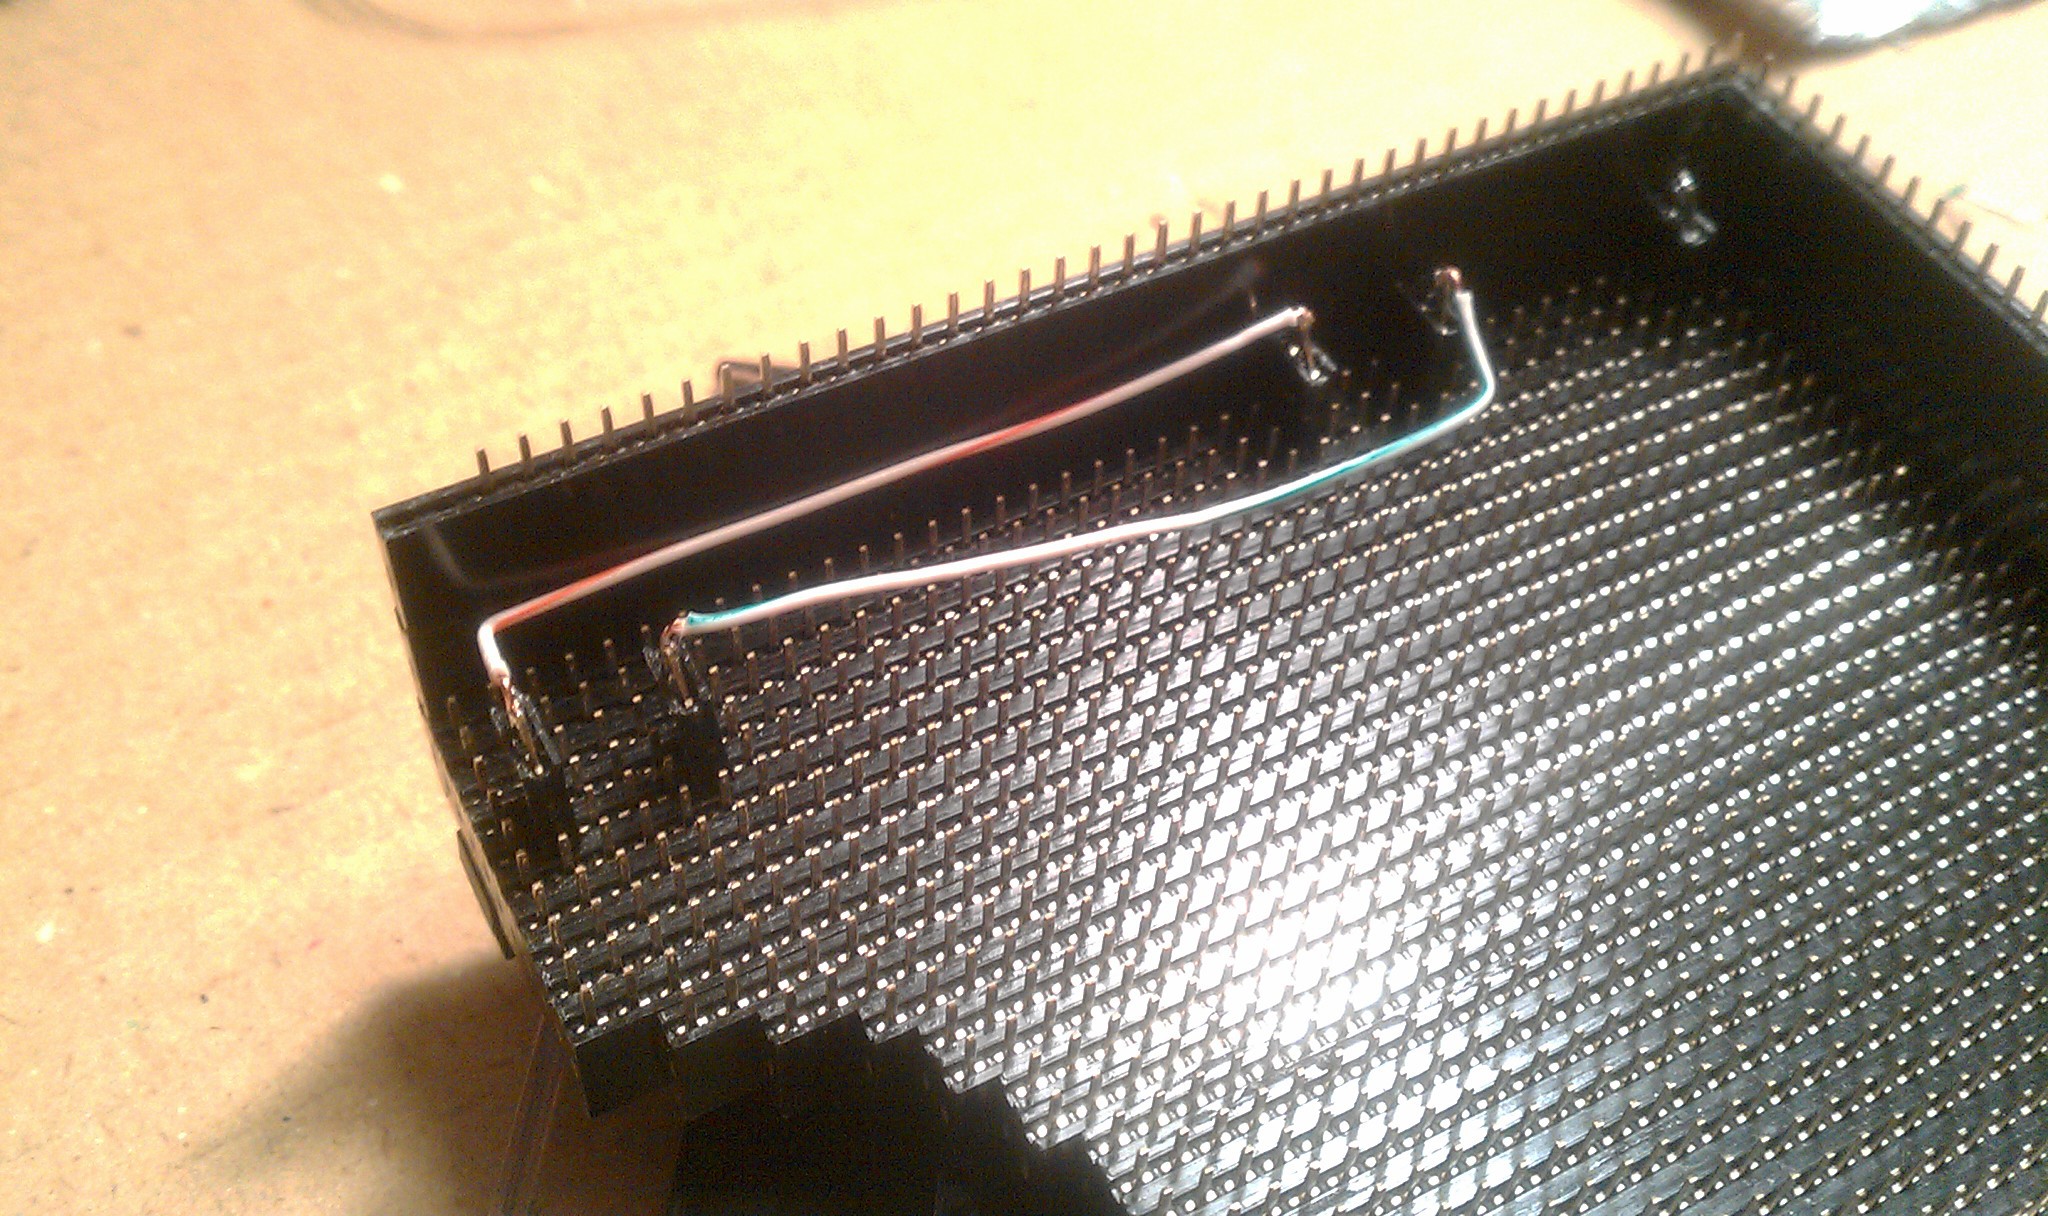
 The first jumpers!


 Stefan Lochbrunner
 Josh
Josh
wow so nice. do you want to feature it on https://ninjaclicker.com/