Close
0%
0%

DoorBall

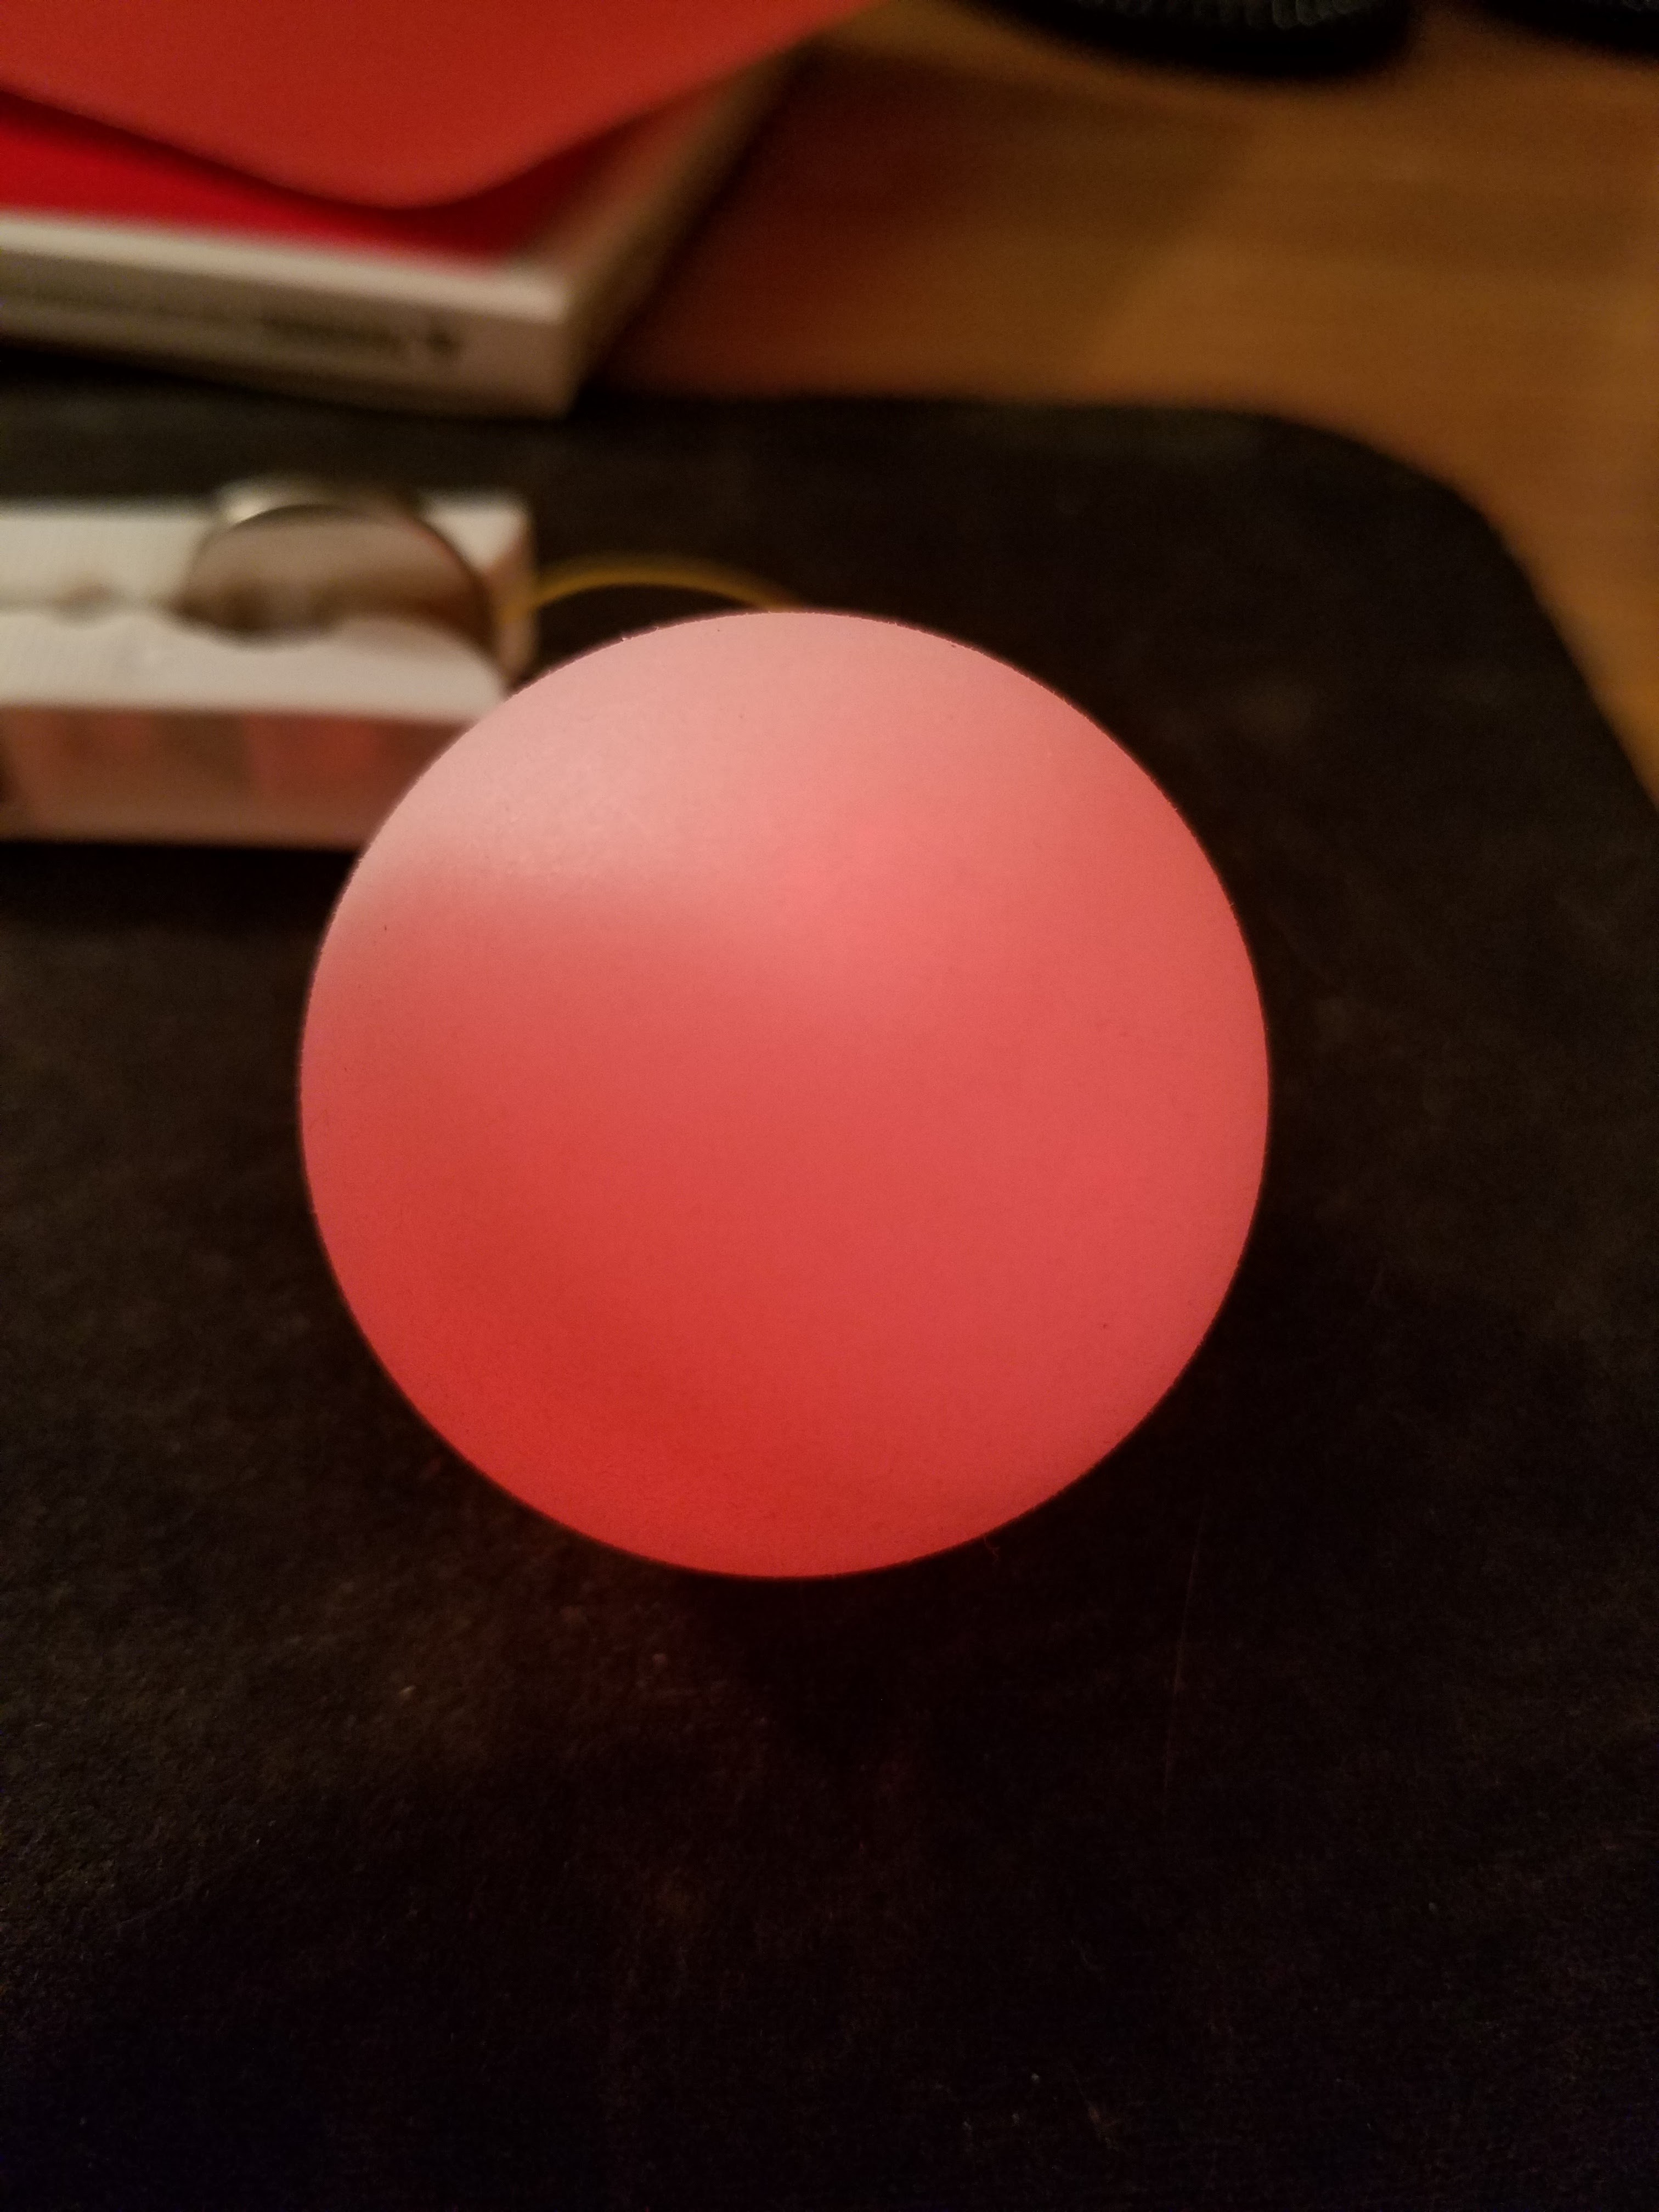
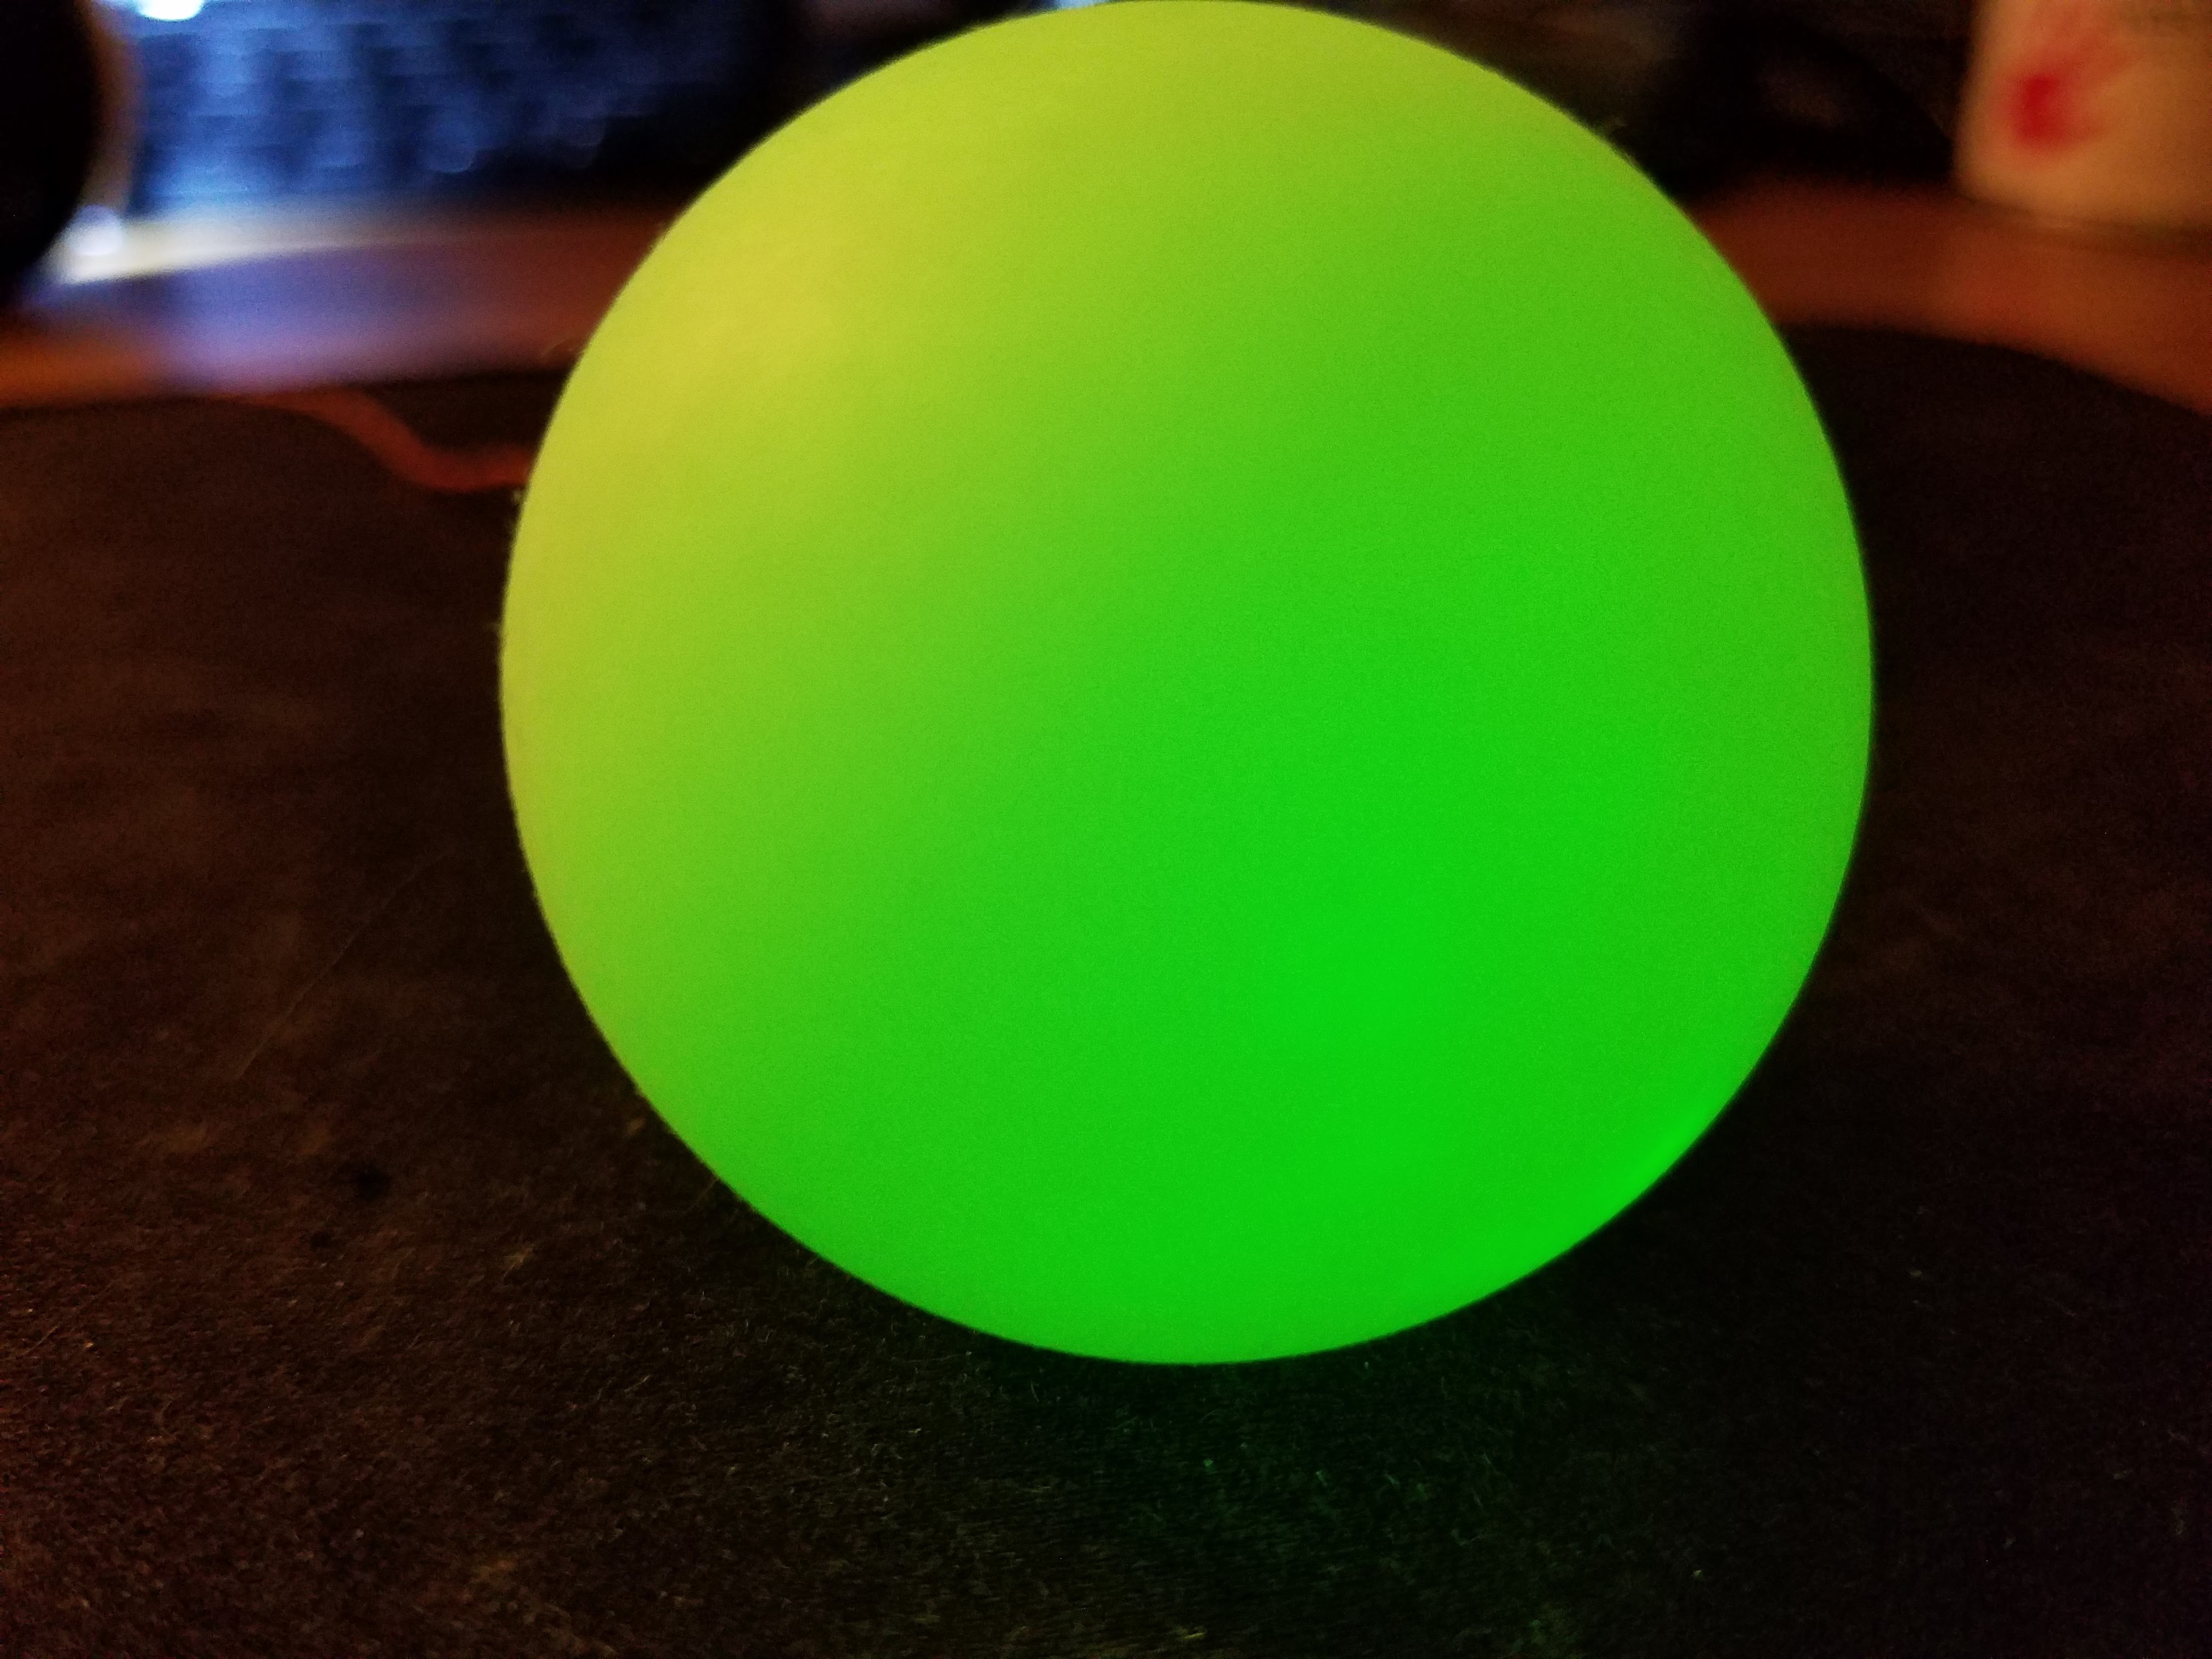
Living in a Residential Bldg with long hallways & doors that all look the same, I tell folks to look for the door with the multi-color Ball.

Similar projects worth following
The long hallways in my Residential Complex have doors that all look alike. I have a lighted color-changing Ping Pong Ball hanging in my doorframe which harvests "solar" energy from the Security Lights which are on 24/7 above each door. "Look for the door with the color-changing Ball hanging down near the peephole." No batteries or software required because lights are always on, and the LED used changes colors with no external circuitry.

Since the lights above each door are on 24/7 it makes a perfect Power Source for driving the color-changing LED with no need for batteries, charging circuitry, or direct connection to the building's power mains.

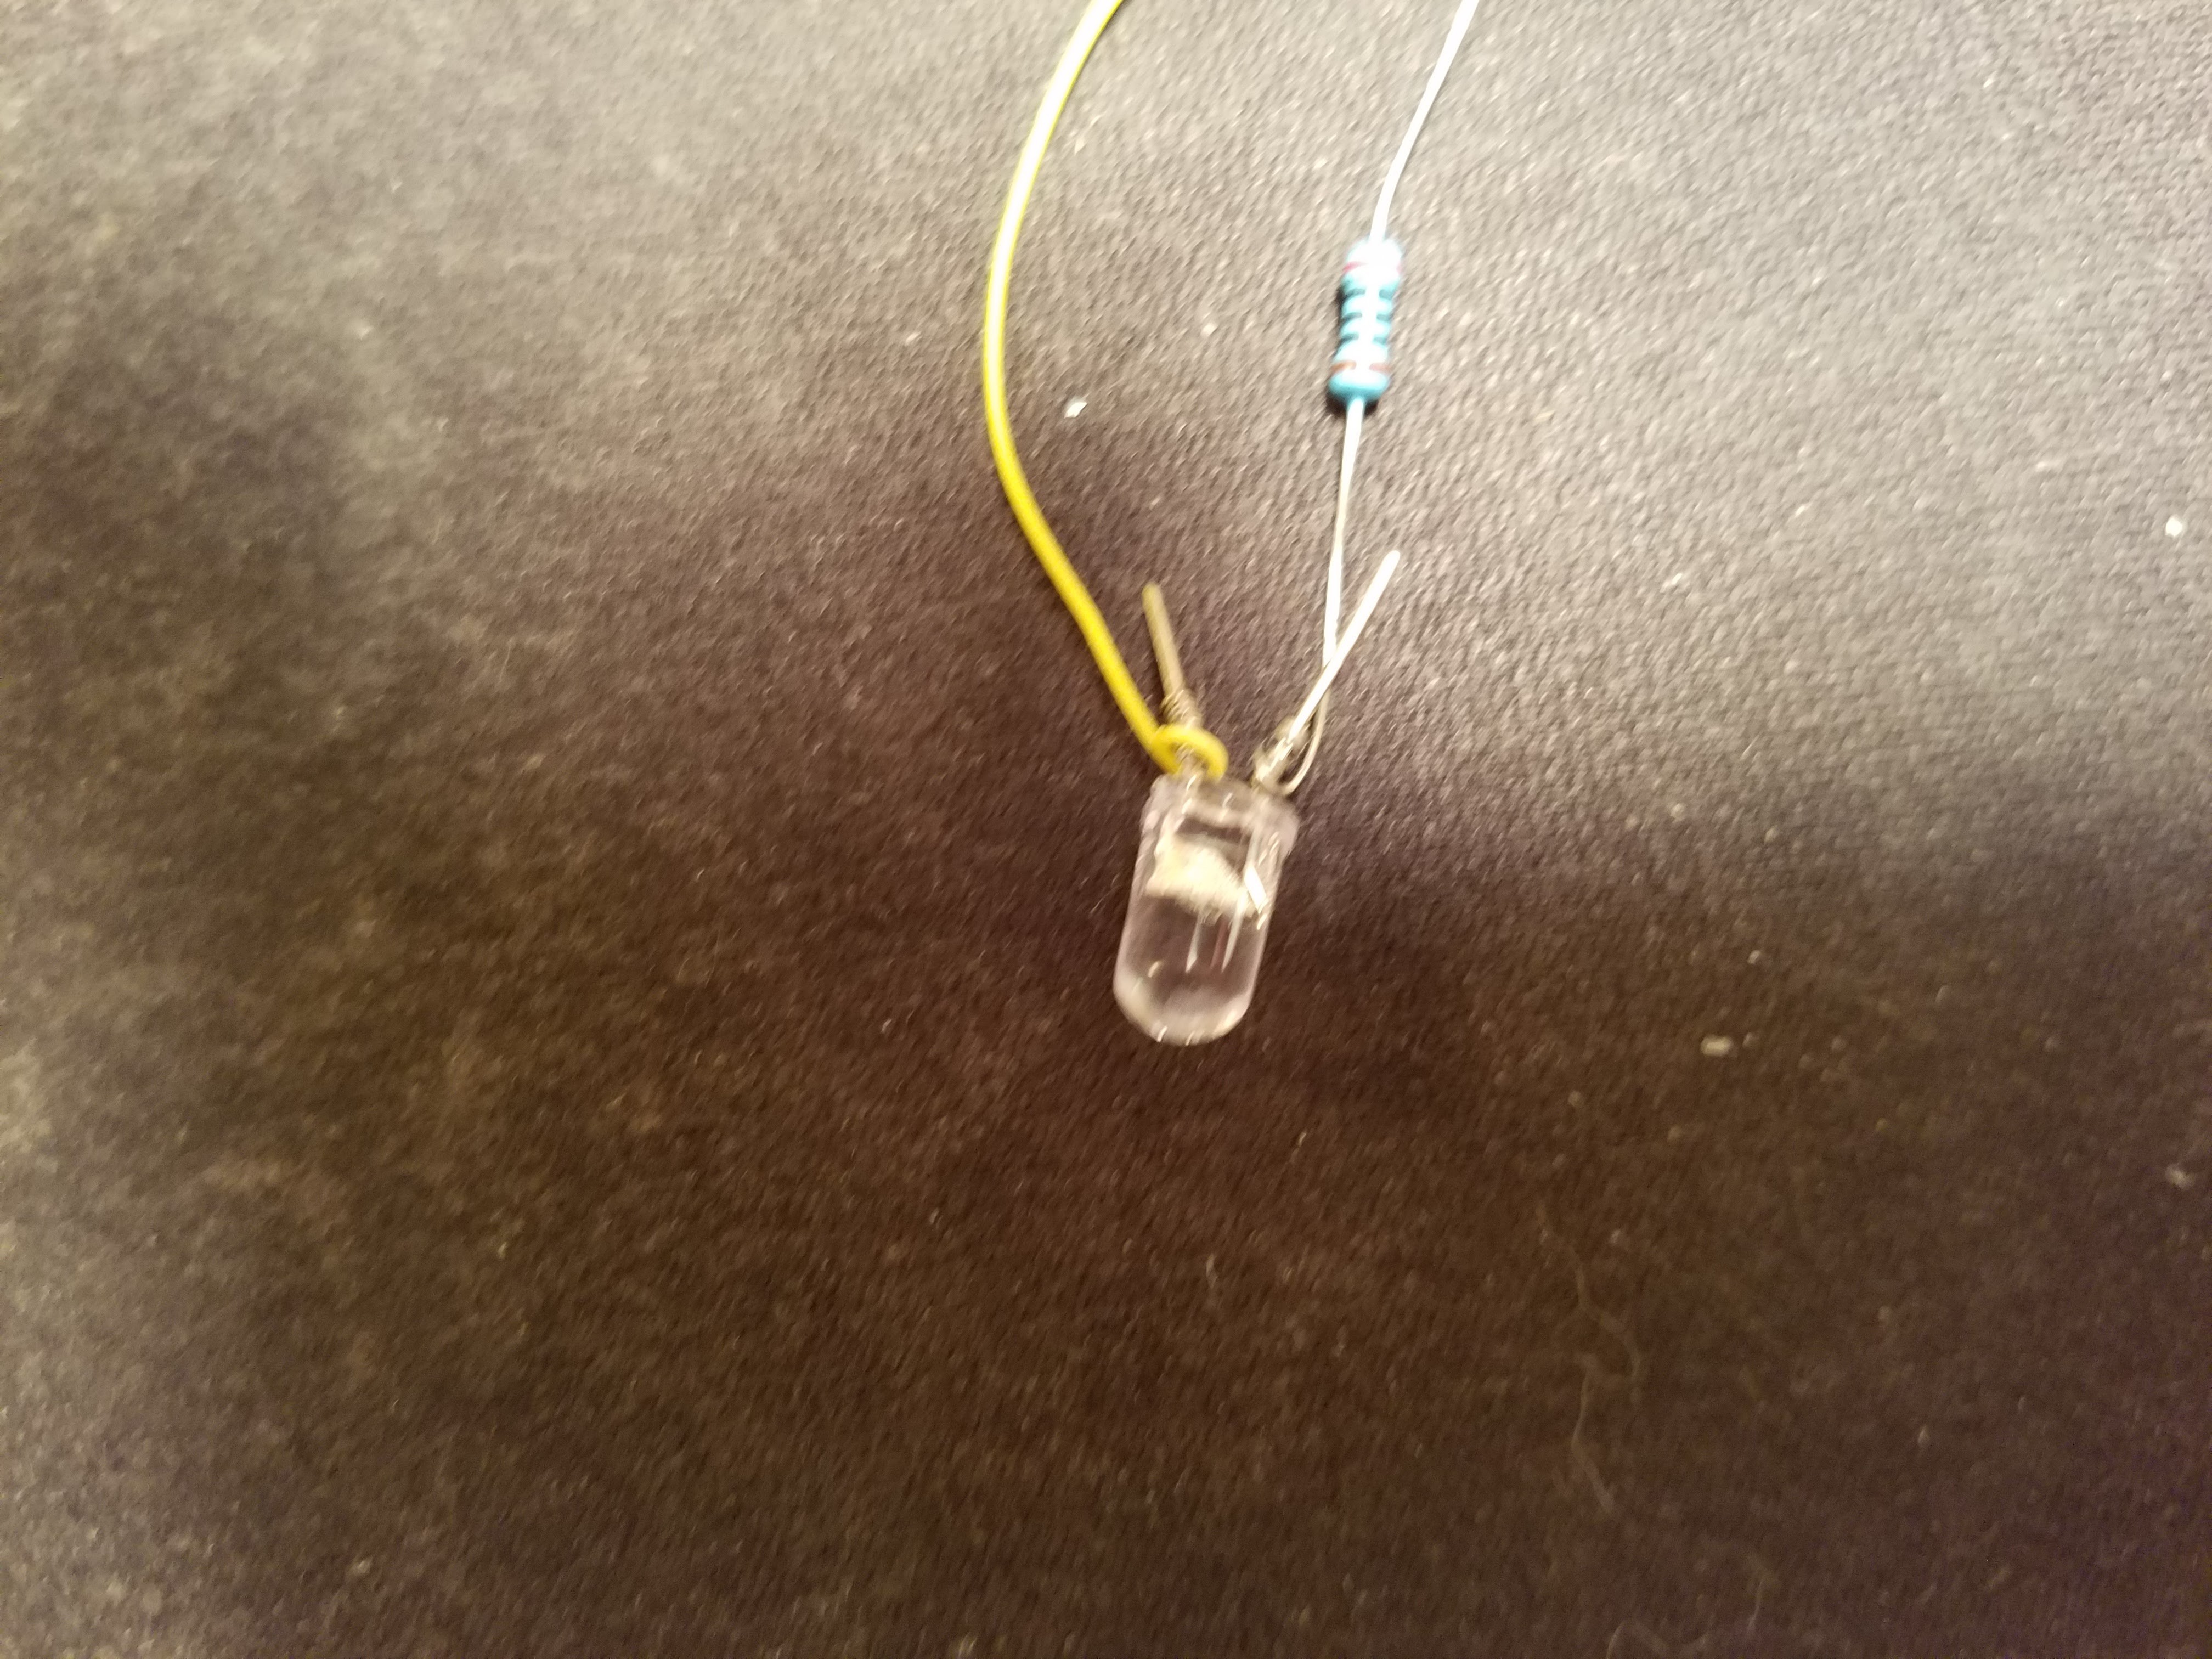
The LED itself is an RGB and integrated tiny die which makes it cycle through all the color combinations the Red, Green, and Blue elements can produce.

The LEDs come in two flavors: one which slowly changes colors by fading between colors in a smooth 2-3 second transition. The same manufacturer makes a "fast" version of the LED which makes its color changes at a rate of about 2-3 colors/second. The "fast" is more suited for "party" animation and grabs attention. I opted for the smoother, slower version so that it looks relaxed and not like a tiny disco ball hanging in the doorway.

Using a battery or mains power source, the LEDs would require a current limiting resistor, but by using a 3.6V Solar Cell which is only getting a moderate amount of ambient lumens, no external current-limiting is required; Using a 5.0V Solar Panel I can increase the intensity of the light and still not need a series resistor, but it was a bit too bright and stood out more obviously than I preferred, so I stuck with the 3.6V Solar Panel.

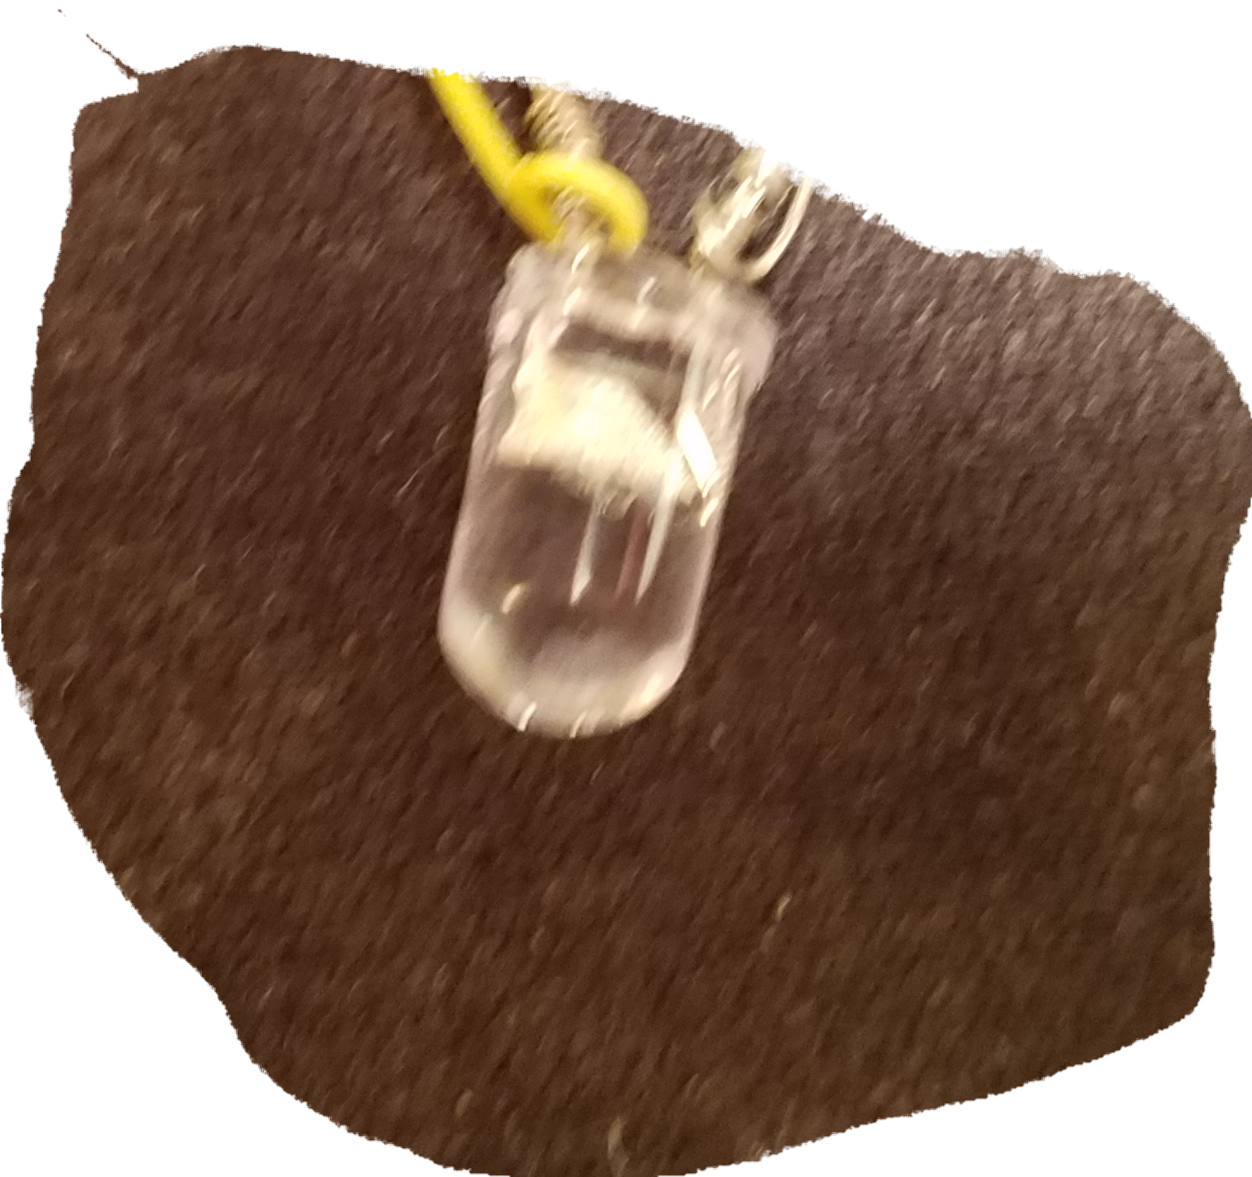
The Solar Panel has a 2.1mm plug, so I simply used a 2.1mm DC-to-screw terminal adapter, and 30 AWG wire-wrap wires which I twisted together so that it can swing in a breeze and when the door is opened & closed. I wire-wrapped to the leads on the LED as close to the base of the LED as possible, then cut off the excess length of the LED's leads.

A "professional" touch would to have protected the wire wrap at the edge of the LED with heat shrink which would have made it more sturdy, but also more rigid and a little less 'magic' looking.

I simply drilled and filed a hole in a ping pong ball until it was just large enough for the 5mm LED to "snap" into the ball. One improvement I plan to make it to diffuse the LED in some manner (dip in white liquid paper, or put some type of filler into the ping pong ball) to keep it from making a "hot-spot" at the bottom of the ball since these LEDs are not available with a diffused lense.


Parts List:

  • Pack of 6 Ping Pong Balls from the Dollar Store
  • Microtivity IL604 RGB Slow Rotating LED (pack of 30 with included 200 Ohm resistors)

Note: The "Fast" version is the IL602

The Microtivity Site

I got mine from Amazon where they are Prime-eligible for $8.99 free 2-day US shipping

  • The Solar Cell Panel I got from Fry's, distributed as OSEPP by Leo Sales Ltd., Richmond, BC, Canada: "Monocrystalline Solar Cell Cat. No. SC10036, Size: 60x60mm

  • 1 × Pack of 6 Ping Pong Balls from the Dollar Store They come in a package of 6 for -- you guessed it, $1.00
  • 1 × Microtivity IL604 RGB Slow Rotating LED by The Microtivity Site purchased on Amazon They are only sold in packs of 30 (with 220 Ohm current-limiting resistors - not used/needed in this project).
  • 1 × Solar Cell Panel - distributed as OSEPP (100ma/3.6V) Distributed as OSEPP by Leo Sales Ltd., Richmond, BC, Canada: "Monocrystalline Solar Cell Cat. No. SC10036, Size: 60x60mm. I got mine from Fry's Electronics.
  • 1 × 2.1mm DC Adapter from AdaFruit (http://adafrui.it/368) To keep it all clean. This is a female to 2-terminal adapter which the Solar Panel plugs directly in to.

  • Two Balls in Action (a short film by W5ANM ;)

    Grayson Schlichting07/11/2016 at 05:53 0 comments

    A video of both the Ping Pong ball and plastic Baseball:

  • Two Balls...

    Grayson Schlichting07/11/2016 at 05:41 0 comments

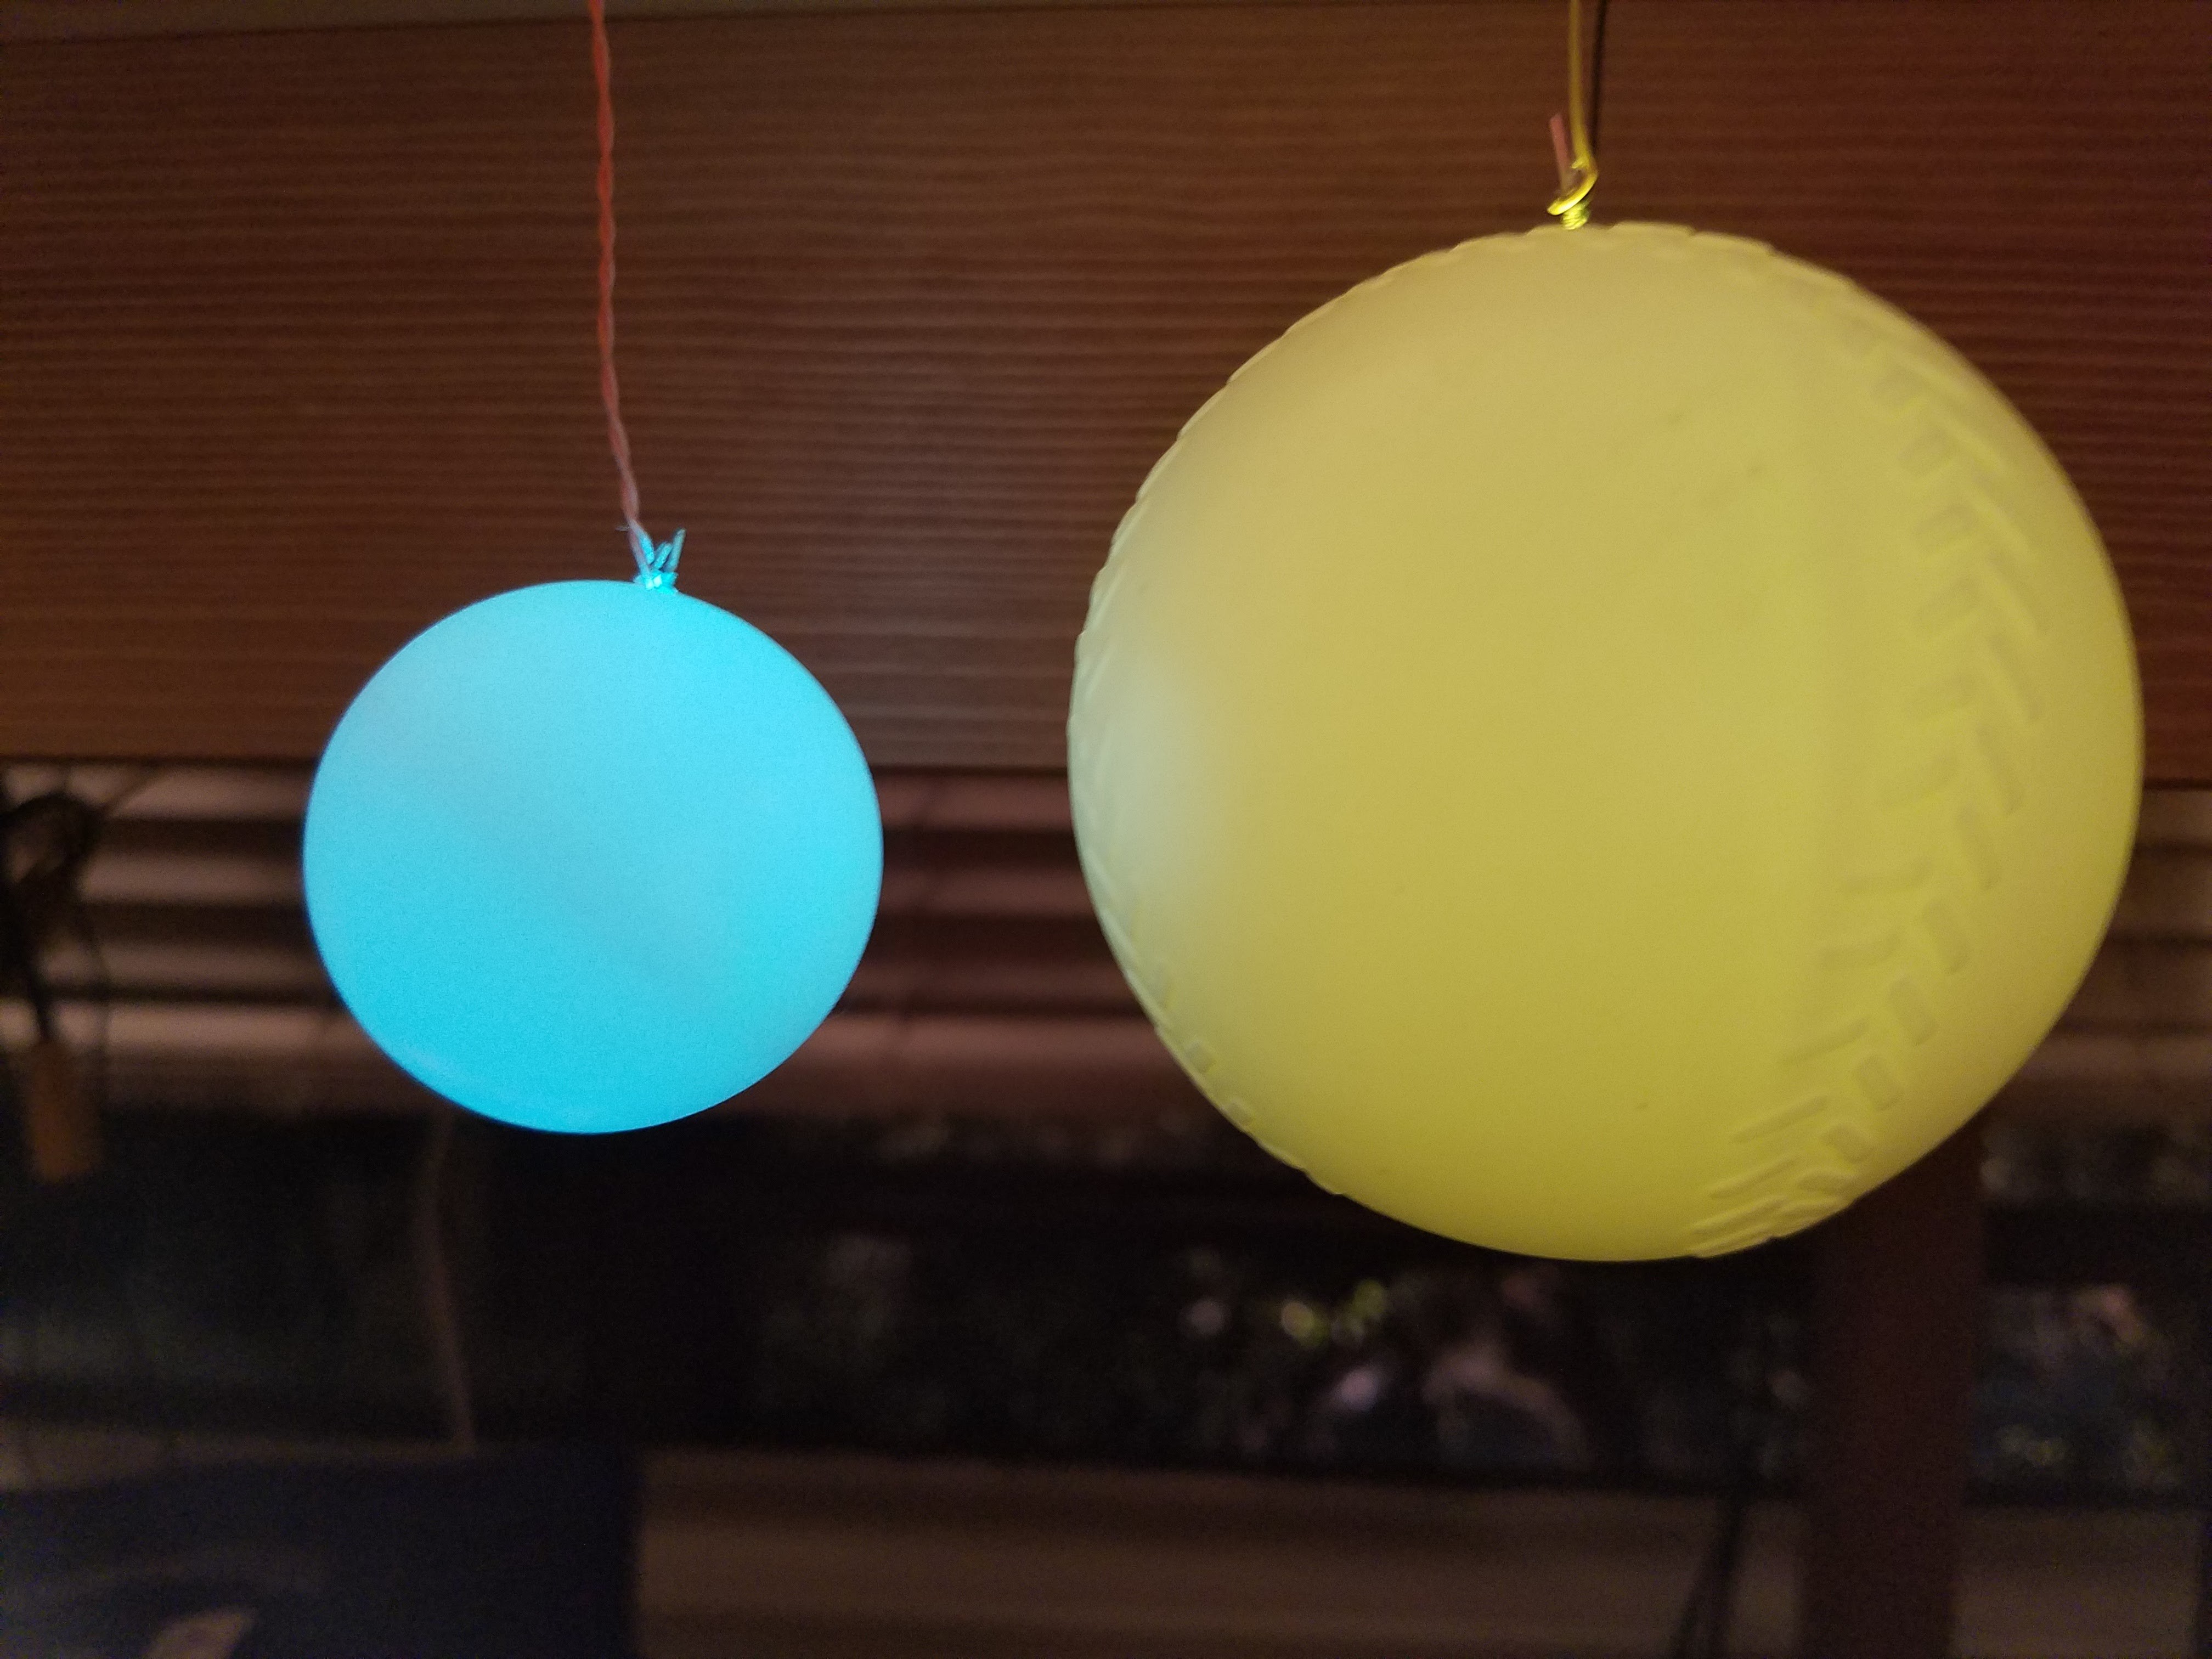
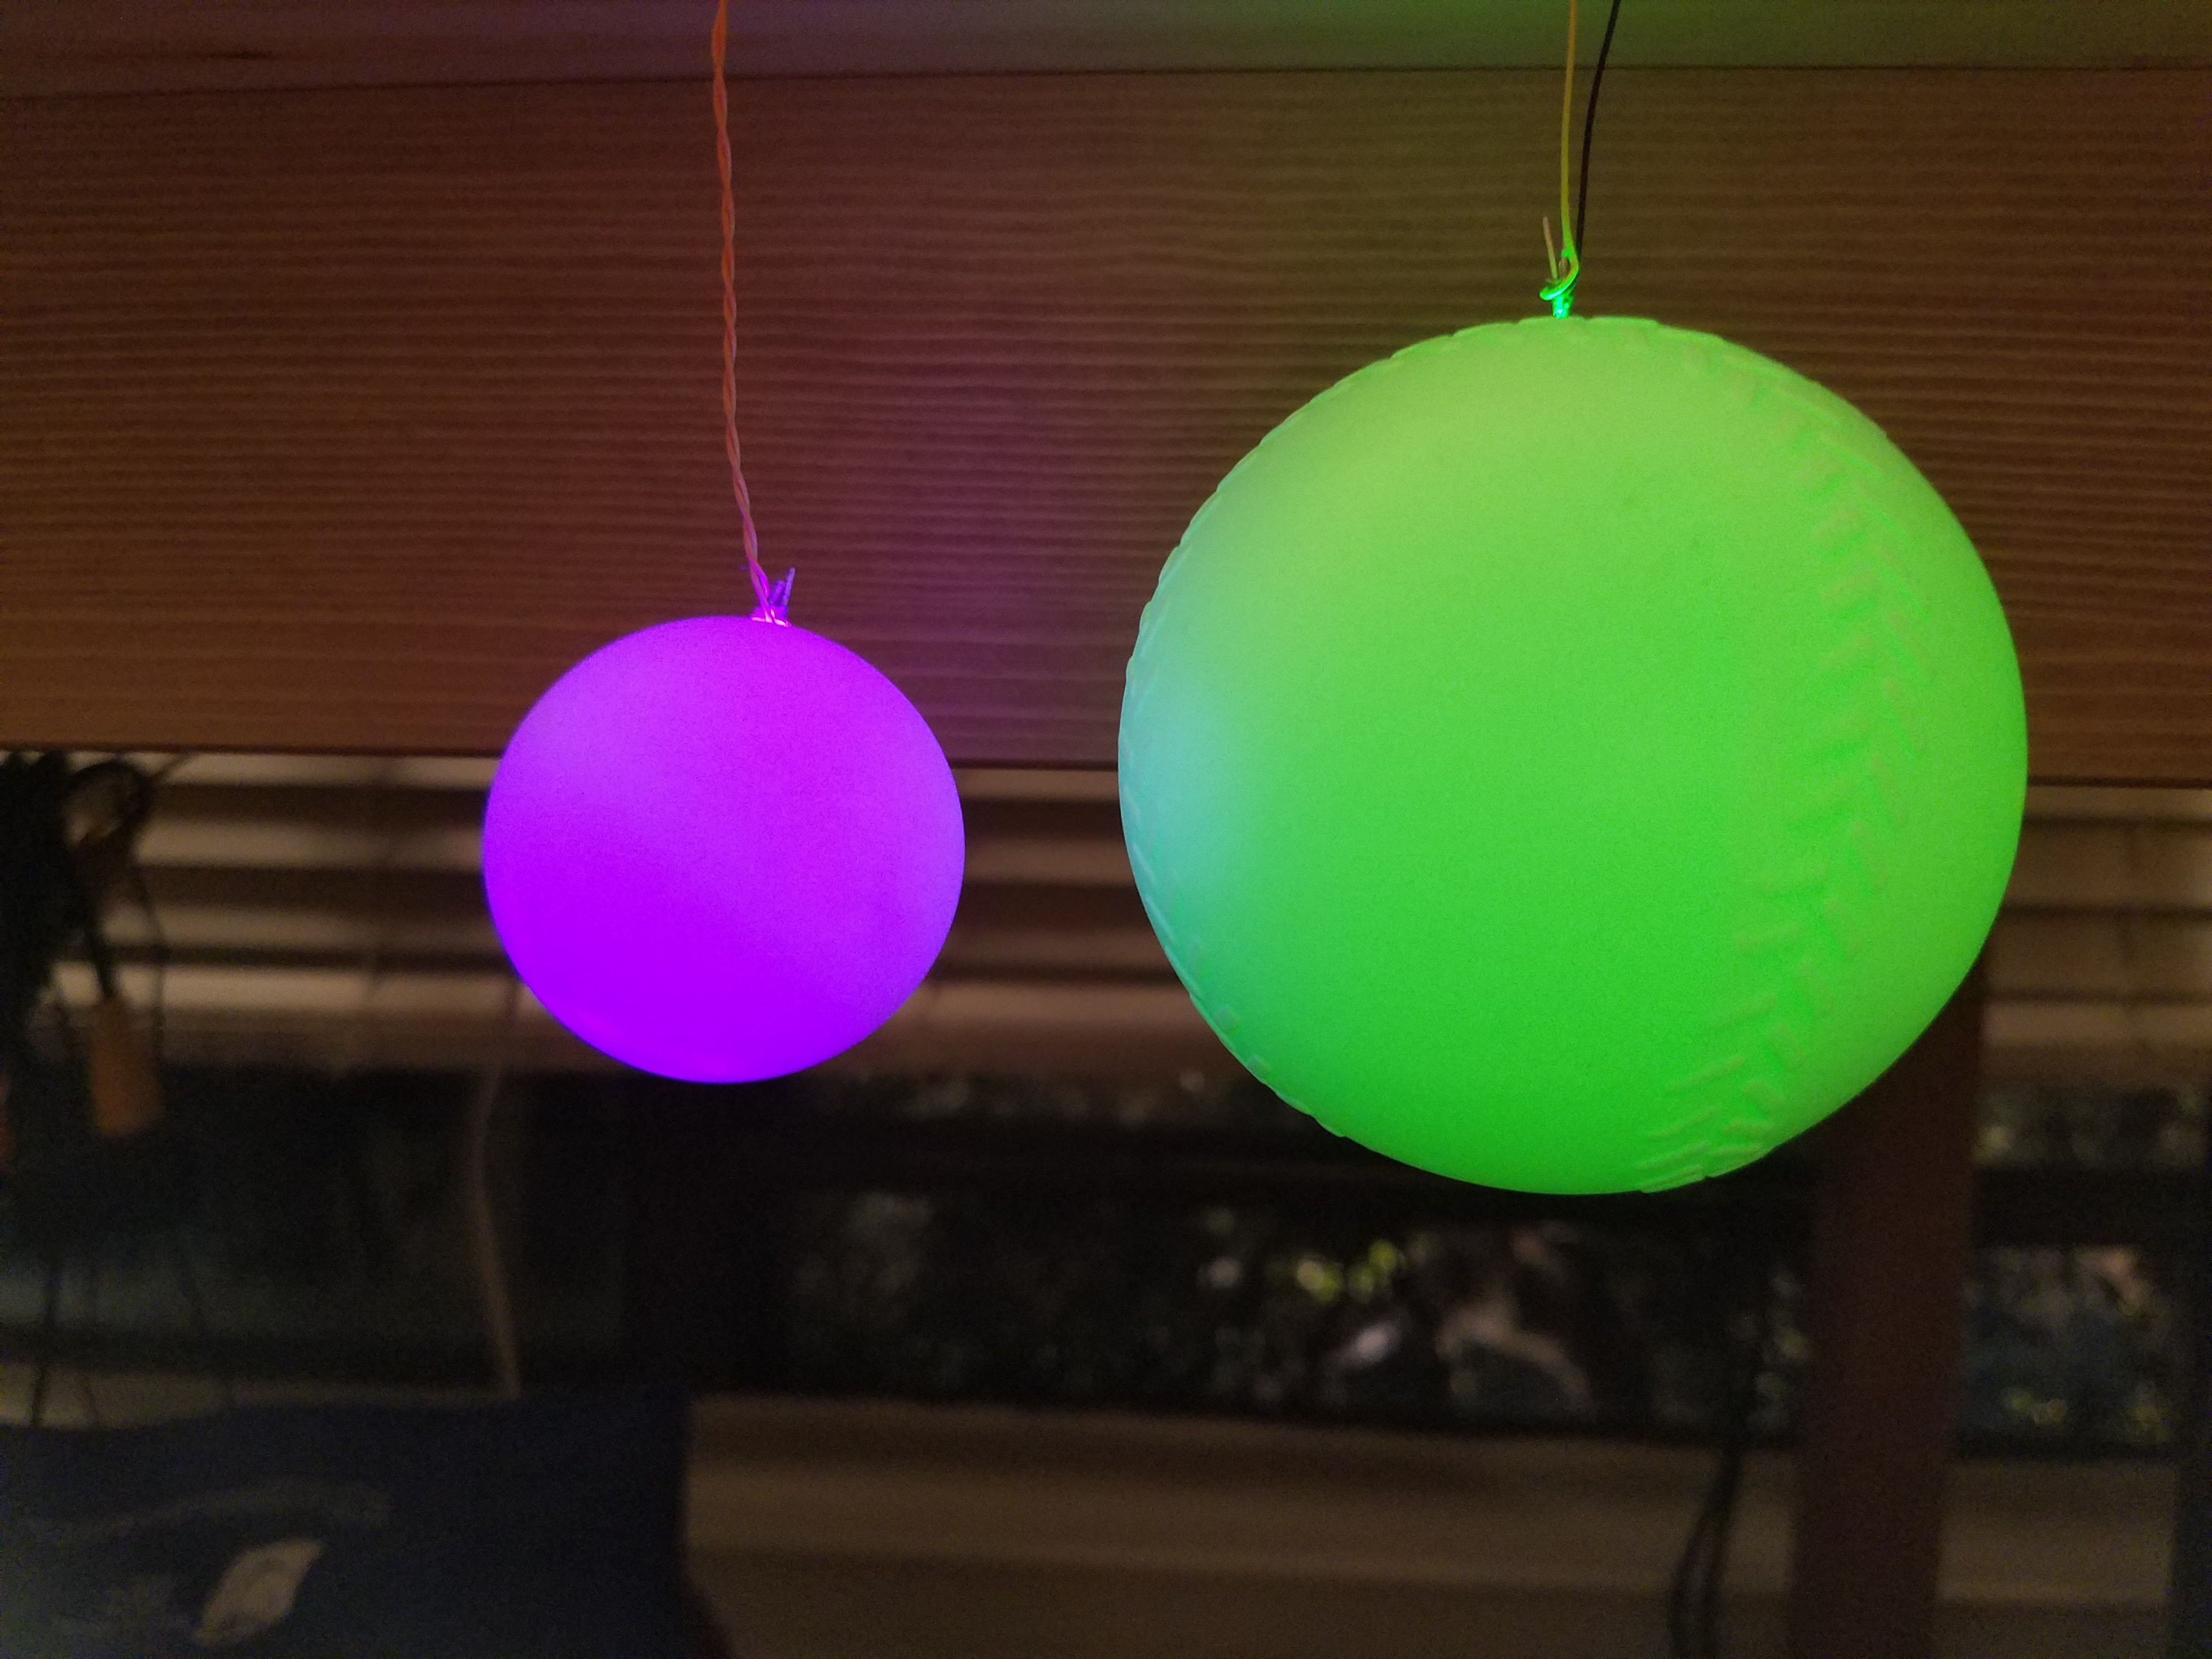
    The preferred embodiment for above the apartment door, and the plastic Baseball:

  • Bigger Balls?

    Grayson Schlichting07/11/2016 at 05:37 0 comments

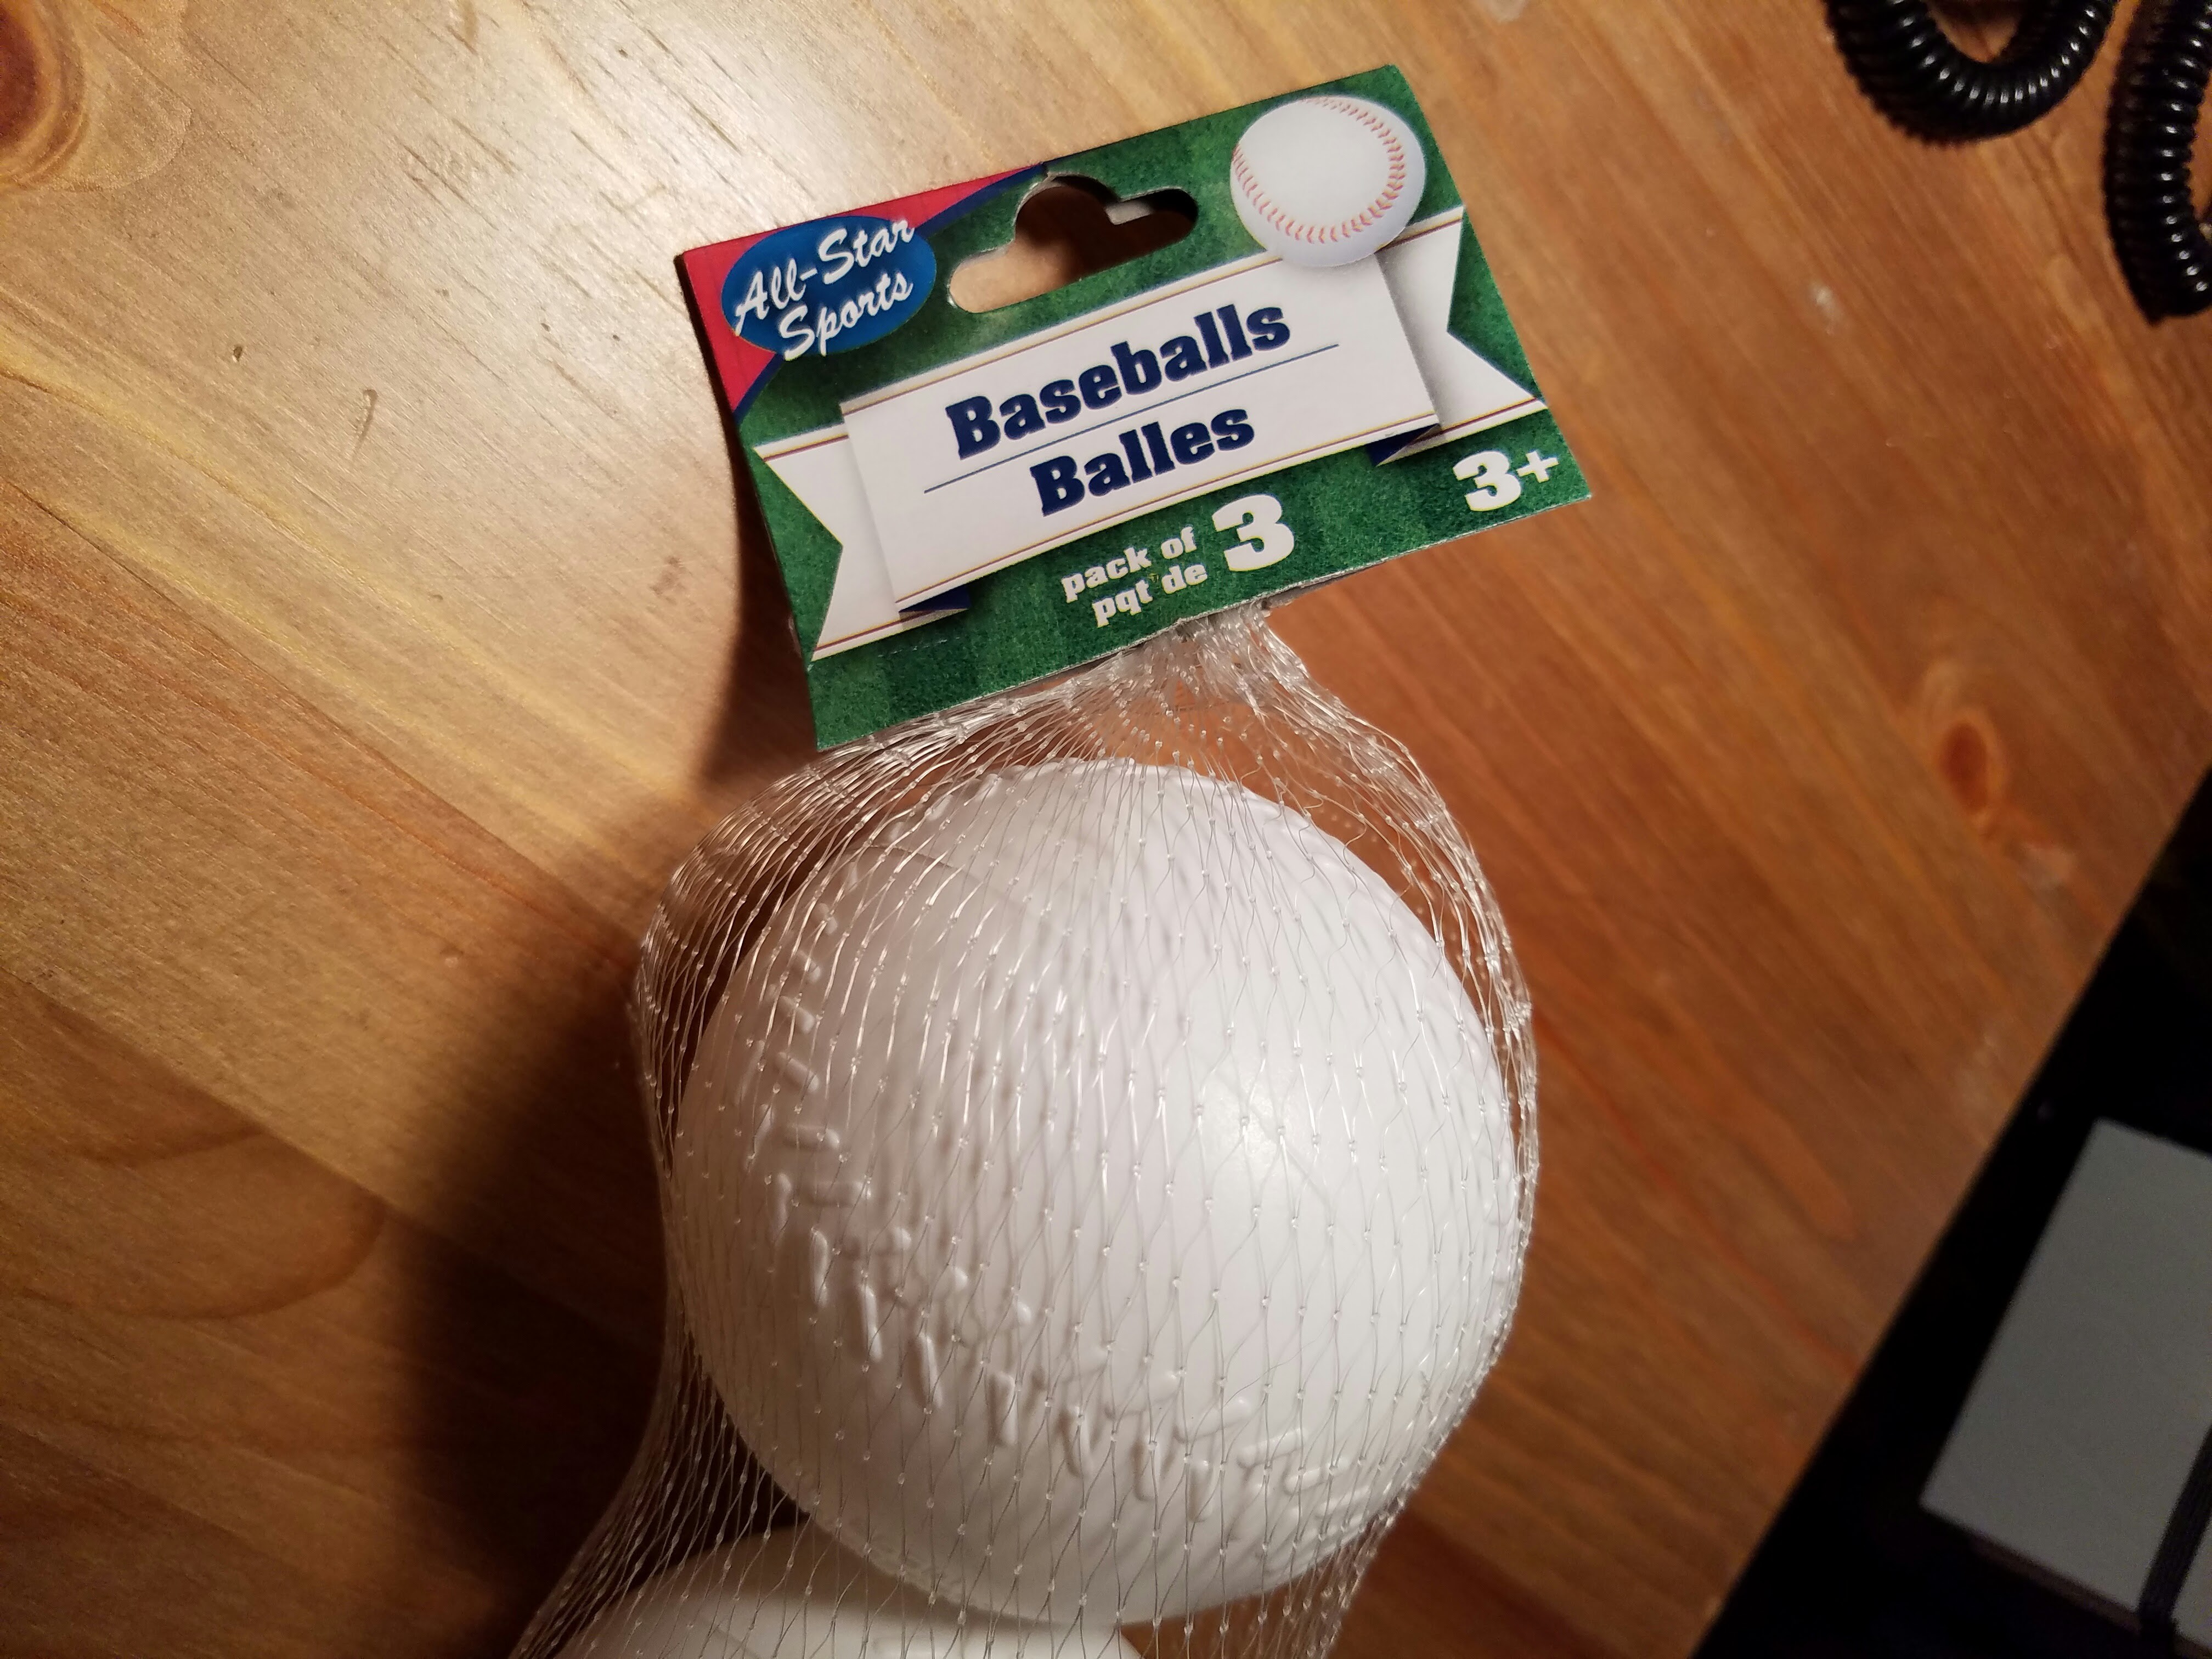
    I stopped by the Dollar Store again, and got a 3-pack of plastic, hollow "Baseballs" - the kind a small child would play with using a plastic bat. I found an obvious spot along the seam where the ball had been assembled from 2 halves, and make a hole for a sanded/diffused LED in it.

    I needed to drive it a little brighter to get the same amount of illumination as the ping pong ball, so the 5V Solar Panel provided more wattage so that it was about the same brightness as the 3.6V panel I use in the project.

    The quality of craftsmanship for the plastic baseball was, well, what you would expect for 3/$3.00.

    It's not uniform like the ping pong ball which has no seams or "molding artifacts" - and way to big and goofy looking to hang above my apartment door, but here's what it looks like. Putting in the Fast-Rotating Microtivity 5mm IL602 and making a string of them might be a good party decoration which is probably what I will do (the LEDs come in packs of 30 so I have plenty of both the slow and fast color-changing LEDs to do something with :)

  • Sanding Seems the Best Way to Diffuse the LED

    Grayson Schlichting07/11/2016 at 04:36 0 comments

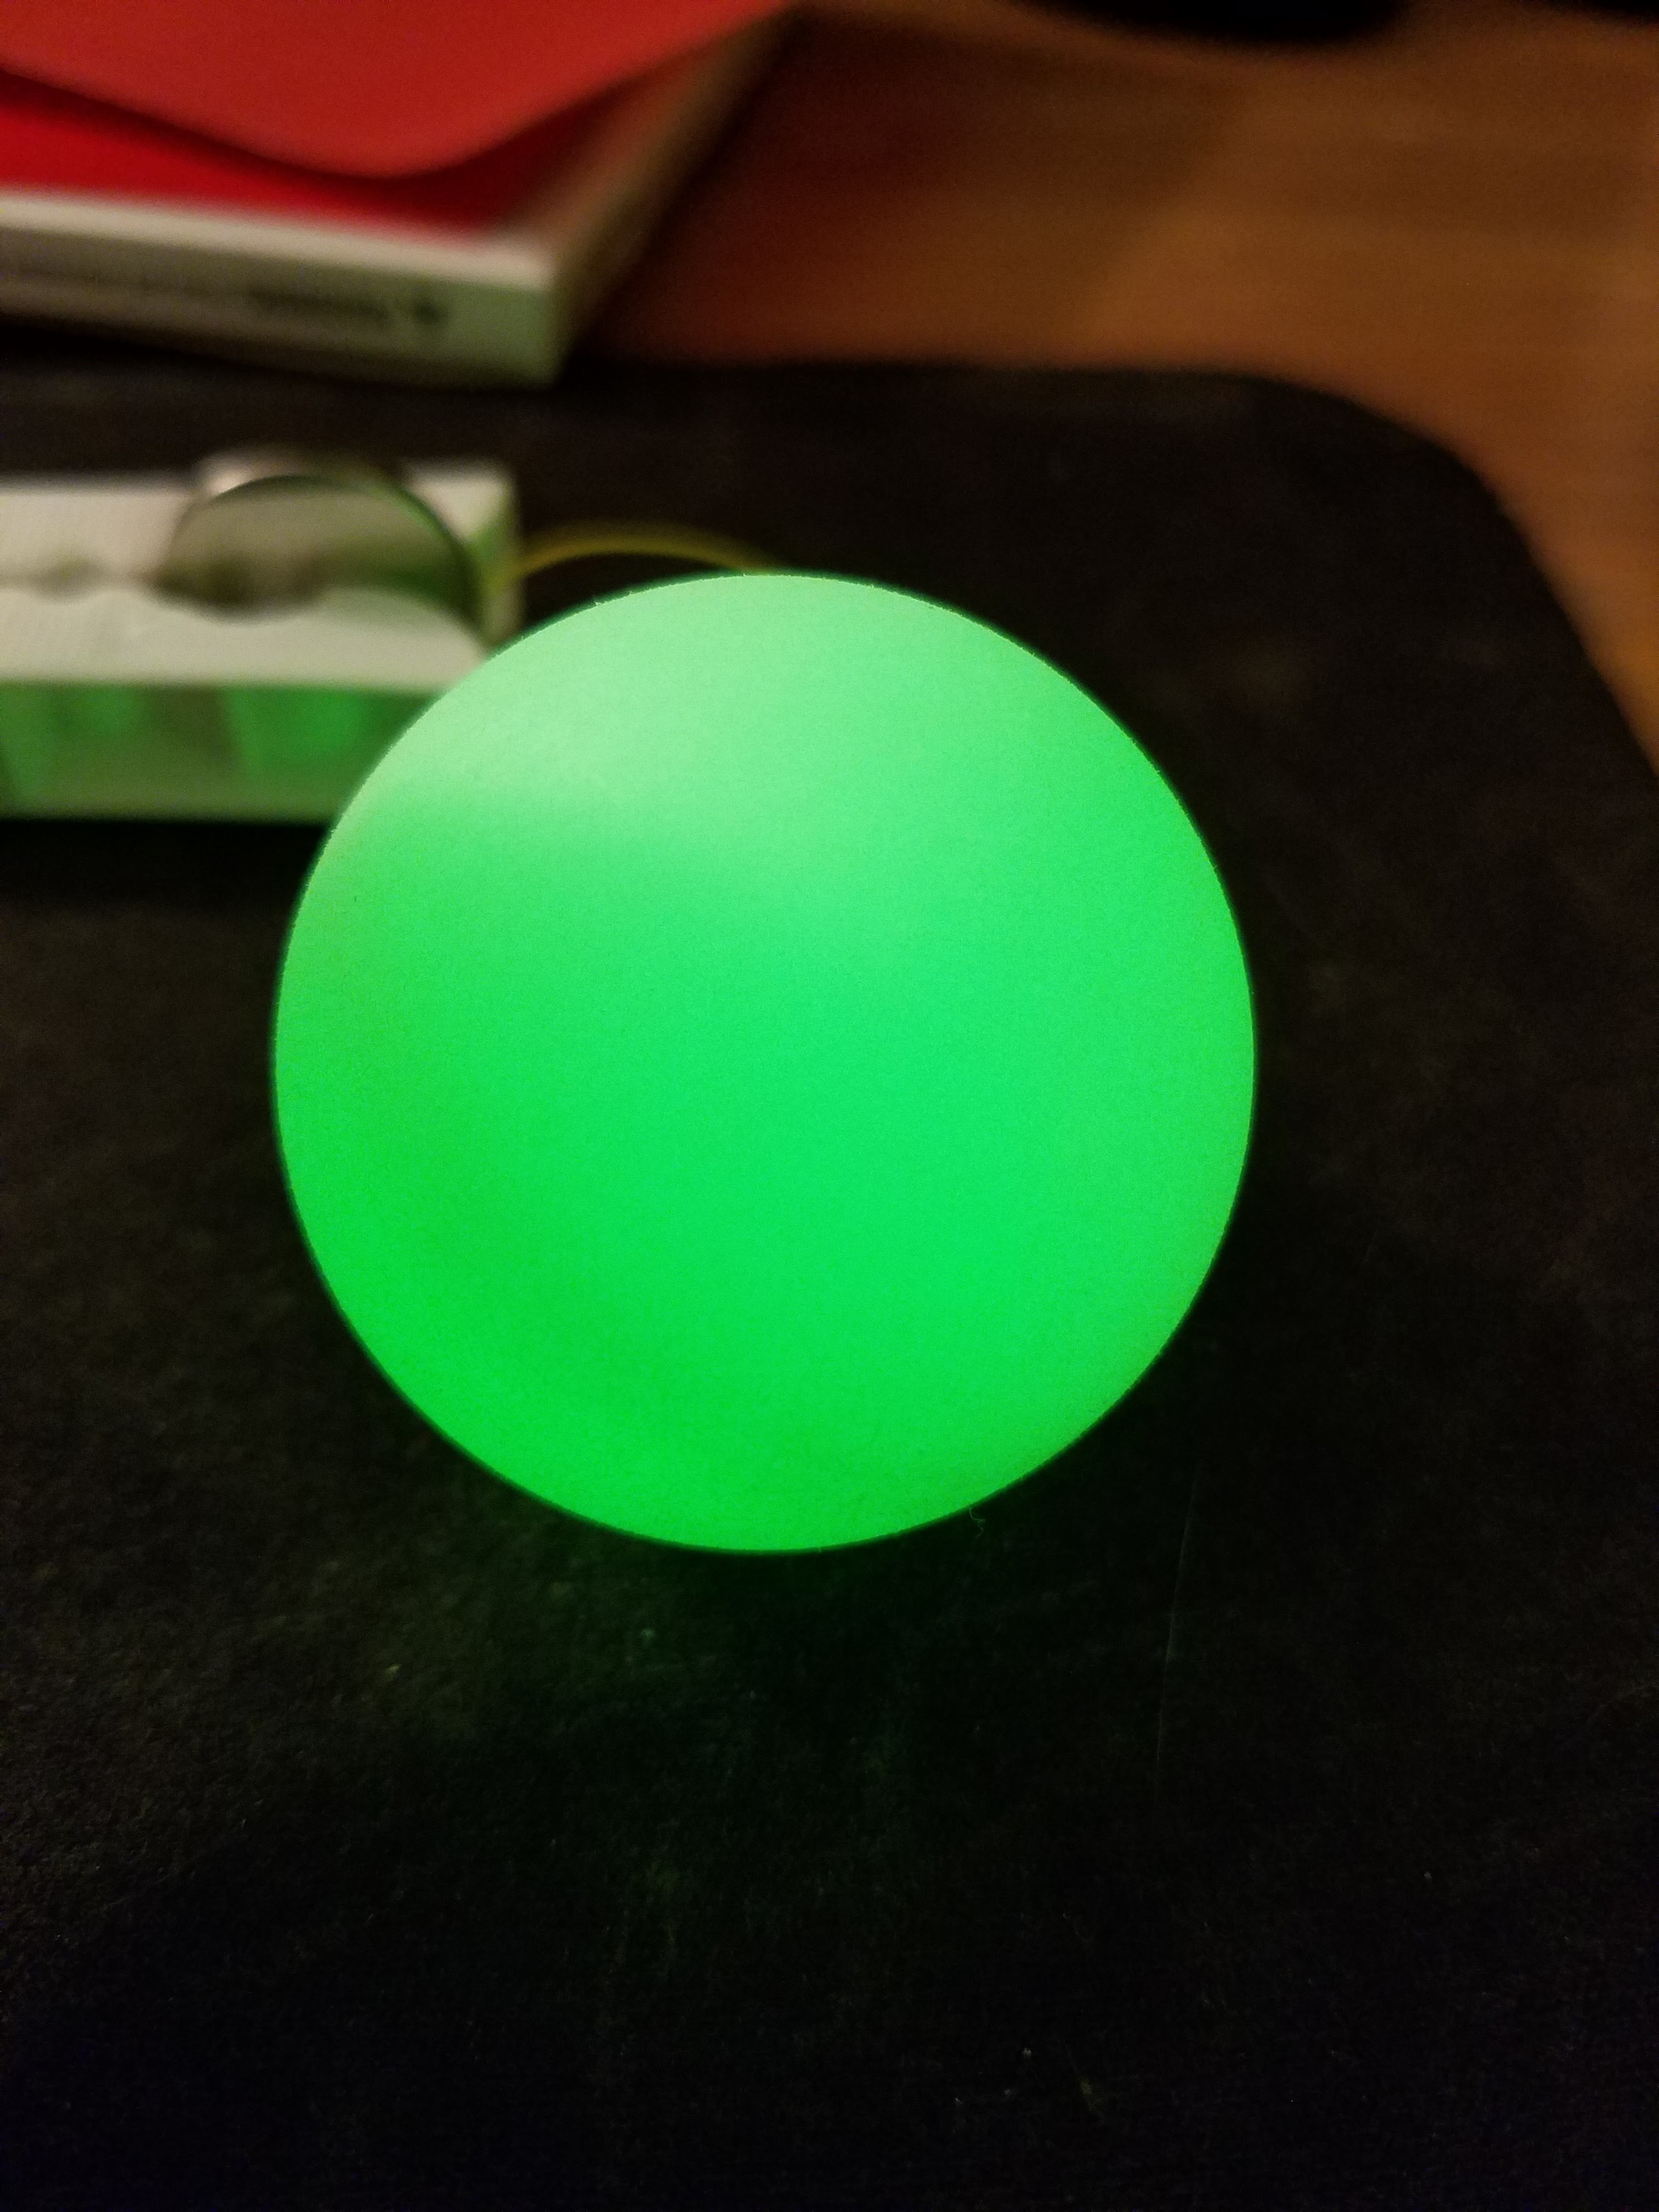
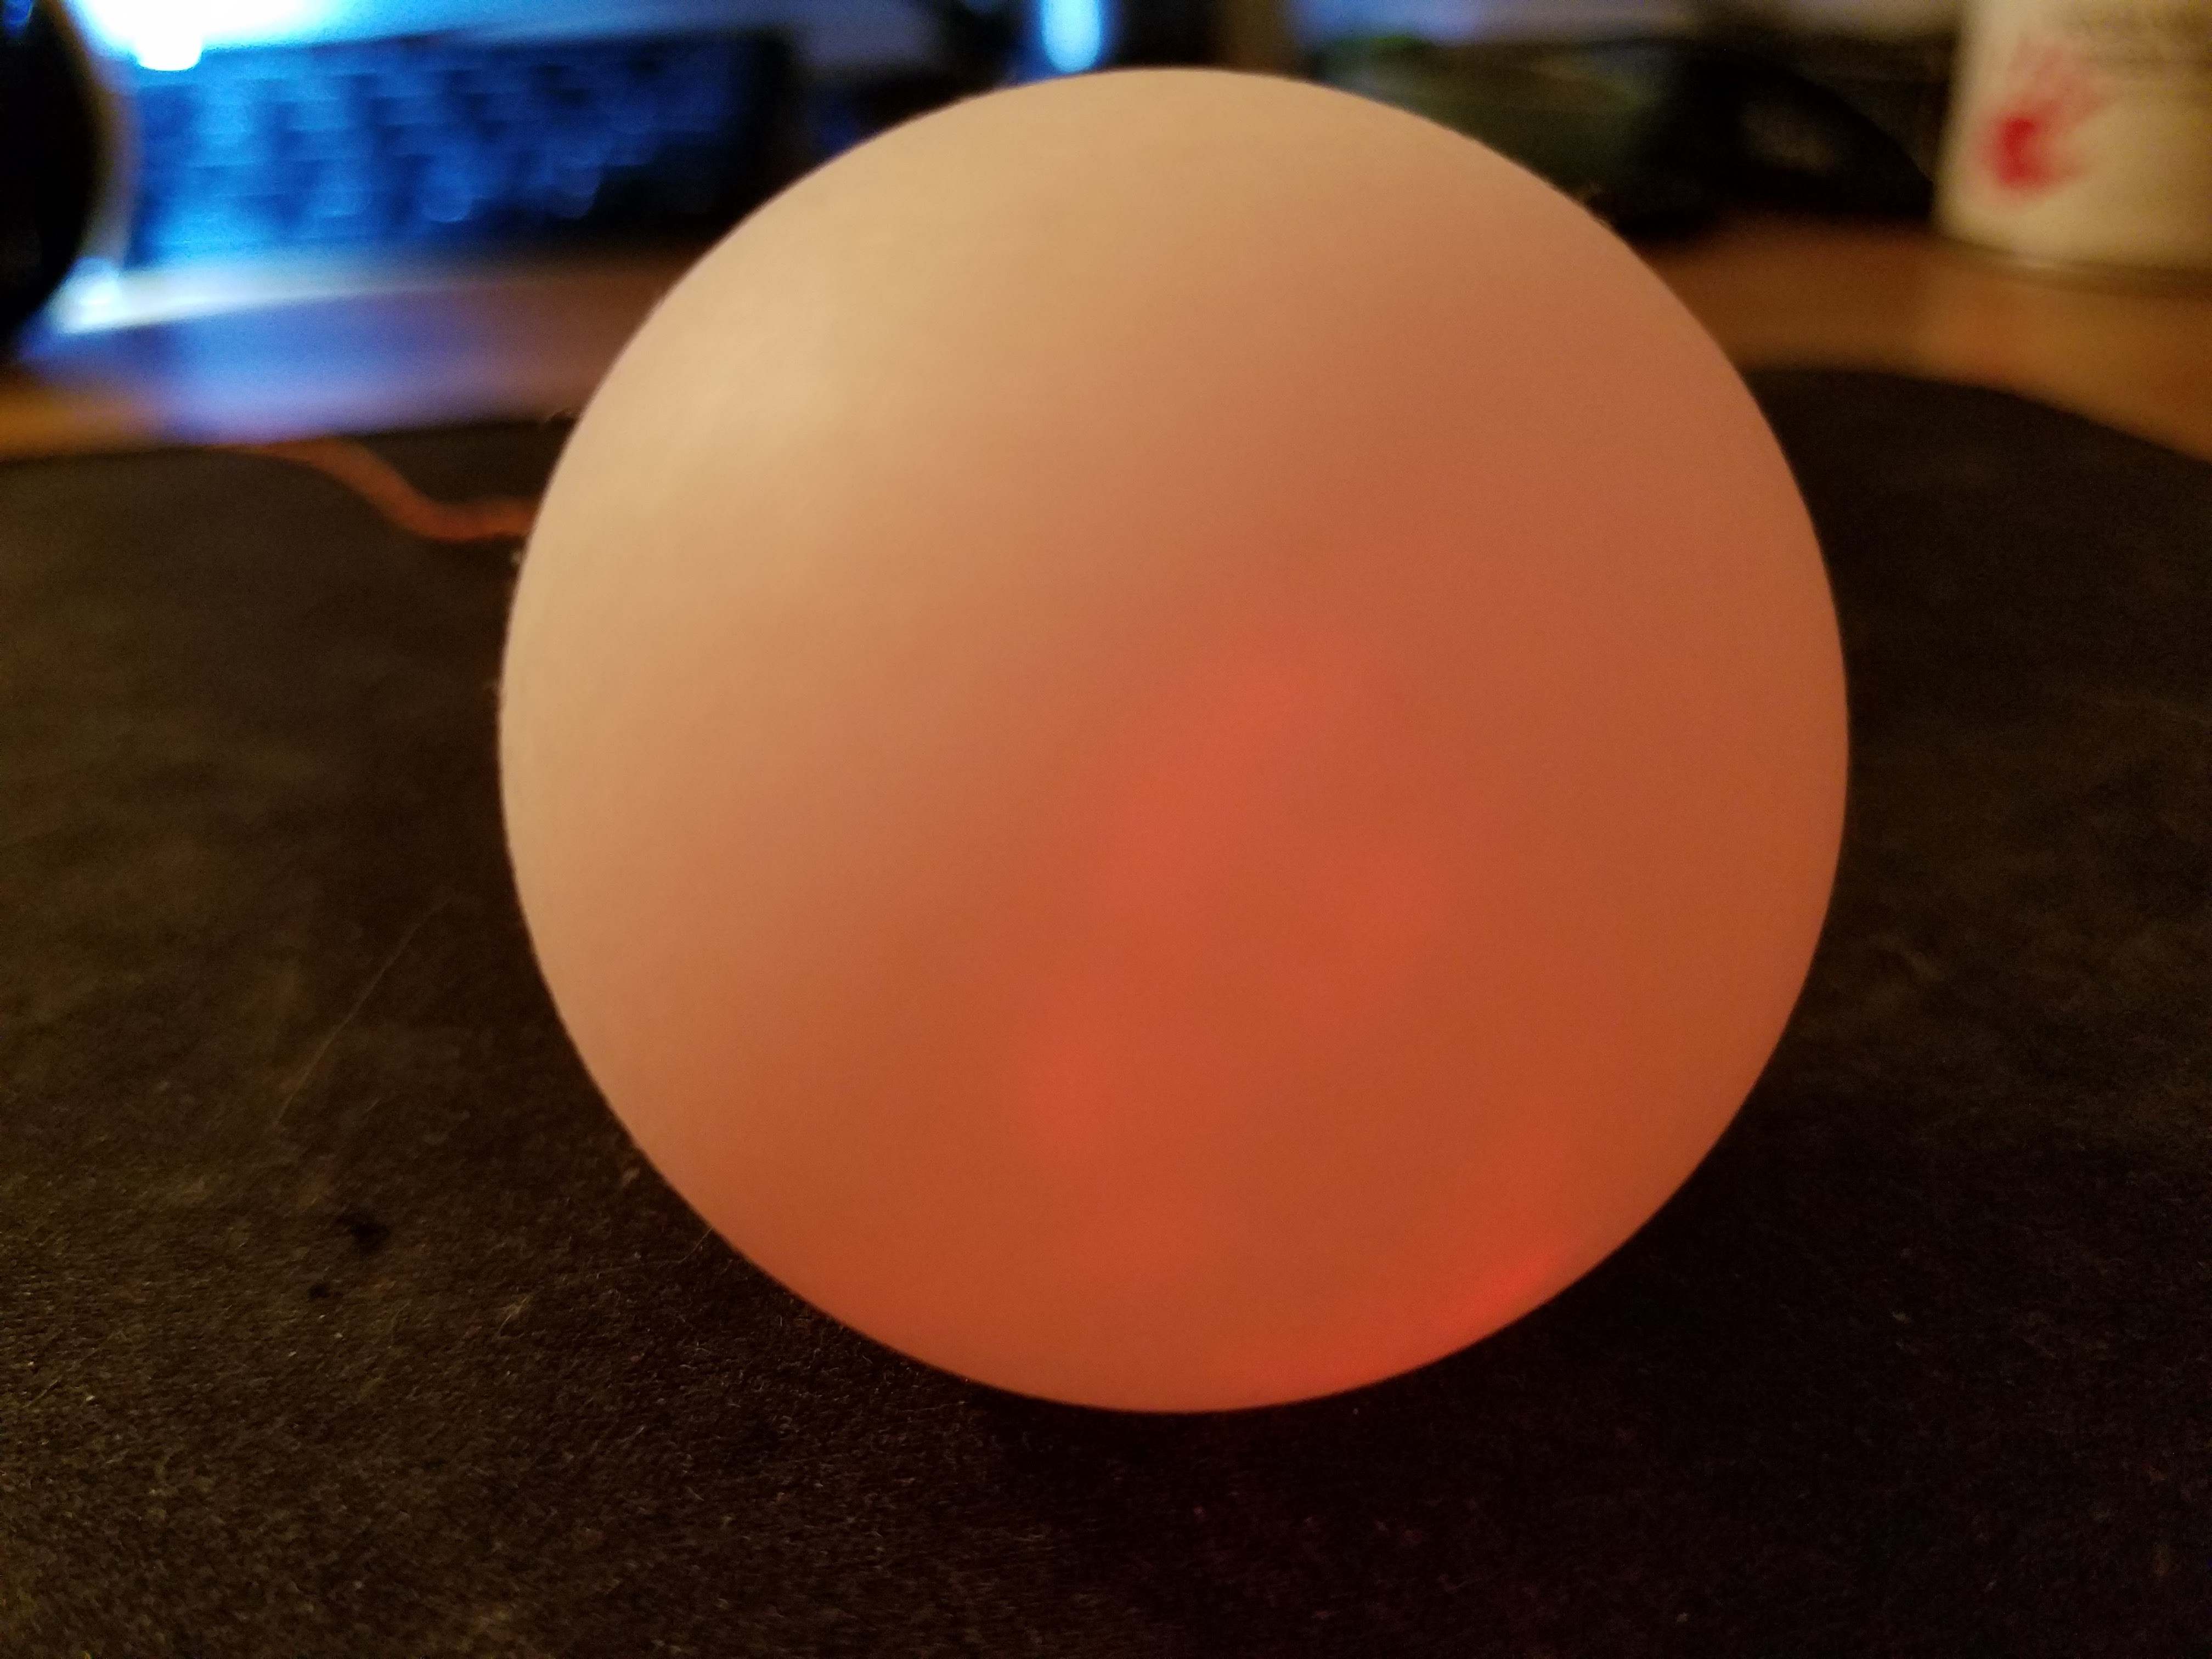
    Here are the results of the sanded LED inserted into the ping pong ball.

    Gone are any "rings-of-light" from the naked LED, and the "spotting" effects of using the white window masking-spray.

    Also, since there is not a coating of chemicals from the spray, the LED is brighter than when the spray was used:

  • Try Sanding the LED for a Diffused Effect

    Grayson Schlichting07/11/2016 at 04:31 0 comments

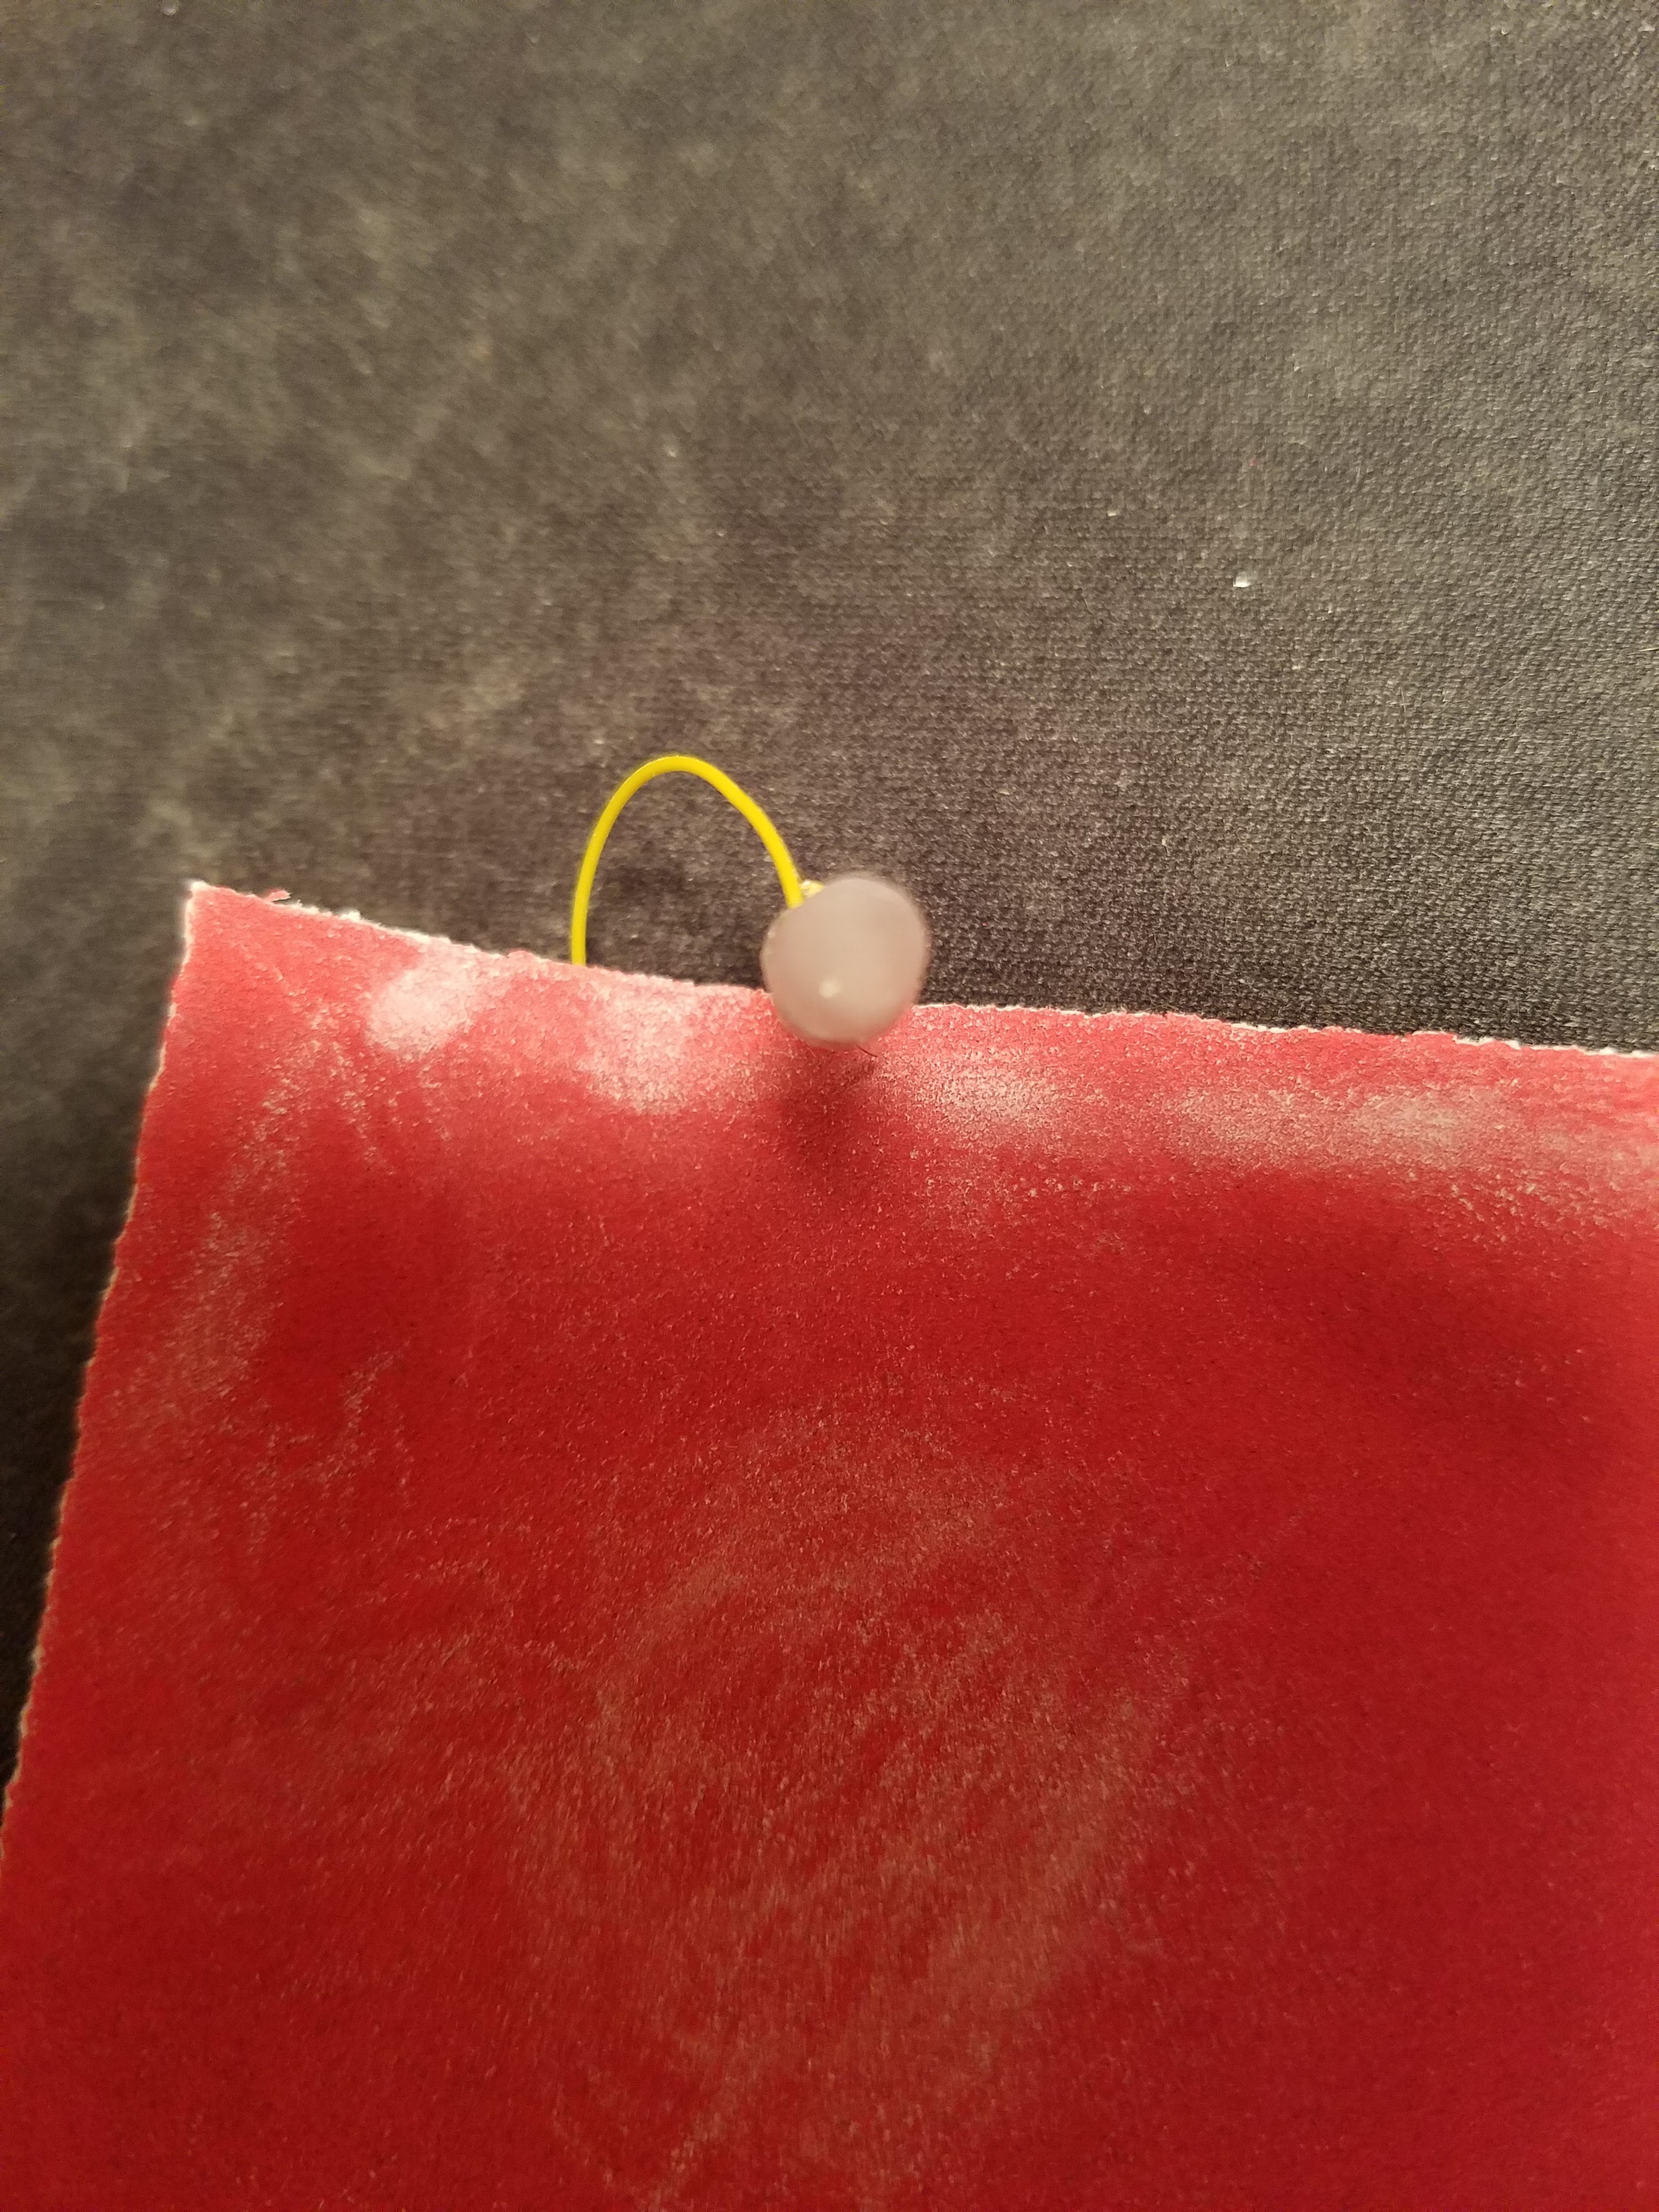
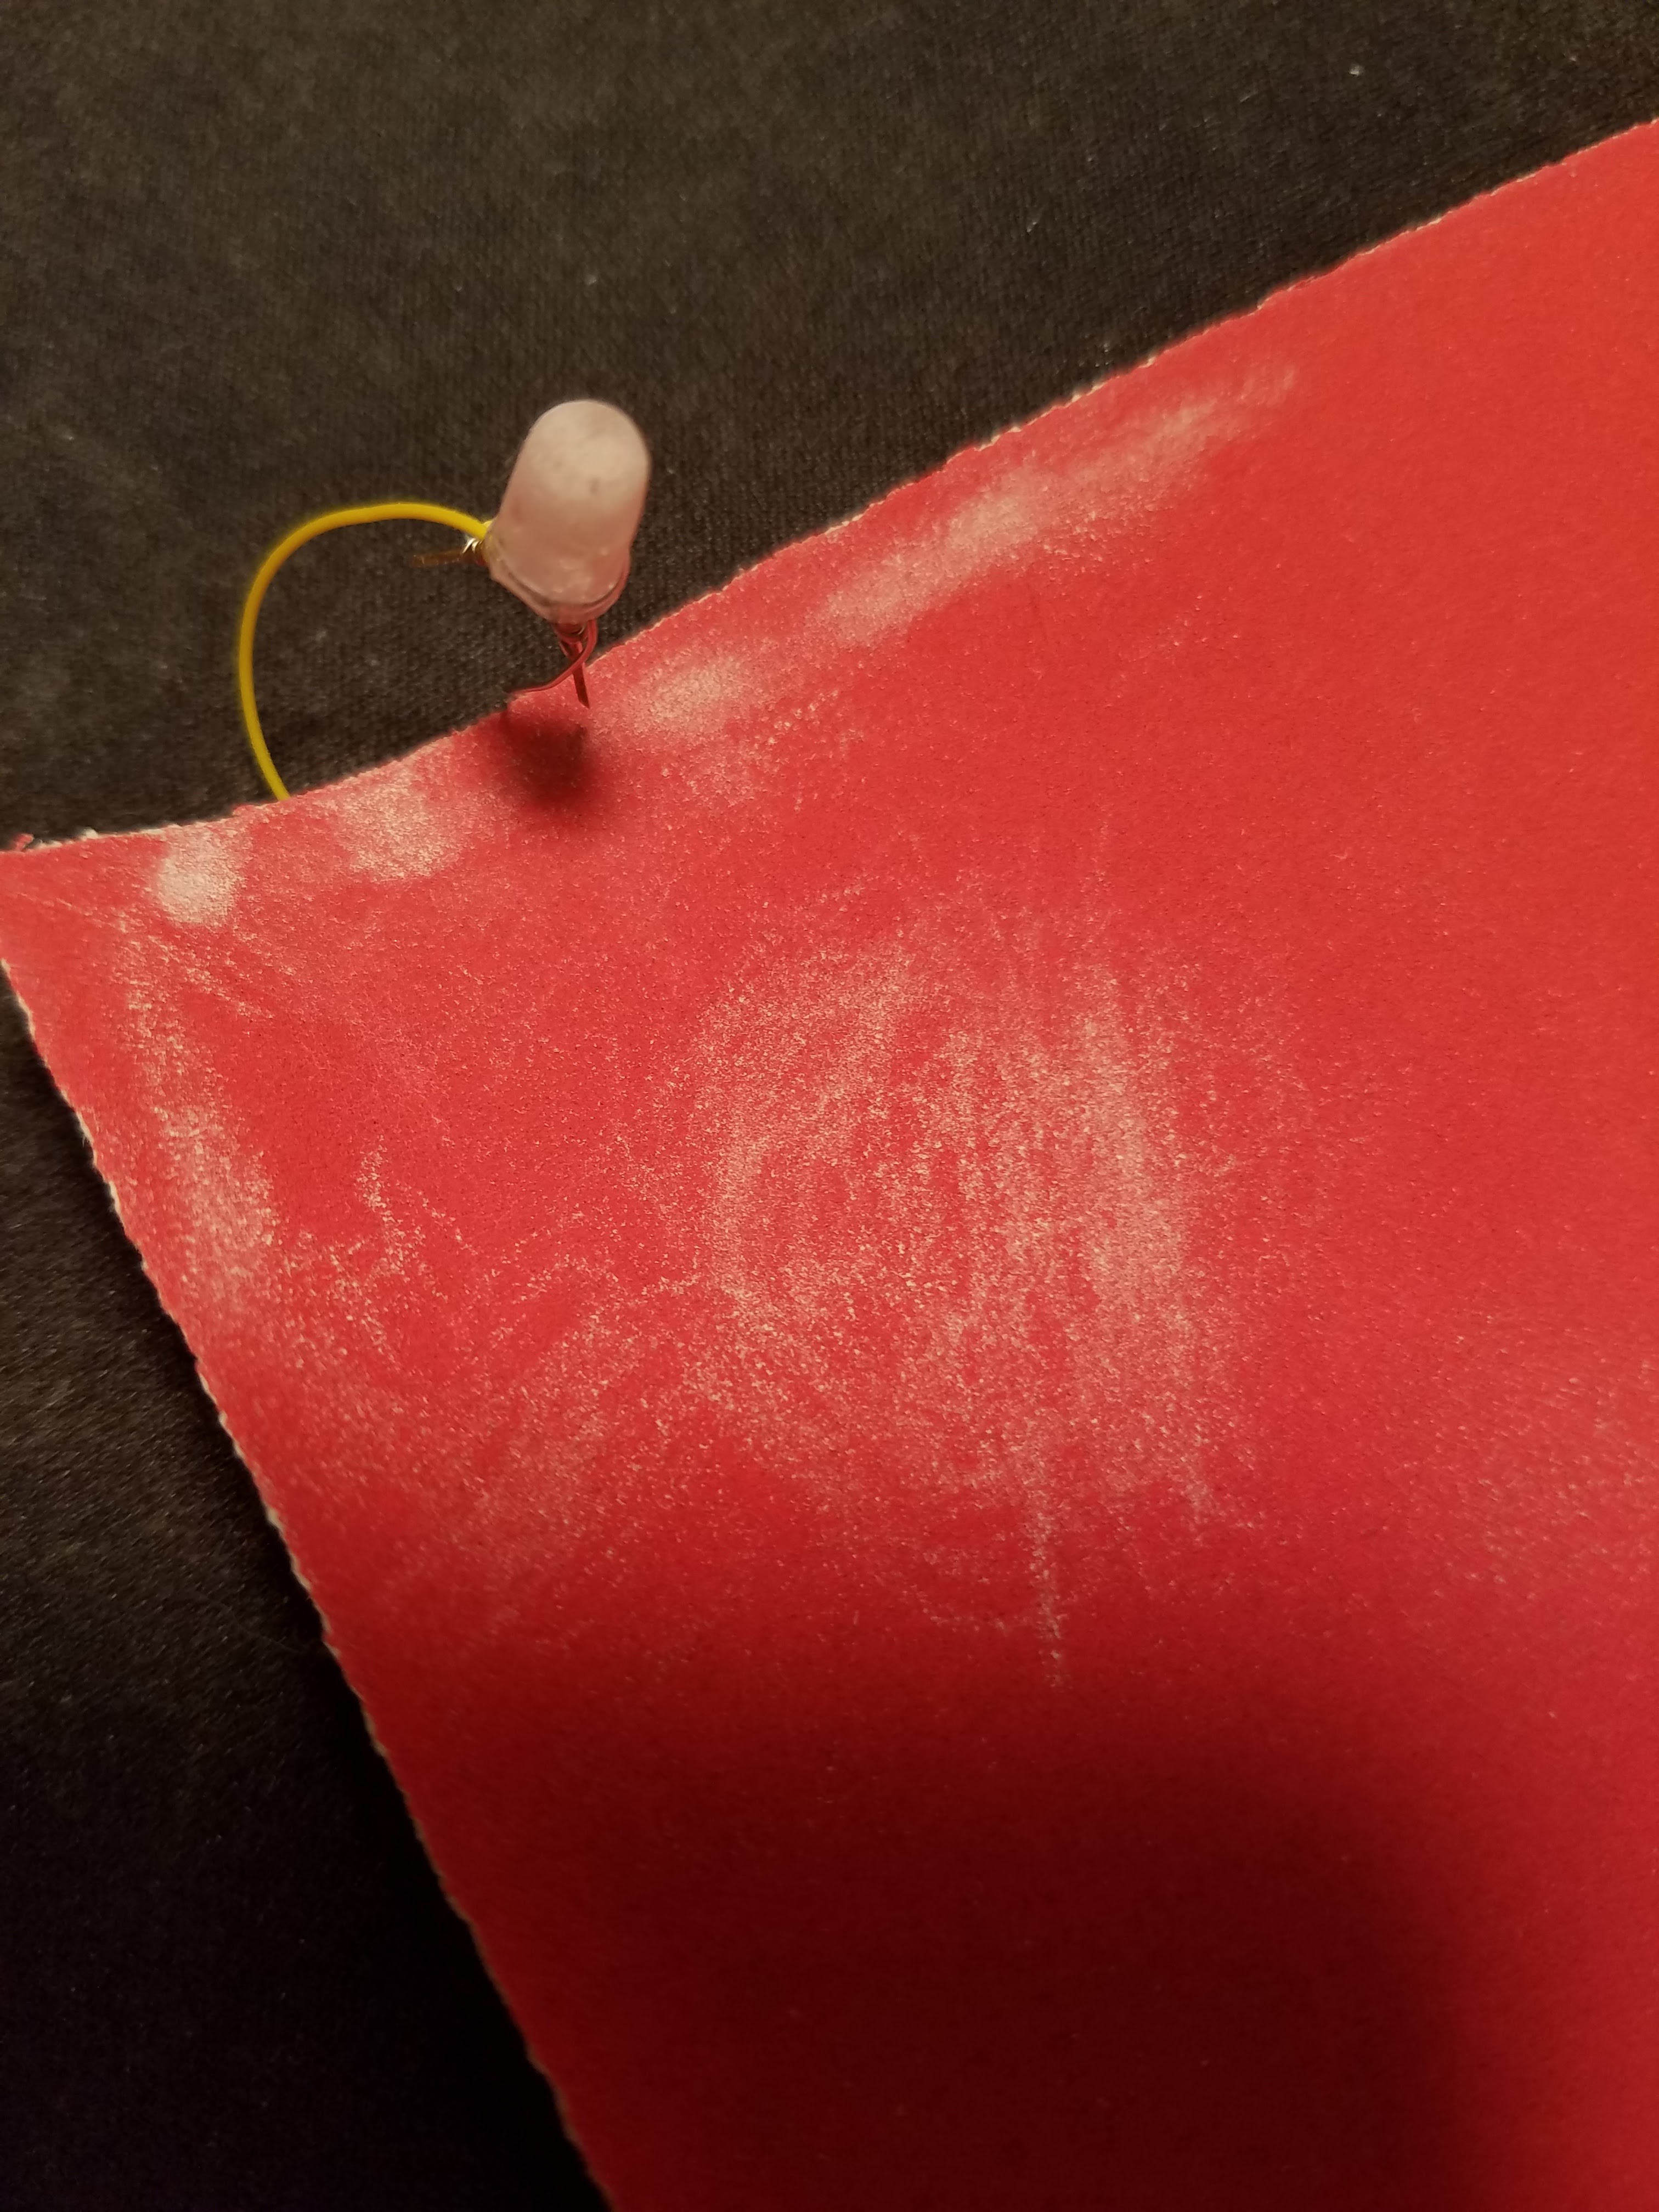
    Next attempts to "diffuse" the LED (which might be obvious to most) was to use sandpaper to "rough-up" the clear LED:

    I used 220 Grit sandpaper - rolling the body of the LED on the paper, then made circles at the tip of the LED lens (where the focus of the RGB LEDs are aimed):

  • Pictures of using White Masking Spray

    Grayson Schlichting07/11/2016 at 04:19 0 comments

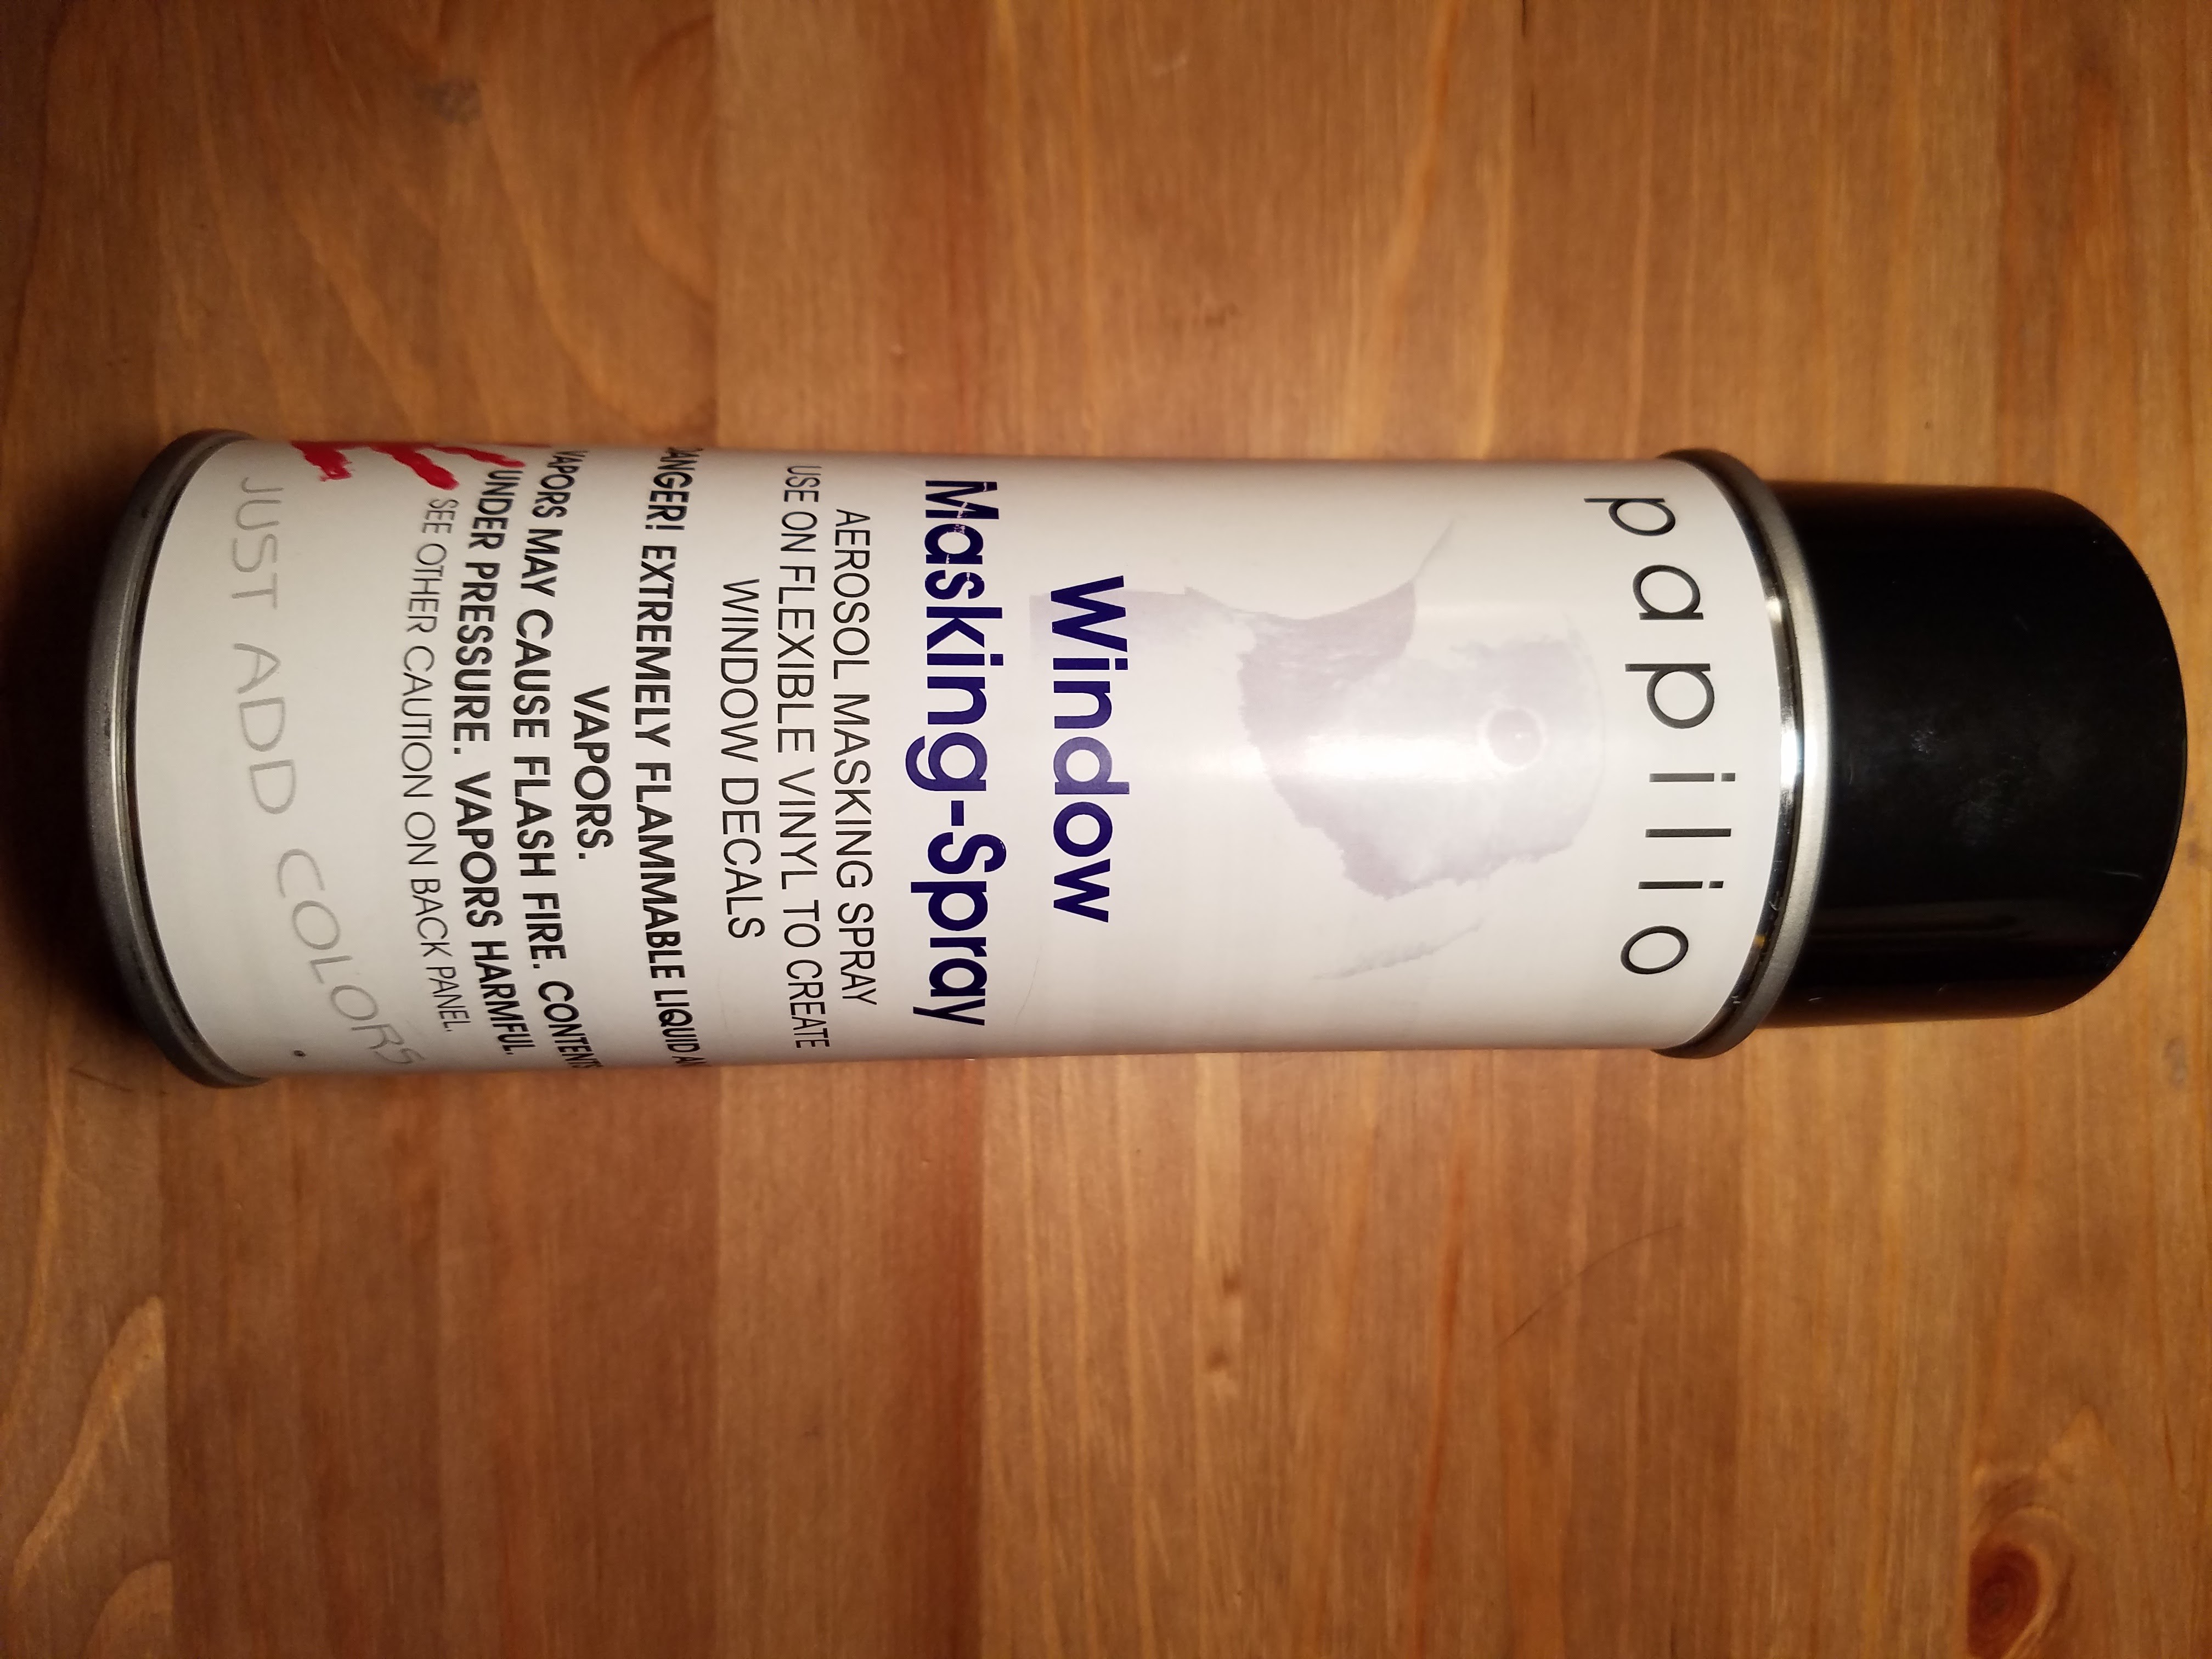
    Here is the product I used:

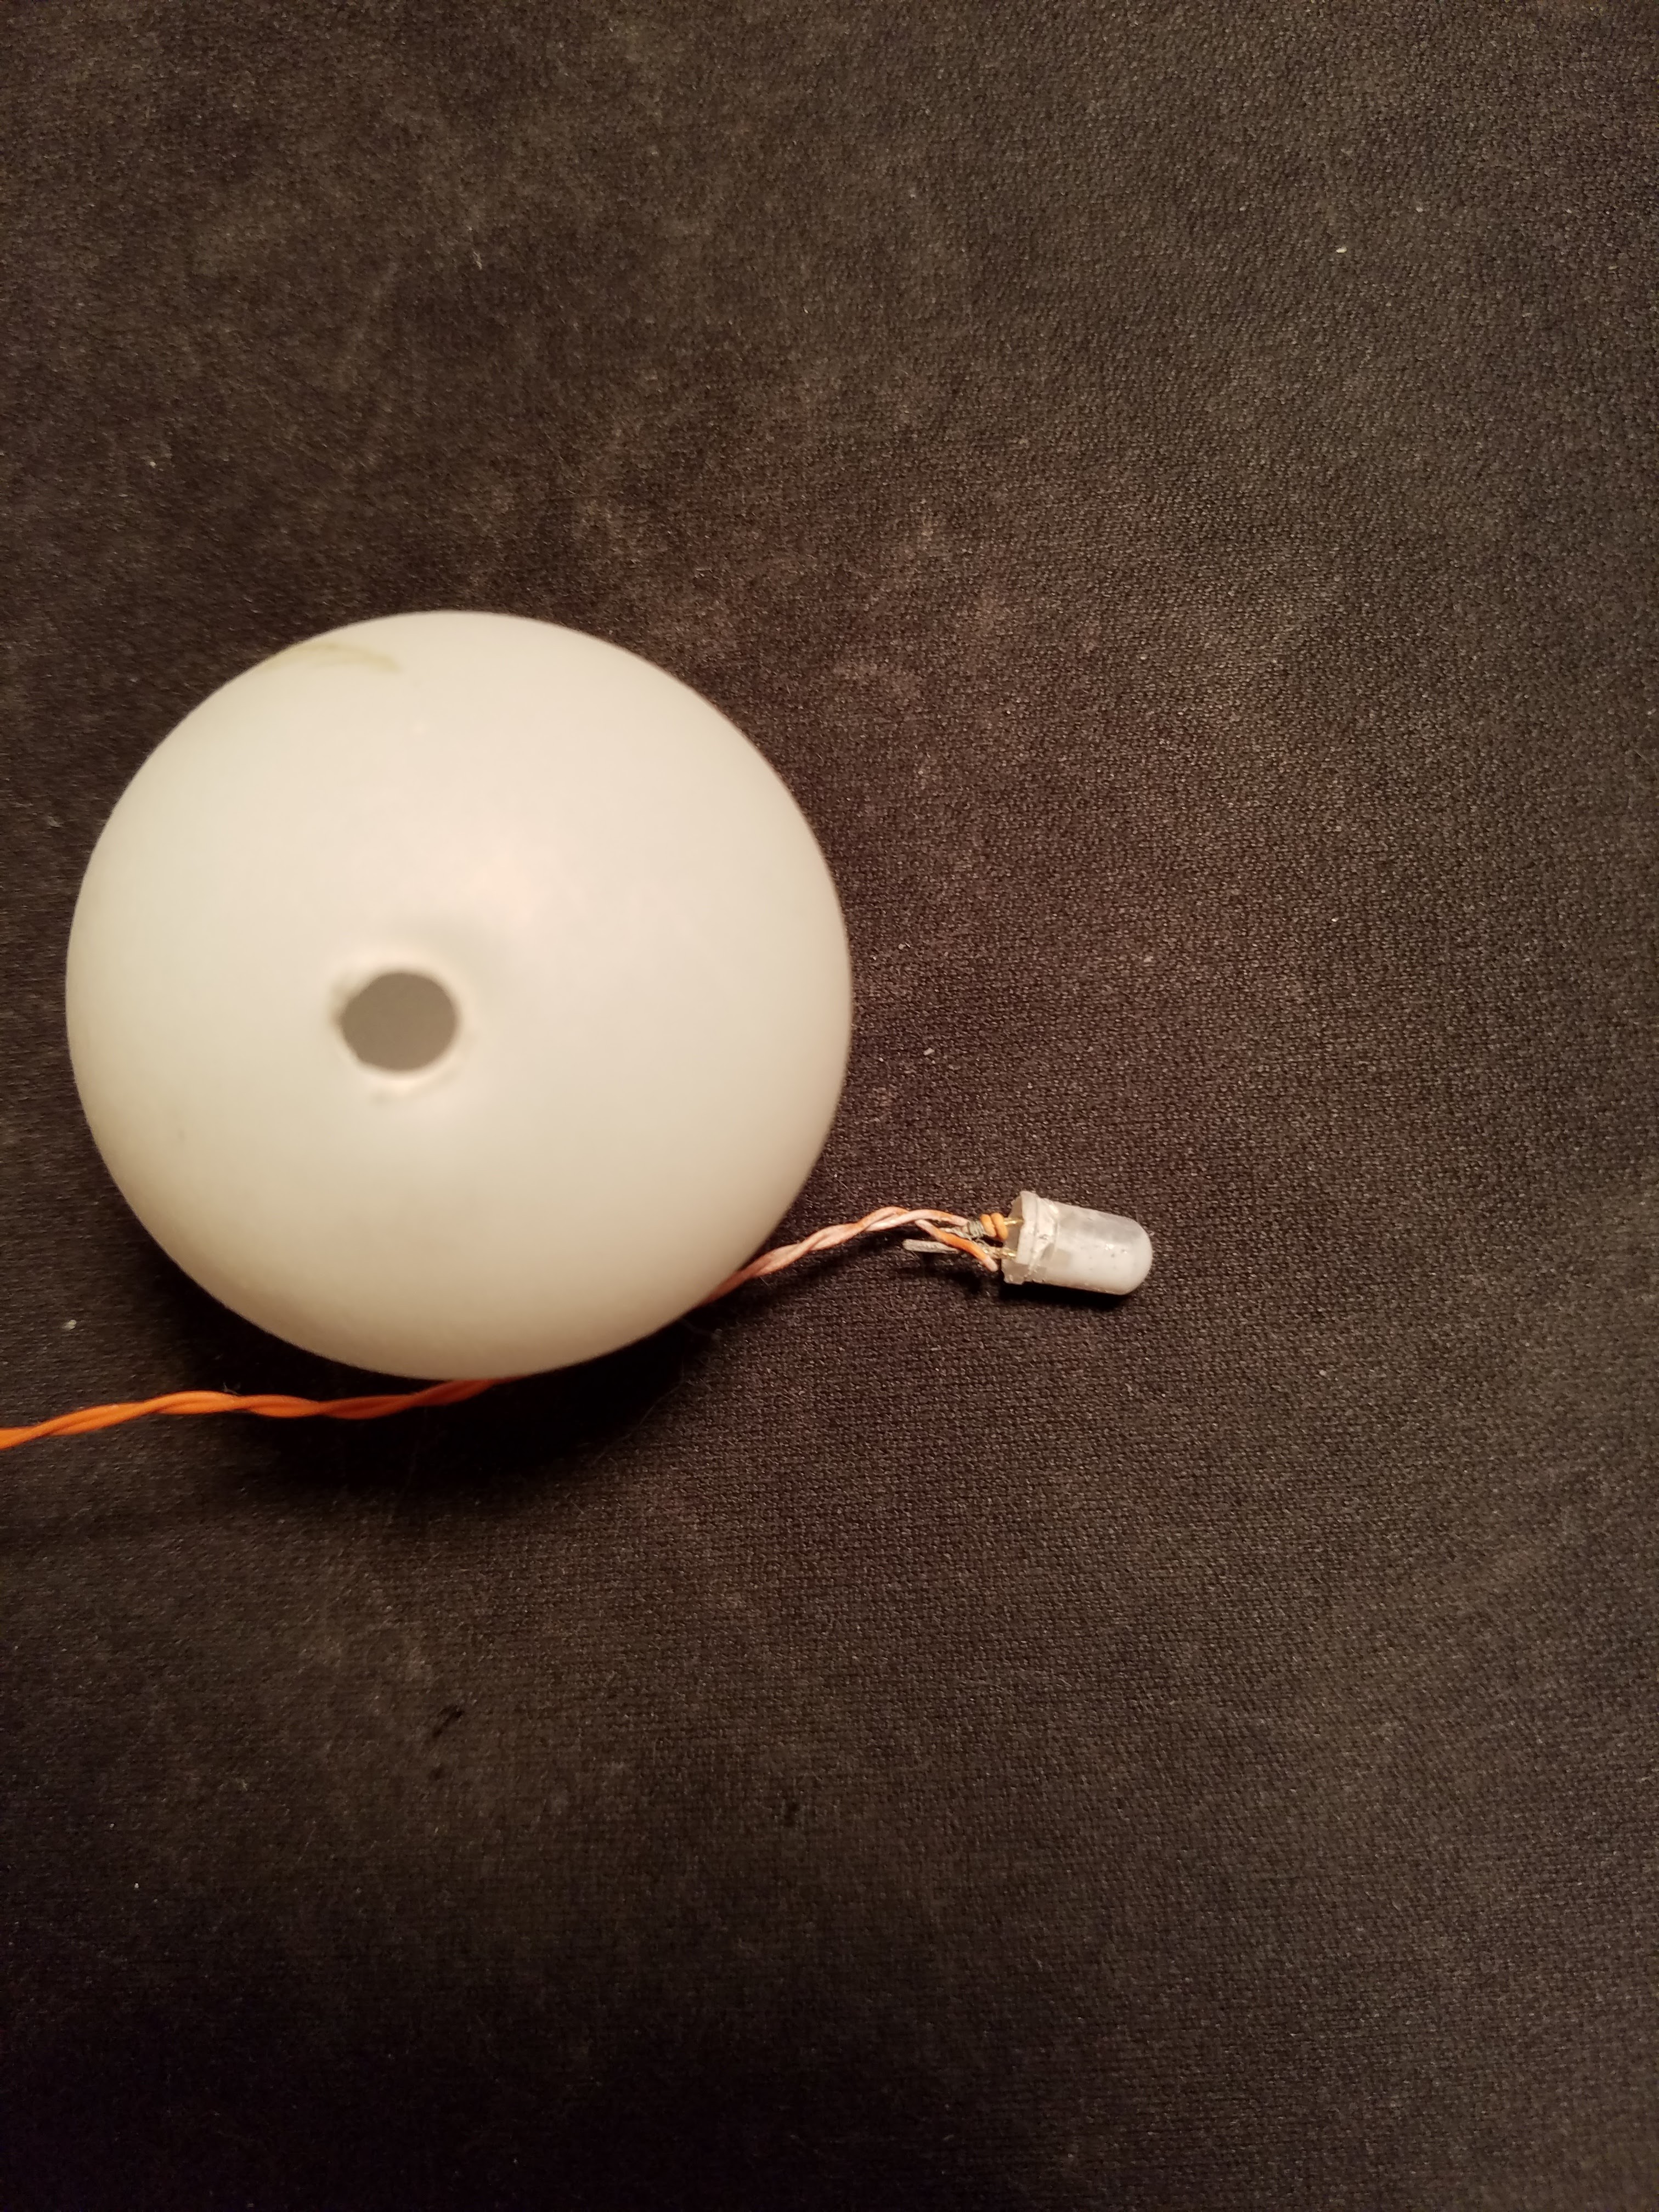
    ...and the LED after being inserted, then removed from the hole in the ping pong ball:

    While the pictures do not really show it well, there were still obvious "freckles" on the bottom of the ball:

  • Attempting to Diffuse with Papilio Window Masking-Spray

    Grayson Schlichting07/11/2016 at 04:08 0 comments

    I applied (what I thought) to be a light coating of white Window Masking-Spray. It was a hot and humid day, so perhaps I would have let it dry overnight. When I re-inserted the LED into the ping pong ball, some of the white masking rubbed off.

  • Attempt to Eliminate "Colored Circles" projected onto the Bottom of the Ping Pong Ball

    Grayson Schlichting07/11/2016 at 03:54 0 comments

    The The Microtivity Site LEDs that I use are NOT diffused so while looking at the ping pong ball at about eye-level, the colors which are a mix of Red/Green/Blue are blended well. However, when looking at the ping pong ball closely or at below eye-level (i.e.: like passing under it going through the door), there are obvious "rings" of colors which appear at 3 distinct spots on the bottom of the surface of the ping pong ball.

    In an attempt to make this more diffused, I put a bit of baking soda into the ball, and re-inserted the LED.

    Unfortunately, it was obvious that there was a powder at the bottom of the ball once it had been hanging for a bit and the "dust had settled."

    My next attempt (I'm an 'electrical' guy, not too 'mechanical') was to spray a coating of white Papilio Window Masking-Spray on the LED.

View all 8 project logs

  • 1
    Step 1

    For the Ping Pong Ball, I used the tiniest drill bit I had, and started twisting. I moved up bit-by-bit (ha ha, literally) making the hole larger each time. I did all the "drilling" by hand, and tried to carefully back the bits out to prevent any shavings from falling into the ball. I wirked my way up until I had a hole snug enough for the 5mm LED body to snap into, but small enough so that the base of the LED was on the outside.

View all instructions

Enjoy this project?

Share

Discussions

Elliot Williams wrote 01/18/2018 at 20:41 point

The sanded/diffused LEDs and ping-pong balls are absolutely gorgeous.  Stealing light from the hallway to light a light is fully absurd.

  Are you sure? yes | no

Grayson Schlichting wrote 07/11/2016 at 05:57 point

Oops, should have proof-read better.  Plastic Baseballs are 3 for a Dollar!

  Are you sure? yes | no

Similar Projects

Does this project spark your interest?

Become a member to follow this project and never miss any updates