-
Two Balls in Action (a short film by W5ANM ;)
07/11/2016 at 05:53 • 0 commentsA video of both the Ping Pong ball and plastic Baseball:
-
Two Balls...
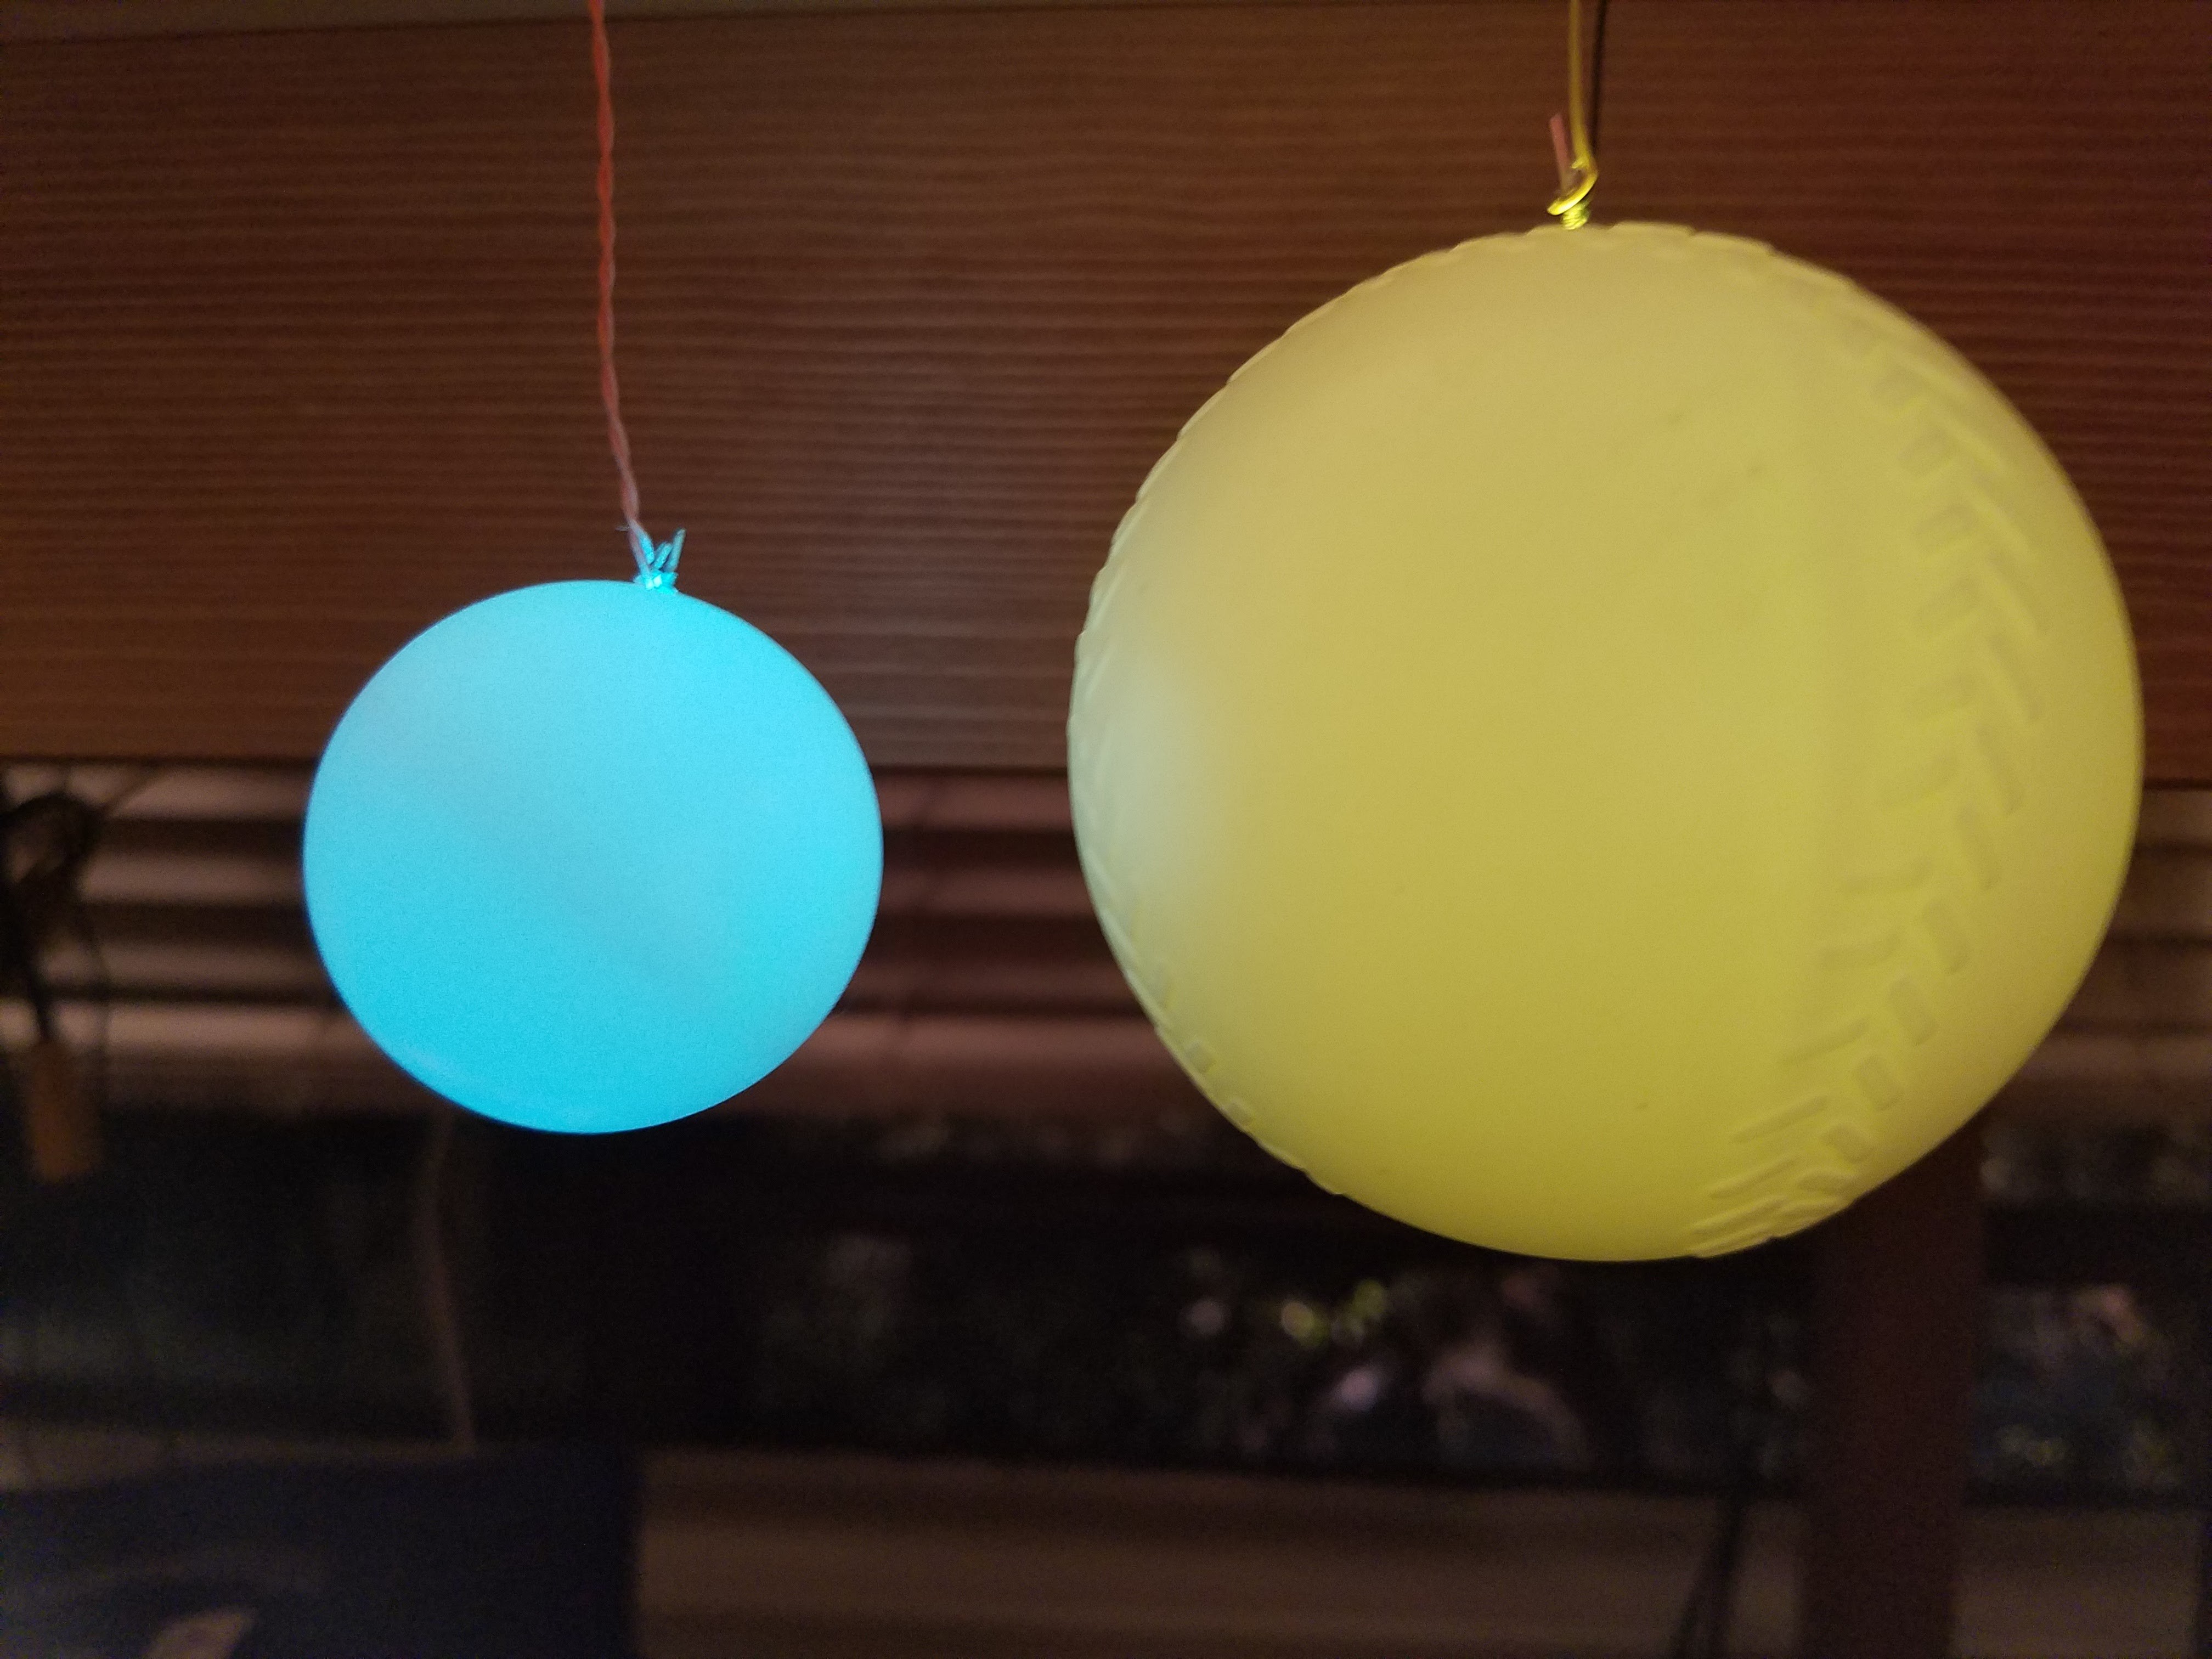
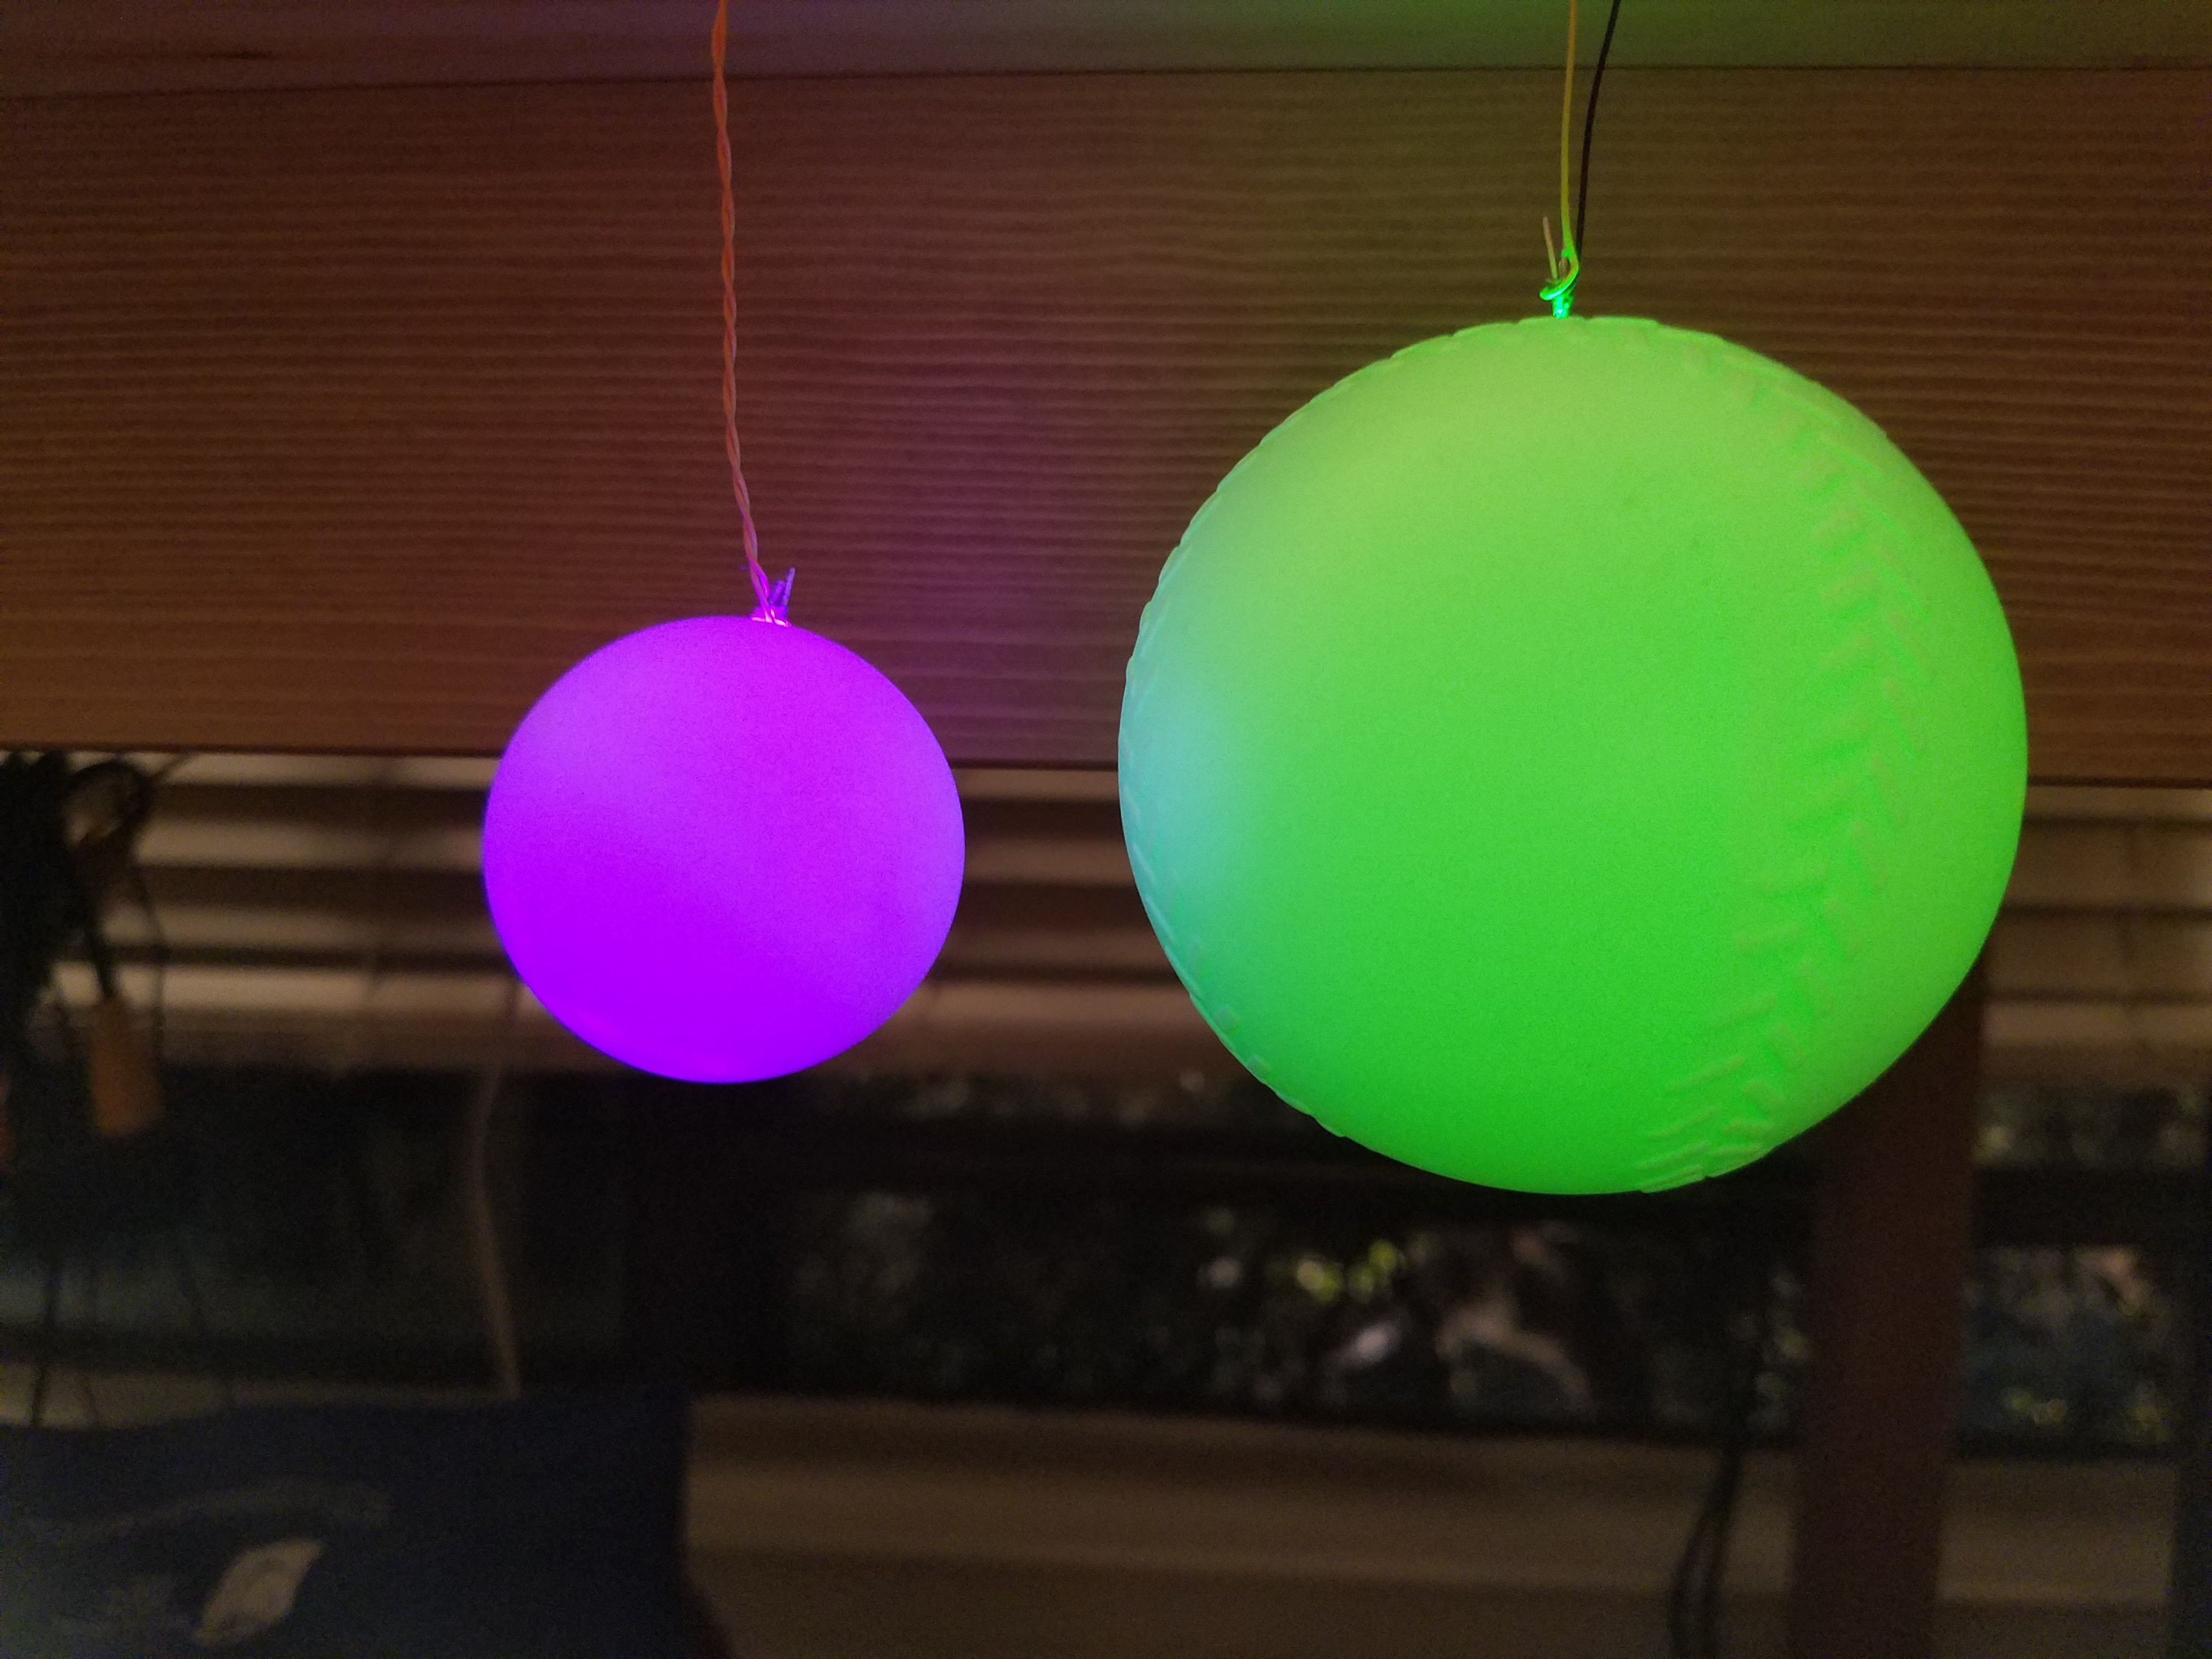
07/11/2016 at 05:41 • 0 commentsThe preferred embodiment for above the apartment door, and the plastic Baseball:
![]()
![]()
![]()
-
Bigger Balls?
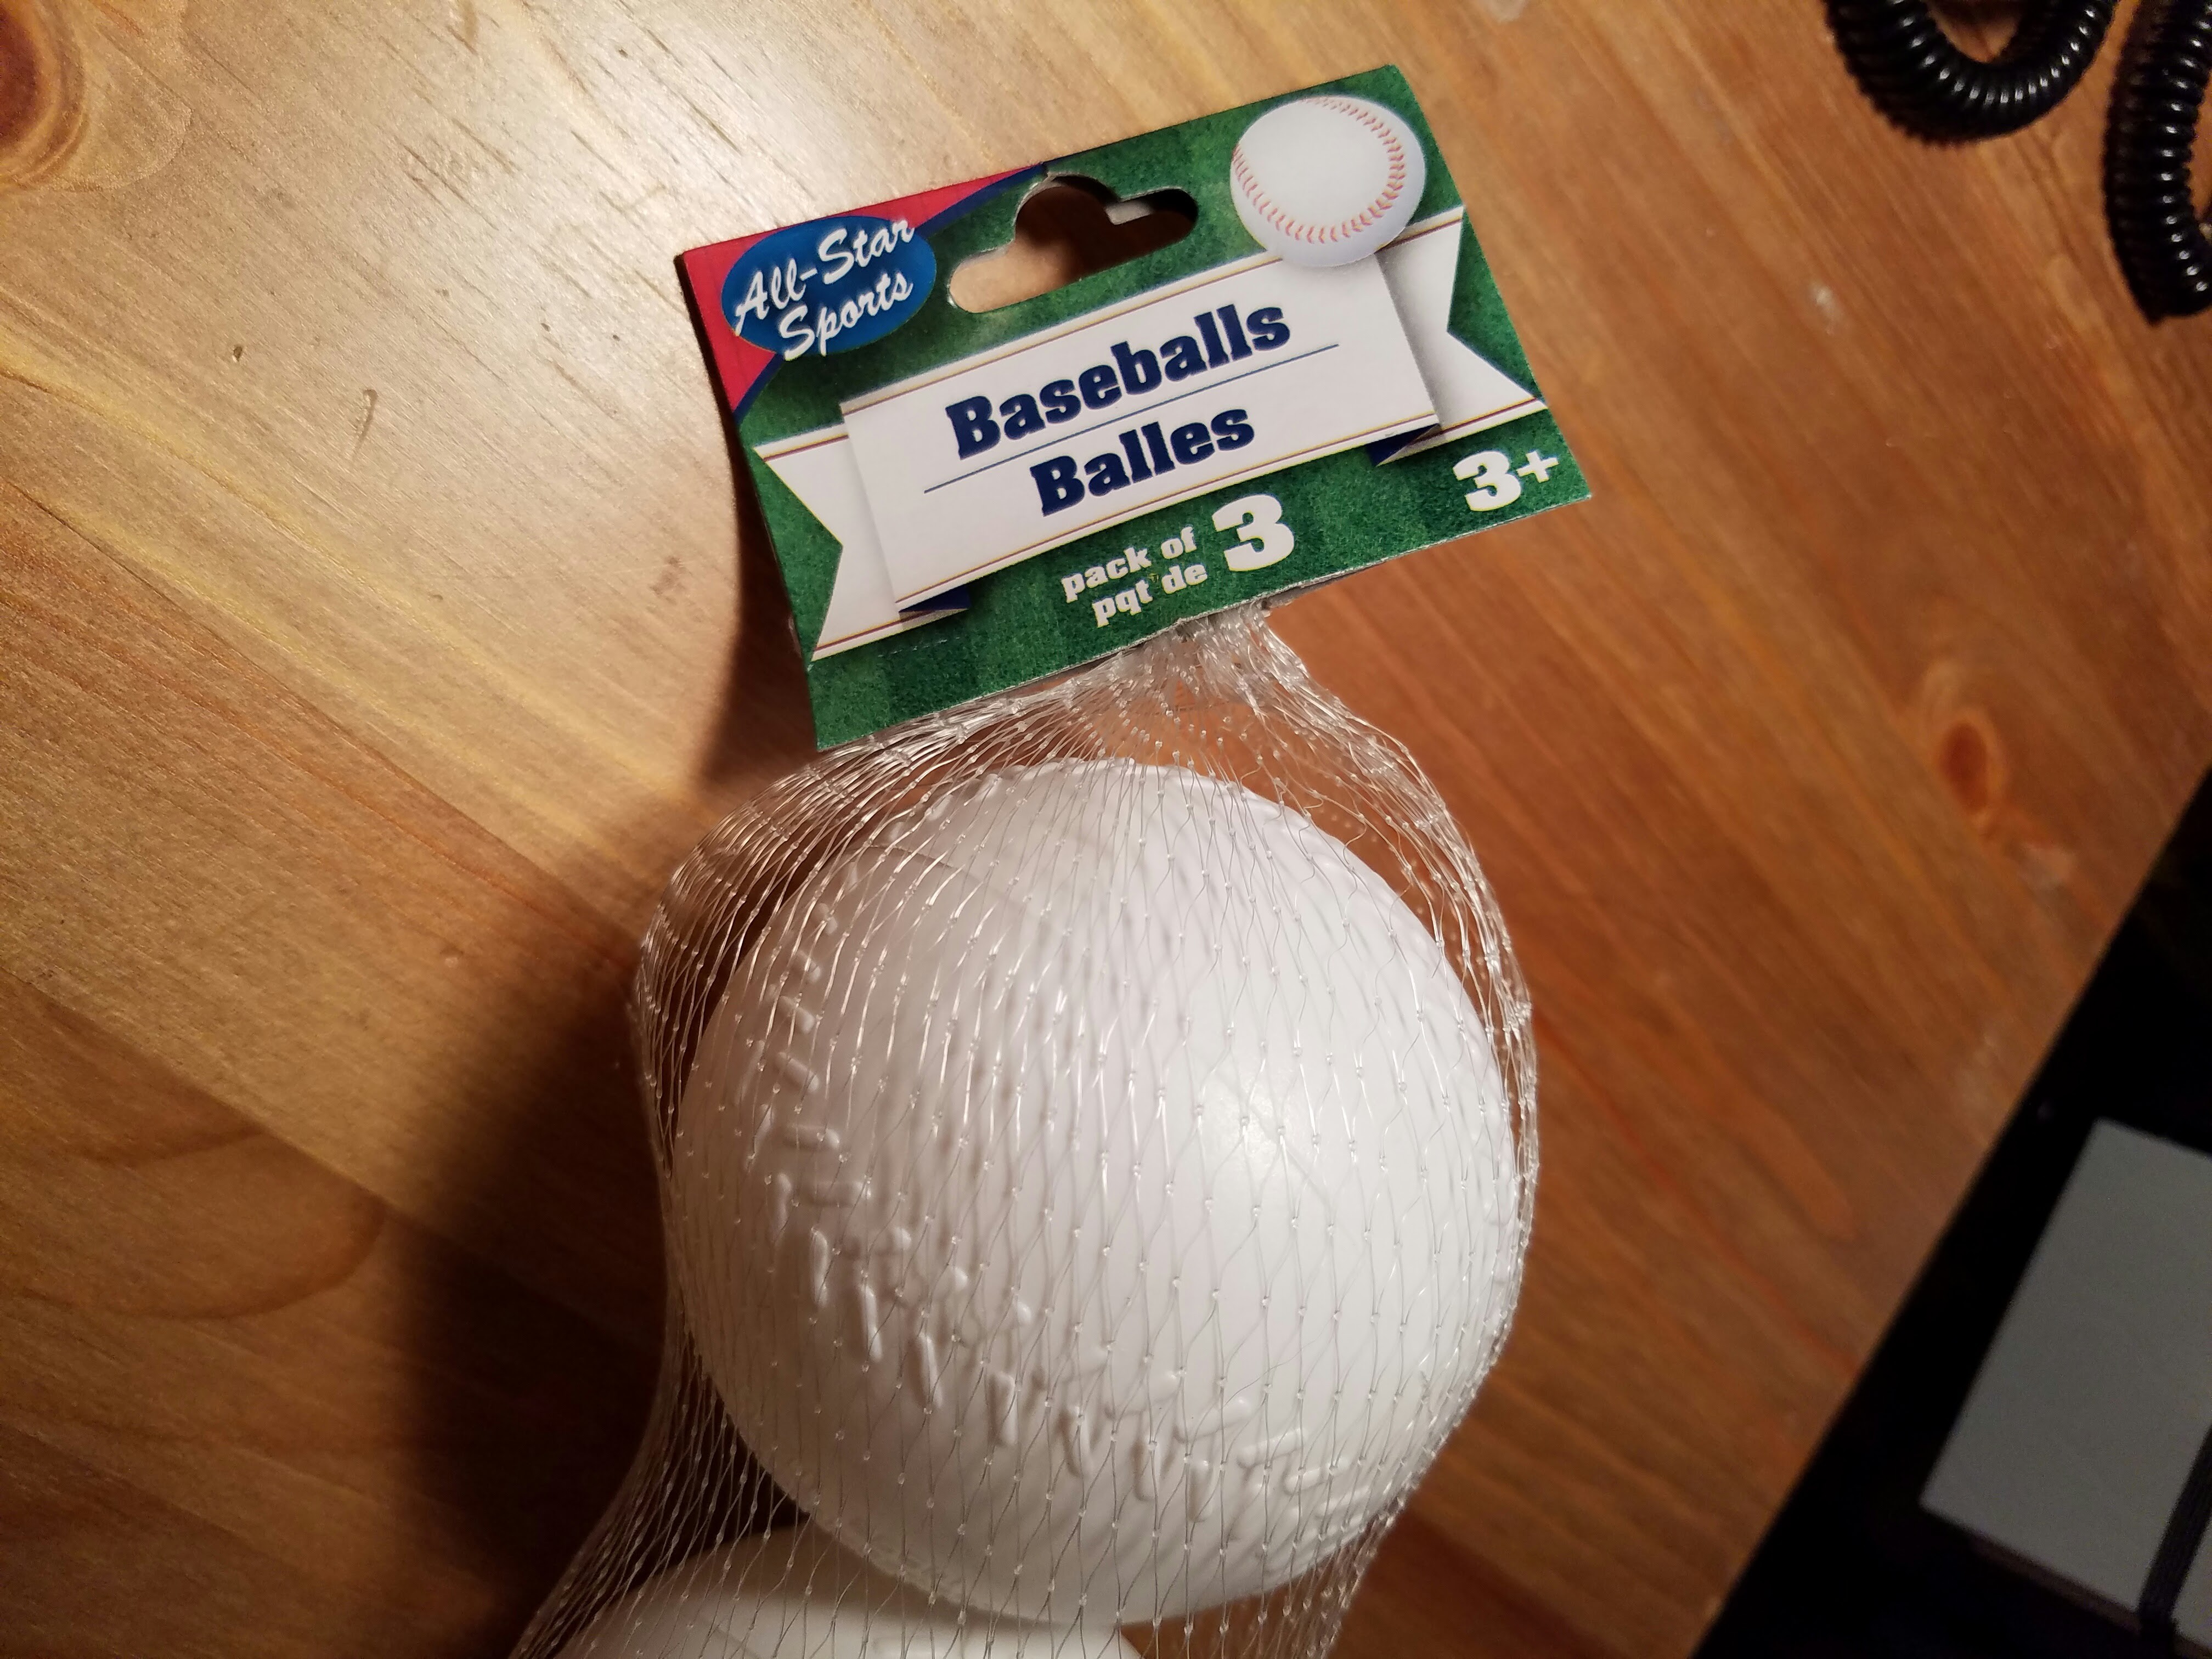
07/11/2016 at 05:37 • 0 commentsI stopped by the Dollar Store again, and got a 3-pack of plastic, hollow "Baseballs" - the kind a small child would play with using a plastic bat. I found an obvious spot along the seam where the ball had been assembled from 2 halves, and make a hole for a sanded/diffused LED in it.
I needed to drive it a little brighter to get the same amount of illumination as the ping pong ball, so the 5V Solar Panel provided more wattage so that it was about the same brightness as the 3.6V panel I use in the project.
The quality of craftsmanship for the plastic baseball was, well, what you would expect for 3/$3.00.
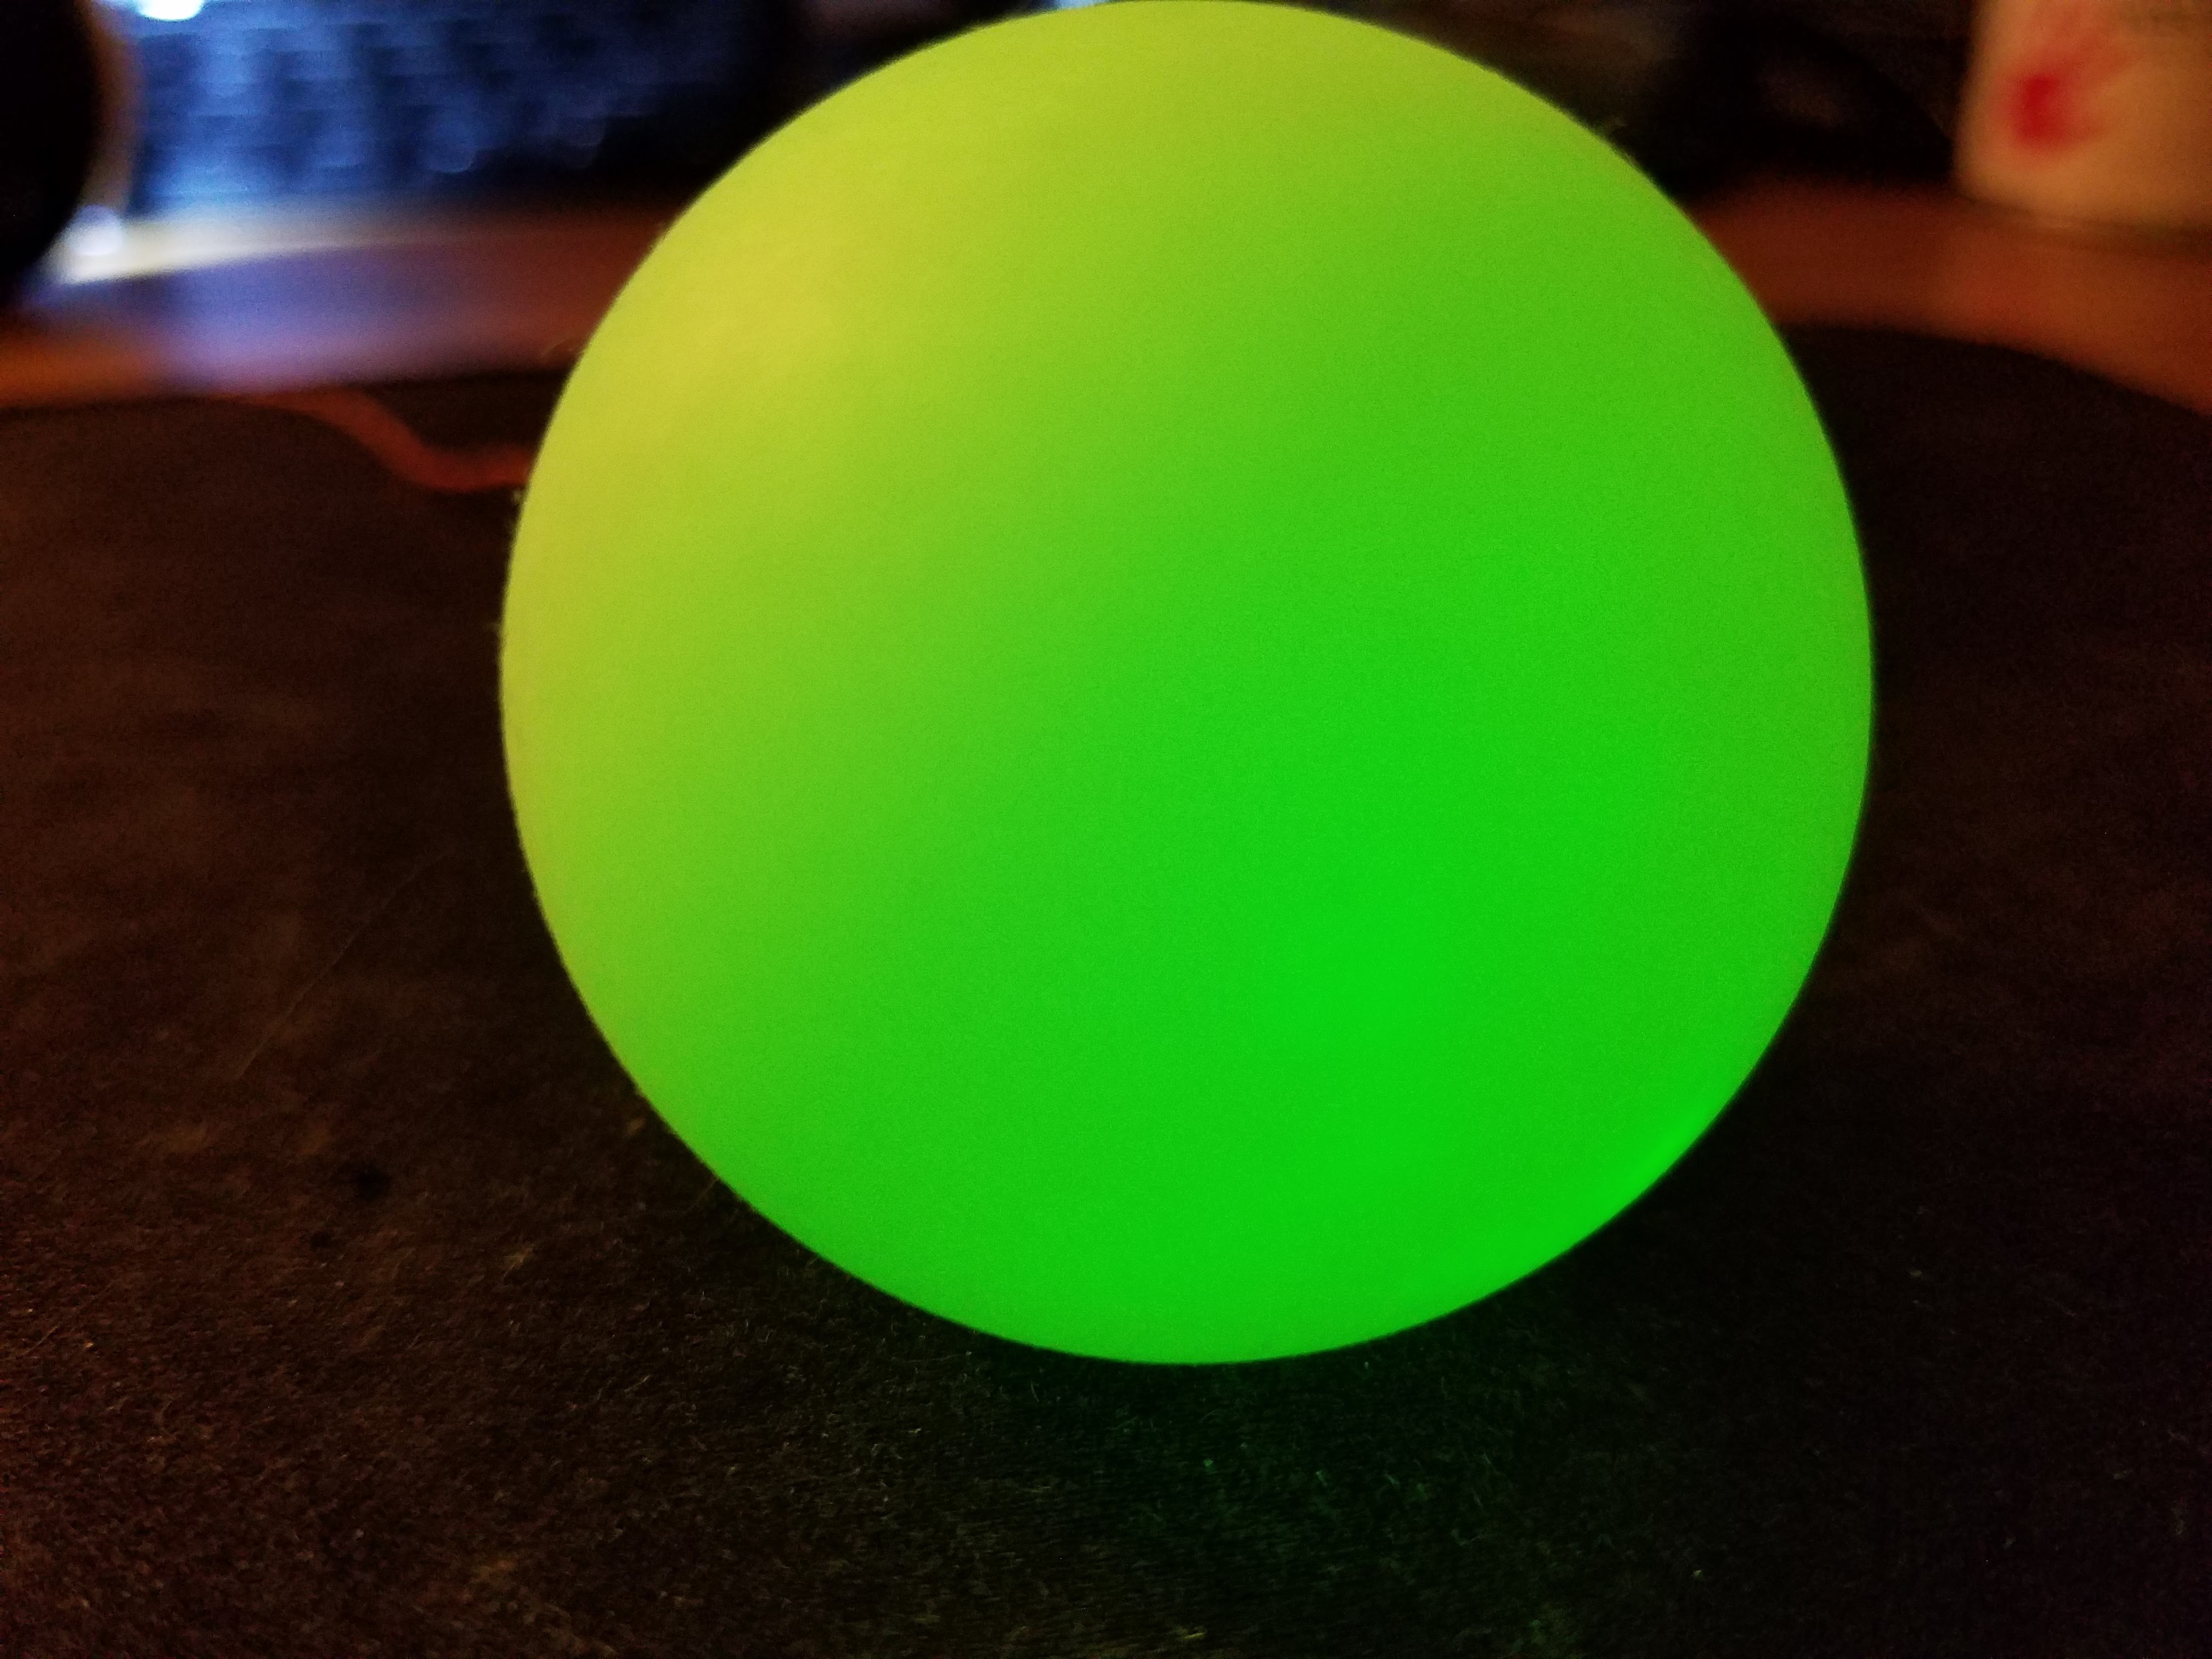
It's not uniform like the ping pong ball which has no seams or "molding artifacts" - and way to big and goofy looking to hang above my apartment door, but here's what it looks like. Putting in the Fast-Rotating Microtivity 5mm IL602 and making a string of them might be a good party decoration which is probably what I will do (the LEDs come in packs of 30 so I have plenty of both the slow and fast color-changing LEDs to do something with :)
![]()
-
Sanding Seems the Best Way to Diffuse the LED
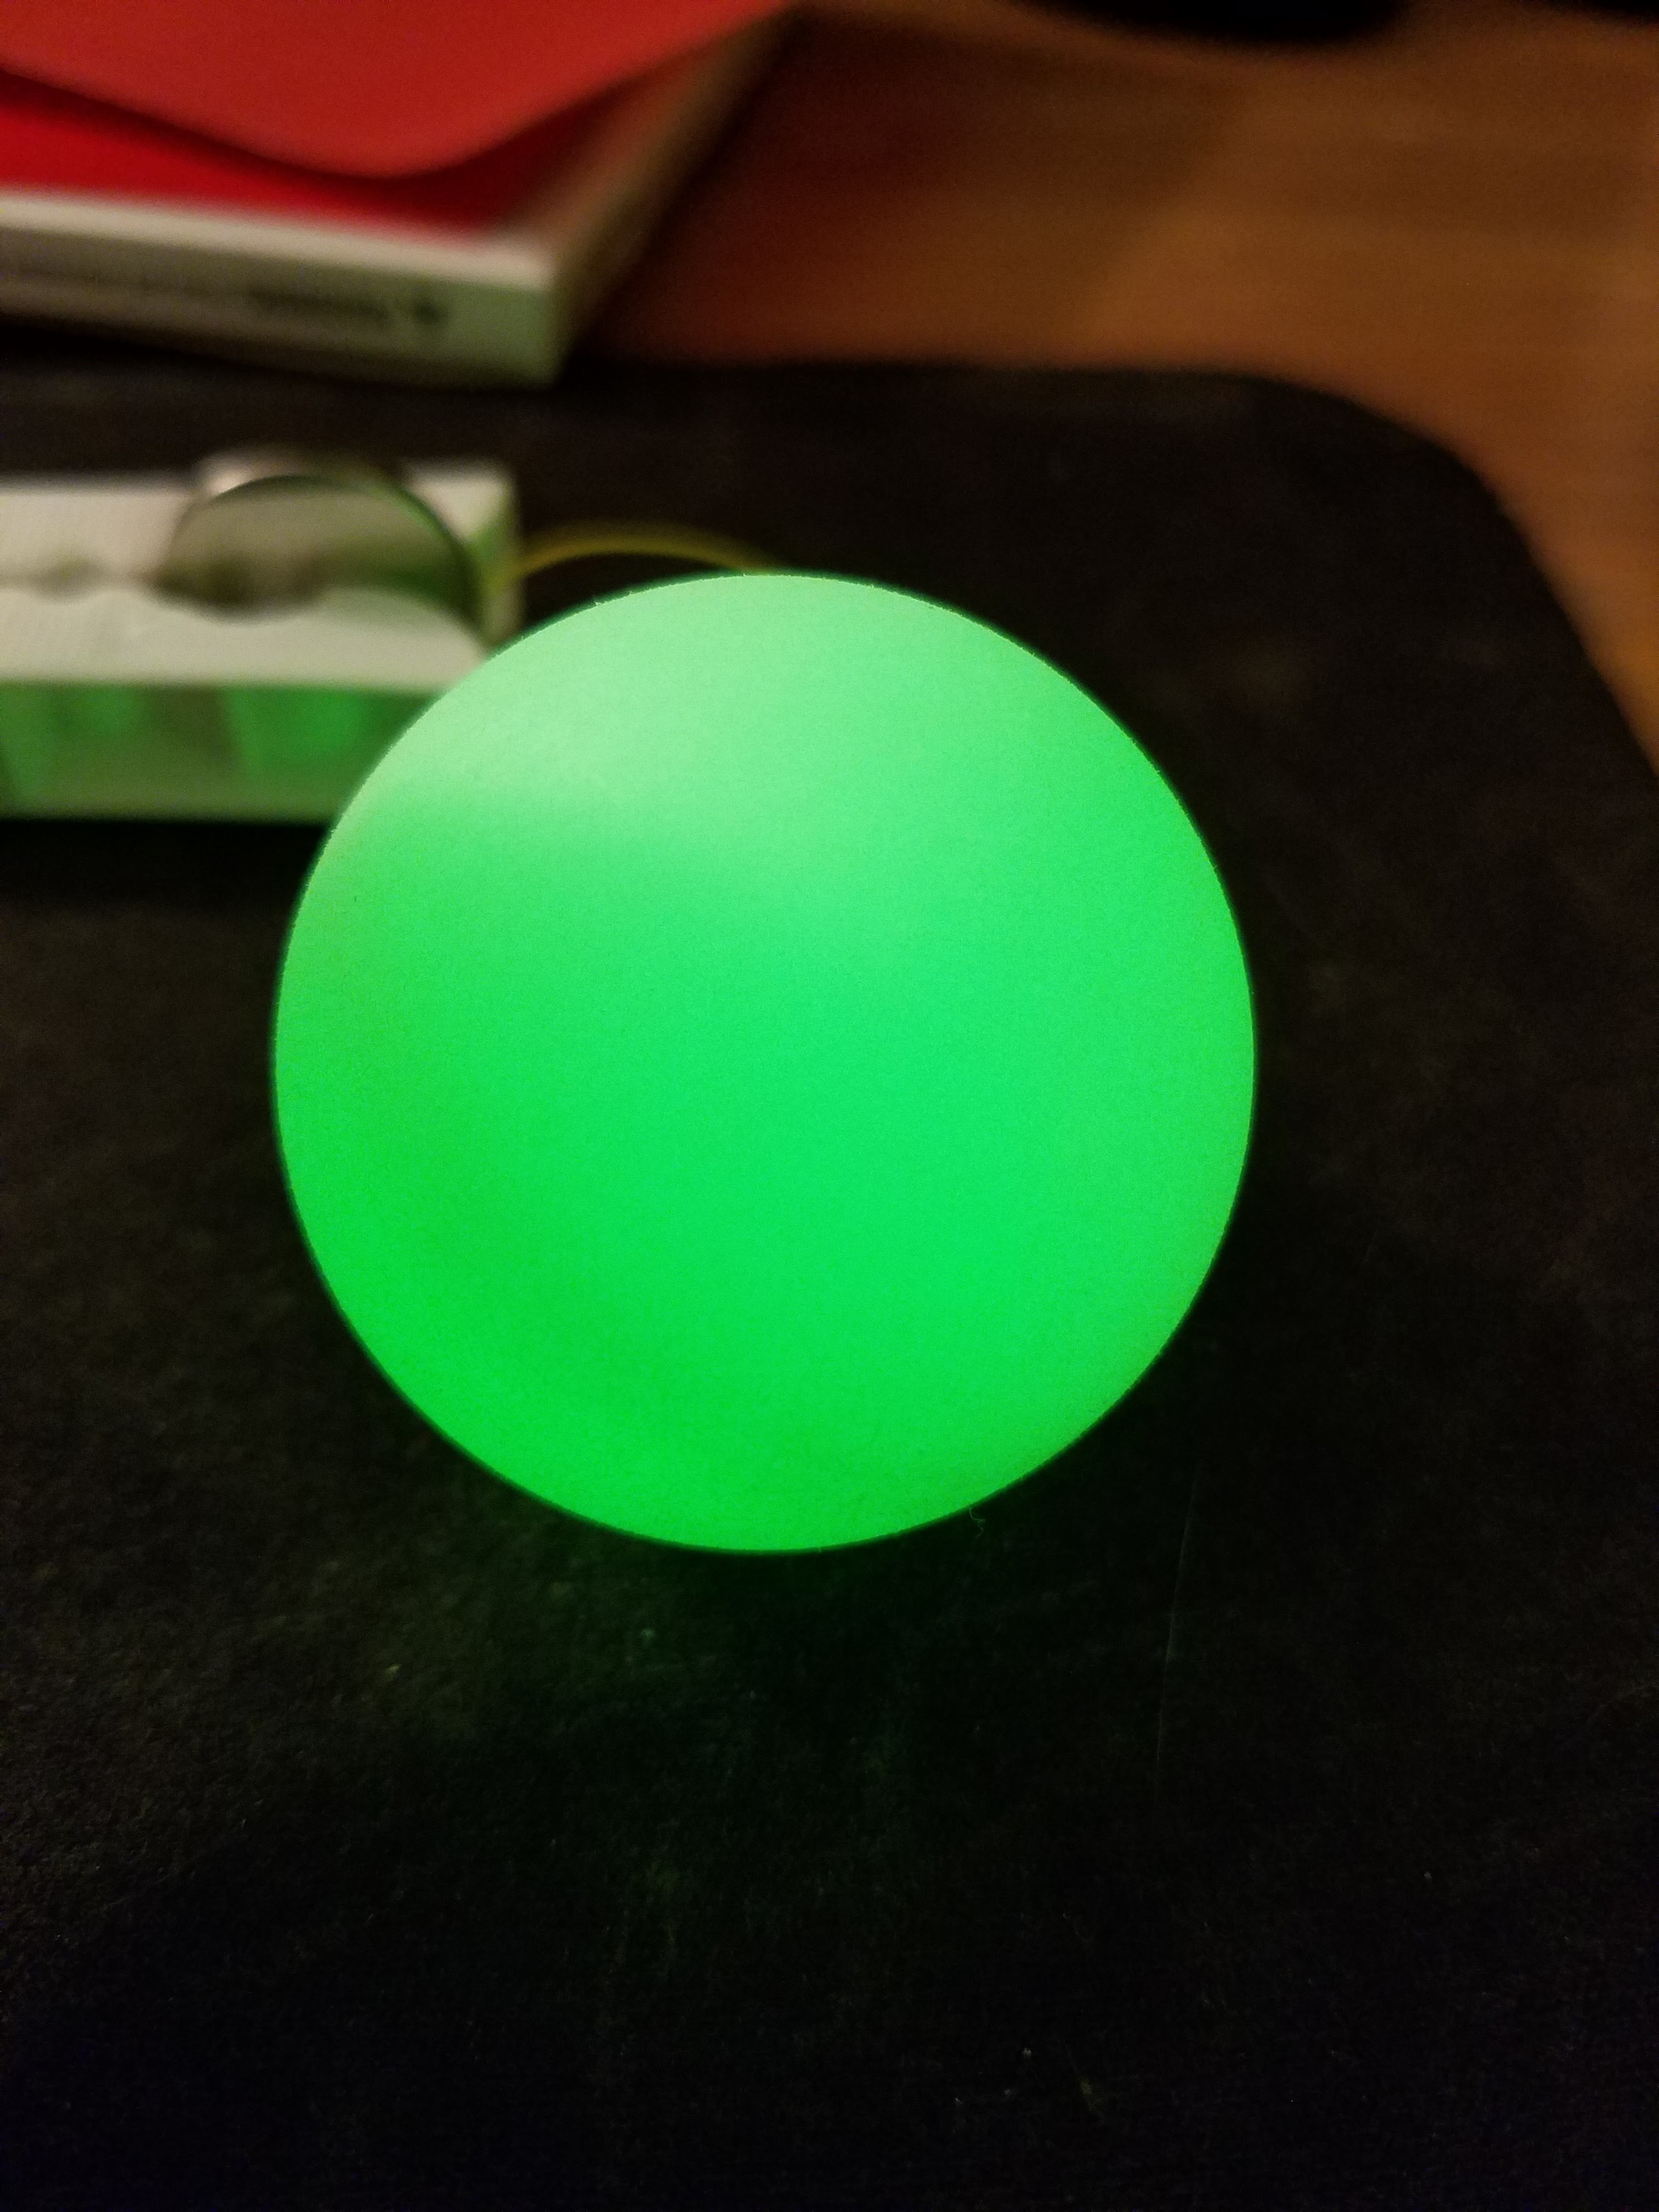
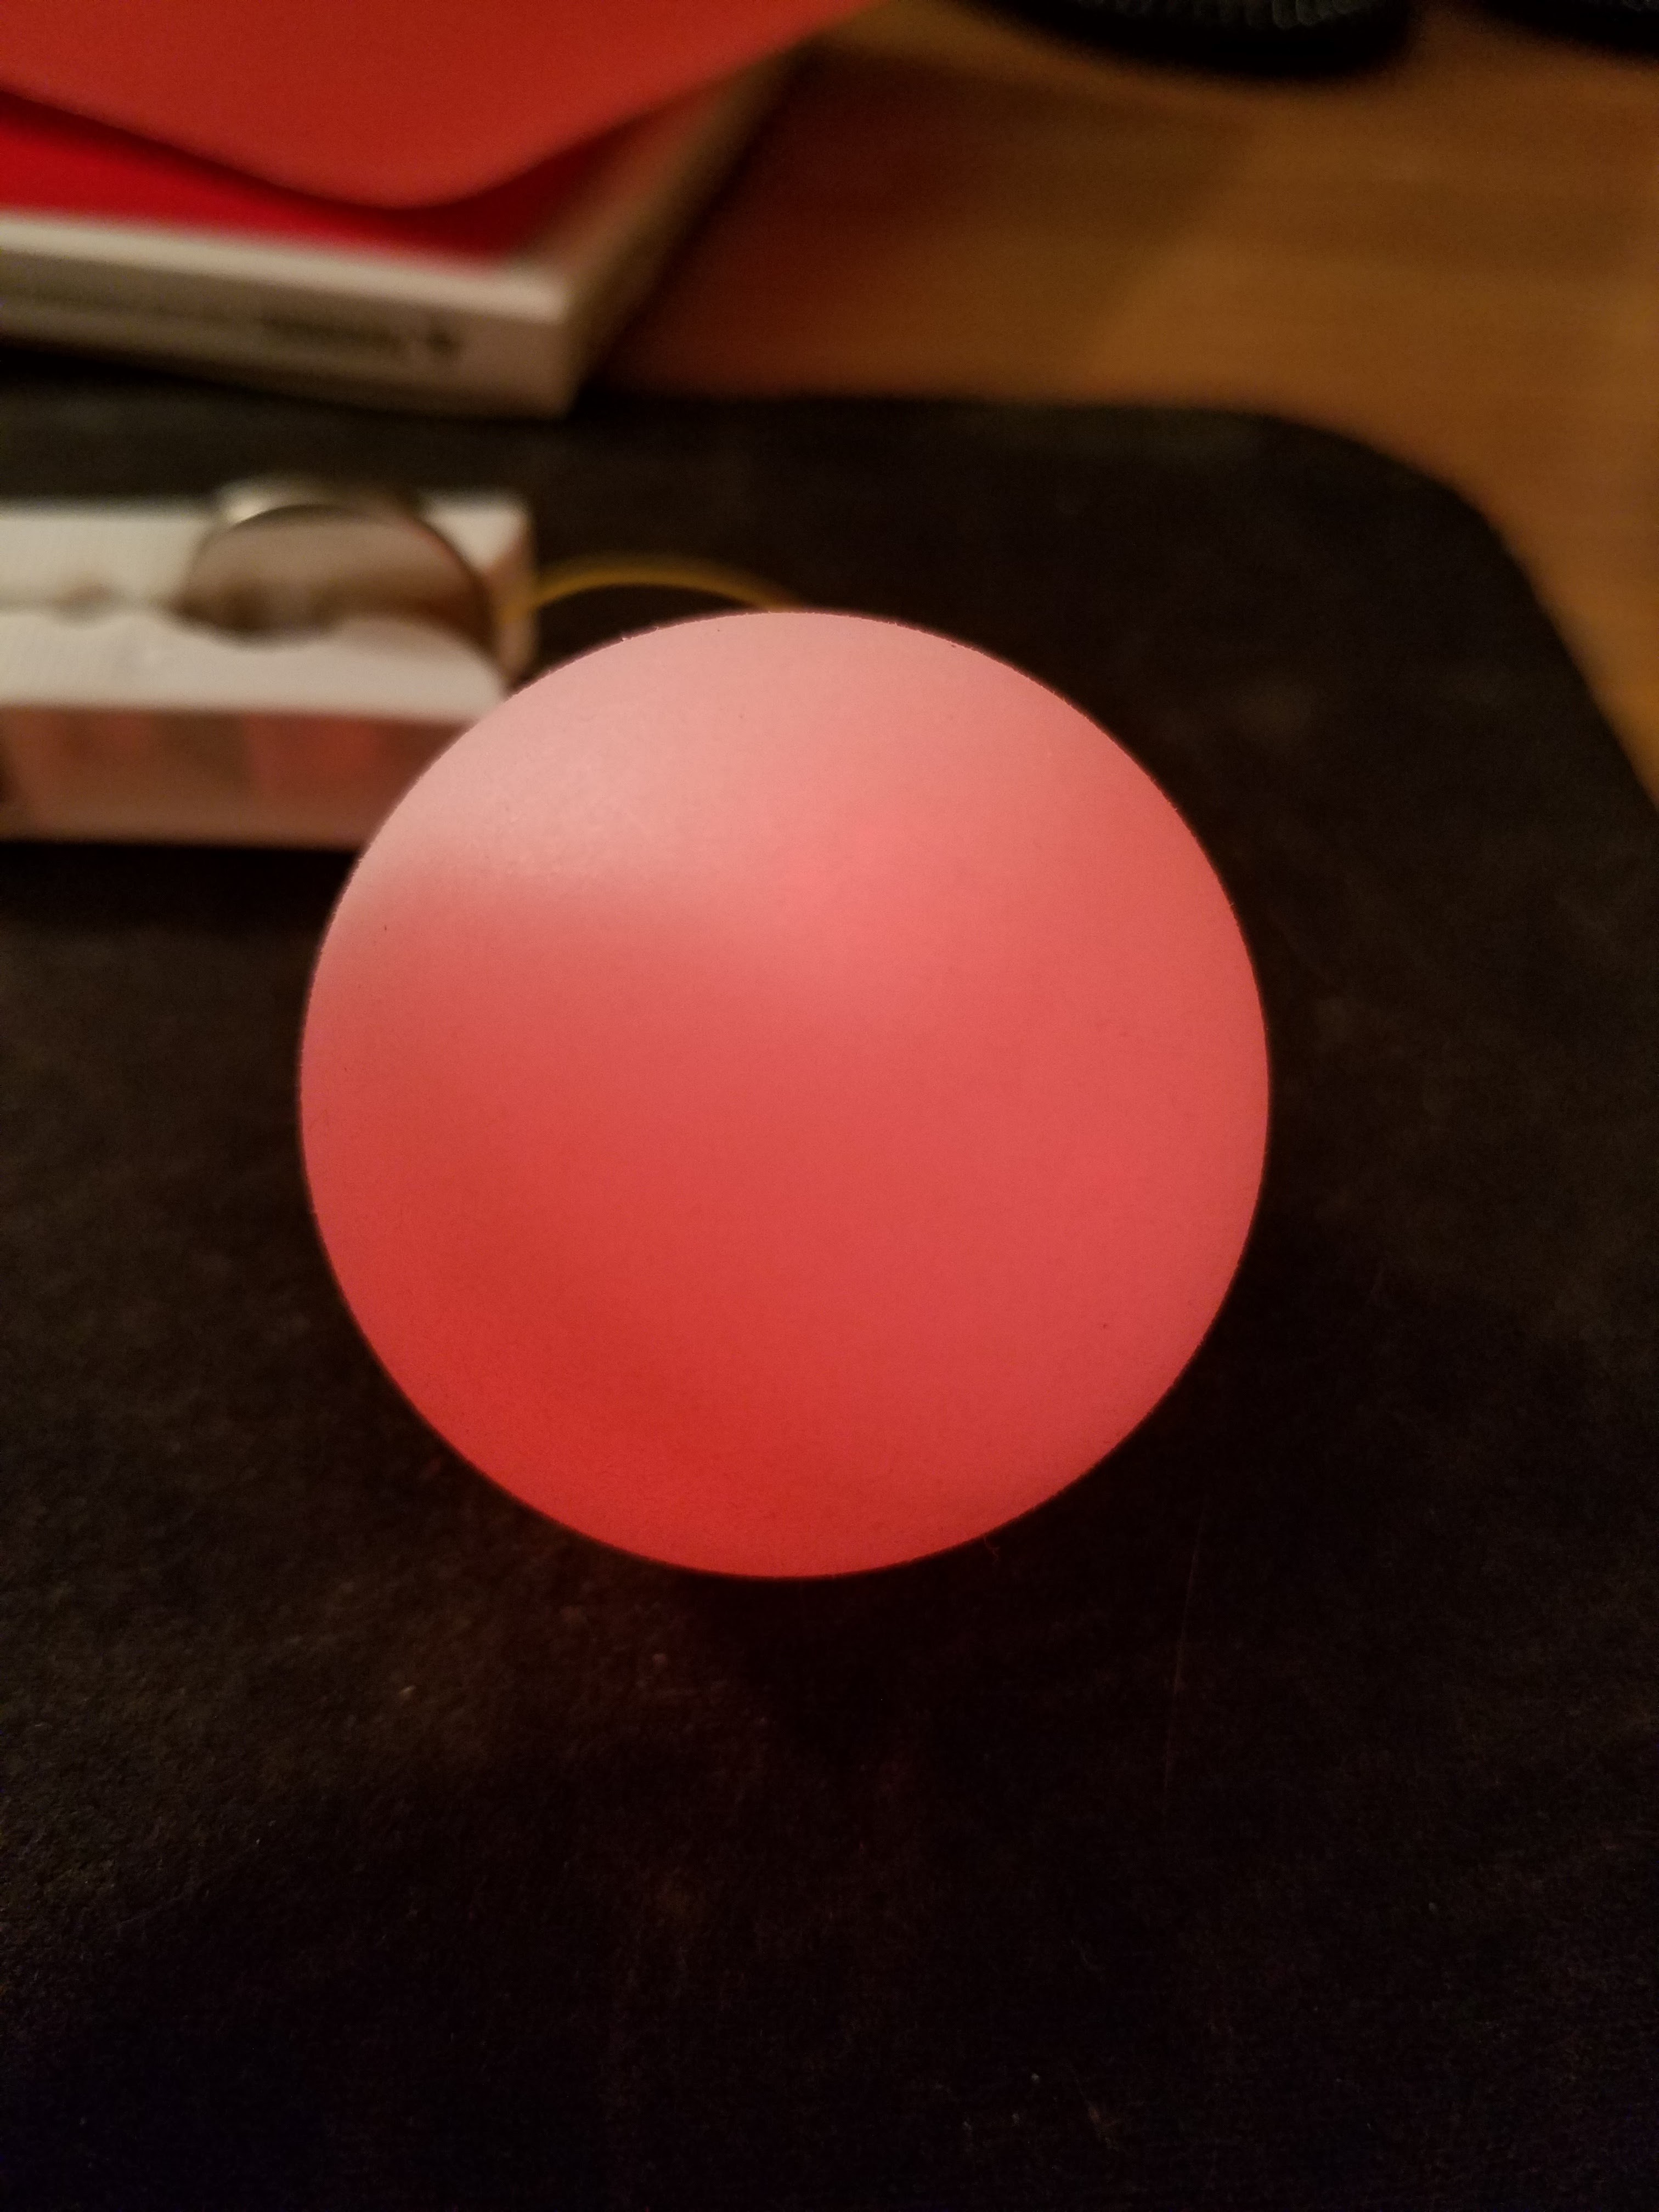
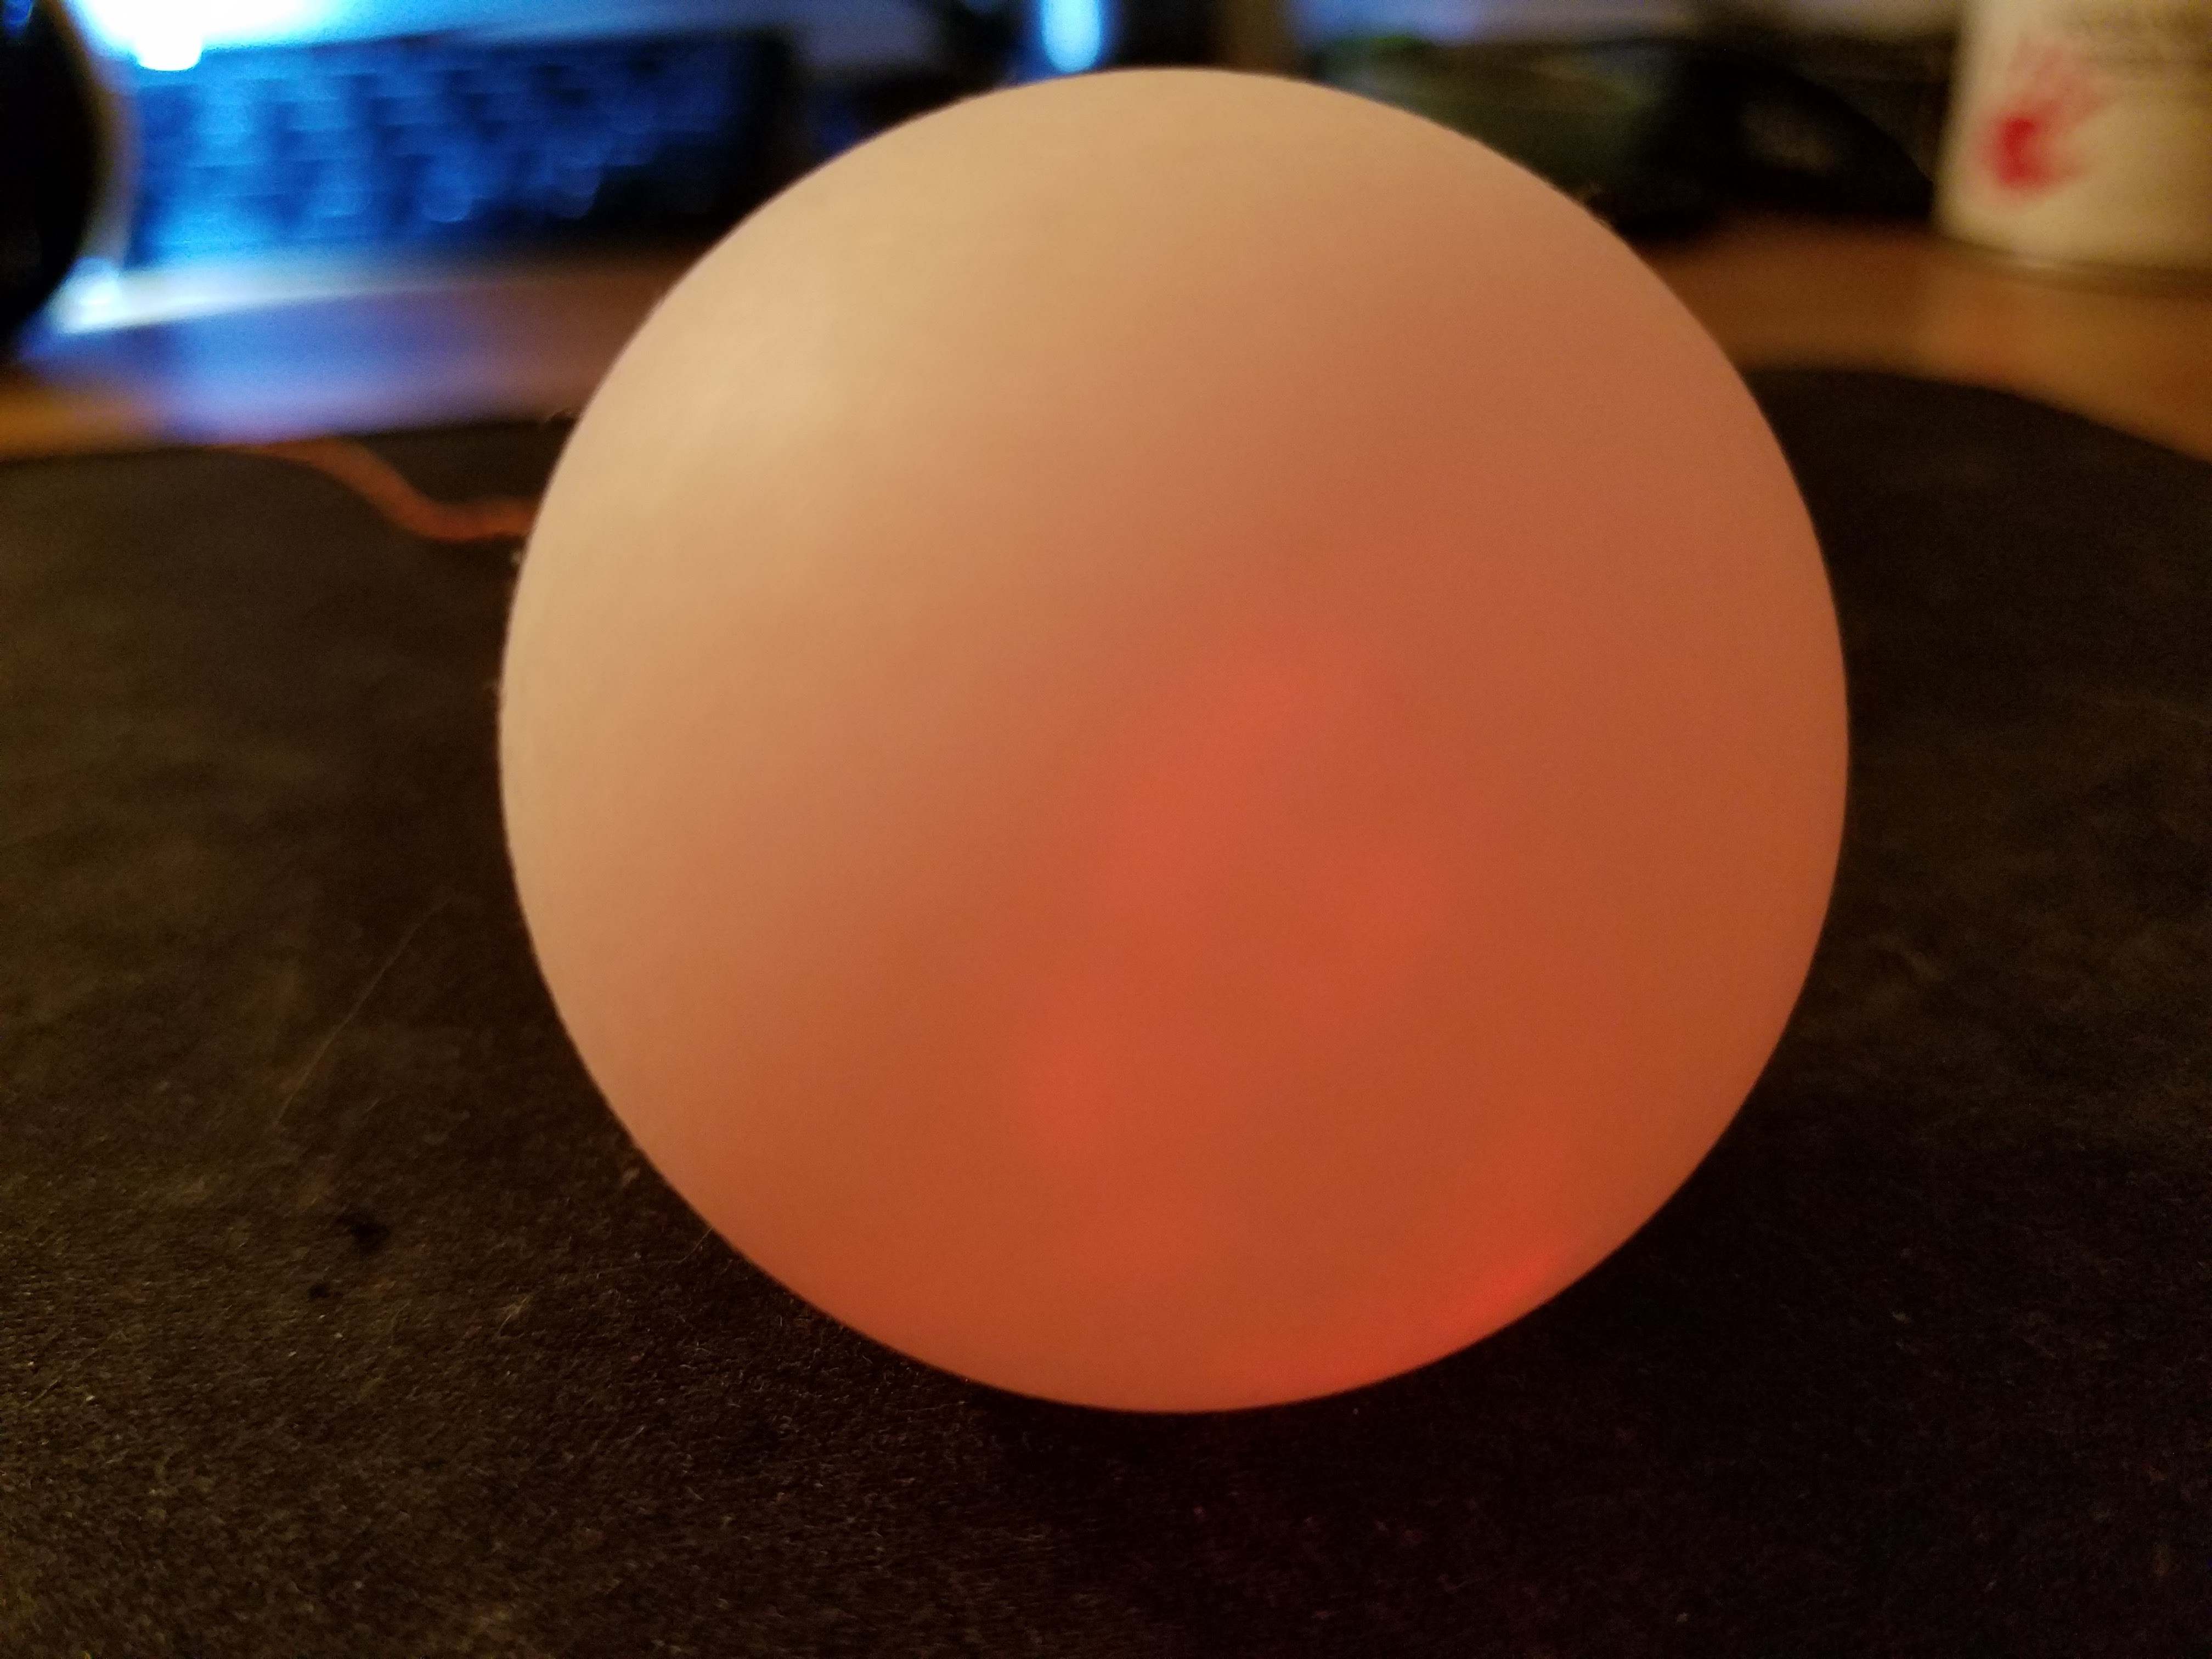
07/11/2016 at 04:36 • 0 commentsHere are the results of the sanded LED inserted into the ping pong ball.
Gone are any "rings-of-light" from the naked LED, and the "spotting" effects of using the white window masking-spray.
Also, since there is not a coating of chemicals from the spray, the LED is brighter than when the spray was used:
![]()
![]()
-
Try Sanding the LED for a Diffused Effect
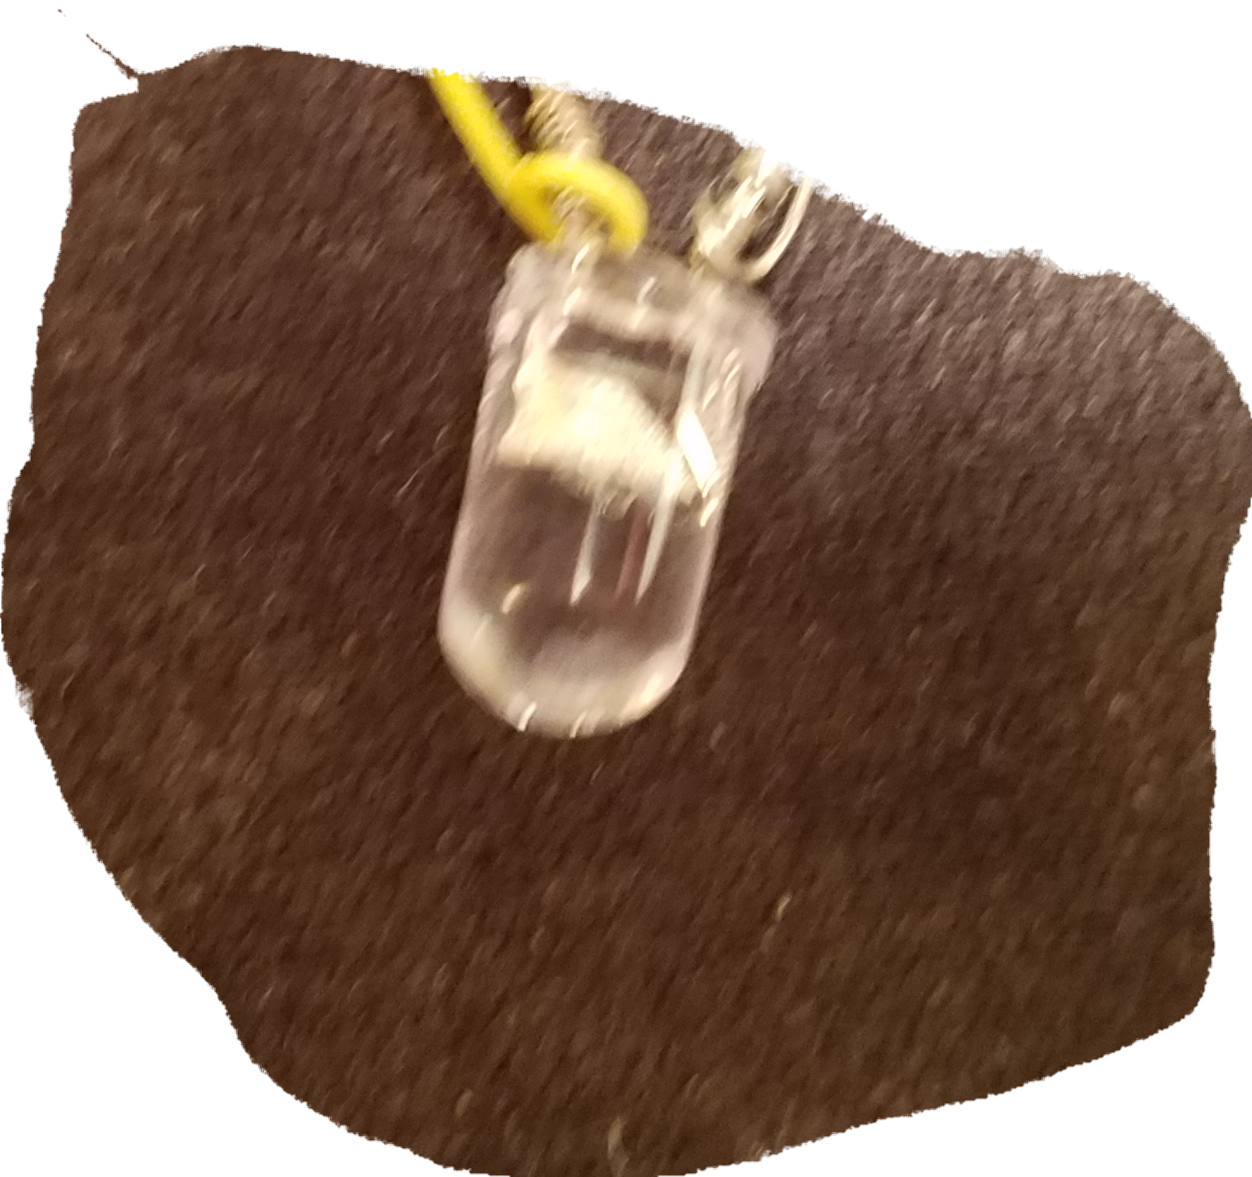
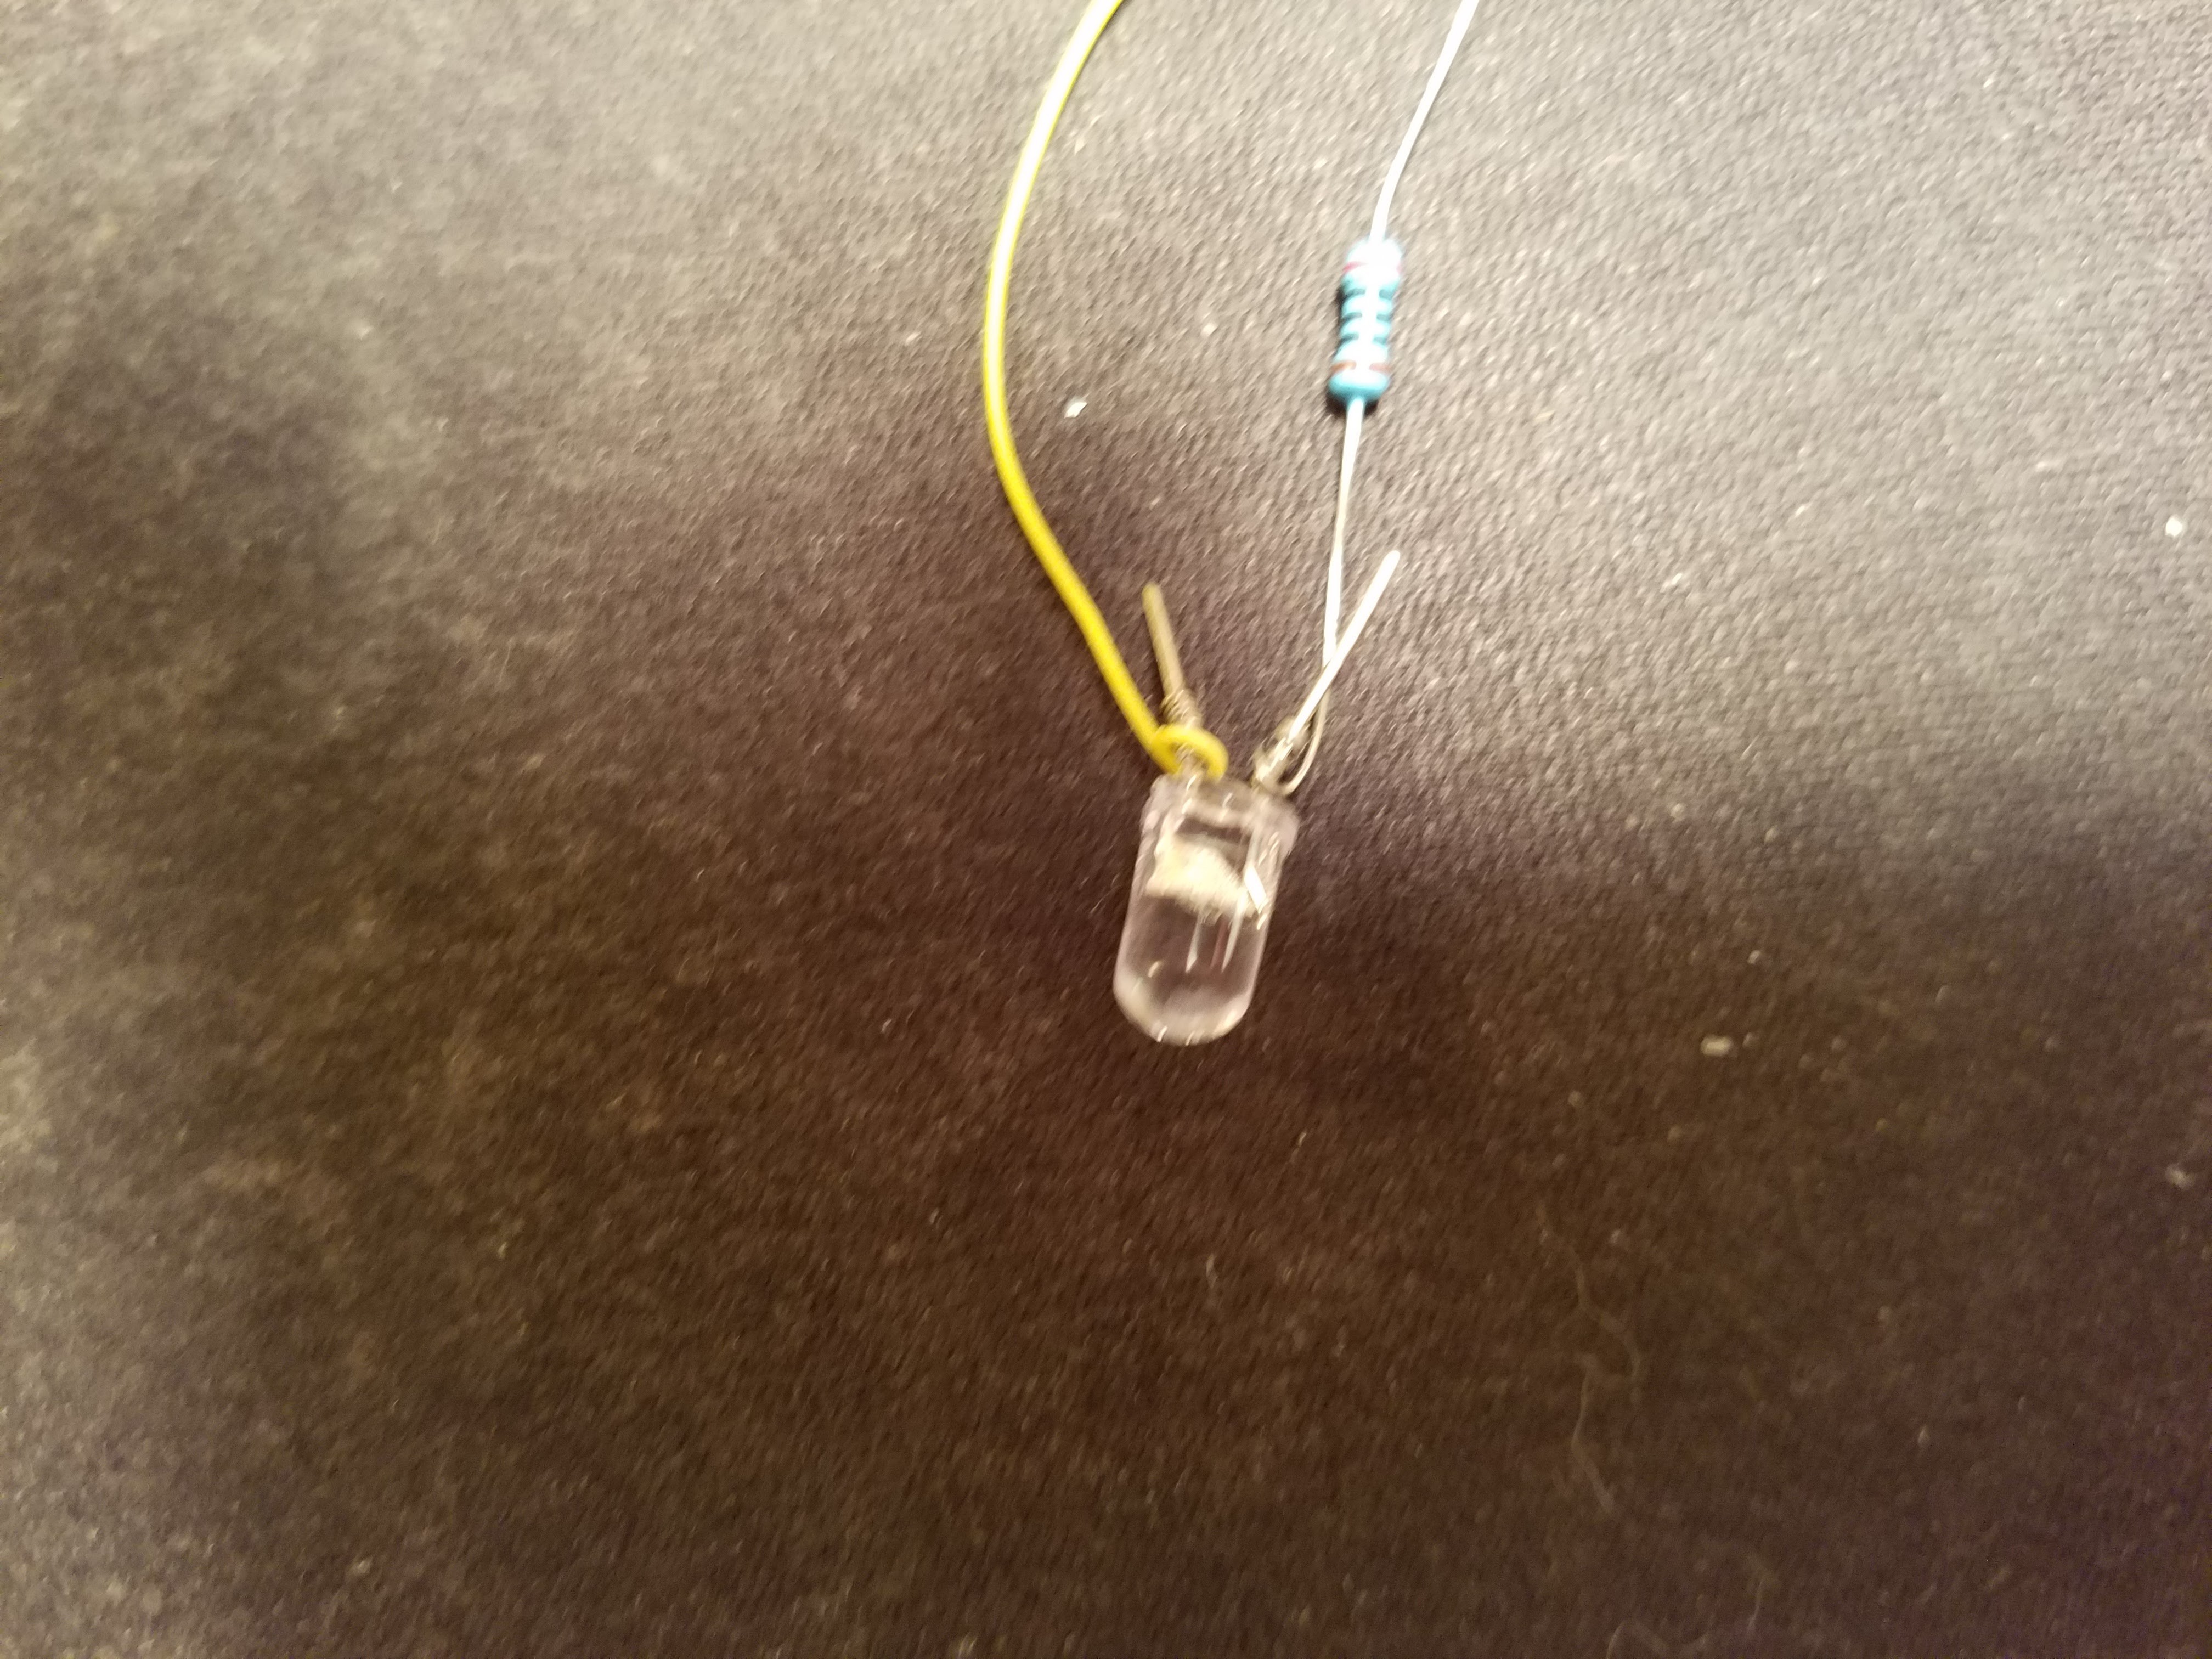
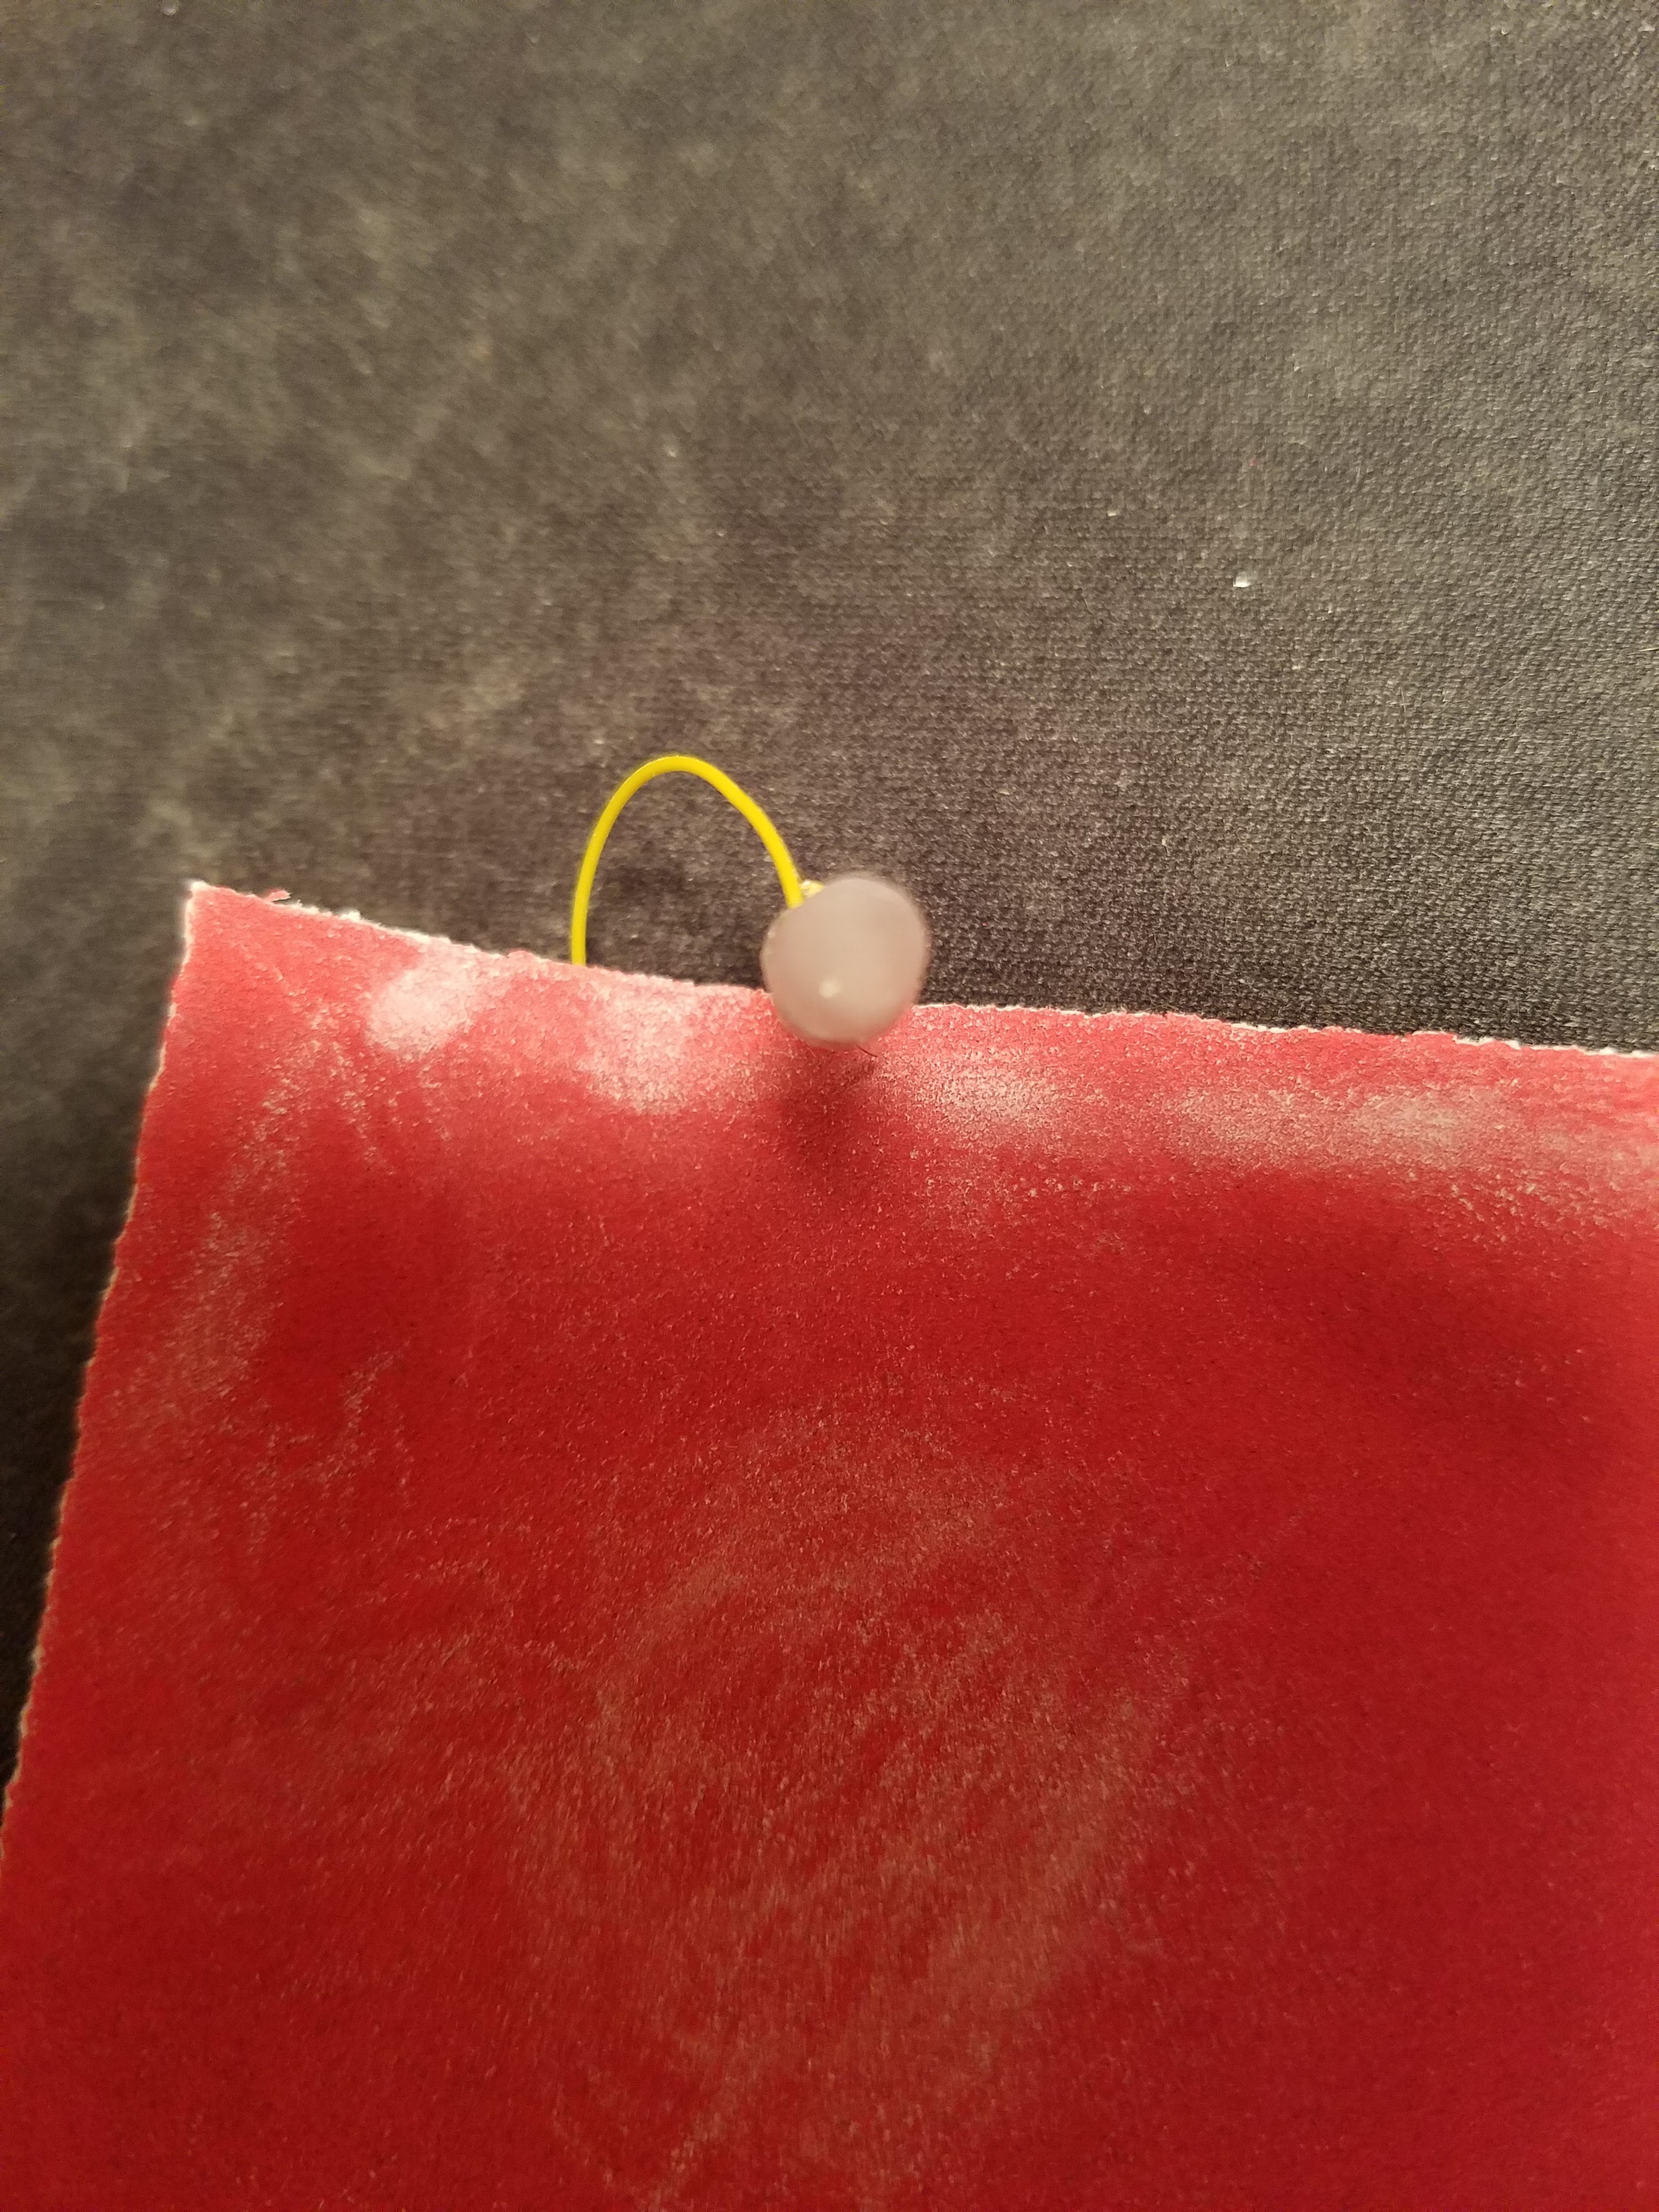
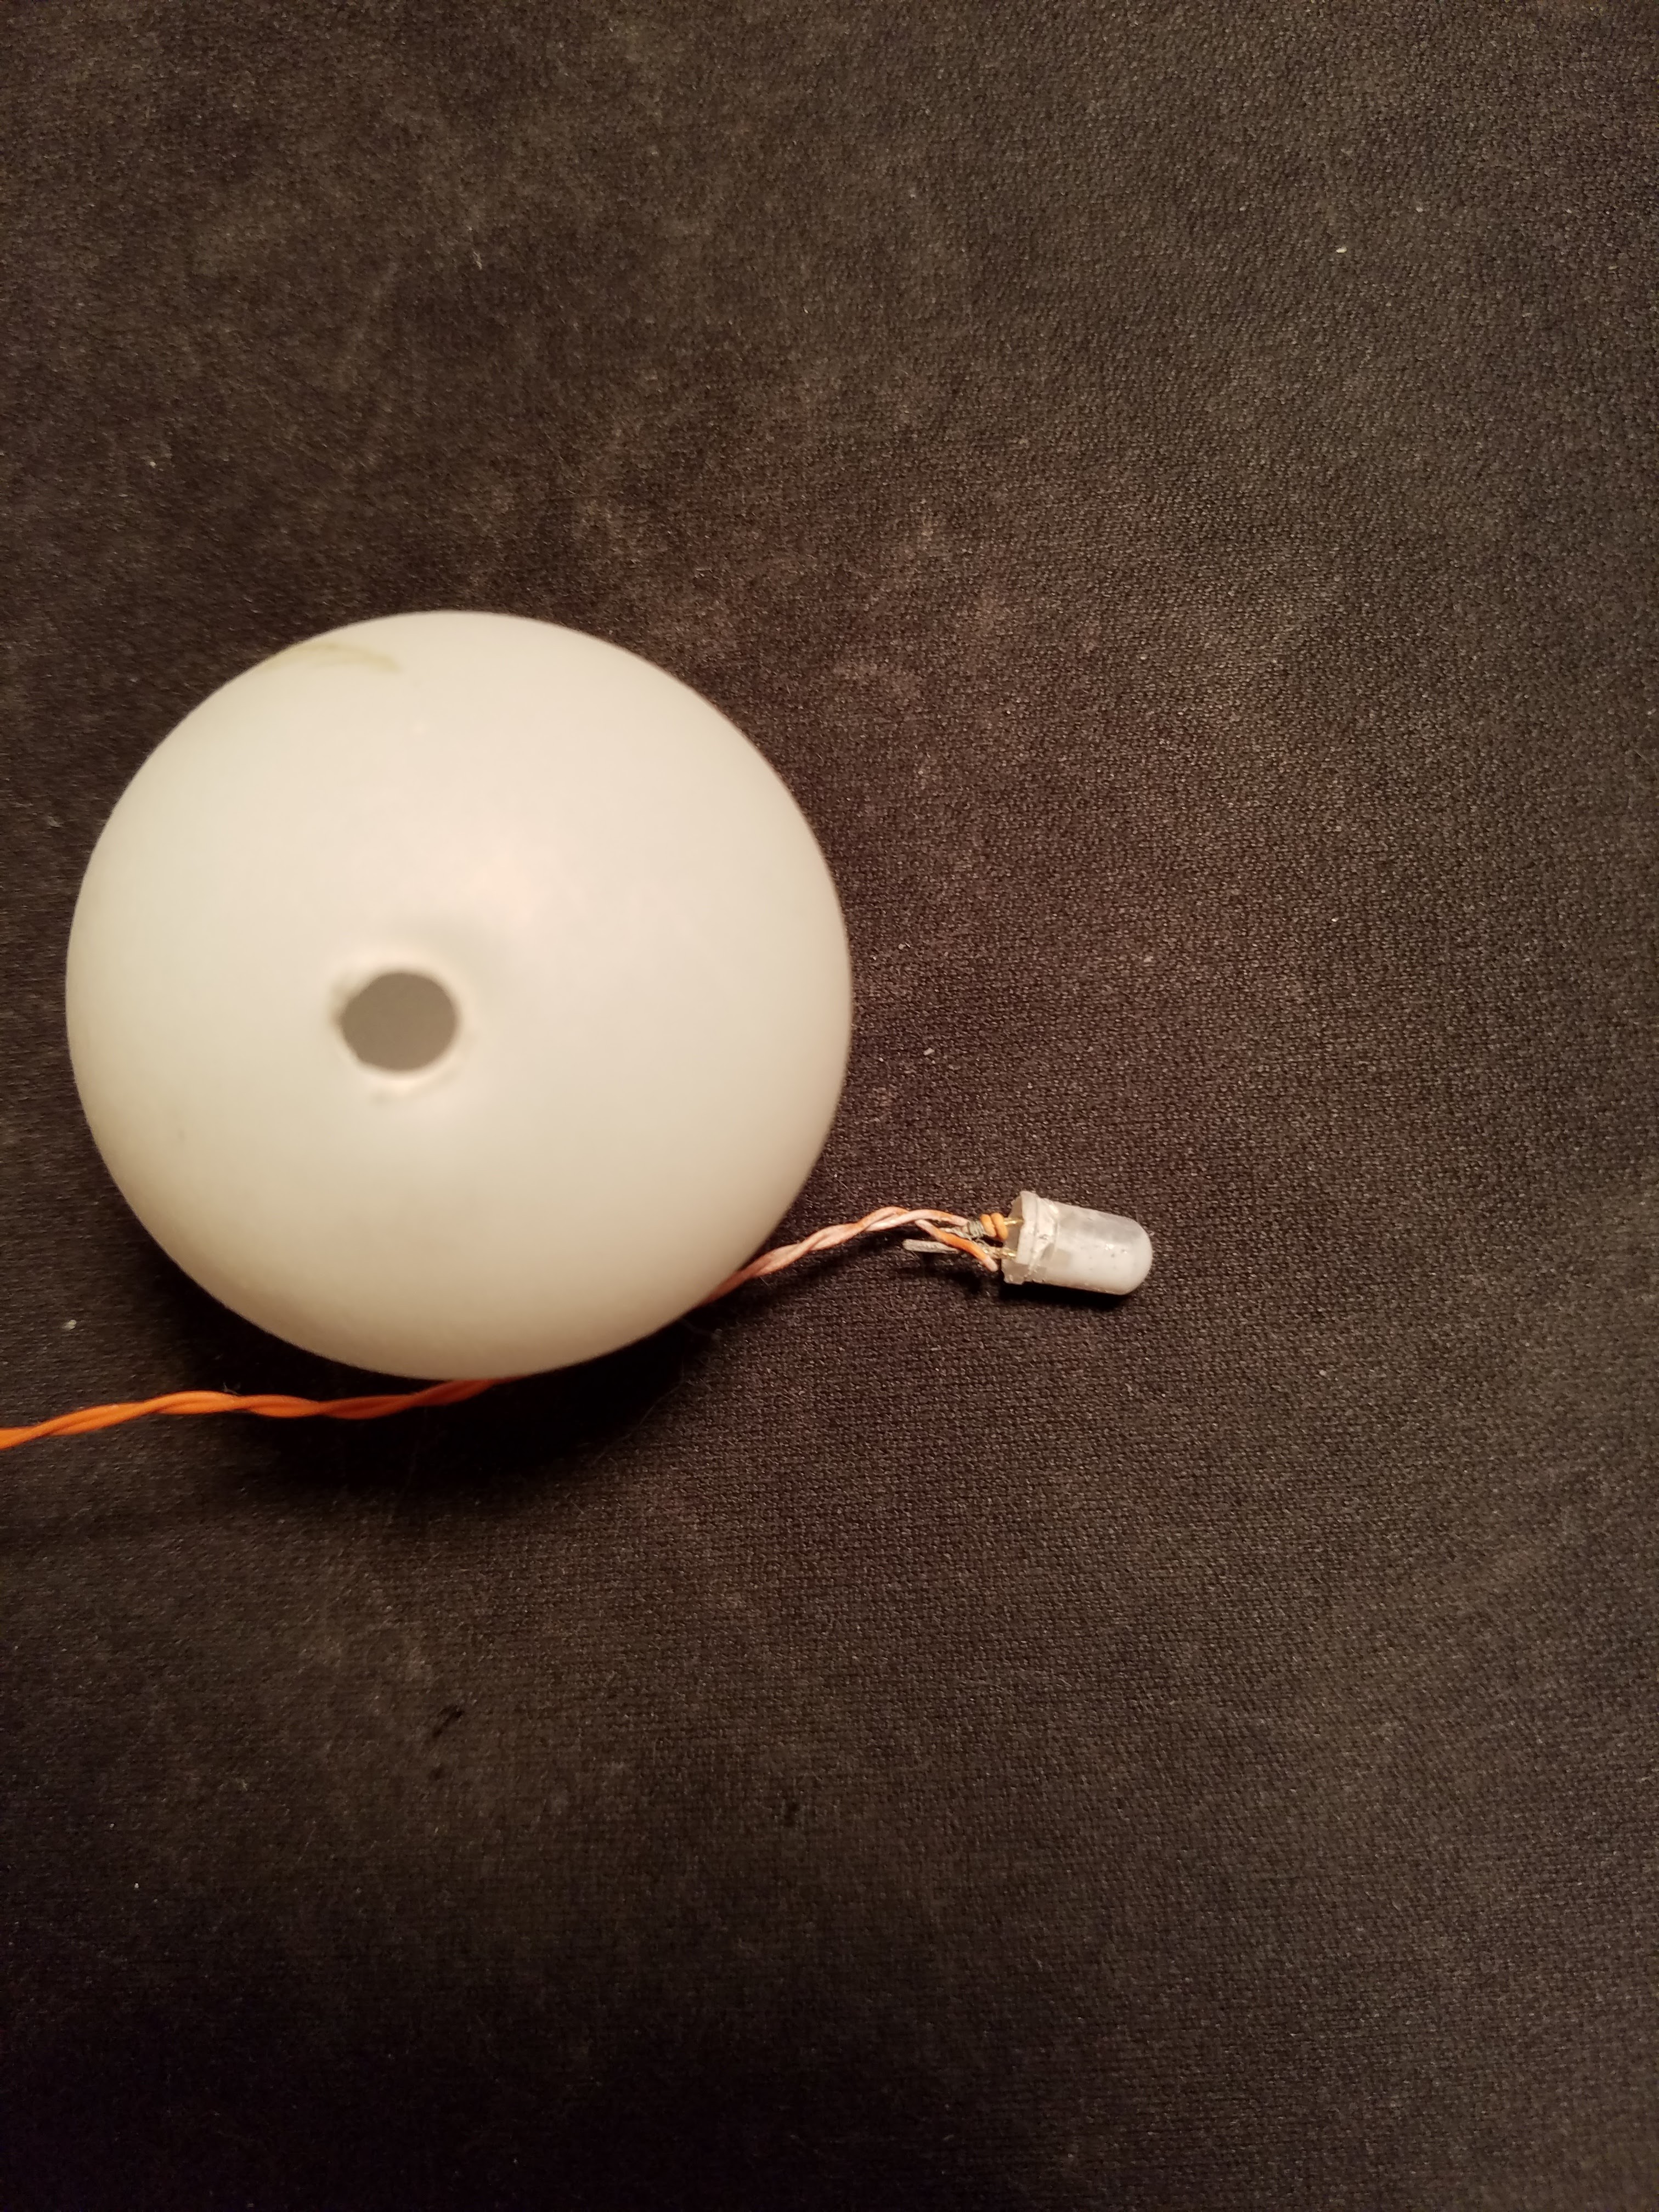
07/11/2016 at 04:31 • 0 commentsNext attempts to "diffuse" the LED (which might be obvious to most) was to use sandpaper to "rough-up" the clear LED:
![]()
![]()
I used 220 Grit sandpaper - rolling the body of the LED on the paper, then made circles at the tip of the LED lens (where the focus of the RGB LEDs are aimed):
![]()
![]()
-
Pictures of using White Masking Spray
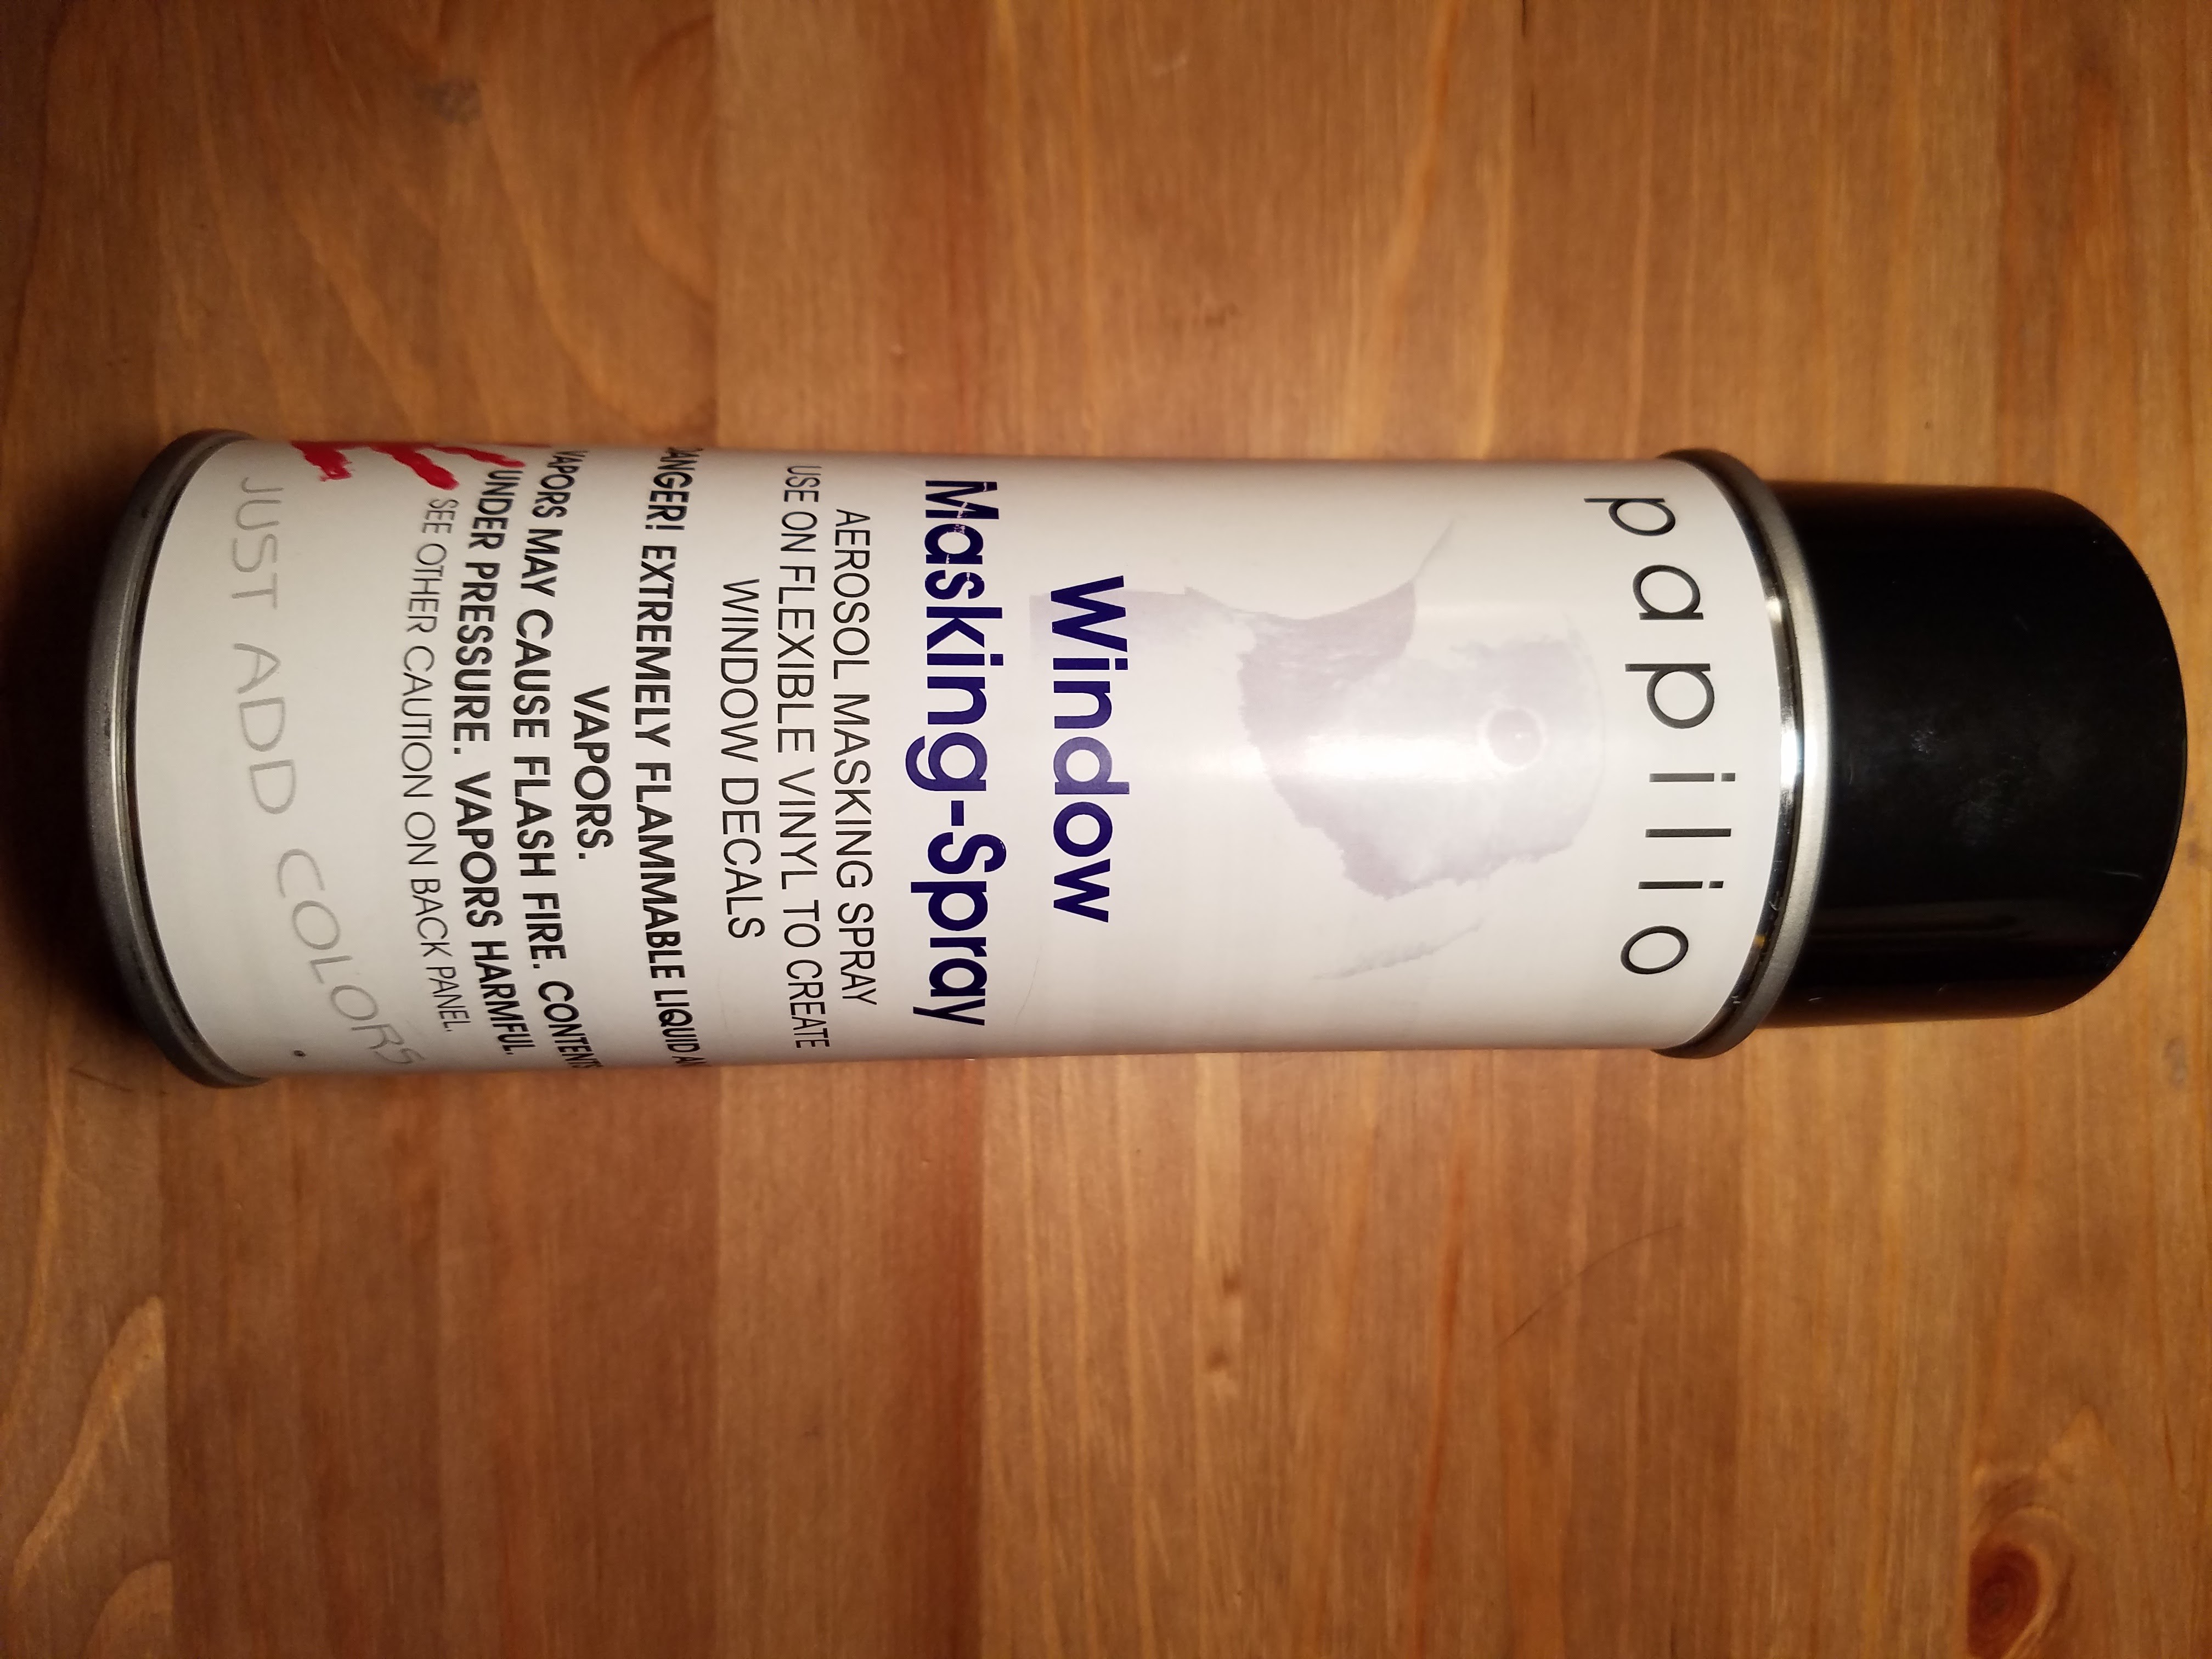
07/11/2016 at 04:19 • 0 commentsHere is the product I used:
![]()
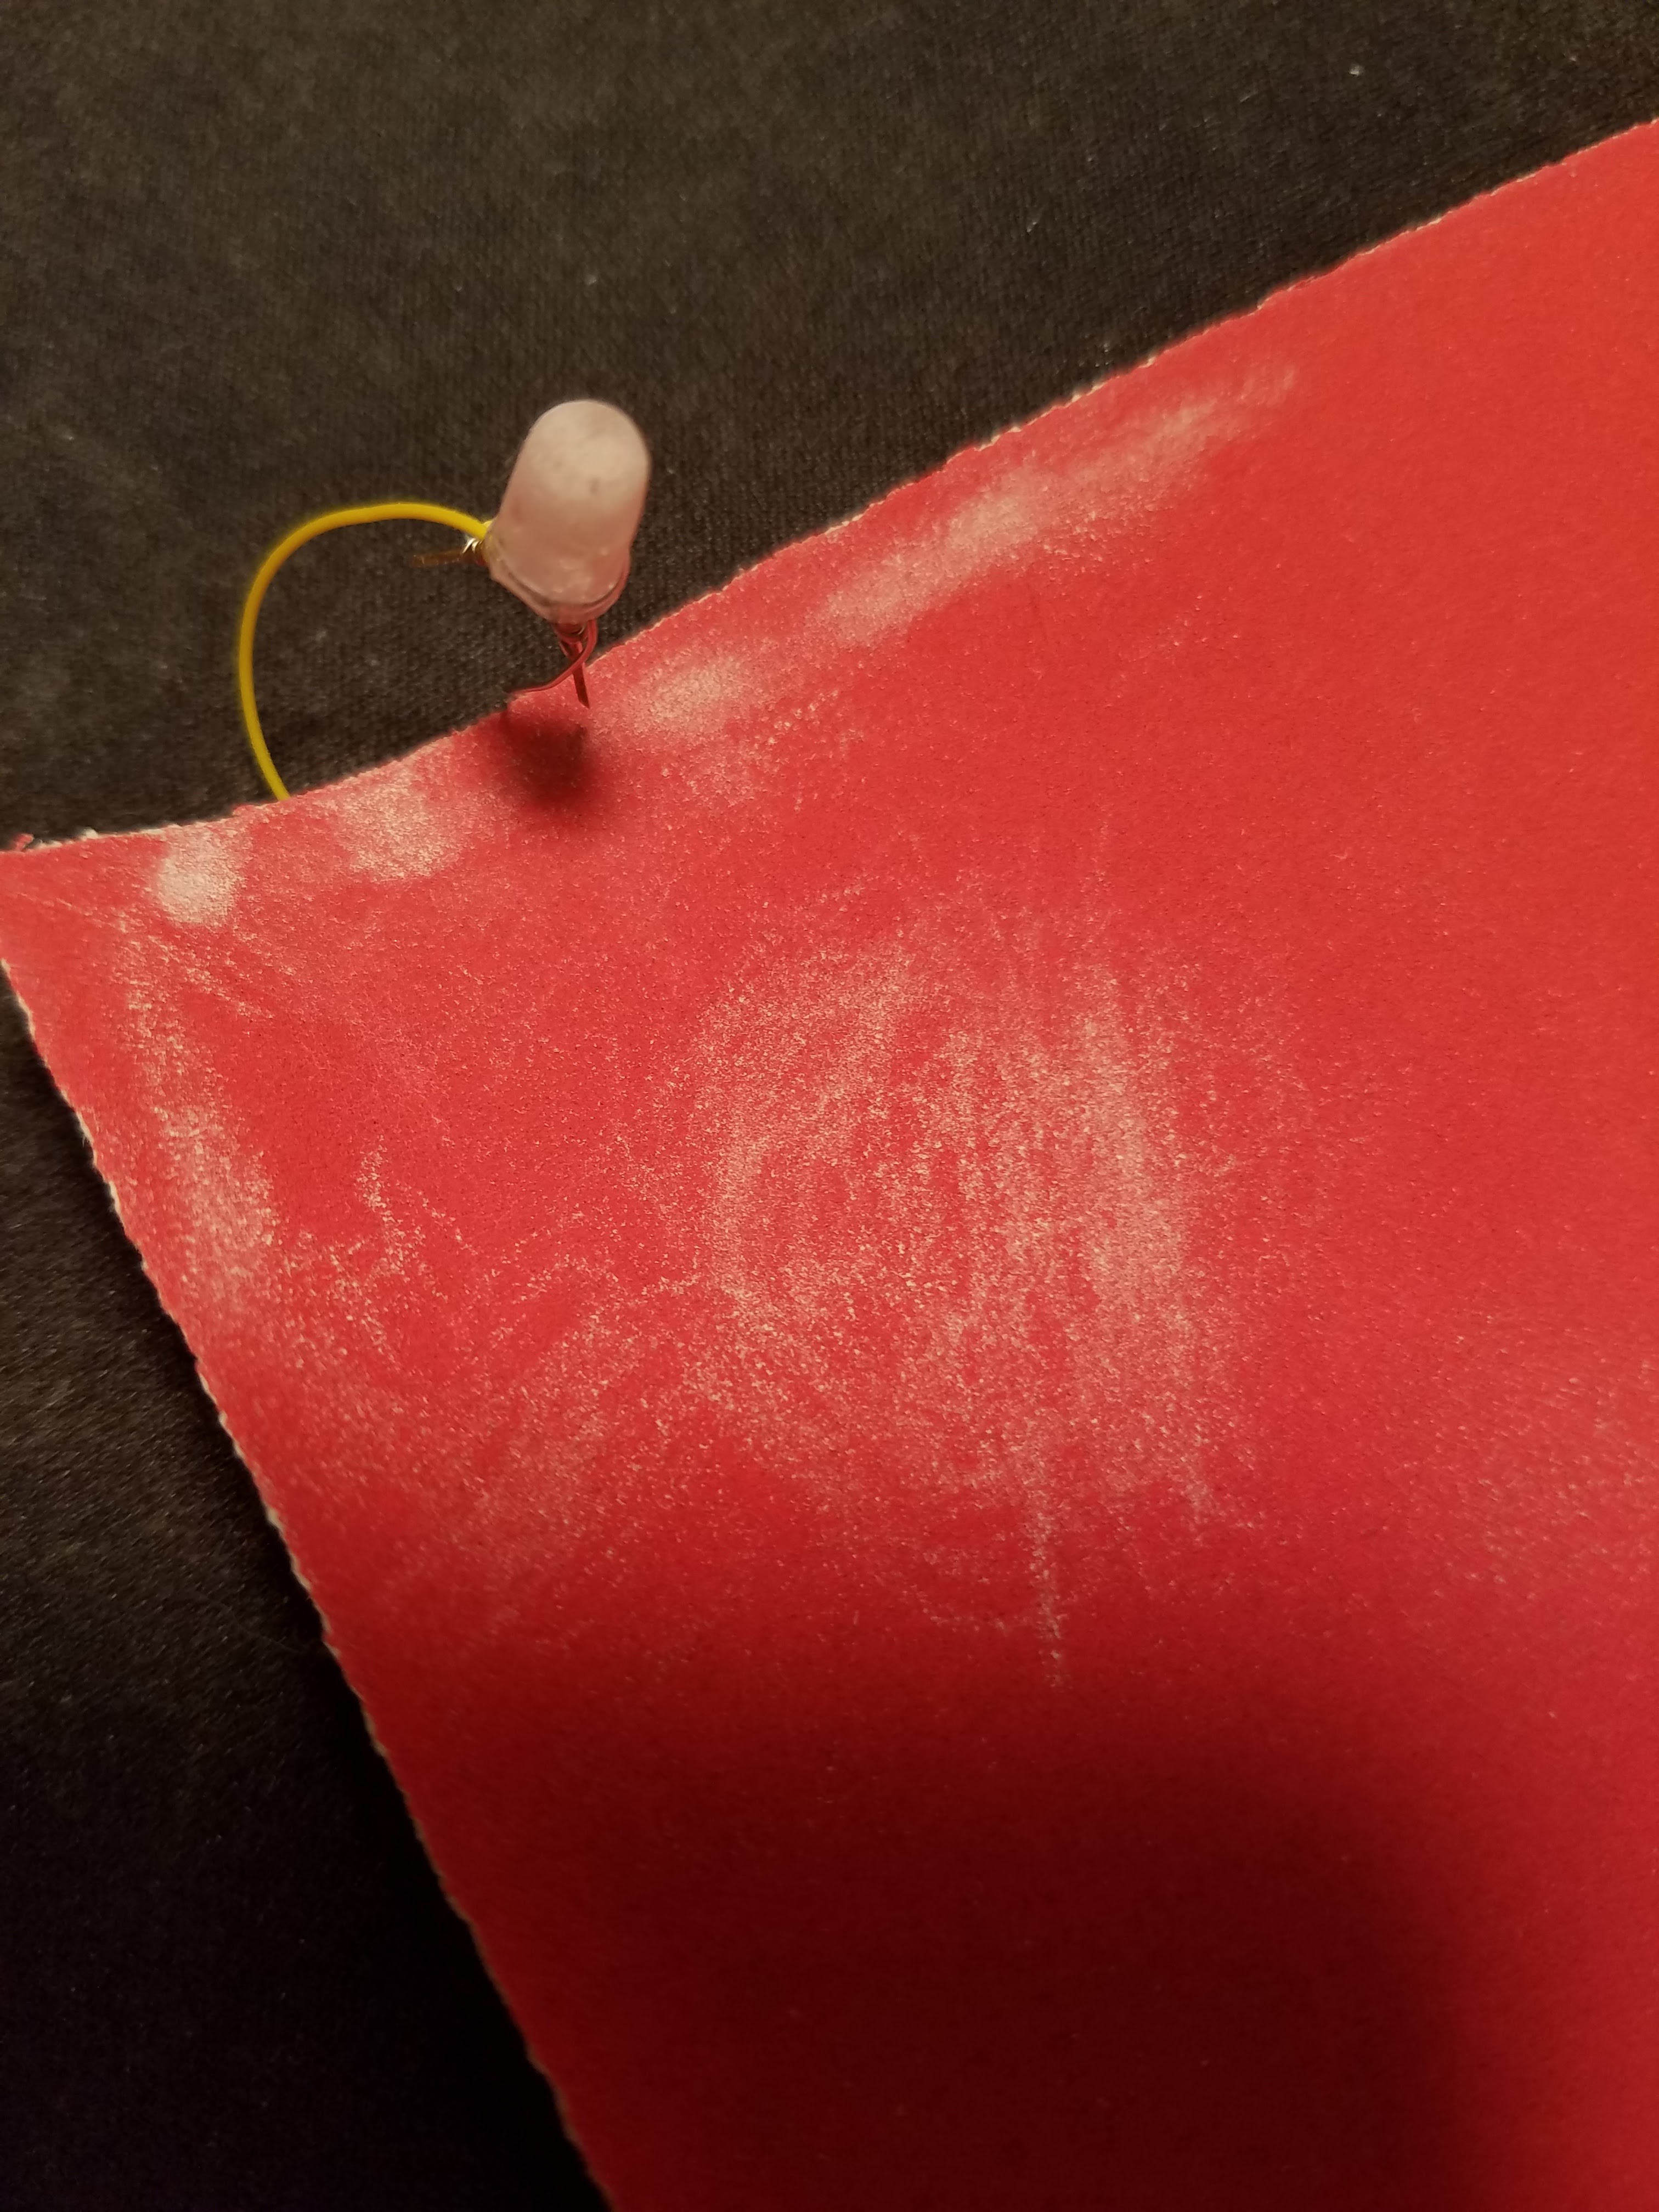
...and the LED after being inserted, then removed from the hole in the ping pong ball:
![]()
While the pictures do not really show it well, there were still obvious "freckles" on the bottom of the ball:
![]()
![]()
-
Attempting to Diffuse with Papilio Window Masking-Spray
07/11/2016 at 04:08 • 0 commentsI applied (what I thought) to be a light coating of white Window Masking-Spray. It was a hot and humid day, so perhaps I would have let it dry overnight. When I re-inserted the LED into the ping pong ball, some of the white masking rubbed off.
-
Attempt to Eliminate "Colored Circles" projected onto the Bottom of the Ping Pong Ball
07/11/2016 at 03:54 • 0 commentsThe The Microtivity Site LEDs that I use are NOT diffused so while looking at the ping pong ball at about eye-level, the colors which are a mix of Red/Green/Blue are blended well. However, when looking at the ping pong ball closely or at below eye-level (i.e.: like passing under it going through the door), there are obvious "rings" of colors which appear at 3 distinct spots on the bottom of the surface of the ping pong ball.
In an attempt to make this more diffused, I put a bit of baking soda into the ball, and re-inserted the LED.
Unfortunately, it was obvious that there was a powder at the bottom of the ball once it had been hanging for a bit and the "dust had settled."
My next attempt (I'm an 'electrical' guy, not too 'mechanical') was to spray a coating of white Papilio Window Masking-Spray on the LED.
DoorBall
Living in a Residential Bldg with long hallways & doors that all look the same, I tell folks to look for the door with the multi-color Ball.
 Grayson Schlichting
