Close
0%
0%

Guided Rocket

I will be attempting to build a guided rocket using of the shelf parts

Similar projects worth following
Using a microcontroller such as an Arduino, accouters, and gyroscopes I will be trying to make a rocket that can guide itself. Most guided rocket technology is restricted to the military, so I am going to try to make this open source and replicable by anyone. There are two basic ways to control rockets, the first being thrust vectoring, where the entire rocket engine is tilted in a direction to move the rocket in the opposite direction. The second way is by using control surfaces, this is done by moving the fins to redirect the airflow around the rocket and move it. I will be attempting both ways of control and finding out which one is the best for hackers like us! The openness of this project is based on the fact that rocket control technology is usually shrouded by mystery because the defense and space industries don't actively share much research on it.

Here is a quick video, sorry for the quality as I had low batteries: https://www.youtube.com/watch?v=O8cSIomNDA8

This code will enable the gimbal to make sure the nose is always facing up, meaning that the rocket will always face up without the need for fins. When combining this code with a rocket with a gradual thrust curve, you will essentially get a hover and a landing:

#include "Wire.h" // allows communication to i2c devices connected to arduino

#include "I2Cdev.h" // I2Connection library (communication to serial port)

#include "MPU6050.h" // IMU library

#include "Servo.h" // servo control library

MPU6050 mpu; //defines the chip as a MPU so it can be called in the future

int16_t ax, ay, az; // x y z orientation values from accelerometer

int16_t gx, gy, gz; // x y z orientation values from gyrscope

///////////////////////////////////////////////////////////////////////////////////////

Servo outer;

Servo inner;

///////////////////////////////////////////////////////////////////////////////////////

int valo; // outer val

int prevValo; // outer prev val

///////////////////////////////////////////////////////////////////////////////////////

int vali; //inner val

int prevVali; //outer prev val

///////////////////////////////////////////////////////////////////////////////////////

//initializes the IMU

void setup()

{

Wire.begin();

Serial.begin(38400);

Serial.println("Initialize MPU");

mpu.initialize();

Serial.println(mpu.testConnection() ? "Connected" : "Connection failed");

outer.attach(9); //servo on pin 9 for large ring y

inner.attach(10);//servo on pin 10 for small ring x

}

///////////////////////////////////////////////////////////////////////////////////////

void loop()

{

mpu.getMotion6(&ax, &ay, &az, &gx, &gy, &gz);

valo = map(ax, -17000, 17000, 179, 0);

if (valo != prevValo)

{

outer.write(valo);

prevValo = valo;

}

vali = map(ay, -17000, 17000, 179, 0);

if (vali != prevVali)

{

inner.write(vali);

prevVali = vali;

}

}

///////////////////////////////////////////////////////////////////////////////////////

  • 1 × Arduino The brain of the rocket!
  • 4 × High Torque/High Speed Metal Geared Servos These need to be fast/strong in order to control the rocket
  • 1 × Internal Measurement Unit This will sense the rocket's orientation using its multitude of seners including gyroscopes, accelerometers, magnetometers, and barometers
  • 1 × Laser Cutter This will be used to quickly make prototype parts for the rocket
  • 1 × 2mm Thickness Carbon Fiber Sheet Most rocket parts such as control surfaces will be made from this lightweight composite

View all 8 components

  • Ready for Launch

    Sagar06/23/2014 at 23:10 2 comments

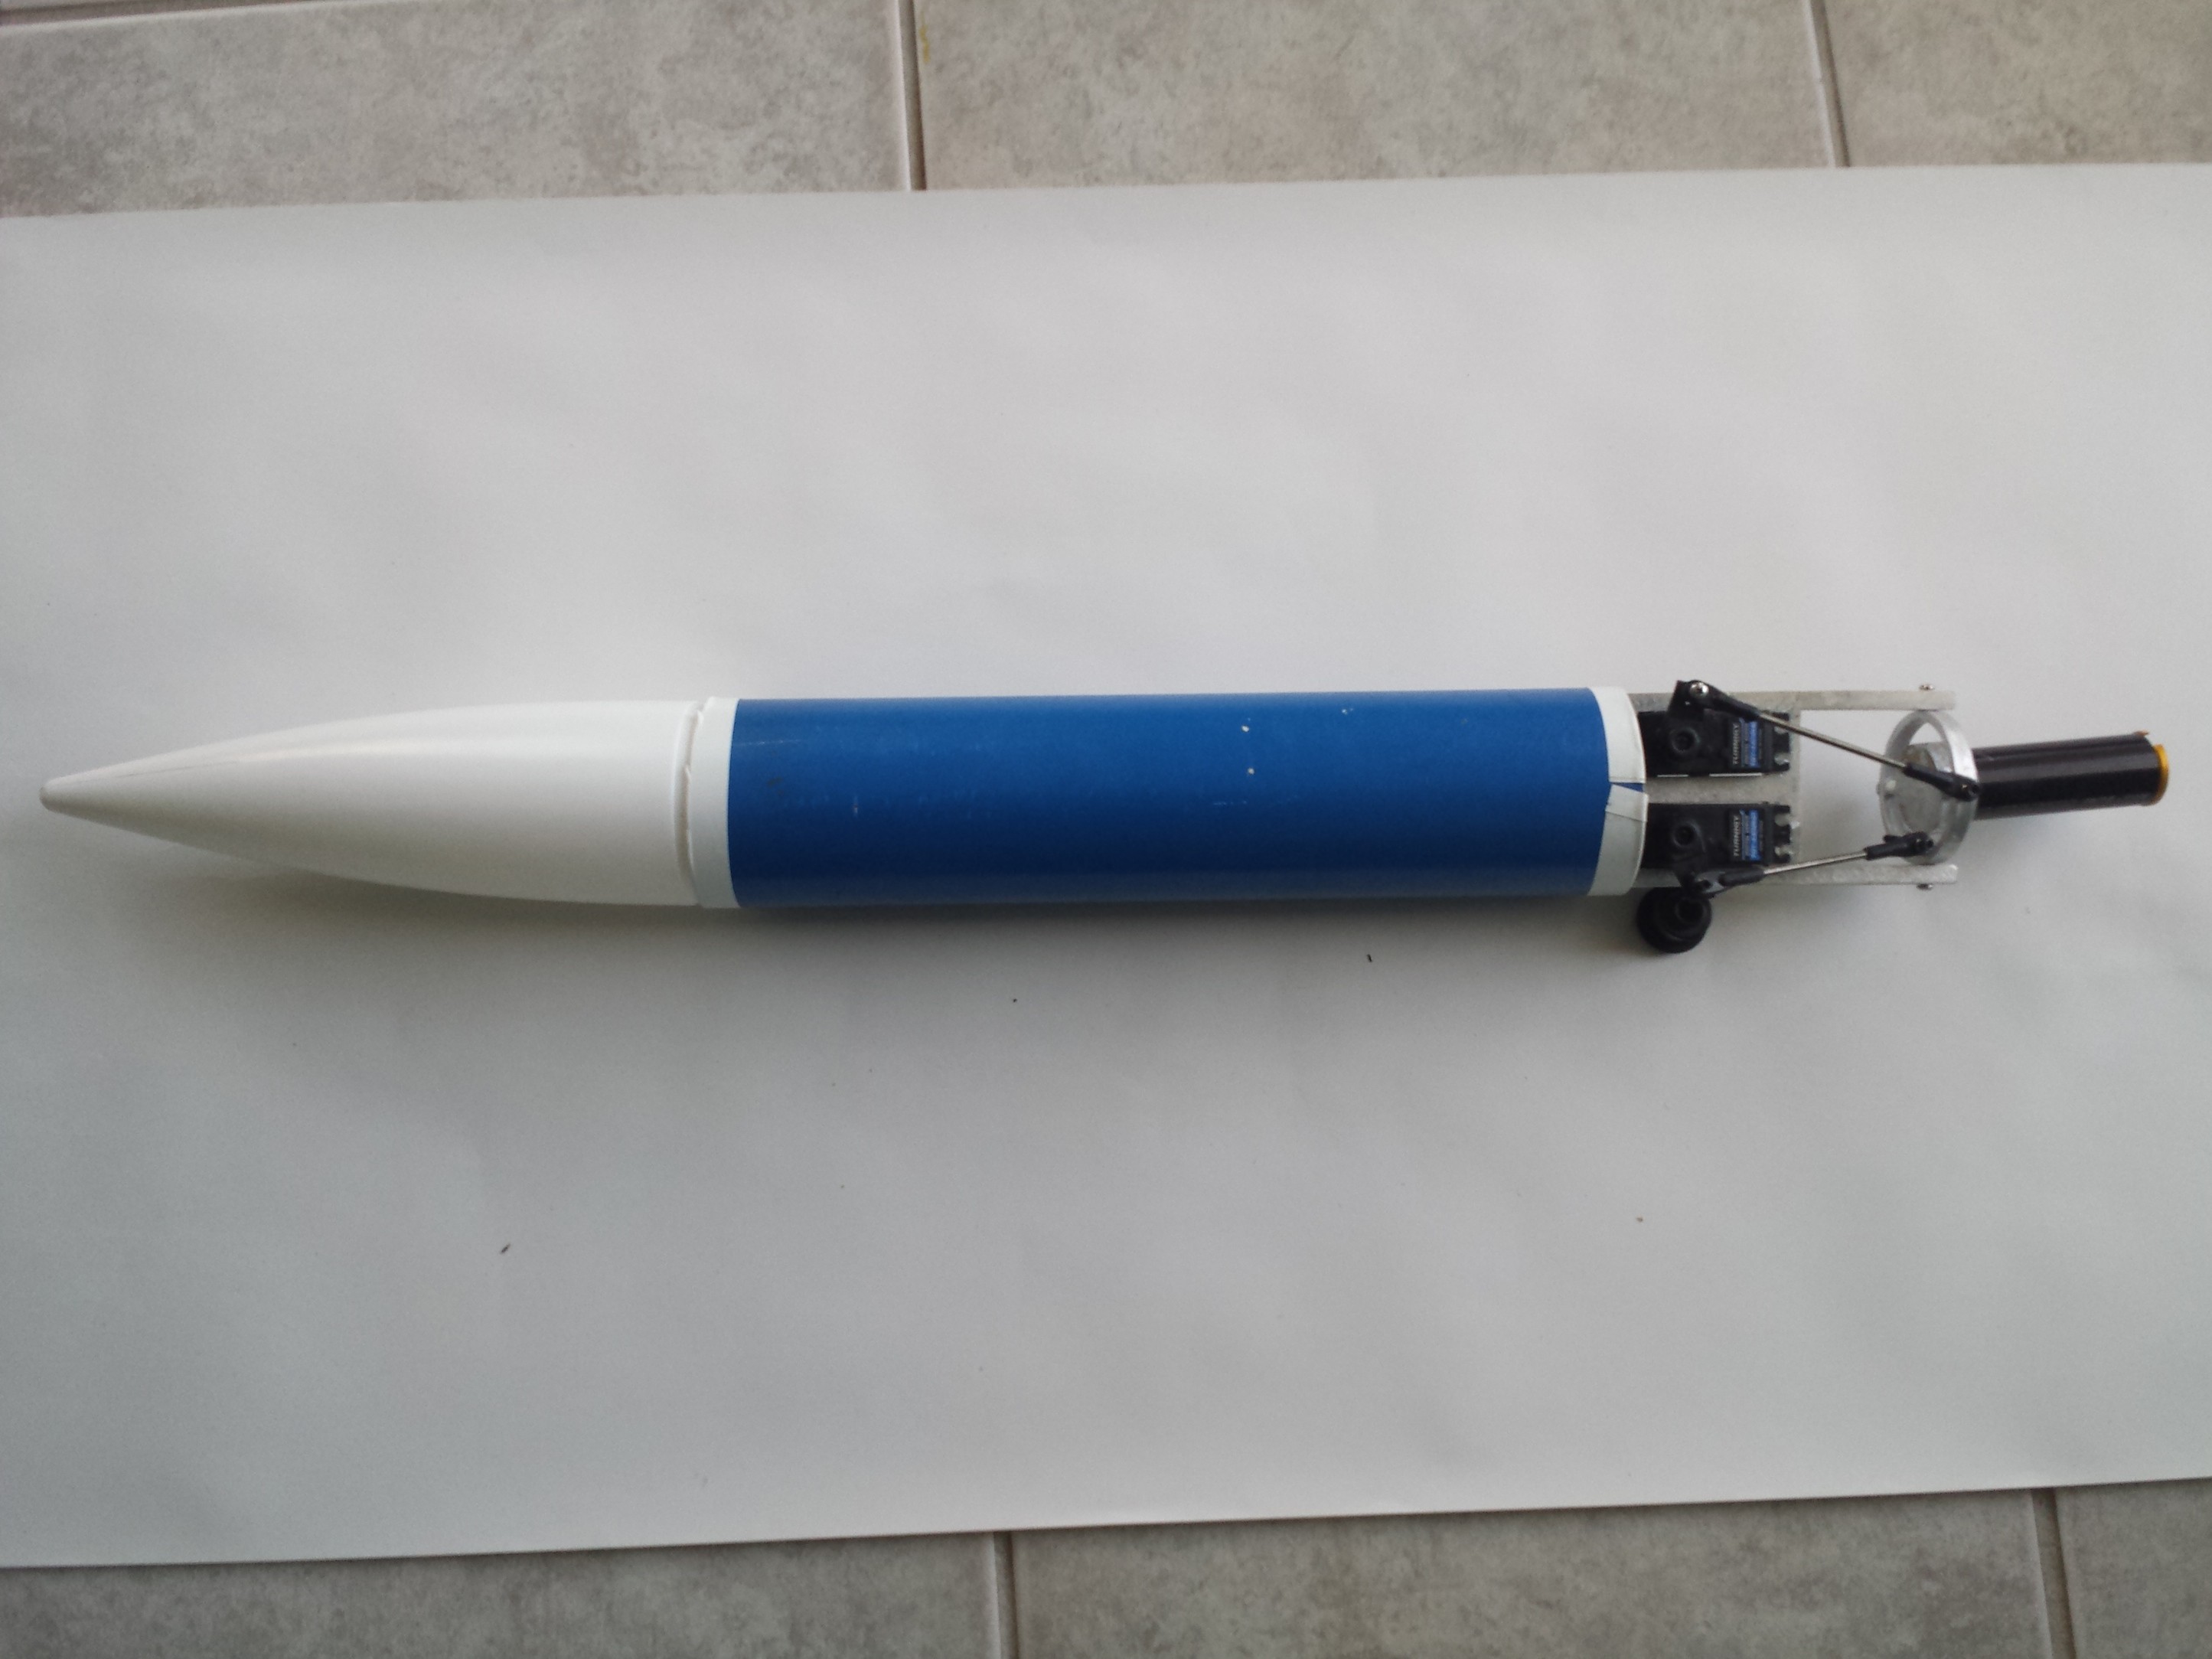
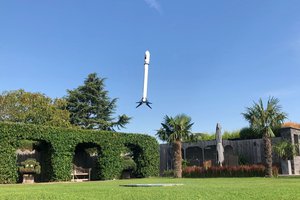
    Upon the completion of the thrust vectoring chassis, I made a body out of thin wall fiberglass. This rocket has no fins due because the test code pasted in the description will make the rocket self stabilize, if the rocket stays pointed up during the flight, we will know that our thrust vectoring system works.

  • All Components Attached

    Sagar06/20/2014 at 20:50 0 comments

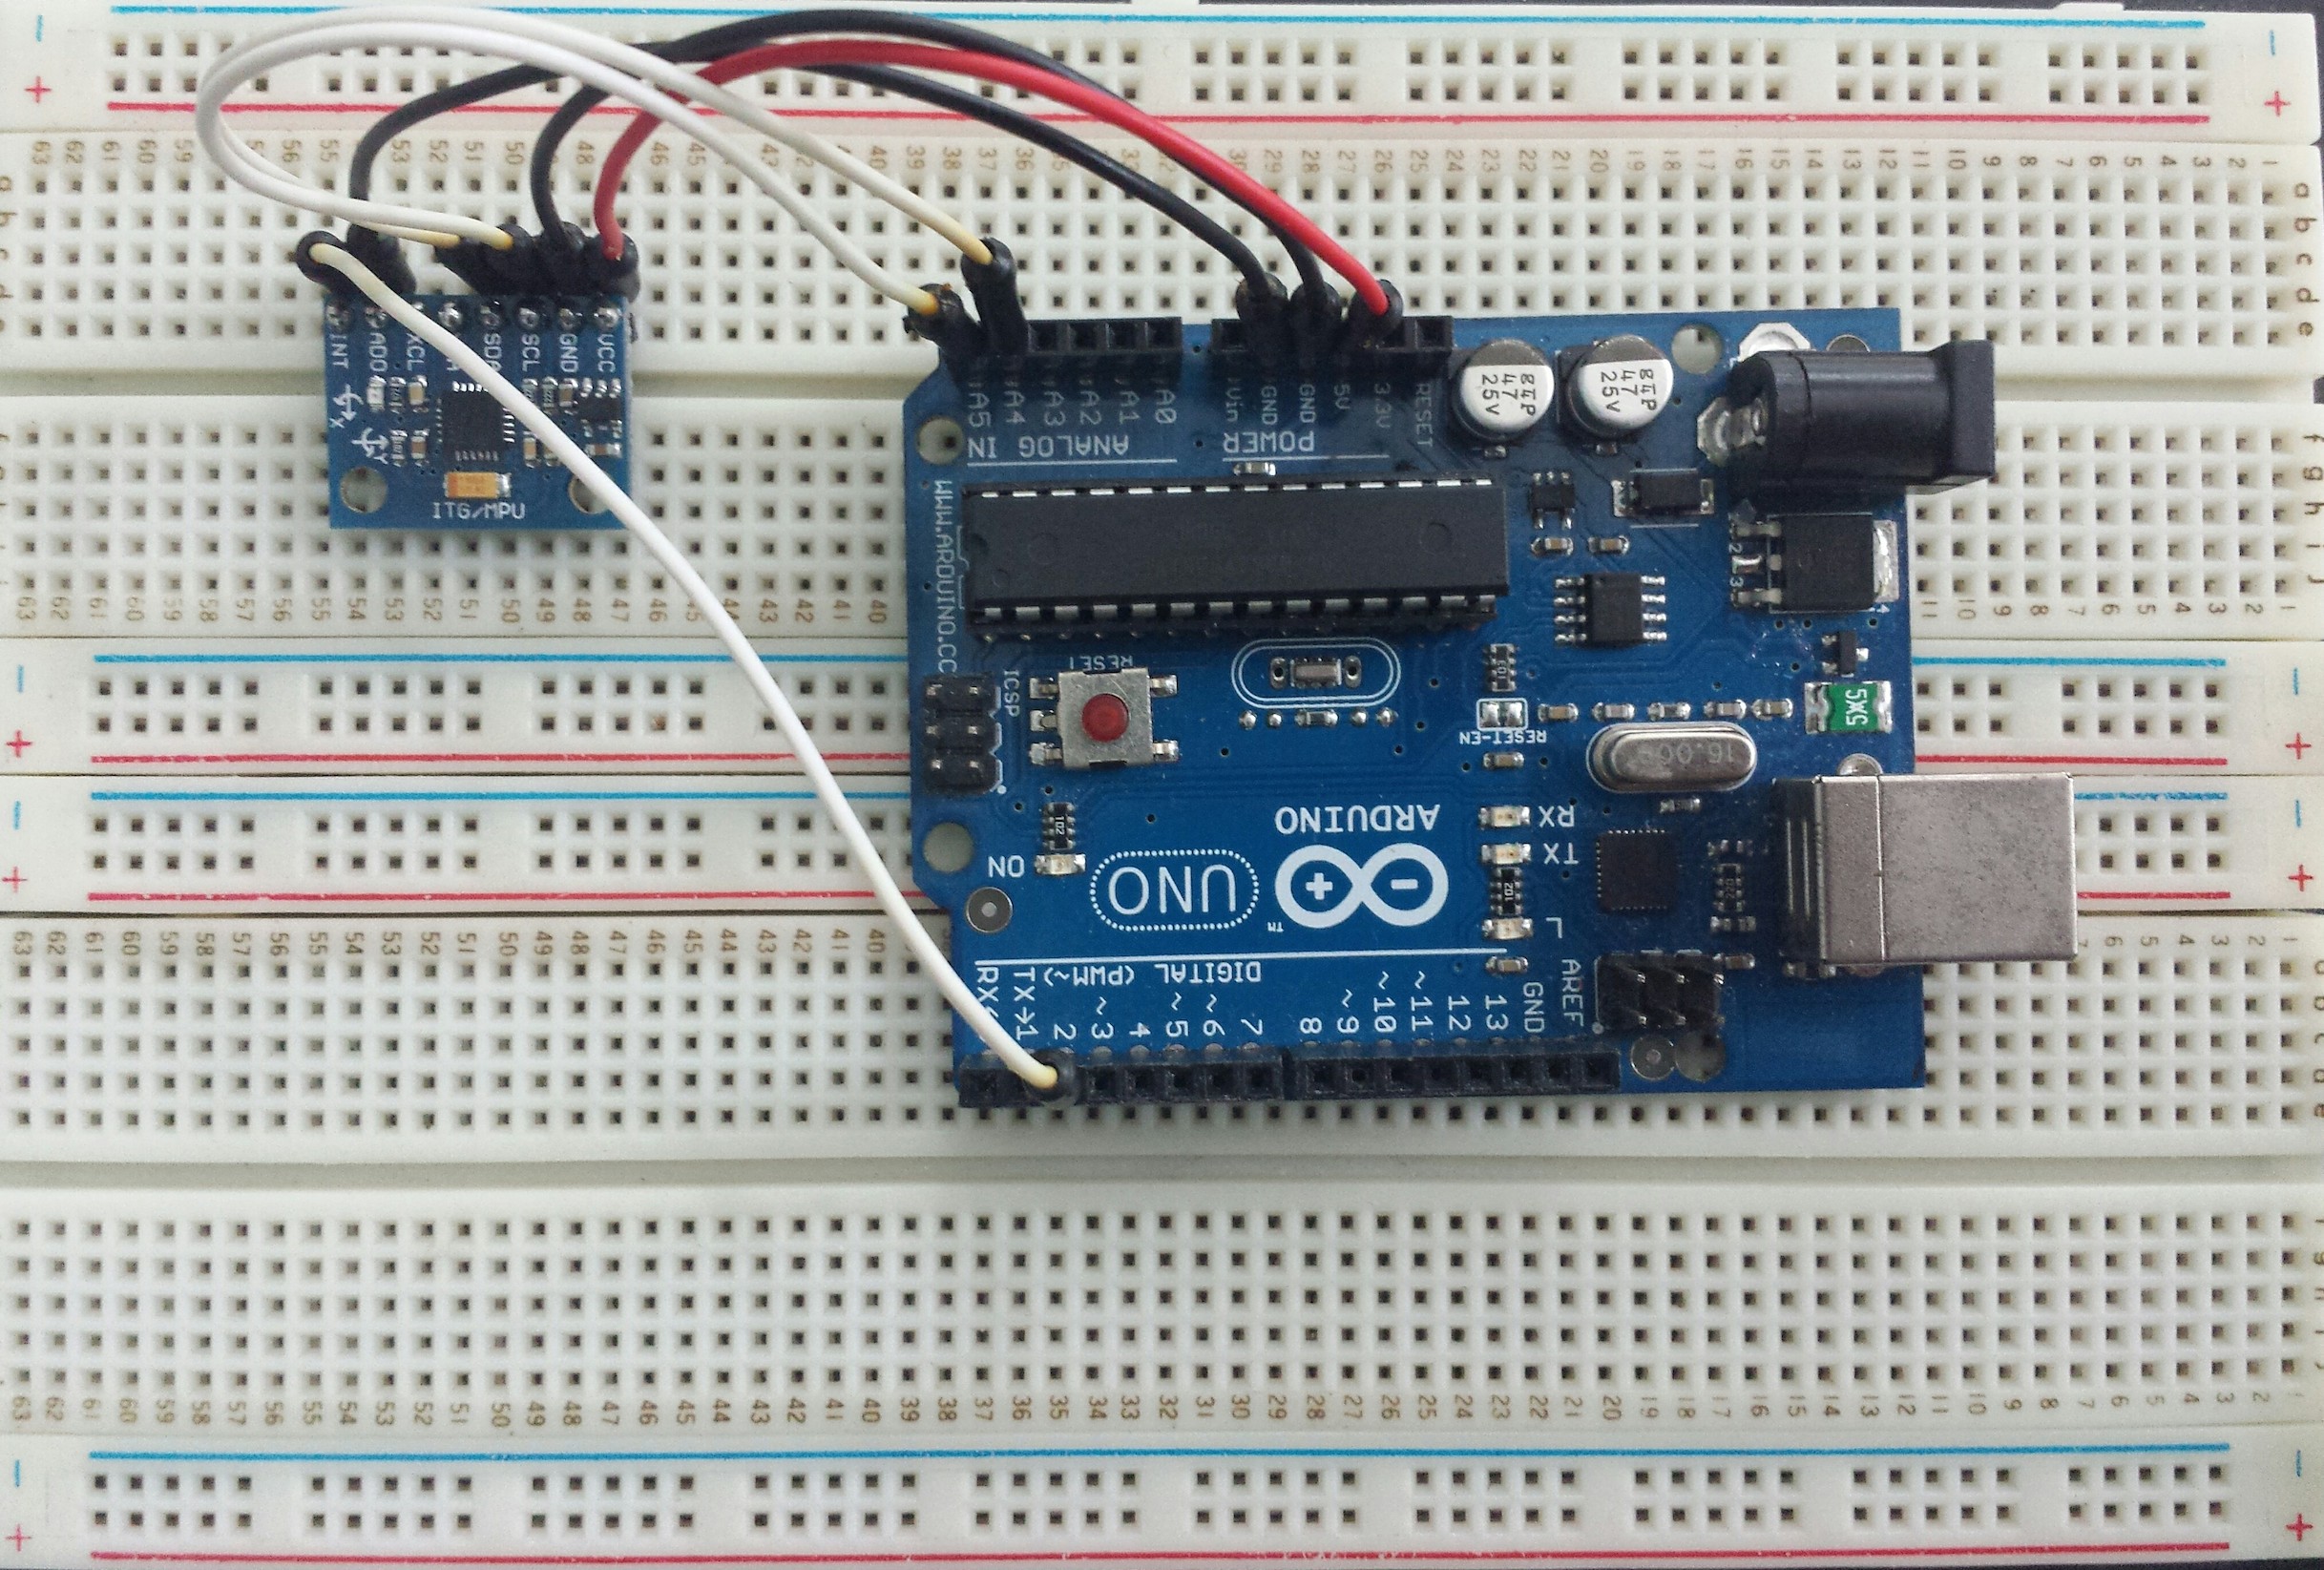
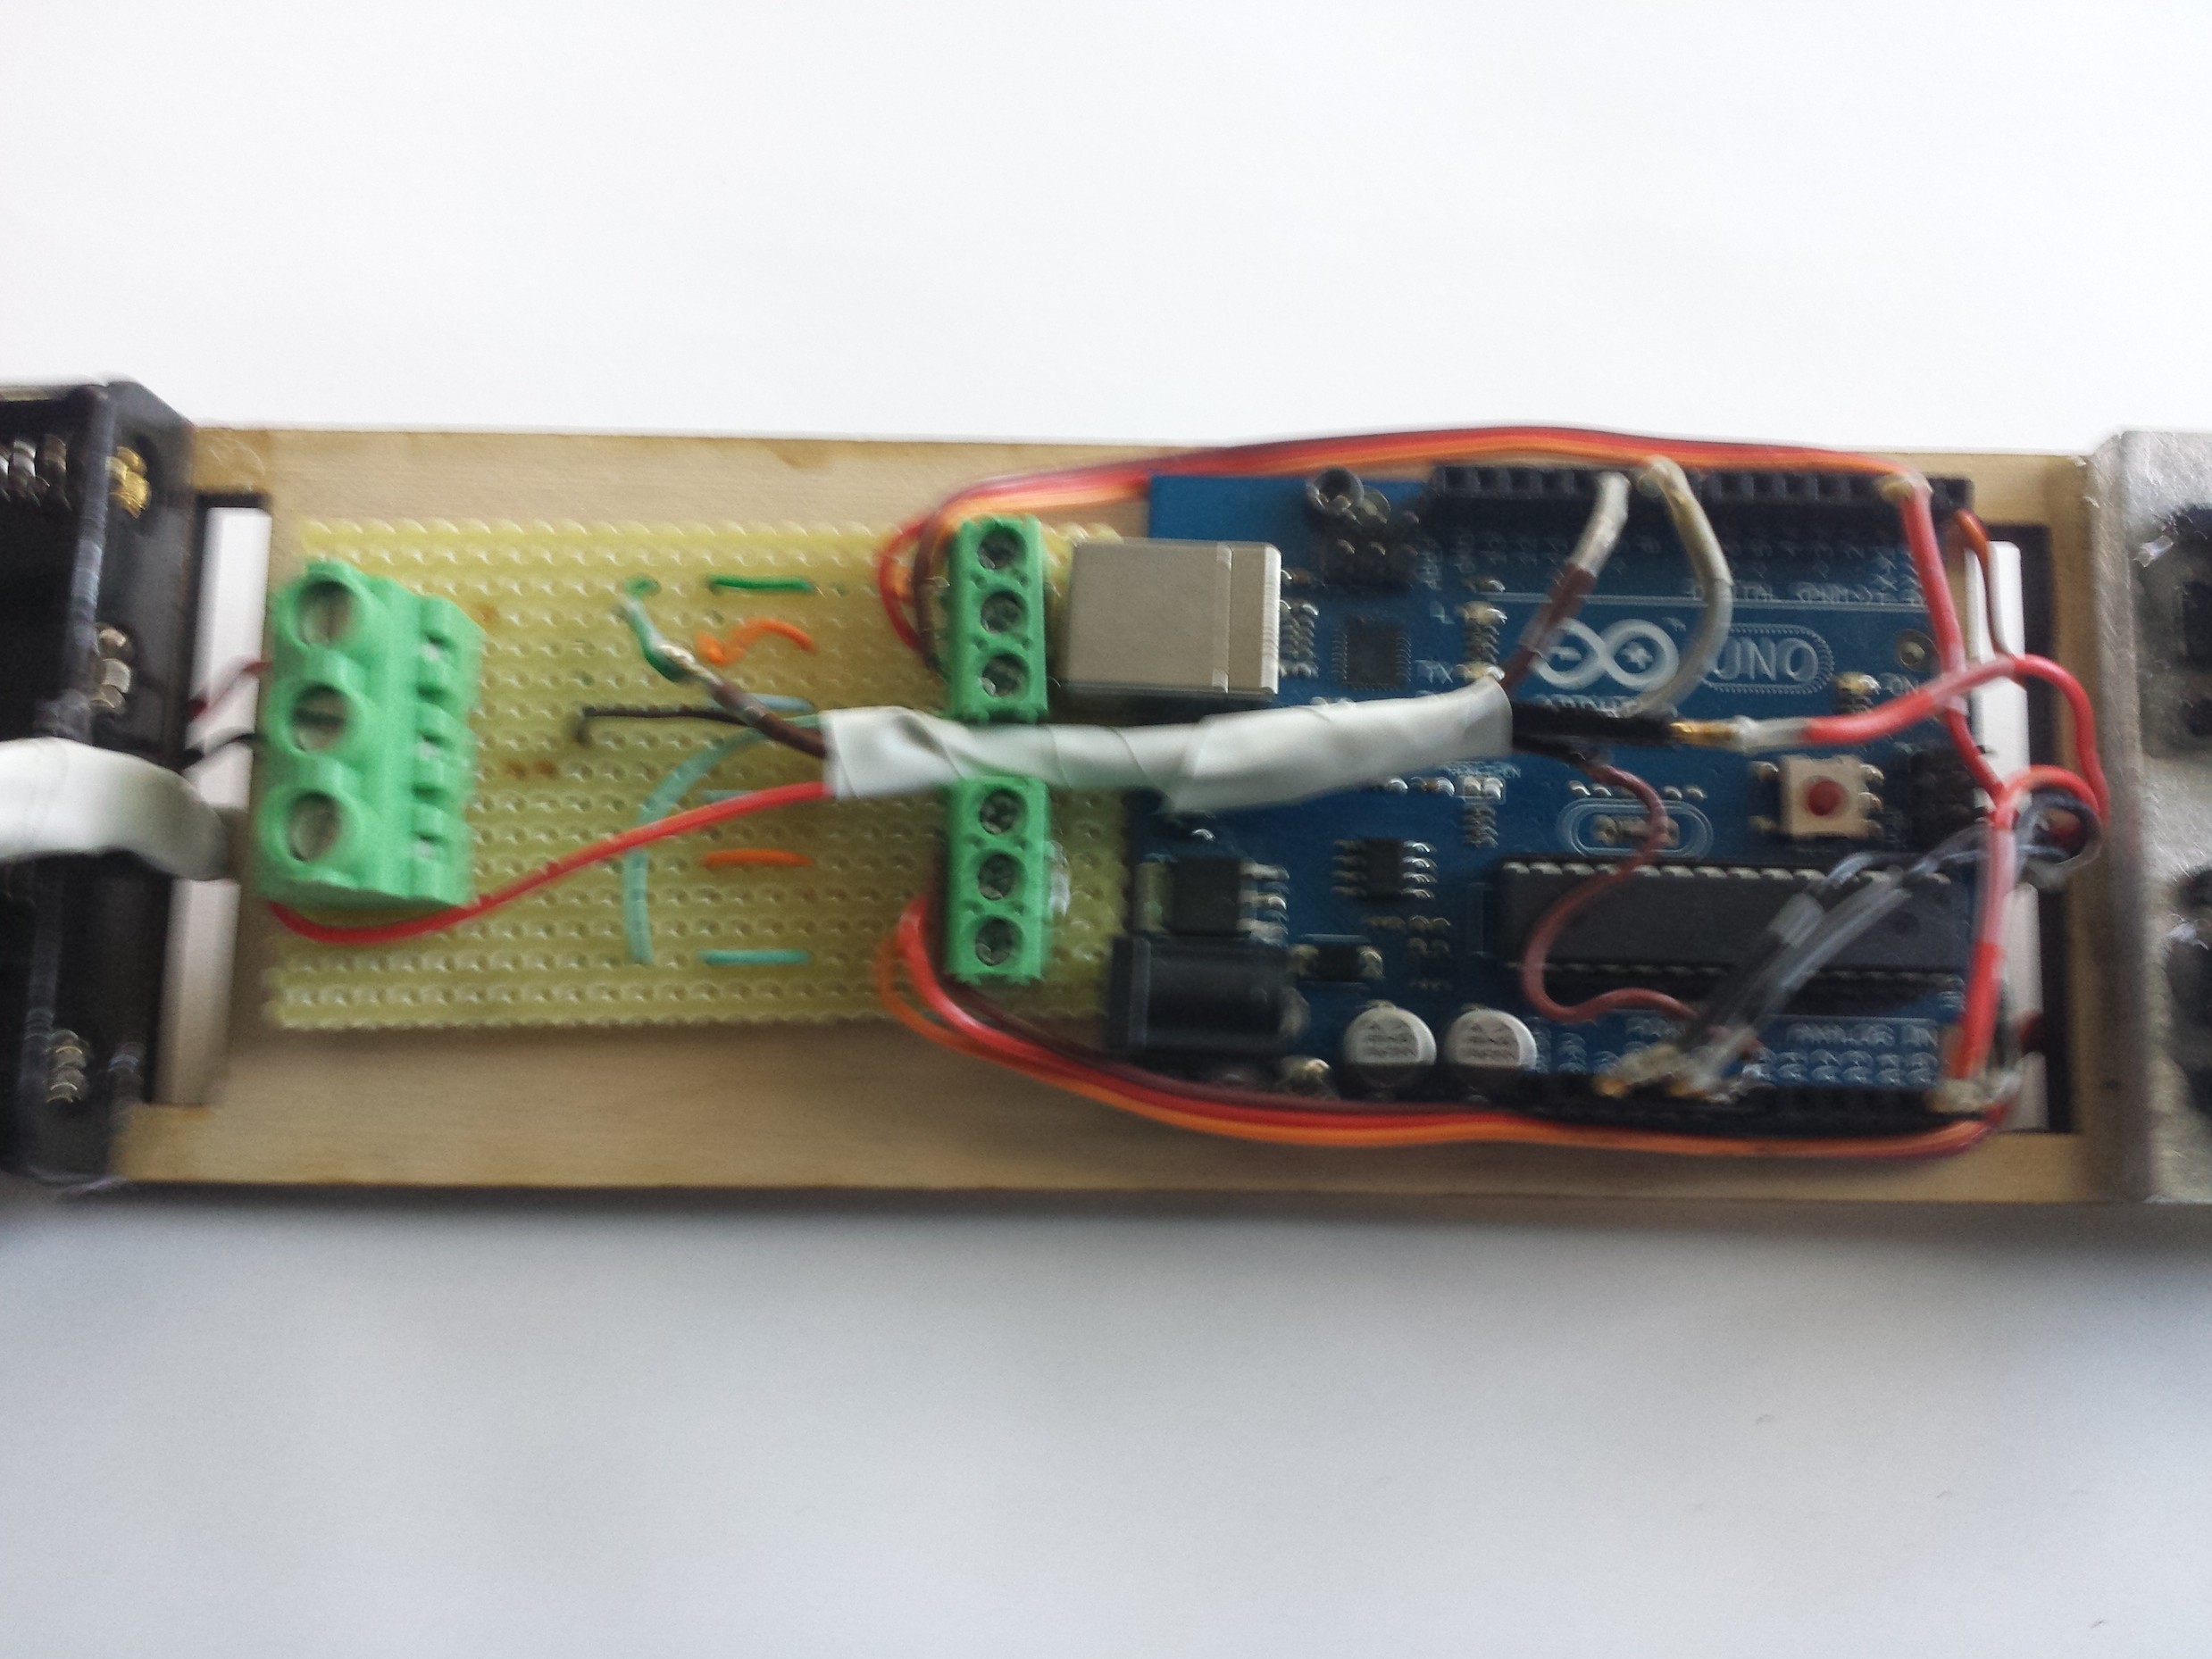
    As each piece of the electronics were tested individually, it was finally time to mount everything in the electronics bay. The IMU was mounted in the front so that it picks up even the smallest changes in rocket orientation. The rocket electronics went from this:

    To This:

  • The Electronics

    Sagar06/20/2014 at 20:46 0 comments

    I finally got out of the prototyping stage and all the ordered electronics work how they are intended! Now comes the hard task of fitting everything on the electronics bay so that it wont come loose with vibration. To do this, a custom cable was made for the IMU, a sensor which will tell the arduino what orientation its facing.

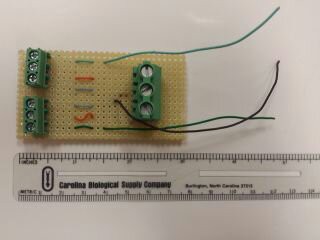
    Along with this, a power control circuit was designed and made using PCB, it was planned to make an all in one rocket control board, but this turned out to be more simple for prototyping. The power control board takes 11 volts from a LiPo battery pack and distributes it to the IMU, the Arduino, and the two servos while keeping everything cool and safe from coming loose

    The servos connect to the screw terminals on the left hand side, while the batter goes on the bigger terminal, the 3 wires connect to arduino and are (ground, PWN9, and PWN10)
  • Lasercut Aluminum Frame!

    Sagar06/20/2014 at 20:40 0 comments

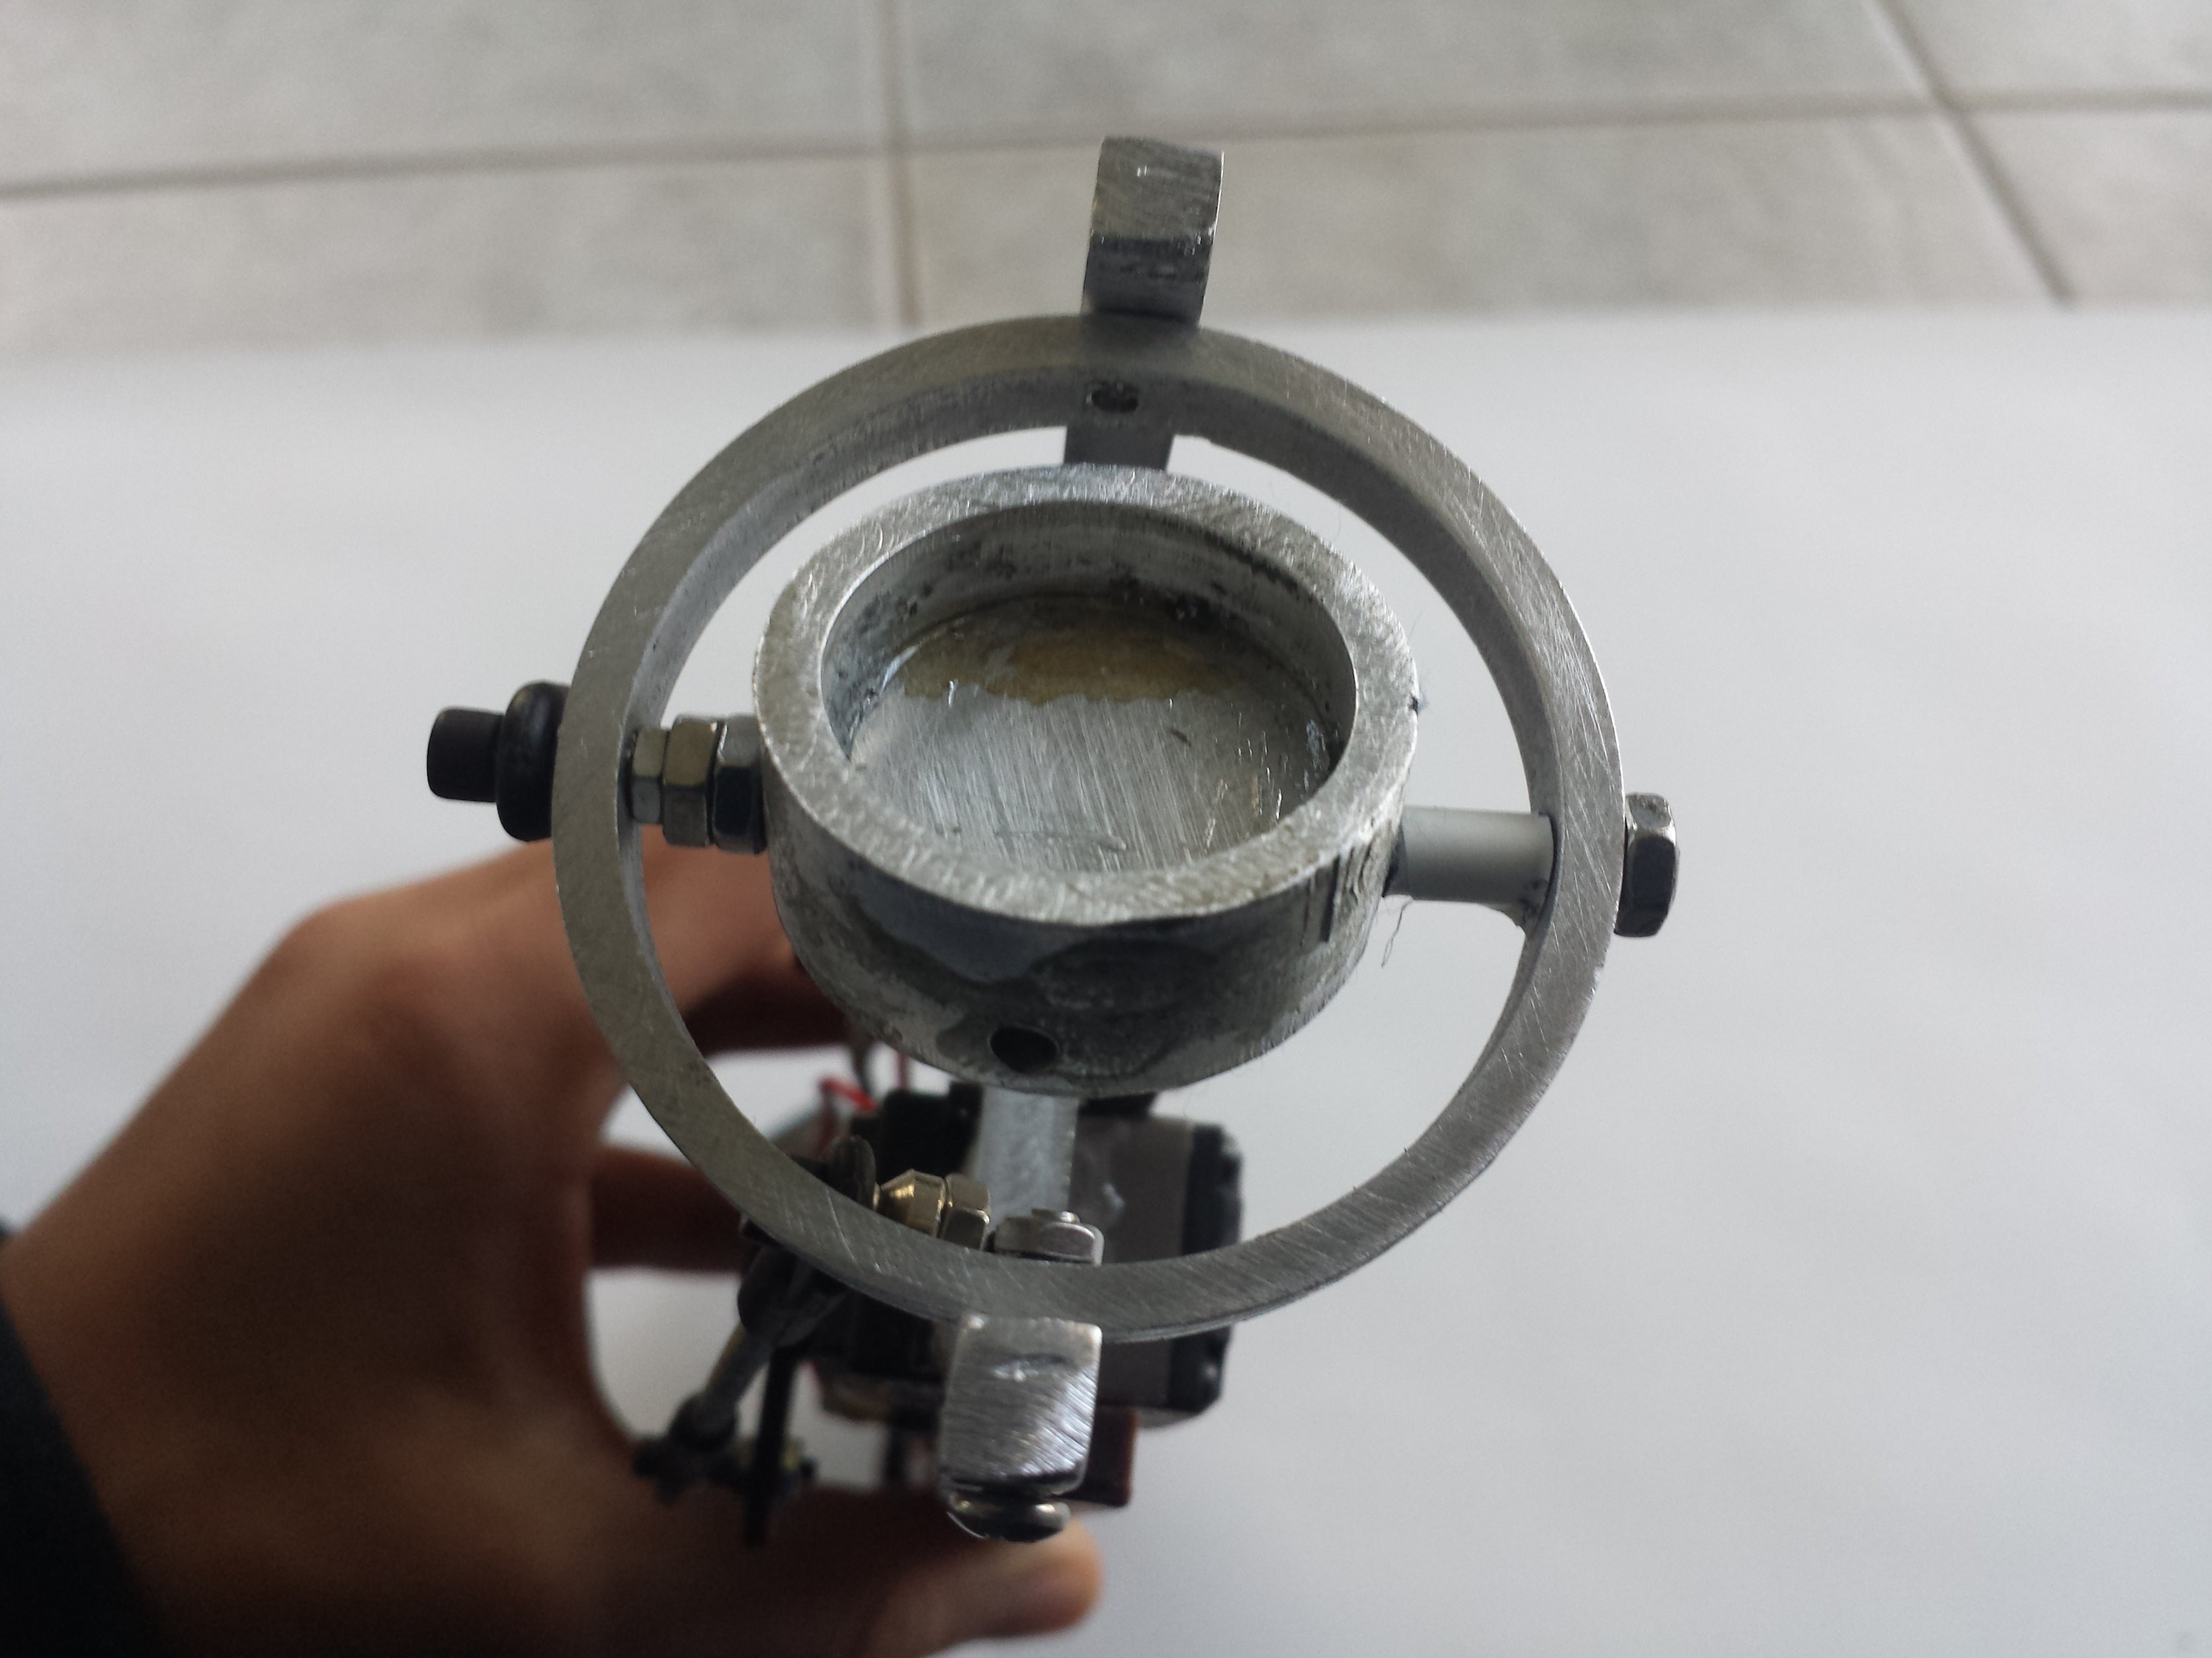
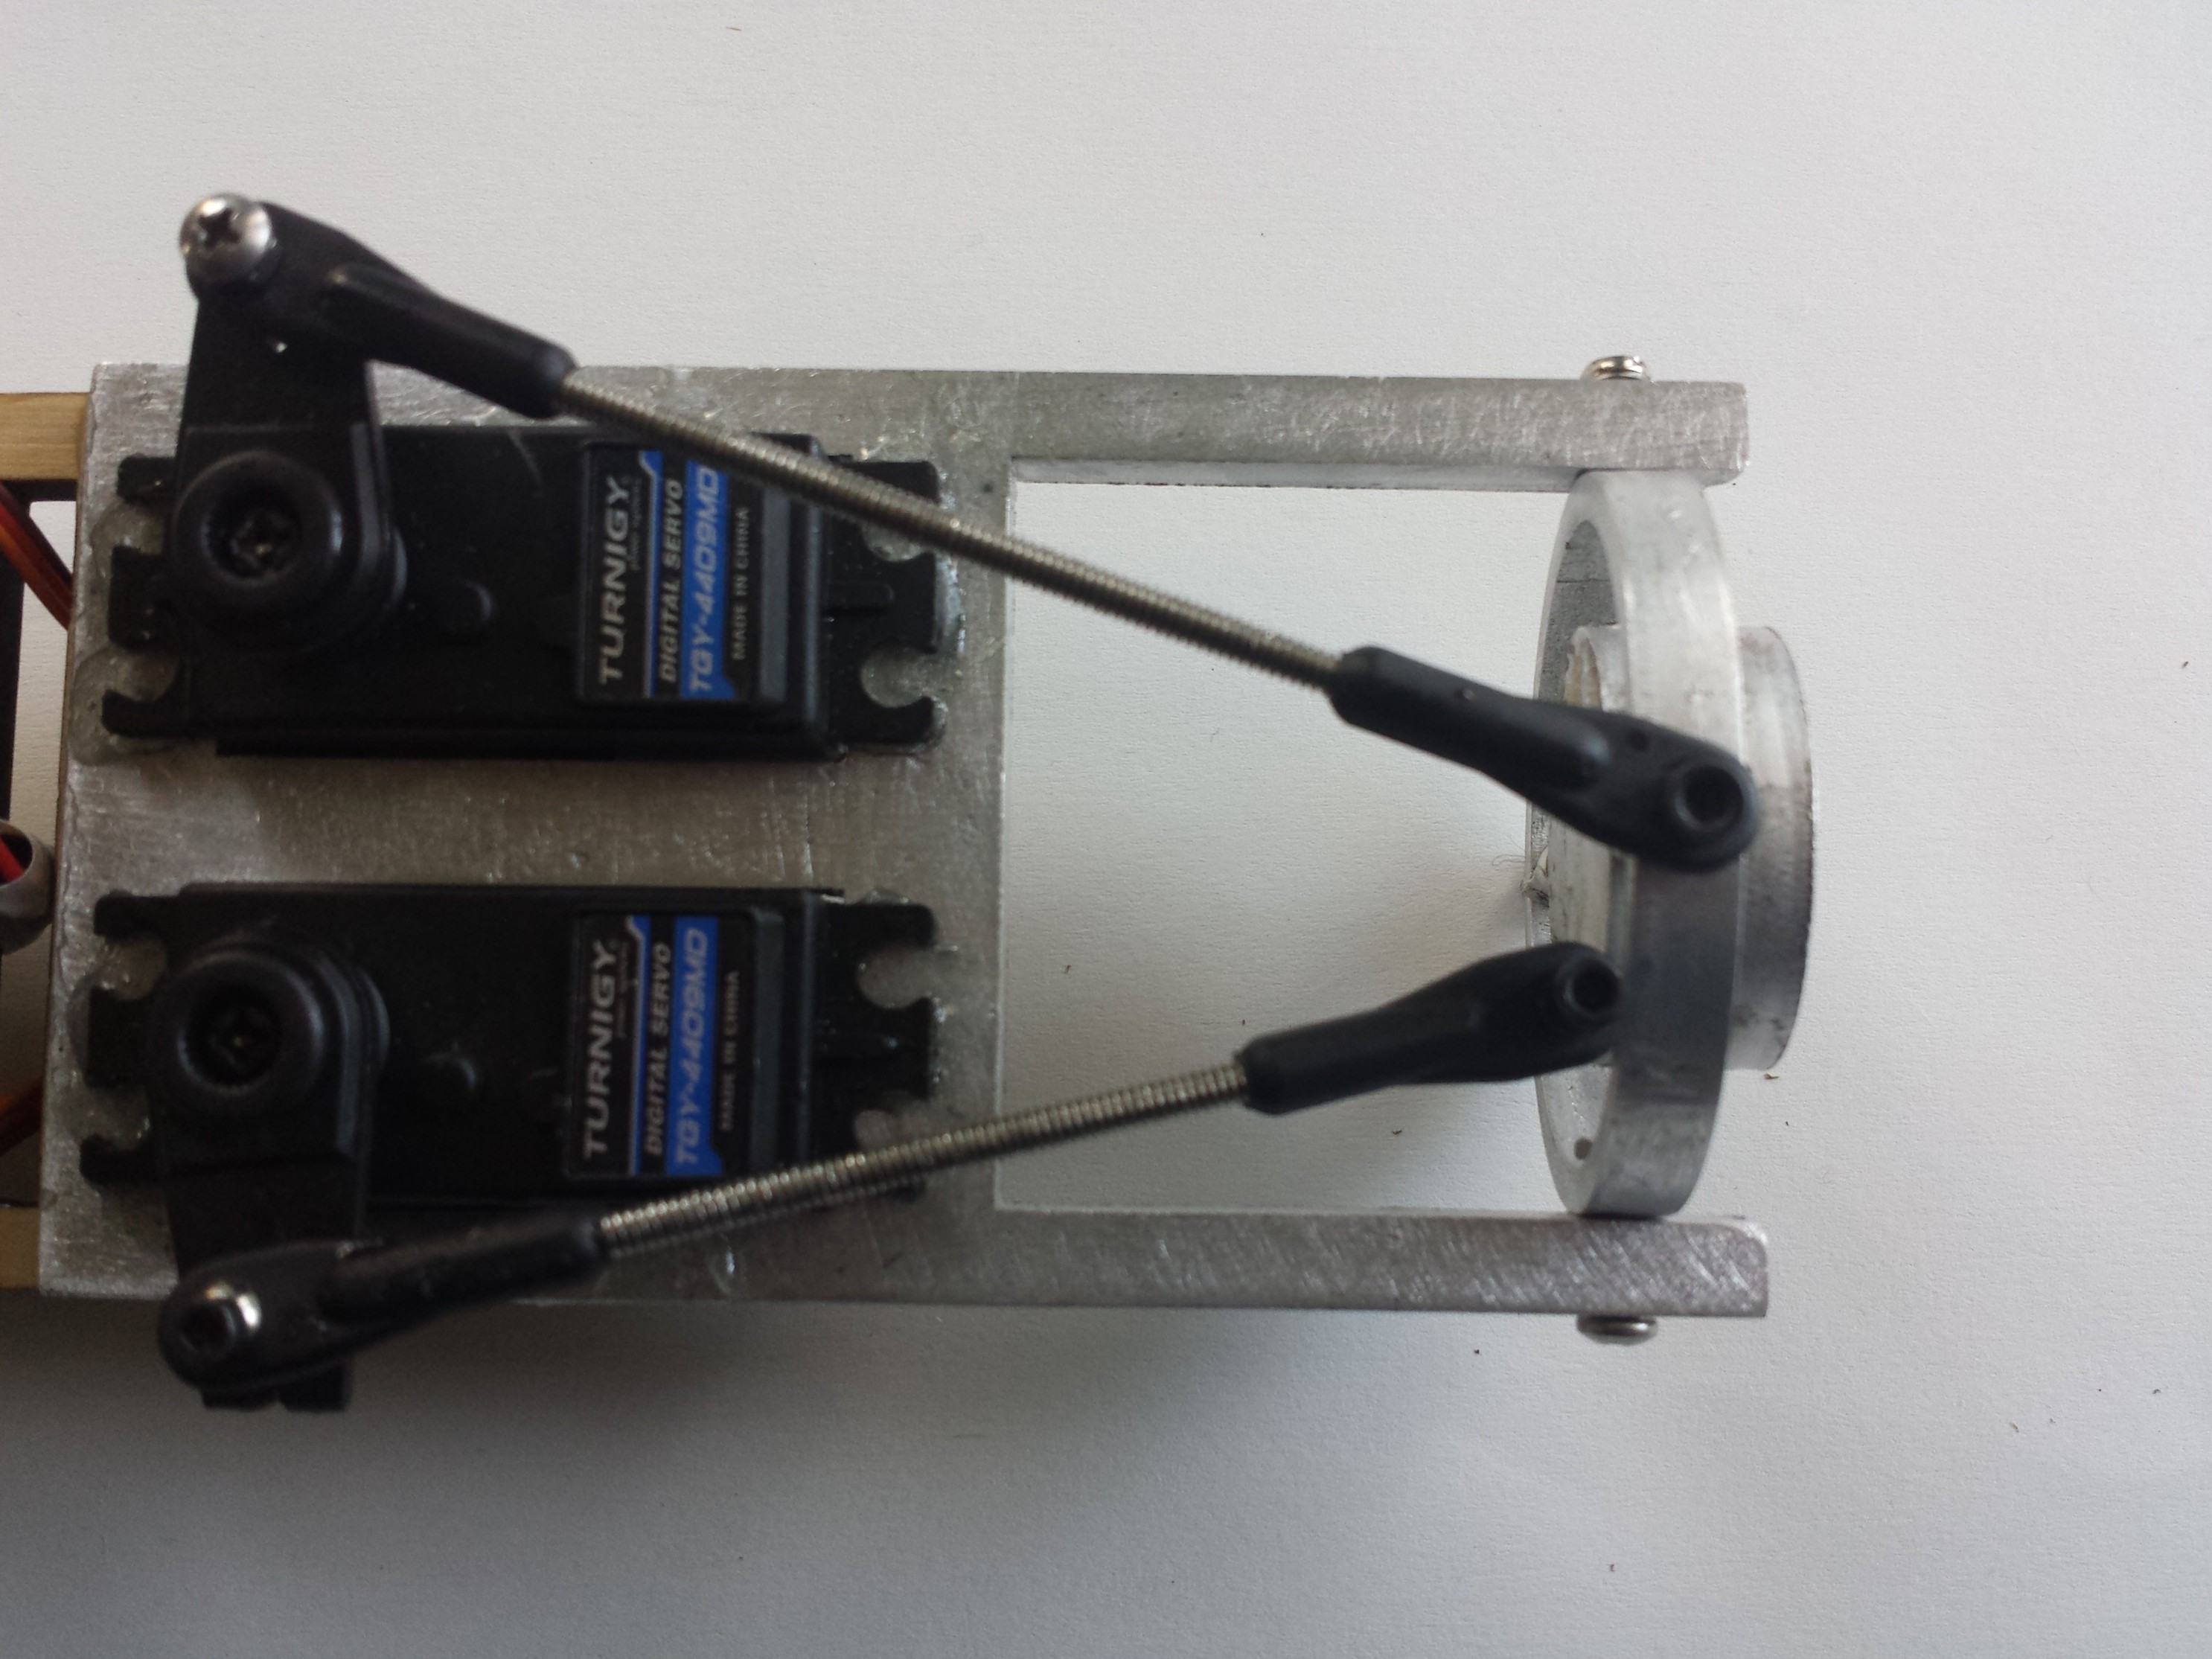
    After the failure of the wood frame, a local machine shop made me a .25 inch thick aluminum frame! This frame was later tapped and threaded by me so that the gimbal can fit in it. After the parts were fitted, red permanent locktite was used to make sure they never come off during flight. Along with this, a plywood electronics bay was also laser cut.

  • Thrust Vectoring Frame

    Sagar05/18/2014 at 15:33 1 comment

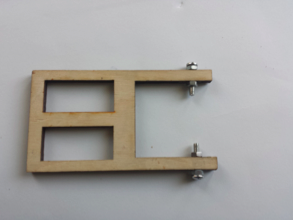
    After doing a static test on the laser cut plywood frame, it was discovered the the wood grain greatly weakens the wood and results in catastrophic failure. In order to fix this, I will be moving on to a better material such as aircraft grade aluminum, which is more heat resistant and stronger. The aluminum will be .25 inches thick and will be laser cut by a local machine shop. In order to conponsate for the heavier frame, a higher impluse motor will have to be used.

View all 5 project logs

  • 1
    Step 1

    Using the custom made CAD file of the thrust vectoring chassis, laser cut the parts out of the aluminum billet.

  • 2
    Step 2

    Drill 3mm holes in the necessary spots

    Screws ready for mounting

    Outer ring will be attached to this pivot

  • 3
    Step 3

    Test the fitting for the outer ring to the main frame and sand if needed, it should be a solid fit. Do the same for the inner ring, it should look like the picture below. (1 ring should turn in the x axis and the other in the y)

View all 5 instructions

Enjoy this project?

Share

Discussions

vcazan wrote 06/20/2014 at 21:01 point
This may be of interest to you:
http://www.ukrocketman.com/rocketry/gimbal.shtml

  Are you sure? yes | no

Sagar wrote 06/20/2014 at 21:02 point
That's where I got some of my inspiration

  Are you sure? yes | no

John Boyd wrote 06/19/2014 at 16:01 point
I have actually been planning a project just like this. I will be following along as you post your results!

  Are you sure? yes | no

vcazan wrote 06/20/2014 at 20:57 point
Same! I love launching model rockets but which I could do a roll as it reaches Ap.

I was thinking of a wifi enabled module with a built in GYRO with a weight so steer the craft. Could put it in any model rocket.

  Are you sure? yes | no

Adam Fabio wrote 06/17/2014 at 04:14 point
Great project Sagar! Thanks for entering your guided rocket project to The Hackaday Prize! Make sure you've got some powerful servos to keep that rocket motor in check! The space shuttle used hydraulics for the task.

  Are you sure? yes | no

Sagar wrote 06/20/2014 at 20:33 point
Ya, I got 10kg torque metal geared servos, these should be enough (i hope)

  Are you sure? yes | no

Jesse Ransom wrote 05/26/2014 at 10:17 point
thrust vectoring = adjusting the thrust, not moving the motor! Think of a F16 it has thrust vectoring but uses the nozzle to adjust the thrust. Plus the cg would be thrown around moving the motor. http://youtu.be/ss96tsbG5KY

  Are you sure? yes | no

zakqwy wrote 05/26/2014 at 12:19 point
In rocketry, vectored thrust often does mean moving the entire engine, albeit the pivot point might be a bit lower. The SSME is a good example:

http://youtube.com/watch?v=7Wtg_3Y4lFc

I imagine in the case of liquid fueled engines, there isn't a practical way to gimbal the nozzle _without_ including the turbopumps in the movable assembly, since high pressure/high flow rate flexible cryogenic lines would be a challenge.

  Are you sure? yes | no

Jesse Ransom wrote 05/26/2014 at 20:16 point
that's a video of a cone on the bottom of the rocket that manipulates the trust in any one direction the motor itself isn't moving. here is some other videos. I'm not saying your project isn't cool its just by trying to move the rocket your servos and brackets have to hold on to a lot more pressure. http://youtu.be/59CRsSvaCgc?t=40s and this one is a good one http://youtu.be/MS5jkXnV-3w

  Are you sure? yes | no

Overwatch wrote 05/29/2014 at 04:12 point
Sorry but you are incorrect. Lets break it down

Thrust - verb: to push with force
Vector - verb :to change the direction of

Thrust vectoring is literally just changing the direction that that you are pushing.

Sometimes the entire engine is moved, like in the project picture.

Sometimes the engine is fixed, but the whole nozzle is moved, like many of the engine bells used for liquid fueled rockets.

Sometimes the engine and nozzle are fixed, but an additional plate/extension is put in the path of the thrust to change it's direction. This is the method that many current generation fighter aircraft use. It is also how most air boats work.
(technically anything that directs thrust is part of the nozzle, so this method is really just changing the shape of the nozzle. But it is easier to understand if they are described as additional plates.)

Additionally, there were no production F-16s that have thrust vectoring.

  Are you sure? yes | no

Eric Evenchick wrote 05/19/2014 at 09:37 point
Looking forward to seeing some discussion of thrust vectoring. Our university rocketry team looked into it but had a lot of issues with reliably moving the engine.

  Are you sure? yes | no

Sagar wrote 05/18/2014 at 15:30 point
I am currently trying to get it to fly straight up without fins by using the IMU to alter the engine's direction

  Are you sure? yes | no

zakqwy wrote 05/19/2014 at 01:30 point
Awesome man. I'm looking forward to taking a look at your firmware (and you should look at mine, when I get to that point), as we're trying to solve similar problems.

  Are you sure? yes | no

zakqwy wrote 05/16/2014 at 23:24 point
How much automation are you planning on building into the controls? Are you planning on using the IMU for stability only with some kind of R/C setup, or are you hoping to be able to program a flight route into the controller?

F engines are fun. Definitely excited to see where this goes!

  Are you sure? yes | no

Similar Projects

Does this project spark your interest?

Become a member to follow this project and never miss any updates