-
Solenoid Gimbal and Gyro
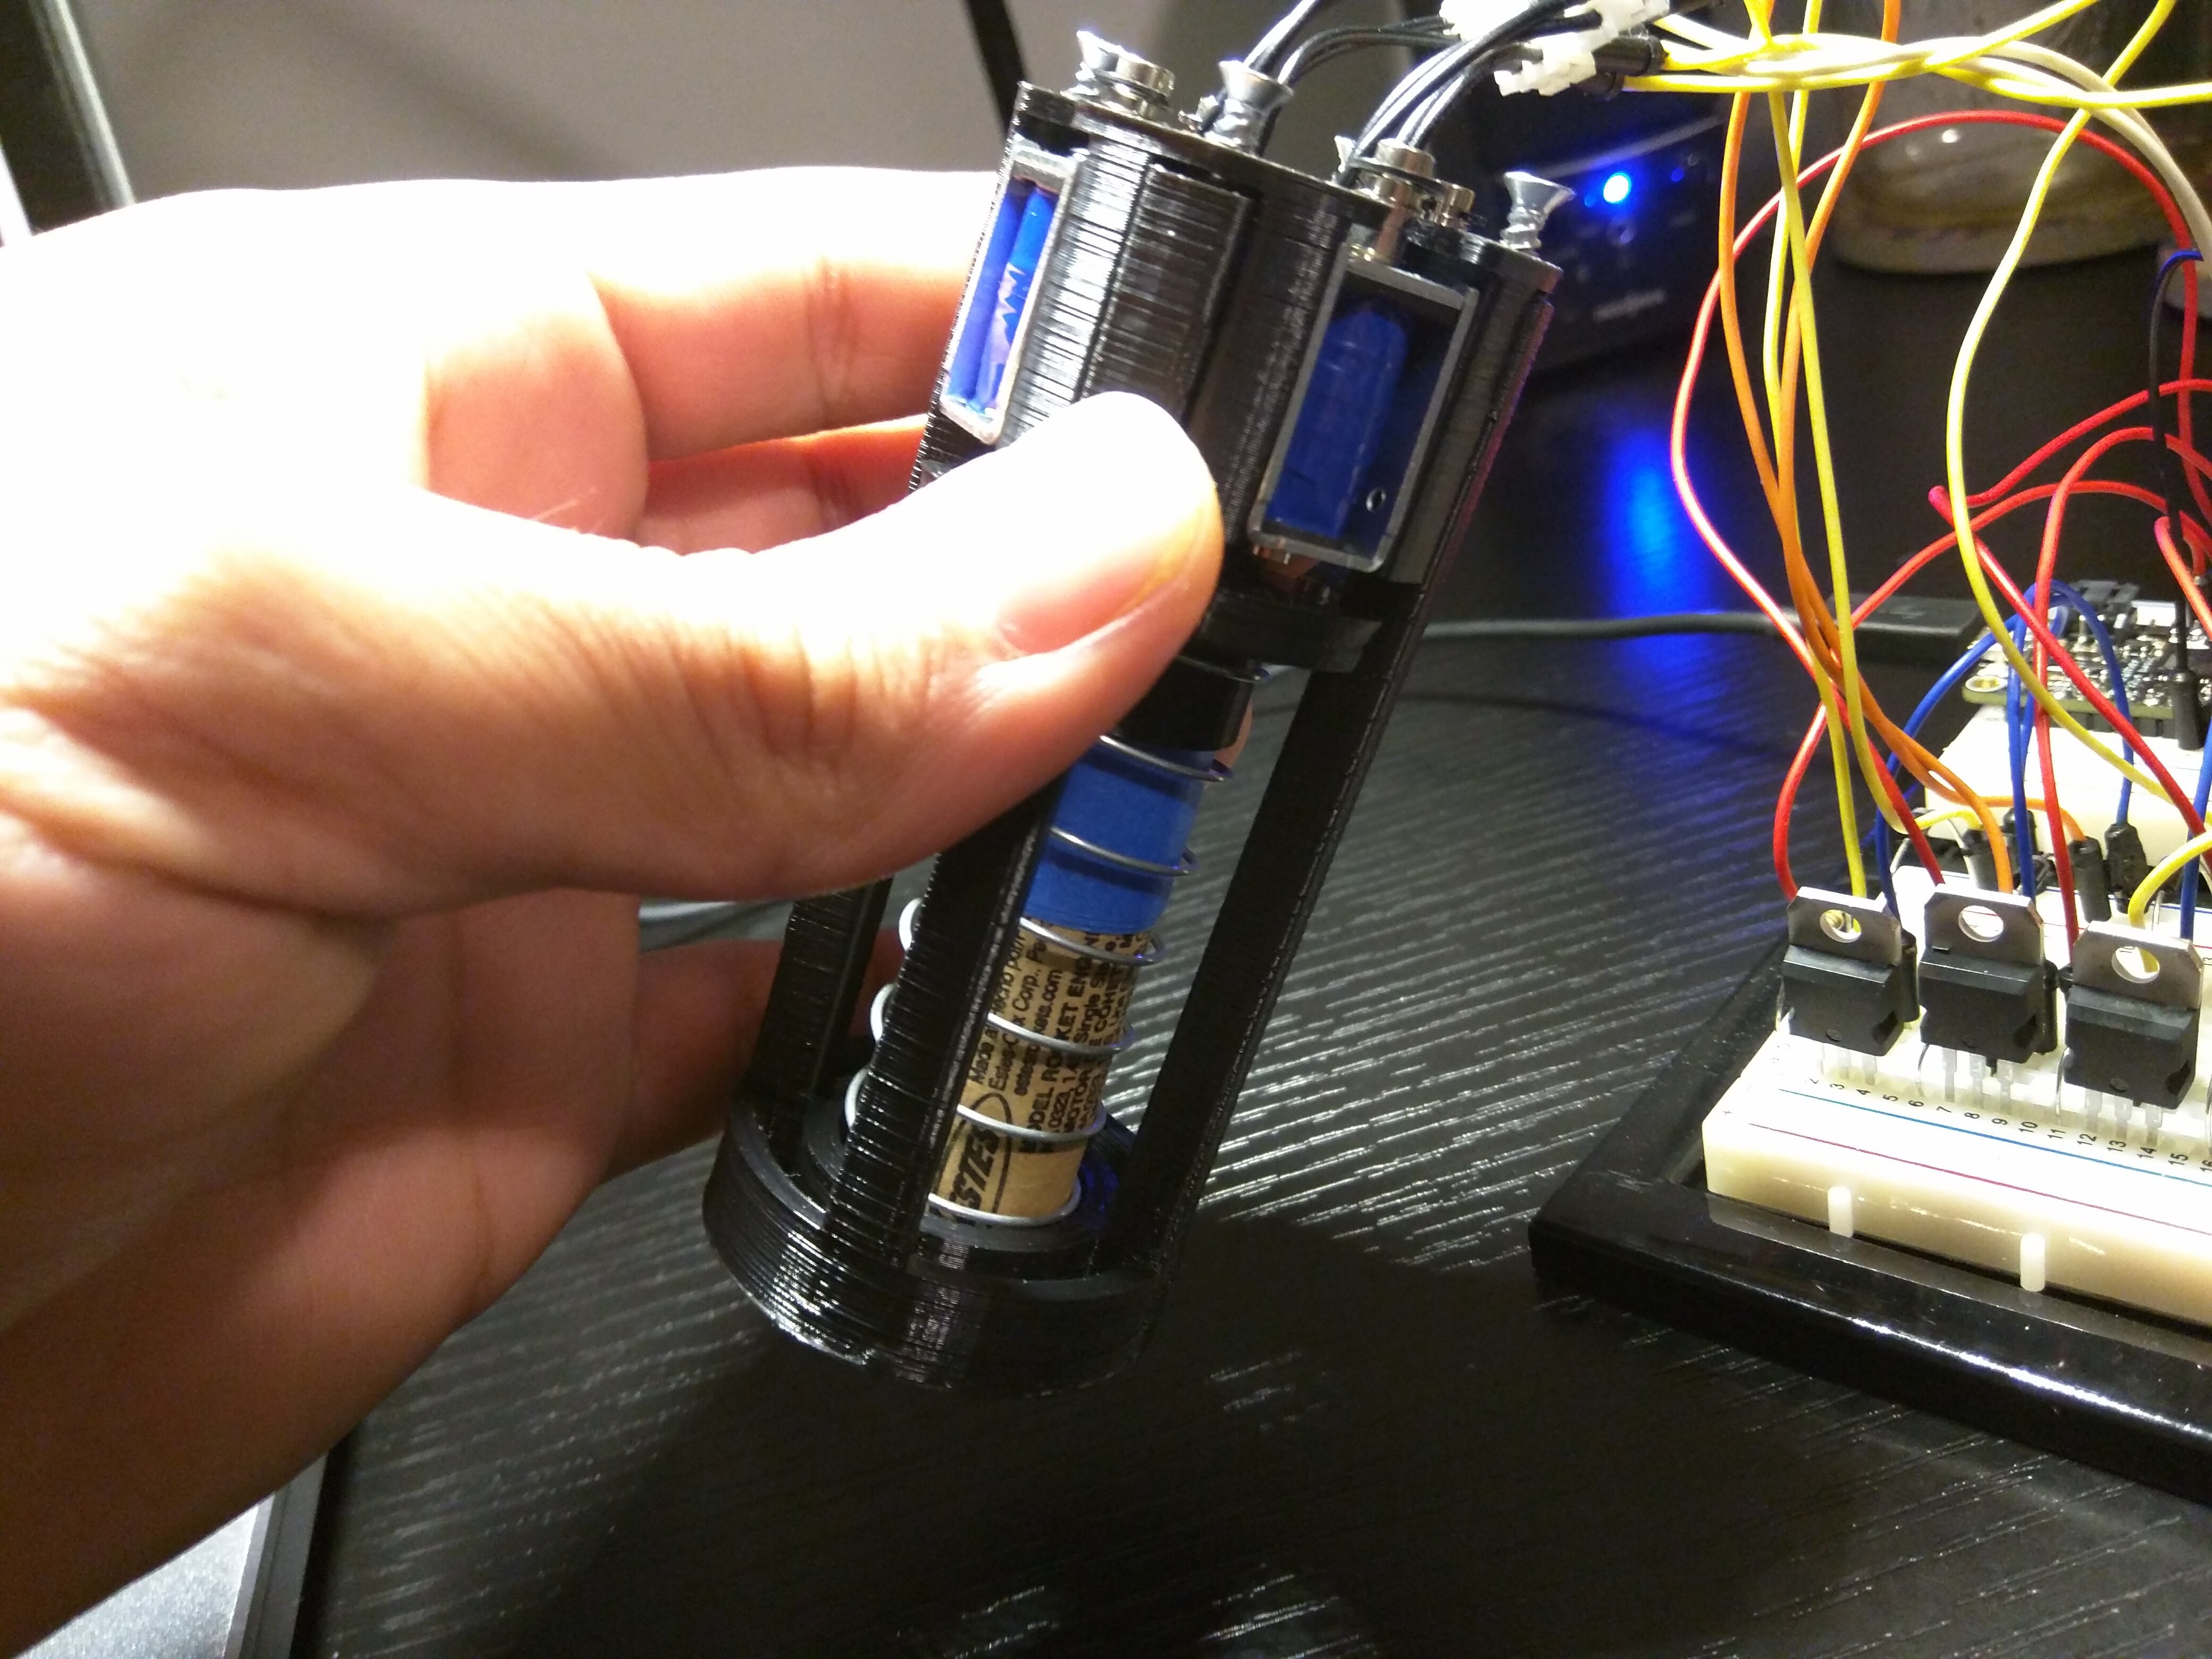
07/21/2016 at 01:38 • 0 commentsI've been messing around with programming a MPU 6050 breakout board to control the solenoids. The board was only $5 shipped, and seems to be very sensitive. Coding is not my forte, and interpreting the raw data from the sensor is more complicated than I thought it would be. Thankfully, Jeff Rowberg has posted some libraries for interpreting the MPU 6050 here. I was able to modify the code and use the output to operate the solenoids. Unfortunately, the prgoram uses up 60% of the memory on the arduino feather. I think I can lean up the program a bit, but I'm gonna have to figure out what a lot of the code actually means. For now here's a clip of it working:
One problem I've noticed is that the spring is not perfectly straight and it is causing the engine to stick to one side when at rest. This will definitely need to be fixed before doing a live test.
-
Solenoid Gimbal
07/19/2016 at 01:10 • 0 comments![]()
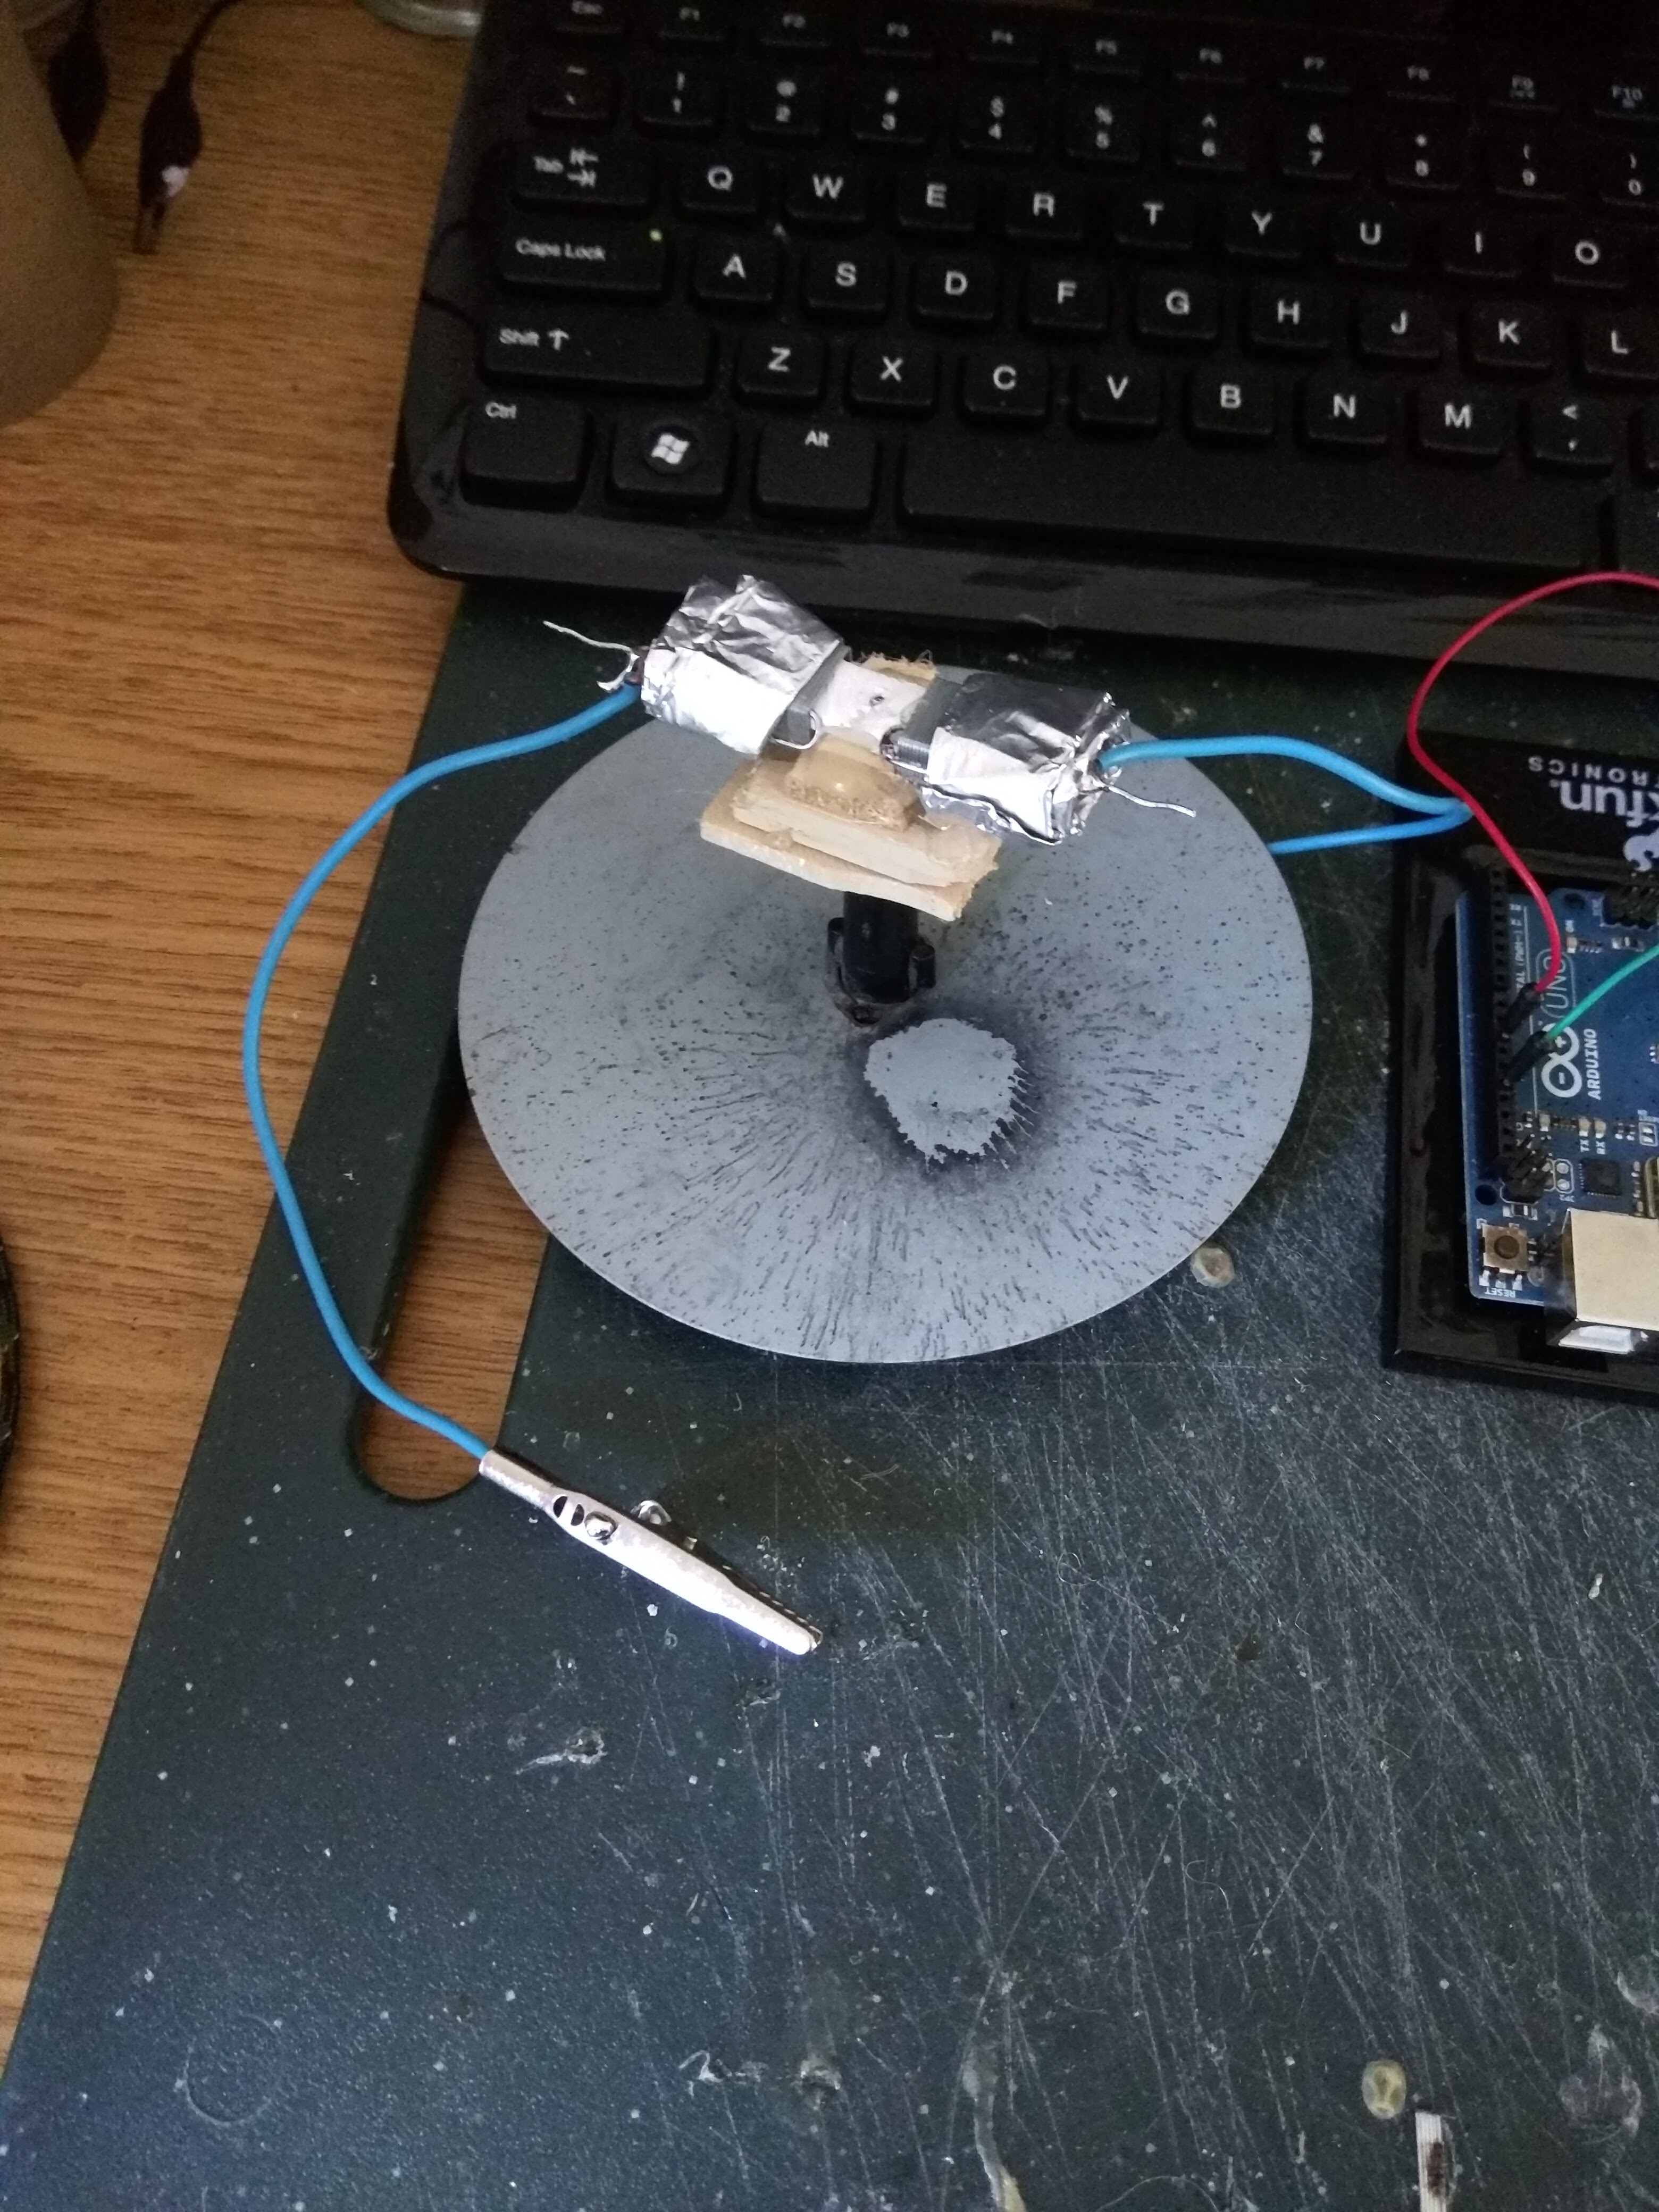
I decided that instead of using coils and magnets, an easier, more reliable method would be to use solenoids. Doing so would still give me the small profile and quick reaction time I wanted with my original gimbal design. I used some small solenoids, a spring, some screws, and a 3D printed case. The whole thing fits together pretty well, and is working nicely so far.
Here it is with just one solenoid:
And with all 4 solenoids running a program to tilt the engine in a little circle:
And going a little faster:
Up next is programming a gyro to direct the movement, and then testing.
Whether or not this gimbal will work remains to be seen, but I'm really happy with the way this prototype is turning out so far. It looks clean, and its compact enough to fit inside of a toilet paper tube or a paper towel tube. The excitement is definitely motivating.
I have a basic idea of how the code will work, but I'm still trying to figure out how I'm gonna test and calibrate the program effectively and without burning through tons of cash in rocket motors. This will be my next challenge.
-
Electromagnetic Rocket Engine Gimbal
07/08/2016 at 02:28 • 0 comments![]()
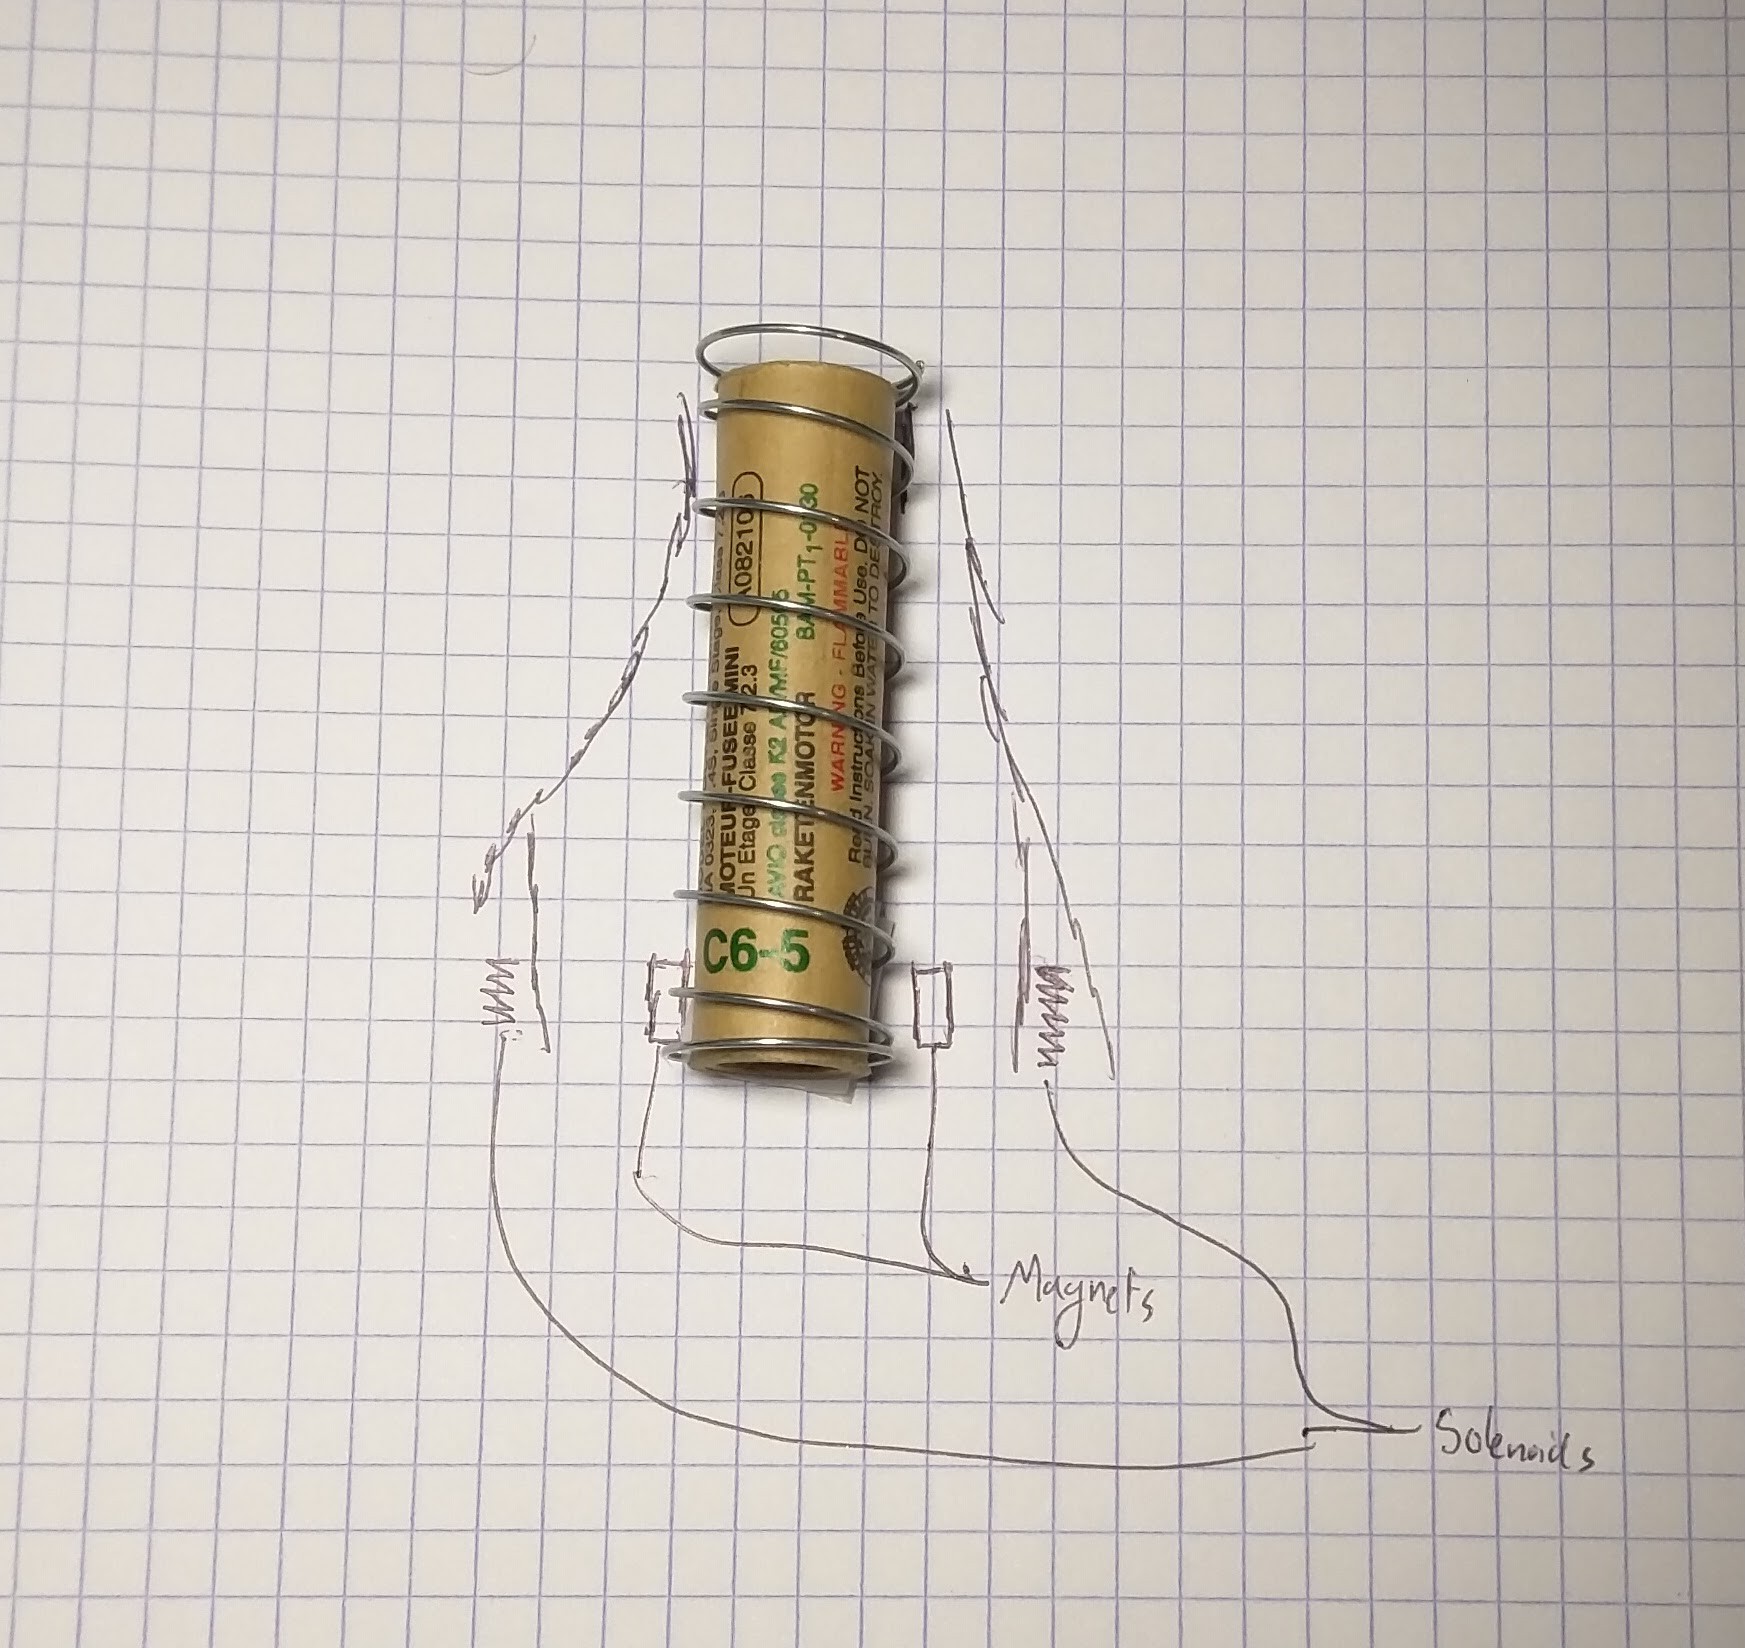
I've started to look into making a rocket engine gimbal. I need it to be light, slim, and reliable, so I'm trying to do it without servos. I've decided that I want to try to do it using solenoids and magnets. In the picture above, you can see a crude rendition of the concept. The engine will be mounted in a spring, and the spring will be affixed to the housing just at the very top. This will keep the engine straight normally, but allow the engine to flex side to side. There we be four magnets at the bottom of the engine, equally spaced around the diameter. There will be 4 corresponding solenoids surrounding the motor. But running a current through them, the engine should bend in the direction of the solenoid.
I used some homemade lab masses (paperclips) to figure out how much force is needed to deflect the spring 5 degrees. My friend Zach imparted me with some physics wisdom so I could figure out how to calculate the EM forces for some different configurations of solenoids and magnets. Doing the math beforehand rather than blindly testing it should save some time and money.
This design for an EM gimbal, as far as I know, is a novel idea. The idea of working on something that hasn't been done before is both exciting and daunting, but will make for a fun challenge.
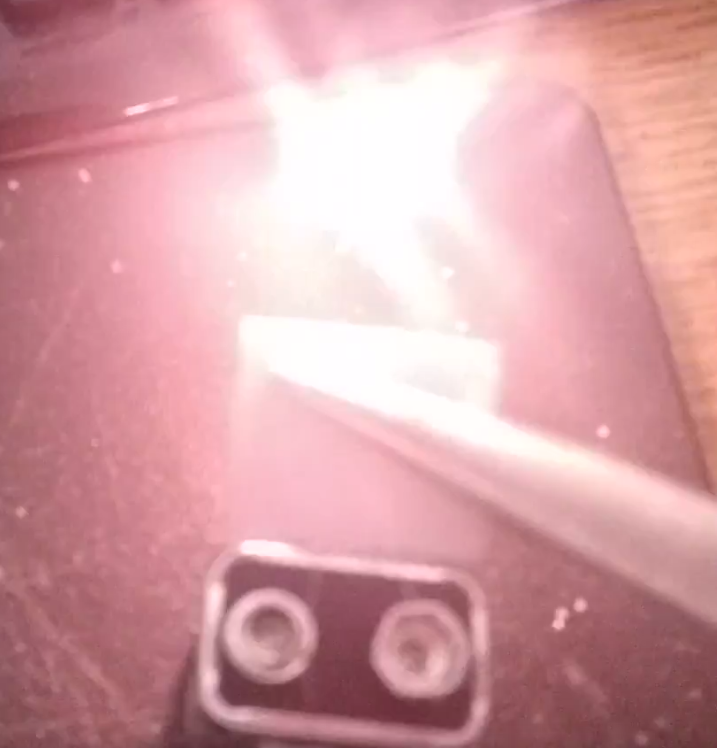
Also, I've been playing around with ignition methods. I finally found one that worked. A small length of nichrome wire, bent into a loop at the end, dipped in clear nail polish, and then coated in a bit of ground up matchhead paste works reliably and is pretty cheap to make. Two of them can be ignited simultaneously with a single 9v battery
-
Prototype Tractor Rocket II
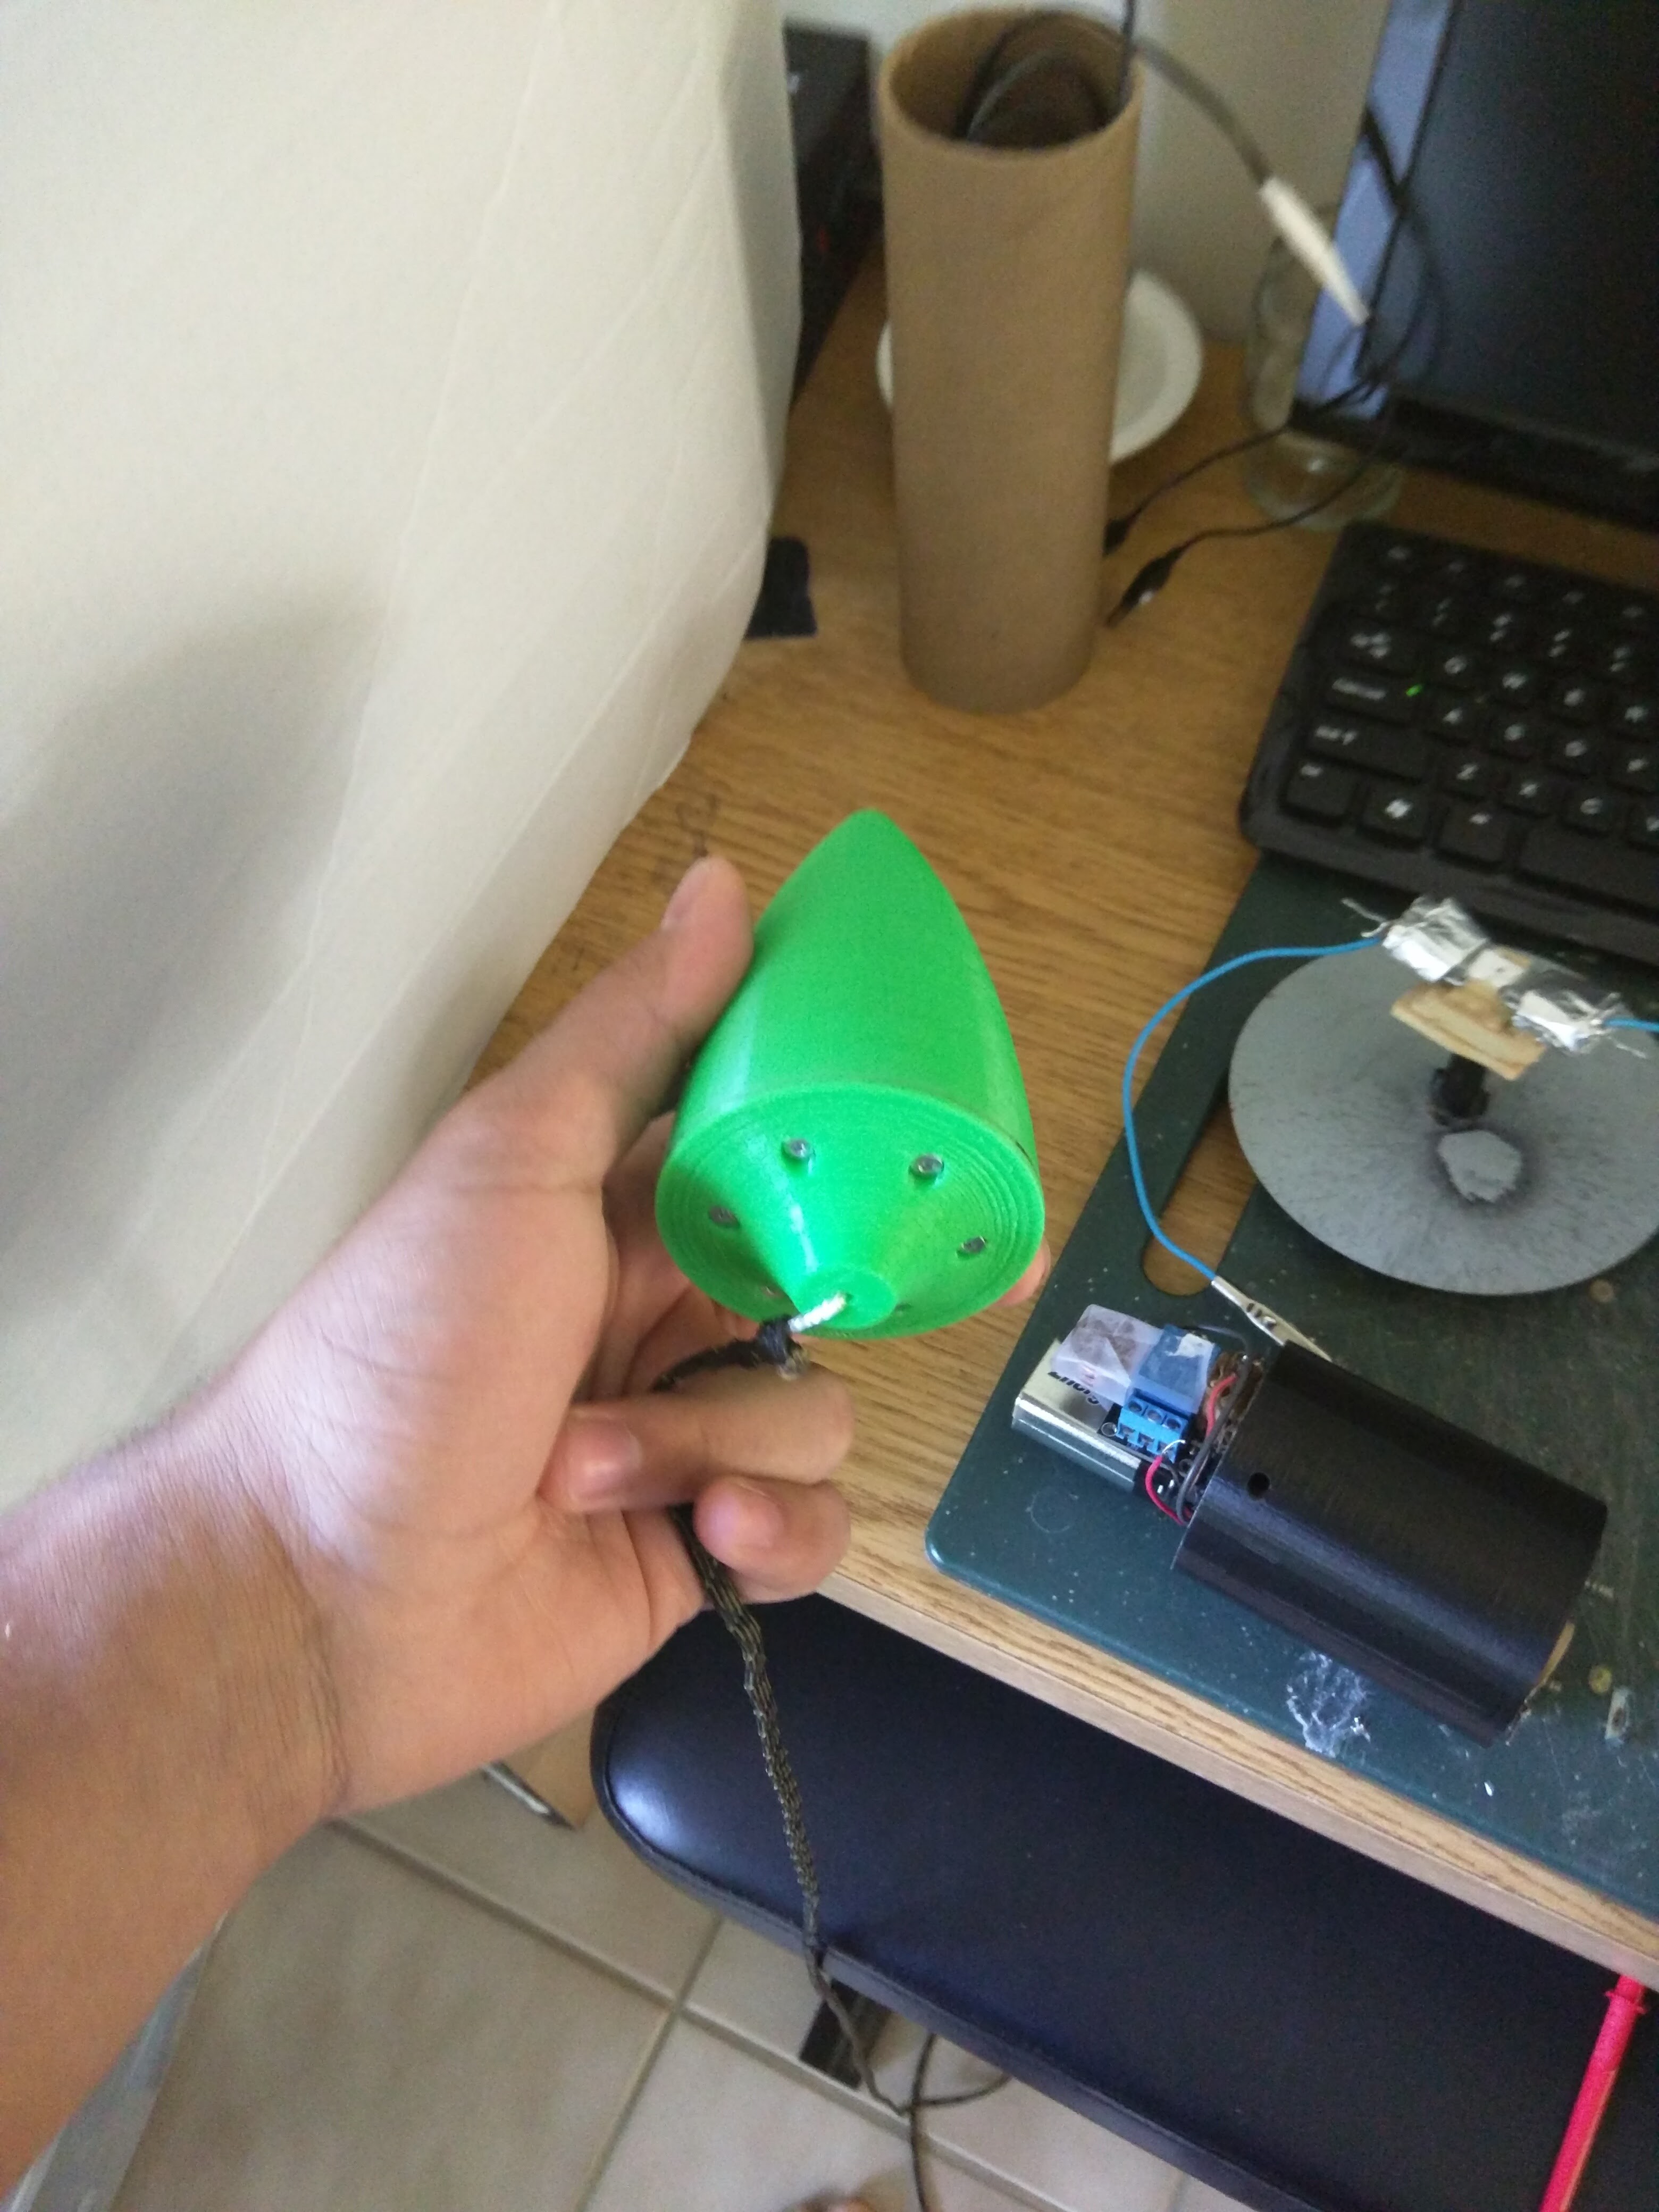
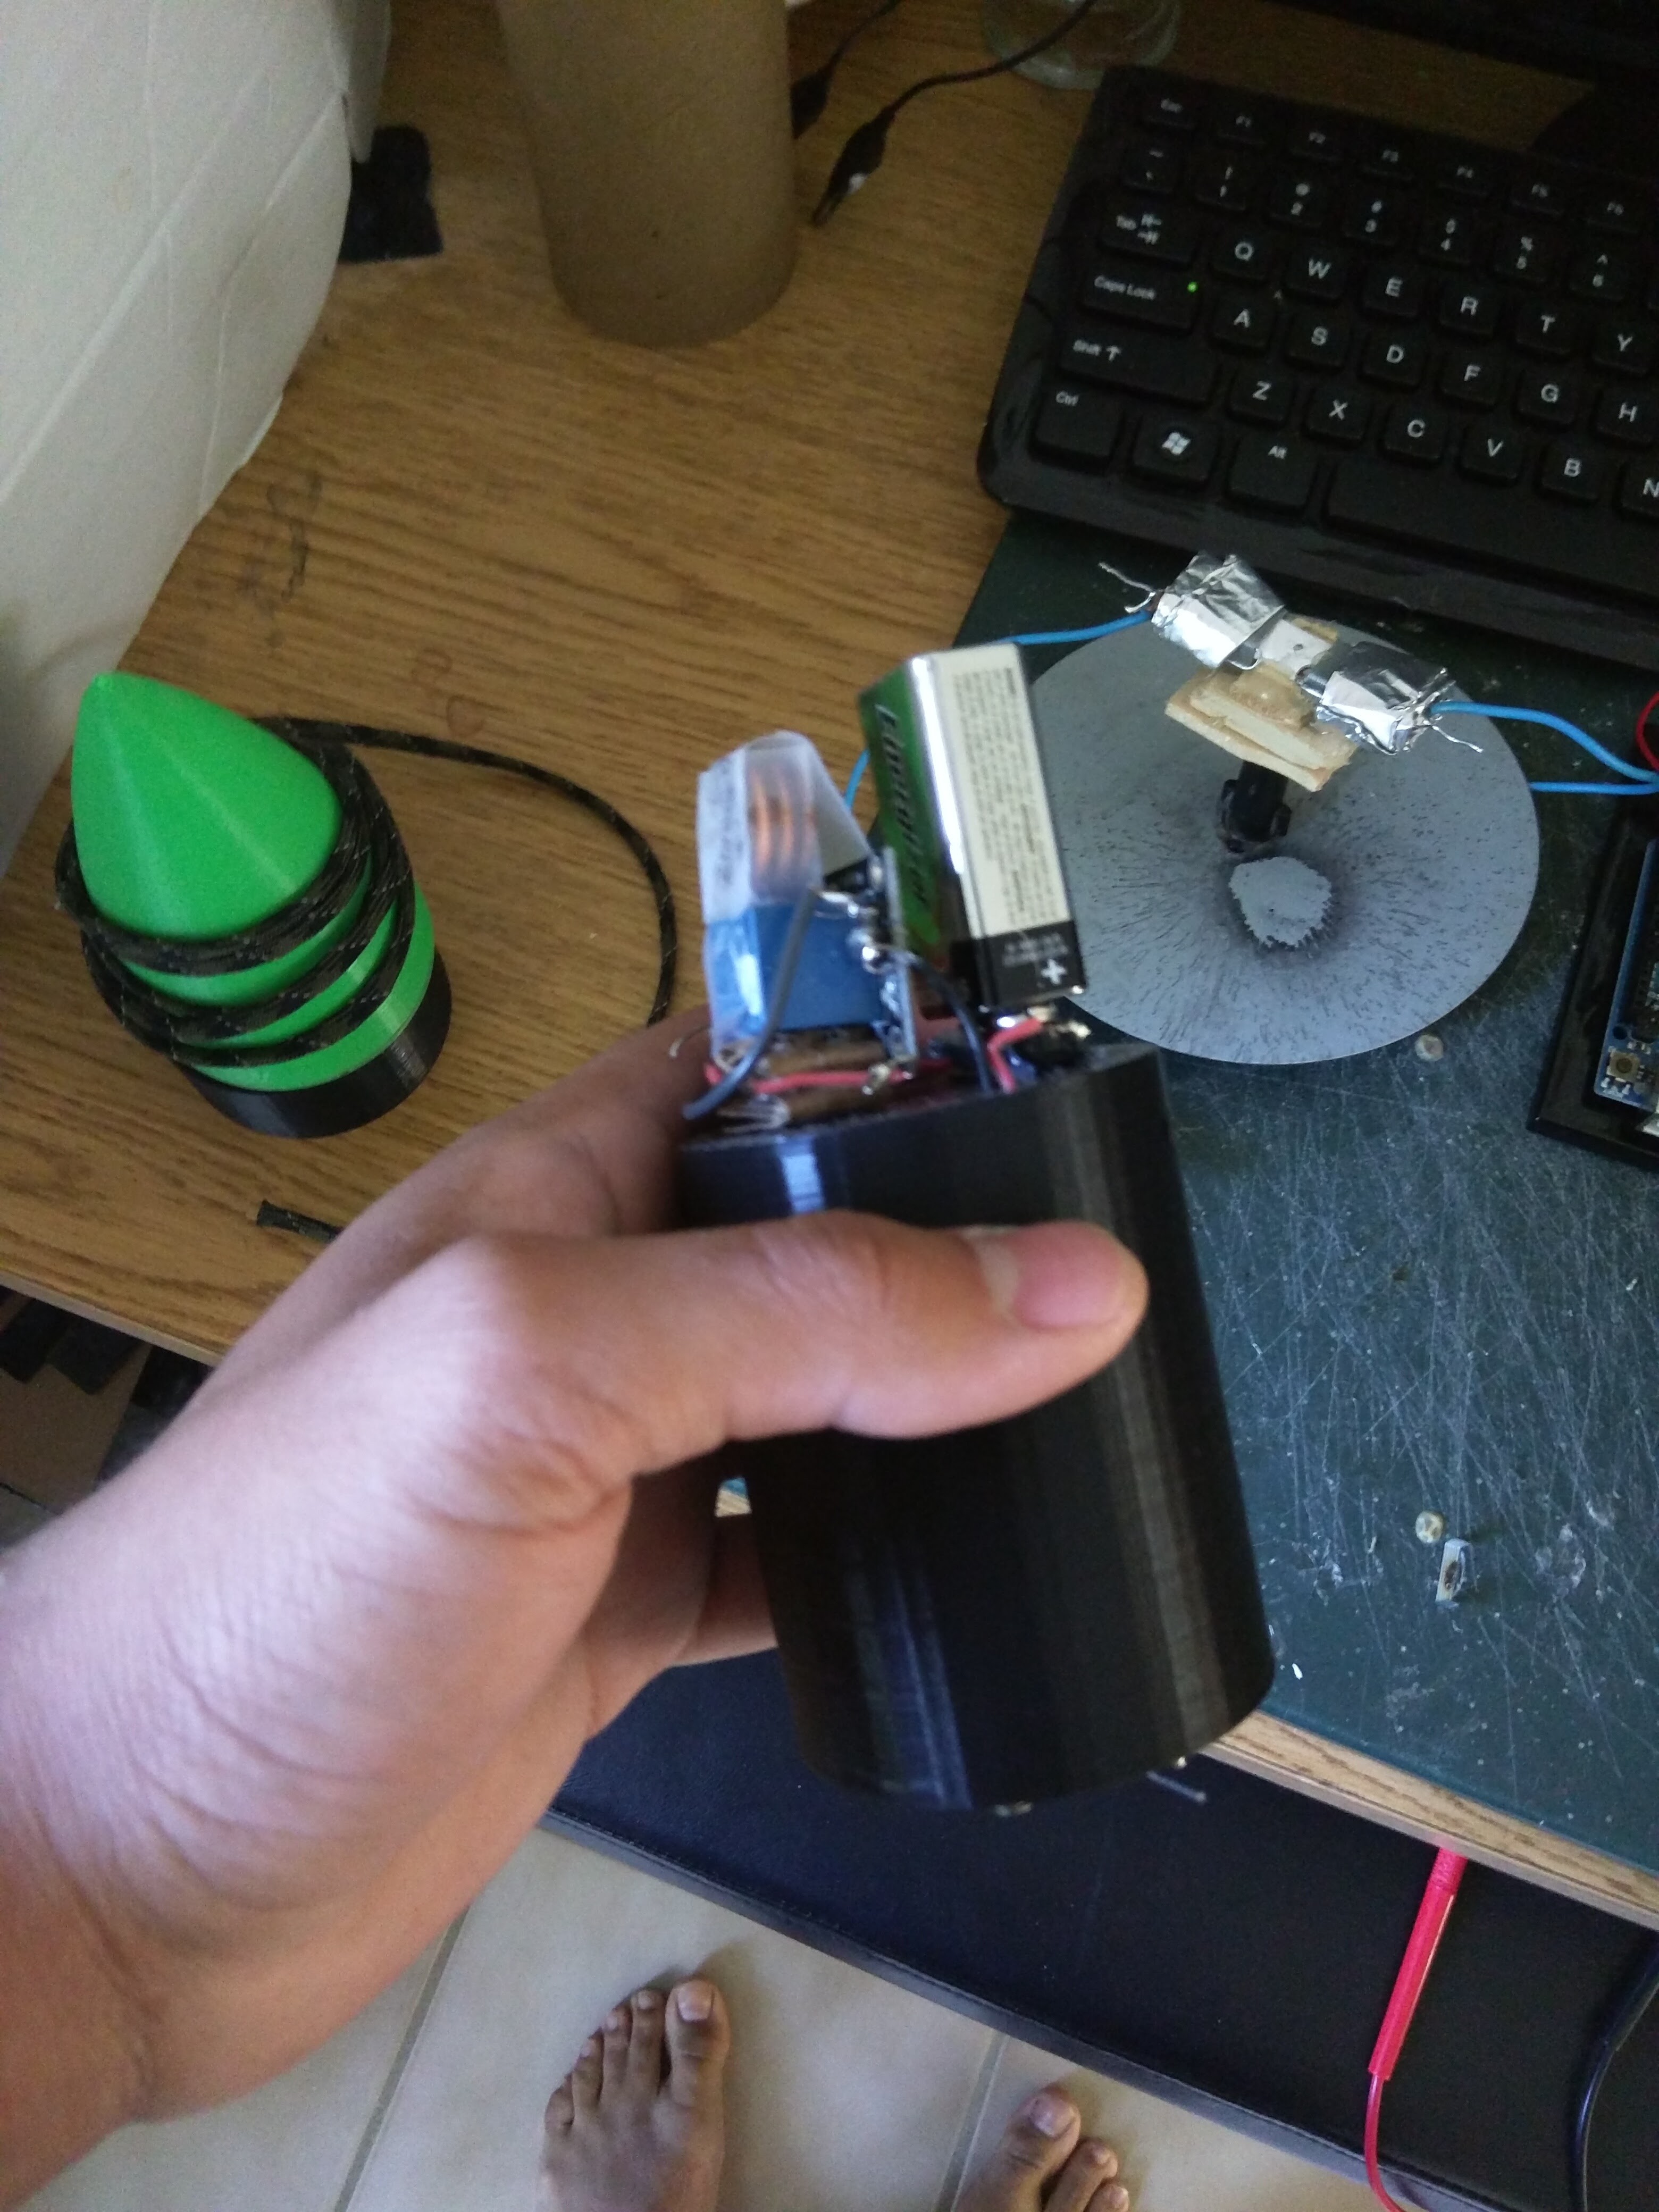
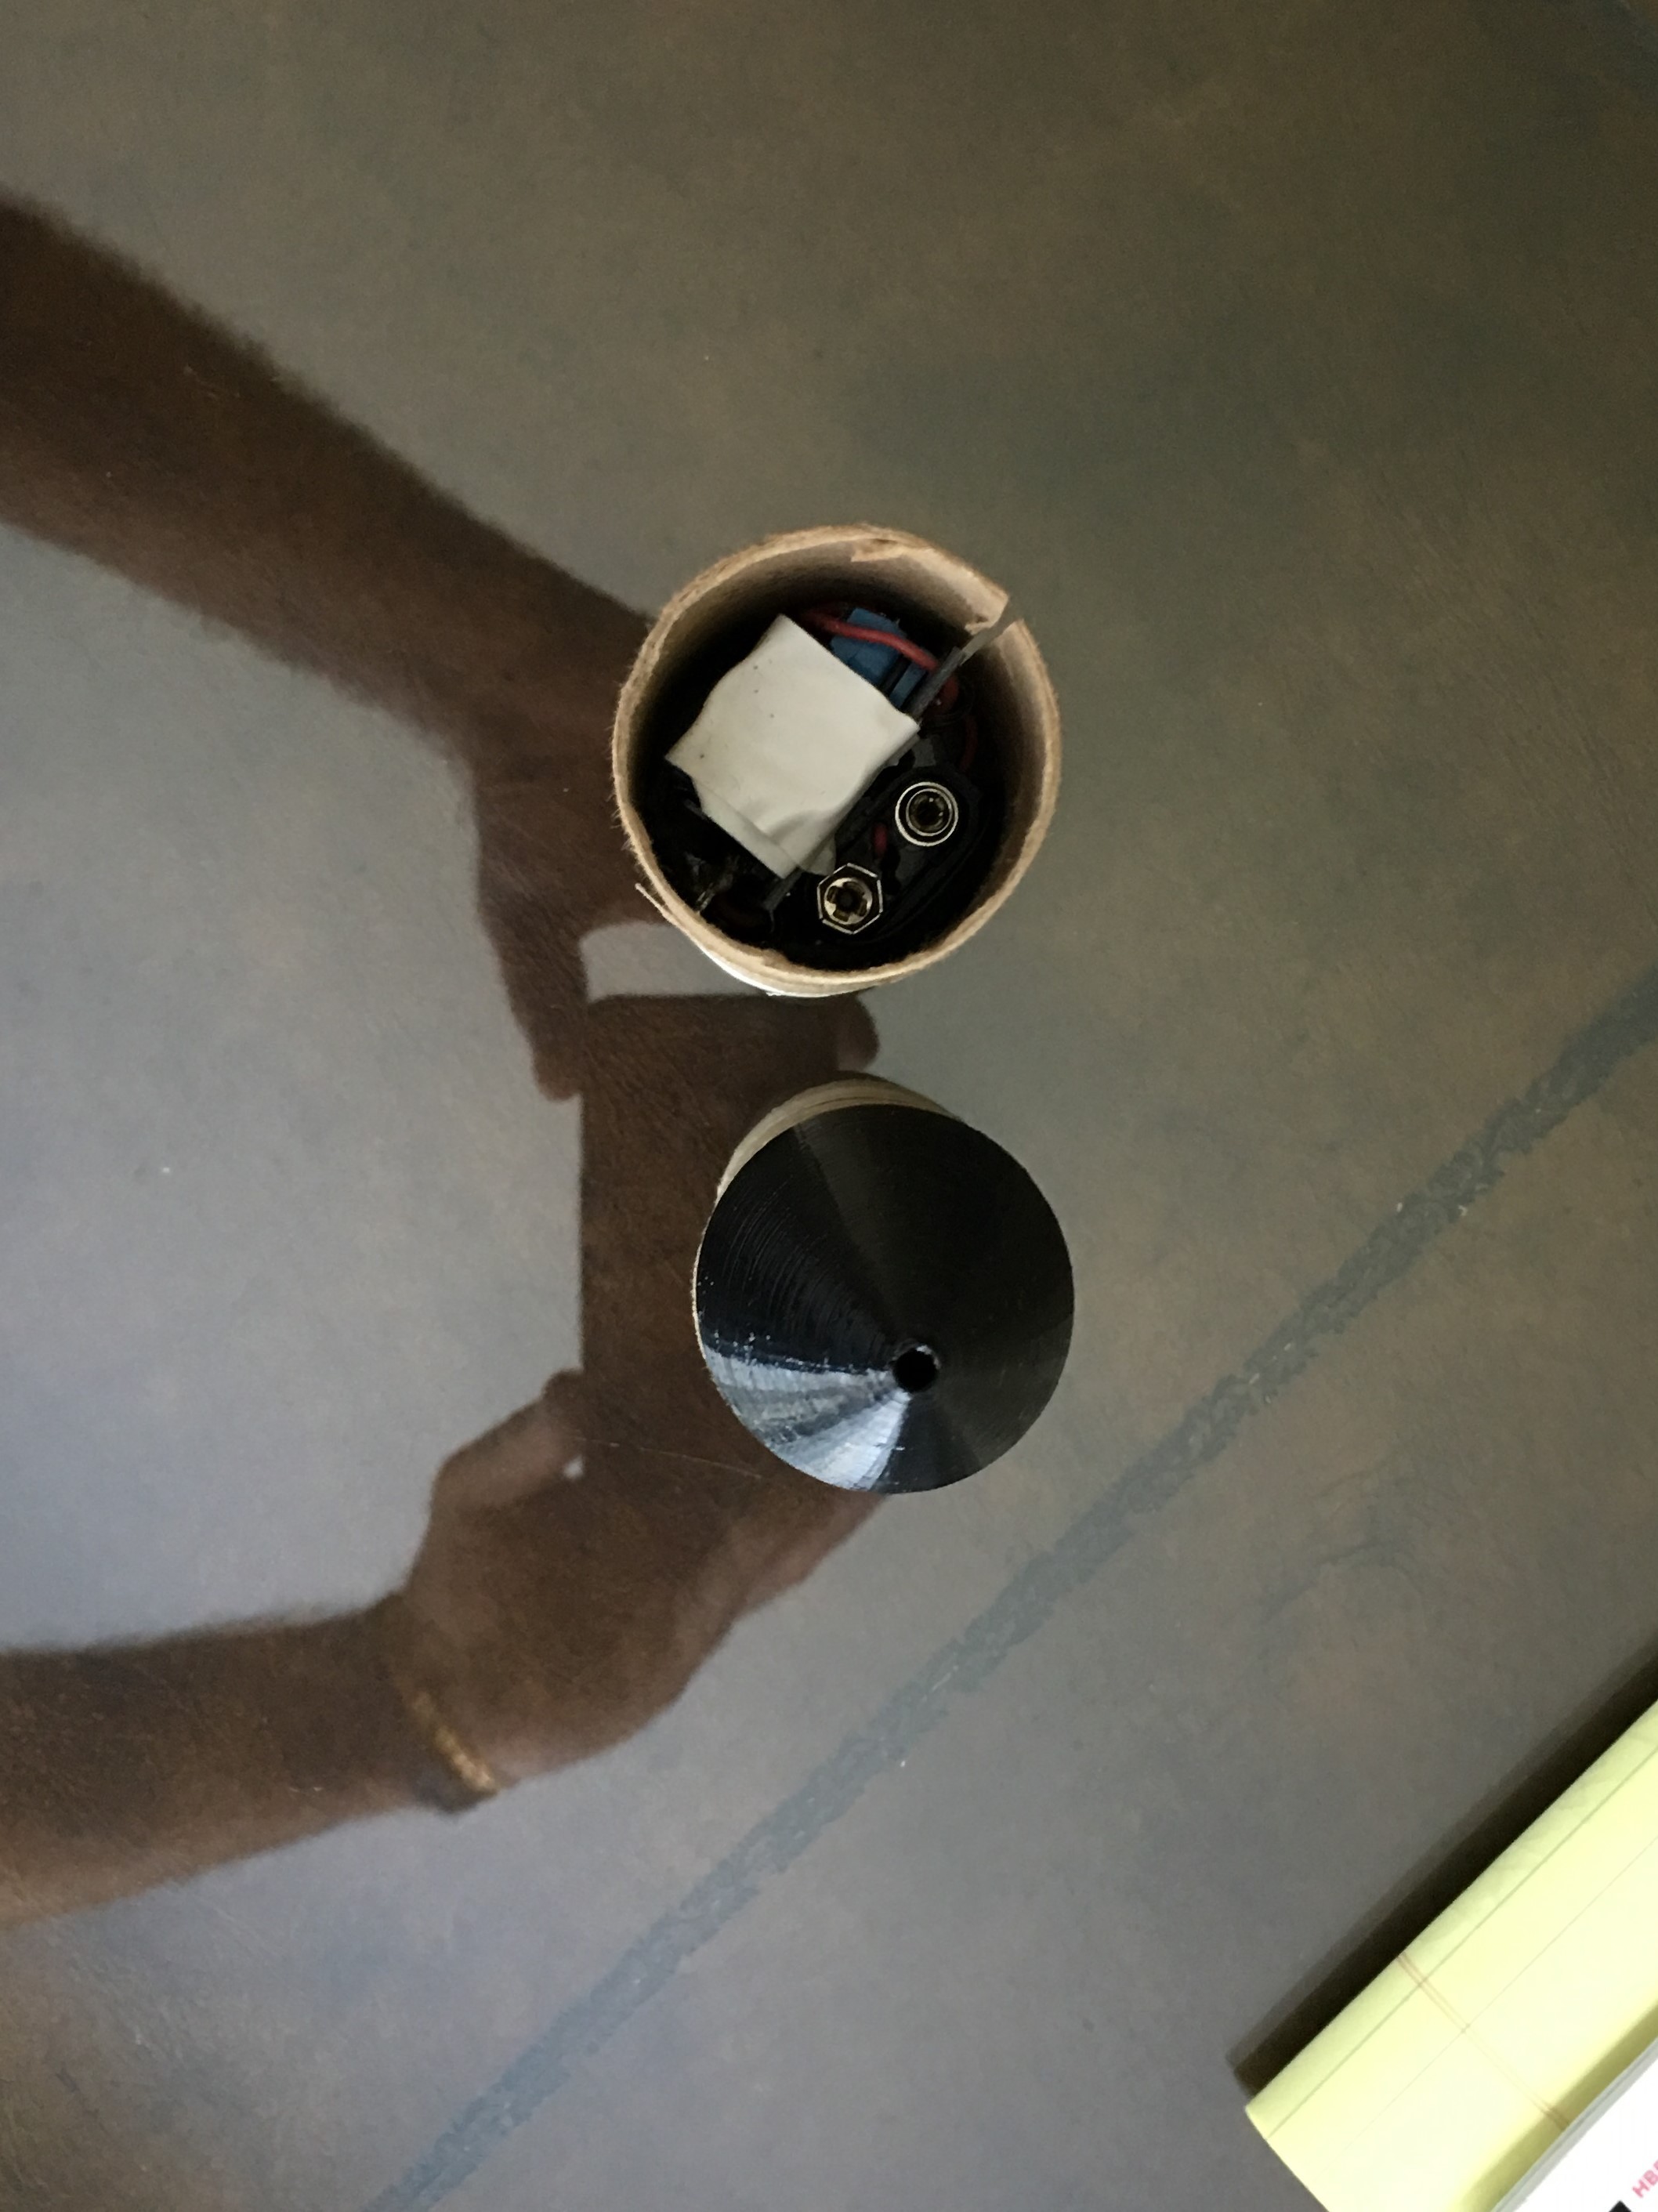
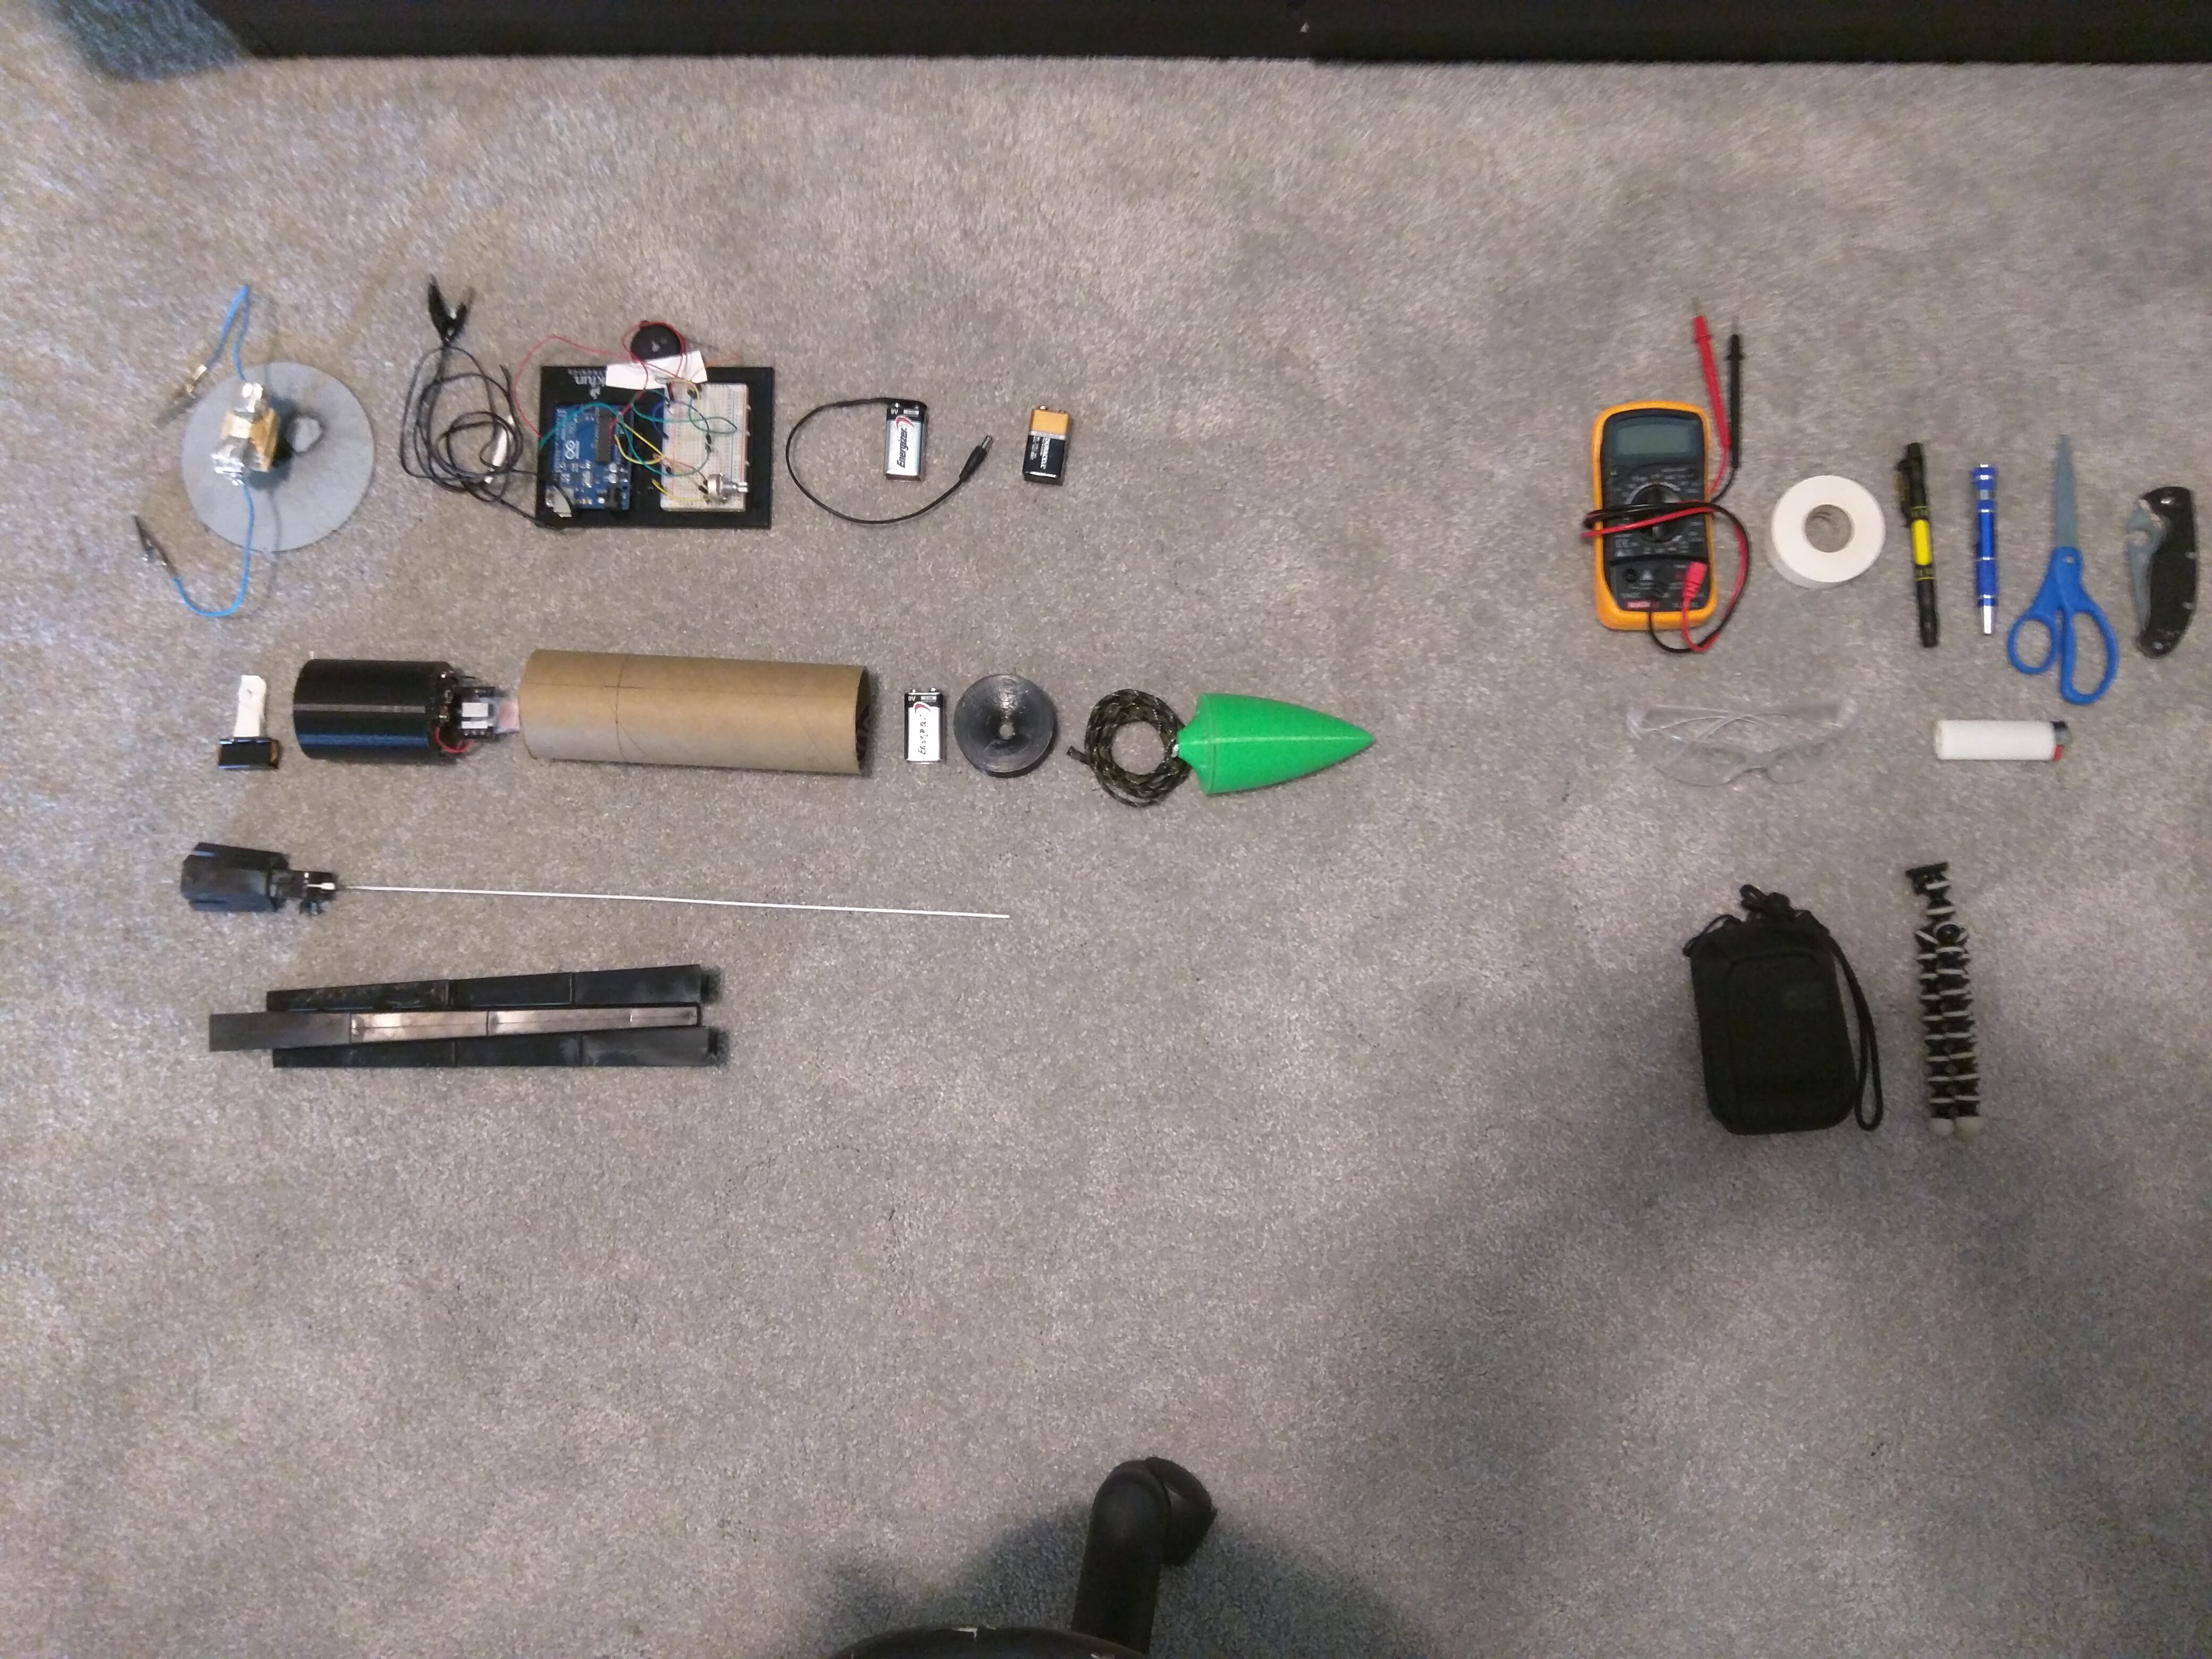
06/27/2016 at 00:39 • 0 comments![]() I've iterated on my tractor rocket from last time. First of all, I'm using a larger shipping tube I got from work as the rocket body, and I've incorporated a safety mechanism into the the ignition system. I've also made the contact pads on the launch pad removable, so that they can be disposed of after being covered in sulfur.
I've iterated on my tractor rocket from last time. First of all, I'm using a larger shipping tube I got from work as the rocket body, and I've incorporated a safety mechanism into the the ignition system. I've also made the contact pads on the launch pad removable, so that they can be disposed of after being covered in sulfur.The main incremental change in this prototype is that there is a ball bearing press fit into a cavity in the nose cone, with paracord suspended from the center. This allows the paracord to rotate independently from the rocket. The cord runs through the middle of the rocket, where is suspends a small test mass below. The idea is that the camera can be attached to this part of the rocket, preventing the camera from spinning as it records footage.
![]()
![]()
![]()
![]()
During the launch, only one of the rocket motors ignited. The spinning worked, the nosecone caught at the coupling, but then the test mass caught onto the bottom of the launch pad, and the lopsided thrust caused the rocket and the launch pad to fall on its side until the engine burnt out.
At least the rocket came out unscathed and will live to fight another day.
With regards to the design, I'm thinking about going back to the drawing board. I am now looking into a single gimbaled engine for stabilization. With a single engine, the ignition would be more reliable, and could be done externally. With no spin, I could ditch the whole pendulum rope thing and put the entire payload inside the rocket.
However, gimbaled thrust will provide plenty of its own challenges.
Despite this setback, the fortune cookie I ate today was inspirational, so I'm gonna keep on keeping on.
-
Prototype Tractor Rocket Launch
06/21/2016 at 00:42 • 0 commentsThis weekend, I launched the prototype tractor rocket! It didn't go exactly to plan, but overall, it was a success, as I learned a lot.
I was previously having some issues with the igniters. Simple fix was to just wire the two igniters in series instead of parallel. This is a little less reliable, but it worked when I tested it, so I decided to go with it.
The relay I was using had 3 pins. One for ground, one for power, and one for input. I bridged the input and power pins together so that the whole thing could be activated by simply applying power and ground. This worked, except it meant that when power was lost, the switch in the relay would open up instead of remaining closed. This is a problem because the switch needs to stay closed at least until both engines are burning. To resolve this, I connected the igniters to the second output on the relay, so that the switch would close when power was cut to the relay. By doing this, I could keep the switch closed even when the rocket left the platform. The problem is that the rocket is prone to launch itself unless power is being applied to the relay. Again, this could be a problem, but it seemed the easiest and quickest solution at the time.
On the morning of the launch, I set up the rocket, turned on the arduino to apply power to the rocket, attached the battery, and slid on the nose cone. The rocket ended up launching prematurely. The rocket's flight went pretty well, but after examining footage, I think that the engines lit at slightly different times, leading to a slight arc in its path.
Overall, I was happy with the launch. I learned that spin stabilization works, that ignition timing is important. and I should be more responsible with rockets.
-
Prototype Tractor Rocket
06/12/2016 at 22:20 • 0 commentsI've begun to prototype the rocket, and thanks to my friend Erica, I've learned that fins won't do much to stabilize the rocket in a low pressure environment. That being said, the two options of stabilizing the rocket are a computer-controlled nozzle or by spin-stabilizing the rocket. I've decided that a computer controlled nozzle on a solid rocket engine will be tricky, so for now I'm trying a spinning rocket first.
I 3D printed a engine housing that holds two rocket engines, both angled 5 degrees from each other. I'm hoping that this slight angle will be enough to impart spin on the rocket. The engine housing also has some holes for the igniter wires to go through, a center hole for the launch rod, and a couple places to place springs. The springs will be used to make electrical contact with the launch platform. I want to place the relay and battery inside the rocket, so that if one engine ignites first, the other one can ignite even after leaving the platform . I'm hoping they will both still light before leaving the launch rod though.
The body of the rocket is made of stacked toilet paper tubes. These are cheap, light, and by stacking them, I can take the rocket apart if need be.
After messing around with this for a few days, I 3D printed a nose cone and I also added vents for the ejection charges on the the rocket engines. The goal of the rocket is to test the spin stabilization, not recovery. There is no parachute, and I need to direct the charge outside of the rocket to avoid destroying the relay or causing a fire. The relay might break in the fall, but I'm willing to take that risk to accelerate the prototyping process.
![]()
![]()
Did a test launch today and the engines failed to ignite. I tested the wiring with a multimeter beforehand, so I believe the circuity was fine. I had some successful tests with overheated resistors beforehand as well. I think the issue probably lies in using two igniters with a single 9v battery. Not sure what the current required for these igniters was, so without being able to do the math, I just kinda winged it. I couldn't do tests with the Estes igniters because they don't give you extra igniters in the rocket engine packs. I will try to see if I can find the numbers I need to do the math, make my own igniters, or find a way to buy official igniters separately so I can do more tests before the next launch.
-
808 #11 Camera
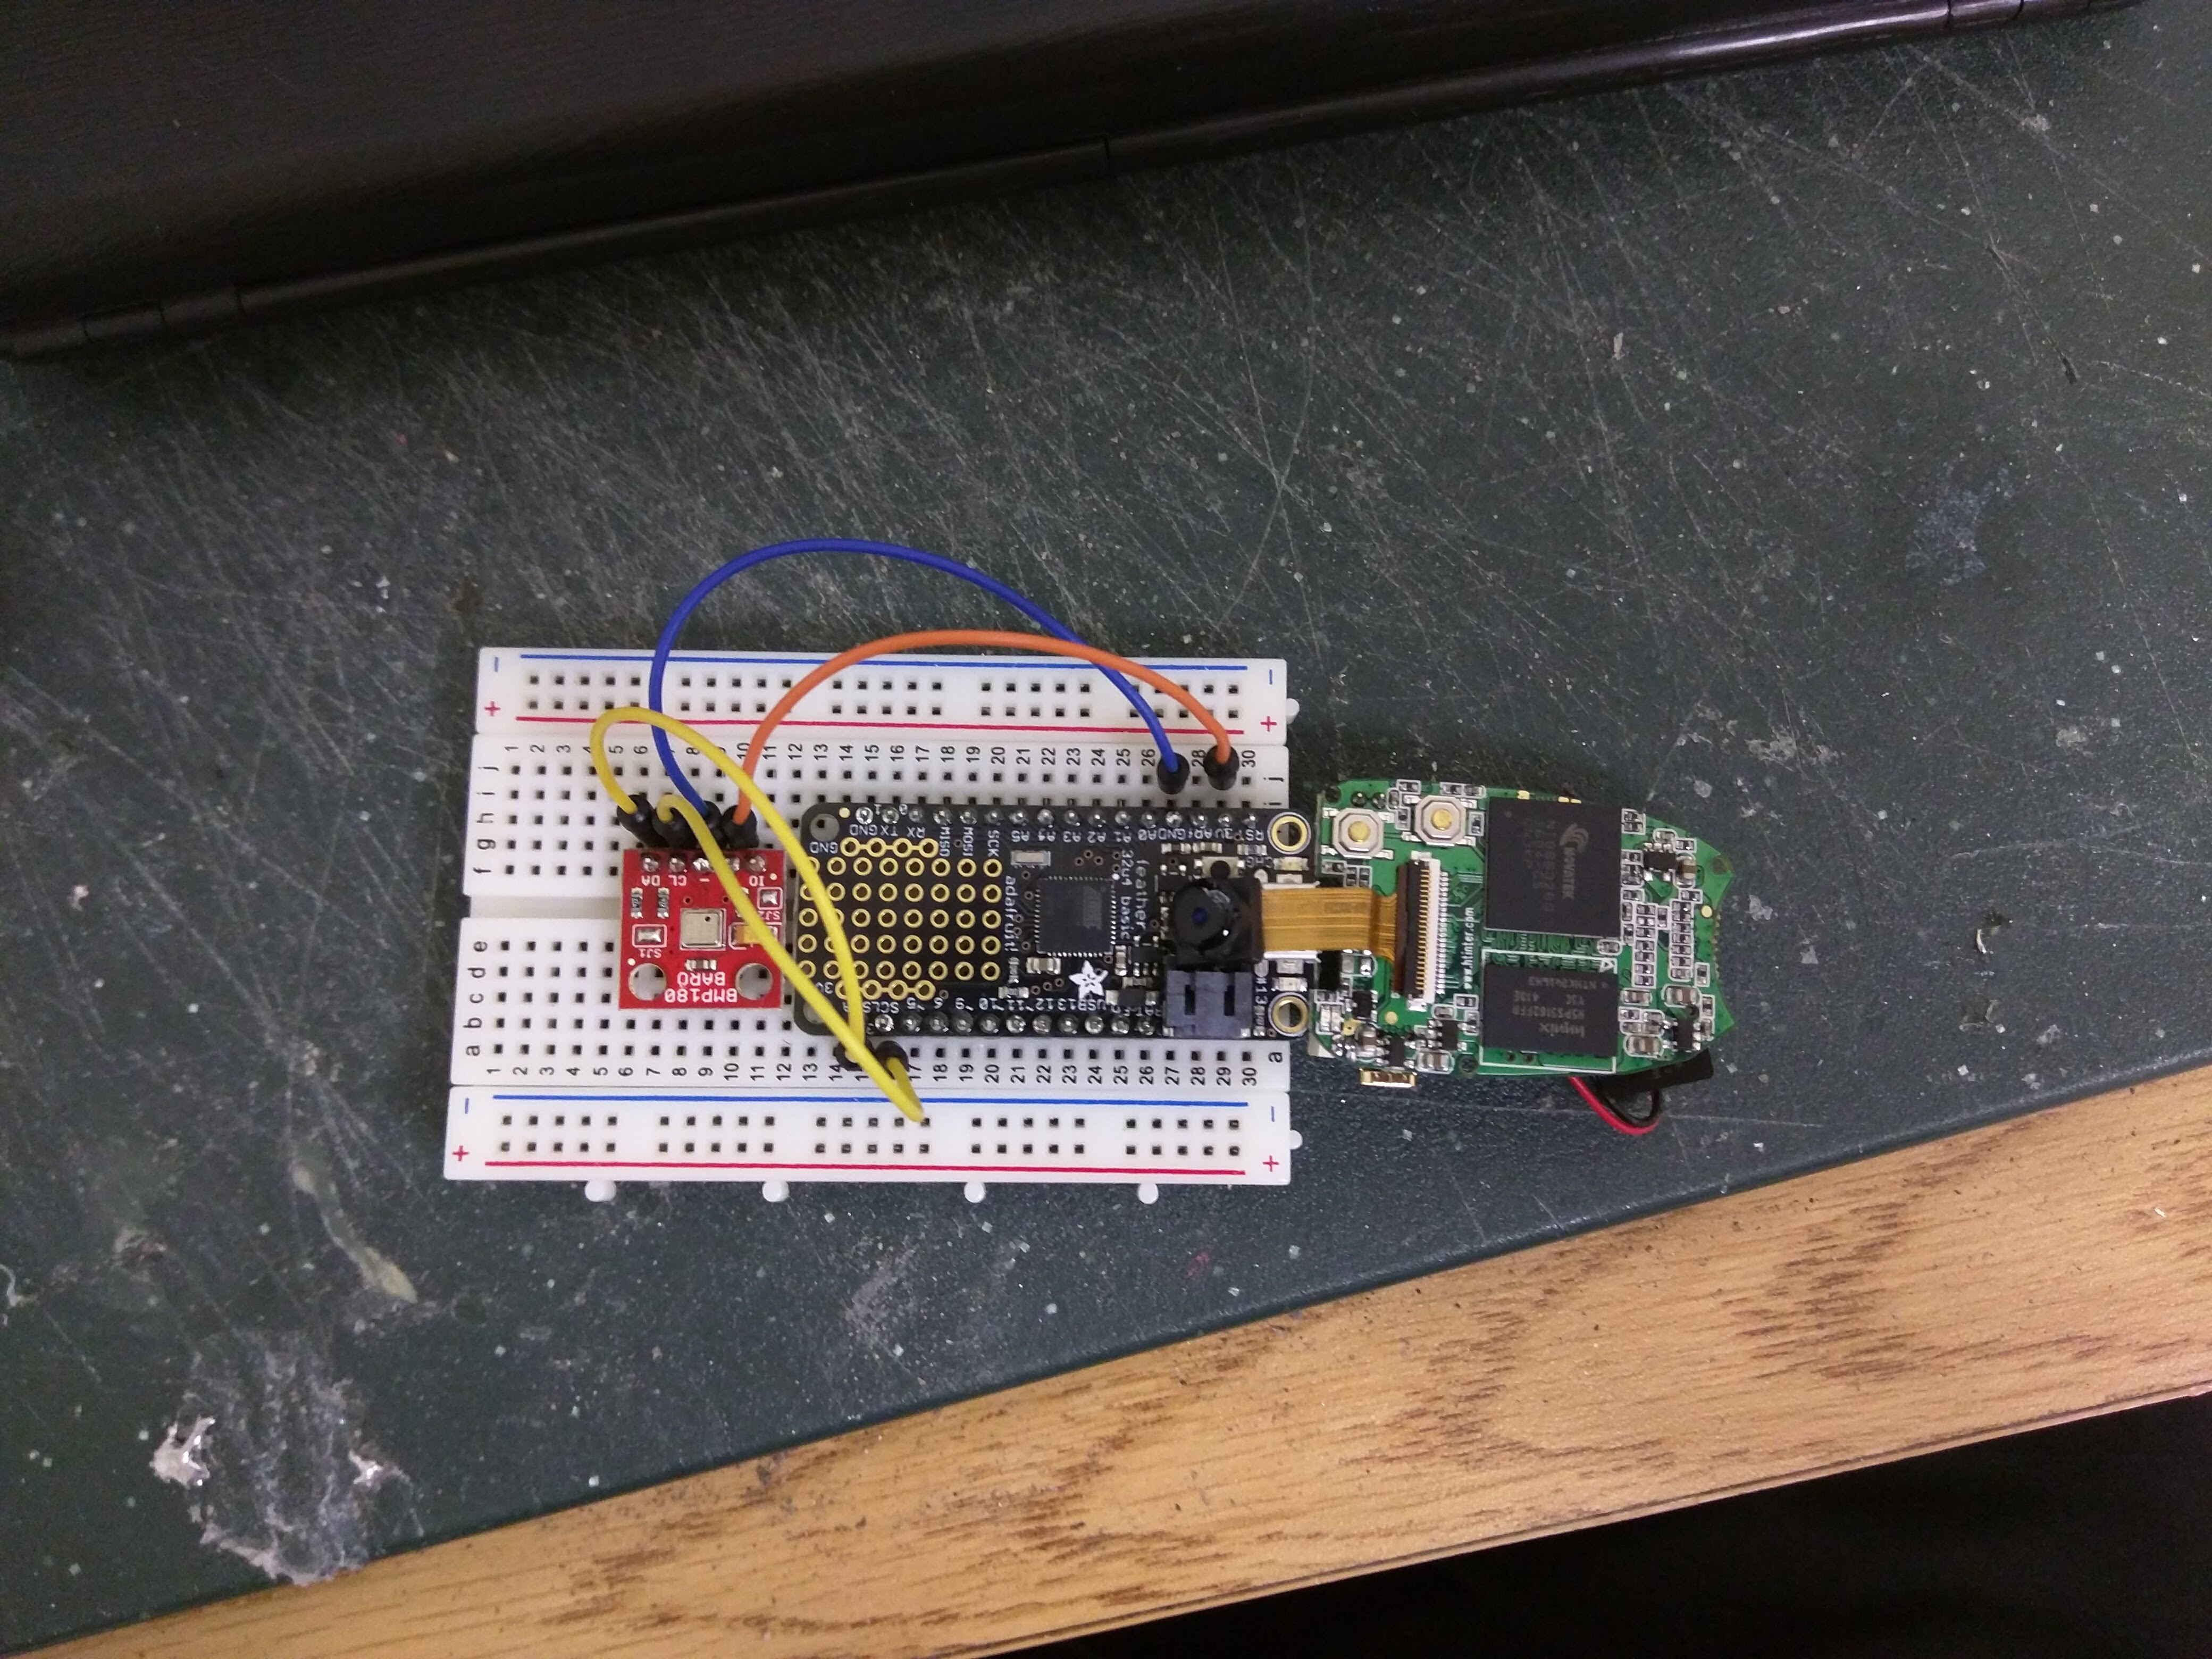
05/27/2016 at 03:48 • 0 commentsI've disassembled an 808 #11 camera today and tested it's recording capabilities. This thing is tiny. The videos are coming out tinted a bit yellow, but I'll see if it looks better in a better lit environment. All of the electronics together look pretty sweet, and I'm thinking, based on the shape, that the camera pcb could go inside of the nose cone. The 808 camera is powered by a 3.7v battery, as is the arduino feather, so I will be able to power them with the same source. I was hoping I could test that today, but the JST connector on the camera is a different size. This shouldn't be a problem, because I'll need 2 connectors anyways.
![]()
-
Arduino Feather Proto
05/24/2016 at 03:31 • 0 commentsToday I've been messing around the Ardunio Feather. It's small, light, and it looks mad clean next to the barometer.
![]()
-
Altitude-Activated Launch Platform
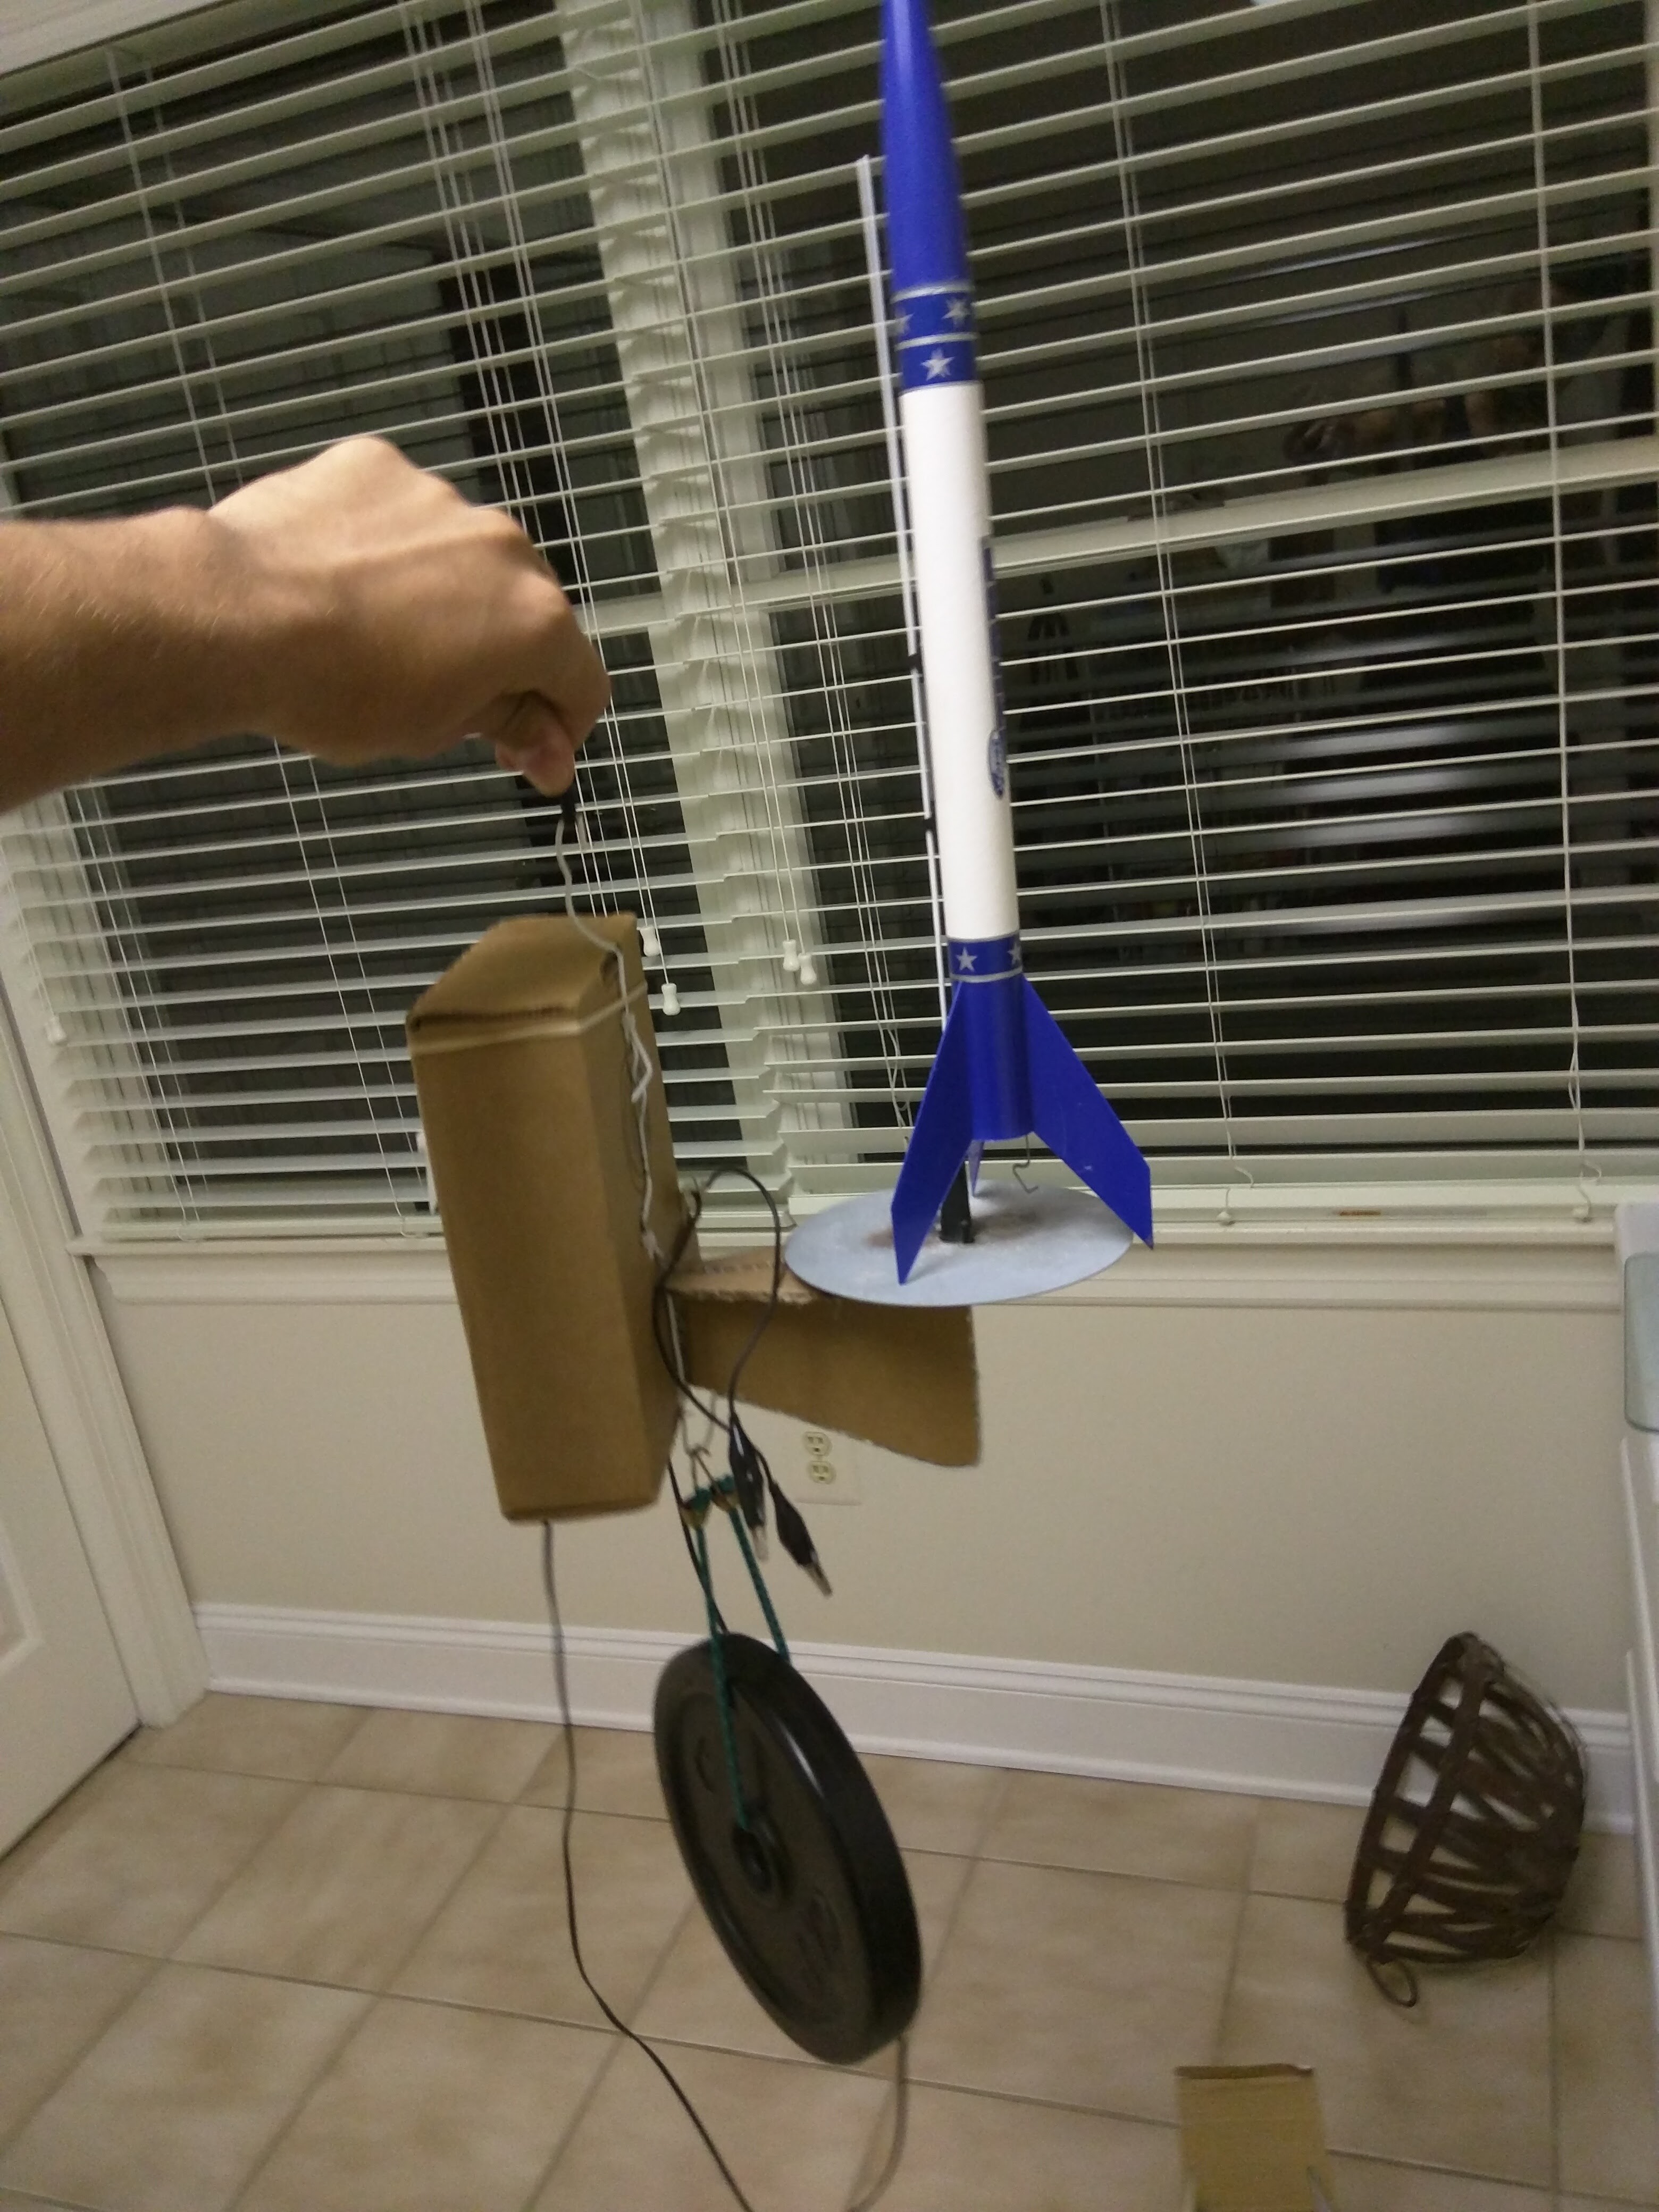
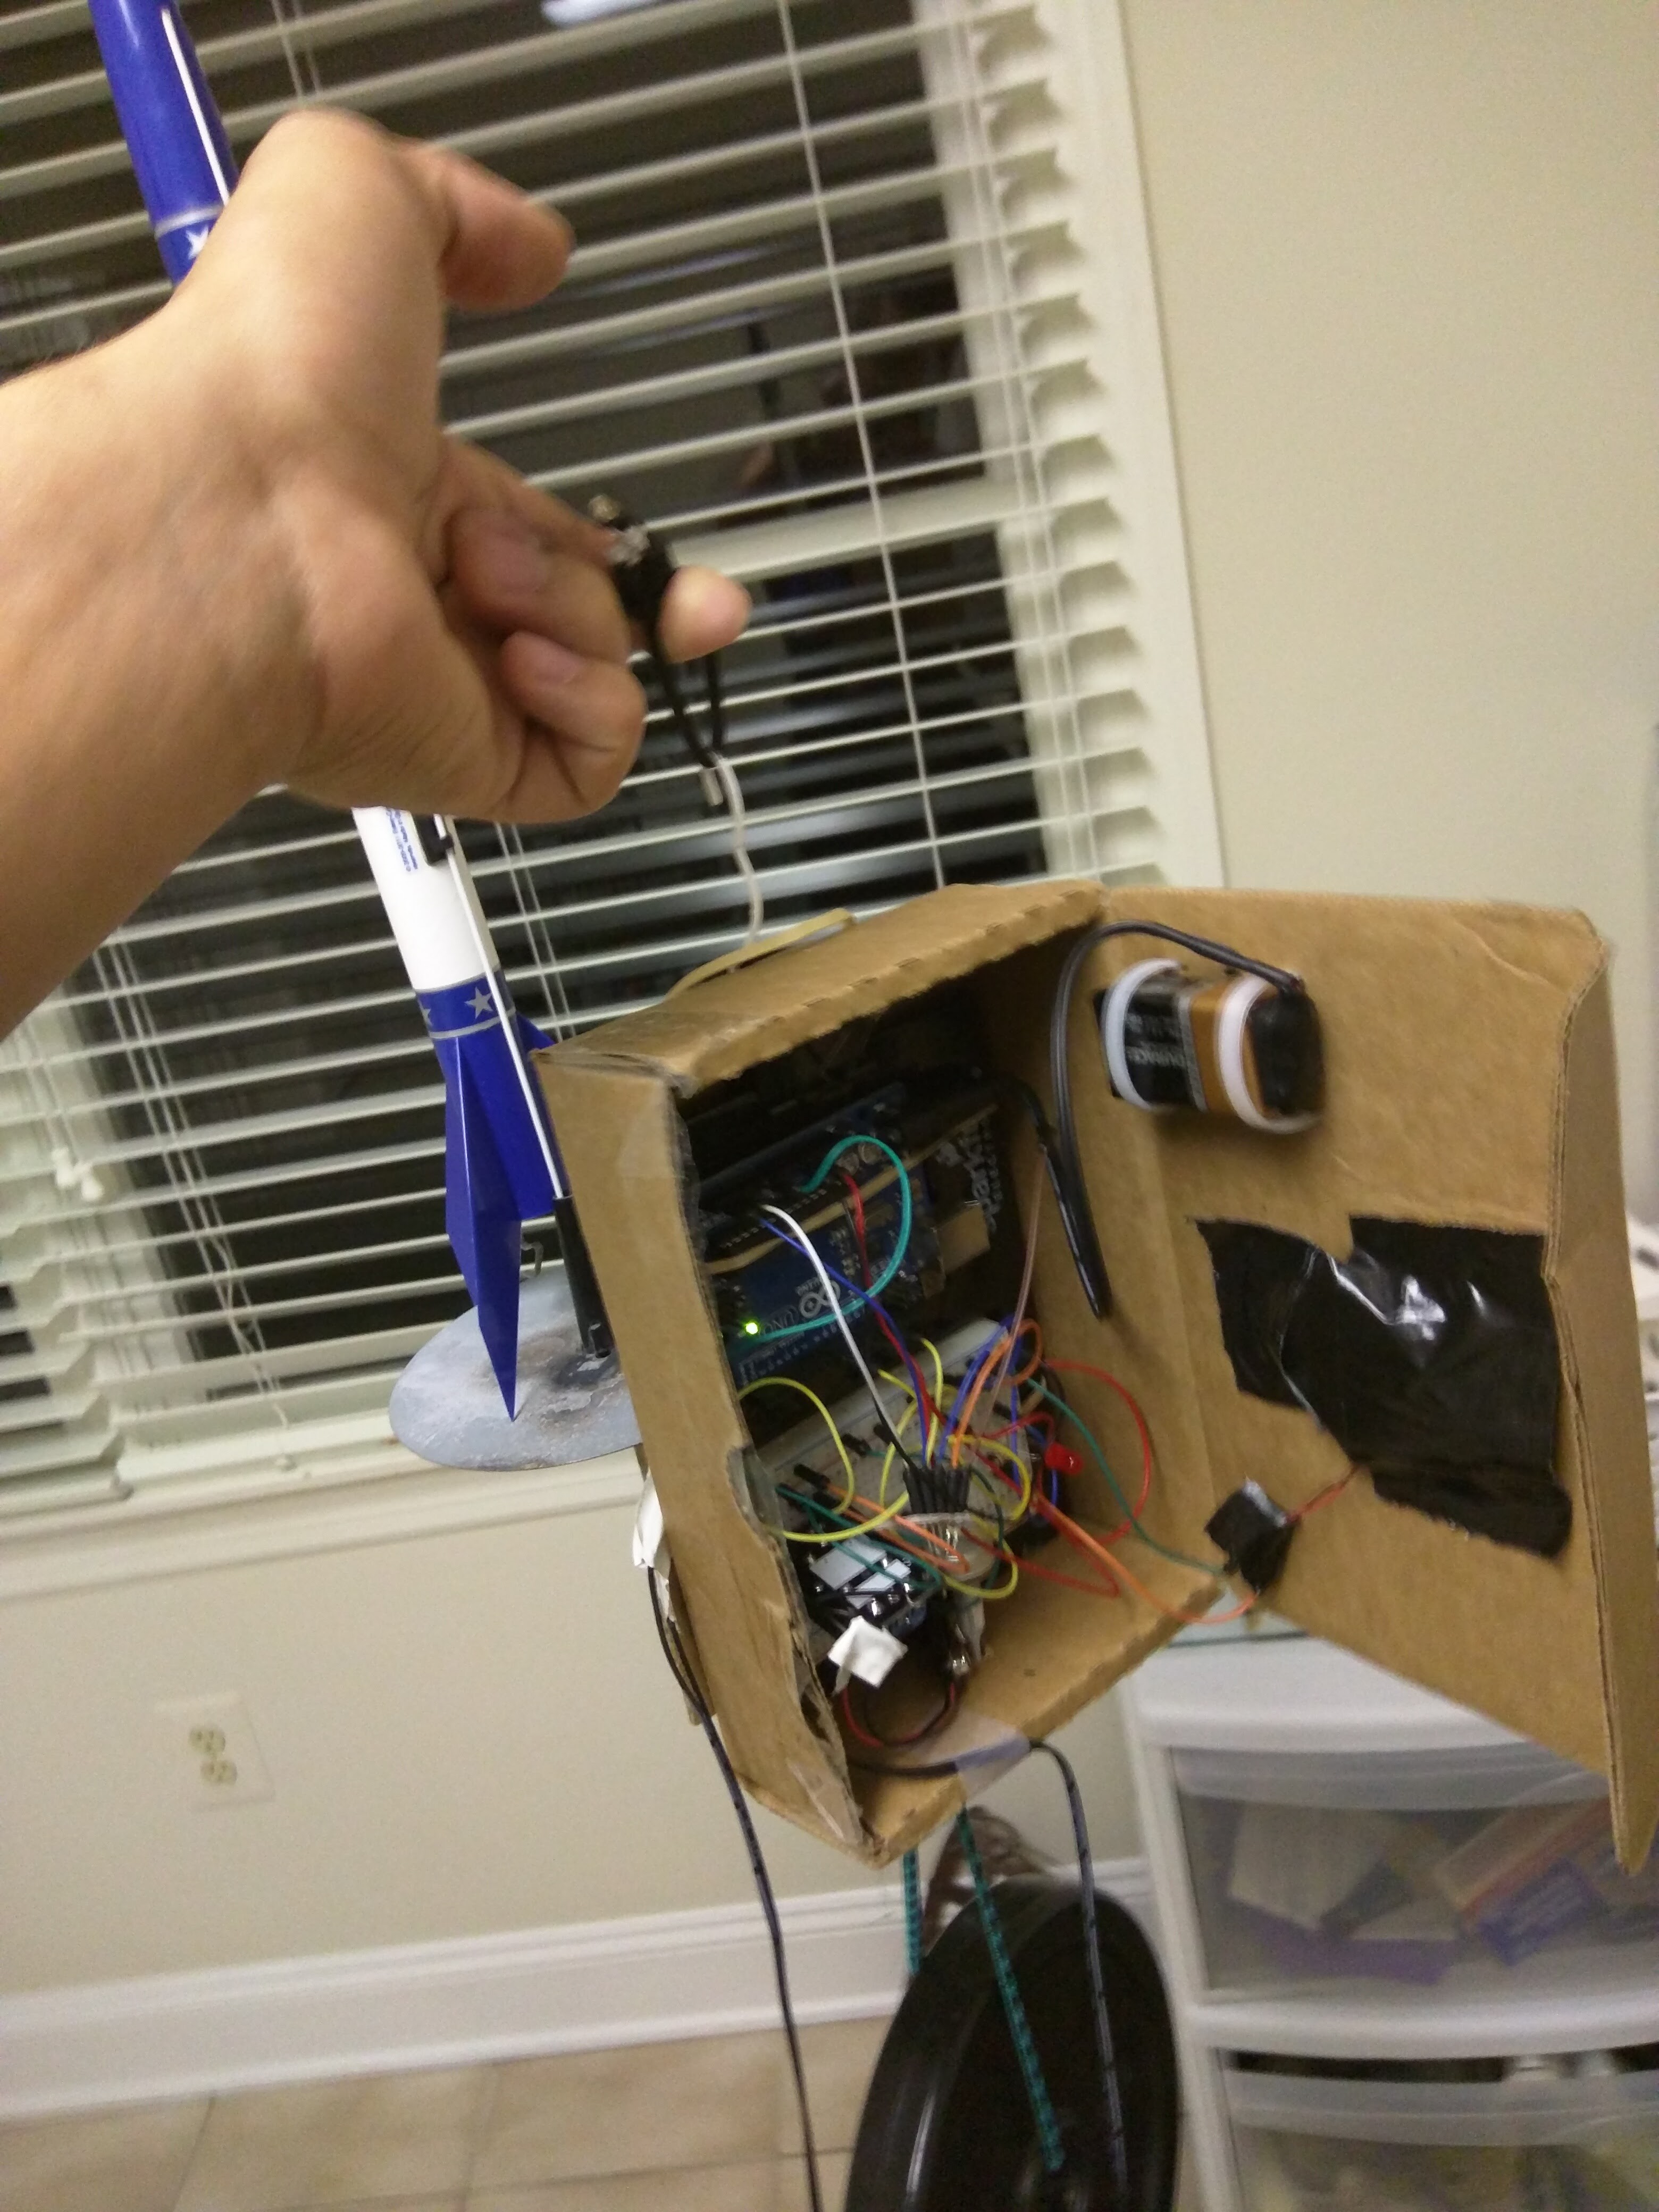
05/22/2016 at 18:34 • 0 commentsThe next goal was to get the altimeter to activate when the rocket was at a certain height, and then launch the rocket. To test this, I build an altitude-activated launch platform. I stuffed all the electronics into the box that the altimeter came in, and I attached it to a coat hanger. The hanger had a suspension point, a point to hang a stabilizing mass, and it was bent upwards for a launch rod. The whole thing was suspended from paracord coming from a rake at the top of a ladder. A broom handle was used to prevent the platform from rotating.
![]()
![]()
The planned launch day had to be postponed because of the rain. It worked out quite nicely, however, because after testing the platform in the garage I realized that the wind was seriously screwing up the barometer readings. I ended up needing an additional Sunday afternoon/evening to figure out how to use some coding to prevent this. Realistically, this shouldn't be a problem for the final project, because if the altitude reading is off by a few meters, it shouldn't be a big deal. However, for the purposes of this test, where the change in altitude was only 1.2 meters, it had to be fixed. The code took more accurate baseline readings by allowing you to close the cardboard box first, then averaging together 10 consecutive readings taken with a second in between each reading. In order for the launch code to run, the altimeter had to read 8 consecutive and acceptable altitude measurements, with 4 readings being taken every second.
The planned launch day was beautifully sunny, relatively not windy, and a nice 65 degrees F. It seemed like the universe was on my side today.
During the first launch, I lifted the rocket on the rig, the altimeter activated, the buzzer beeped, and the igniter ignited. I saw a flash from the match head, but no rocket engine ignition. I believe that this is due to the position of the igniter in the engine. When I bore out the hole in the engine, I only widened the nozzle, not the hole in the propellant, preventing the igniter from getting deep enough inside of the rocket.
I tried again with a stock Estes rocket igniter, and it worked like a charm. Altimeter activation was functional, but the homemade ignition is going to need more work.
-
Initial Barometer Programming
05/22/2016 at 18:11 • 0 commentsIn the final version of this project, the rocket will have to know its altitude in order to launch. For this, I'm using a combo barometer/thermometer from sparkfun. They included nifty libraries that do all kinds of math for you allowing it to be used a an altimeter. When it arrived in the mail, I spent an evening trying to get the thing working and taking reliable readings.
![]()
Project Rockoon
Actively stabilized model rocket by means of a motor gimbal, originally designed for launching a rocket from a high-altitude weather balloon
 Julian Costas
 I've iterated on my tractor rocket from last time. First of all, I'm using a larger shipping tube I got from work as the rocket body, and I've incorporated a safety mechanism into the the ignition system. I've also made the contact pads on the launch pad removable, so that they can be disposed of after being covered in sulfur.