Close
0%
0%

Ardubuino

an arduboy compatible DIY console

Similar projects worth following
Arduboy is an open source credit card size gaming console that has an active community not only on its software where alot of people develop their own game for the platform but also on its hardware where there are also alot of people came up with their own custom arduboy hardware.

I personally cannot afford to buy the Arduboy console but fortunately I have the Components to build one. so I came up with two prototype on a perf board and then stepping it up with my Custom PCB that I got from here. This project also a stepping stone for me because this is my first time making a PCB.

Now I want to share the fun and excitement on making this project and to give other people hope that you too can make your own console with minimum components. This project few hours to build with some basic soldering skill because all the components are trough hole components.

And also you can print your own using Ardubuino using the github link provided

Seeed Fusion PCB Assembly Service offers one-stop prototyping for PCB manufacture, PCB assembly and as a result they produce superior quality PCBs and Fast Turnkey PCBA from 7 working days. When you prototype with Seeed Fusion, they can definitely provide Free DFA and Free functional tests for you!
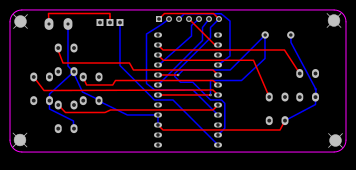
More details About The PCB::
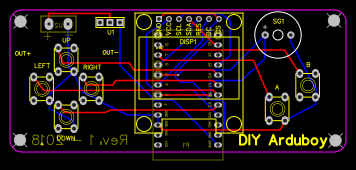
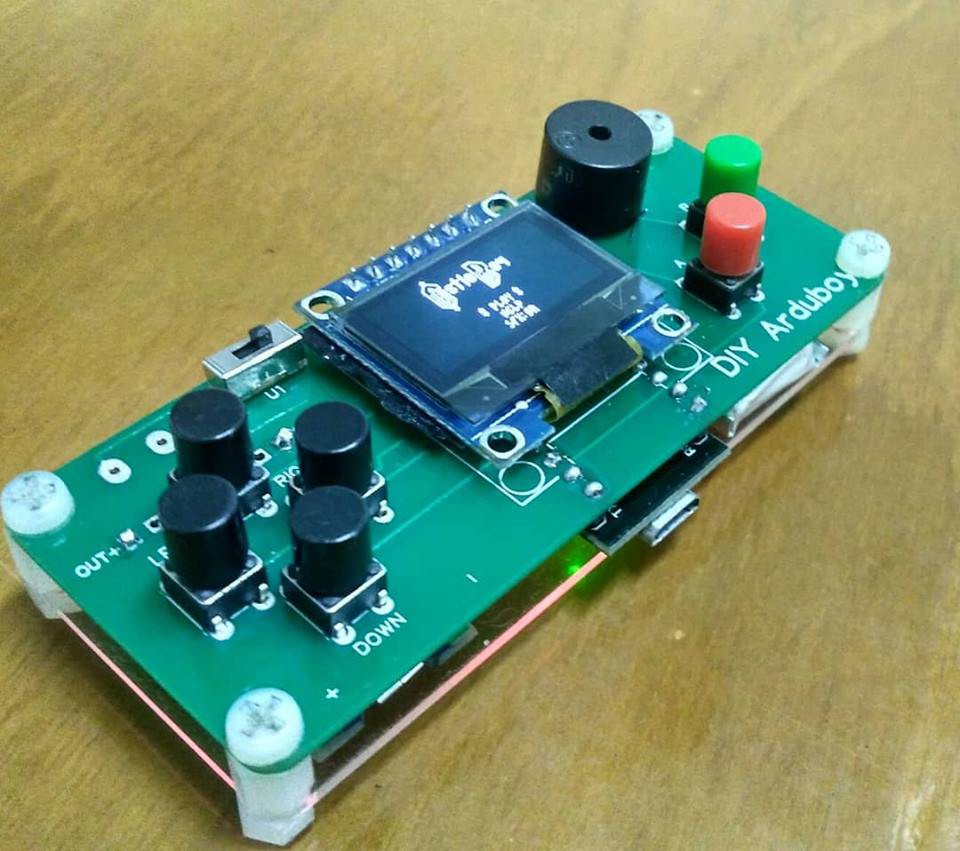
Test run the PCB and with all the components

More details about the PCB in High Res, you can check tha PDF file attached below

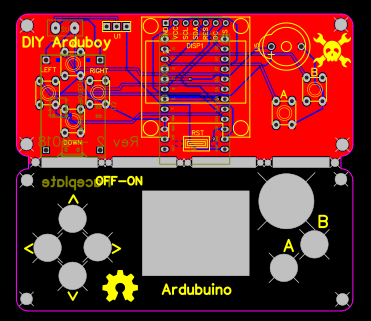
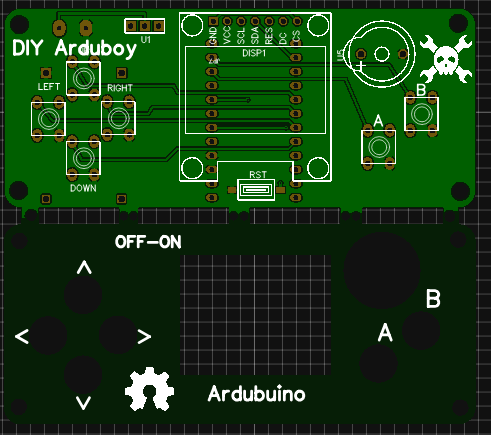
Faceplate and ardubuino PCB plan

PCB_arduboy-rev3_20180409161210.pdf

PDF for pcb in high res

Adobe Portable Document Format - 15.72 kB - 04/09/2018 at 09:21

Preview

Gerber_arduboy rev1.zip

Version 1 with no lipo charging module

Zip Archive - 48.50 kB - 04/09/2018 at 09:16

Download

Gerber_arduboy _faceplate rev2.zip

Better version with face plate

application/zip - 290.06 kB - 04/09/2018 at 09:05

Download

  • 1 × Arduino Pro Micro with male header
  • 6 × 6x6x5 mm tactile Button with button Cap actually any 6x6 tactile button will do, but this one I recommend for the model that I build
  • 1 × 0.96 Inch 7 Pin SPI Oled module o not use the I2C Oled, because it is incompatible with the arduboy platform
  • 1 × 5v small circle Buzzer
  • 1 × 3 Pin slide switch

View all 10 components

  • Ver 2 PCB has arrived

    Hendra Kusumah05/05/2018 at 17:53 0 comments

    The pcb from https://jlcpcb.com/ has arrived

    Finally my ardubuino has a front case made from a pcb

    The PCB cut itself fits really nicely to my ardubuino. and the PCB comes exactly like I really wanted

    here is my full video review for the PCB above which are made from JLCPCB:

  • Printing the 2nd version PCB

    Hendra Kusumah04/23/2018 at 12:58 0 comments

    I was planning to print the Version 2 of my ardubuino PCB which has the size of 85x37 mm. I try to to print on jlcpcb which has an awesome price. $2 for 10 PCB with maximum size 100x100 mm. Not to waste with the maximum size the jlcpcb has to offer I'm thinking of designing a faceplate from the PCB material along with main PCB itself

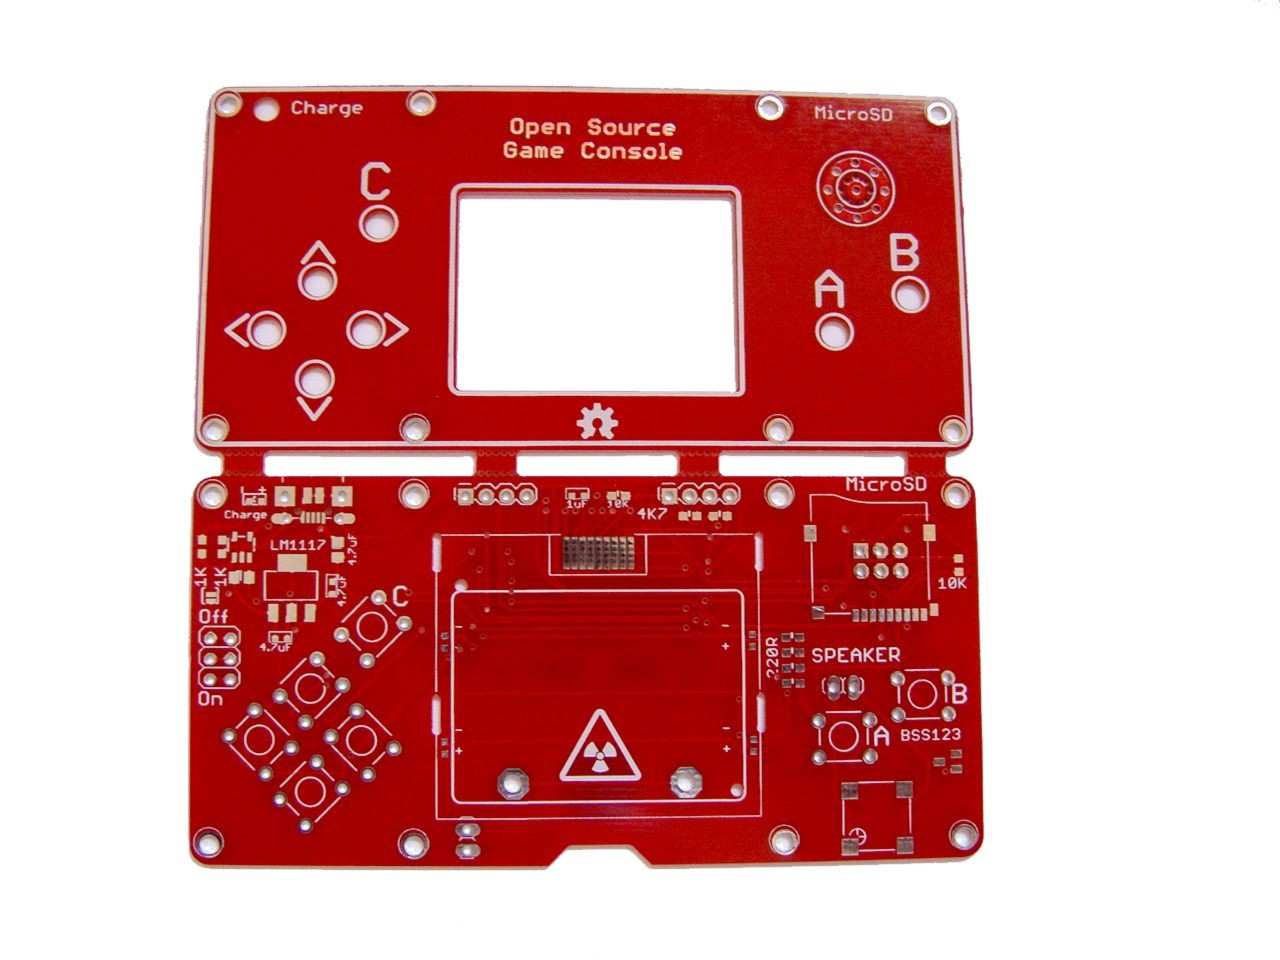
    my faceplate design was inspired from from @bobricius's Gamebuino clone project

    which is look like this:

    Thanks Bob for sharing your project.

    it got me motivated to do the same things so I came up with my own pcb design which look like this:

    After setting all things up on easyeda I proceed to quote my PCB on jlcpcb to get my PCB printed.
    I've already put this PCB with faceplate design on this page to make it easier for anybody to do the same thing.

  • Adding TP4056 module and a faceplate

    Hendra Kusumah04/13/2018 at 04:51 0 comments

    The PCB is already good enough running on 2 AA/AAA battery or a 9V battery. But I want my arduboy to be rechargeable by adding a lipo battery and TP4056 module. 

    also I want to make a front cover for it so I came up with new PCB design that Include the pad for TP4056 module and Faceplate made from the PCB

  • First time making PCB

    Hendra Kusumah04/13/2018 at 04:42 0 comments

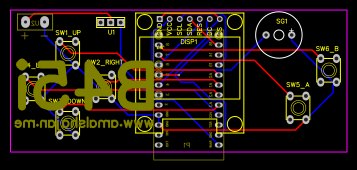
    I have no experience at all on making a PCB. But I want to try it with the diy arduboy project. Fortunately I found @Amal Shajan video and he’s kind enough sharing his PCB design for another arduboy project on easyeda.

    Then I fork his design which is already good enough

    and from there I modified his design to learn about making PCB and also to suit my needs.

    Changes that I made from his design are:

    • Adding Pin 3 to the buzzer to suit the arduboy library
    • change the position for few pad
    • narrowing the buttons to make it more ergonomics for my hands
    • rounded the edge of the PCB to make it look more nice and to prevent cutting to the skin
    • Added holes to the edges to mount cover for the PCB on the top and bottom

    After all the changes above, I came up with my own design which still a bit simillar looking but with more feature


  • Second Prototype

    Hendra Kusumah04/05/2018 at 19:41 0 comments

    After the first prototype I am ordering arduino pro micro to make the console smaller, and while waiting for the pro micro, I found a 3.7 volt 1000 mAH lipo battery from my unused previous project. So, I decided to order another component which is a lipo charger and 5v booster module from wemos. 

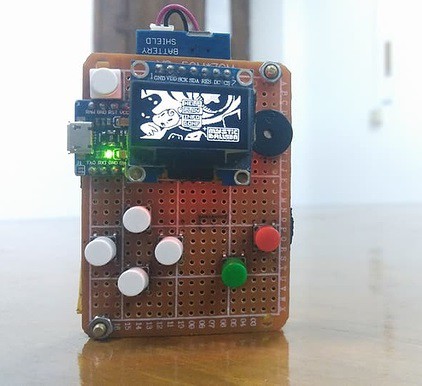
    After all the components arrive I unplugged the oled display start soldering again on a smaller Perfboard and added caps to the buttons

    It is another success and I was pretty satisfy with the result for few months.

    But I still want this project to be more neat by creating a custom PCB for this. And I have no knowledge at all for designing a PCB. So, I try installing KiCad and learn about it but there are so many keys I need to memories. I need a more simple tool than KiCad, then I try easyeda which is a lot easier for a dummy like me.

  • First Prototype

    Hendra Kusumah04/05/2018 at 19:28 0 comments

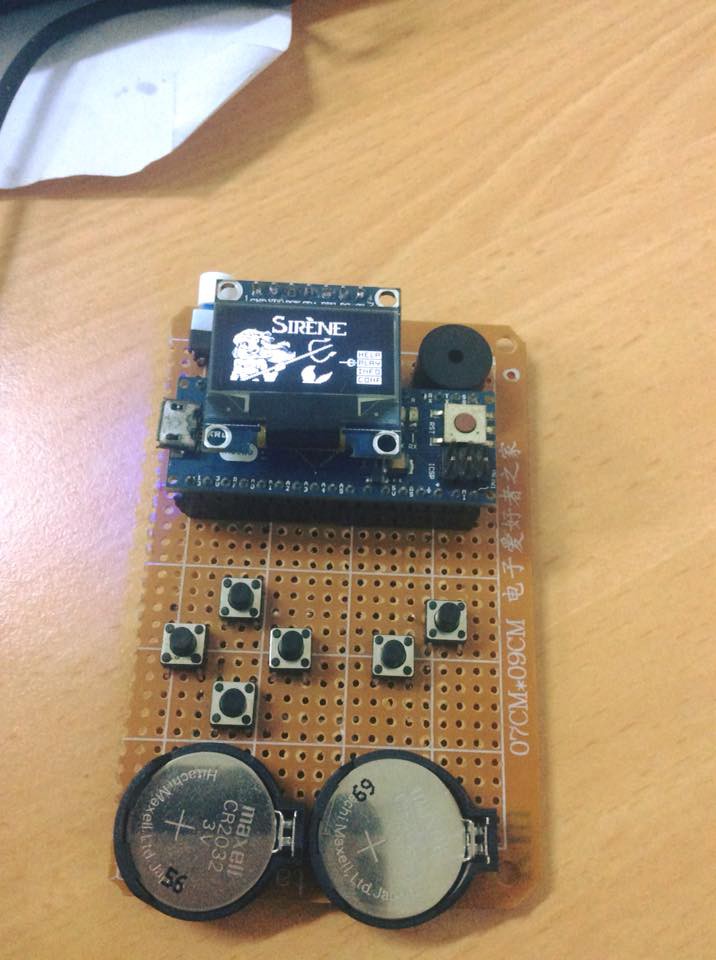
    Before I was able to do a PCB design I was making this project using a low quality single sided perfboard and for jumper wires I peel an unused LAN cable.

    Fortunately I have an Arduino Micro from adafruit that has been sitting in a box for several years and it is a great to use it.

    For powering the Device I use two CR2032 coin cell battery in series to give the board enough power which later I learned that it is not the best for this project because it only run for 20-30 minutes.

    After Hours of soldering this what I come up with

    It was a succes attempt but the run time wasn't enough

View all 6 project logs

  • 1
    This part 1 is explaining about the components that is used to build ardubuino.
  • 2
    This part 2 is explaining about soldering the brain and screen components to the ardubuino PCB.
  • 3
    This part 3 is explaining about soldering the buttons components that is used to the ardubuino PCB

View all 4 instructions

Enjoy this project?

Share

Discussions

tedysuwarnadysoleh wrote 12/22/2018 at 03:36 point

can  used it as midi device

  Are you sure? yes | no

patzik wrote 11/14/2018 at 00:10 point

Adding Pin 3 to the buzzer to suit the arduboy library.

I see you added this to your design, but I can't figure out why. This is pin 18 on the atmega32u4 and is not used on the arduboy. The speaker connects to pin 31 and 32 of the atmega32u4 and has a 4.7uf capacitor between pin31 and the speaker. The connection to 2 pins is to increase the volume. On the pro micro board, there is no 'pin' for pin 32, so I think that is why it is connected to ground on the other board design.

  Are you sure? yes | no

fabian wrote 07/25/2018 at 14:01 point

too small screen, and wy not add fpga for emulating all processor

  Are you sure? yes | no

Amal Shajan wrote 05/01/2018 at 08:15 point

Really nice job, Well documented.

  Are you sure? yes | no

Duke Circuit Co.,Ltd wrote 04/18/2018 at 10:15 point

Is your first time to design the PCB?a good job.

  Are you sure? yes | no

Hendra Kusumah wrote 04/19/2018 at 04:10 point

yup, thank you duke. I have great time learning designing the PCB and never satisfy to add more new feature with it

  Are you sure? yes | no

Similar Projects

Does this project spark your interest?

Become a member to follow this project and never miss any updates