Close
0%
0%

Solar Lantern Soldering Kit

Solar lantern with a joule thief and an astable multivibrator specially designed for kids to learn soldering :)

Public Chat
Similar projects worth following
Solar lantern with a joule thief and an astable multivibrator for people to learn soldering and basics of electronics. Ideal for kids.

Please like this project so that I will get some seed amount to teach more kids soldering and basic electronics free of cost. Thanks to all who liked :)

Pitch for this hackaday prize.

This is a kit to introduce people(especially kids) to the exciting world of electronics. I wish I was taught basic electronics and soldering since high school, but unfortunately they still don't teach this in most high schools across India. So I made this solar lantern kit for people to learn electronincs and soldering. This can be used by people of all age but my primary focus was school kids.

SCHEMATICS:

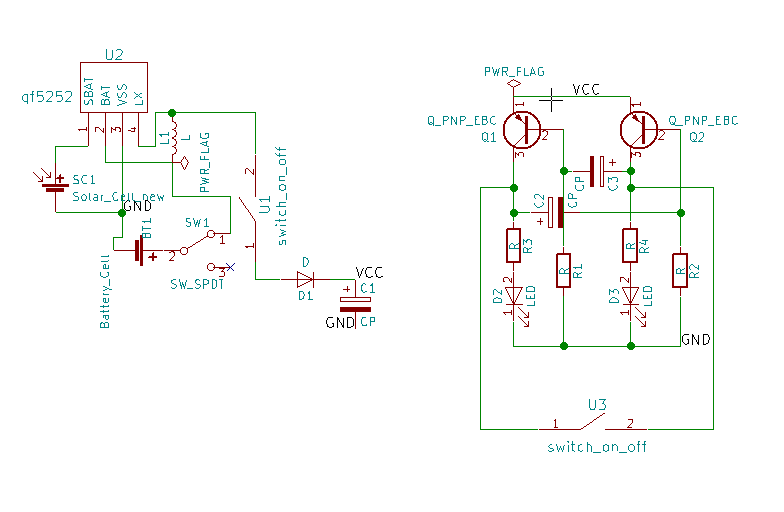
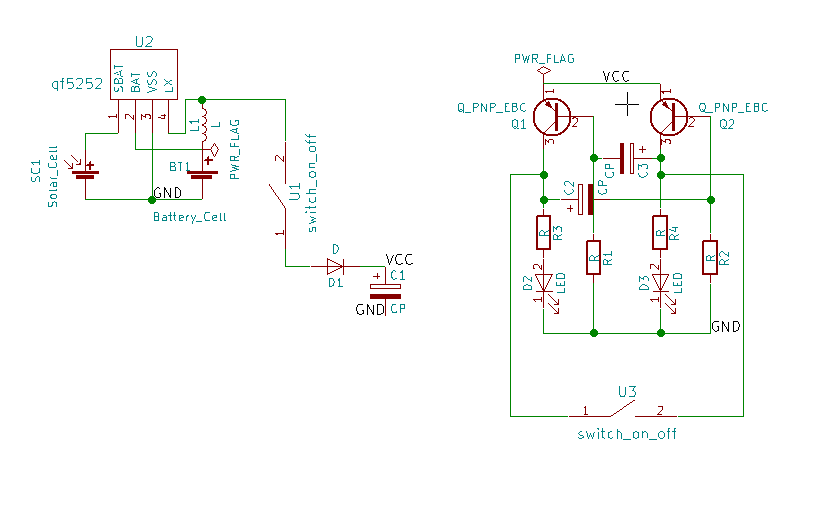
The entire circuit  runs on a 1.2V NiMh battery which gets charged by a 2V solar panel. The board has got a qf5252 ic. This is a tiny but very interesting ic which serves as a switching boost converter and solar charge controller. It only need and external inductor for boosting a 1.2 volt NiMh battery sufficiently high to light LEDs. It runs at a frequency of around 100 Khz.

I filtered the spikes from the boost converter and added an astable multivibrator to blink two leds alternatively to make it more fun for kids. This blinking mode can be disabled with a switch so that the lantern will glow continuously.
BLINK mode:

HOLD mode:

QX5252.pdf

Adobe Portable Document Format - 112.34 kB - 04/07/2018 at 06:30

Preview

  • 1 × qf5252 Solar charge controller and booster
  • 1 × 100-330 uH inductor
  • 2 × 2N3906 Discrete Semiconductors / Transistors, MOSFETs, FETs, IGBTs
  • 3 × Capacitor
  • 4 × Resistor

View all 9 components

  • Making It More efficient.

    Nitesh Kadyan07/15/2018 at 21:32 0 comments

    So, after distributing kits to kids at hillhacks last year few complained that fully charged lantern is getting discharged even when the lantern was switched off via switch U1 in the previous schematics. After a closed inspection I realised that q5252 ic has some leakage current which discharges the battery within one day. To fix this I have added an another switch SW1 next to the battery (just for this version though, see below schematics). So now people can store a charged lantern in dark by switching off this switch and there won't be a leakage of current.

    Caveat is that to switch on the lantern again we will have to switch on two switches now, i.e. both SW1 and U1. This is not the best design whch I will try to fix in the next version.

  • The First Circuit Boards and Custom HillHacks boards

    Nitesh Kadyan07/15/2018 at 21:04 0 comments

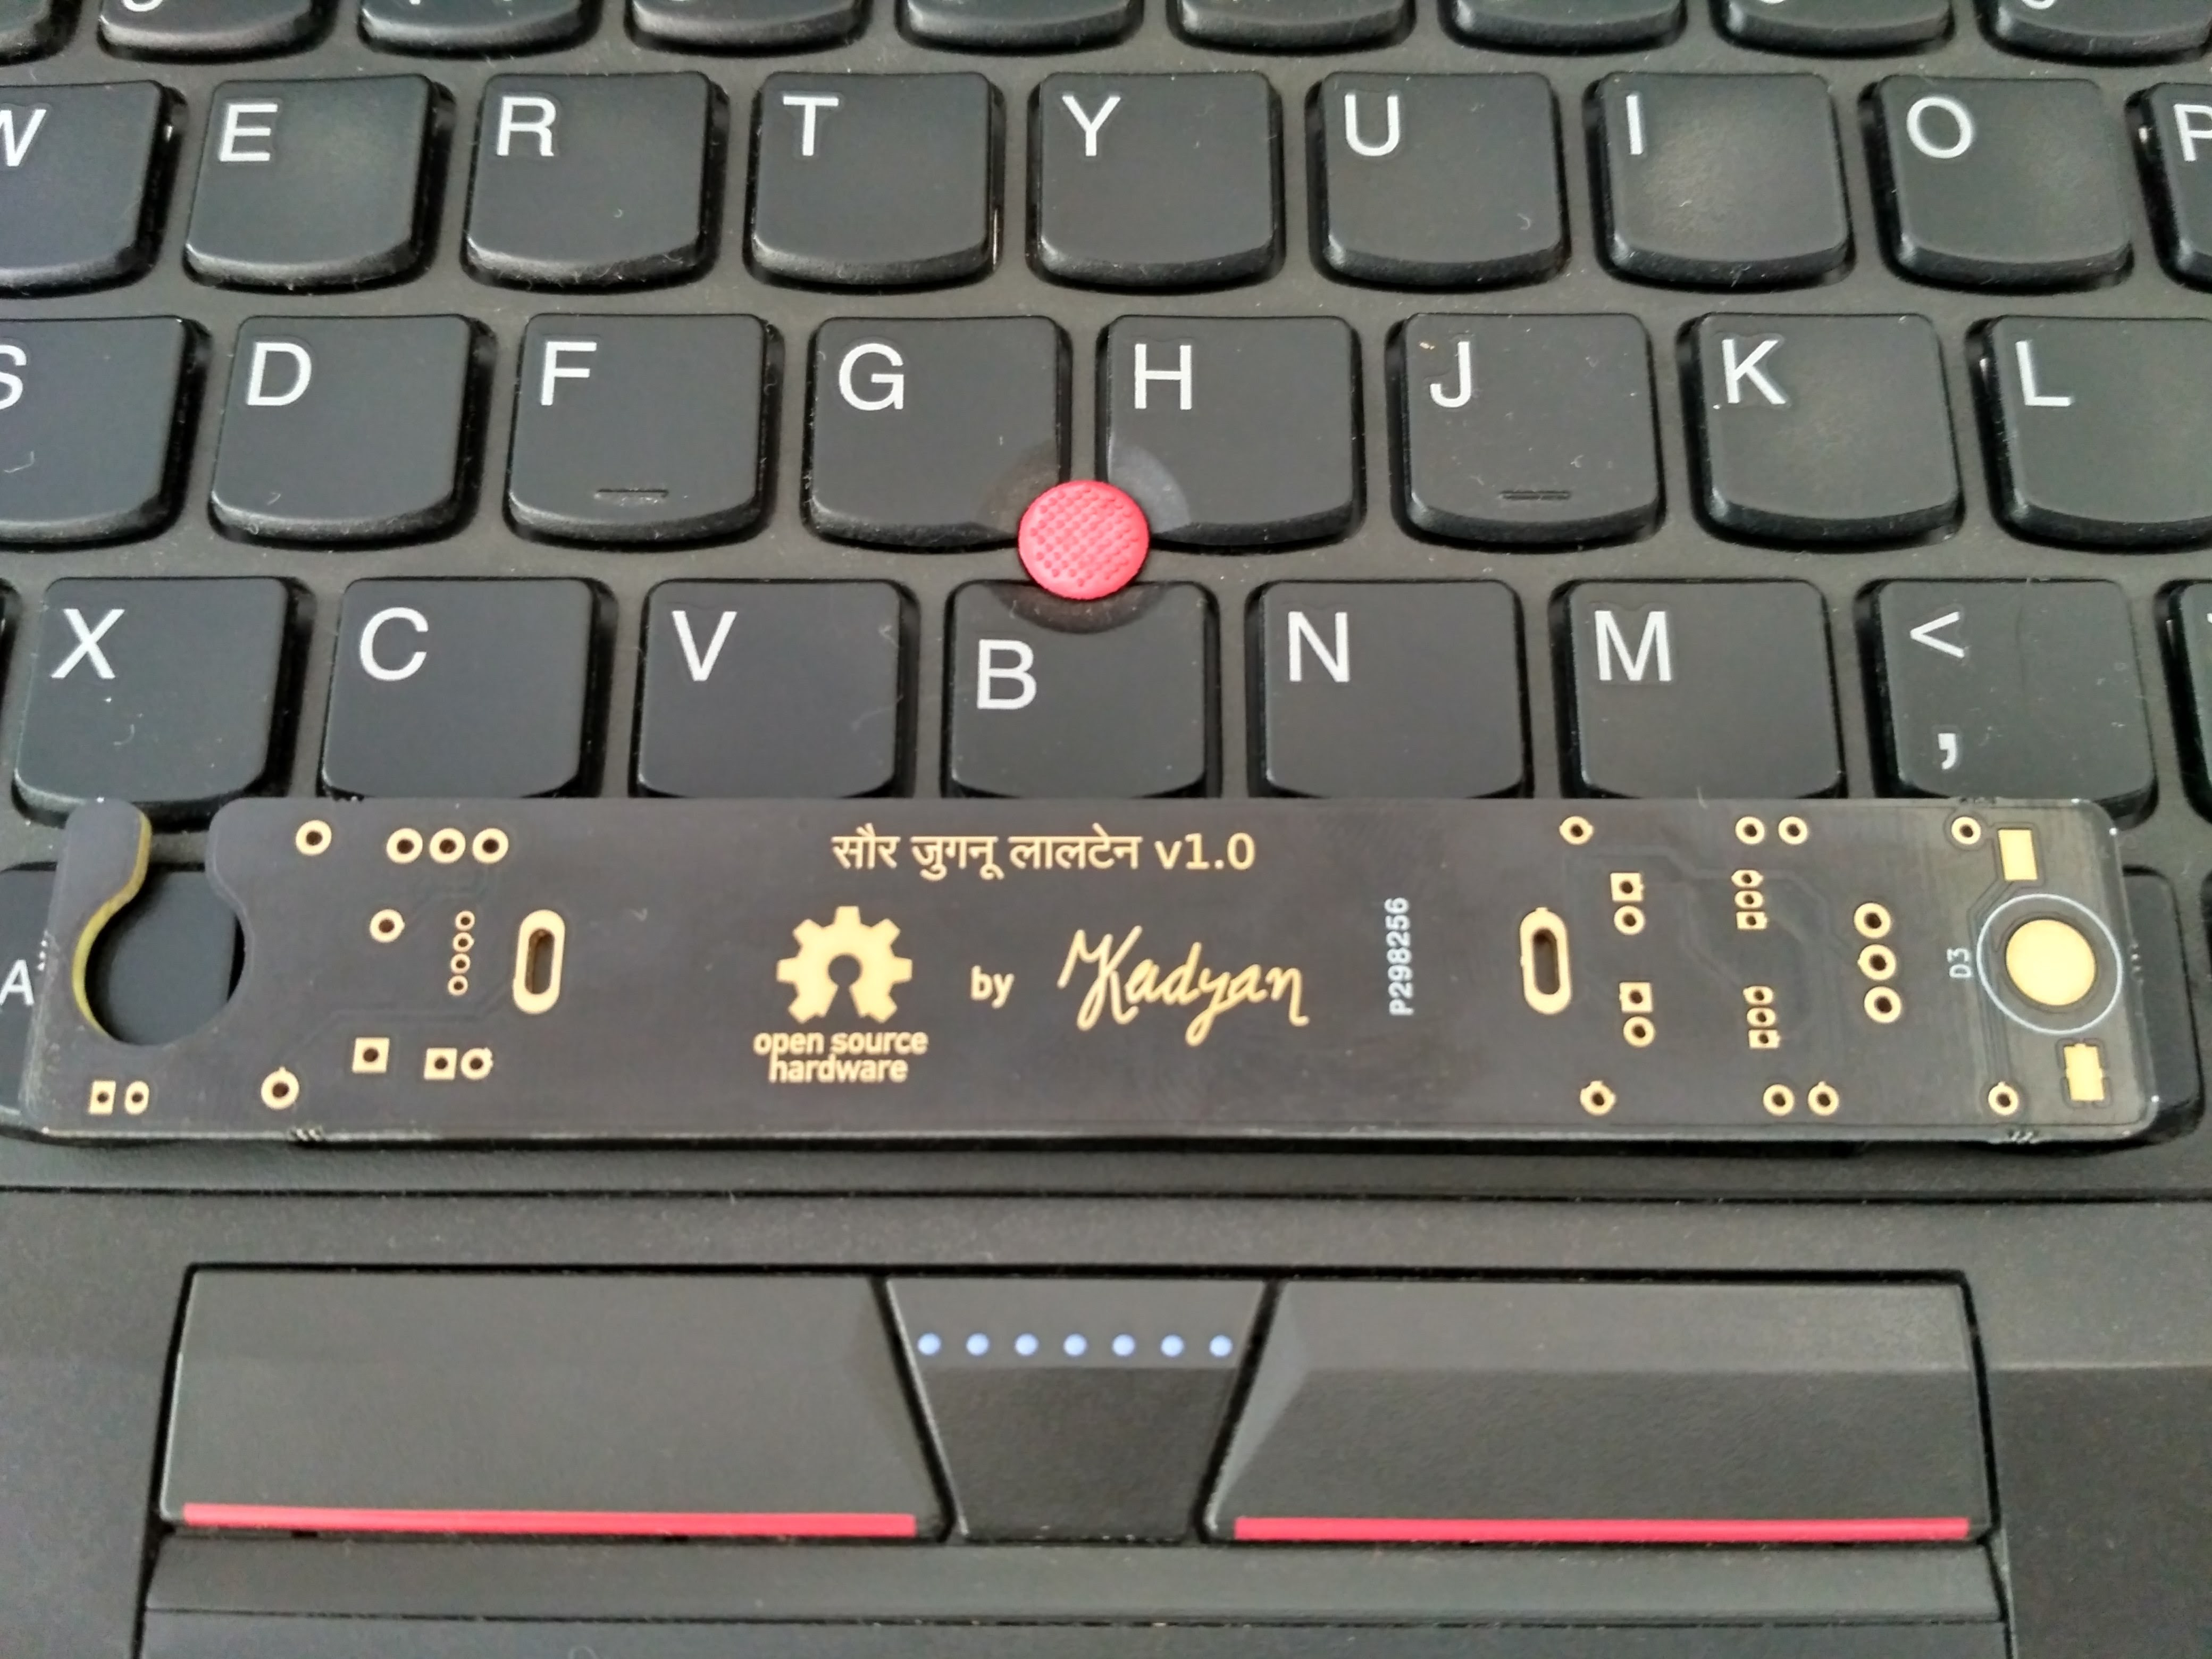
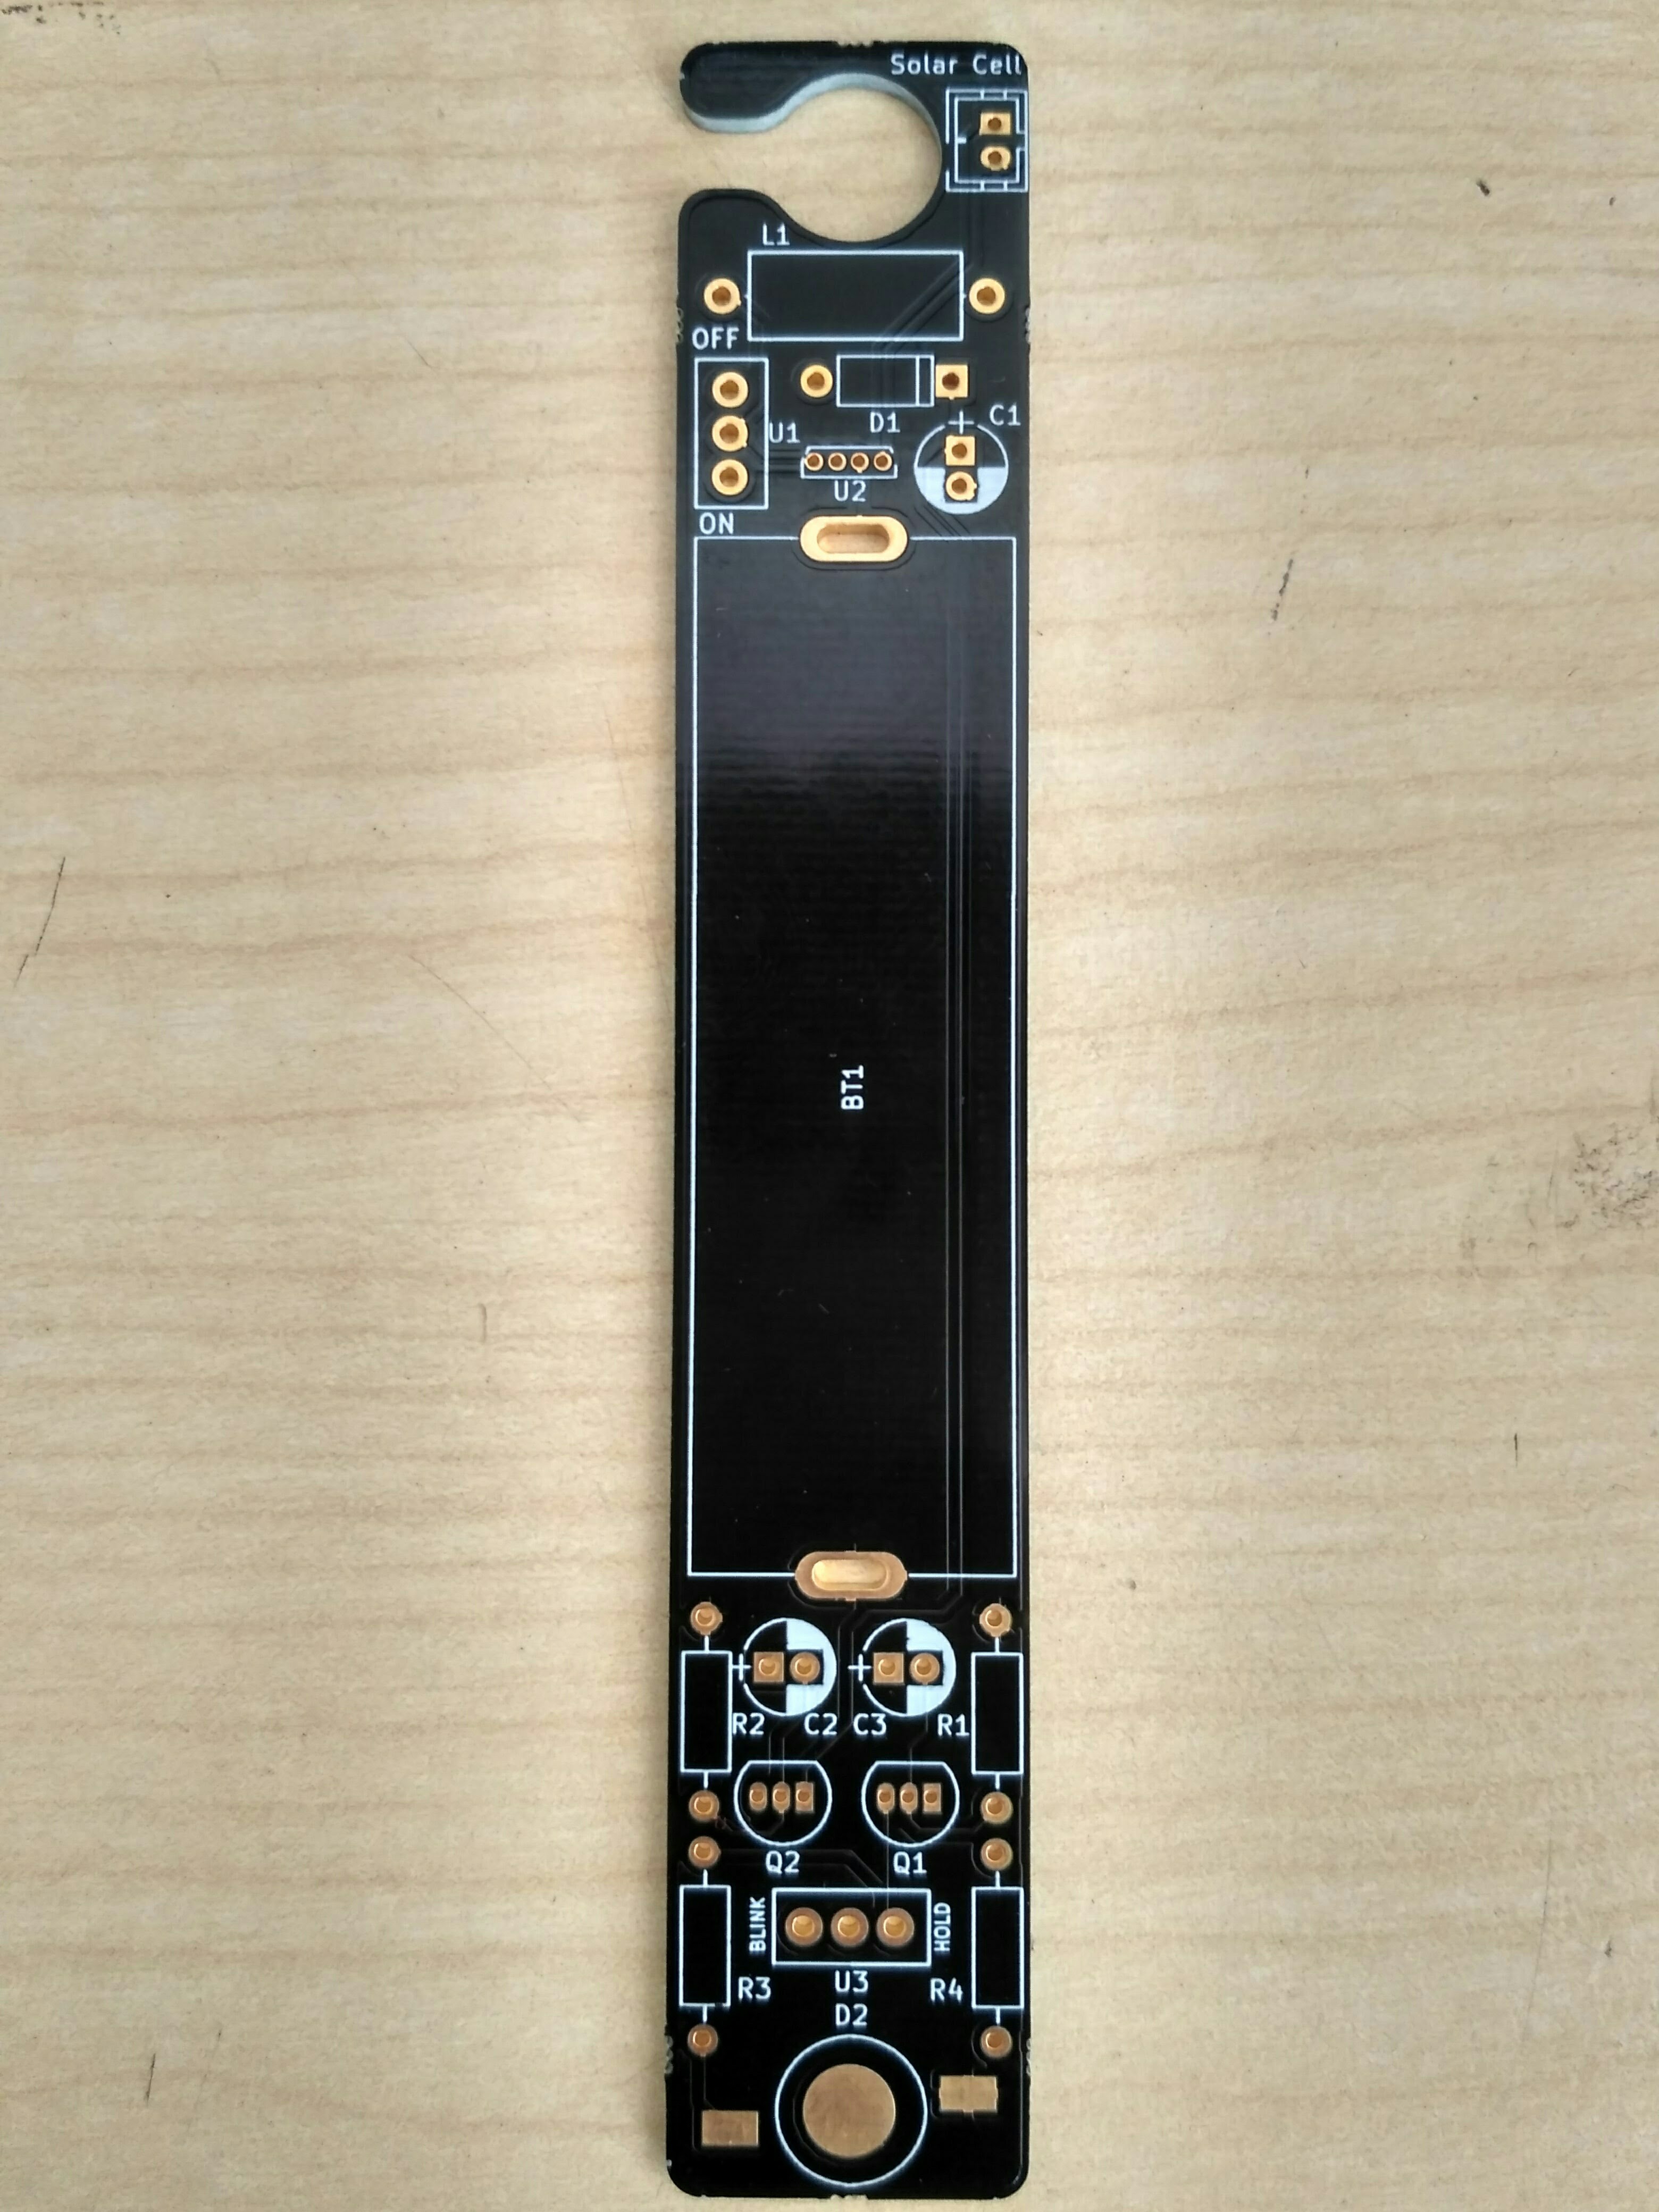
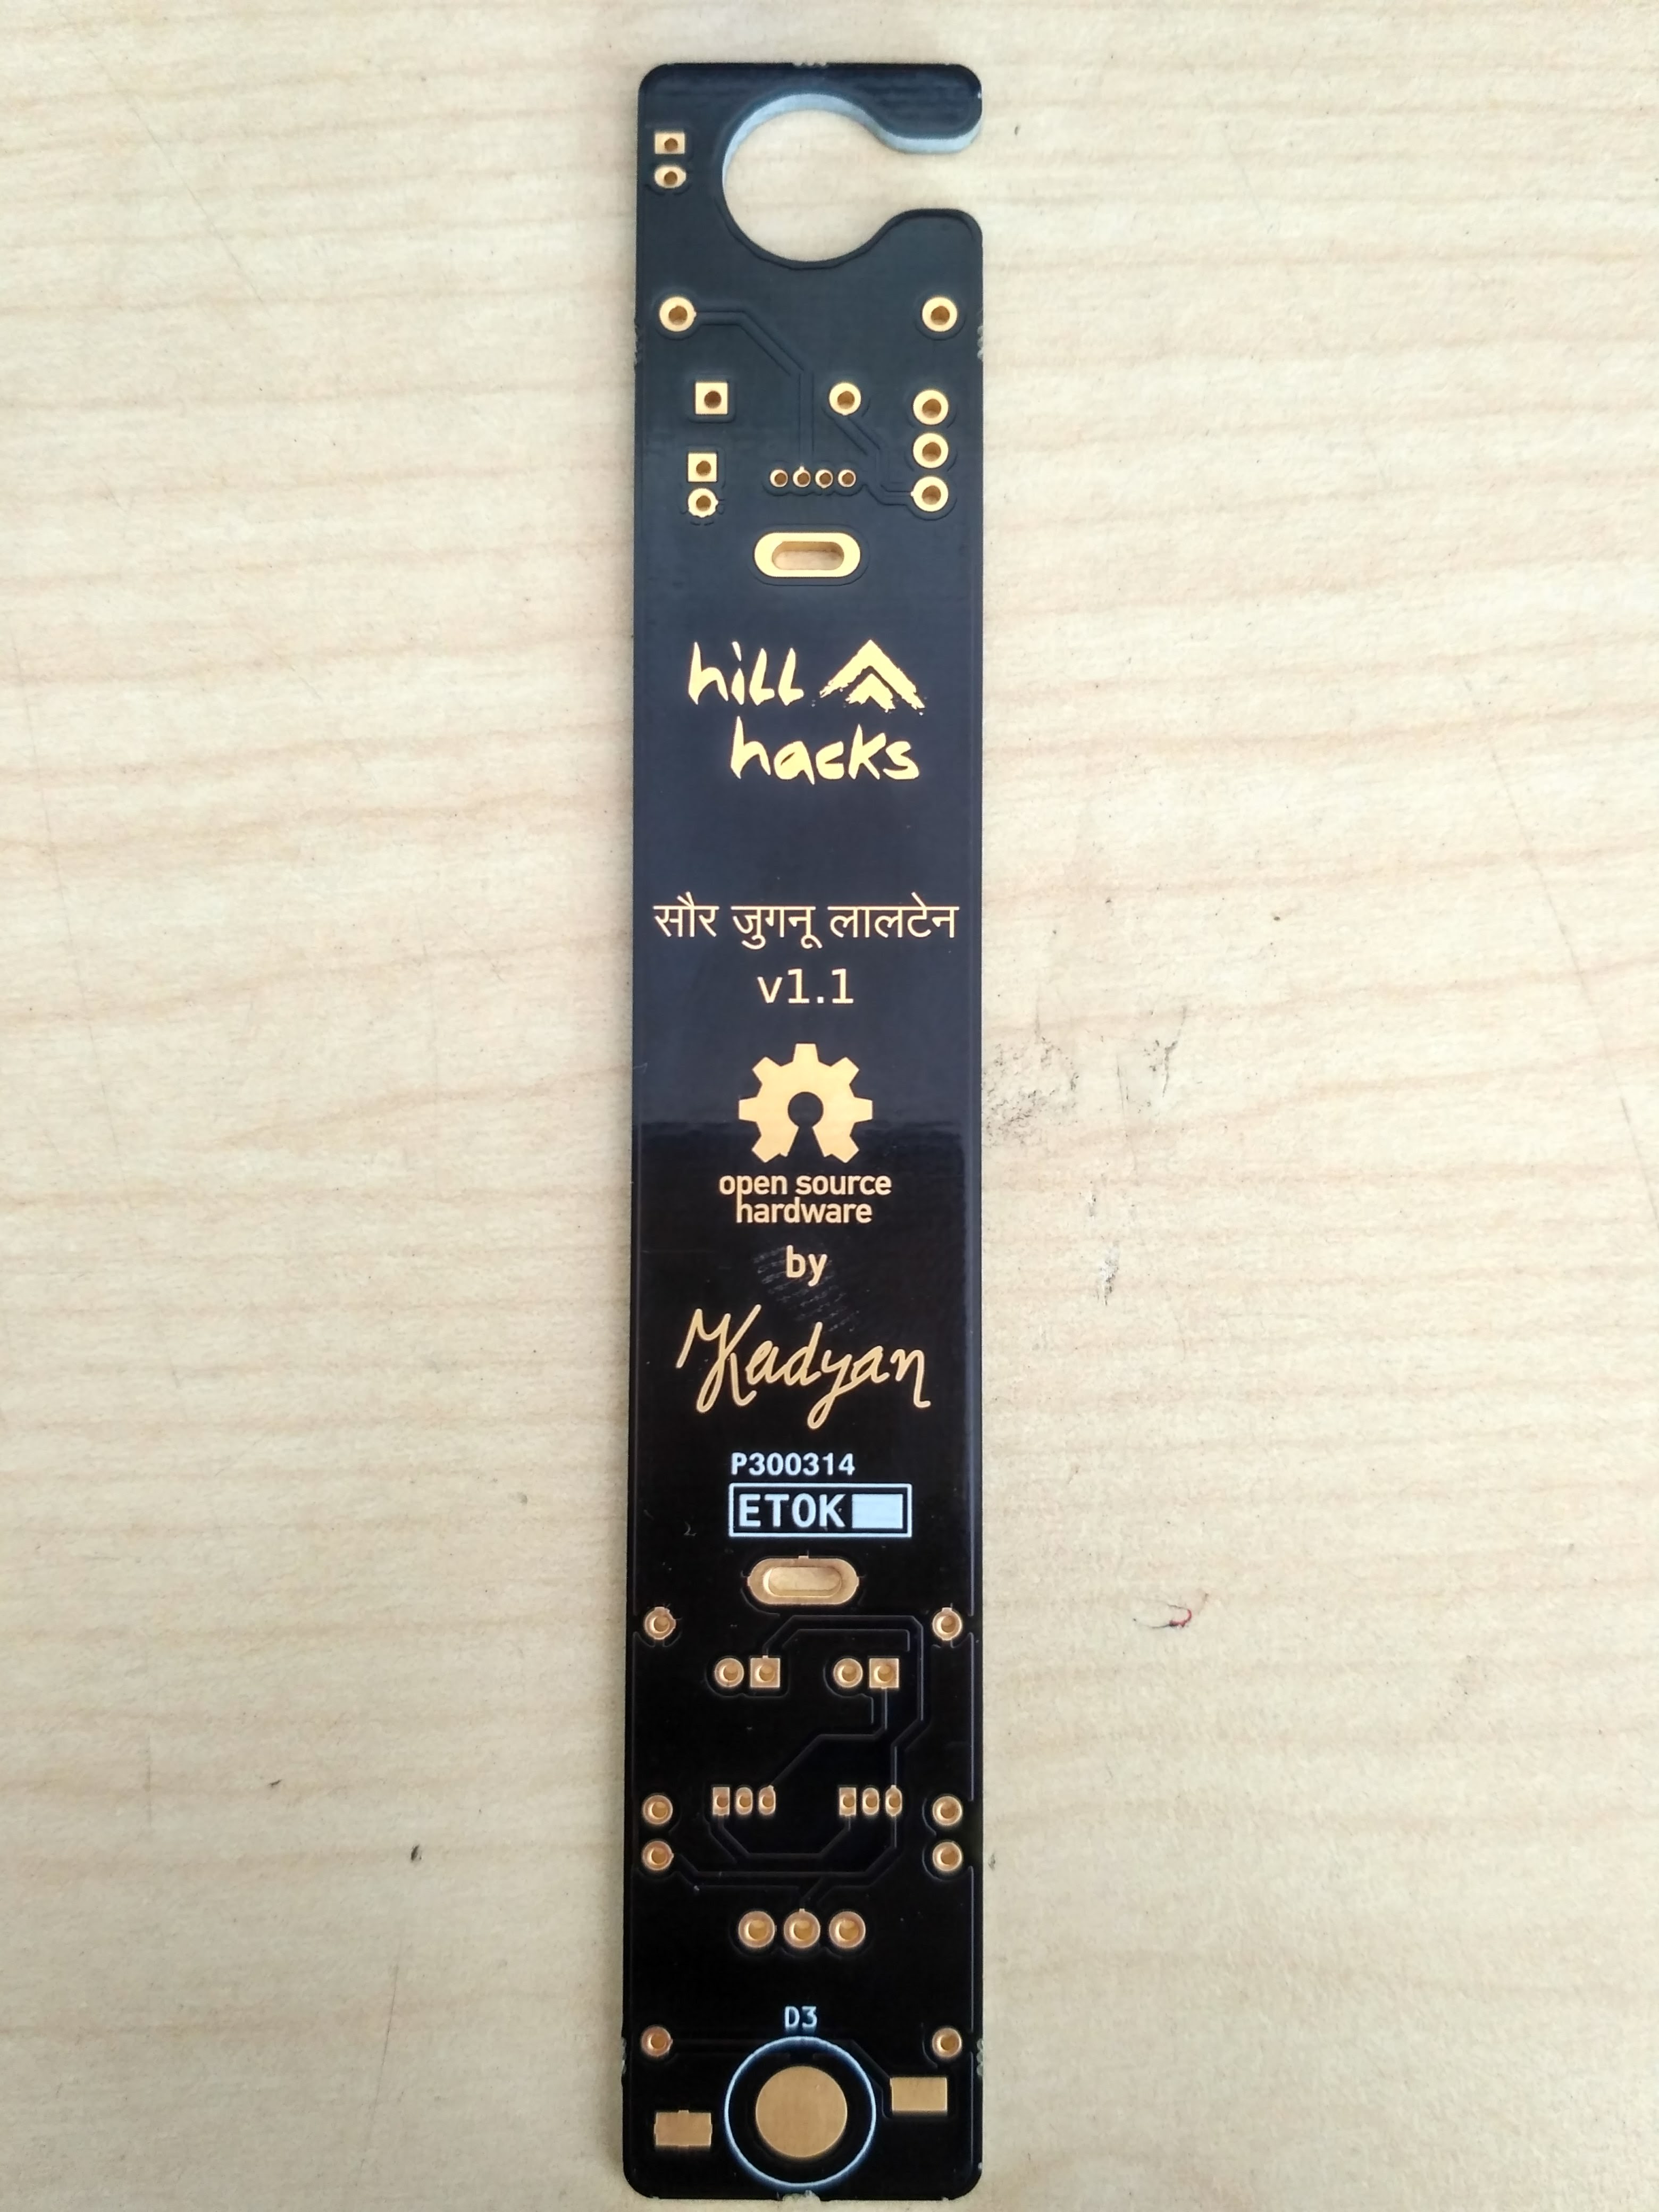
    First circuit boards arrived. I also made few custom circit boards for Hill Hacks with Hill Hacks logo on them. These boards are meant for Hill Hacks conference and its school program. The components are meant to be soldered on the front side of the board. While the back side is just for marketing purpose :)

  • First Schematics

    Nitesh Kadyan04/07/2018 at 09:45 0 comments

    SCHEMATICS:

    The entire circuit  runs on a 1.2V NiMh battery which gets charged by a 2V solar panel. The board has got a qf5252 ic. This is a tiny but very interesting ic which serves as a switching boost converter and solar charge controller. It only need and external inductor for boosting a 1.2 volt NiMh battery sufficiently high to light LEDs. It runs at a frequency of around 100 Khz.

    I filtered the spikes from the boost converter and added an astable multivibrator to blink two leds alternatively to make it more fun for kids. This blinking mode can be disabled with a switch so that the lantern will glow continuously.

  • Hill Hacks School Program

    Nitesh Kadyan04/07/2018 at 09:20 1 comment

    One of the most important part of HillHacks is its school program where hillhackers conduct workshops free of cost for the local school kids. Previous edition school programmes have included(source hillhacks):

    • Makey-makey electronics
    • Paper circuits
    • Electromagnets
    • Mapmaking
    • Programming Arduino
    • Cryptography
    • Theatre
    • Circus arts
    • Rubik’s cubes
    • Solar lanterns
    • Audiobook recording
    • Electronic music

    This year at HillHacks 3 I also wanted to teach kids how to solder. I believe that’s an essential skill every kid should have along with programming. During the HillHacks 0 that happened in the year 2014 my friend Akiba brought some solar lanterns based on cl0116 IC from Chiplink. That’s a pretty cool IC which drives the LEDs and takes care of charging a single NiMh battery via a solar panel. Both functionalities in a single TO-94 packaged silicon die. Since I didn’t have much time to think of a design from scratch I decided to modify Akiba’s design and added an astable multivibrator to add a blink feature to the LEDs and make it more fun for kids. Also, instead of using cl0116 I used qf5252 which is almost similar except that it has a different pinout and a cutoff voltage of 0.8v instead of 0.6v with cl0116.

    The lantern has got two modes: blink and hold. In the blink mode the LEDs blink alternatively in an astable multivibrator mode with a time constant set by R1,C2 and R2,C3. While in the hold mode both LEDs will glow simultaneously. Components used:

    • qf5252 as solar charge controller and booster.
    • L1 inductor = 100 uH. We can use anyvalue between 100-330 uH. Lesser the value brighter will be the LEDs.
    • C1 = 10uF filtering cap.
    • C2, C3 = 47uF. Decrease this to blink the LEDs faster.
    • R1, R2 = 150 Kohm. Alternatively, these values can also be reduced to blink LEDs faster.
    • R3, R4 = 220 ohms.
    • Q1, Q2 = PNP 2N3906 transistor.
    • D1 = 1n5819 schottky diode.
    • D2, D3 = 1W LEDs. Warm white looks great.
    • Solar panel = 2V 130ma(260mW). Any 2V panel can be used. More the wattage, Faster would be the charging.

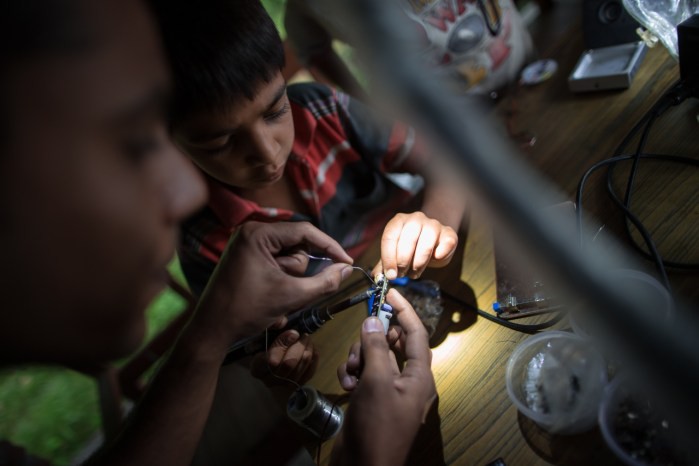
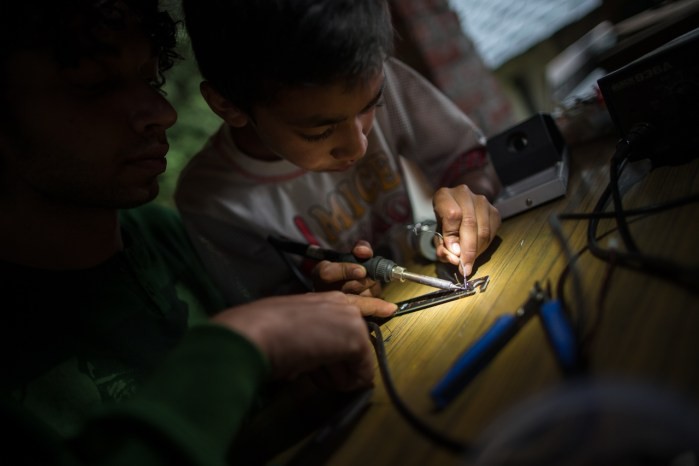
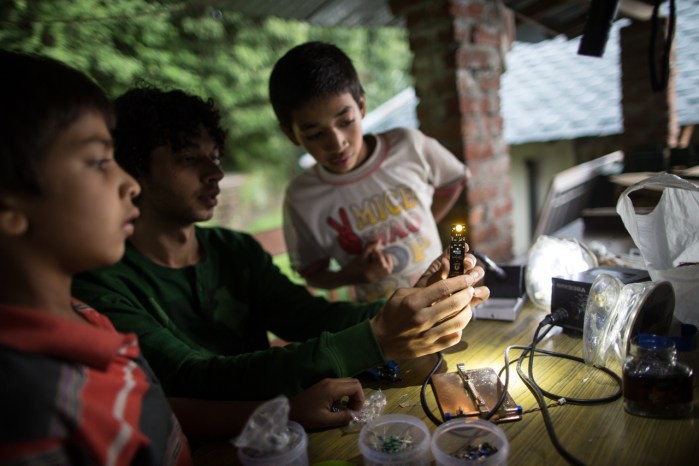
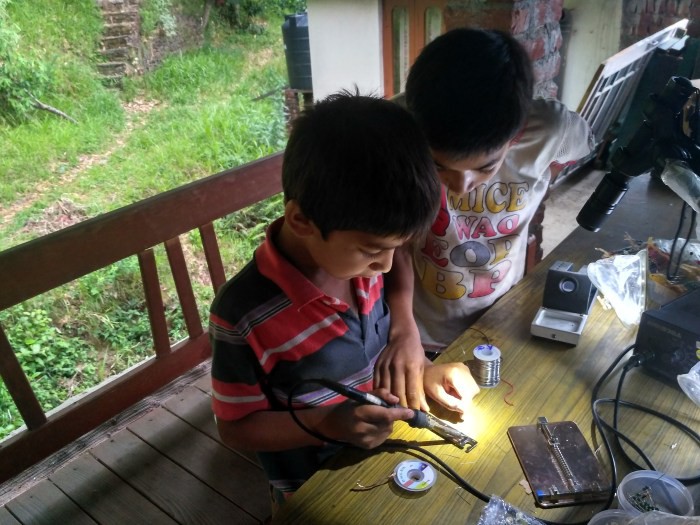
    Here are some photos from the event:

    At Knowledge Garden, Upper Bagsu Dharmashala, India.

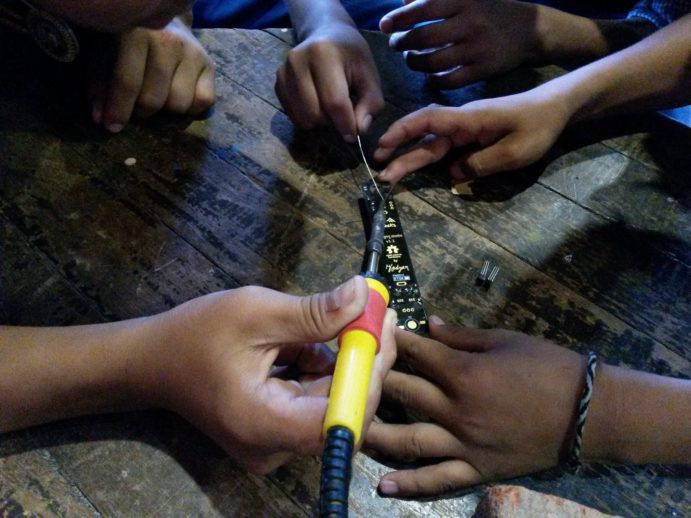
    Knowledge gargen in upper Bagsu is a smaller hacker space promoting DIY repair culture among the people in mountains. Here are some pics of Pranshu and Shubham learning how to solder. :)

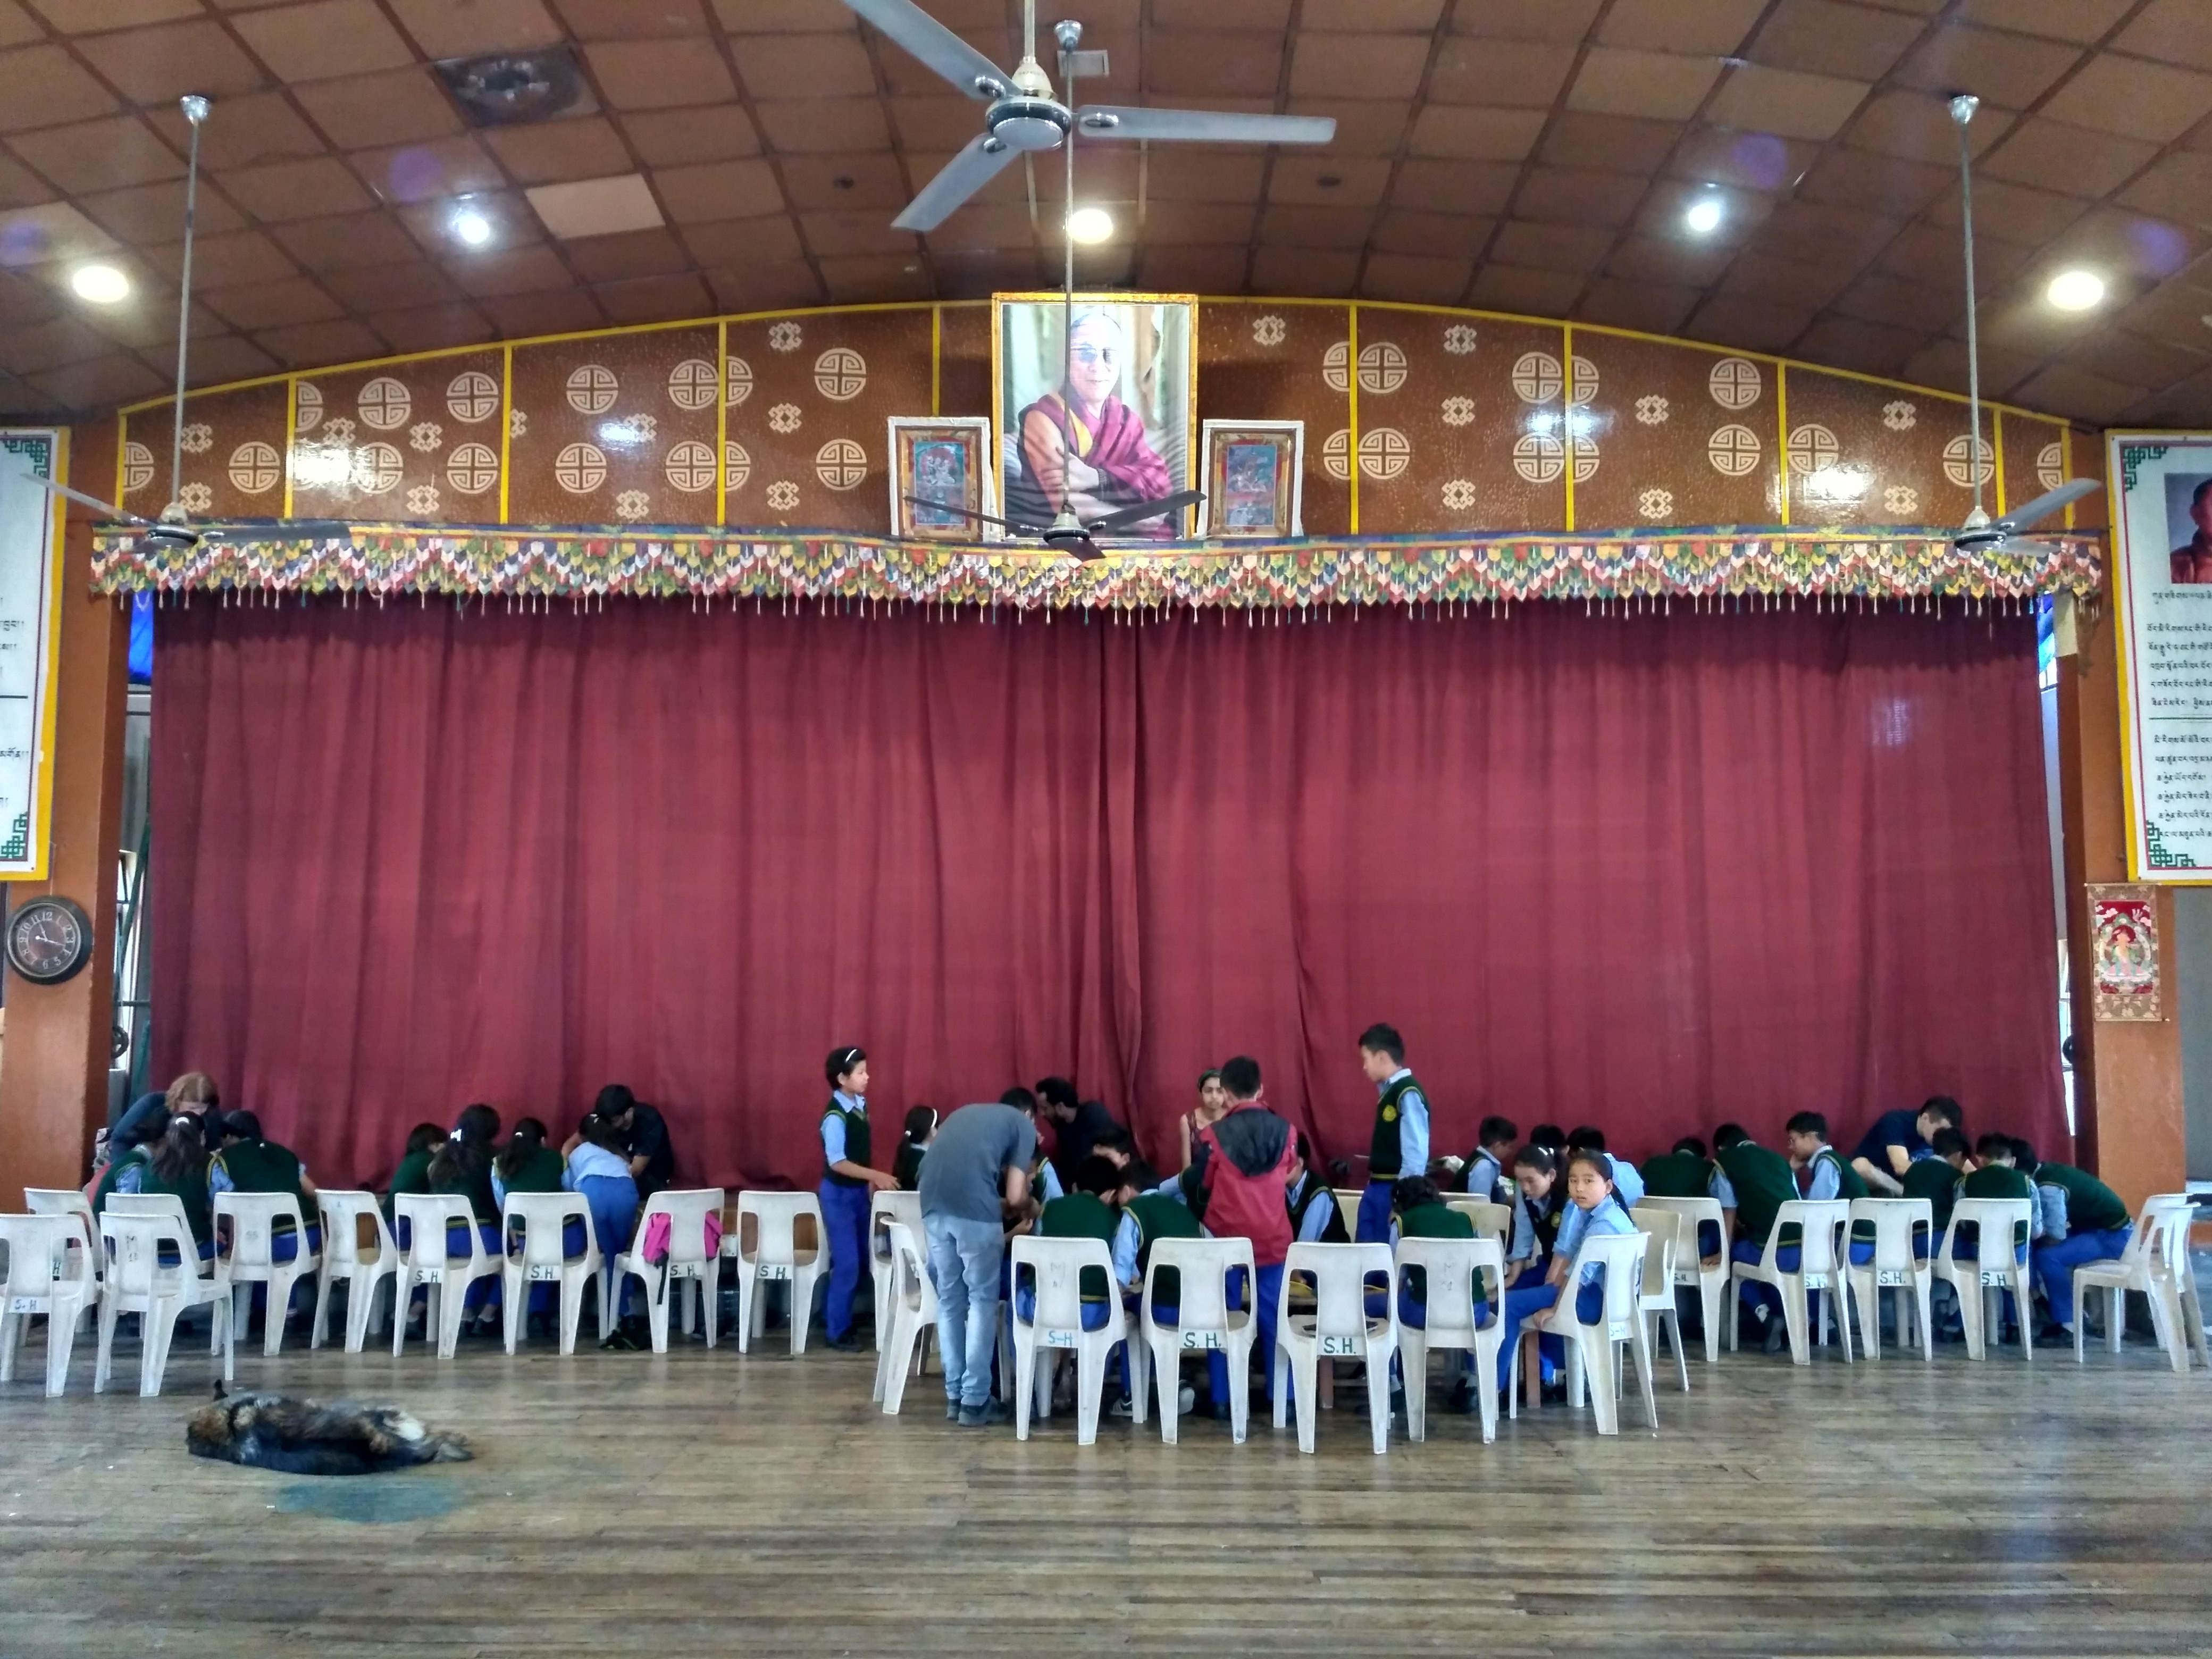
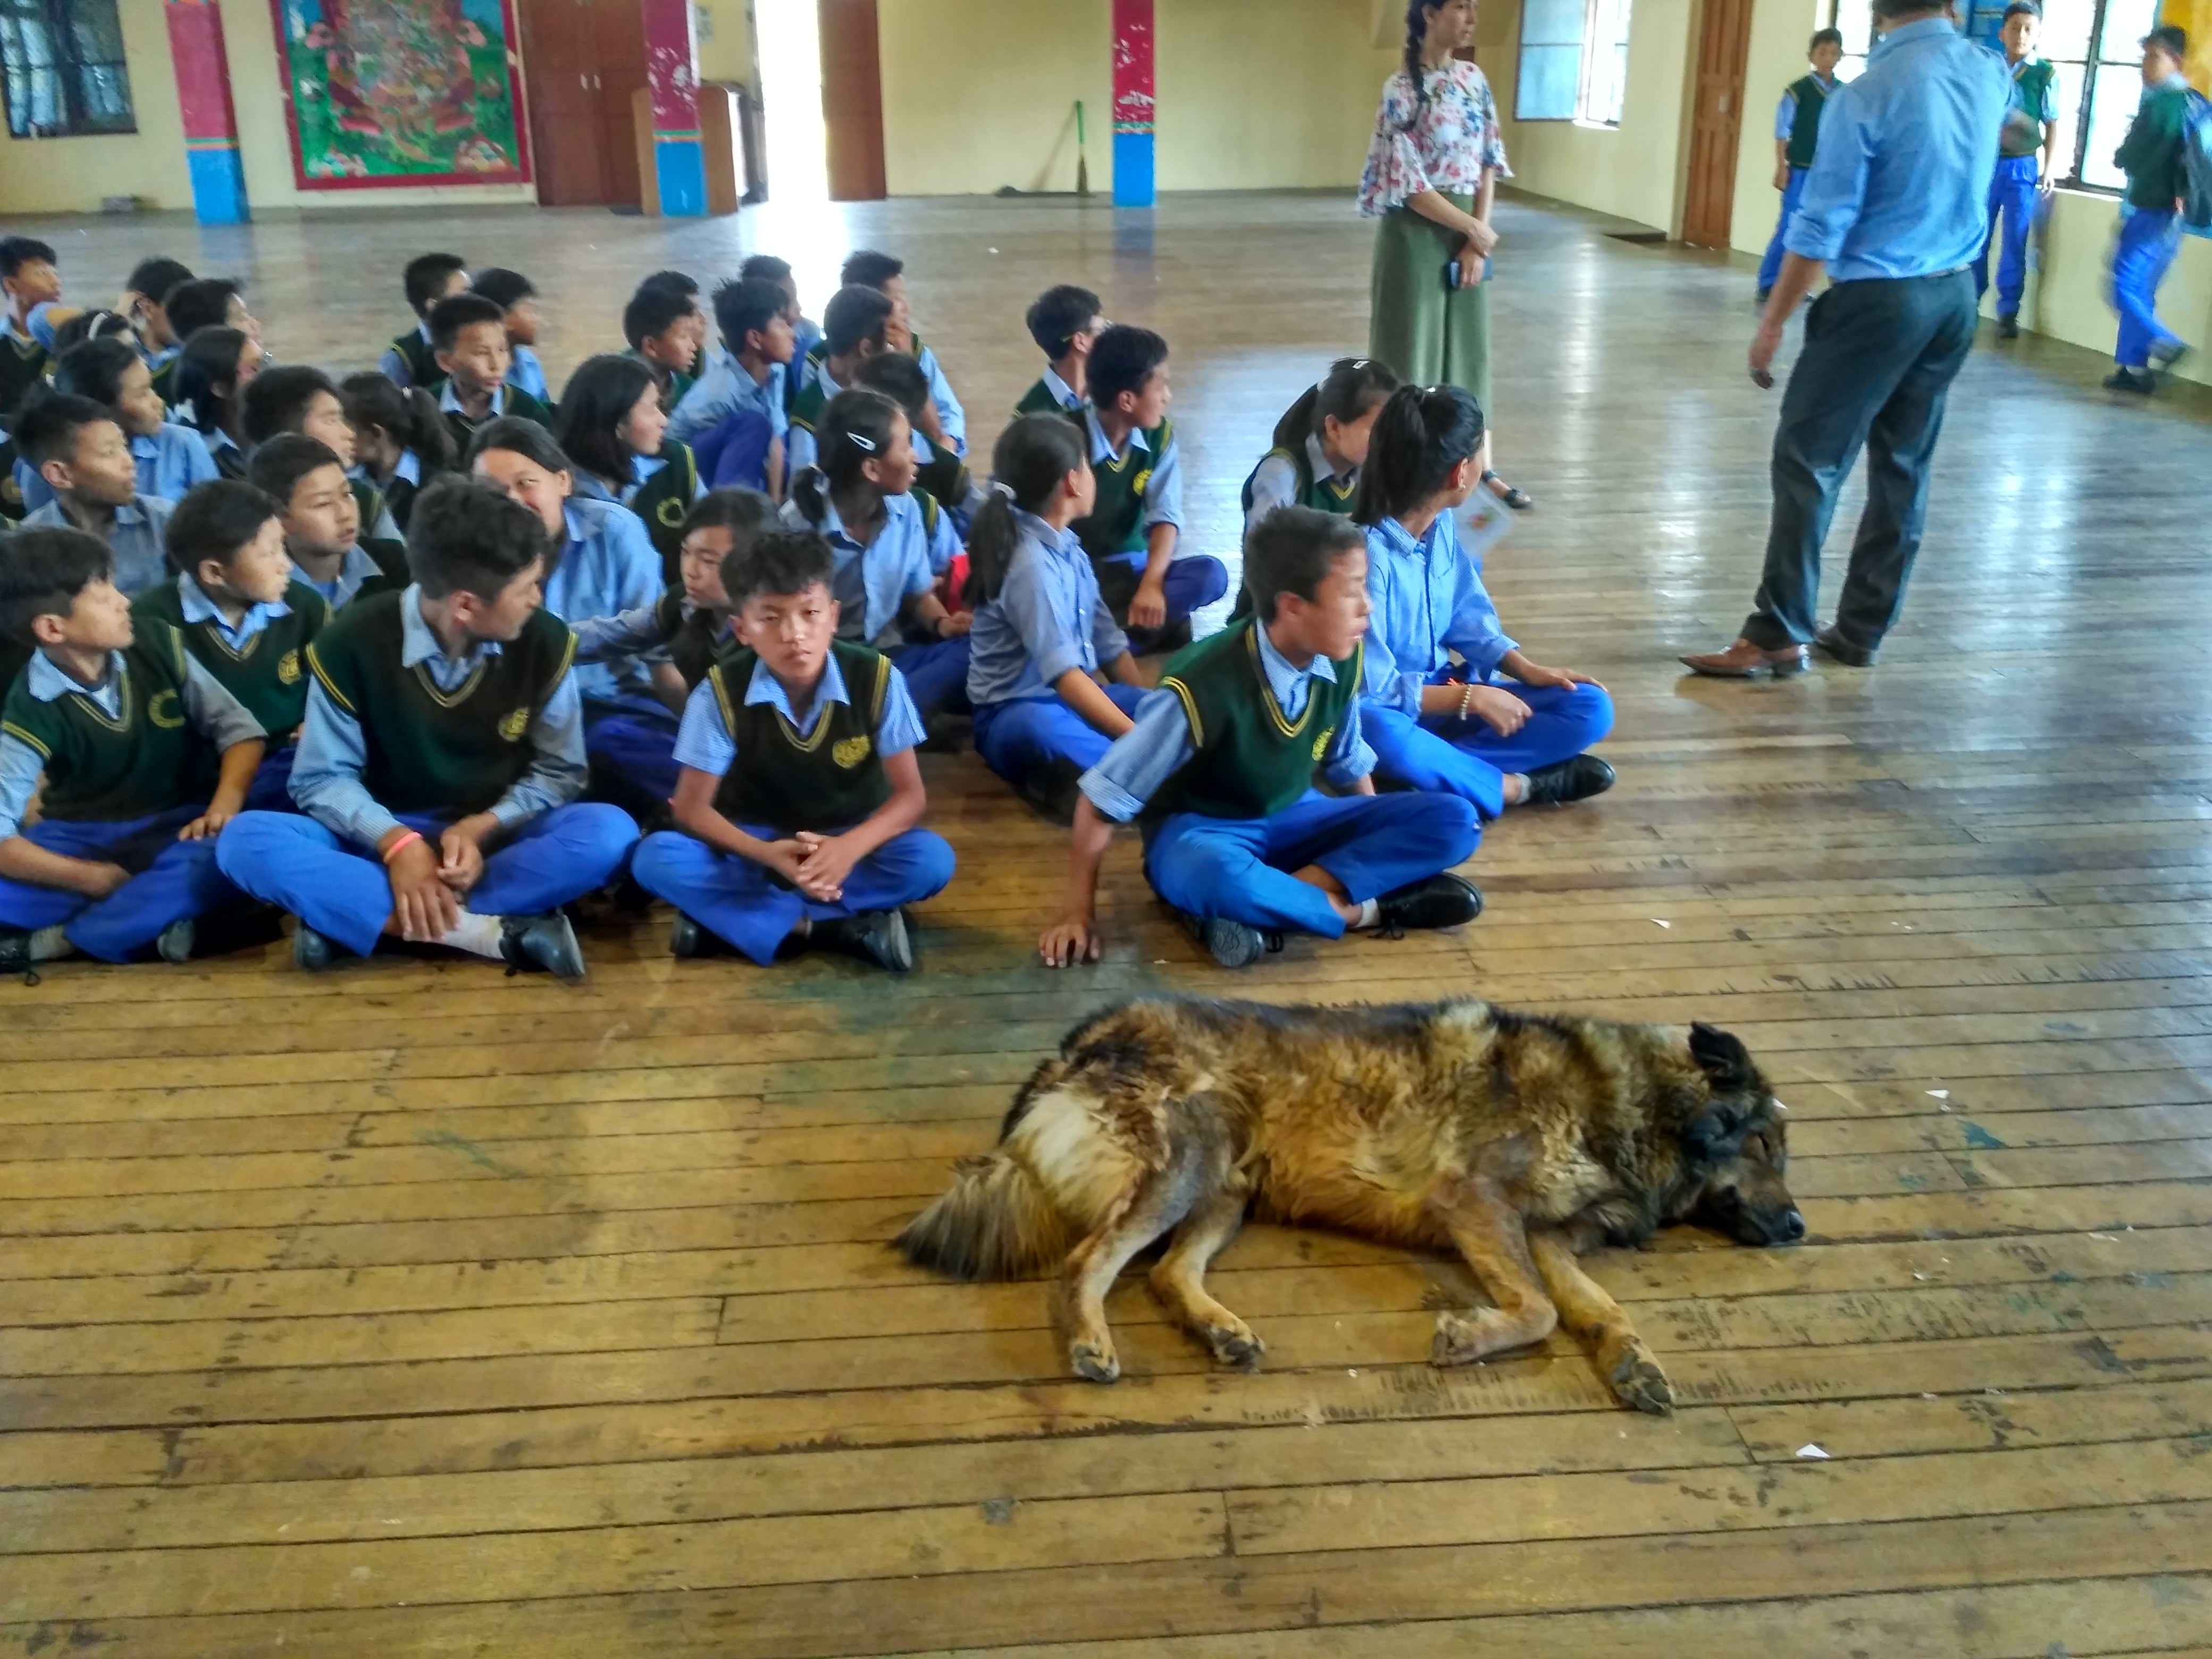
    At Tibetan Children’s Village (TCV) school in Suja, Bir, Himachal Pradesh, India

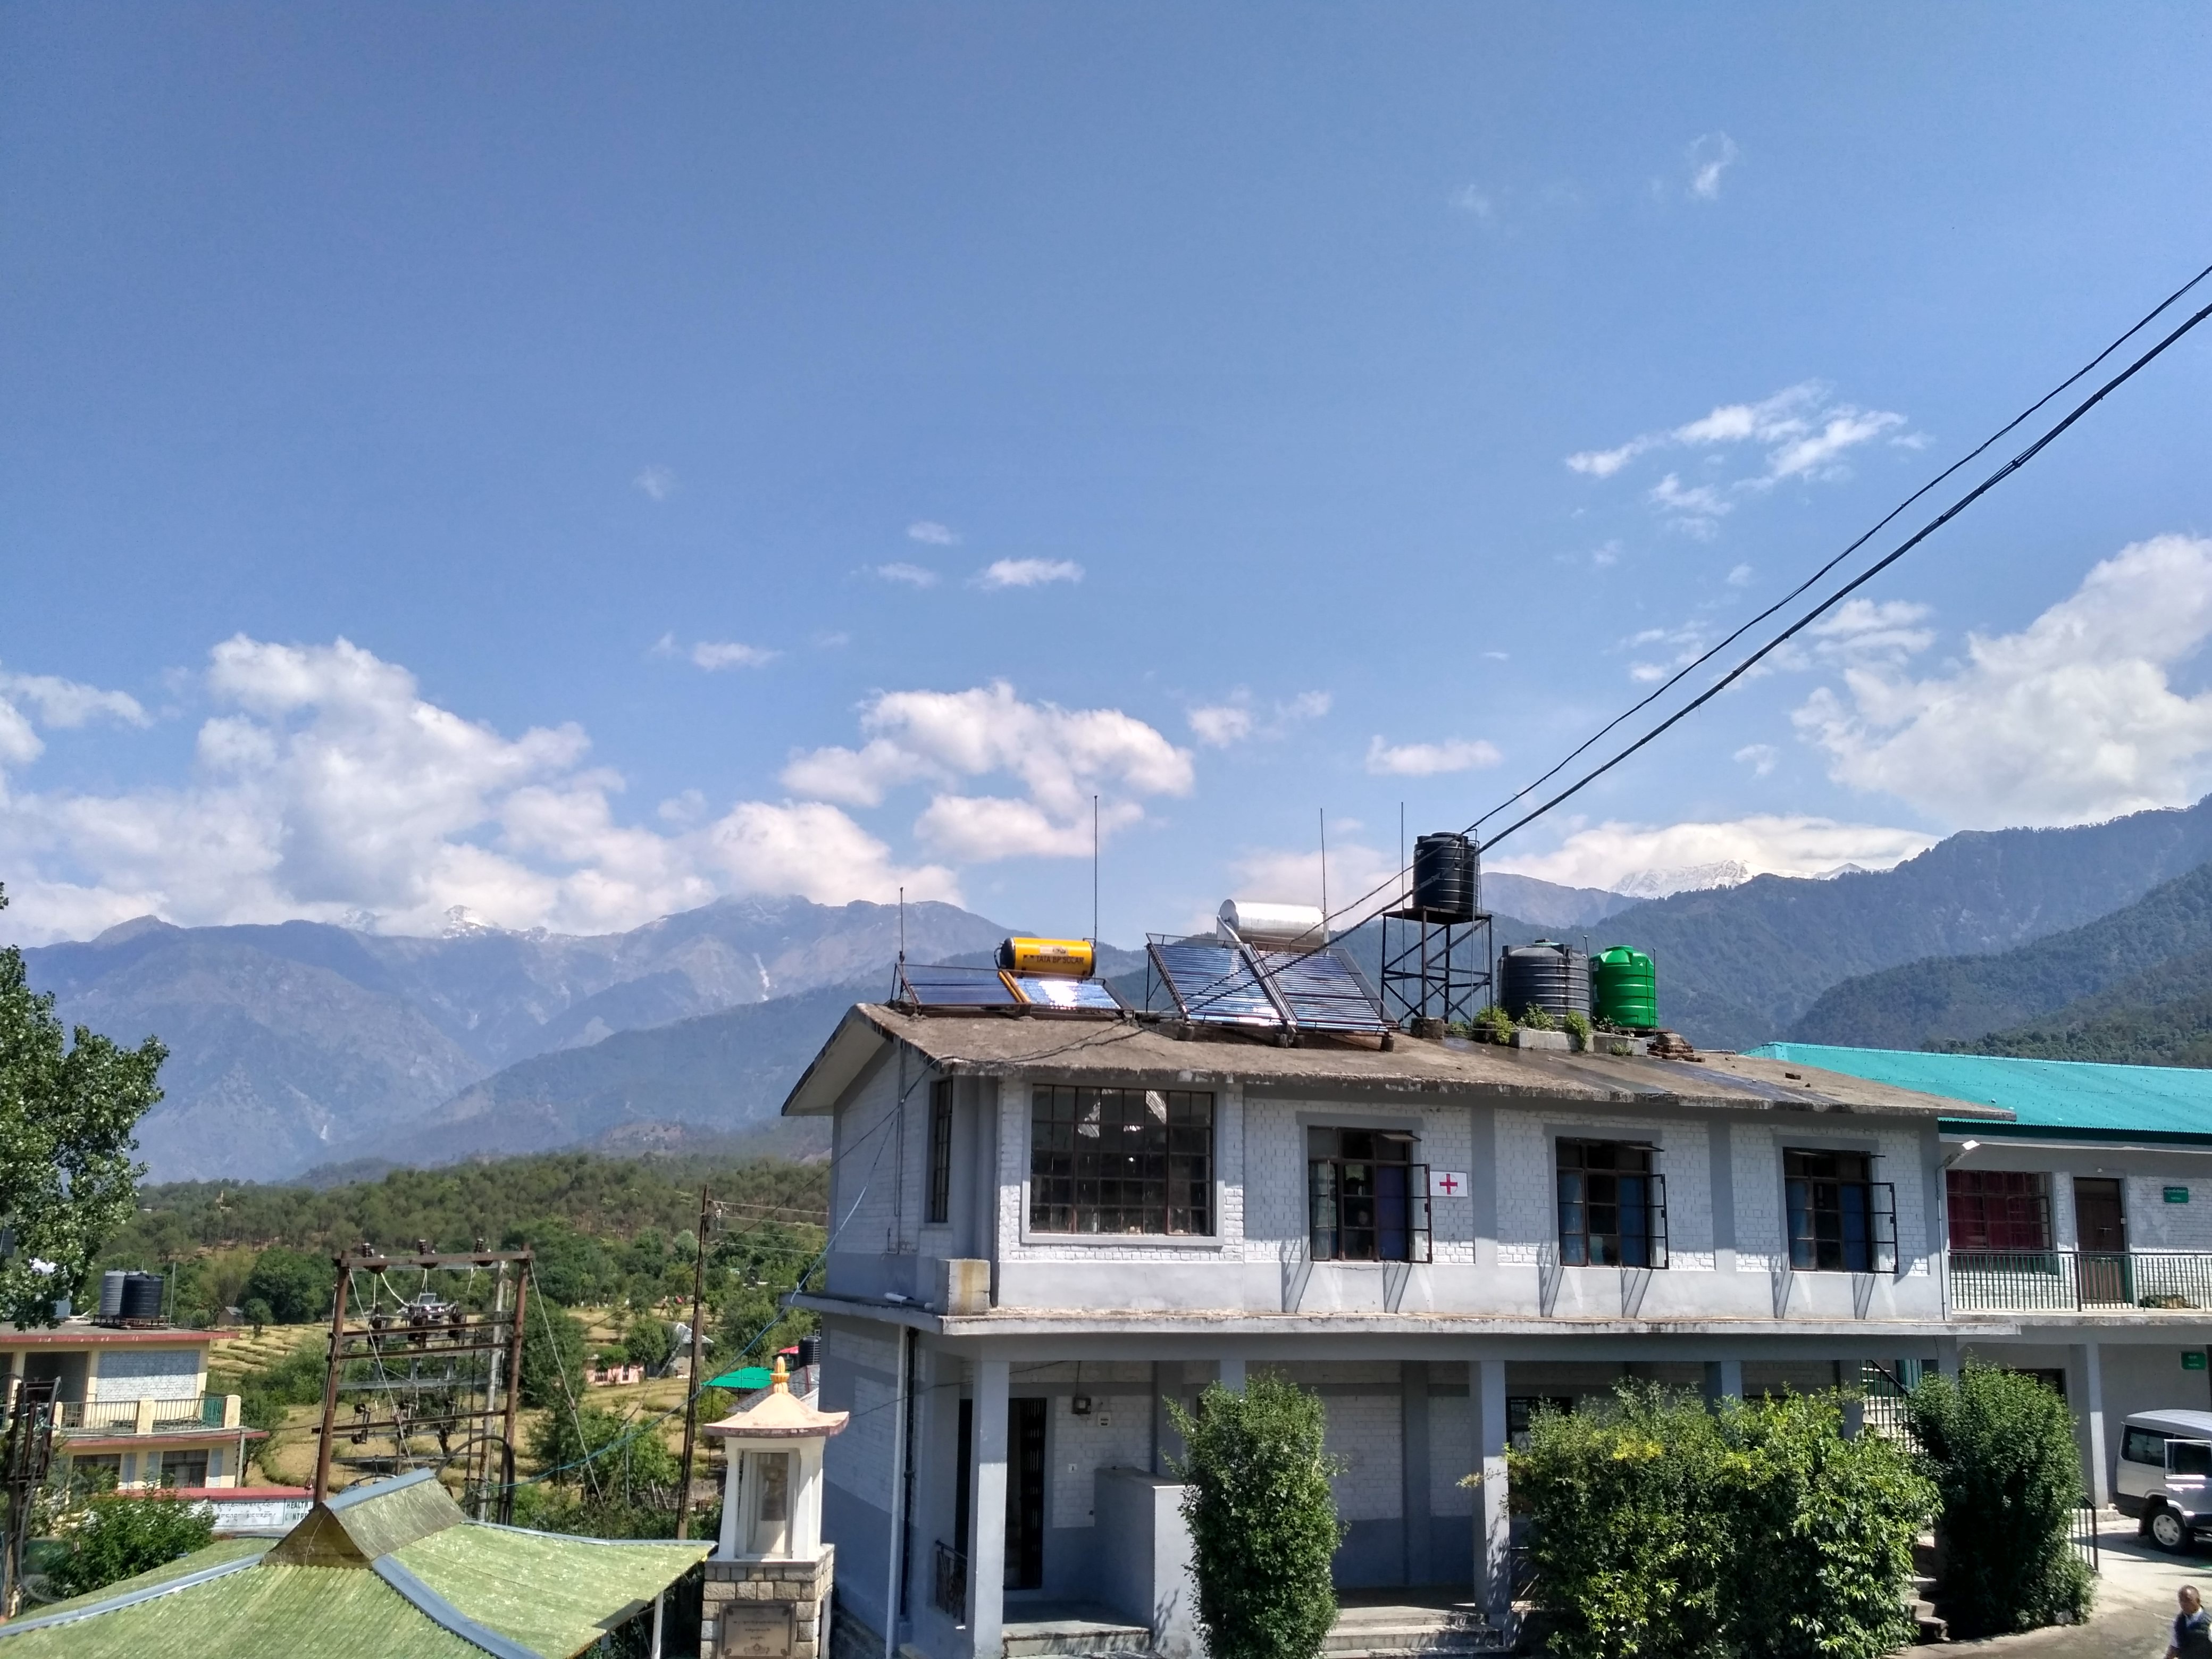
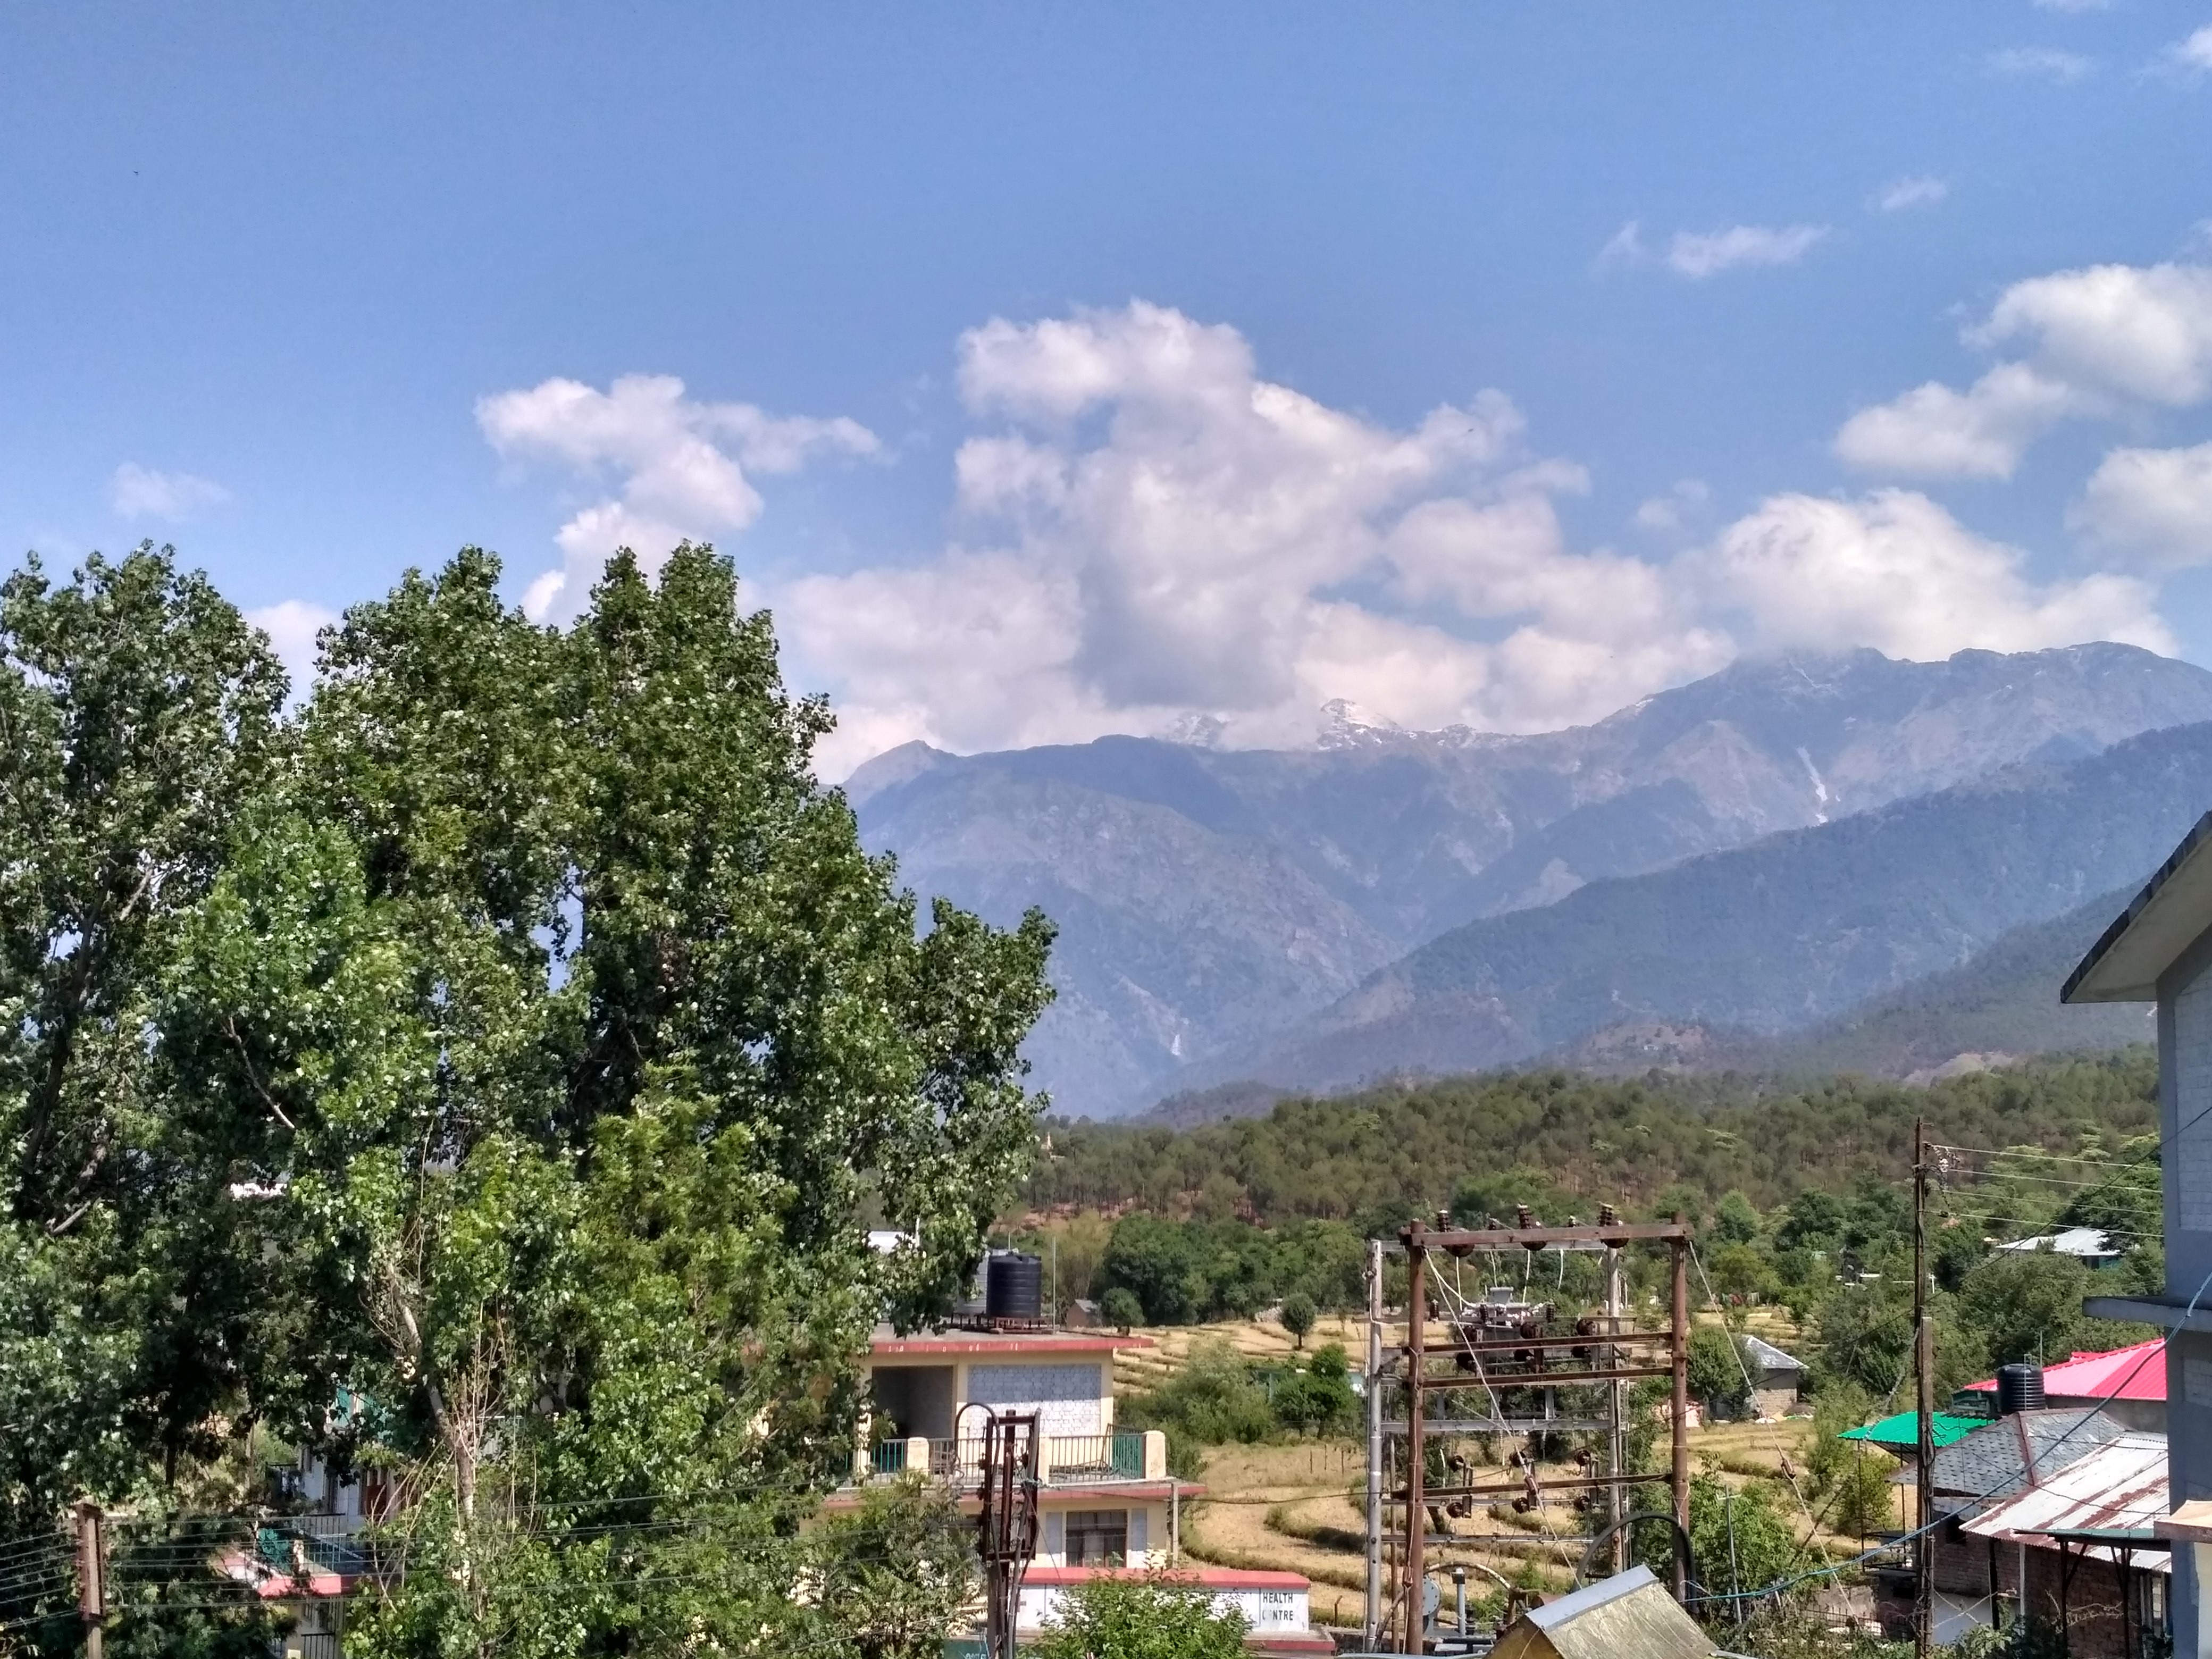
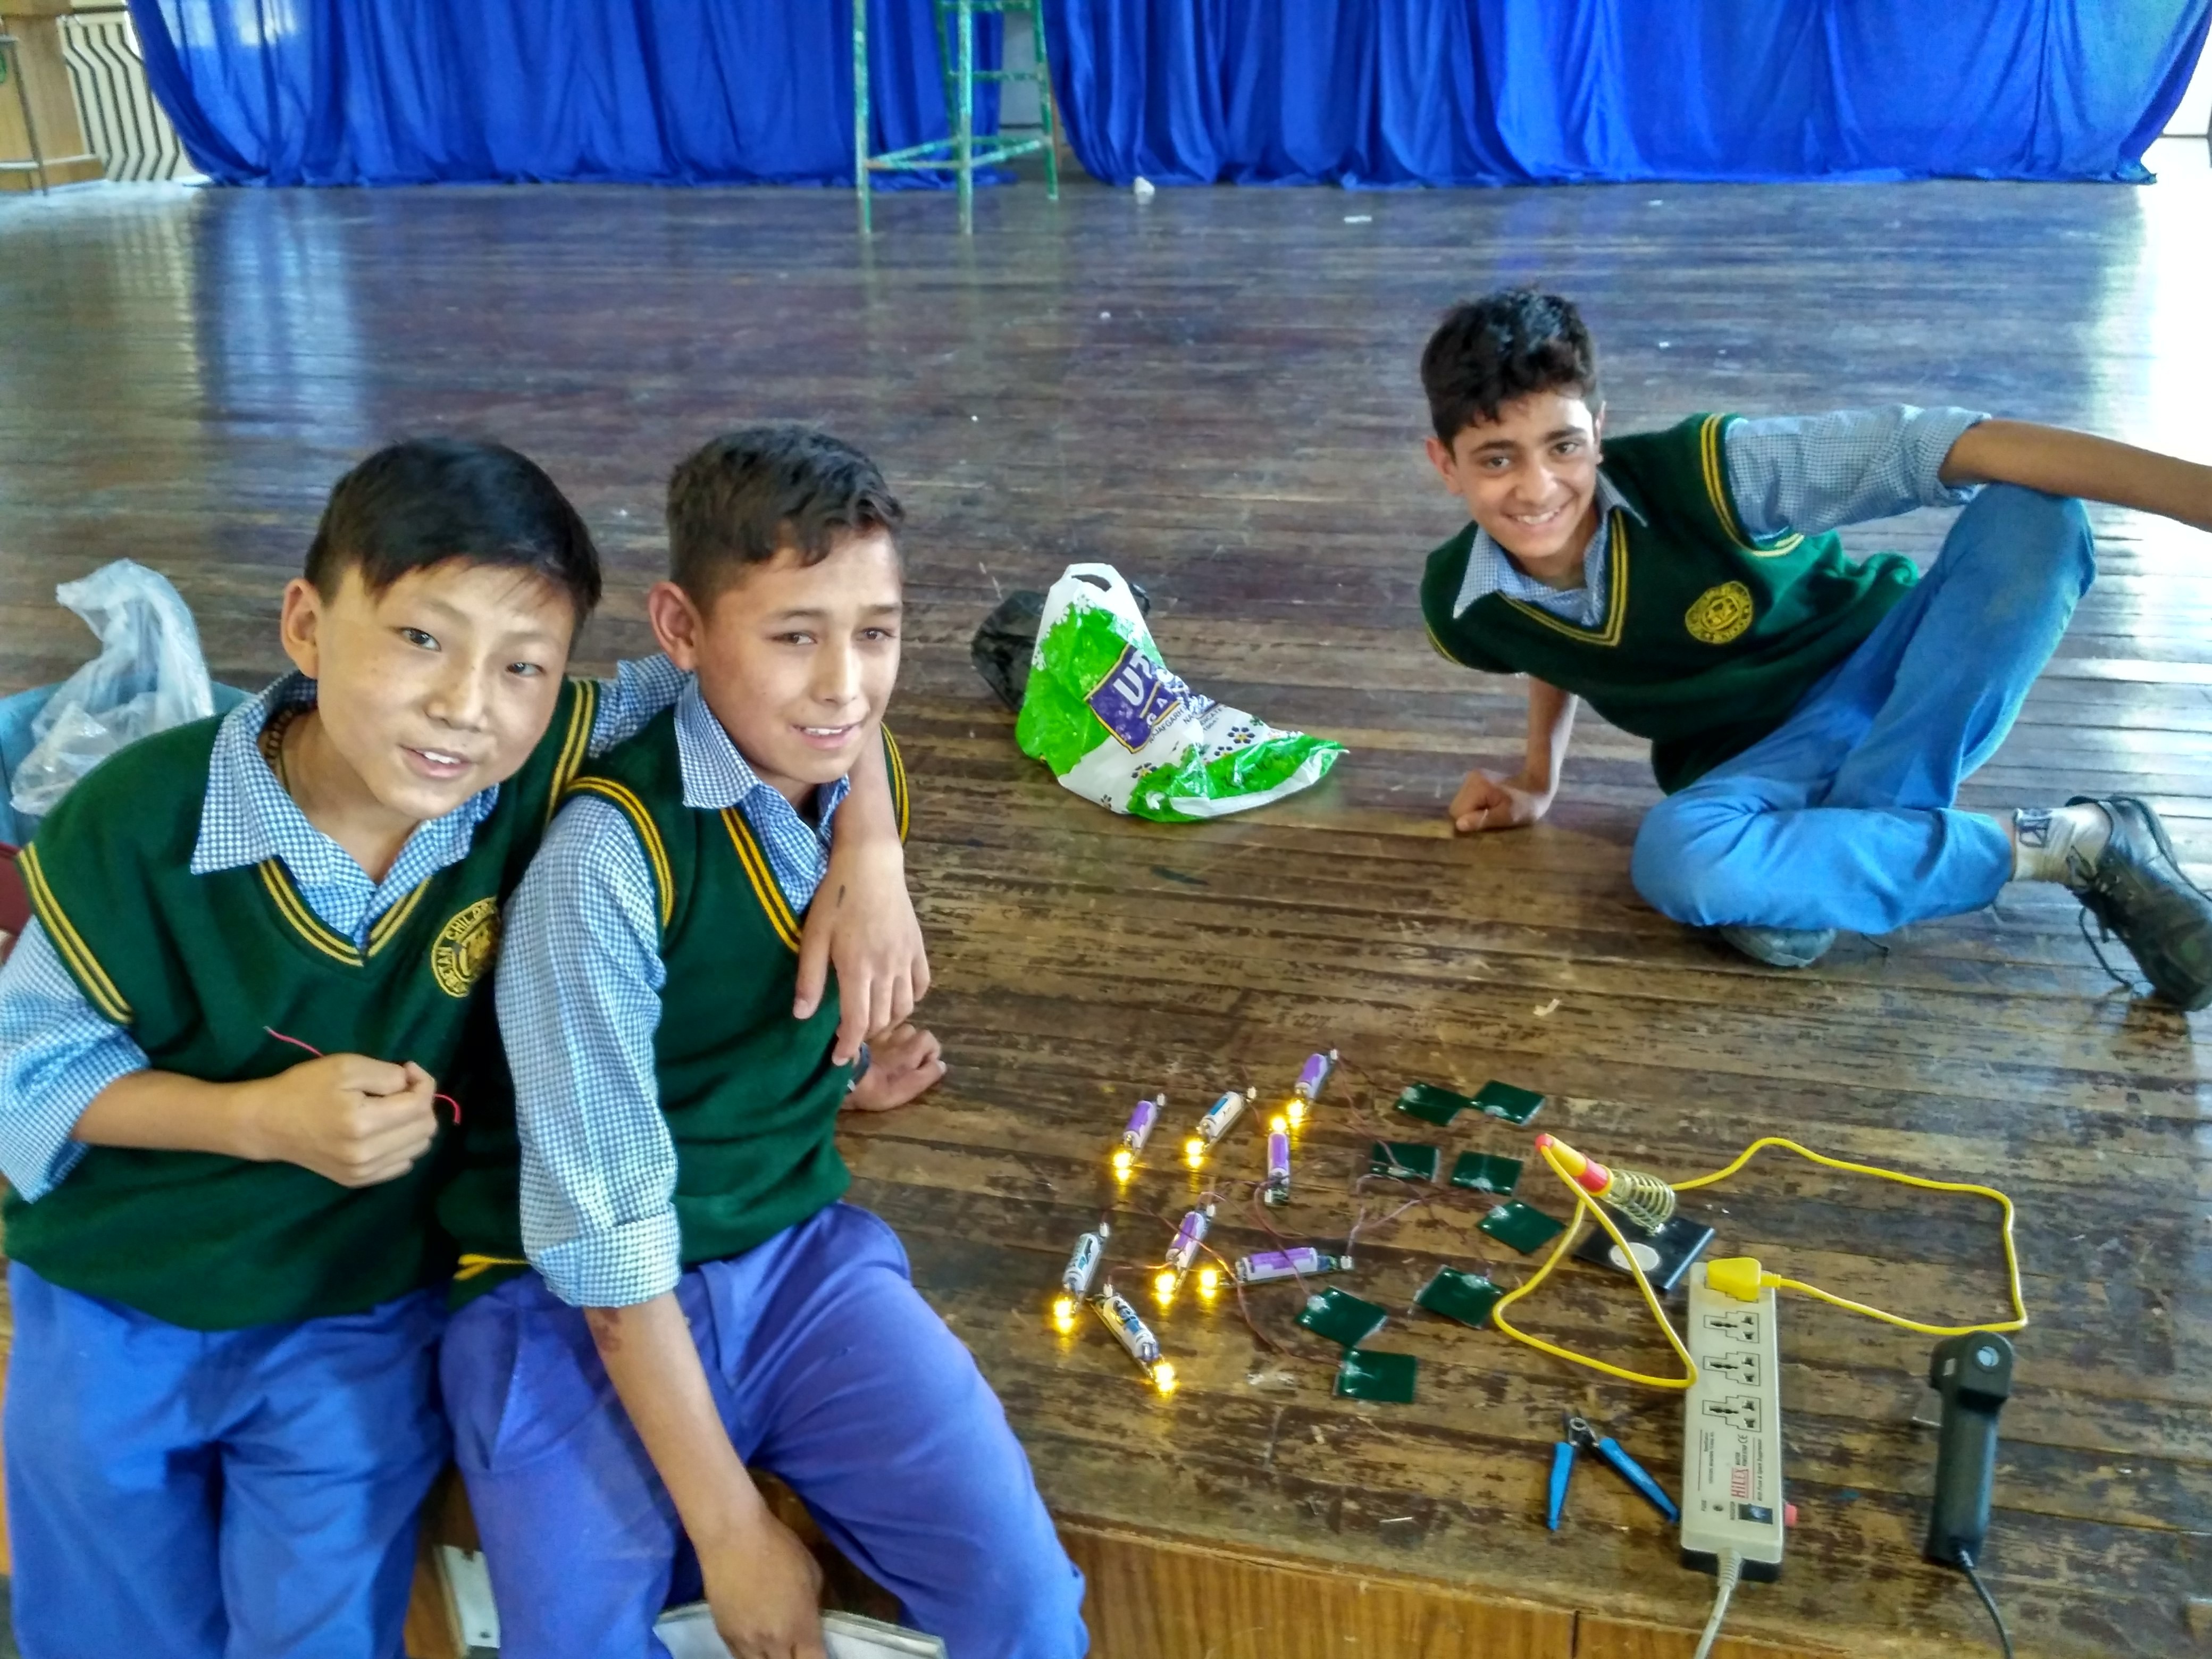
    As a part of HillHacks school program we conducted a soldering workshop at TCV Suja. The school is located at the foot steps of Dhauladhar mountains of Himalayas. The view from the school is breath taking. I wish I had a school like this. Around 30 students from 6th grade participated in the workshop. To my surprise some kids soldered better than few adults at Hillhacks :), probably because they had more hands as can be seen in the below photo.


    View from the school.

    Kids who participated:

View all 4 project logs

Enjoy this project?

Share

Discussions

ekiarmei wrote 09/28/2021 at 10:34 point

This kit has some special features as you mentioned some qualities here I think you need to visit familyoffive to see some similar type of information.

  Are you sure? yes | no

TheGrim wrote 07/09/2018 at 20:16 point

Hi Nitesh,

quick question? Do you provide a case or cover for these? It just seems like they're very susceptible to damage after they are built.

Anyway. I was looking at your project and thought that if you had a nice slim cover like a small sleeve (maybe printed) and instead of the square solar panel you could use a rectangular 78mmx28mm one (ebay item 263585914090). You could integrate it on one side of the case as well (glue or press-fit). This would give a more finished-product feeling while making it last a bit longer.

Cheers. Keep up the good work.

  Are you sure? yes | no

thermalplasmadischarge wrote 04/19/2018 at 18:21 point

Really inspiring! All the best.

  Are you sure? yes | no

sidsingh wrote 04/09/2018 at 08:12 point

Nice project and cool looking PCB! Cheers!

where do you get your PCBs from?

  Are you sure? yes | no

Shree Kumar wrote 04/08/2018 at 16:48 point

Cool project, @Nitesh ! That photo with the kids looking at the light is really nice.

  Are you sure? yes | no

Nitesh Kadyan wrote 04/09/2018 at 05:17 point

Thanks @Shree Kumar. Come to hillhacks next month :)

  Are you sure? yes | no

Shree Kumar wrote 04/09/2018 at 05:44 point

@Nitesh  Looked up hillhacks for this year - it was in my TODO list ! Thanks for the information. May 18-31... My crowdfunding campaign will be running at that time, unfortunately. What to do ?

  Are you sure? yes | no

ilashree Goswami wrote 04/07/2018 at 08:54 point

How much does one kit cost, if we intend to introduce in Experimental Education System.

  Are you sure? yes | no

Nitesh Kadyan wrote 04/07/2018 at 08:59 point

Would cost around $10.

  Are you sure? yes | no

Similar Projects

Does this project spark your interest?

Become a member to follow this project and never miss any updates