Hacker House
-
Part 6: Drive Motor and Cupholders
10/02/2016 at 19:22 • 0 commentsIn part 6, we mainly focused on 3d printing some components for the drive motor and cupholder mechanisms.
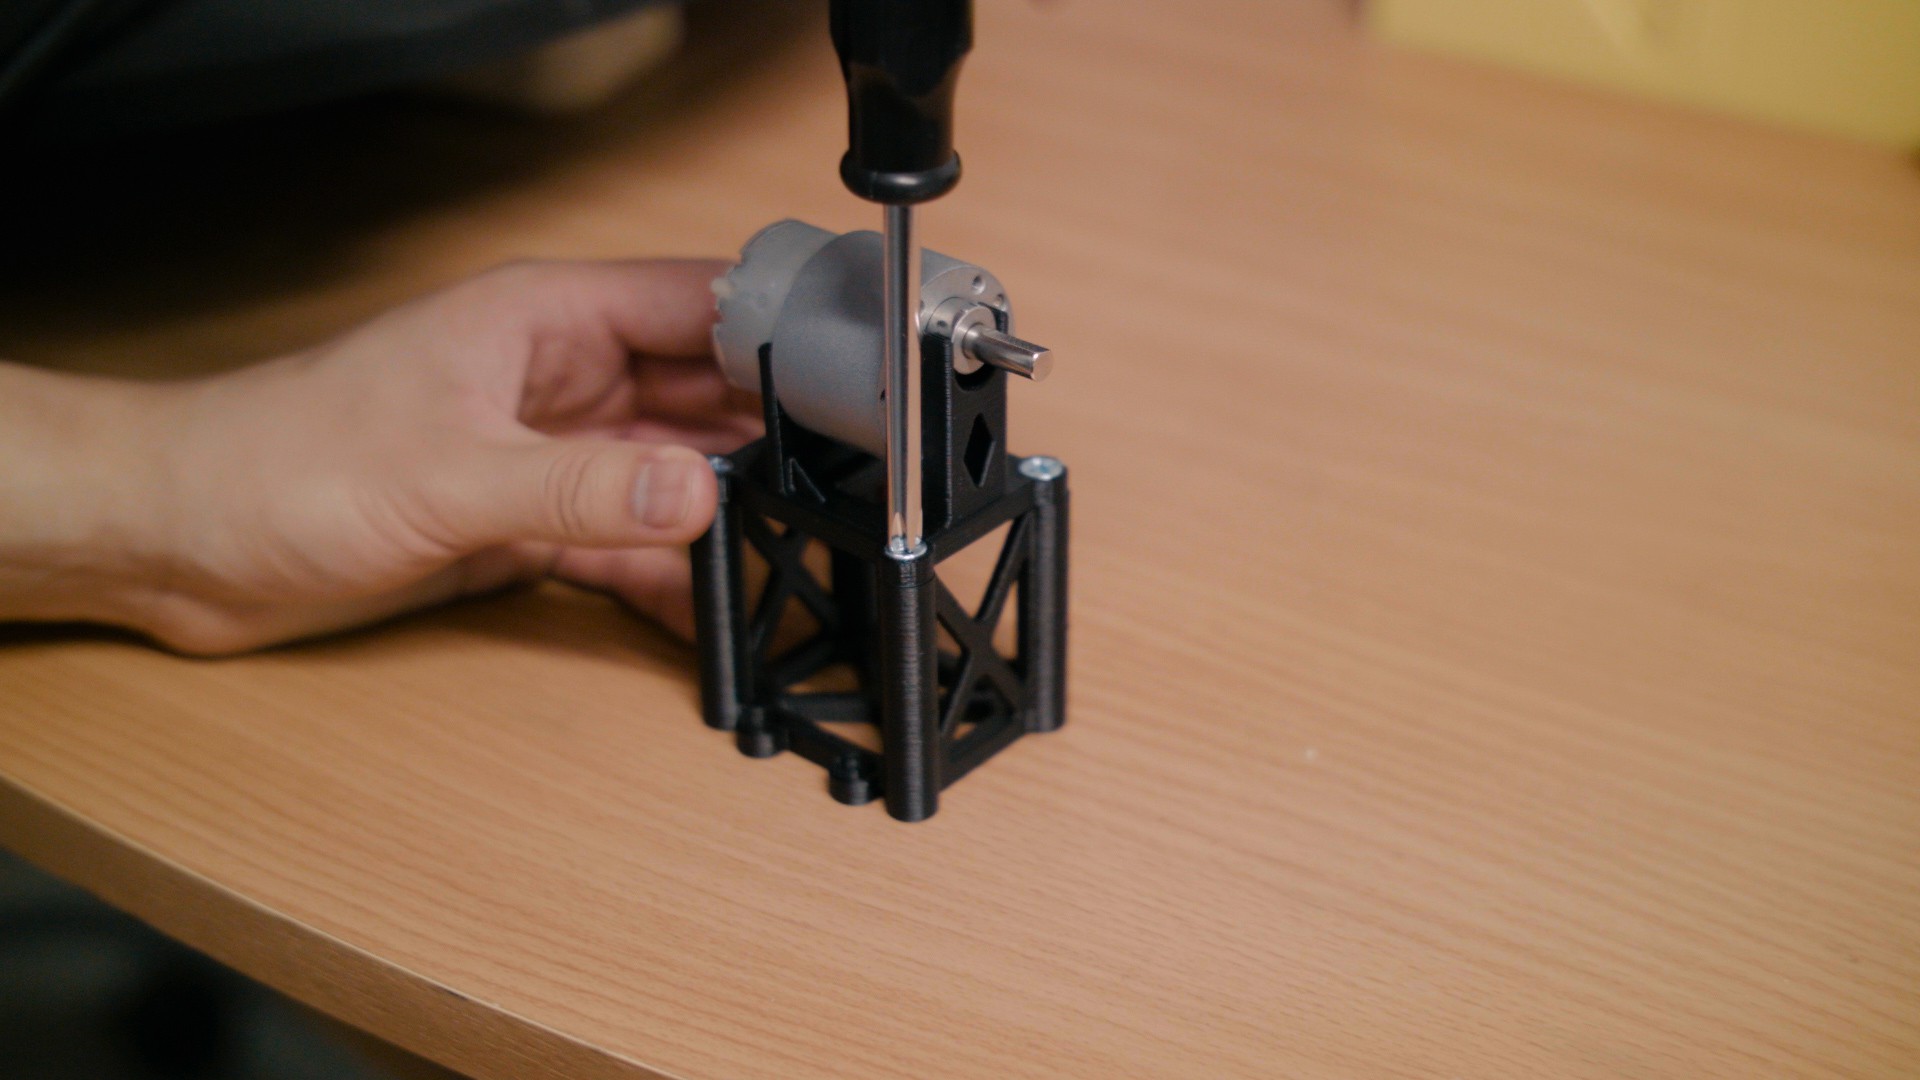
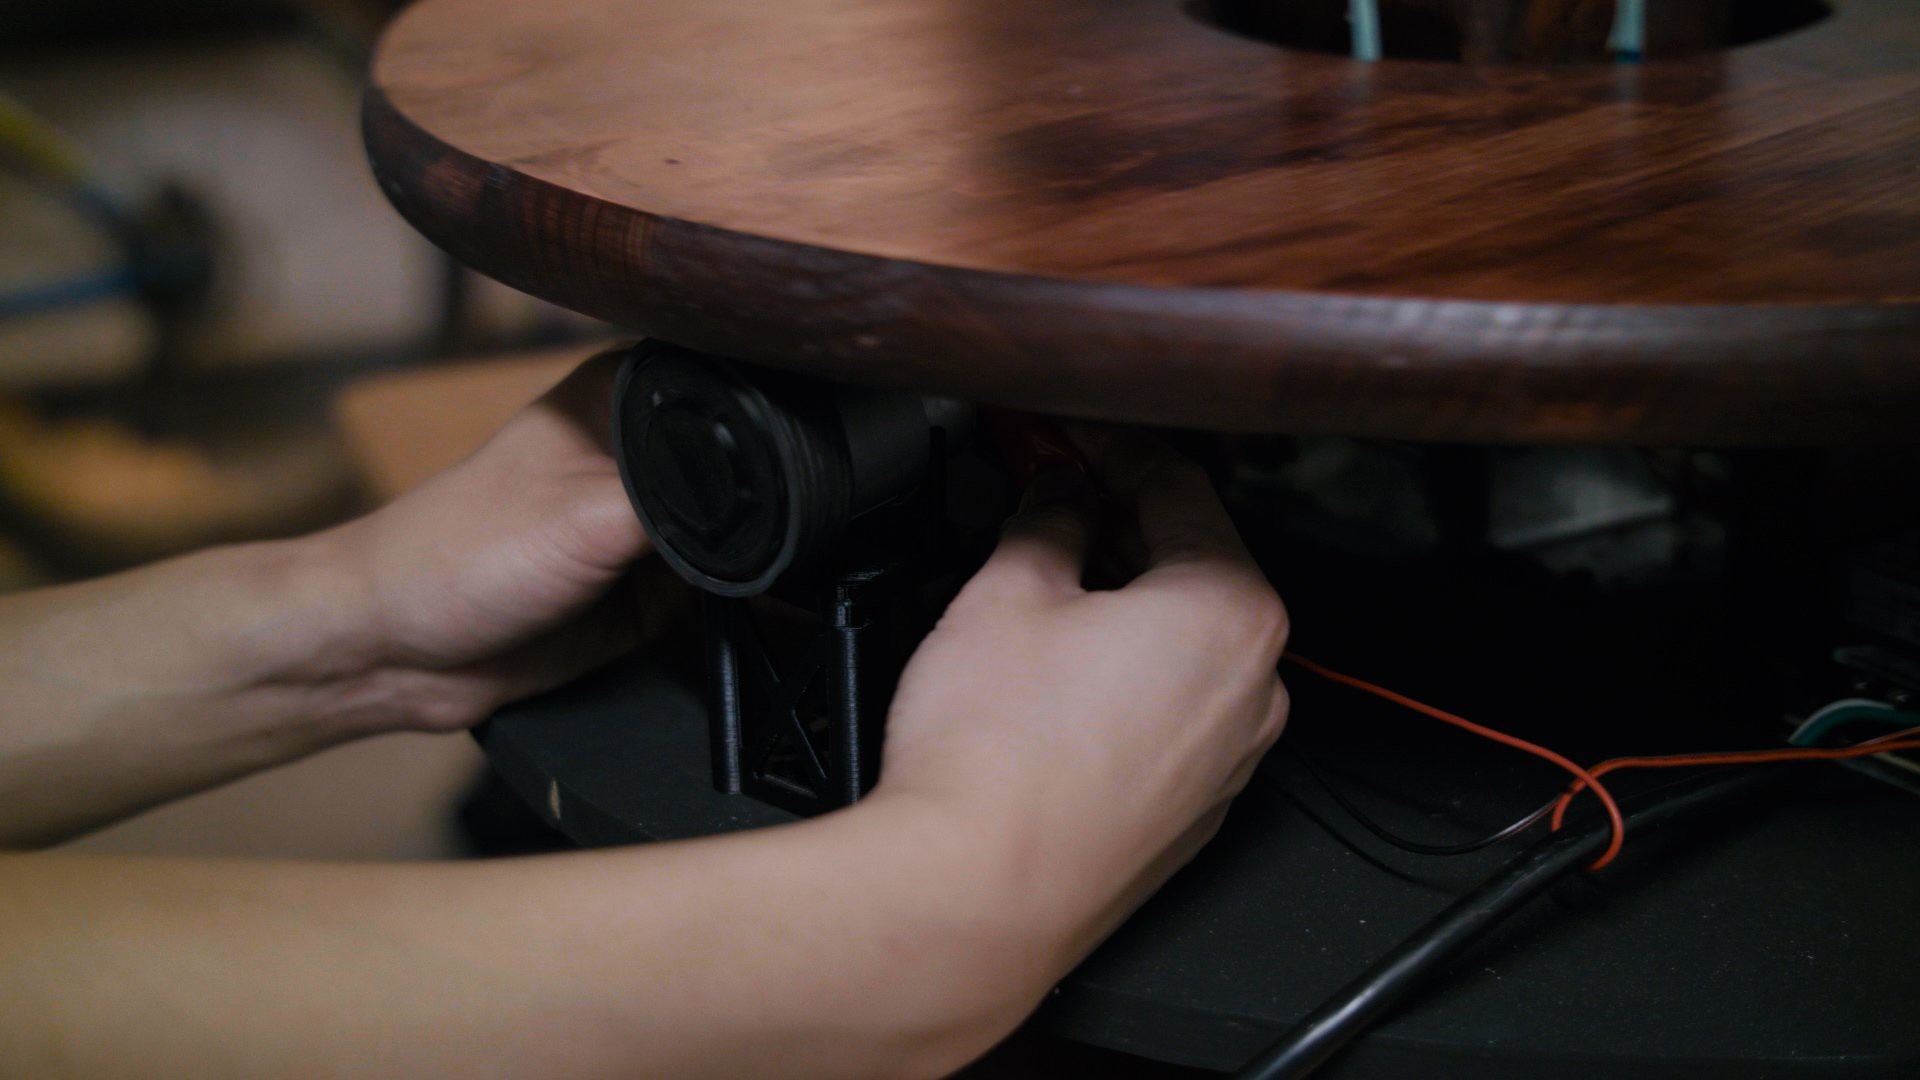
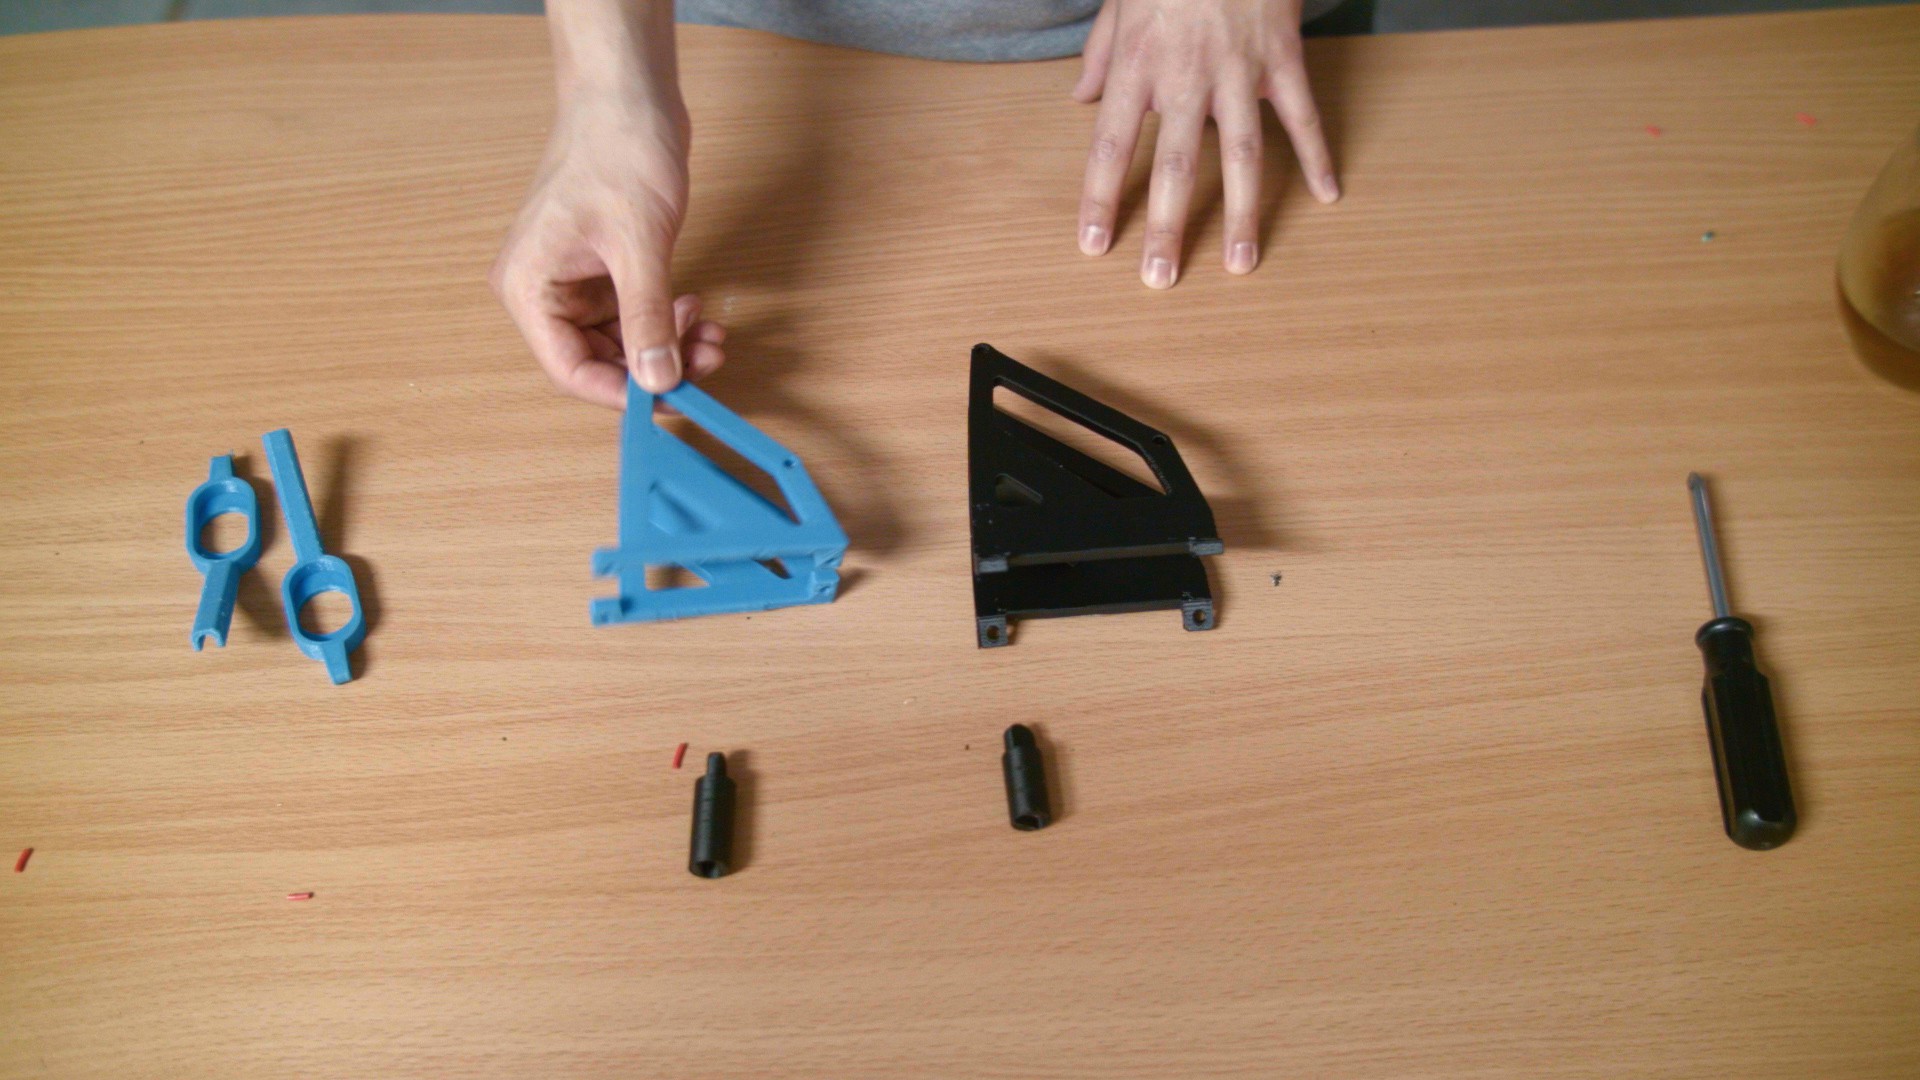
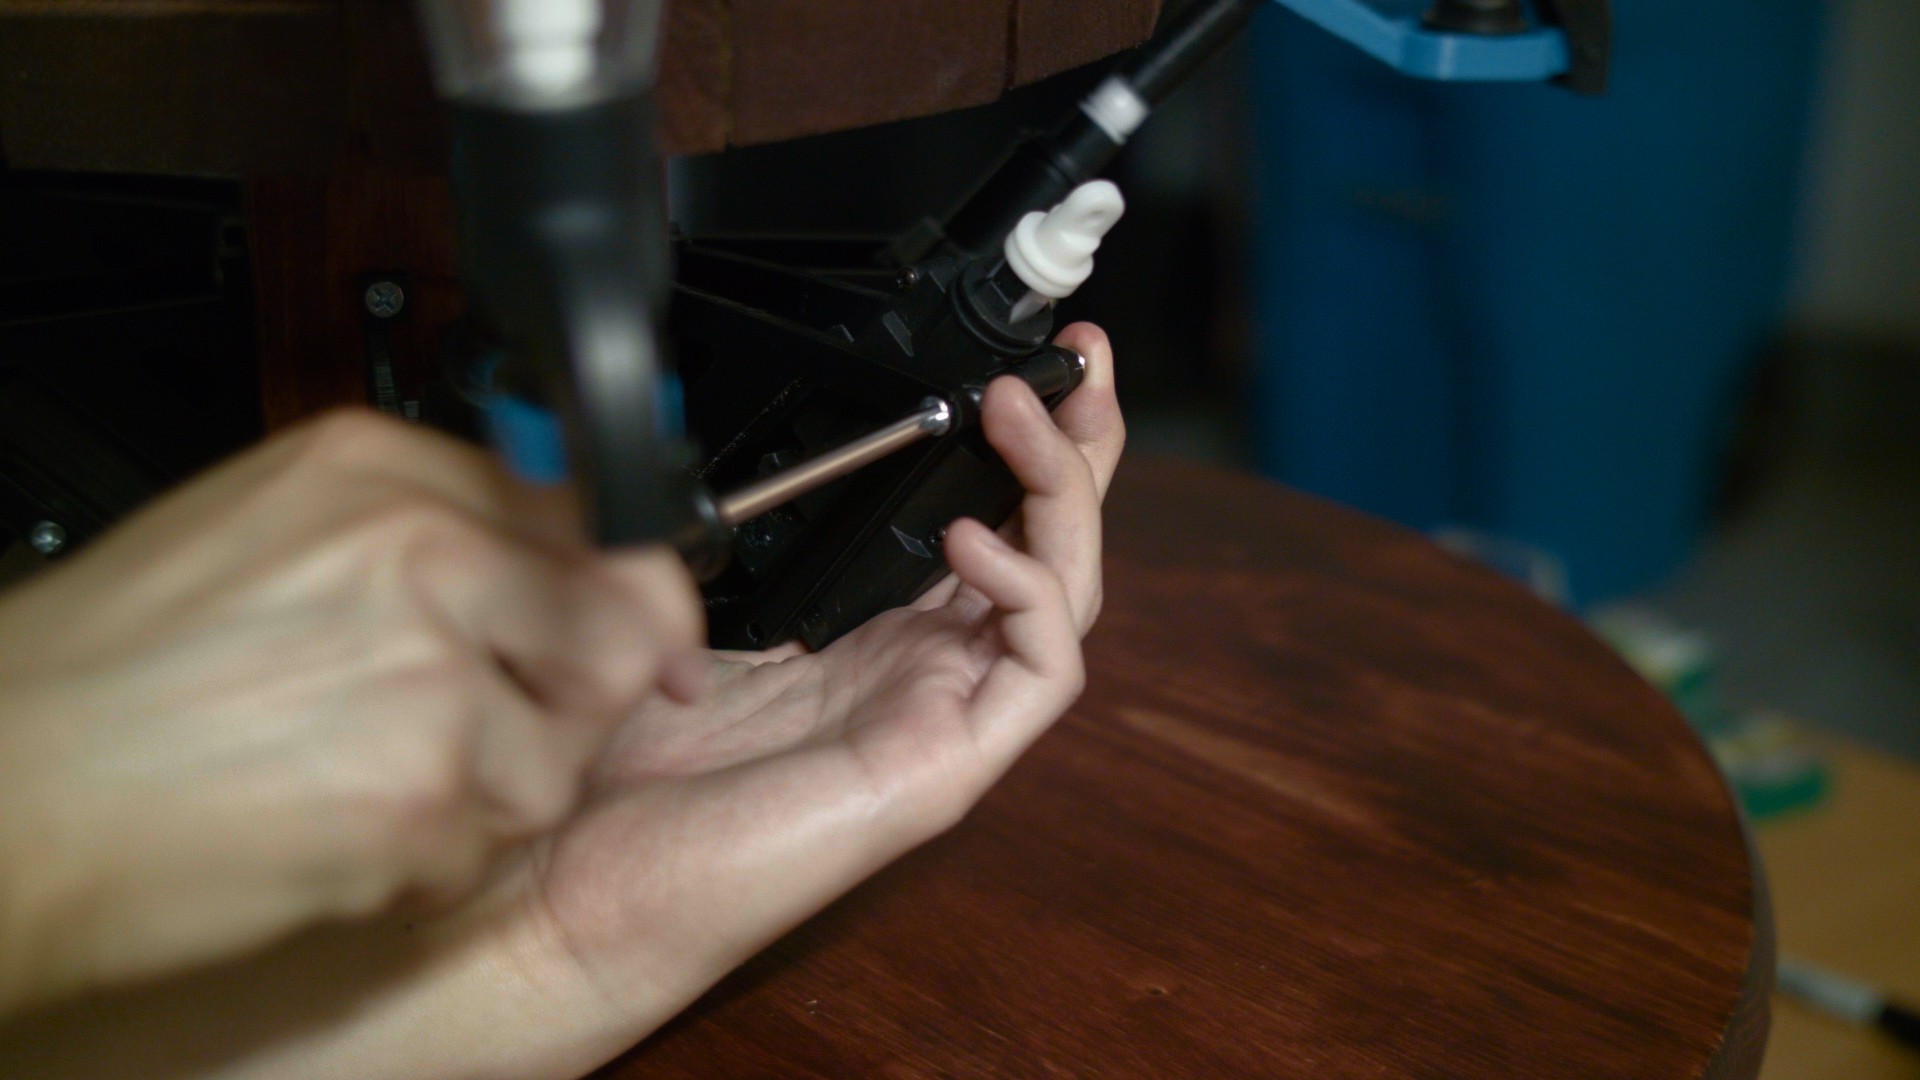
We recently purchased a relatively high torque motor on Amazon that we will use to drive the drink platform. The idea is that this motor will be mounted underneath the platform and spin it via a grippy wheel. In order to raise the motor so that our grippy wheel touches the bottom of the platform, we created an elevated motor mount.
![]()
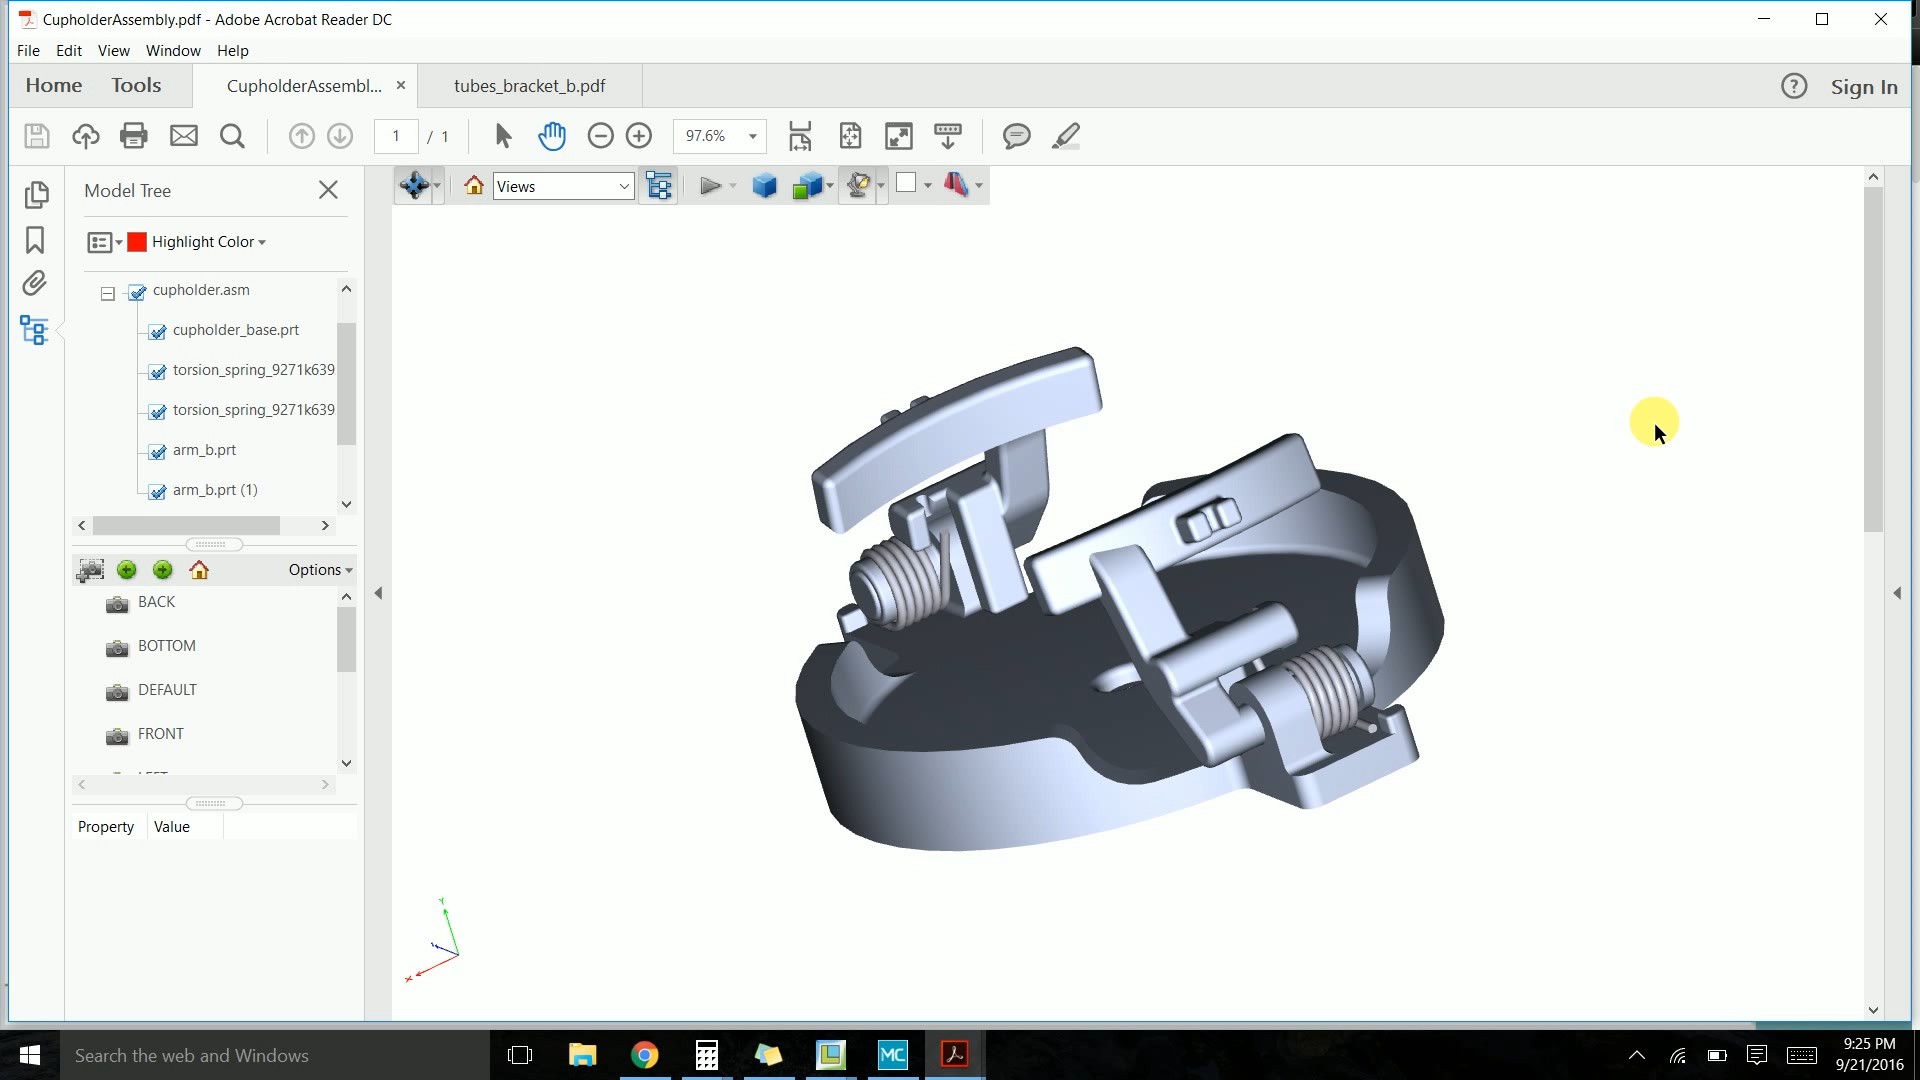
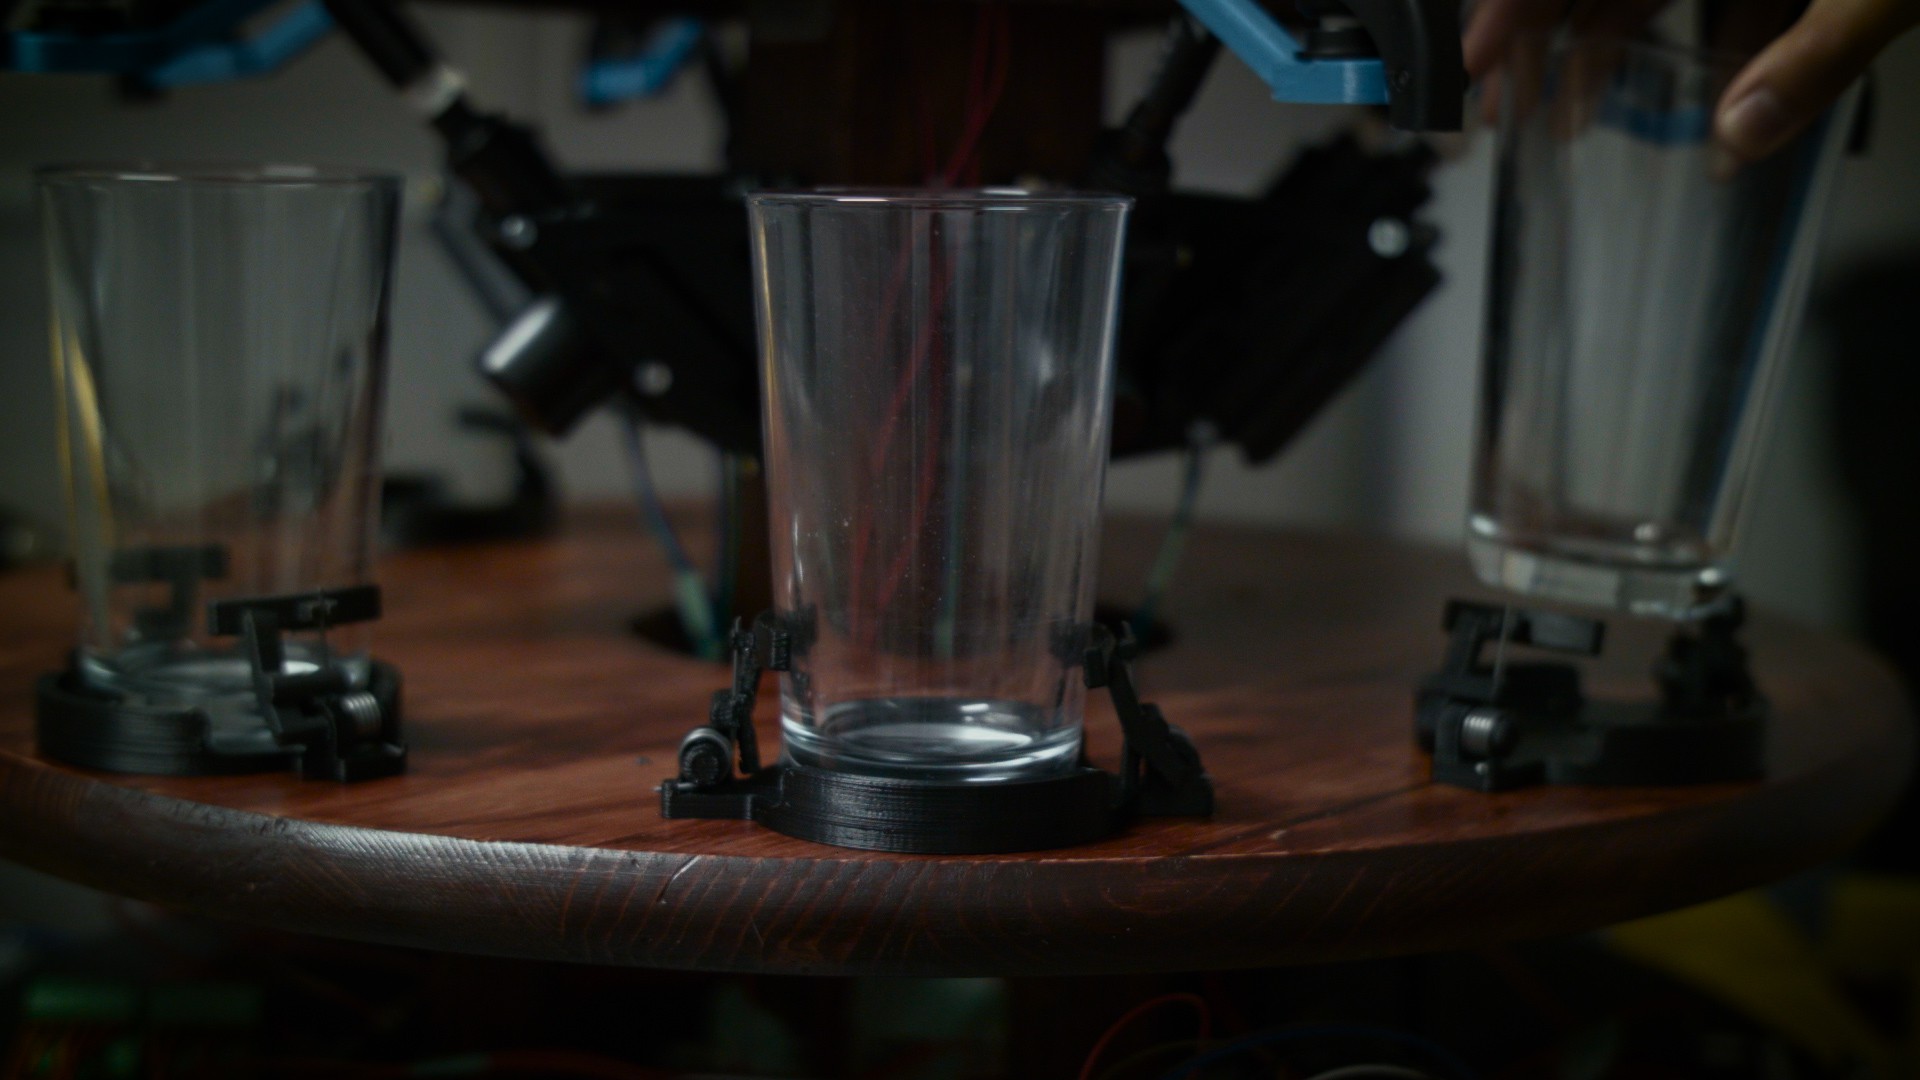
We also created a mechanism to hold our cups on the platform while it is spinning. We created some holder arms with torsional springs to prevent cups from moving around and accommodate several different sizes.![]()
![]()
![]()
-
Part 5: Shift Registers and Initial Wring
08/20/2016 at 15:04 • 0 commentsPart 5:
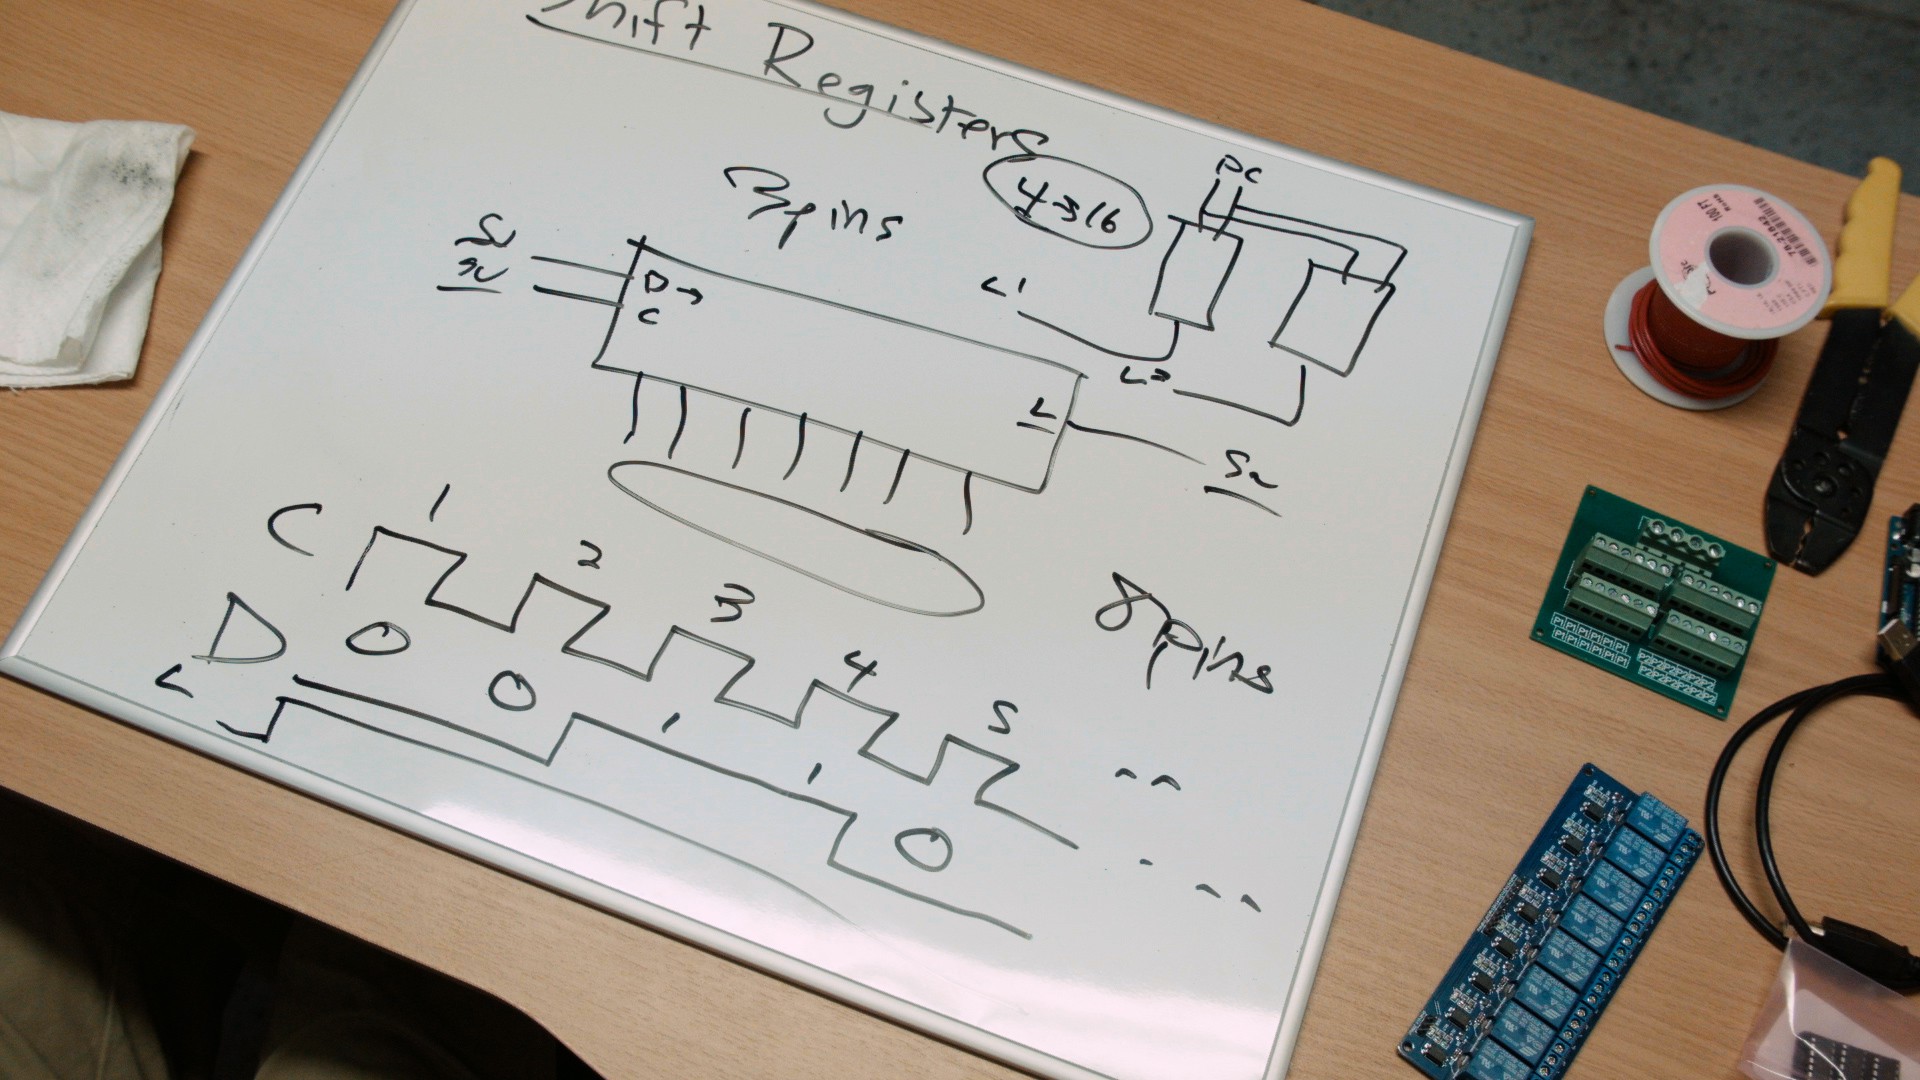
Our Arduino needs to control several components (actuators, pumps, drive motor, position switch) in order for the bartender to work, but there aren't enough pins on the board to individually control each of these components. We decided that shift registers would probably be the best way to control multiple outputs with only a couple of pins on the Arduino. I spent some time explaining how shift registers work and where they would fit into our schematic.
![]()
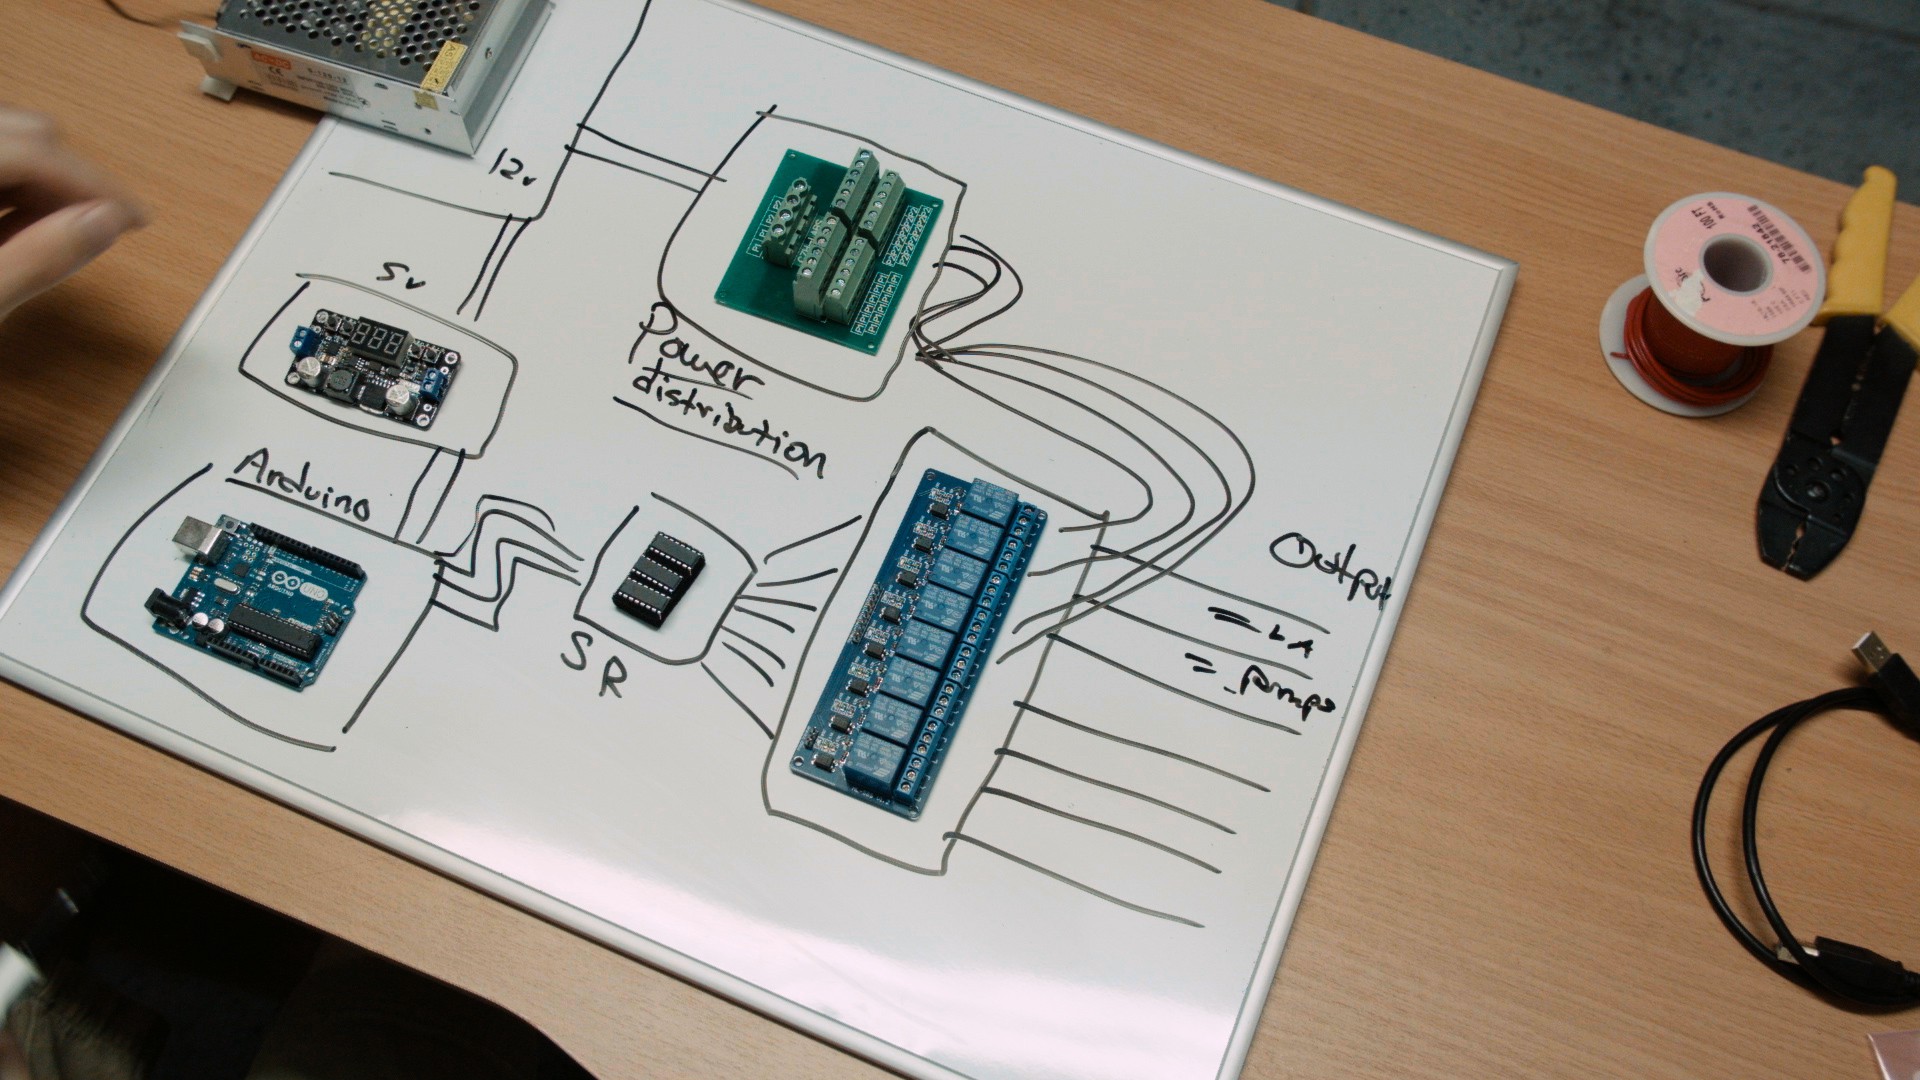
I also laid out all of my electronics and used the whiteboard to draw a mock diagram of how the components interface with each other.
I wrote a sample Arduino program that tested the shift registers and began wiring the components together. These components were then tested with the linear actuators on the bartender.![]()
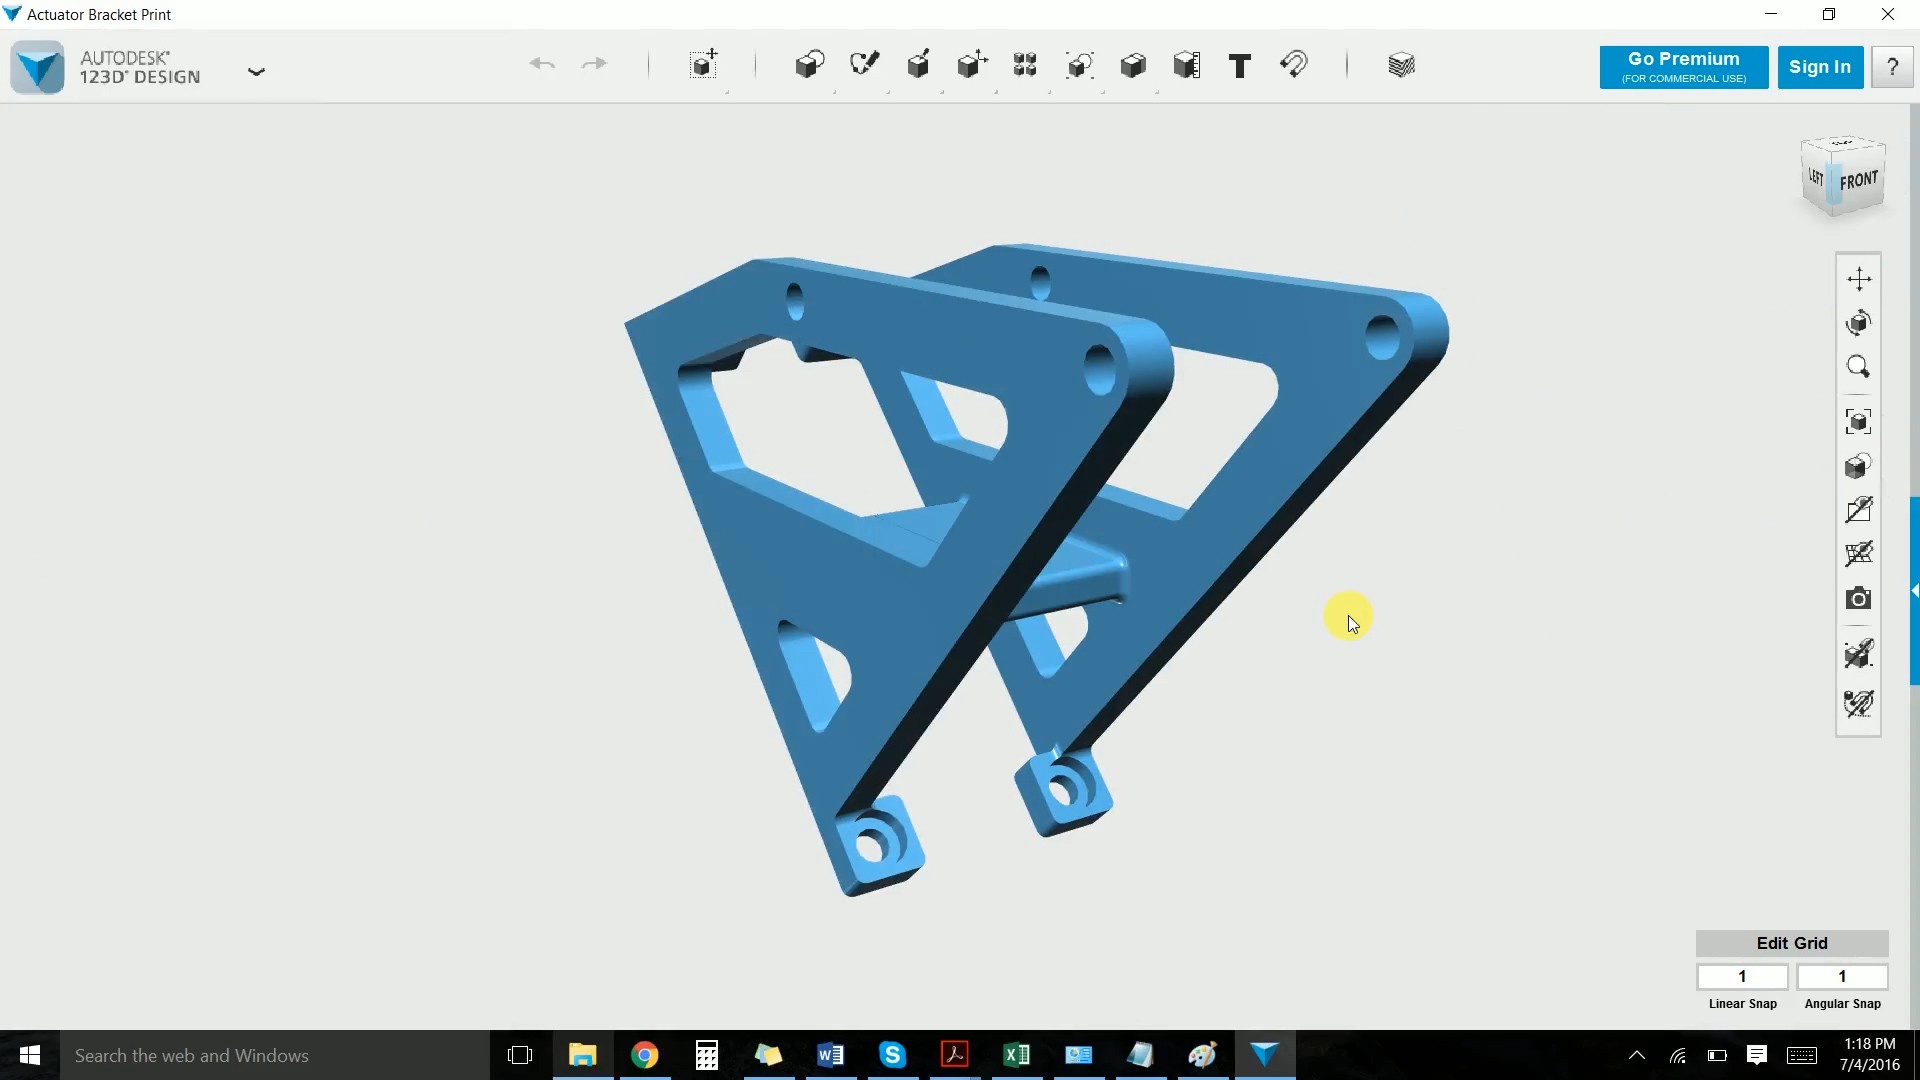
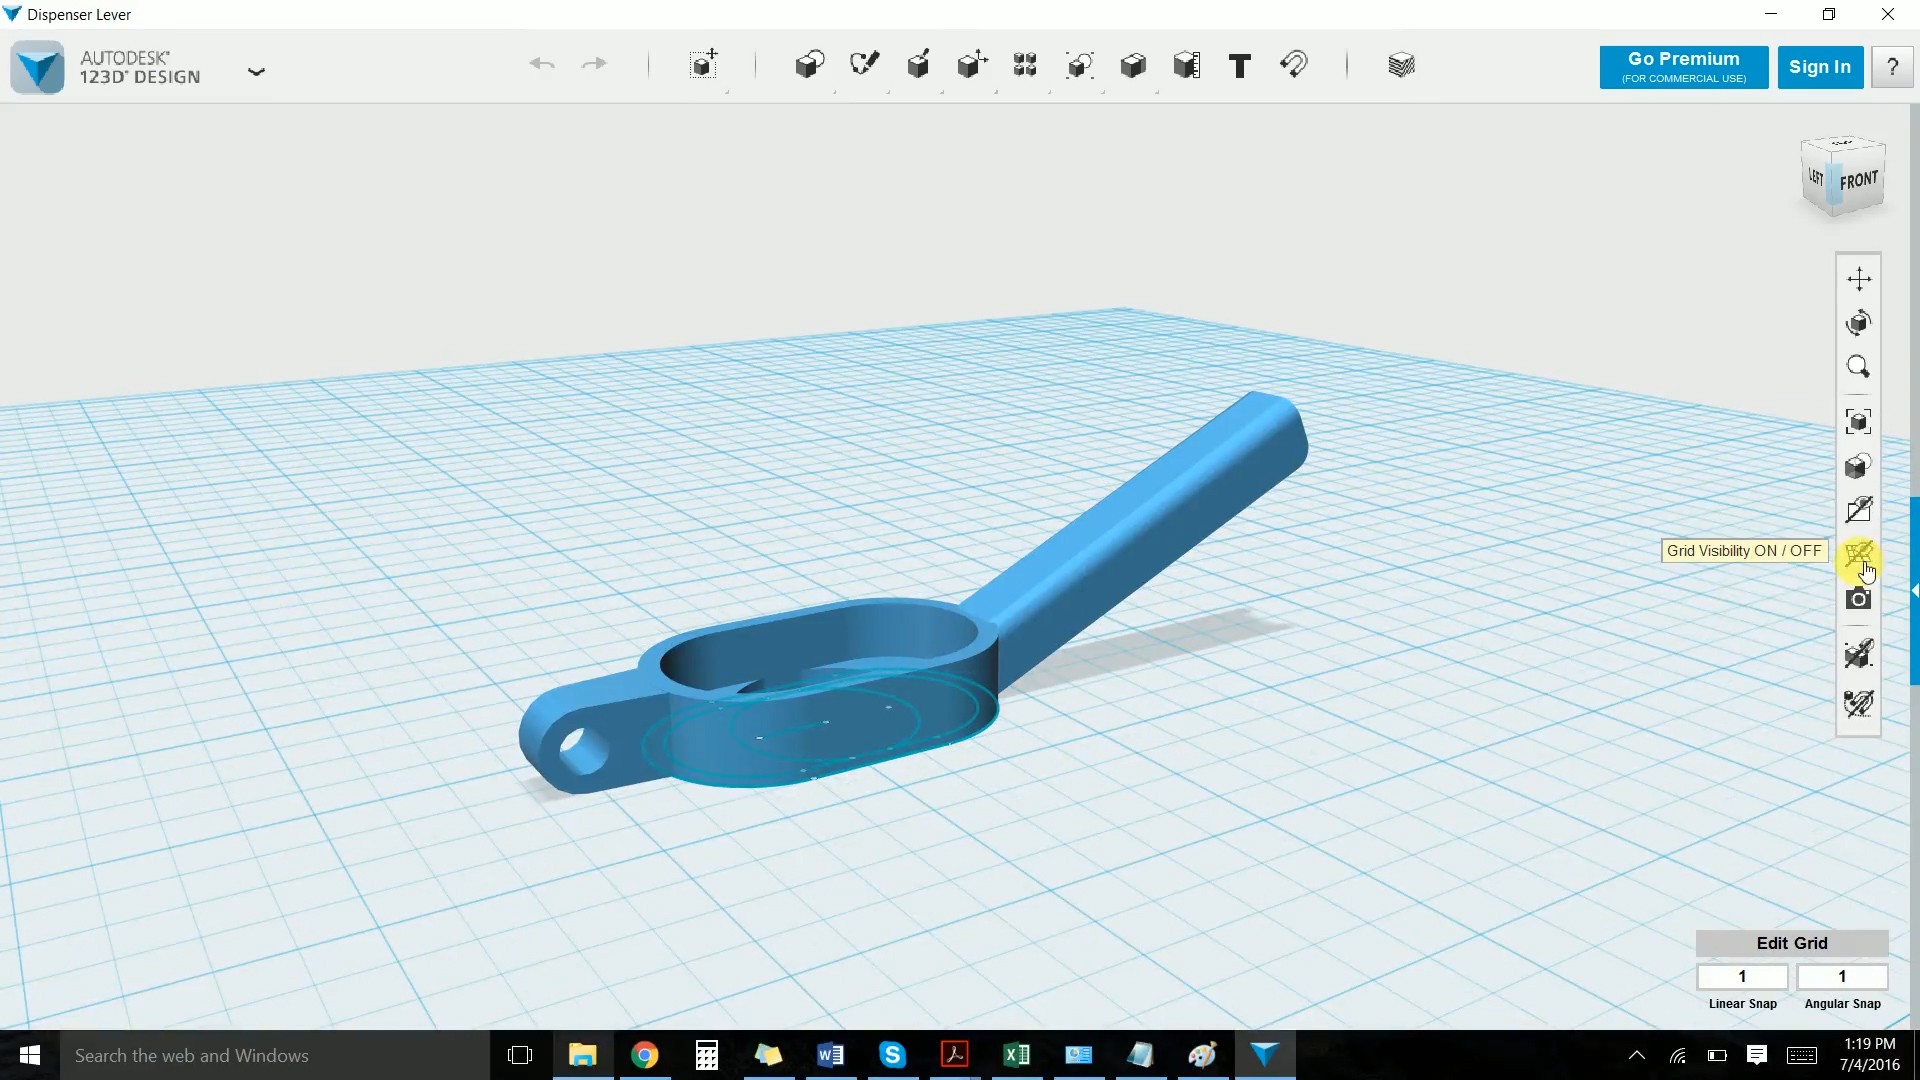
Finally, Davis modeled and printed some more parts for the linear actuators that sit on the corner of the support post. They extend a bit further out than the other actuator brackets, so we also printed a some smaller extension pieces for the dispenser lever.![]()
![]()
![]()
-
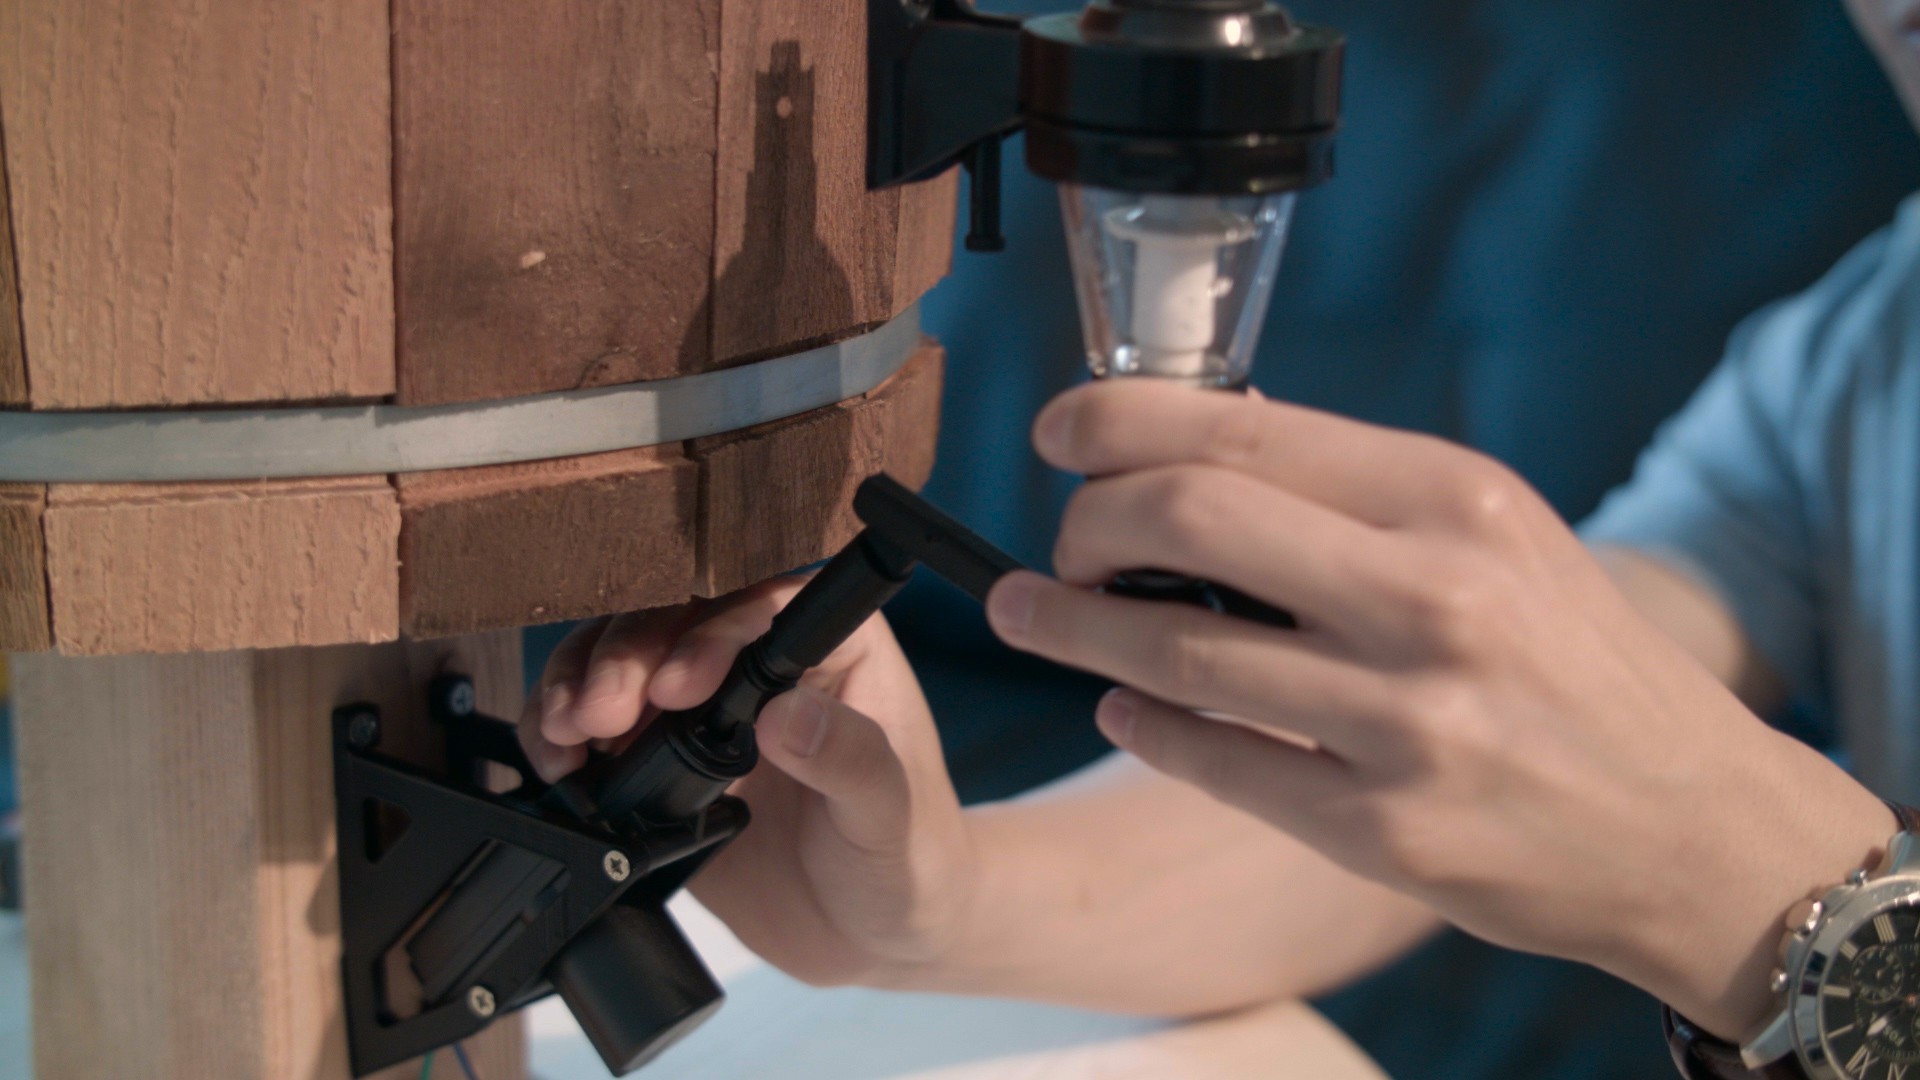
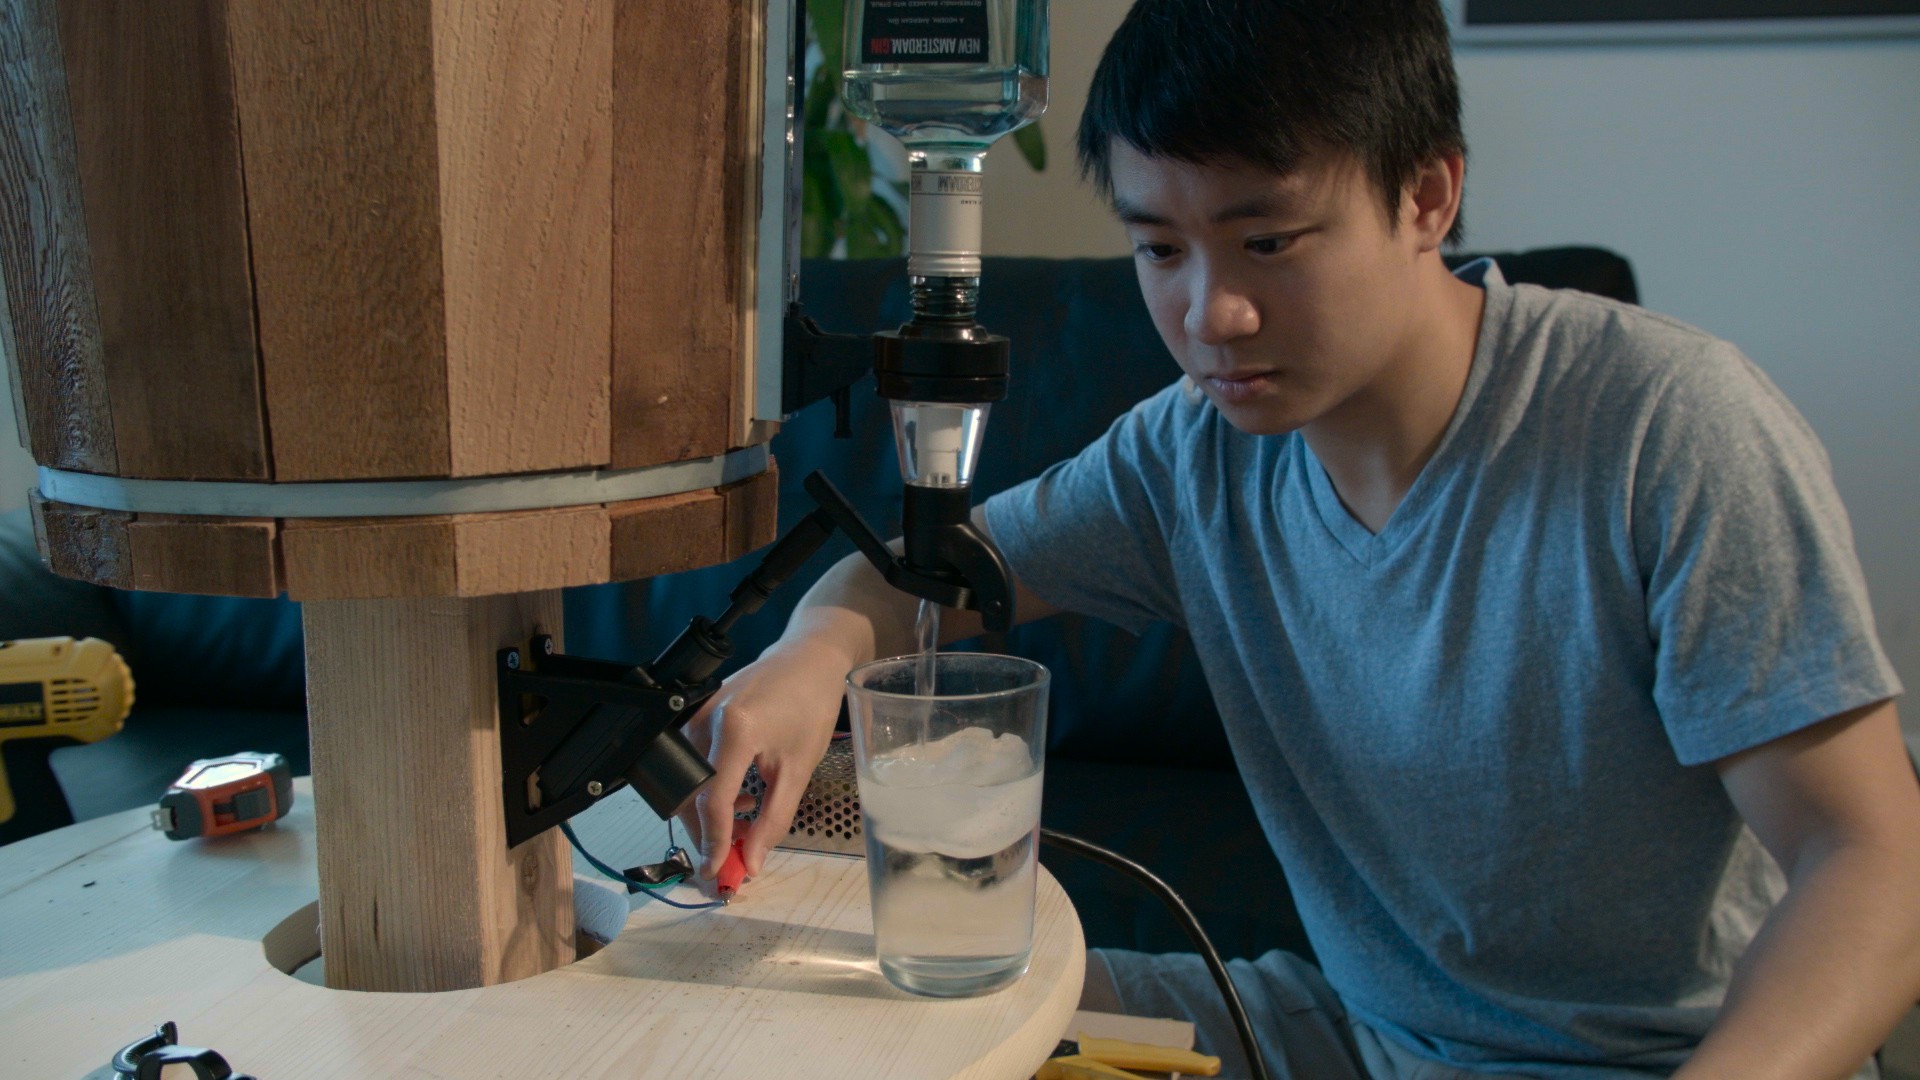
Part 4: Varnish and Flow Meters
07/29/2016 at 15:17 • 0 commentsHere's the 4th part in our series:
In this video, we varnish the frame and put a coat of polyurethane to protect the wood from any spillage that may happen while the bartender is mixing drinks.
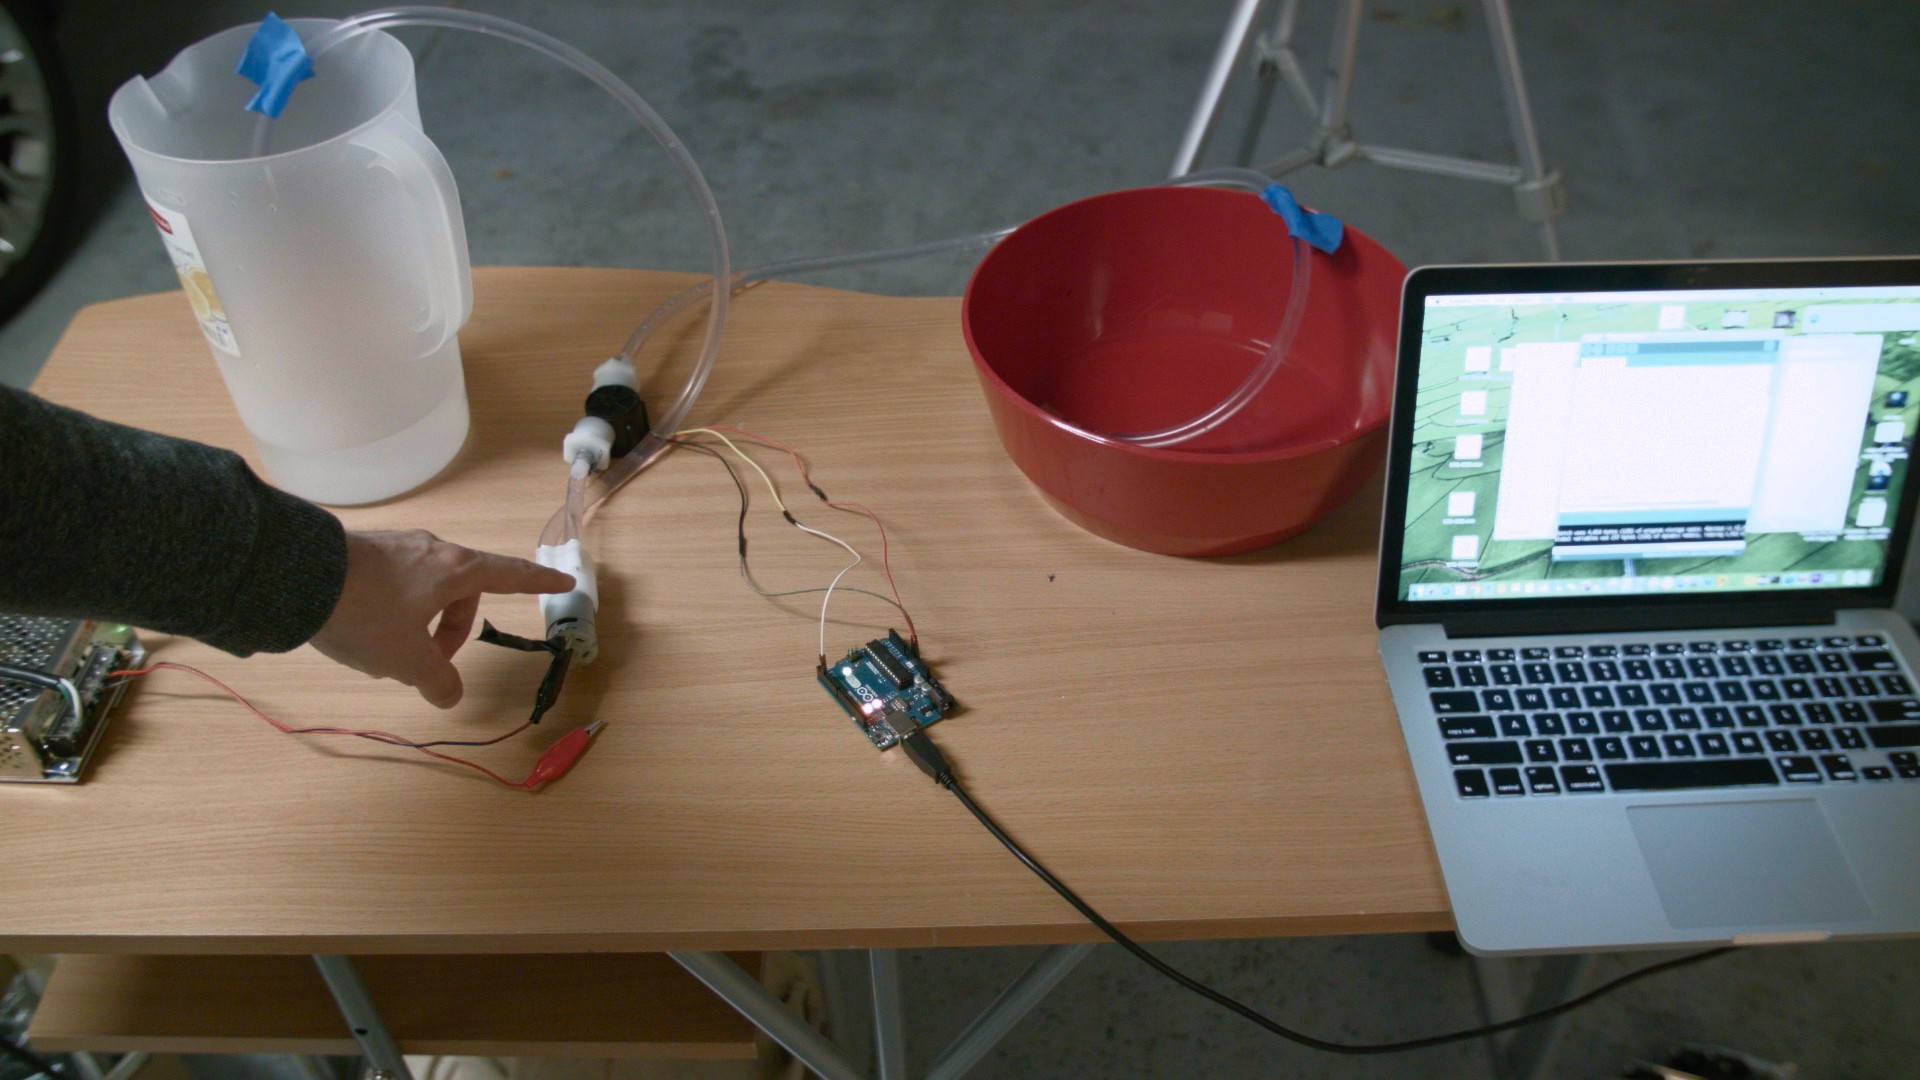
We also bought some flow meters to make our mixer output system more accurate. I setup an experiment to verify that our flow meter works as expected.
![]()
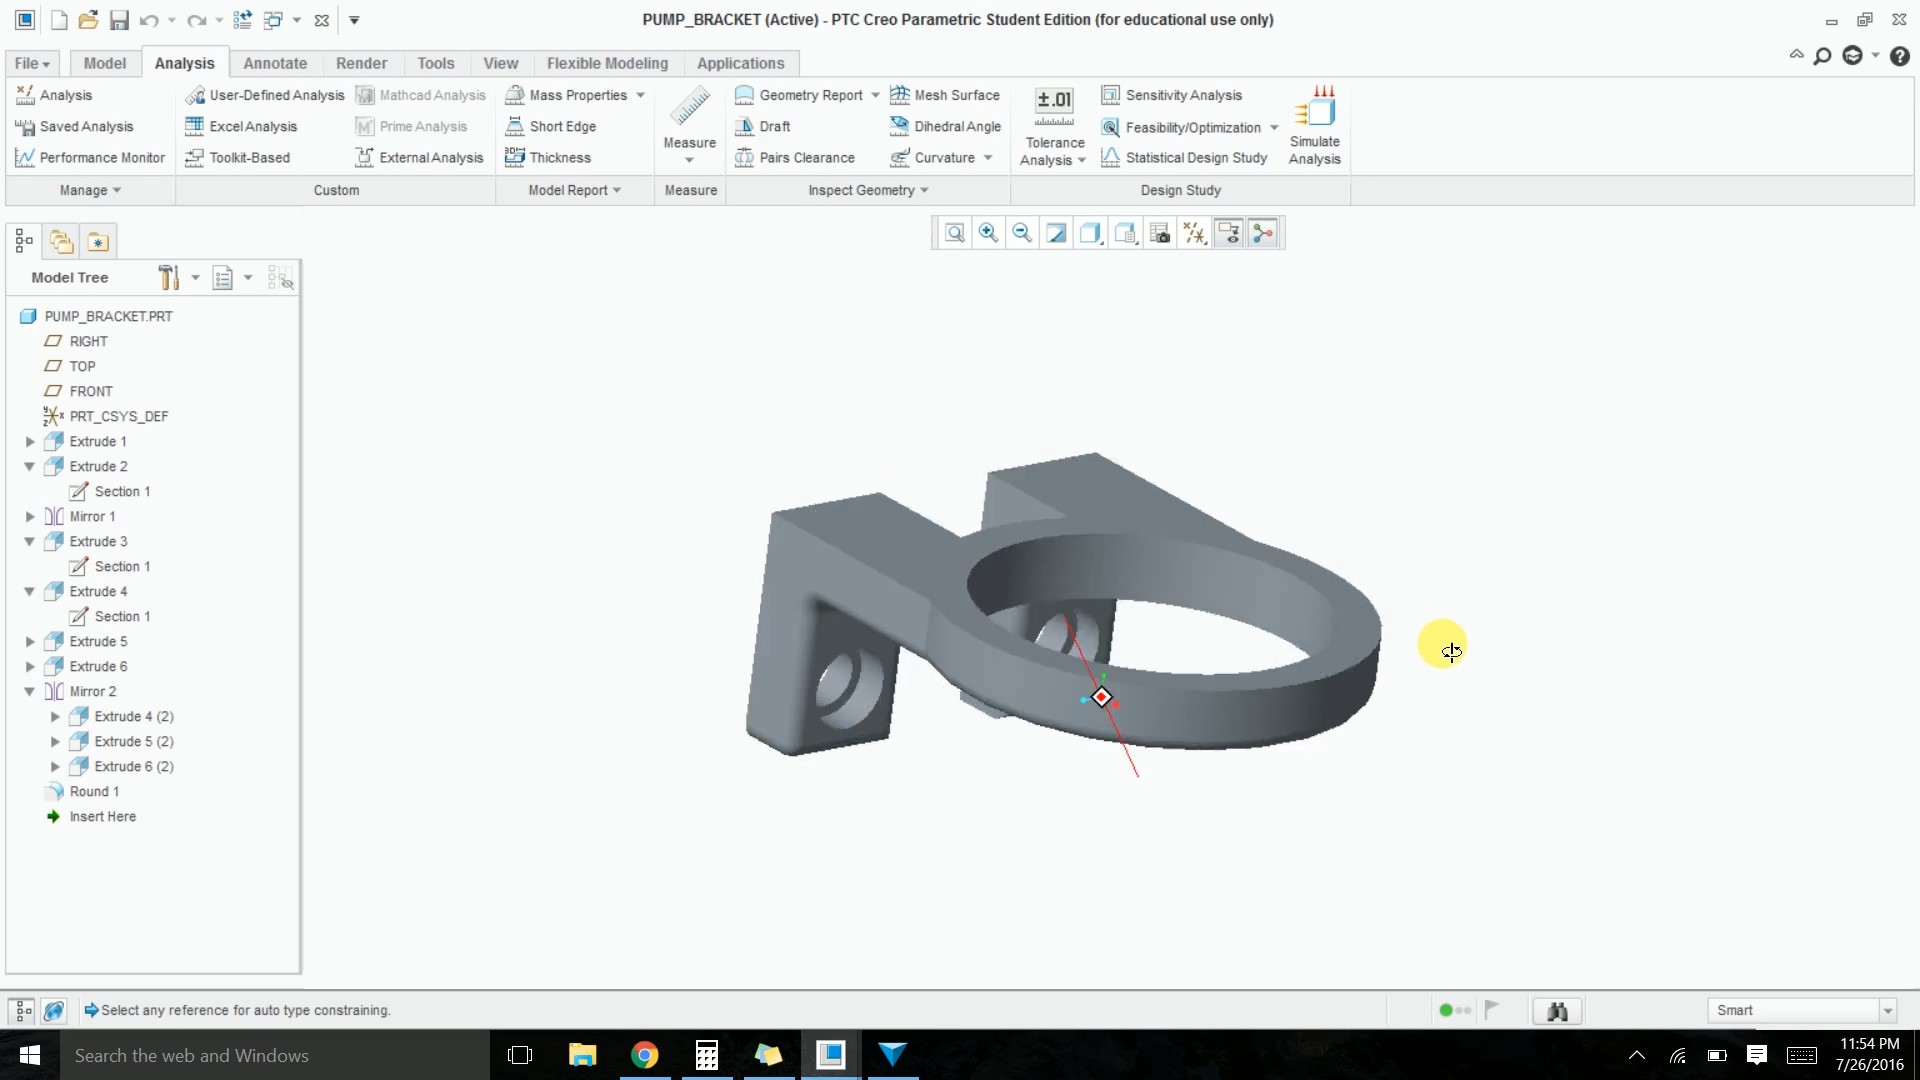
Davis starts using a new modeling software called Creo PTC. This program can speed up modeling because subcomponents are built on a parameter tree. A change to a parameter in the tree can effect everything dependent on it . In 123d, it is much more difficult to make changes once a part is built.
![]()
Using this software, he created some mounting brackets for the mixer pumps. Davis also assembled 4 of the 6 dispenser mechanisms with a few parts that we printed since the last video.
-
Part 3: Frame and 3D Printed Parts
07/16/2016 at 18:31 • 0 commentsHere's the 3rd part of our robotic bartender project.
In this video, constructed the fame for our bartender. We also got a chance to use the 3d printer to make some components for the spirit dispensers and actuators. The dispenser lever was redesigned to remove the curve so that the force from the actuator was more constant. A bracket was also made to hold the actuator on the main post.
![]()
![]()
These are some images of the mechanism being tested.
![]()
![]()
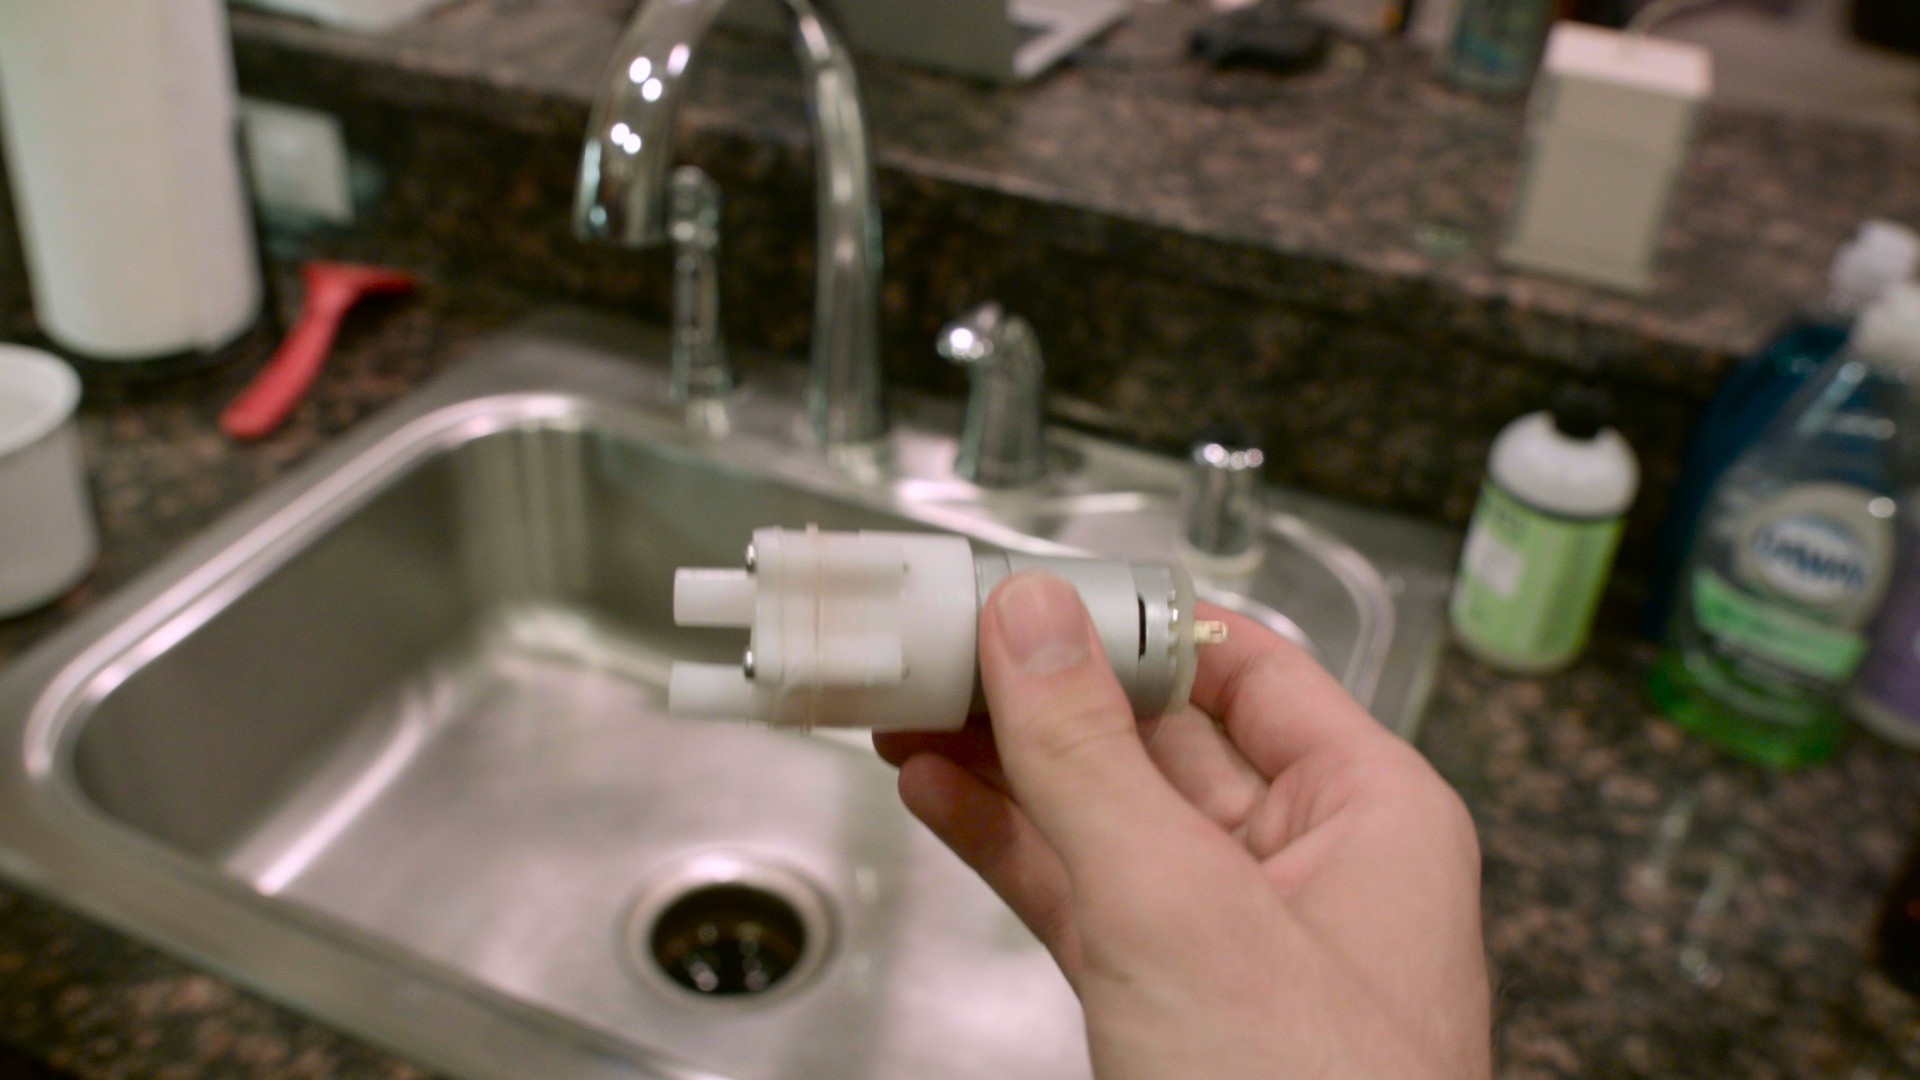
Lastly, we tested some self priming pumps to be used for dispensing mixers. We found some cheap one on amazon for about $10.00. A flow meter will be attached to measure the amount of fluid poured into the glass.
![]()
-
Part 2: Platform and Modeling
07/16/2016 at 17:36 • 0 commentsHere's the 2nd video for our robotic bartender project.
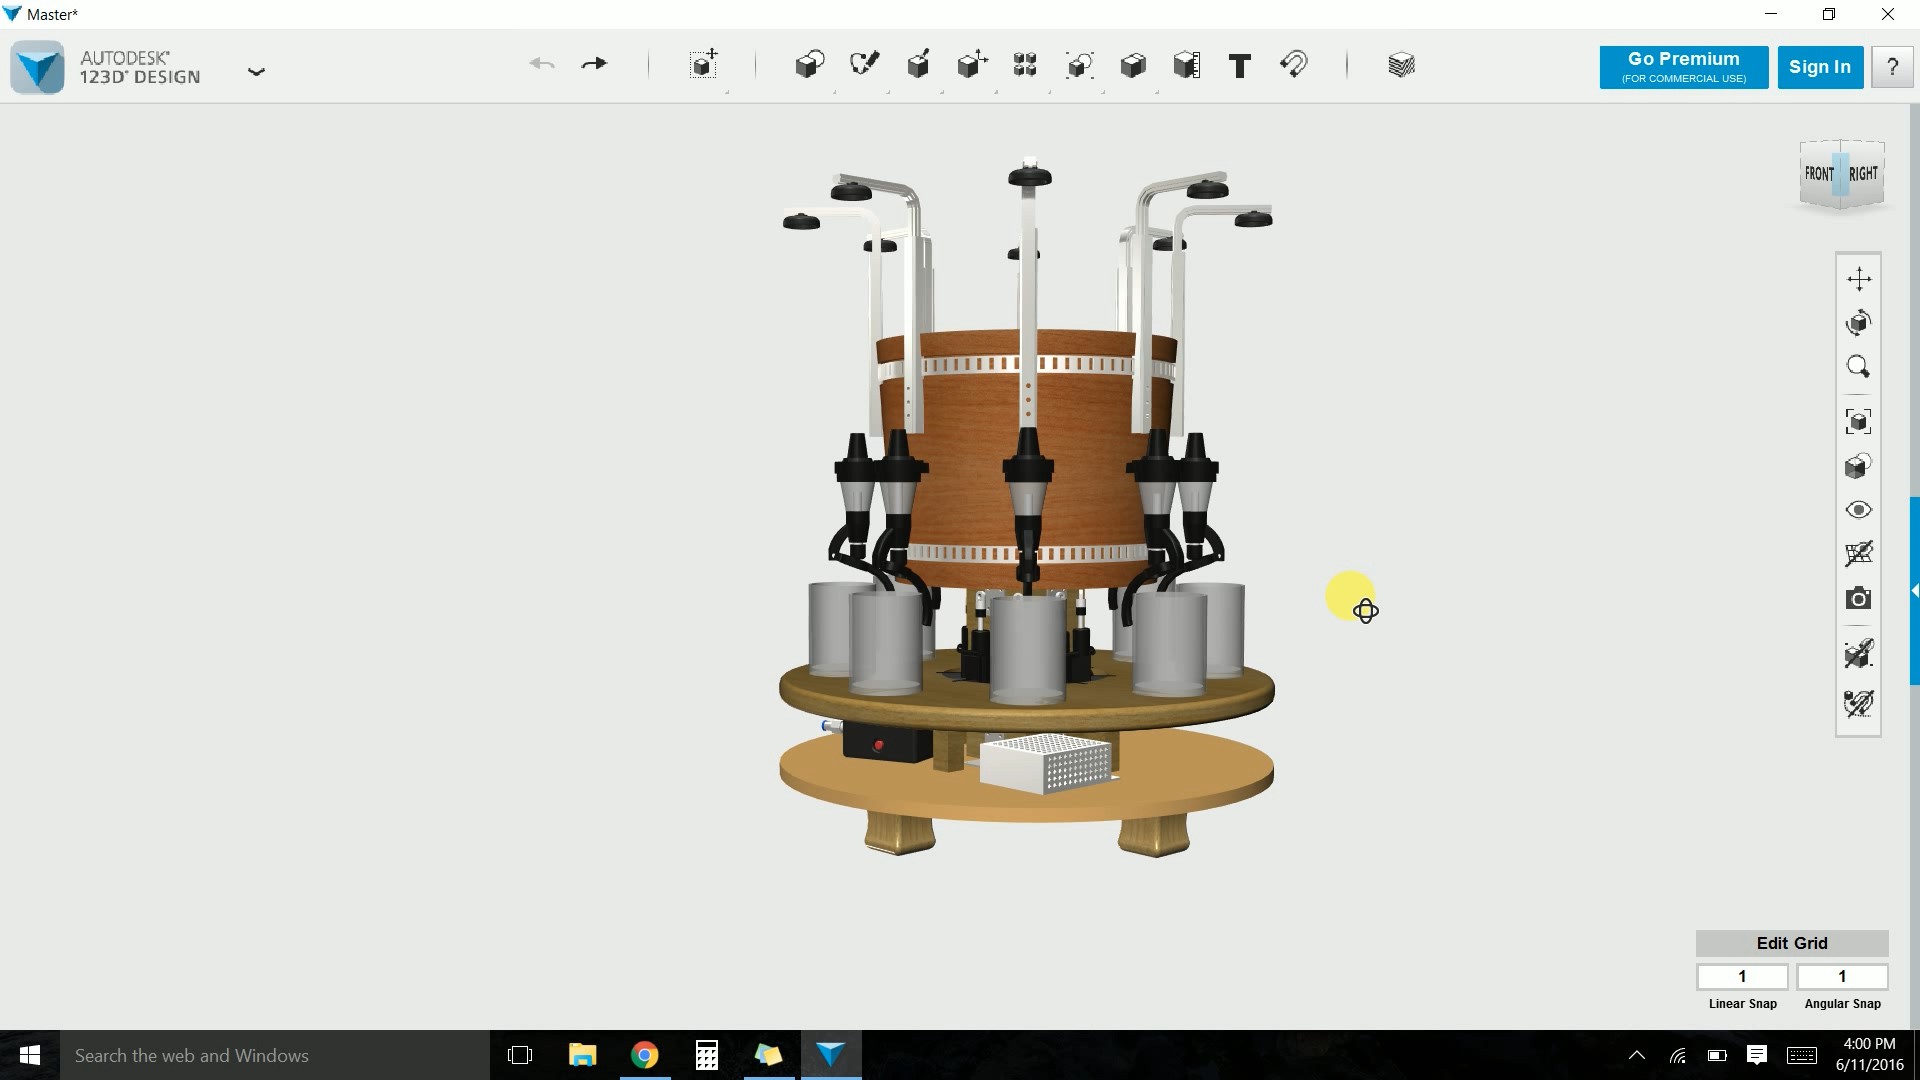
In this part we deconstructed the old bartender to reuse some parts for our new project. We also spent some time building the rotating platform. This will be used to move the drink glasses whilst the barbot is operating.
We also built a 'CAD' model to visualize, manipulate, and verify our design. We decided that the actuators will be positioned on the main center post. The dispenser levers will be inverted so that our actuator arm will have a track to slide in. In order to verify that this will work, we built a test stand and used a power supply to actuate the arm.
![]()
-
Part 1: Planning and Design
07/16/2016 at 17:16 • 0 commentsHere's an update for the 1st part of the project:
We've built an Arduino + Raspberry Pi powered robotic bartender before, but it mixed drinks too slow to be practical. We want to build a new version which is faster, more accurate, and can mix more than one drink at a time. In this series, we plan to show you how to build all the components so that you can make your own. Here's a video of the old one:
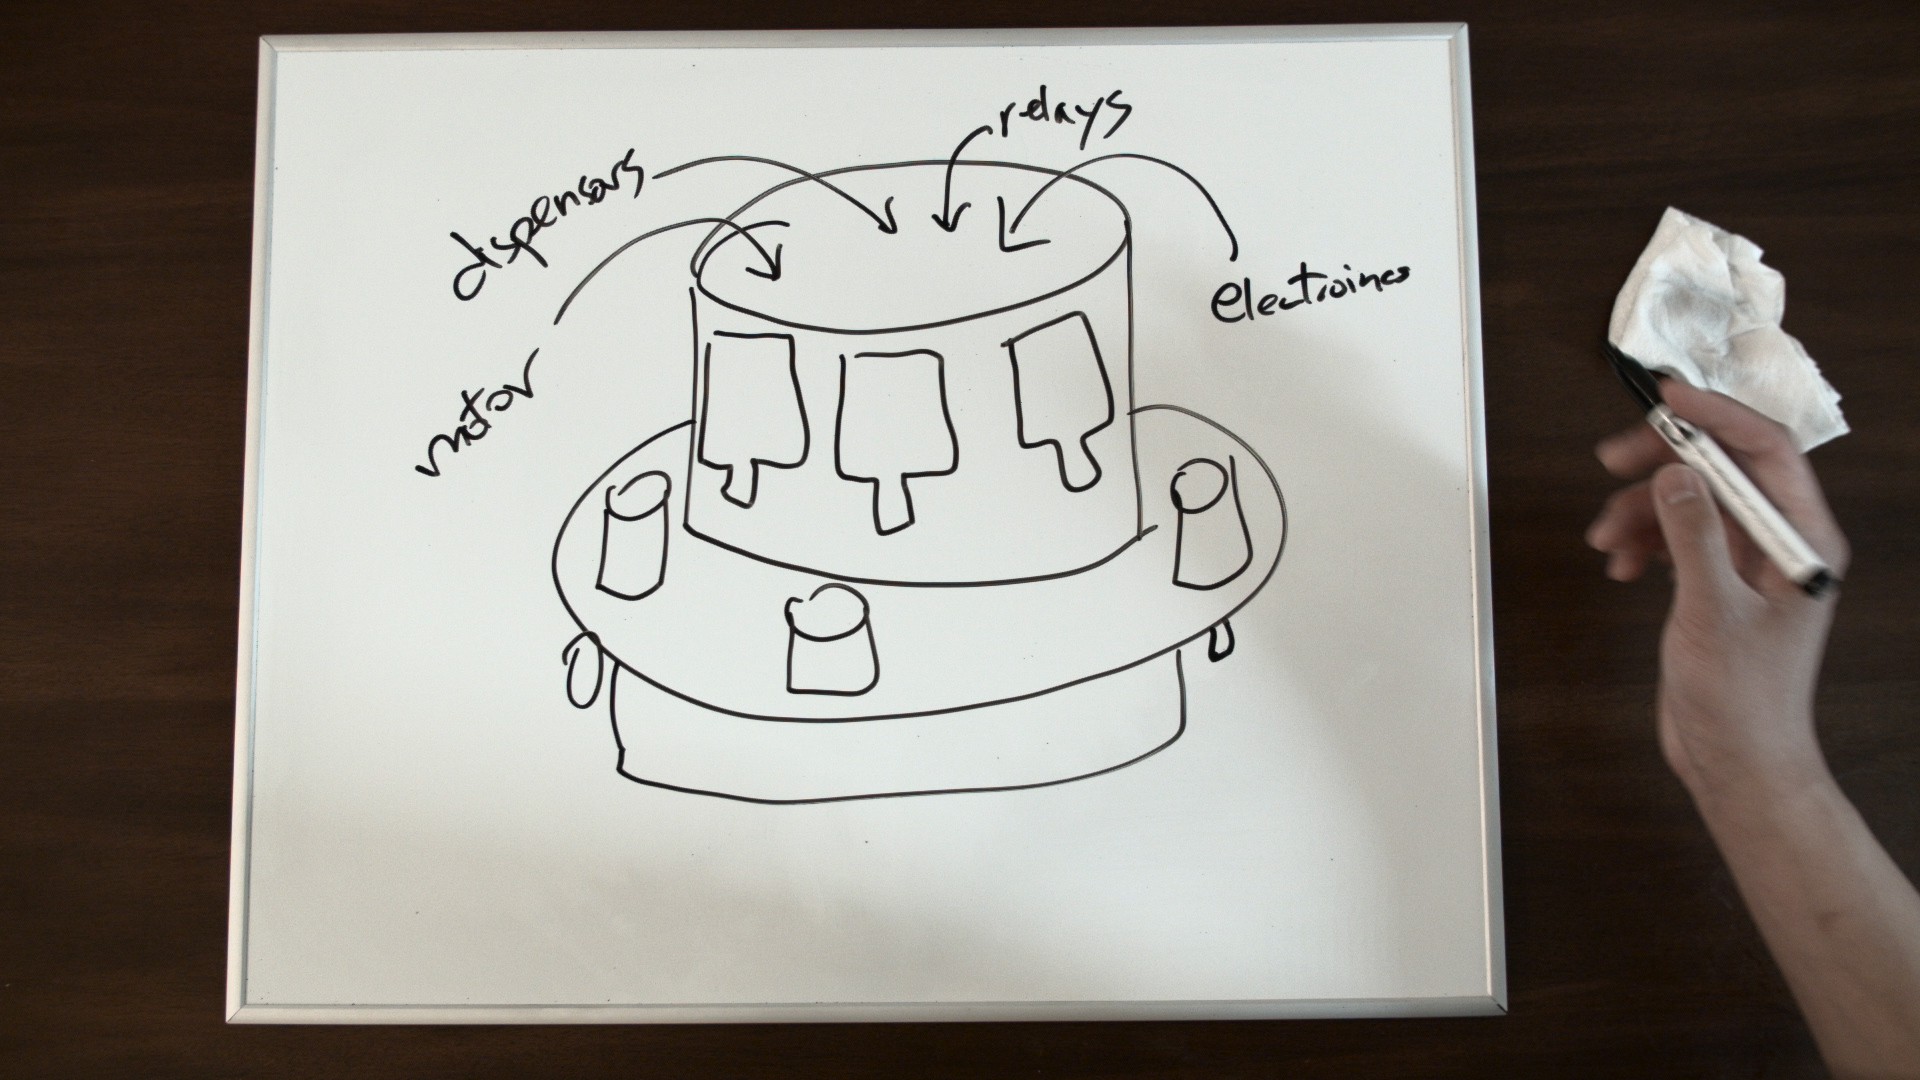
In this video, we discuss some features on the old bartender and whiteboard a new design. Our new design will be circular so that it can mix drinks concurrently. The design will also allow the platform to spin faster. Here's a quick whiteboard drawing of what we were thinking.
![]()
Automated Bartender
An Arduino/Raspberry Pi powered bartender that mixes drinks for you.