-
1Step 1
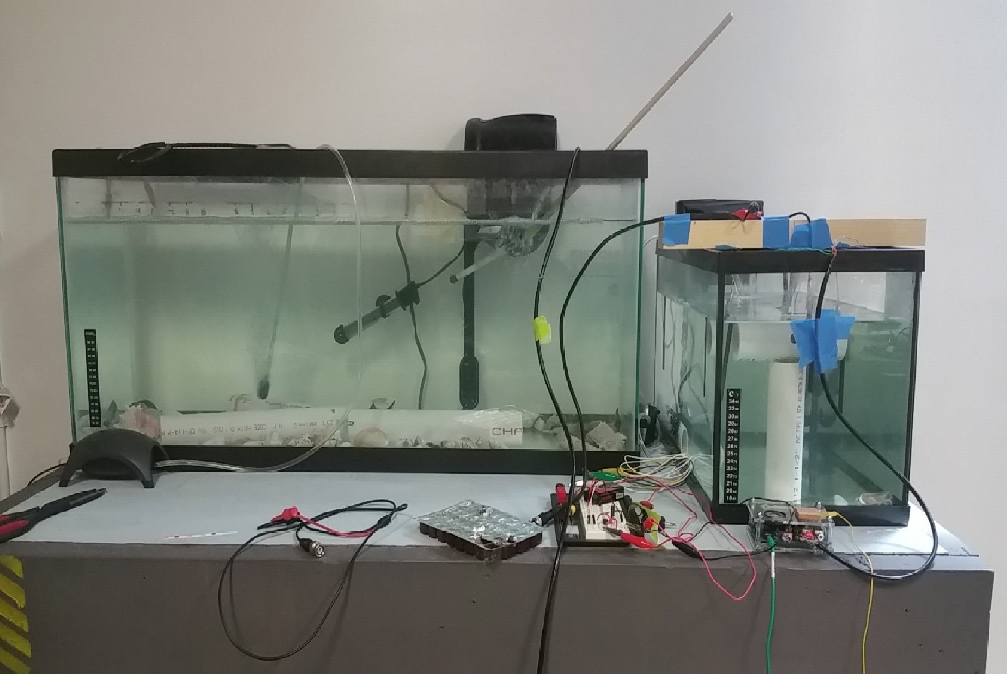
Set up your fish tank:
Prepare fish tanks:
40+ gallon - Normal home
10 gallon - Experimentation
Air pumps
Water filters
Submersible heaters
PVC pipe (fish like to hide in these)![]()
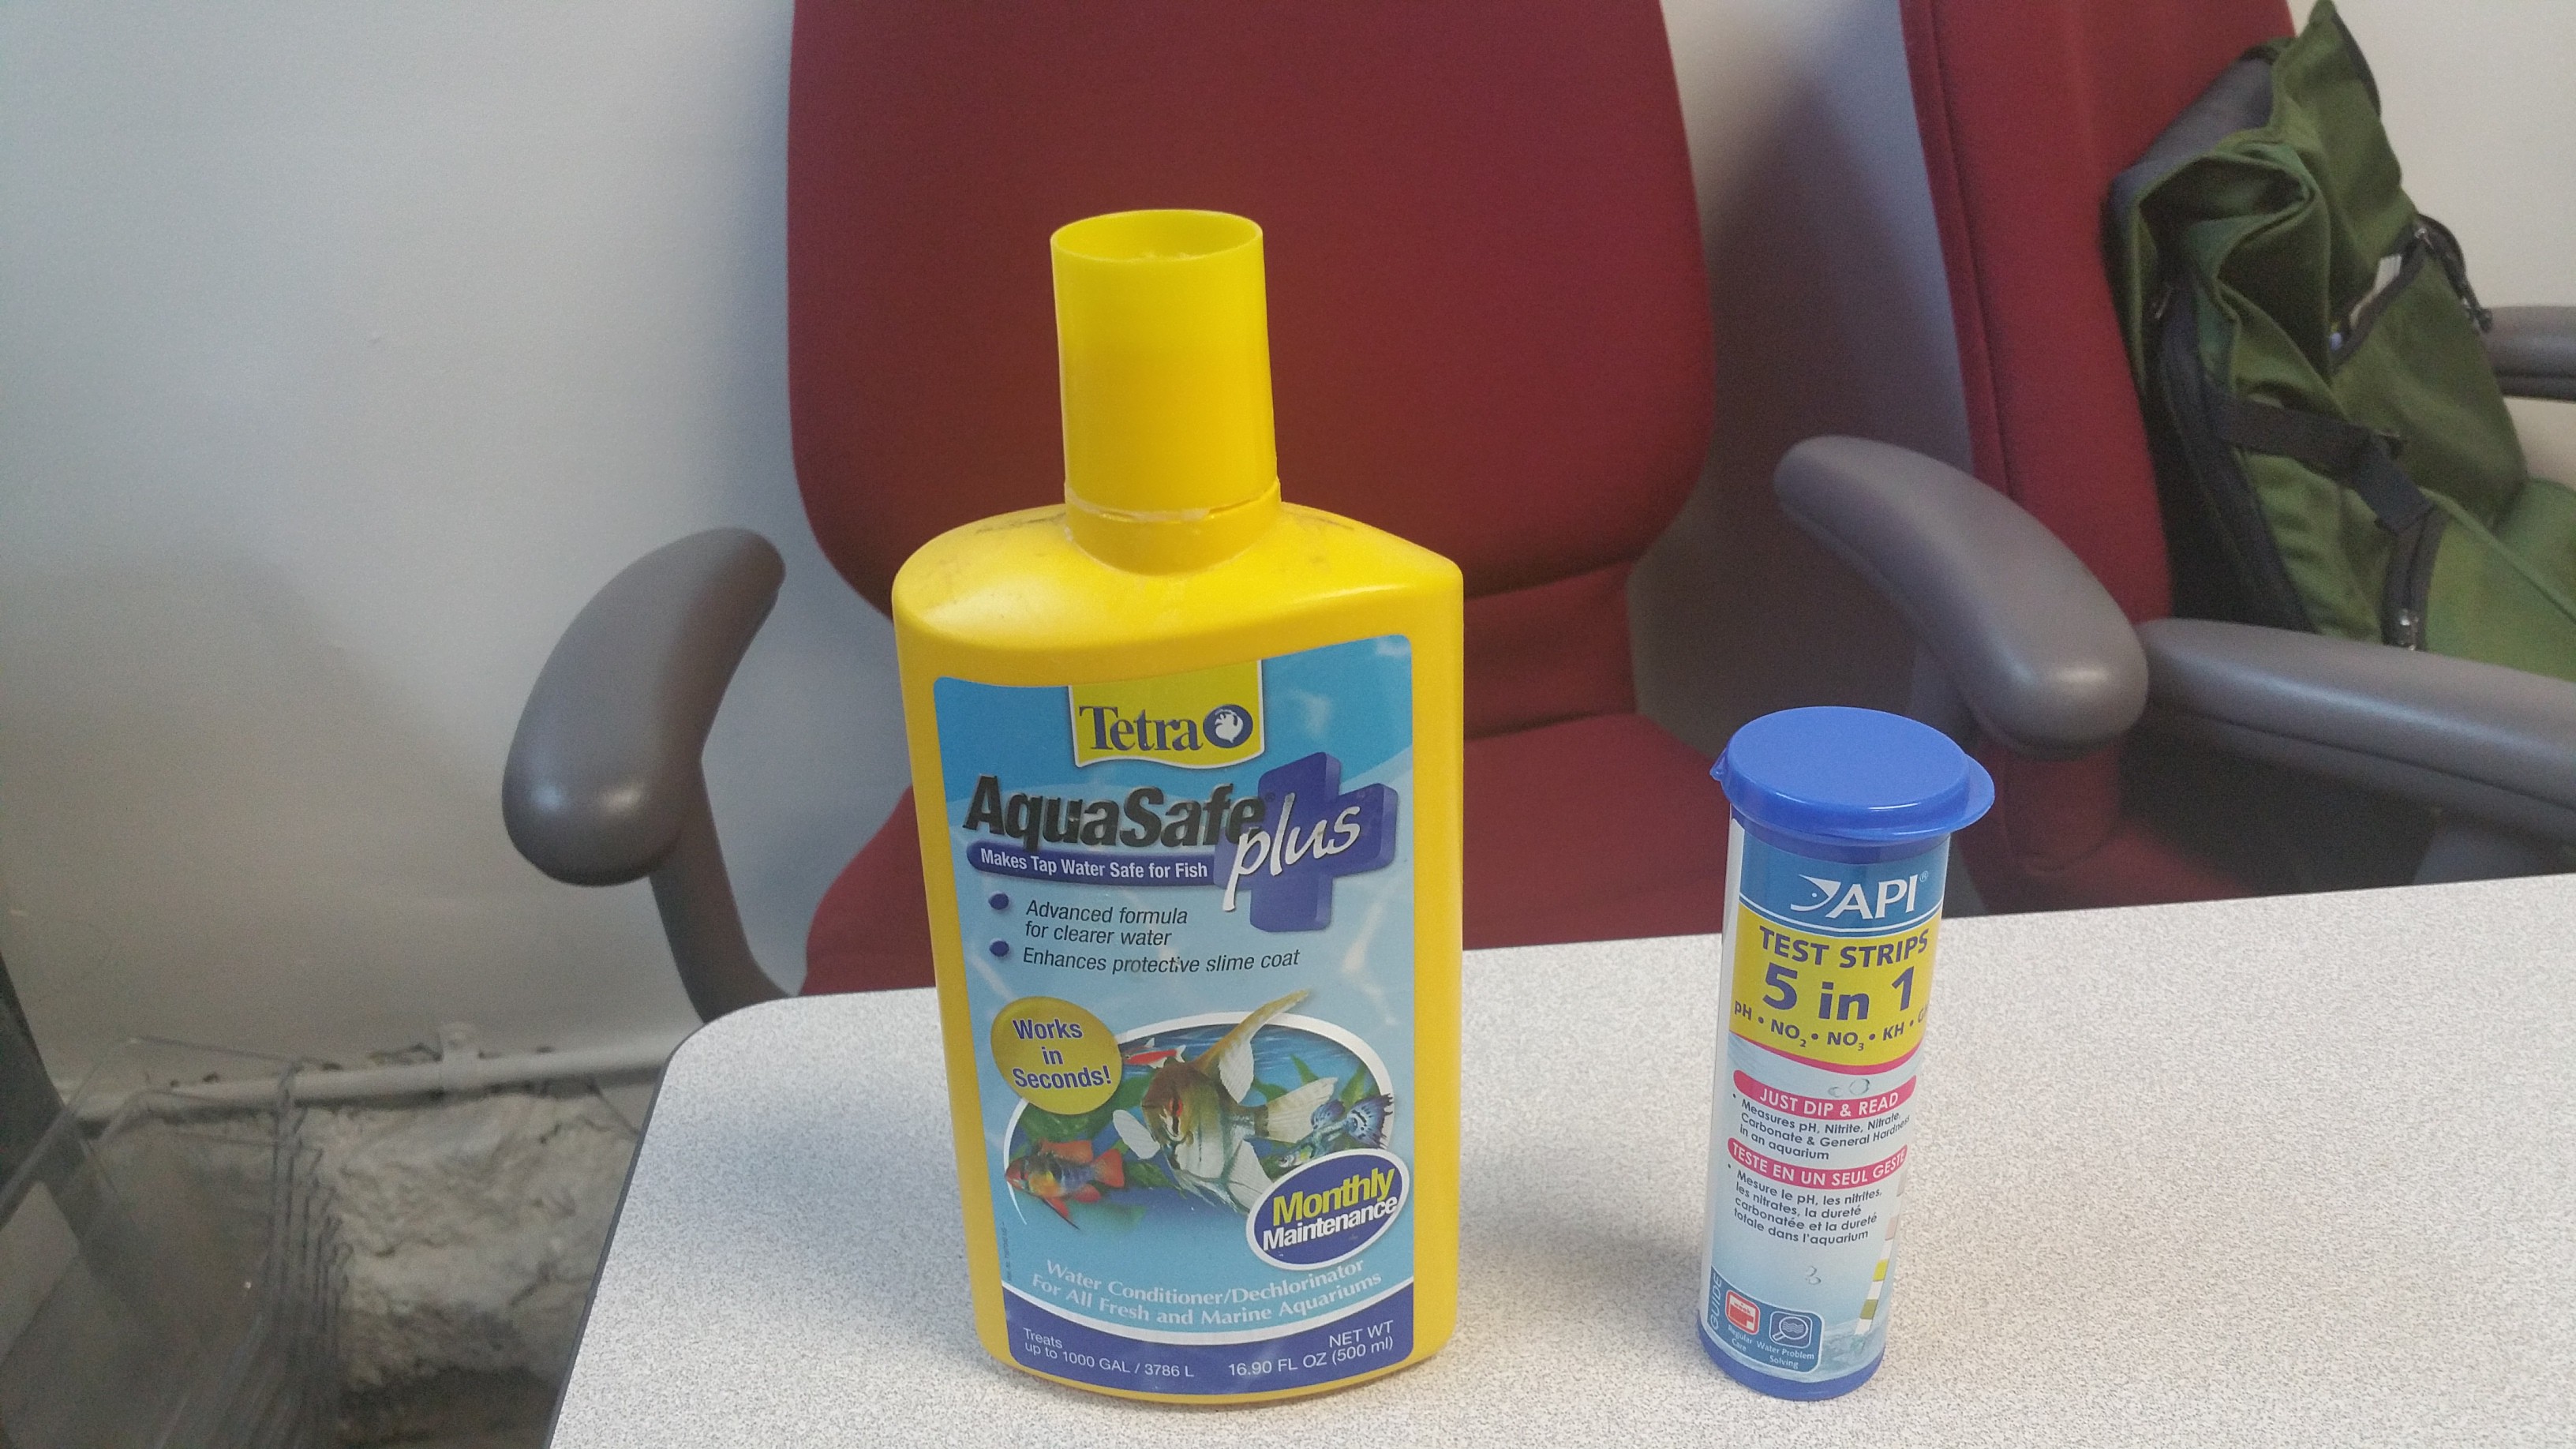
Treat the water:
Dechlorinator (I recommend Tetra's AquaSafe plus)
pH between 6.0 - 8.0
Temperature between 75 - 80 degrees Fahrenheit![]()
Make sure to complete these steps before you buy your fish. Once the water conditions are right, you may introduce your fish to their new home.
Choosing the right fish:
For this experiment, I used the Black Ghost Knife Fish (Apteronotus Albifrons) and the Glass Knife Fish (Eigenmannia virescens). You may also try the Brown Ghost Knife Fish (Apteronotus leptorhynchus). -
2Step 2
Gather materials:
Muscle SpikerShield and accompanying cables
Arduino Zero
Carbon electrode rods (4)
Laptop
Jumper cables
Breadboard
RadioShack Mini-amplifier speaker
LCD screen (3.3 V)![]()
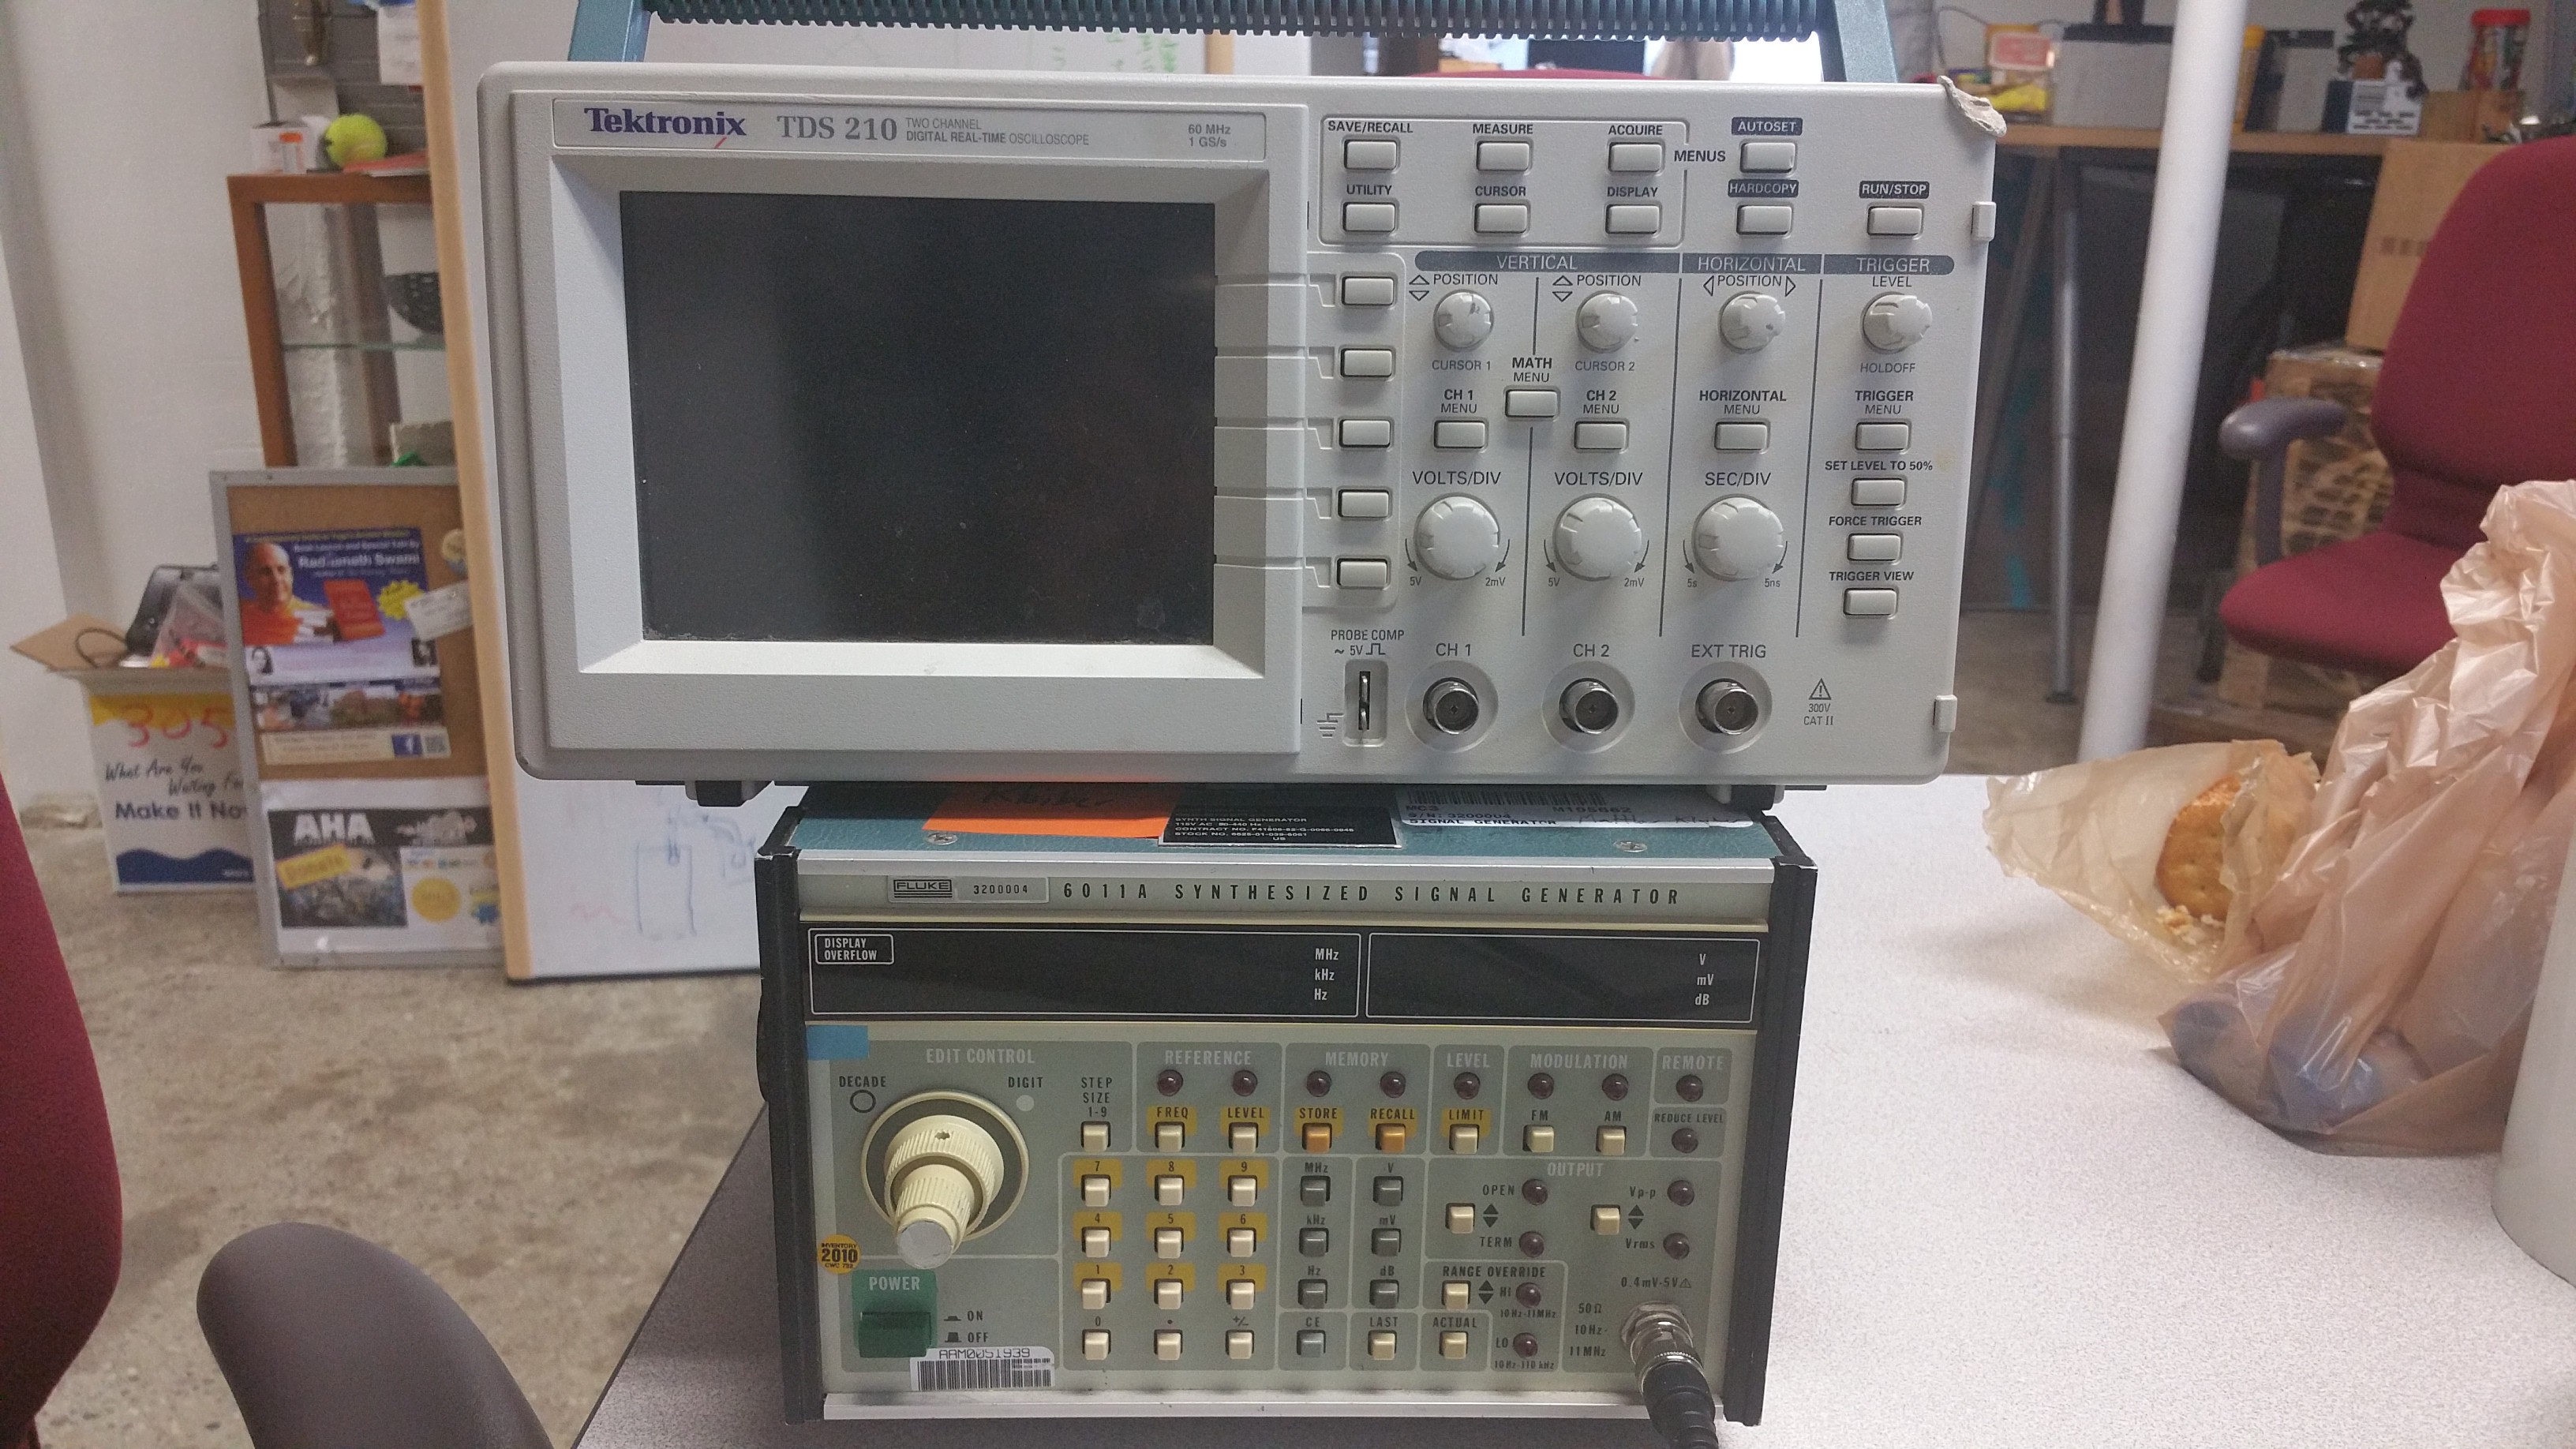
Optional:
Oscilloscope
Function Generator![]()
-
3Step 3
Record the fish's resting frequency:
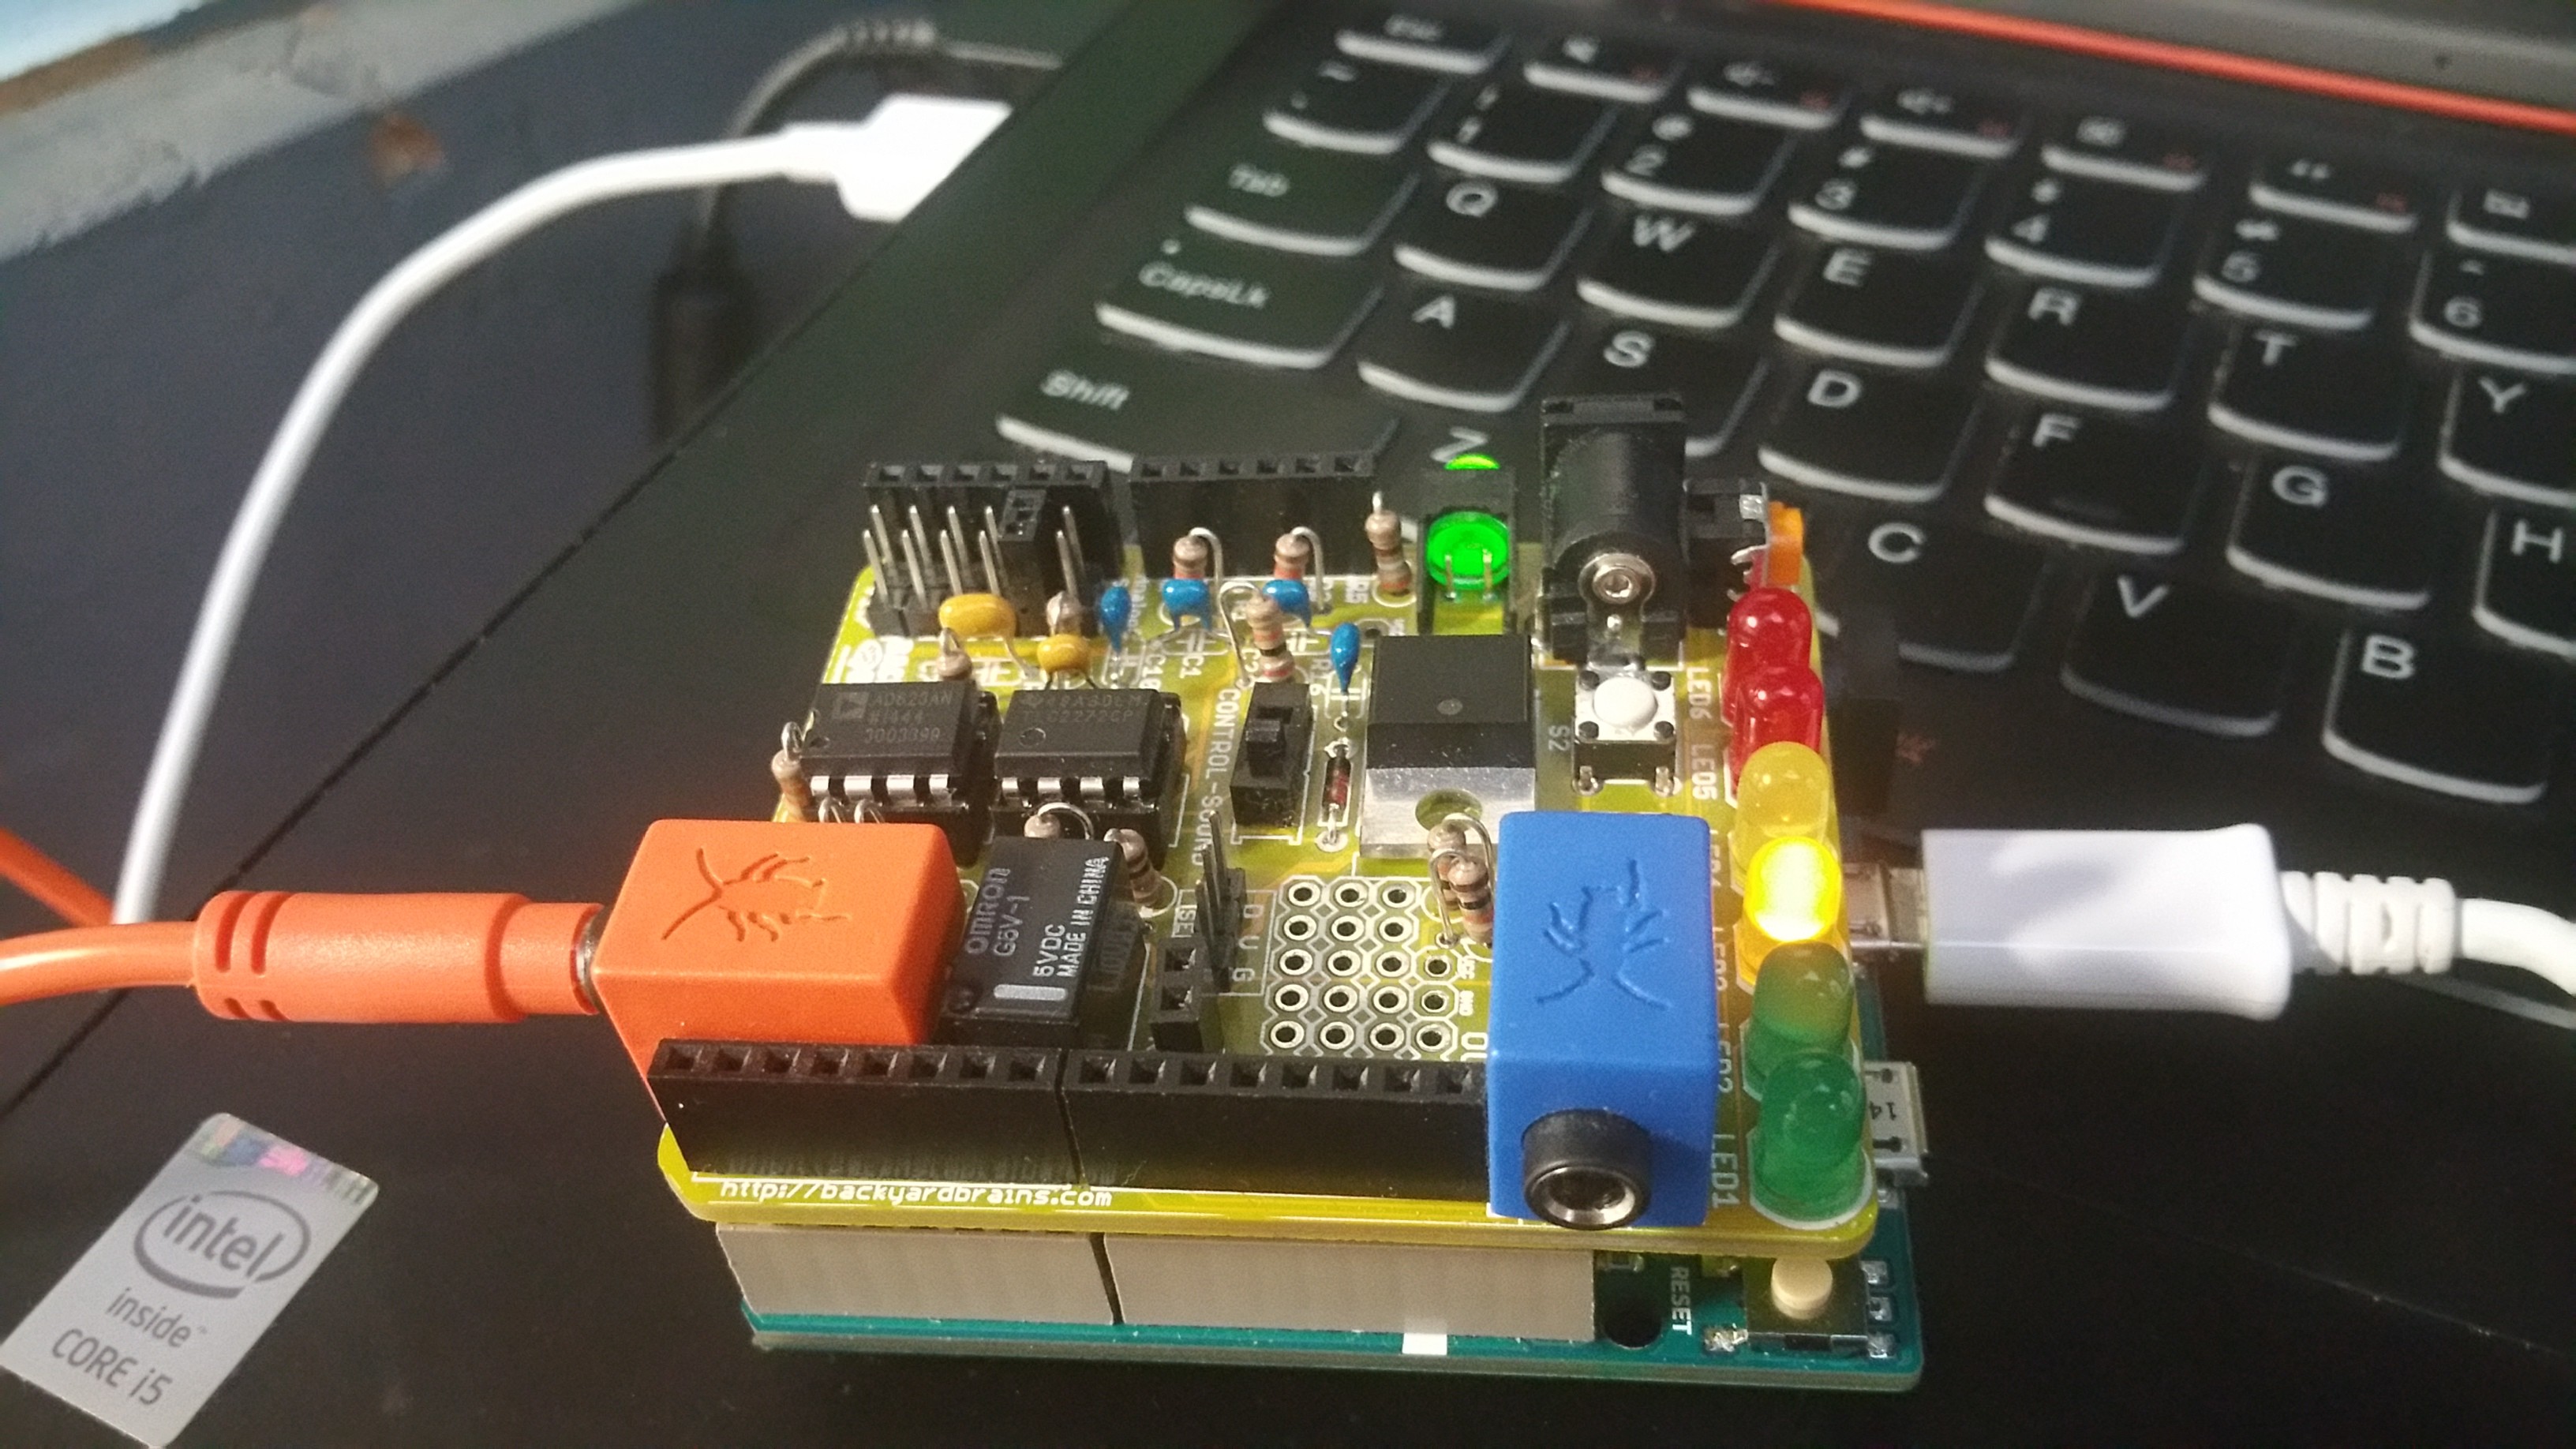
First, we should record the frequency of the fish at rest. To do this, upload the ADC (Analog-to-Digital Converter) code to the Arduino. Stack the Arduino and the Muscle SpikerShield and plug in the respective cables. The orange cable plugs into the orange port on the Muscle SpikerShield and the micro USB plugs into the programming port on the Arduino.
![]()
Place the fish in the PVC pipe -- an easy way to do this is to hold the pipe near the fish until it swims in. Position the pipe relatively close to the surface of the water.
![]()
Attach electrode rods to the red alligator clips and place the grounding clip in the water. Place the electrodes on at the ends of the PVC pipe, near the head and tail.
![]()
Finally, open the serial monitor to the baud rate of 115200 -- the second number that appears is the fish's frequency!
-
4Step 4
Listen to the fish:
After you have measured the resting frequency of the fish with the Arduino, you might want to listen to the fish as well. Simply plug in the audio cable to your amplifier-speaker and drop the end of the cable into the water. Get it close to the fish and turn up the volume. You should hear the constant tone of the fish!
![]()
-
5Step 5
Elicit the Jamming Avoidance Response:
To mimic the presence of another fish in the water and elicit the JAR, you will need to upload the DAC (Digital-to-Analog Converter) code to the Arduino.
You will need to make a voltage divider in order to attenuate the signal to a voltage that will more closely resemble that of a fish. I've found that a peak-to-peak voltage of around 20 mV works well. For this, you can use a 10K resistor
When you open the serial monitor at a baud rate of 57600, you should be prompted to enter your desired frequency. Start off by typing in the fish's resting frequency and press enter. The serial monitor should now read "Generating sine wave...".
If you have an oscilloscope, you can confirm your output by connecting alligator clips to the stimulating electrodes.
![]()
![]()
-
6Step 6
Tuning your electric fish:
As a general rule, the longer you leave the stimulus in the water, the more the fish's frequency will change. Theoretically, if you create an artificial signal at a higher frequency than the fish's, the fish will respond by lowering it's own frequency, and visa versa. However, I've so far only worked with the Black Ghost Knife fish and have only been able to regularly decrease the fish's frequency. As soon as I can get my hands on a Glass Knife fish, I will post more information on the mechanics of their JAR.
You can base your target frequencies on the following chart: http://www.sengpielaudio.com/calculator-notenames.htm
As of now, I've found that leaving the stimulus in the water for a long time generates a fairly linear response from the Black Ghost Knife. Approximately 3 minutes of stimulation correlates to 1 Hz alteration.
The Electric Fish Piano
A DIY set-up to listen to, record, and manipulate the electrical tones produced by weakly electric fish!


Discussions
Become a Hackaday.io Member
Create an account to leave a comment. Already have an account? Log In.