 Dieu My Nguyen
-
1Step 1
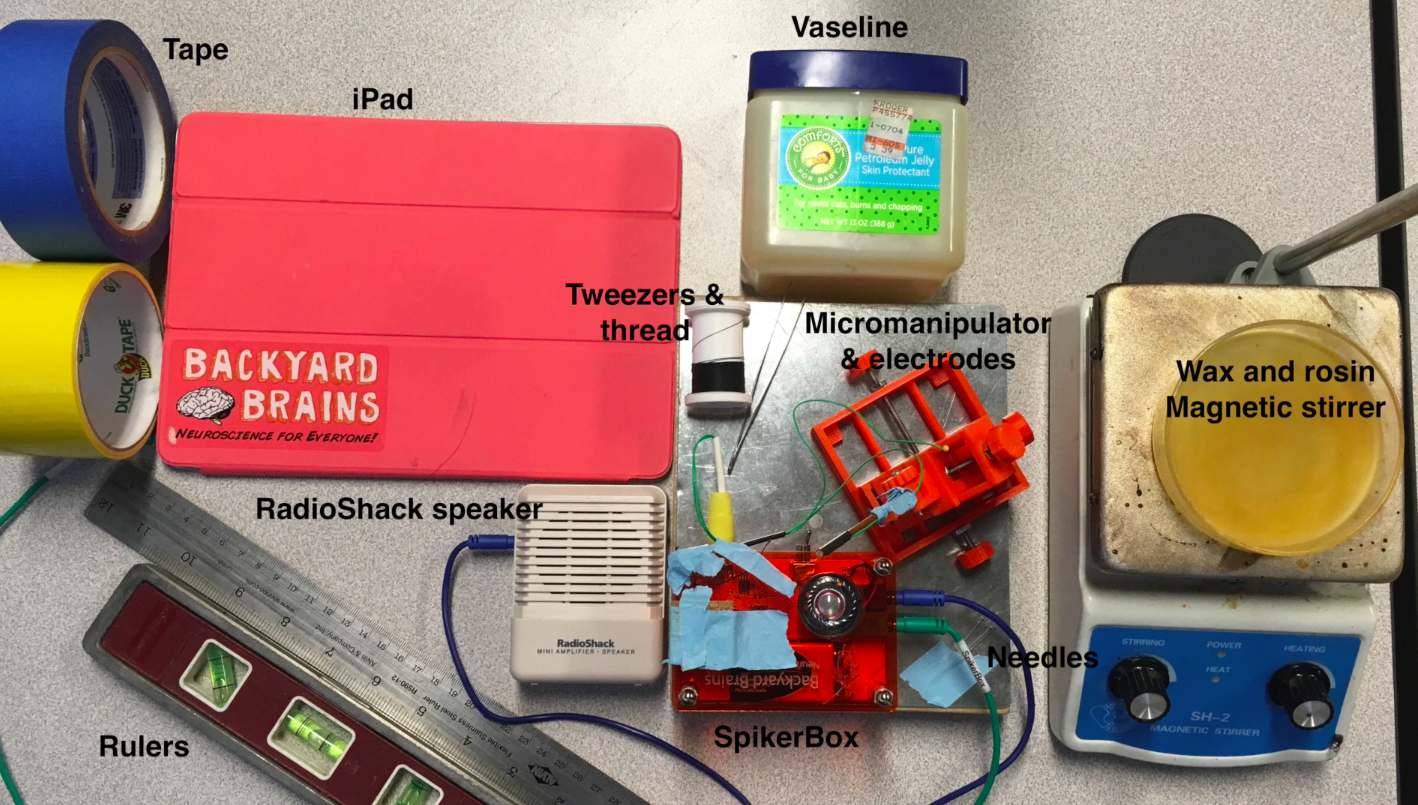
Build the SpikerBox, micromanipulator, and electrodes. Build instructions for these items are in the files section! Gather the materials:
![]()
![]()
-
2Step 2
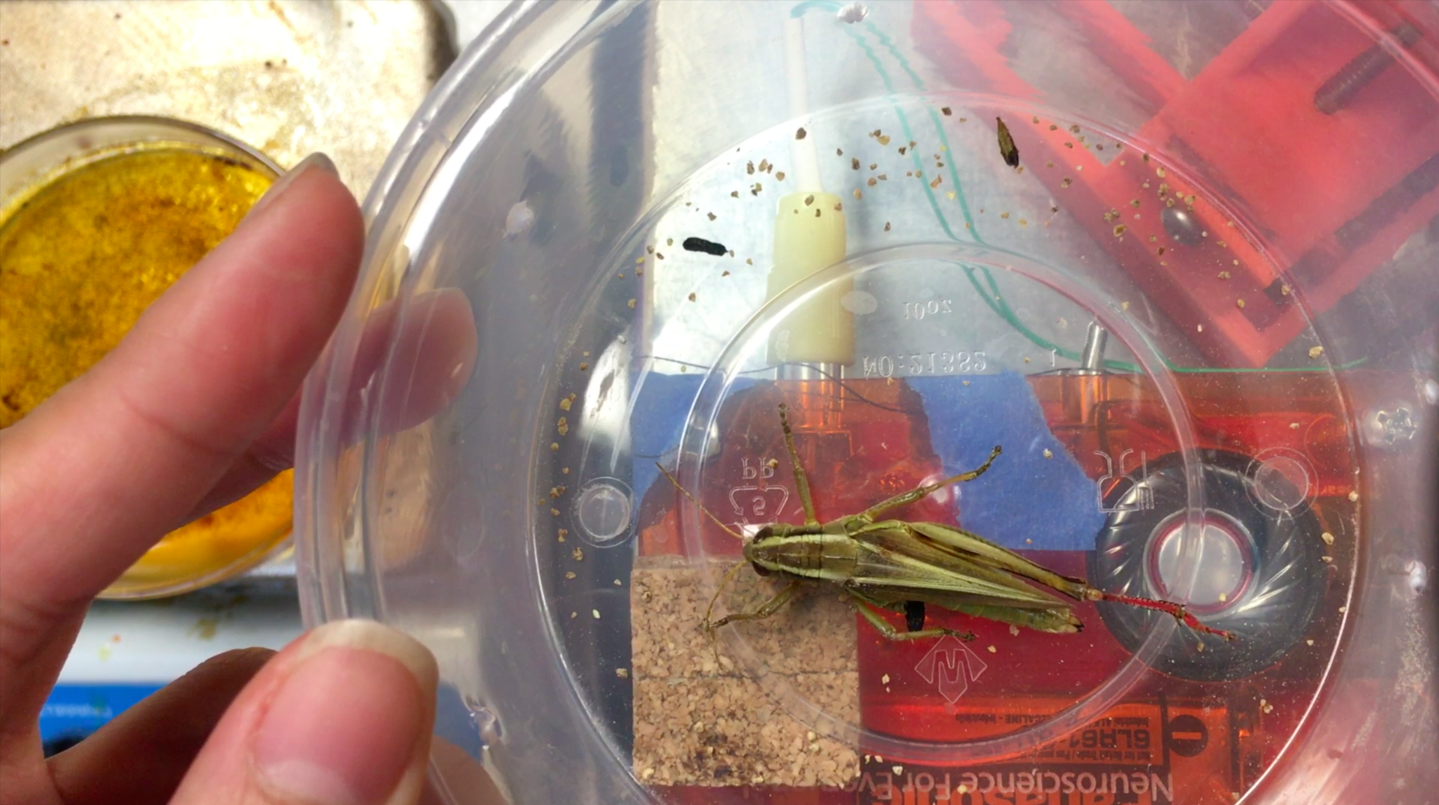
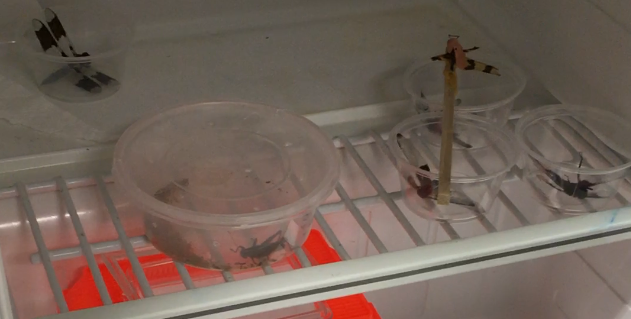
Anesthetize the grasshopper by placing it in a plastic container (also its home in the lab) and keeping in the fridge (not freezer) for 15-20 minutes or until it is inactive. This keeps the animal still and painless (if insects indeed feel pain) during the upcoming surgery. (Dragonflies are also our faves.)
![]()
-
3Step 3
After anesthesia, tape the grasshopper belly up on the cork board piece on the BYB SpikerBox. Tape all the legs and the abdomen. Leave the head and a little of the thorax exposed—these areas are where electrodes will be placed. (I find masking/painter’s tape to be the easiest to work with.)
![]()
-
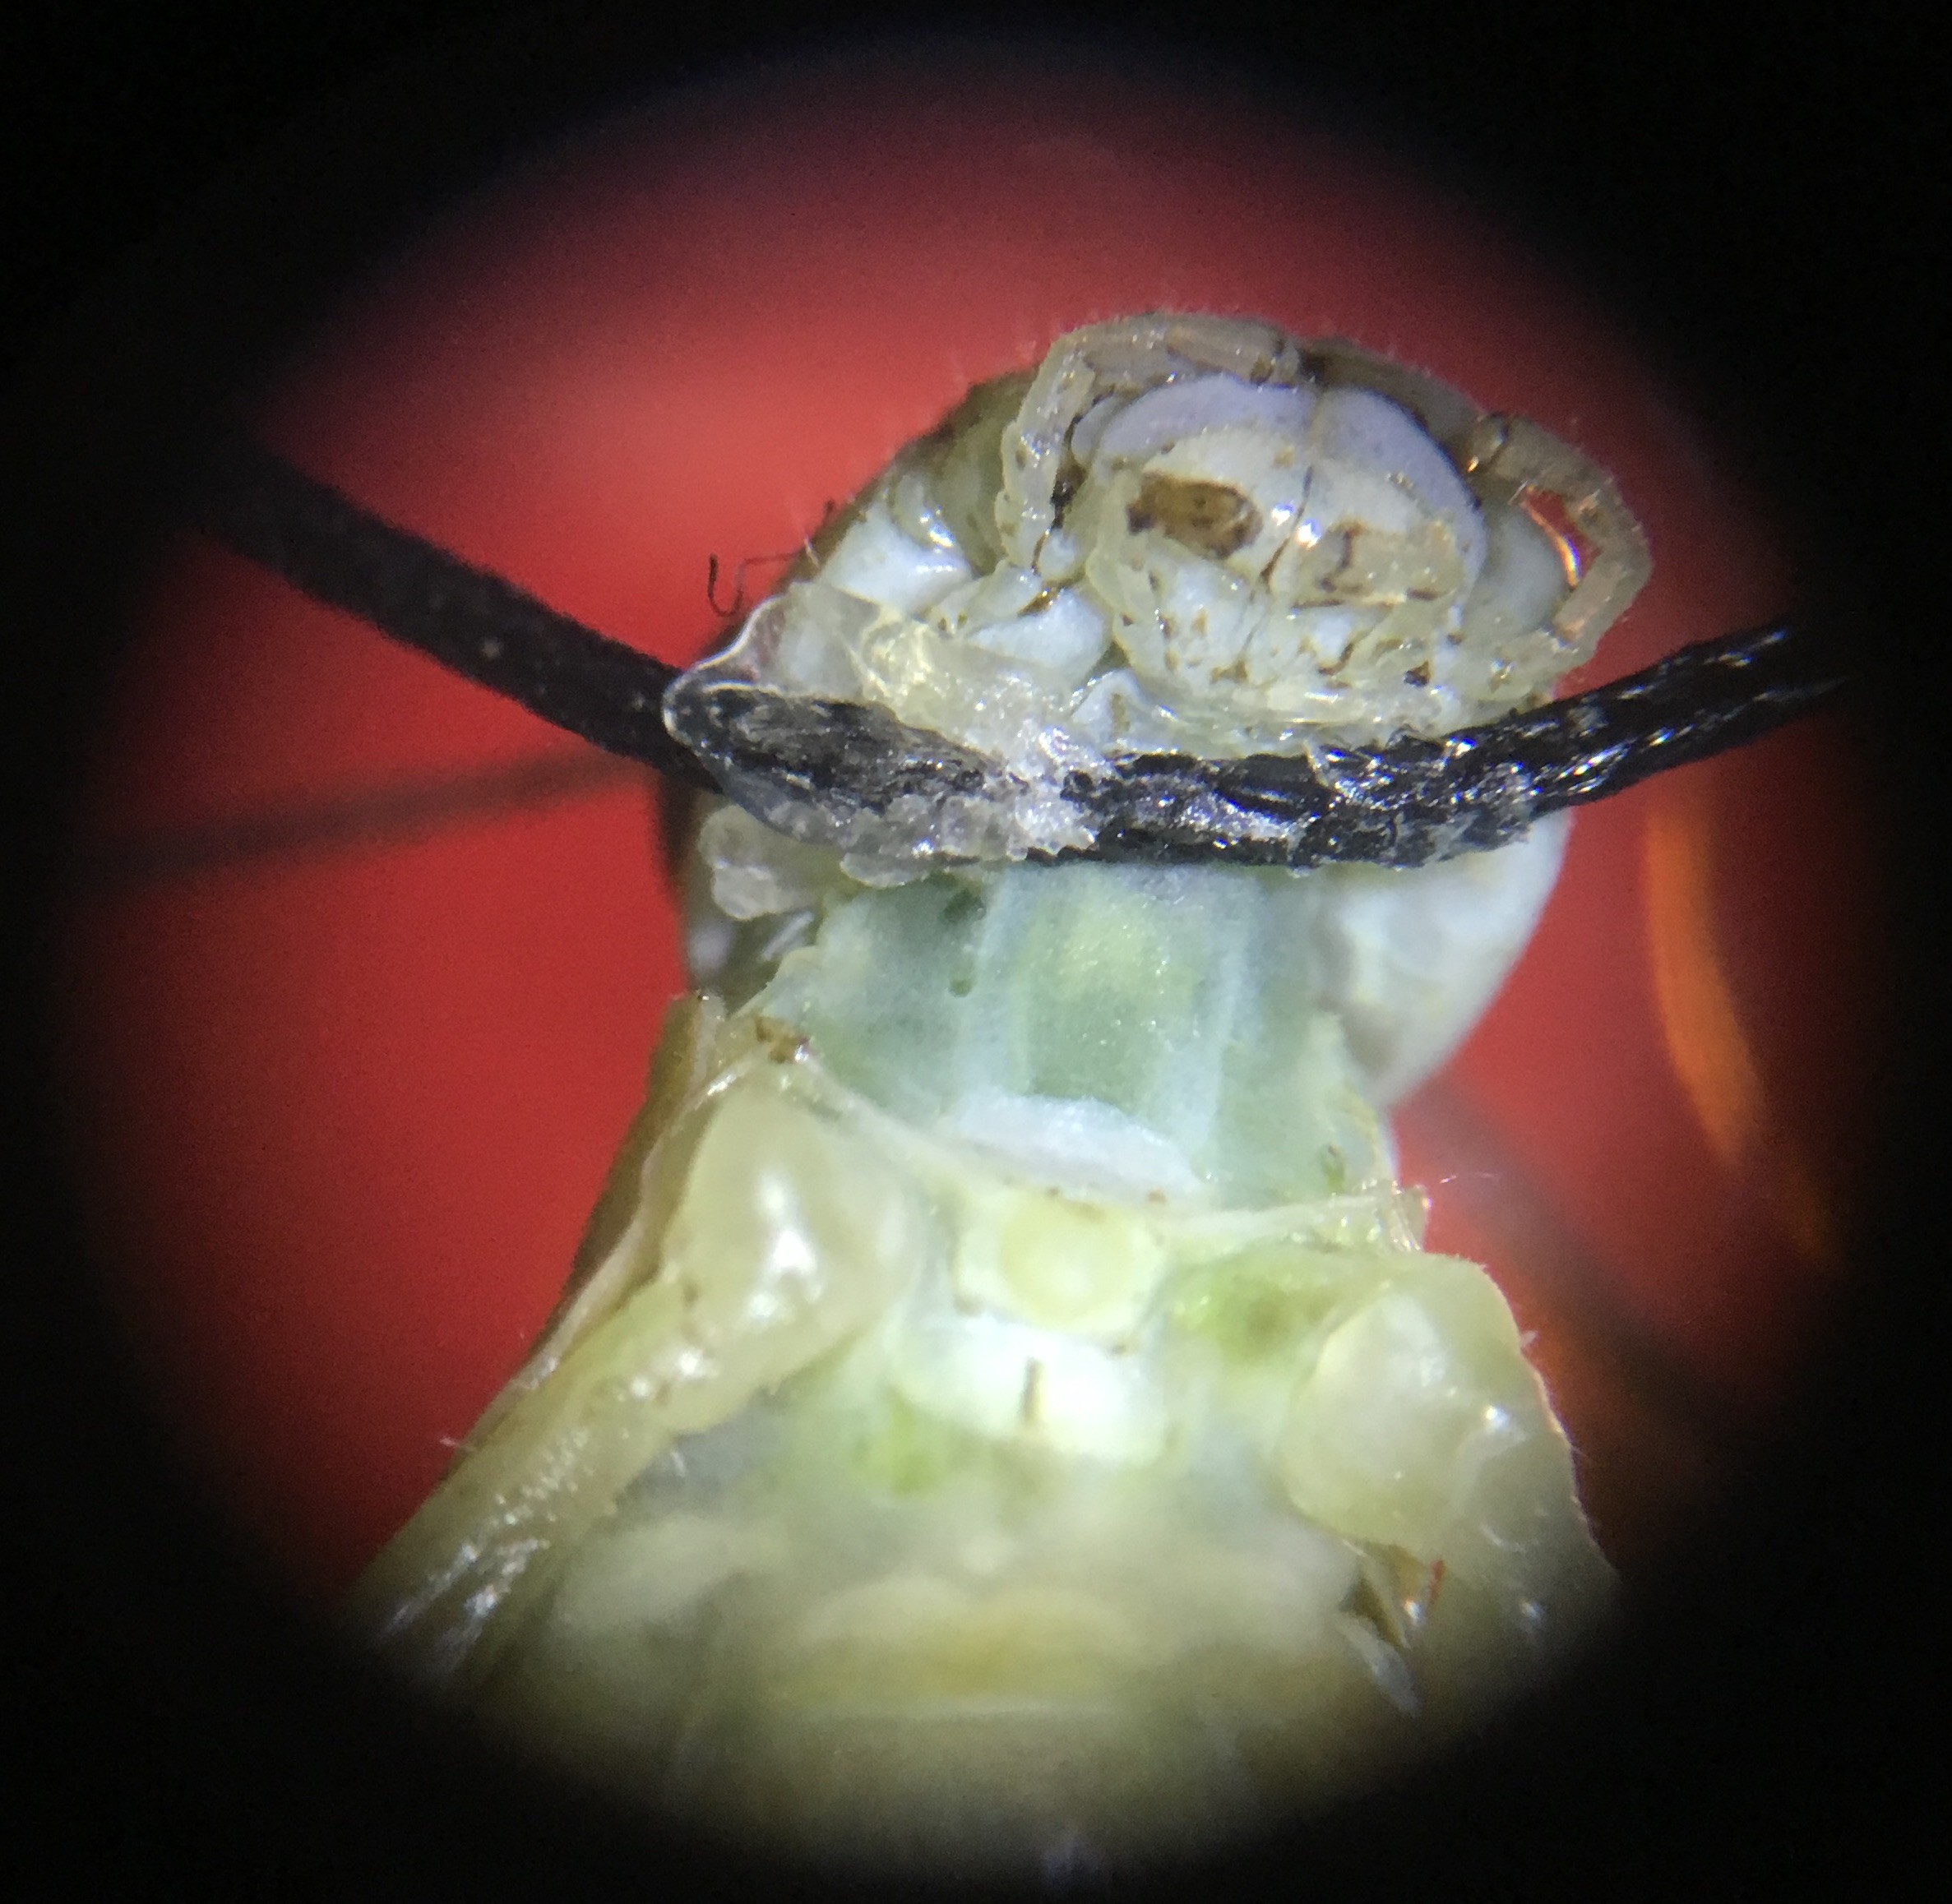
4Step 4
Then, use a piece of black thread to pull the head back until the neck connectives (two white strips under the neck skin) are visible. This step is tricky, so be patient. Also, the thread must not block the eye opposite of the side of the neck that the recording electrode will be placed. In the picture above, I plan to put the recording hook electrode (where needle is pointing in photo) around the left neck connective of the grasshopper. So the right side of the grasshopper (our left) must not be blocked by anything.
![]()
-
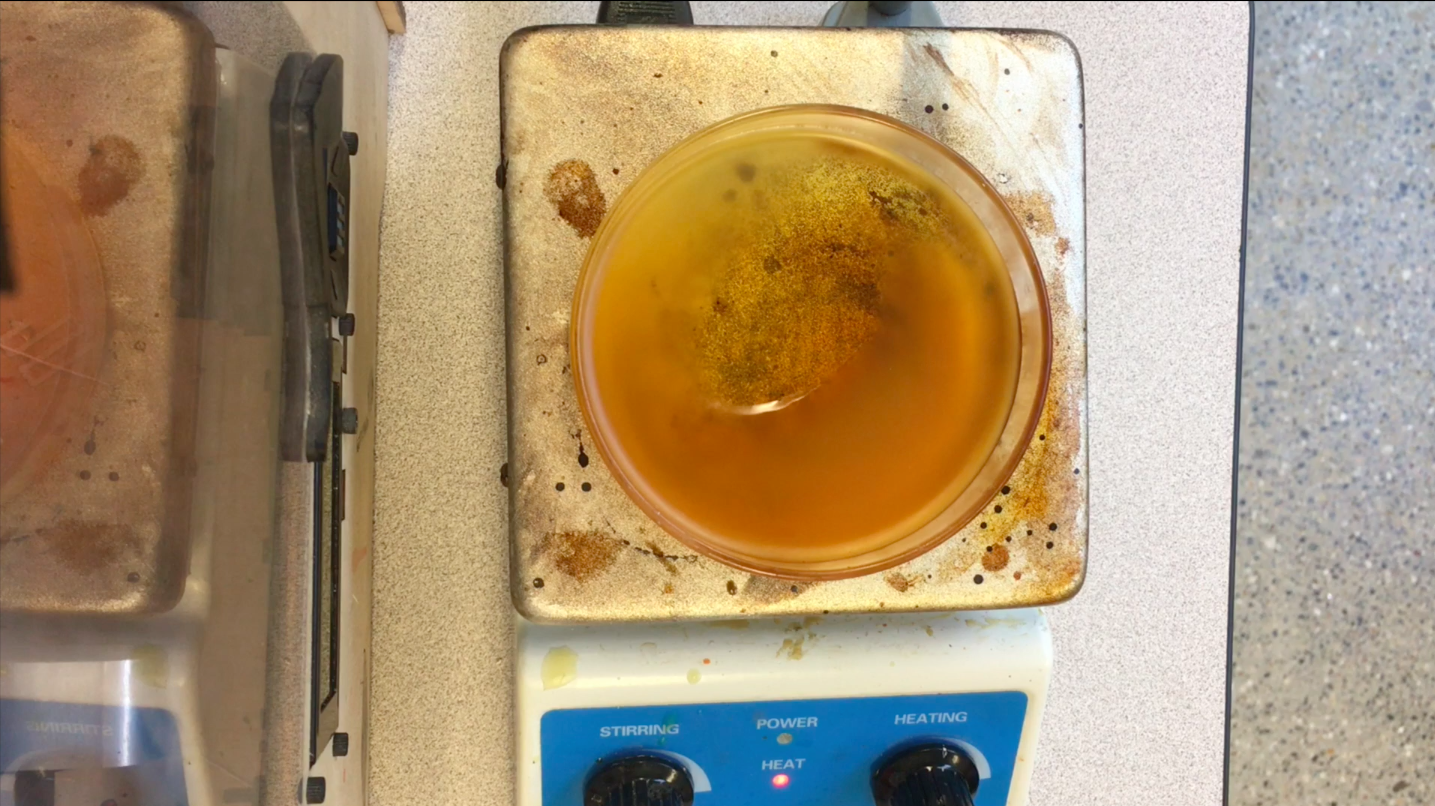
5Step 5
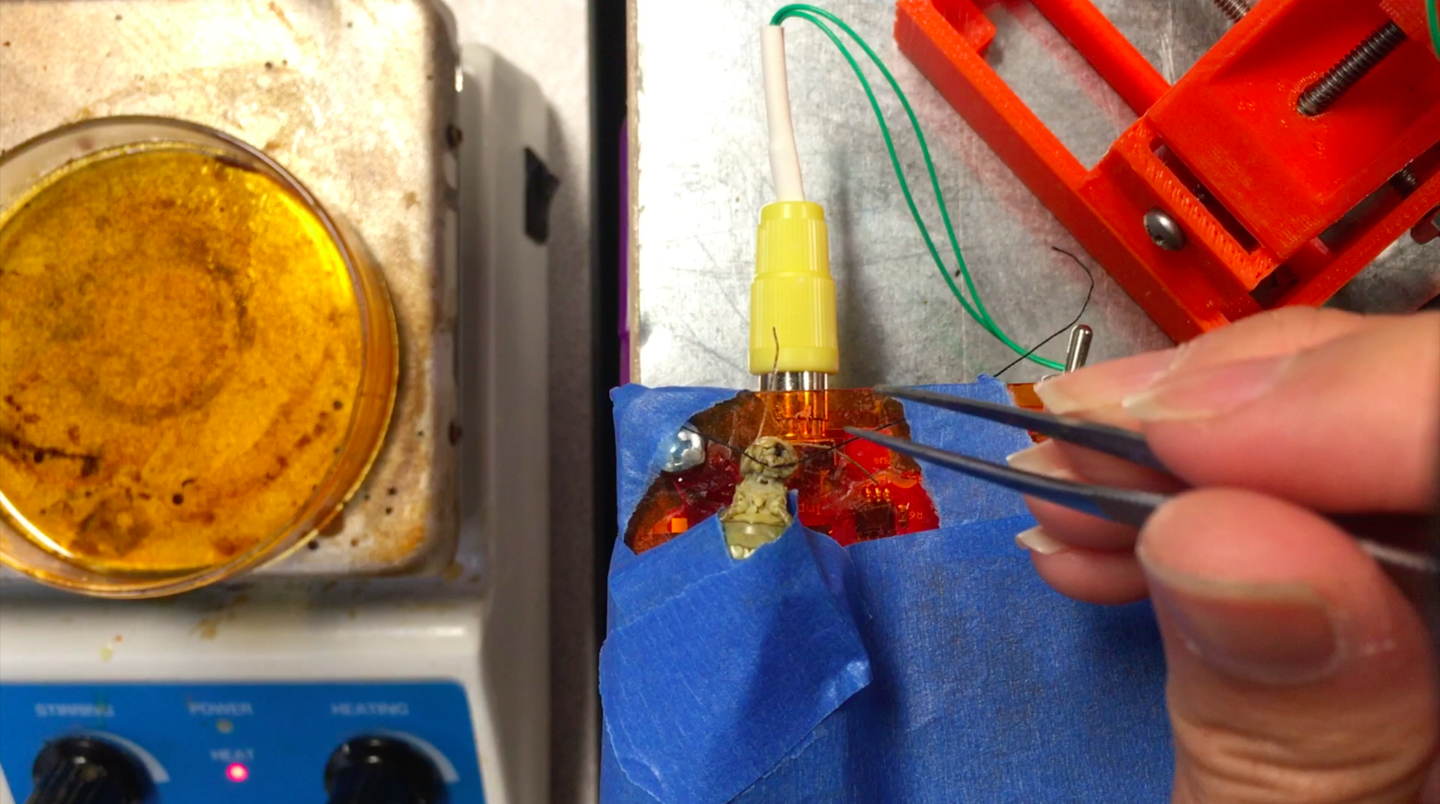
Create a 50/50 mixture of rosin and bee wax in a glass petri dish. Put the dish on magnetic stirrer, on very low heat (I’ve broken several dishes due to ignorance of kitchen basics). After a few minutes, the solid mixture is melted into a liquid.
![]()
-
6Step 6
Use a needle to pick up the warm rosin-wax liquid and place it around the thread holding back the head of the grasshopper. When the liquid cools and molds into a wax texture, the thread is secured to the neck of the grasshopper.
![]()
-
7Step 7
Now, another step as tricky as pulling back the grasshopper’s head: Placing the hook silver wire electrode around the neck connective to pick up the activity of the DCMD neurons. The BYB manipulator electrode comes as a simple straight wire. For this experiment, I modify it by using tweezers to bend the tip into a small hook, to place around the connective.
![]()
-
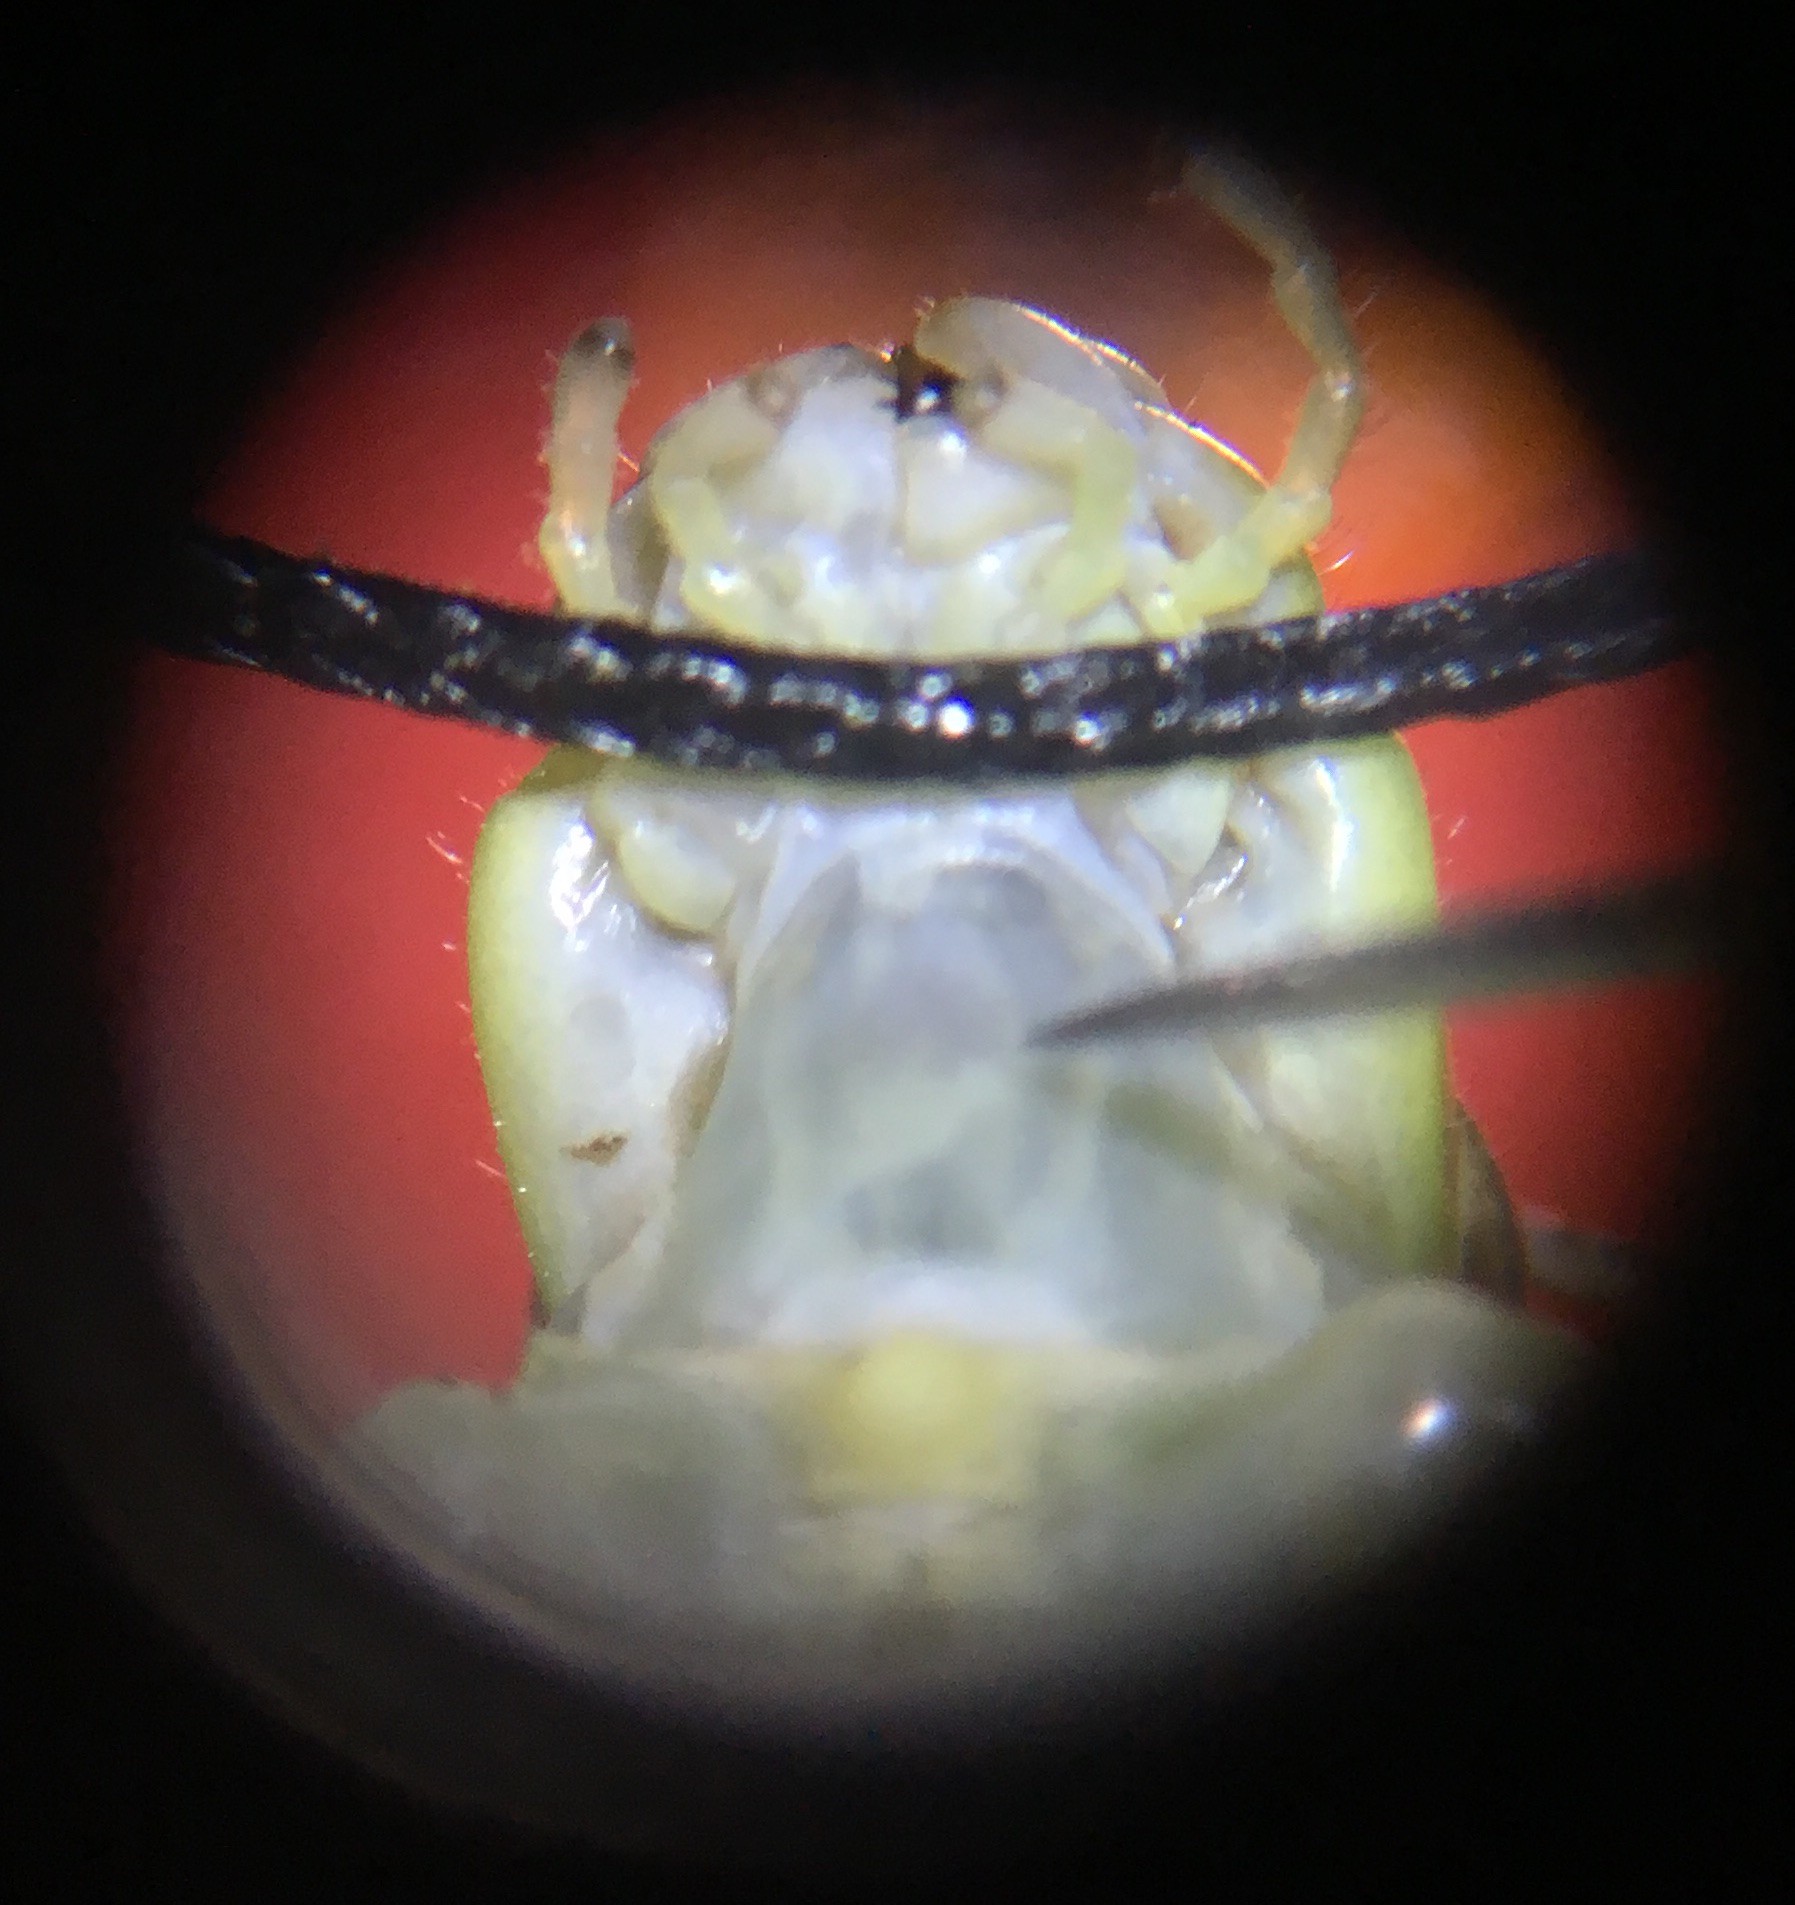
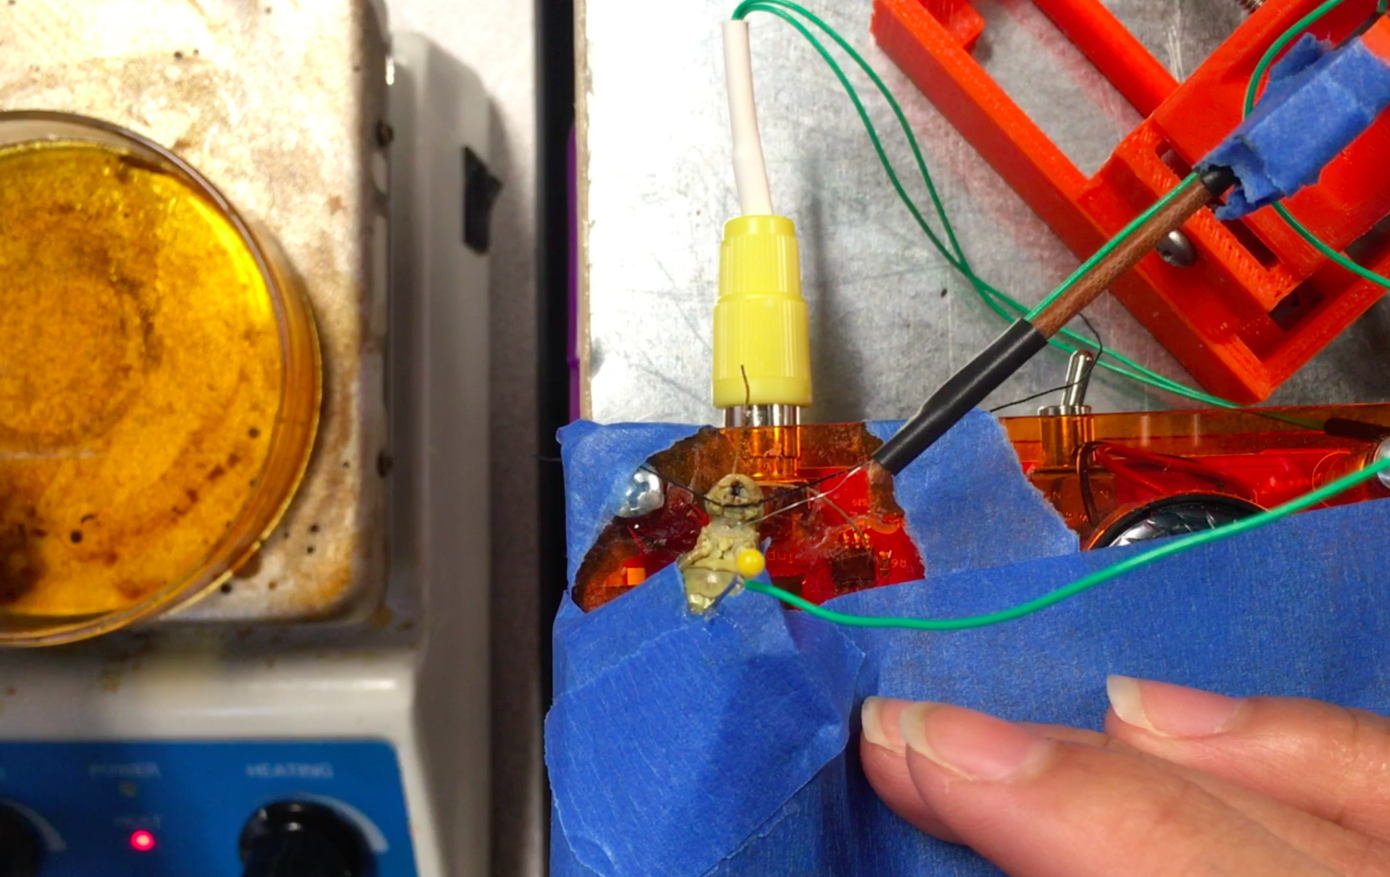
8Step 8
Then, under the microscope, use a tiny needle to pierce a hole on the left side of the grasshopper’s neck, next to the connective. Then, carefully place the hook electrode into the hole and use the BYB Micromanipulator to adjust so the electrode is deep enough to hook around the connective.
![]()
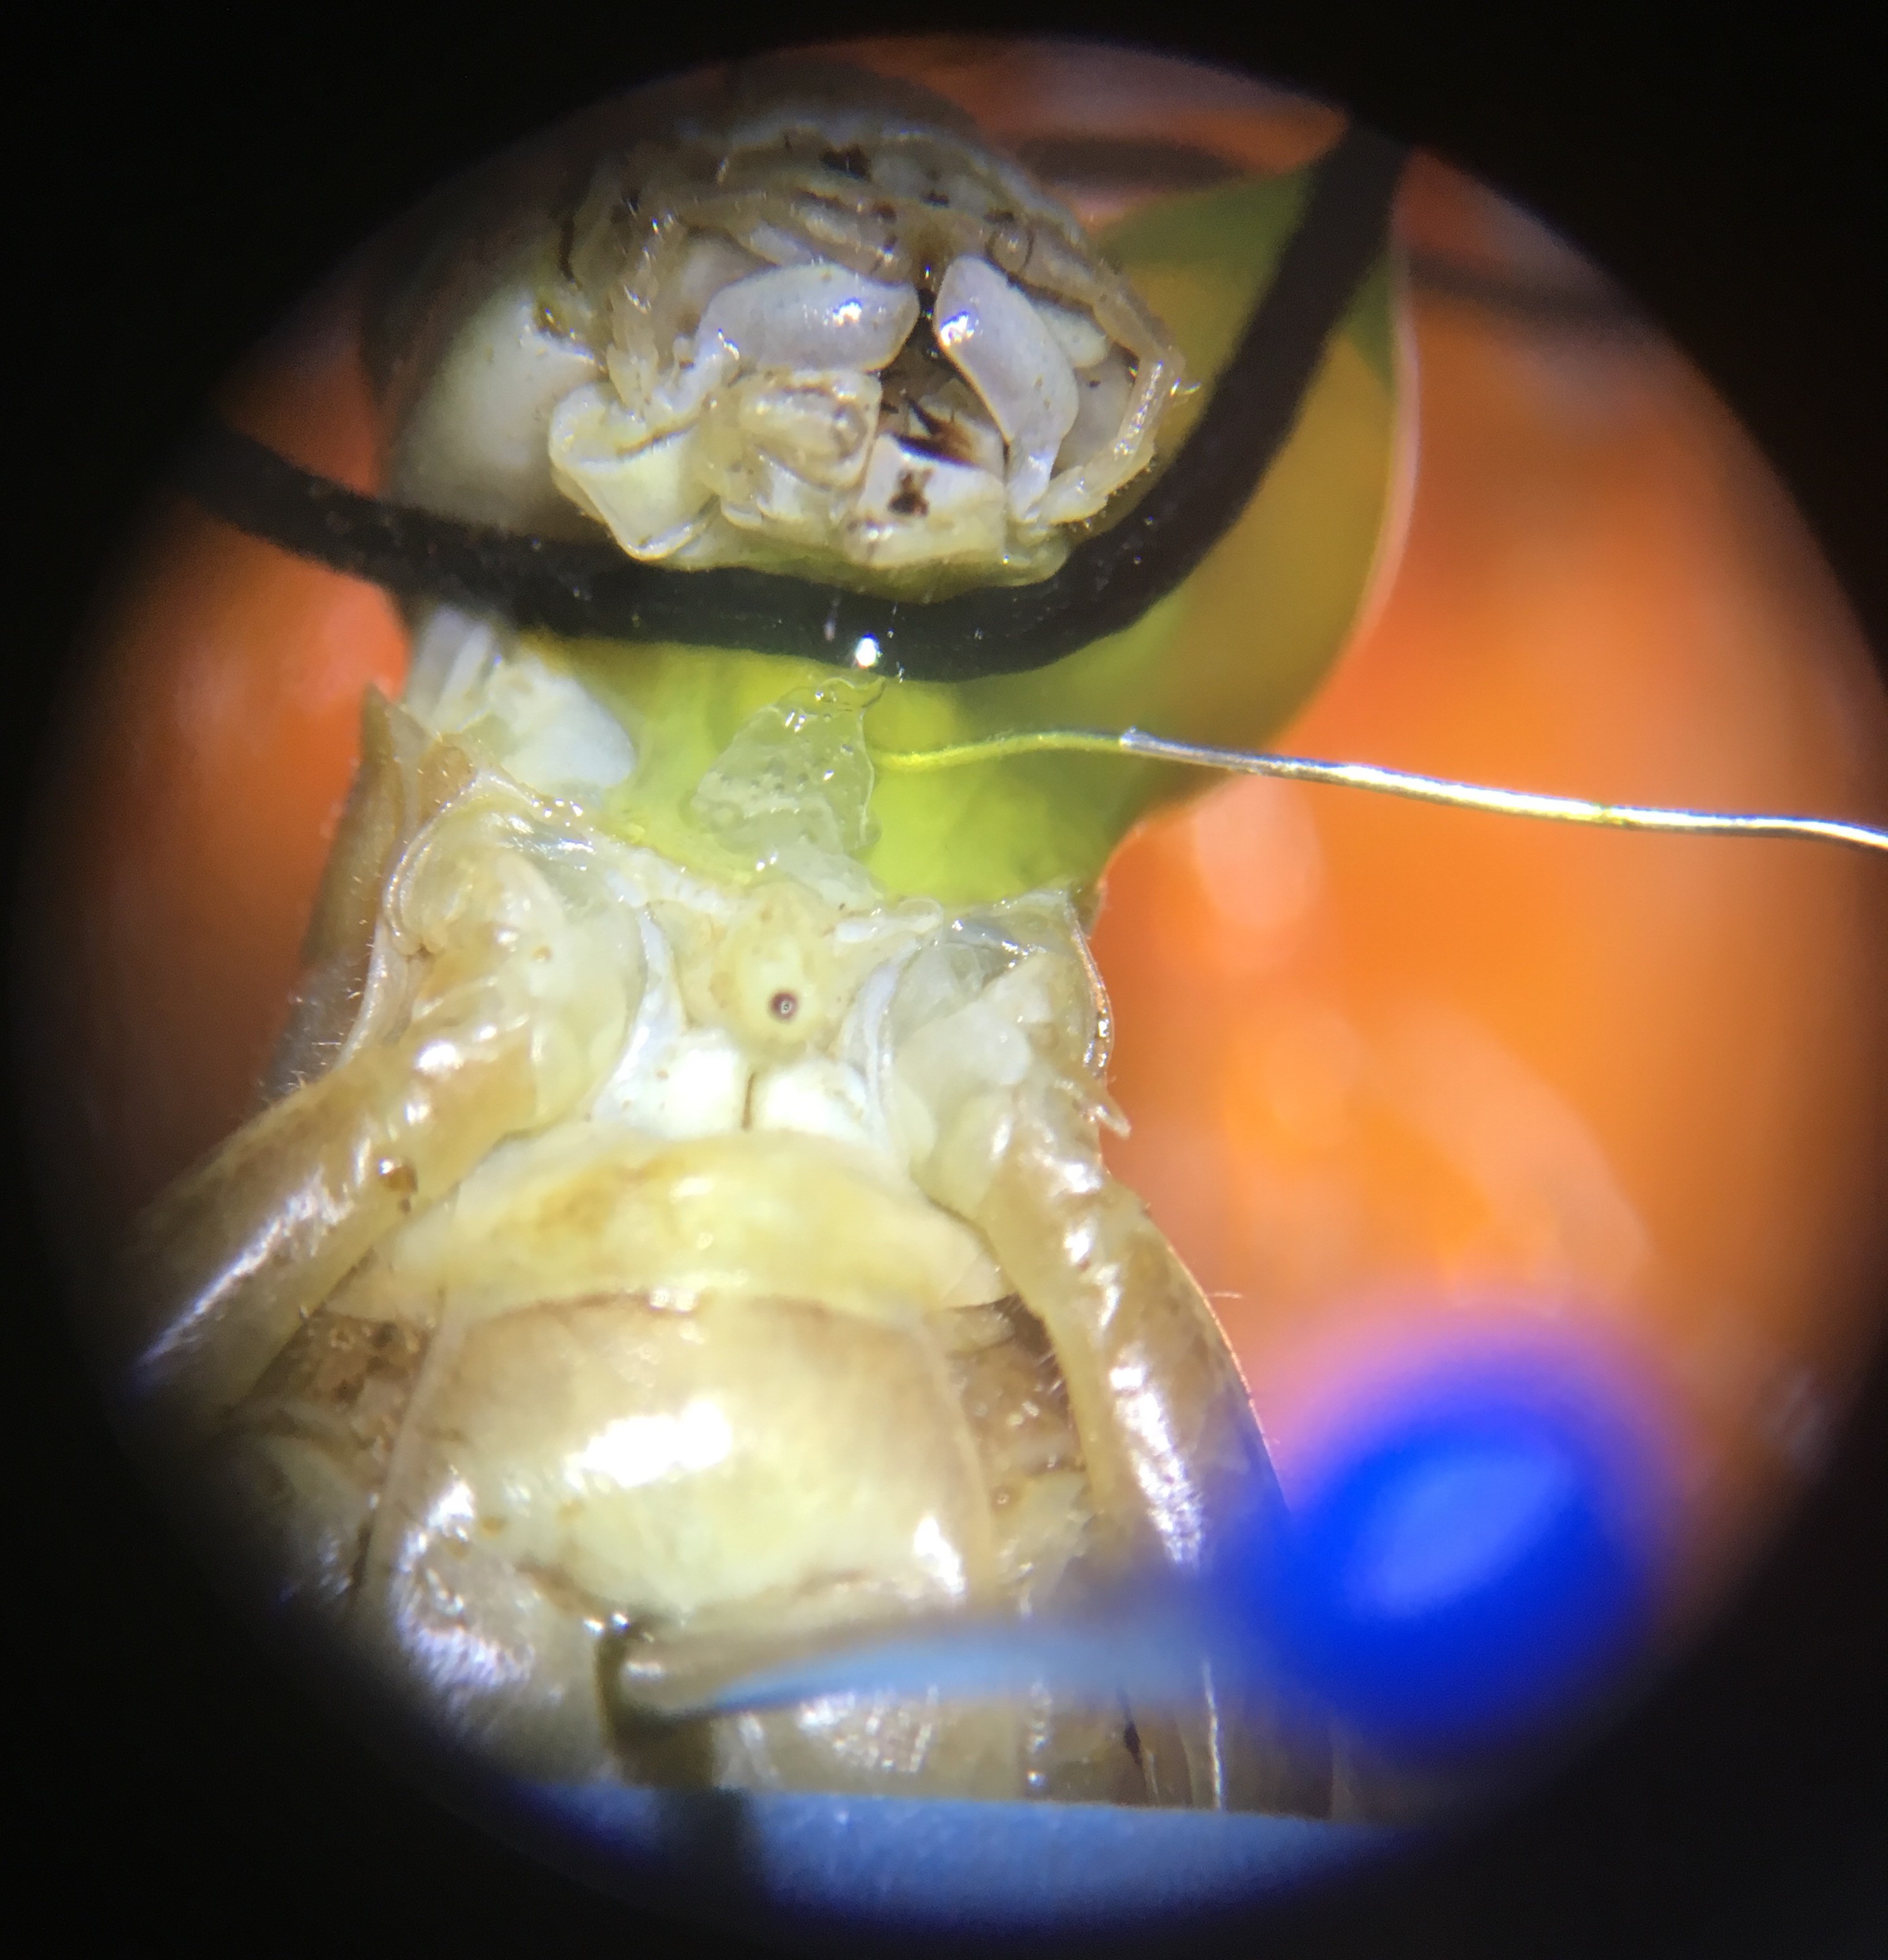
Depending on the grasshopper and the spot in the neck where the hole is made, there might be green blood oozing out from the hole (top photo). If there is no blood coming out, I immediately put a drop of Vaseline on the recording electrode and nerve cords to isolate them from the rest of the body and keep the pierced hole from drying out (which would otherwise happen within minutes).
![]()
![]()
Connect the BYB manipulator electrodes to the SpikerBox. Then, place the reference electrode (needle) either on the mid-thorax or abdomen. I find that the reference electrode grounded in the thorax yields better signals.
![]()
The prep is now finished! It looks something like this:
![]()
-
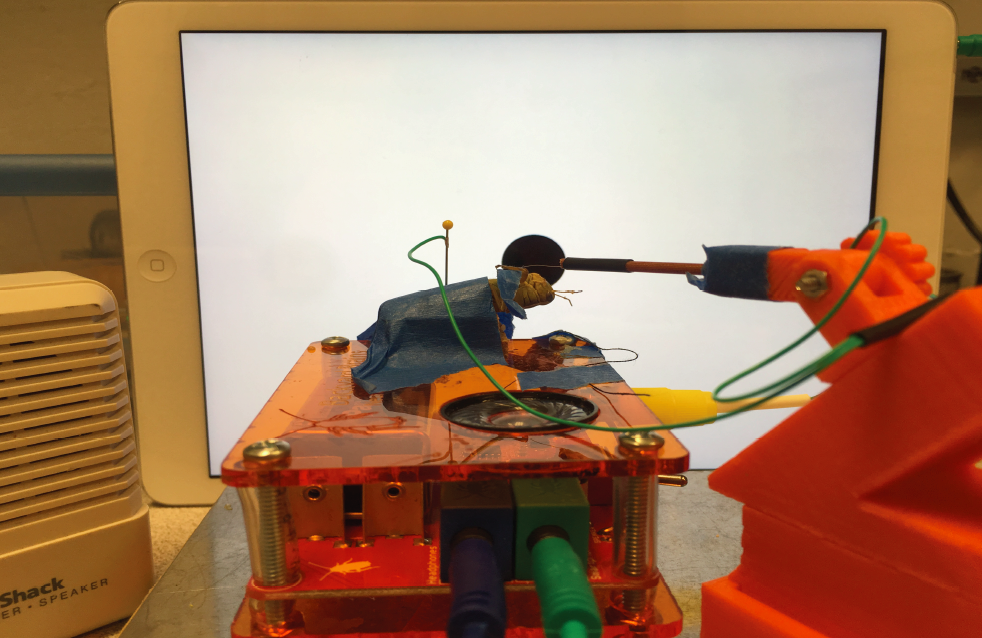
9Step 9
Almost done! On the iPad SpikeRecorder app, set the parameters for a new experiment. Here, I am testing the response of the DCMD neurons to an approaching black ball on a white screen. The balls of different sizes will approach the grasshopper’s eye at different speeds. Between each trial (each trial is a pair of an approach velocity and an object size) is an intertrial interval of 45 seconds for the neuron to fire again, based on literature and my own experiments.
![]()
The black balls originate from the center of the iPad screen and fill up the screen to simulate approach and collision with the grasshopper’s eye.
![]()
![]()
-
10Step 10
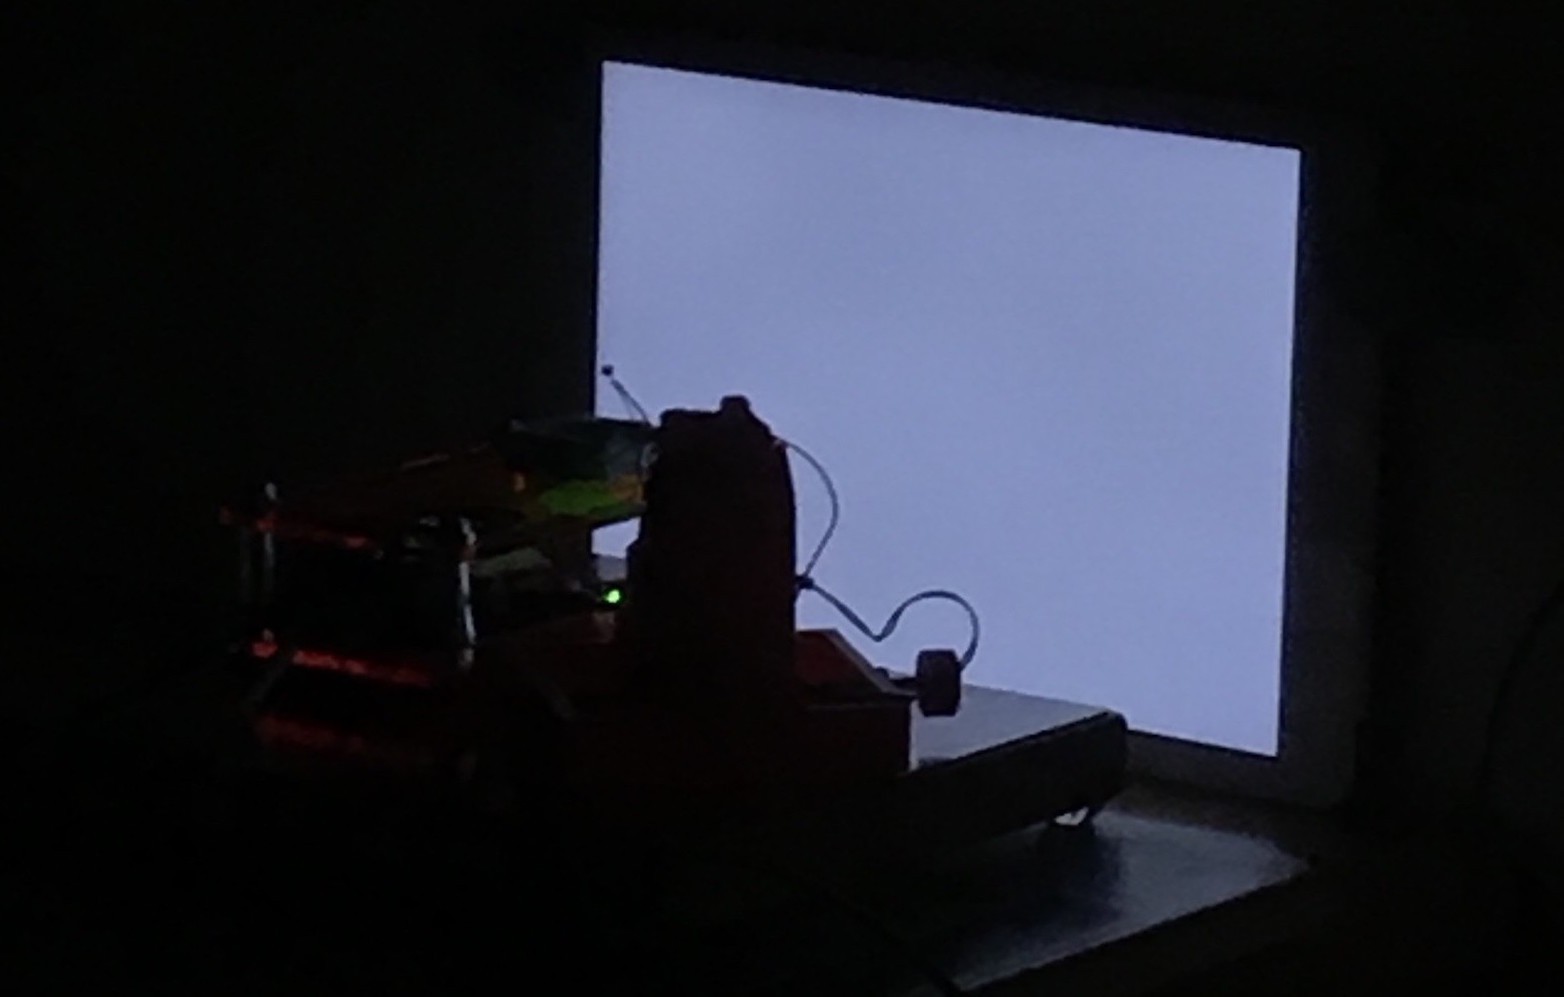
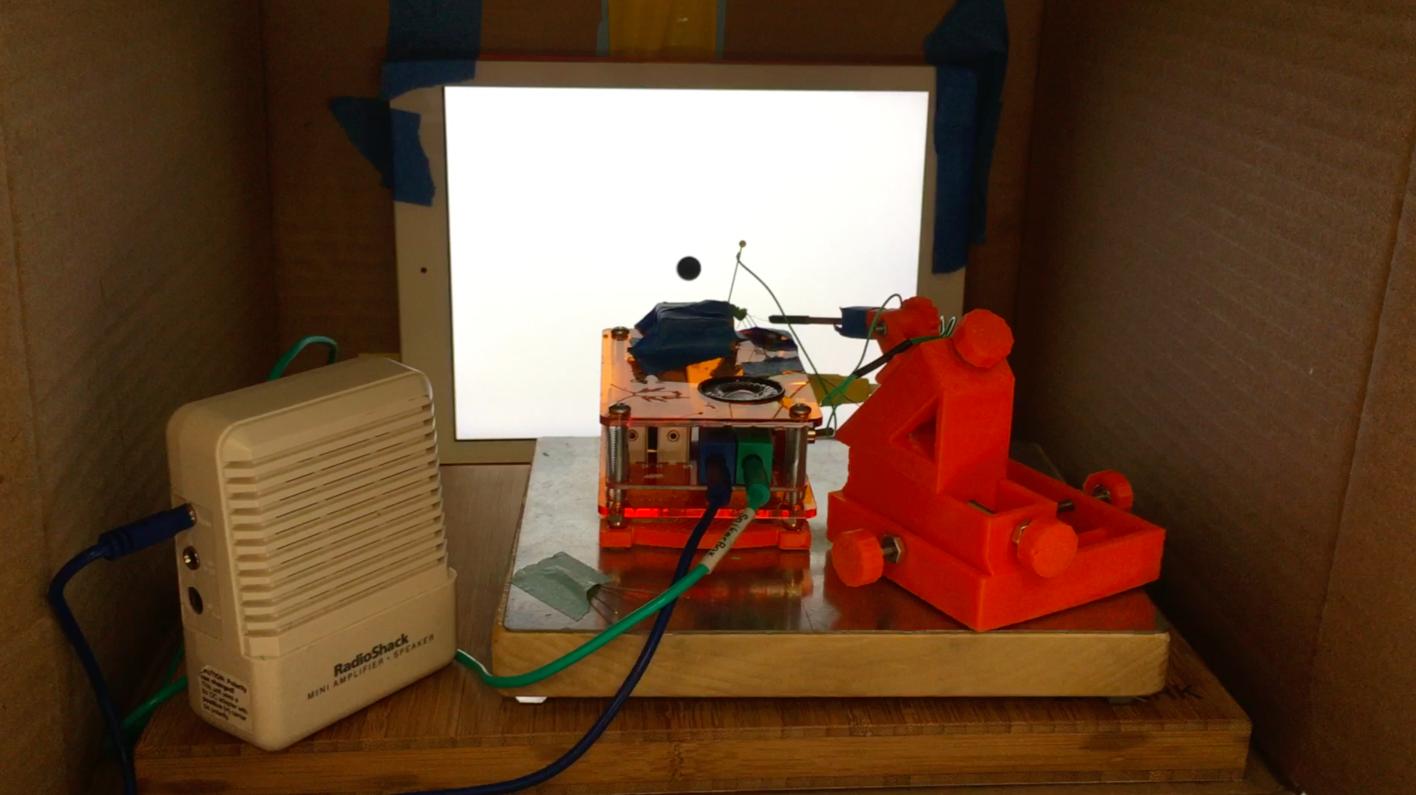
After the iPad is ready, tape it upright to the wall so the angle between the center of the screen/ball and the center of the grasshopper’s eye is minimal. Use a level and ruler to measure. Then, connect the iPad to the SpikerBox (green cable) and also connect a RadioShack mini speaker to the SpikerBox (blue cable) to hear the spikes. Then, turn off the lights and close the doors to the experimental room for good contrast of the black ball on the white screen.
![]()
![]()
Otherwise, make a portable experimental room! I use a card board box from the recycle bin of a restaurant. I turn on the iPad and close the flaps, and the ball begins to come at the grasshopper’s eye. And the grasshopper’s DCMD neuron will activate. And I will get experimental data!
![]()
Note: You might know that electrophysiology recording is troubled by lots of noise,including body and other electronic sources. Choose a spot without many electronics being used, and minimize body movement. I stay at least 5 feet away and sit as still as possible while the experiment is going on.
Neuroscience of Grasshopper Jumps
Why are grasshoppers so hard to catch? Let's explore the visual neurons behind the grasshopper's escape mechanism!


Discussions
Become a Hackaday.io Member
Create an account to leave a comment. Already have an account? Log In.