-
1Step 1
Essential materials:
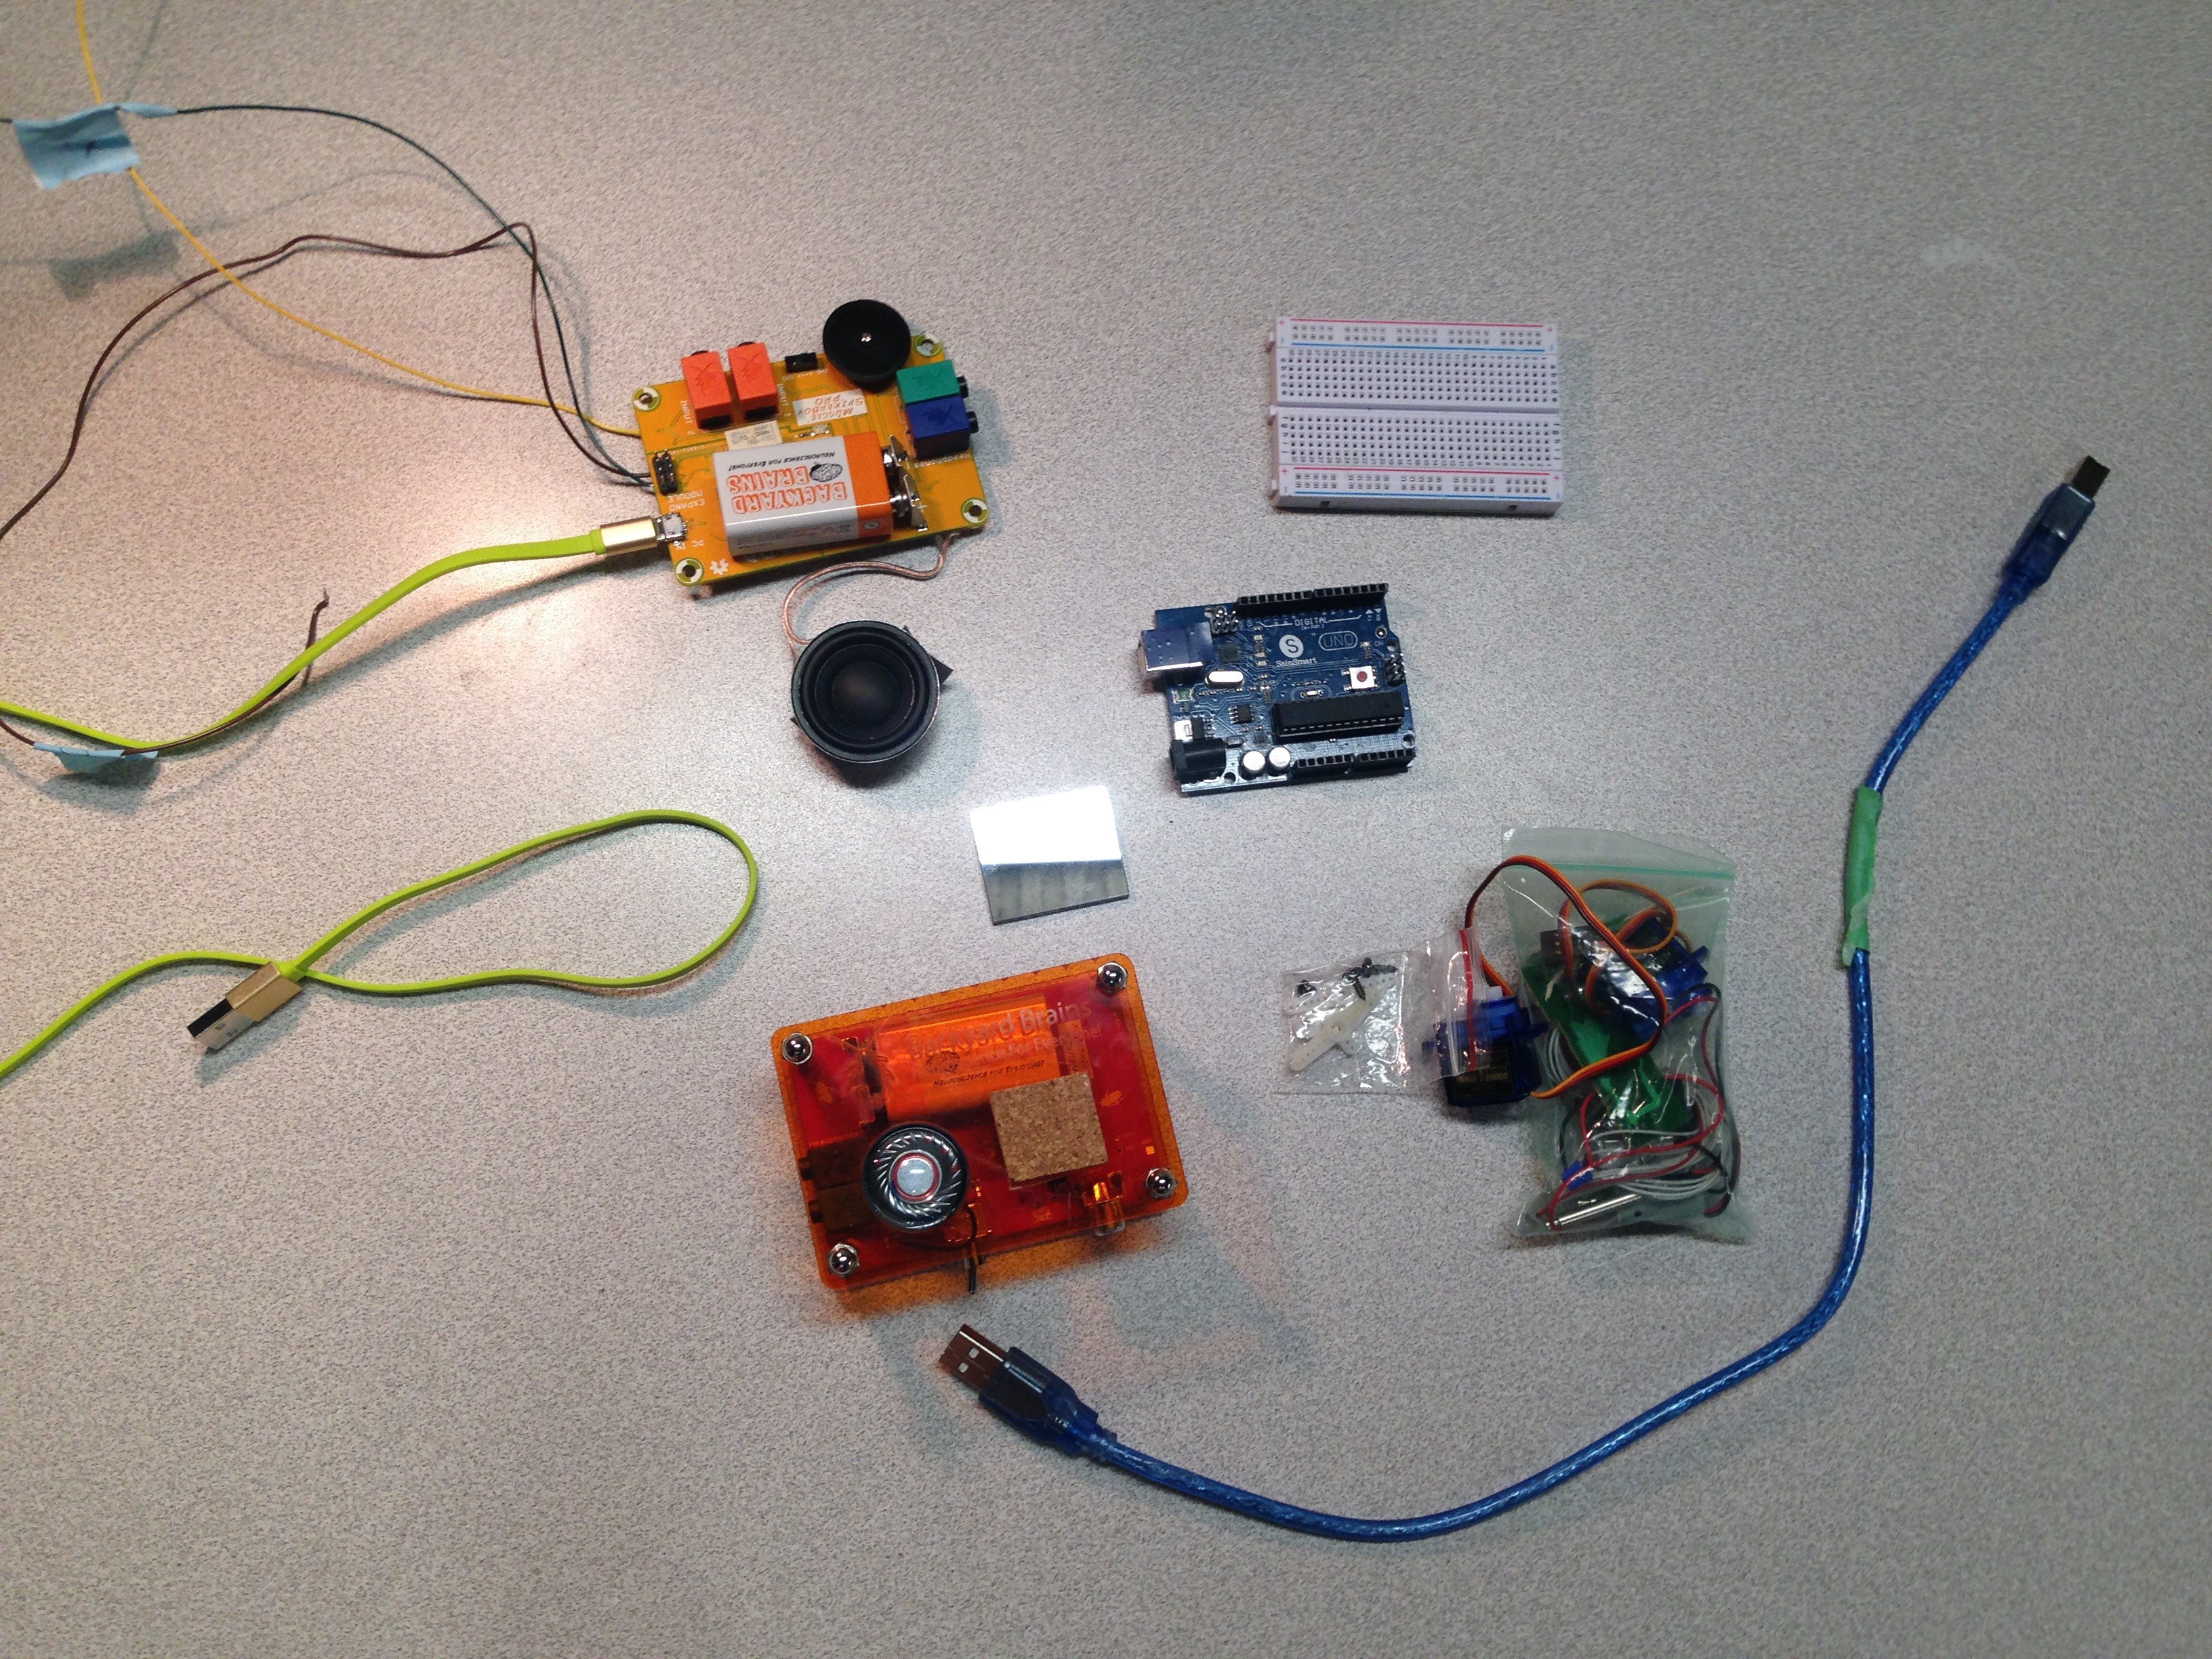
![]()
(from top left to bottom right)
1. Spikerbox pro (with appropriate cord to plug into laptop and electrodes)
2. breadboard
3. Arduino Uno and jumper cables/ wires
4. Mirrors (two)
5. servos (two)
6 USB chord (for Arduino to laptop)
7. laser (not pictured)
Non-essential materials:
1. materials for stand and base for laser light show (I used wood and acrylic)
2. supports for mirror (I used wooden sticks and popsicle sticks)
3. microscope (not needed, just helpful)
4. insect wax and popsicle sticks
5. thread and silly putty (for the neural recordings)
6. paper (for the curved screen)
7. solder and soldering iron
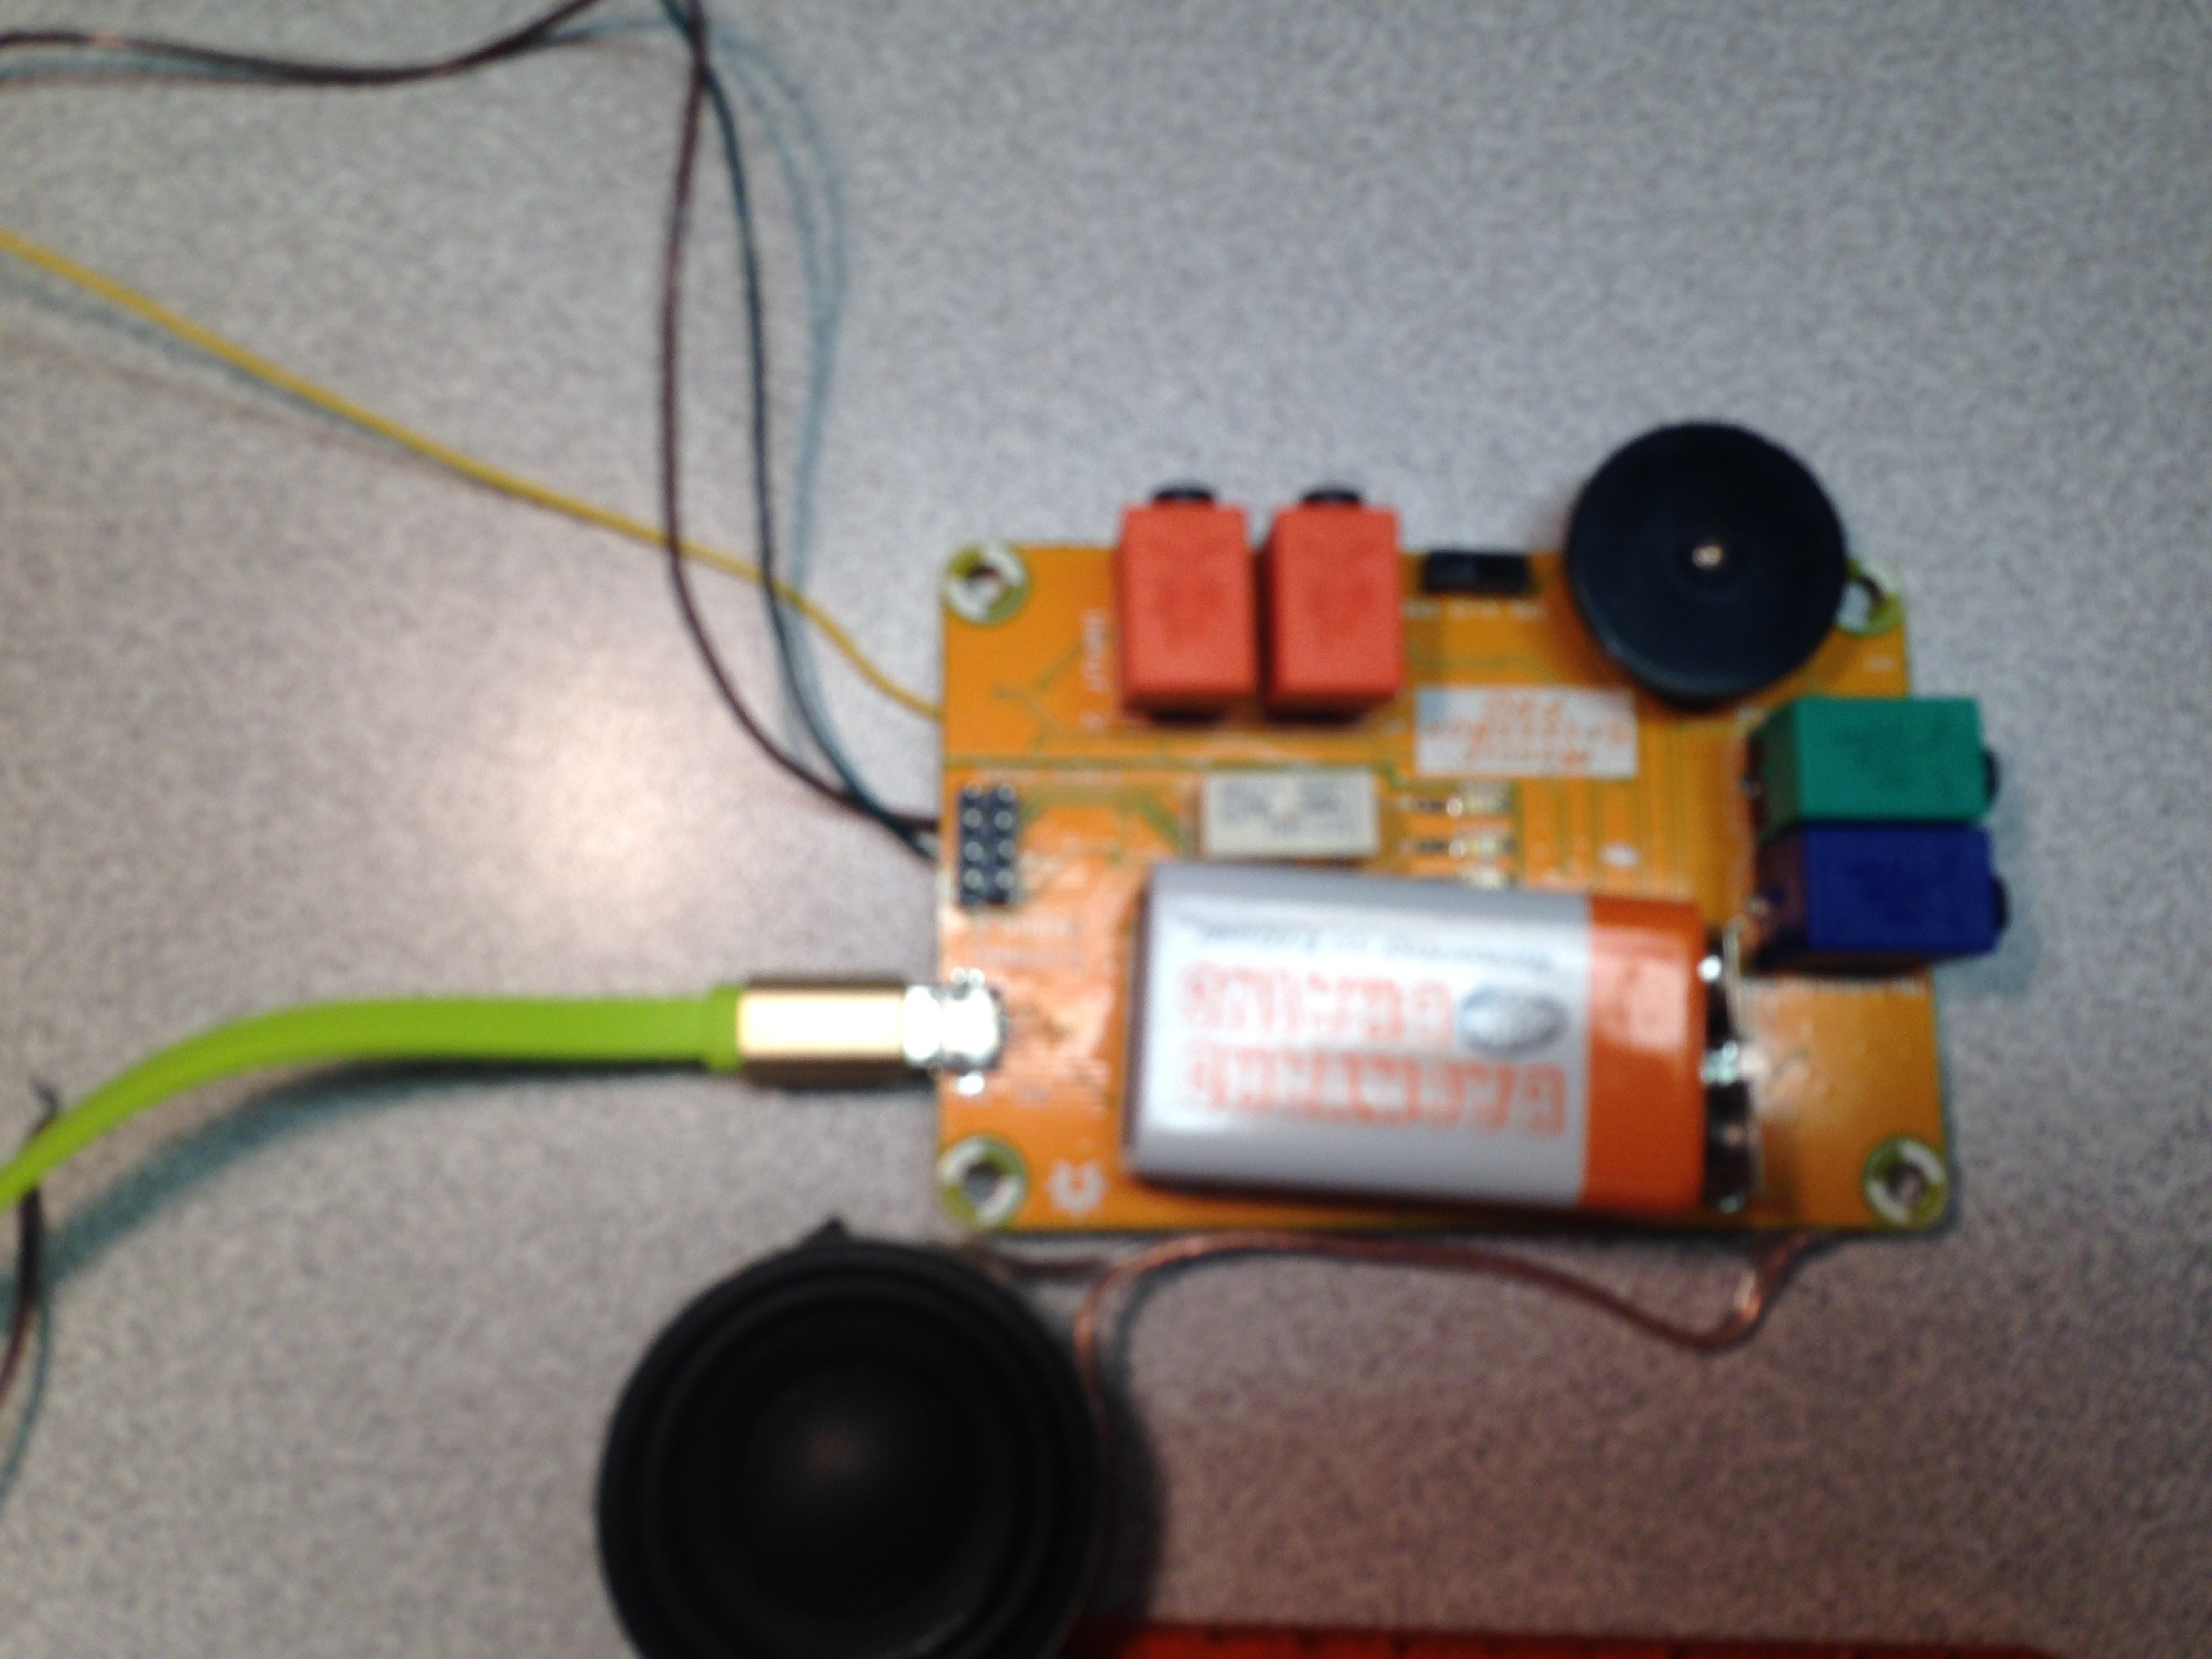
optional: Neuron spikerbox (pictured above)
-
2Step 2
Set up the laser light show:
Gather the following materials for the next couple of steps:
1. servos (two)
2. mirrors (two)
3. jumper cables
4. breadboard
5. Arduino
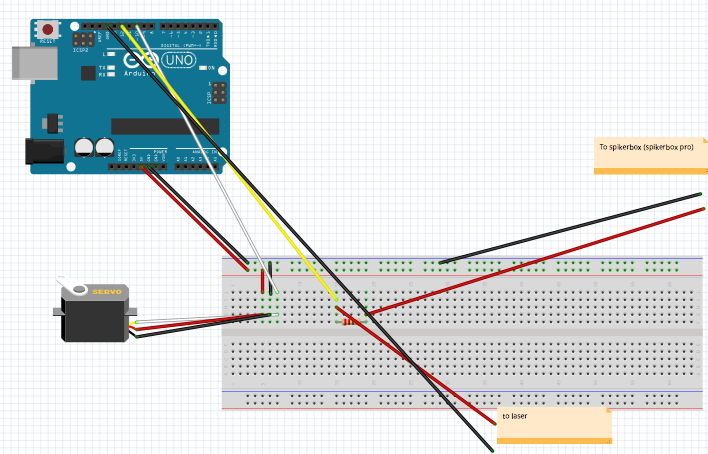
In this step we will connect the servos to the Arduino so that we can control their movement through code.
![]()
This fritz shows how one servo is hooked up, do the same for the other servo.
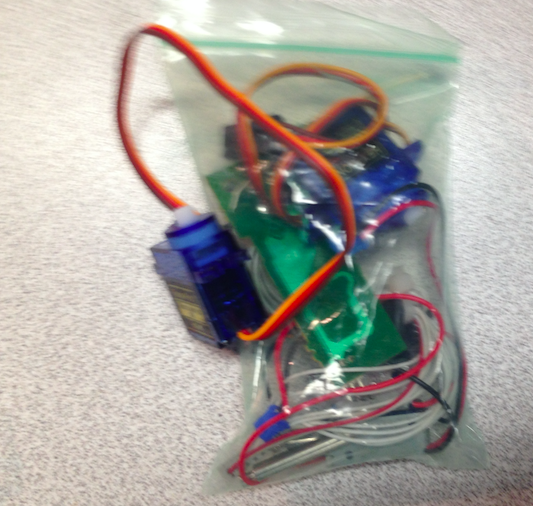
These are the servos I used:
![]()
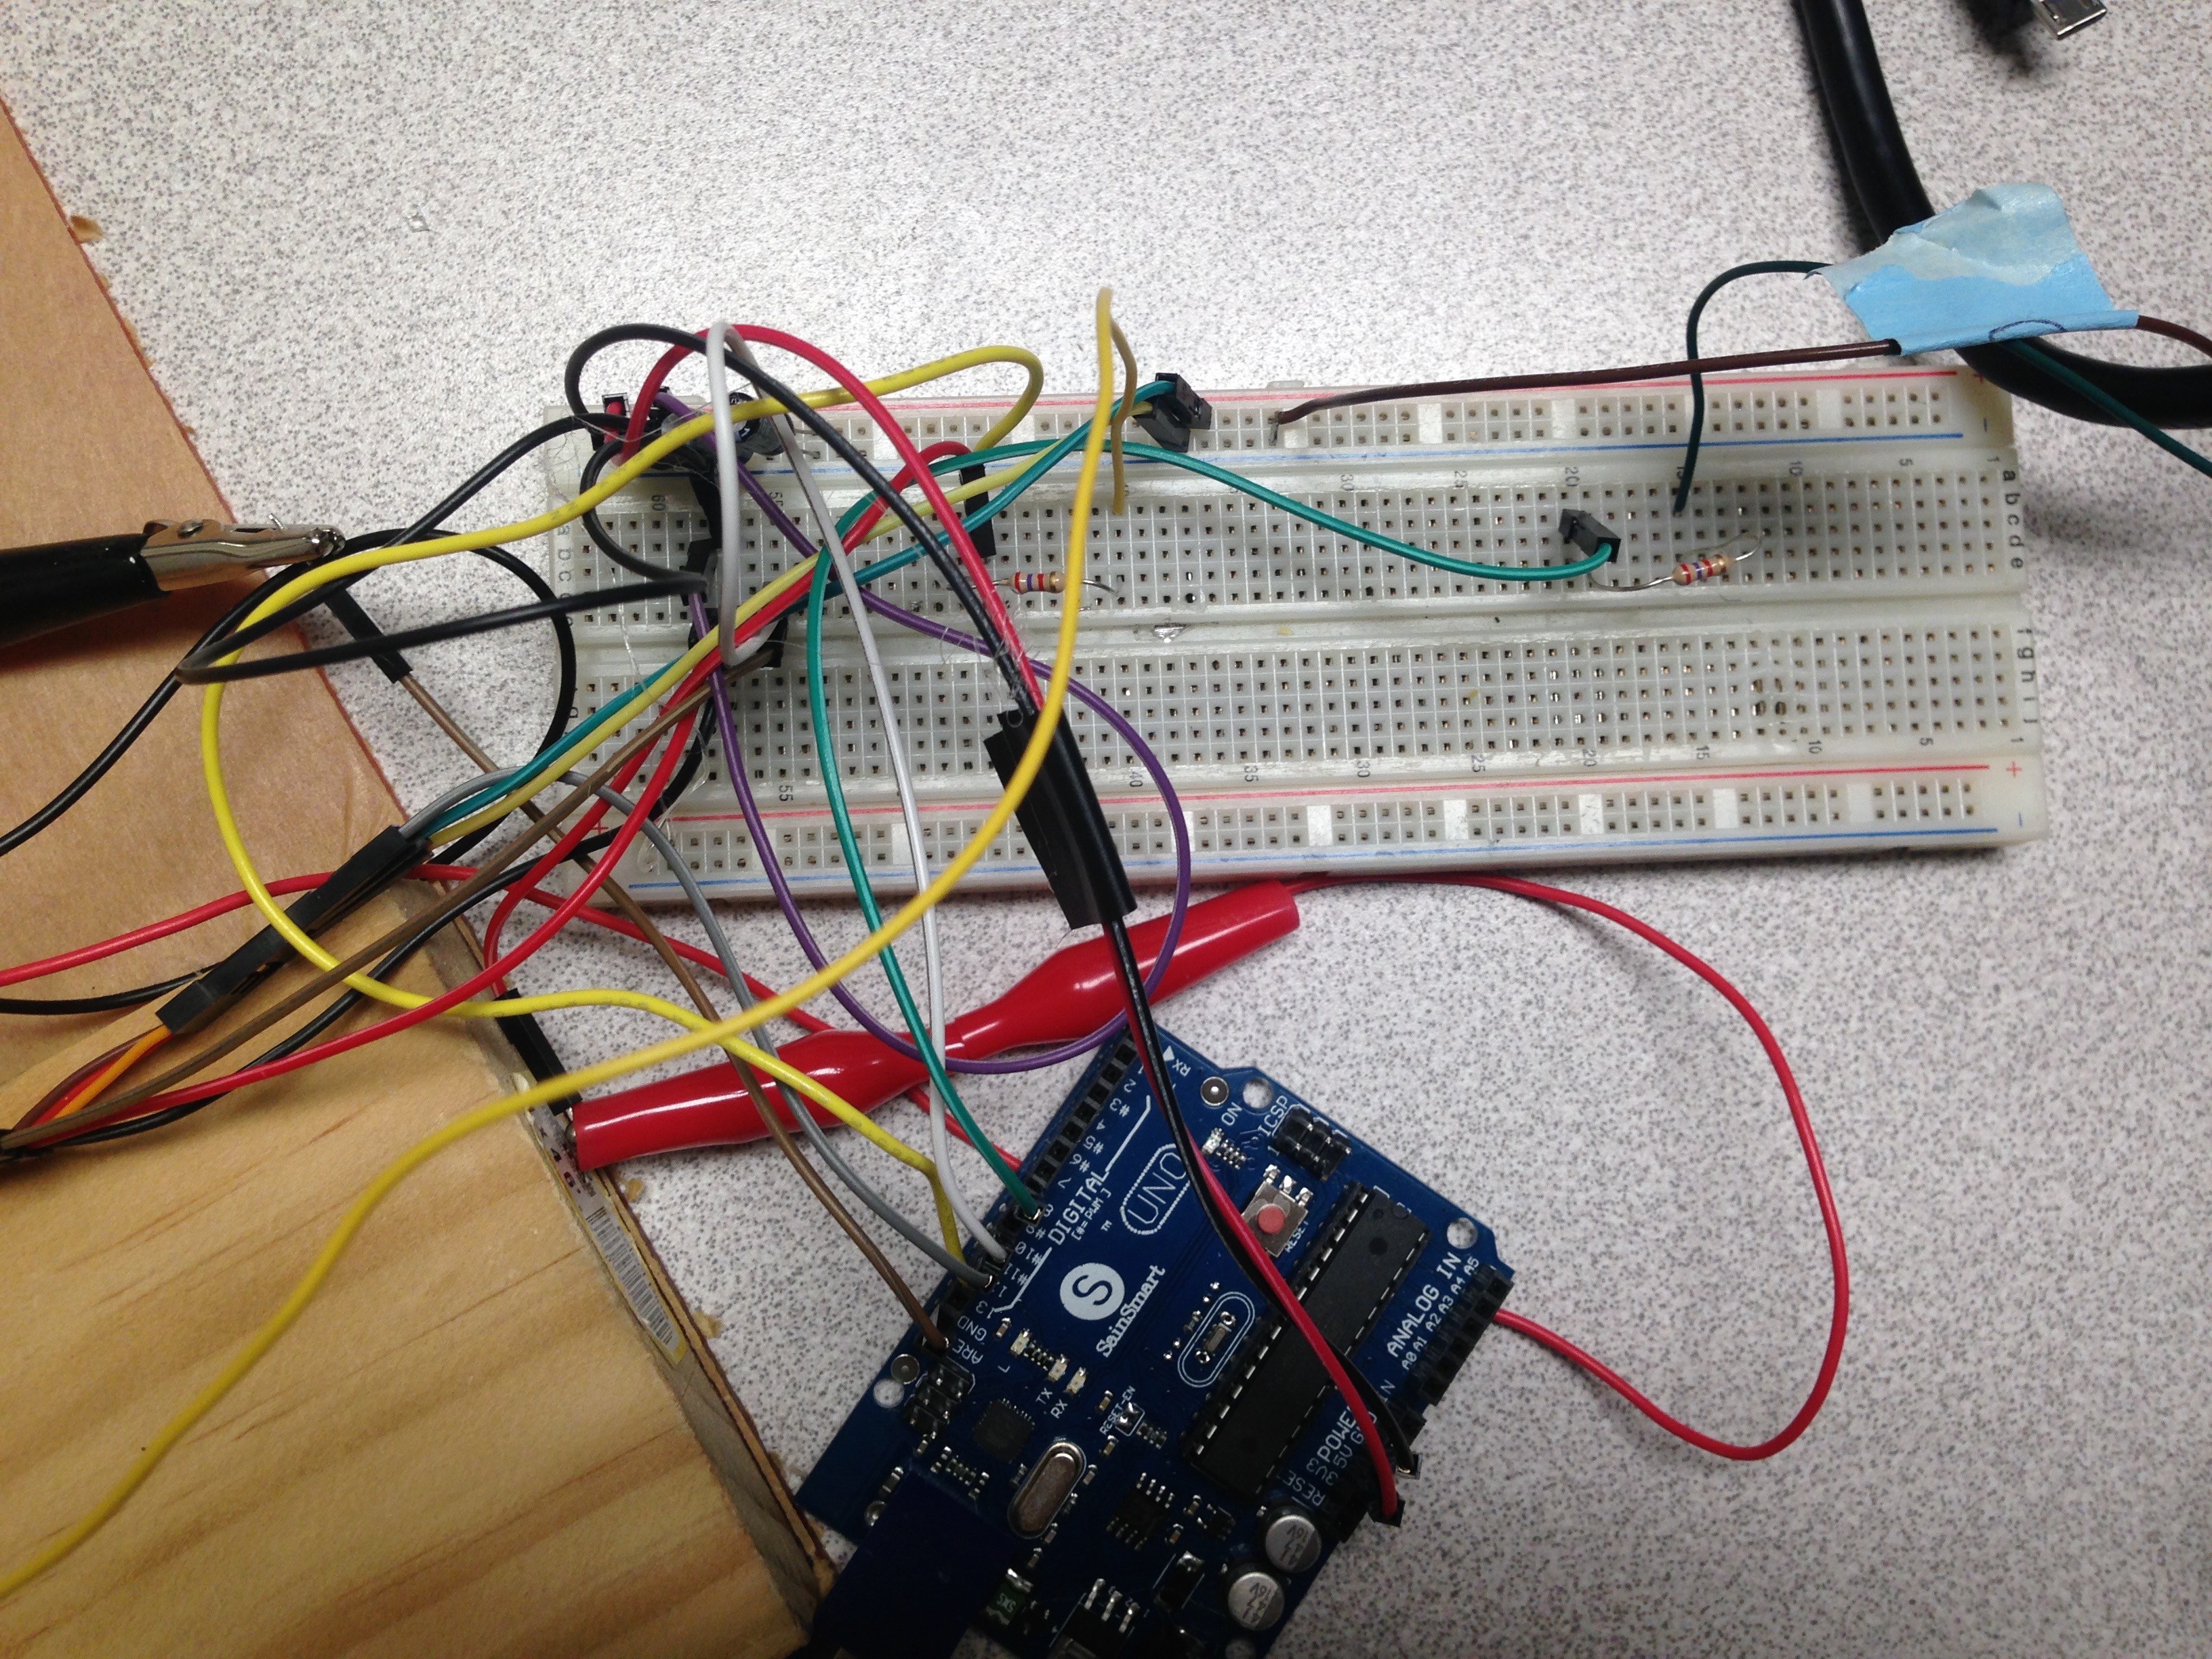
Each servo has a brown, yellow and a red cable. The brown and red are for ground and power, respectively, and the yellow is for the signal. The yellow can be plugged into the Arduino pin 10. Do the same for the other servo, except plug the yellow into pin 11.
Try this test code:
include <Servo.h> const int servo = 10; // The servo motor pin const int servo2 = 11; Servo myservo; // create servo object to control a servo Servo myservo2; void setup() { // Servo myservo.attach(servo); // attaches the servo to the servo pin myservo2.attach(servo2); } void loop(){ for(servoAngle = 0; servoAngle < 20; servoAngle++) //move the micro servo from 0 degrees to 20 degrees { myservo.write(servoAngle); myservo2.write(servoAngle); delay(50); } digitalWrite(laserPin, LOW); // turn the laser off myservo.write(0); // return to zero degrees myservo2.write(0); delay(1000); // pause for one second } -
3Step 3
Next step is to glue the mirrors onto the servos. I used wooden sticks and mirror pieces that I cut from a large hand mirror.
Try to get the mirrors flush on the wooden sticks.
-
4Step 4
Set up the laser. Take out the back of the lasers and remove the batteries. Inside should be a spring. Attach one aligator clip on the spring (ground), and one on the outside metal (positive). Connect the ground to ground, and the power to the 12 pin on the Arduino.
Test with this test code:
#include <Servo.h> const int servo = 10; // The servo motor pin const int servo2 = 11; int laserPin = 12; Servo myservo; // create servo object to control a servo Servo myservo2; int servoAngle = 0; // servo position in degrees int servoAngle2 = 0; // servo position in degrees void setup() { // Servo pinMode(laserPin, OUTPUT); // set up the laser pin myservo.attach(servo); // attaches the servo to the servo pin myservo2.attach(servo2); } void loop(){ digitalWrite(laserPin, HIGH); // turns the laser on for(servoAngle = 0; servoAngle < 20; servoAngle++) //move the micro servo from 0 degrees to 20 degrees { myservo.write(servoAngle); myservo2.write(servoAngle); delay(50); } digitalWrite(laserPin, LOW); // turn the laser off myservo.write(0); // return to zero degrees myservo2.write(0); delay(1000); // pause for one second } -
5Step 5
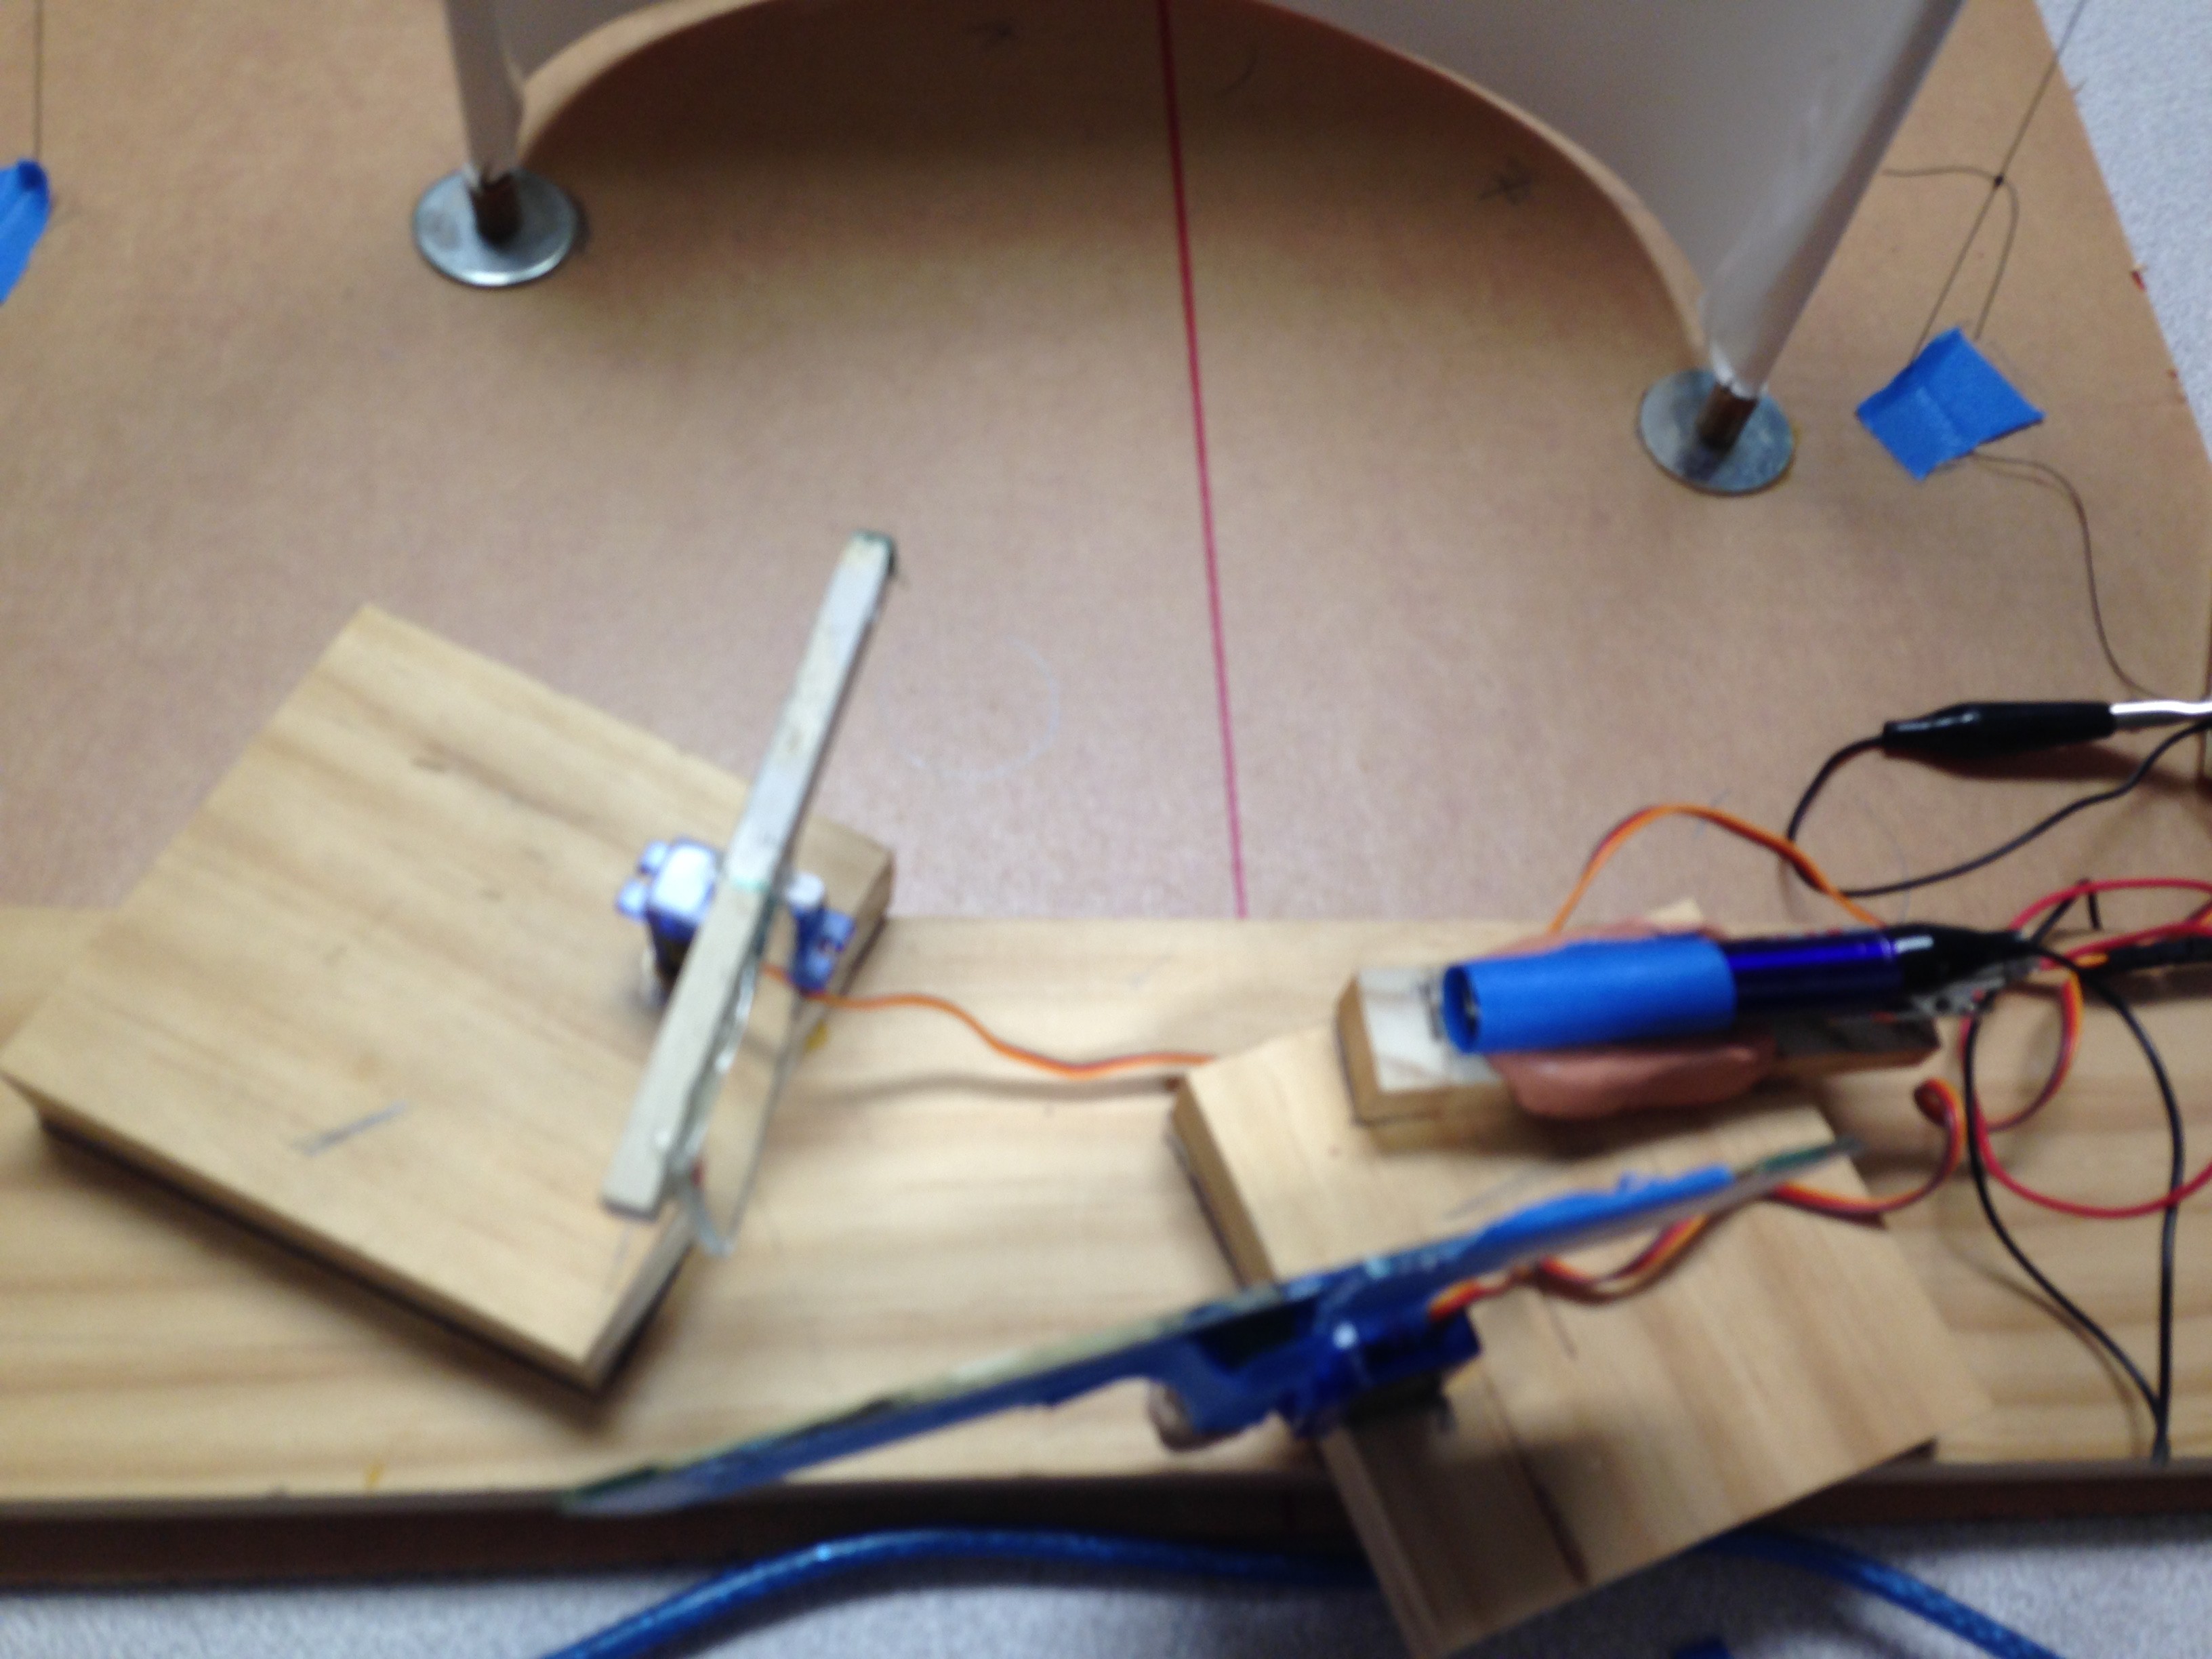
Create a screen. I made mine out of paper, some more wooden sticks and a little bit of string. Do not glue the screen down quite yet. Position the servos (with mirrors attached to them), the laser and the screen so that laser shines off of both servos, and the beam hits all parts of the screen. This is a very difficult part of the experiment and needs patience -- but you will feel so accomplished when it actually works!
-
6Step 6
Once you have the laser light show set up, then you can work on recording the events. Use a Spikerbox pro (a product from Backyard Brains) to do this.
Spikerbox pro:
Connect the Spikerbox to your laptop using the appropriate cable (green cable in photo) and open Spikerecorder (a free app by Backyard Brains). Next to where you plug the cable in to the Spikerecorder are eight holes. Using a multimeter, find which is Ground, and which are events. The events, when connected to power, will show up as a numbered bar on the Spikerecorder screen. Solder wires to ground, event 1 and event 2.
![]()
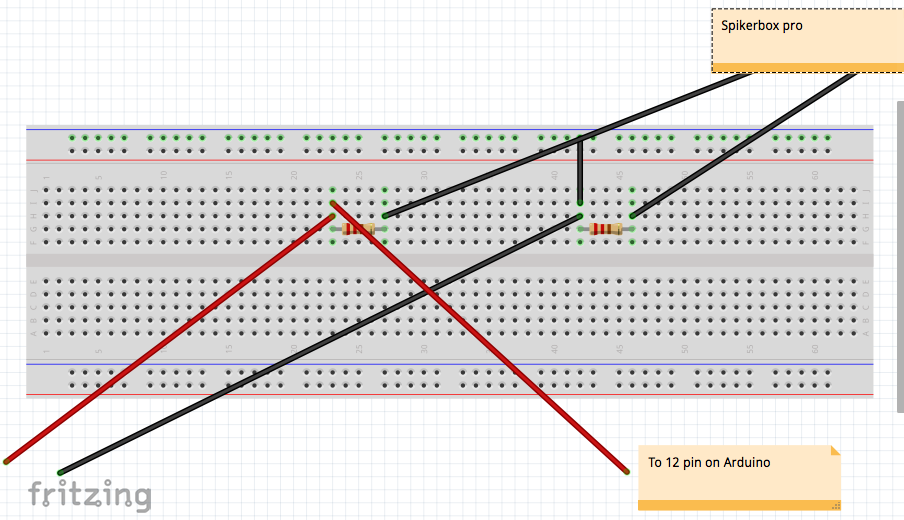
Disconnect the laser power and ground and place on breadboard. Connect the Spikerbox like below:
![]()
Once you have everything connected, test with code.
The way to turn the laser on:
digitalWrite(laserPin, HIGH);
if you have set up the laserPin to be whatever pin you plugged the laser power into (for me it is 12).
Since we want double events, connect one end of the resistor to a pin in the Arduino, and the other side of the resistor to the Spikerbox pro event 2 (not pictured in fritz).
then add the code:
digitalWrite(laserPinOff, HIGH);
every time the laser is off, and write LOW every time it is on.
Now you have the entire laser set up together!
-
7Step 7
Now it is time for the neural recordings. For now, we will test without the laser set-up, just to ensure that we can locate the TSDN neurons. First, catch the dragonflies! They love the vegetation by large bodies of water. I found a lot by a field near a river. Take a butterfly net and cage and catch as many as you can. My suggestion is to track them to where they are perching, and they try to net them from behind. Dragonflies are hard to catch when they are flying.
After you have caught the dragonflies, place them in the refrigerator. This will anesthetize them.
Get these materials ready:
1. Neuron Spikerbox (optional)
2. Spikerbox pro, cable and electrodes
3. popsicle stick
4. microscope (optional but helpful)
5. silly putty
6. thread
7. micromanipulator (optional but helpful)
Anesthetize the dragonflies and heat up insect wax. When it is melted, place on popsicle stick and then place anesthetized dragonfly onto the popsicle stick. It's dorsal side should be on the stick and its wings should be free from the putty.
Set up the dragonfly like above.
Though I have the electrodes plugged into the neuron Spikerbox in this picture, in the final version I used a Spikerbox pro so that I can also record double events. I just use the neuron Spikerbox as a stand to put the dragonfly on (this is why it is optional.)
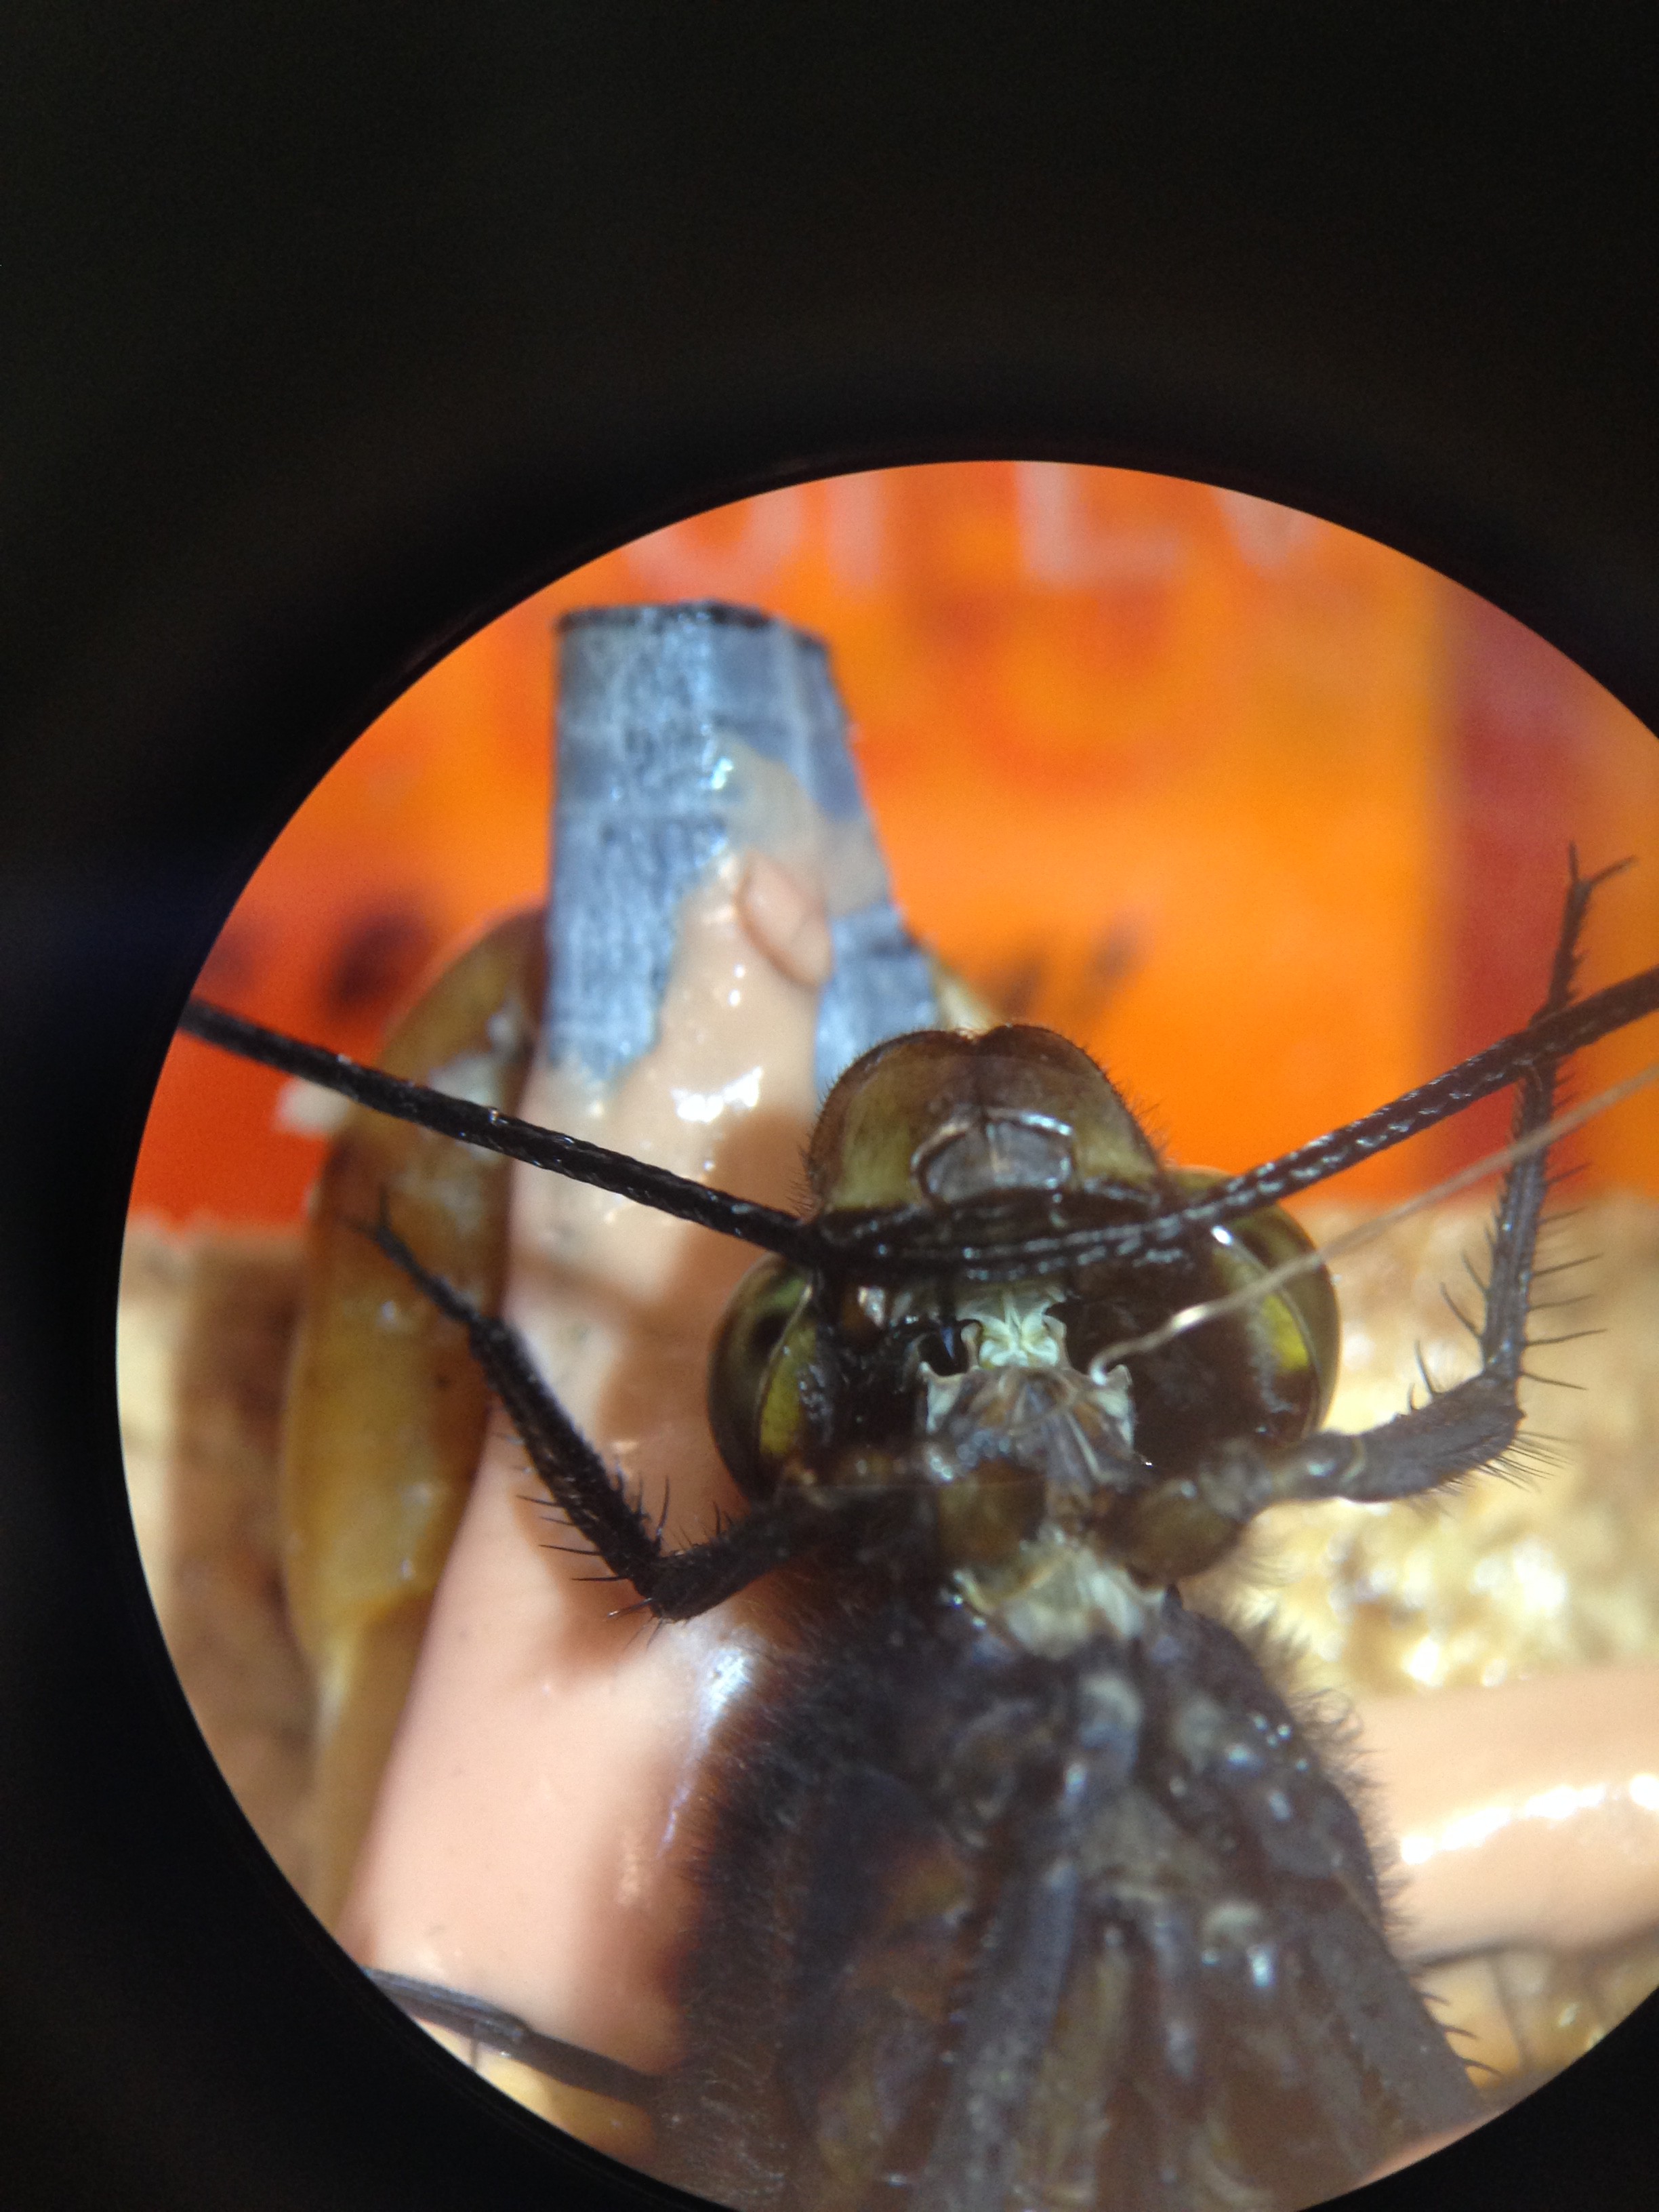
Using a microscope, locate the TSDN and pierce with an electrode.
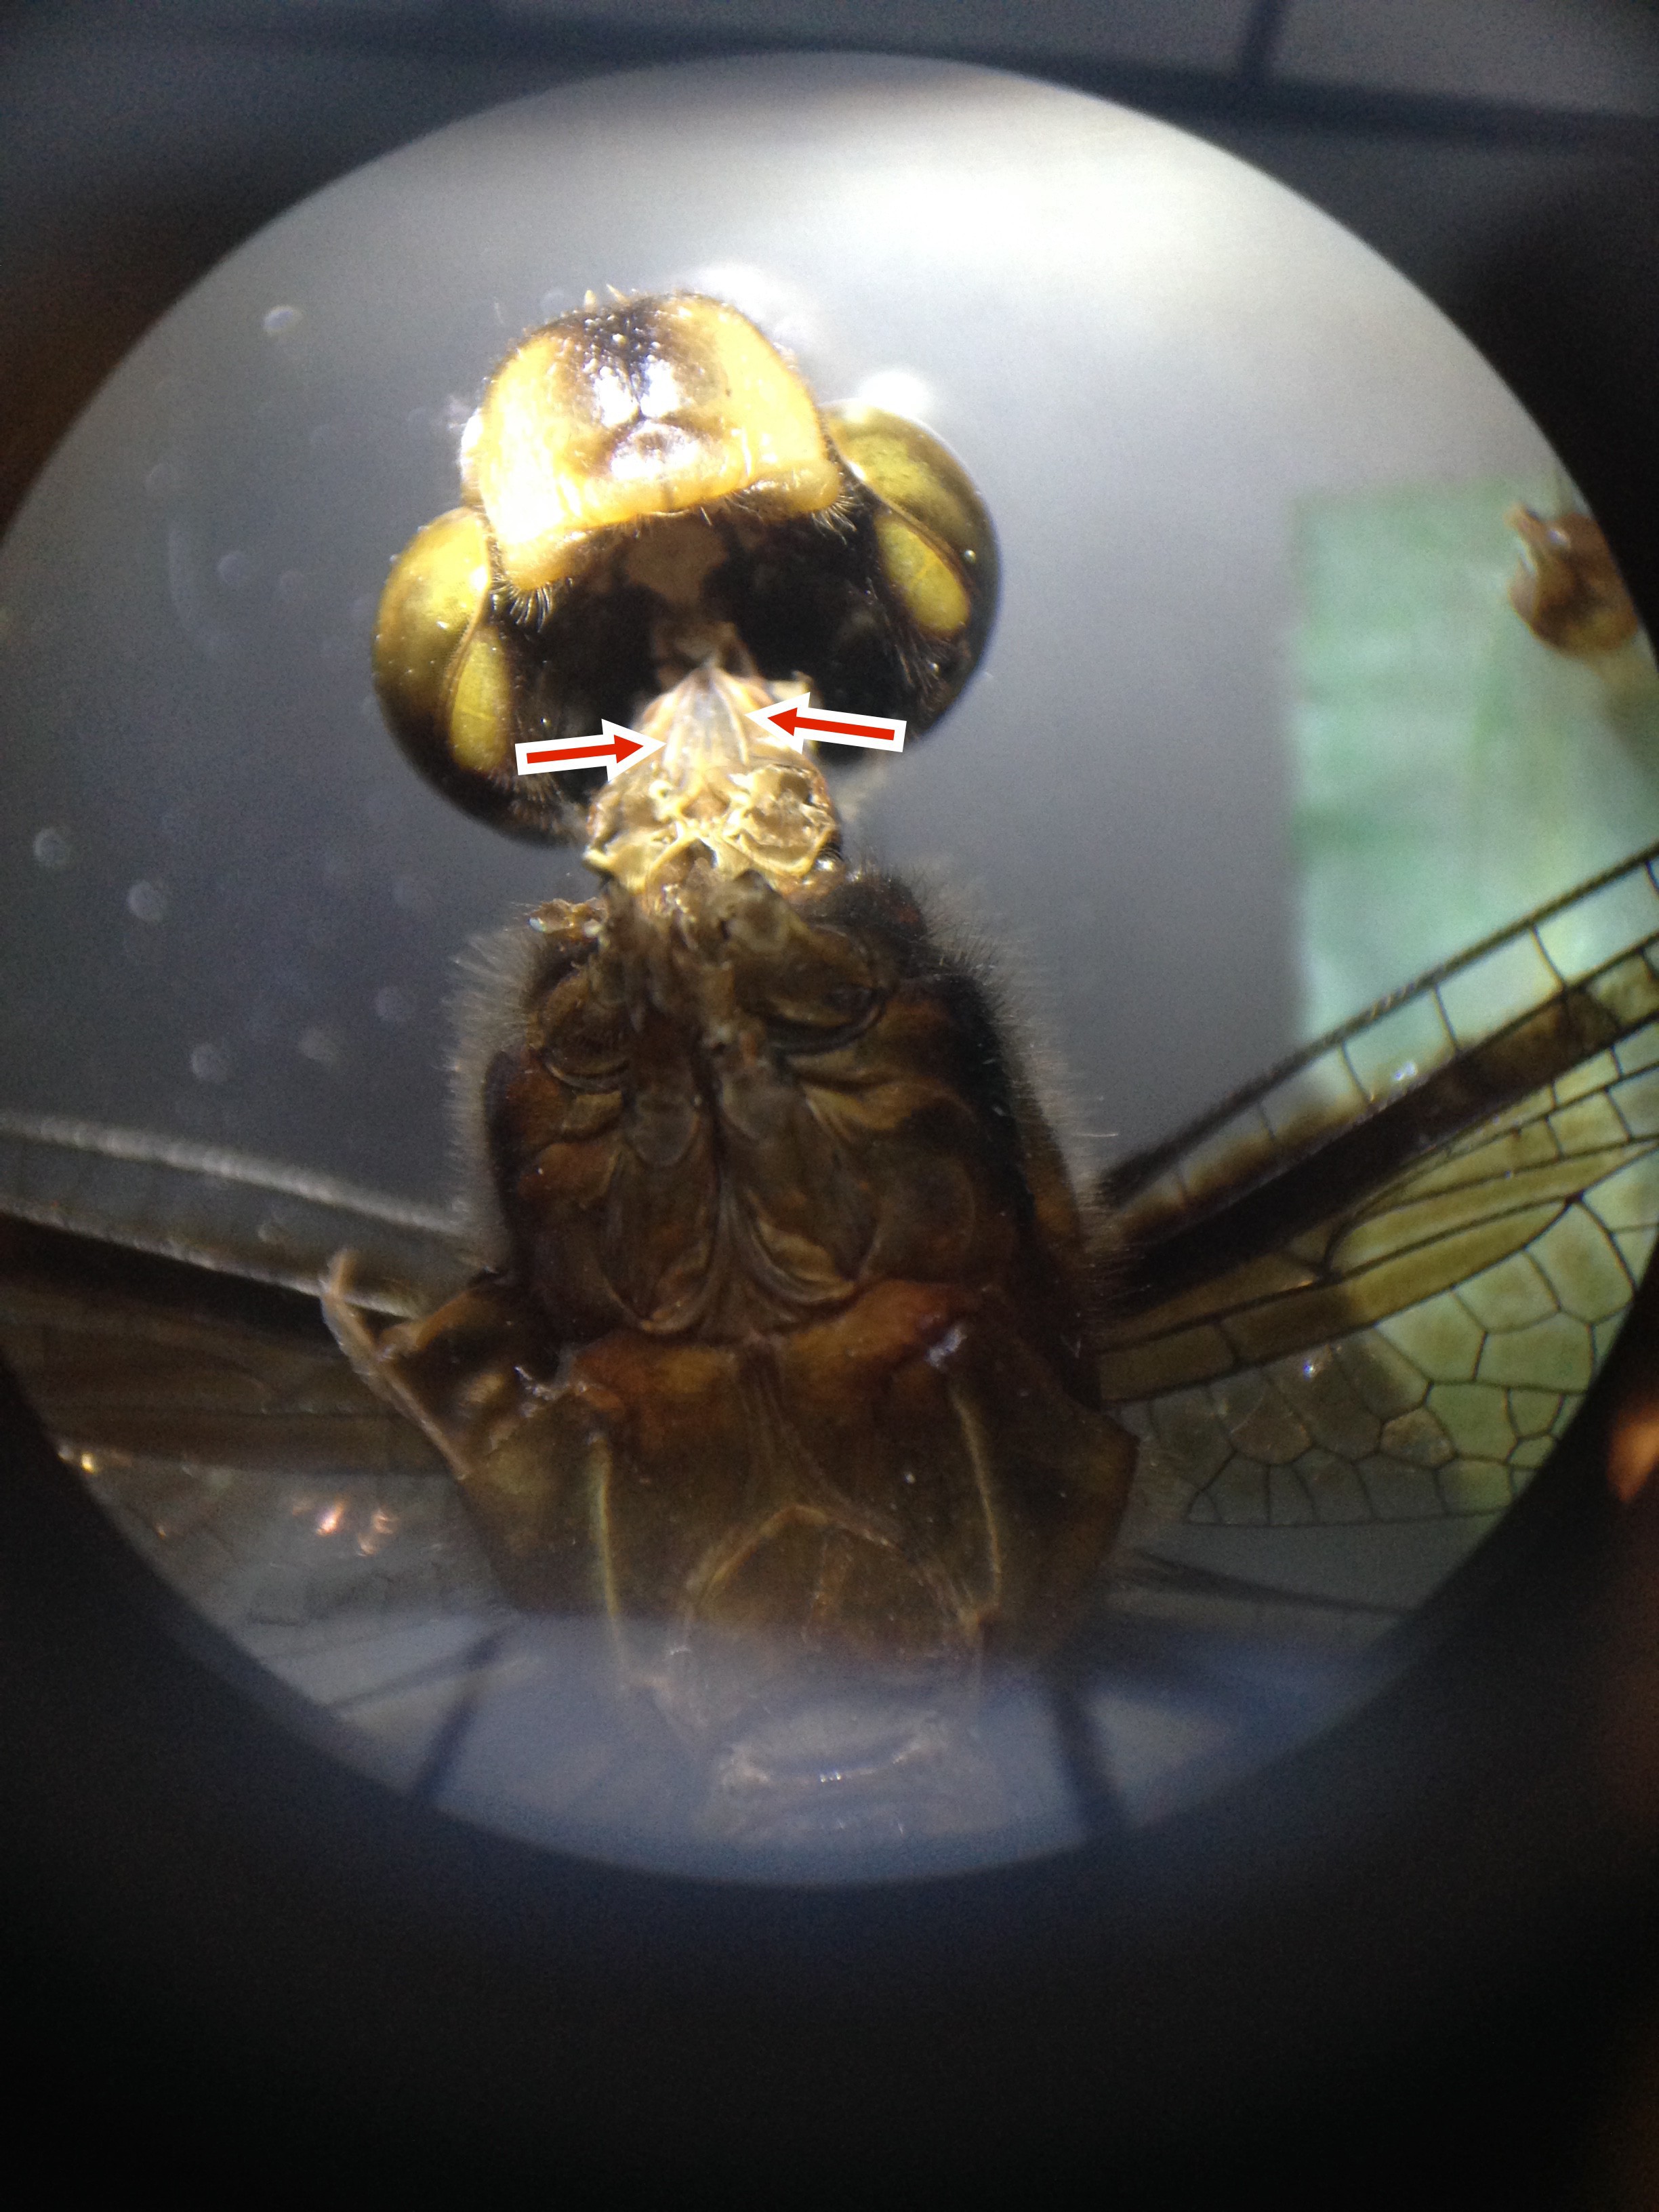
The micro manipulator (the orange 3d printing manipulator in the picture before the one above) helps keep this electrode in place. Above is a picture of the anesthetized dragonfly under the microscope while I place the electrode in the TSDN.
The TSDN are located here
![]()
-
8Step 8
Turn on the Spikerbox, you can either plug the Spikerbox into the computer or just listen with a radiohead speaker. You will hear a electronic tap- these are the action potentials firing! Wave a piece of paper with a black dot on it or make another movement and you should hear these electronic taps increase in frequency in response to your movement!
-
9Step 9
Now, test all together! This is the next step for me too, along with writing code that calculates where the laser beam is as a function of time. But once these two steps are completed, you can calculate and hopefully affirm Paloma T. Gonzalez Bellido's population vectors for each of the TSDNs!
The Dragonfly: Nature's Guided Missile
Examining the neural activity of dragonfly predatory behavior to discover the mechanics of its highly accurate prey capture
 Patricia Aguiar


Discussions
Become a Hackaday.io Member
Create an account to leave a comment. Already have an account? Log In.