 Salman Faris
-
1Materials Needed
Here are the components and materials that you needed to do this project. Take your time and collect everything!
Main Components:
- Raspberry Pi 3
- Raspberry Pi Camera Module(5 Mp)
- Micro Push Button
- 1K Resistor
- General Purpose PCB
Tools:
- Soldering iron
- soldering Lead
Software:
- Android Things
- Android Studio
- Tensor Flow
- Fire Base
-
2Installing Android Things On Raspberry Pi
First thing first,
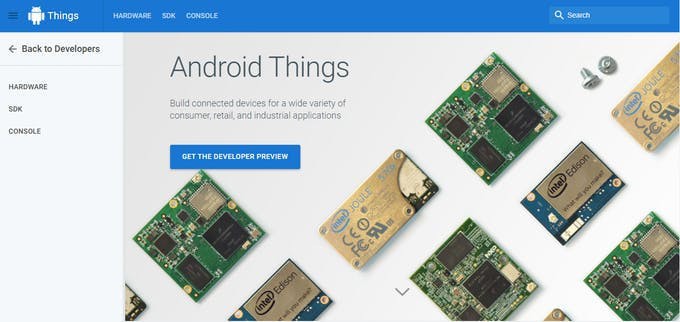
Go to the android things webpage Here and then click on CONSOLE menu on the top bar of the web page.
You should sign in first, Sign in with any of your google account.
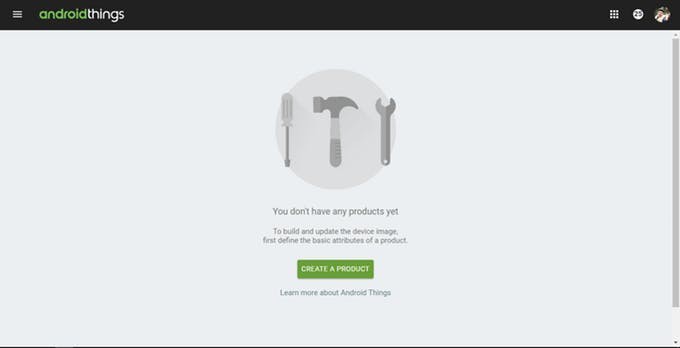
- Click on the CREATE A PRODUCT button.
- You should get a popup window,!
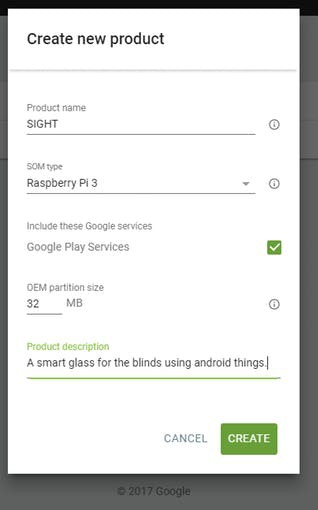
- Enter your product name in the product name field.
- Select Raspberry Pi 3 from the SOM type.
- Leave the OEM partition size field as default.
- Give some description about your product in the description field.
Hit the Create Button
![]()
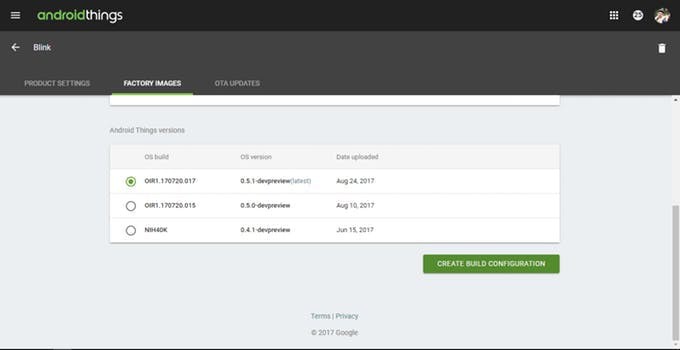
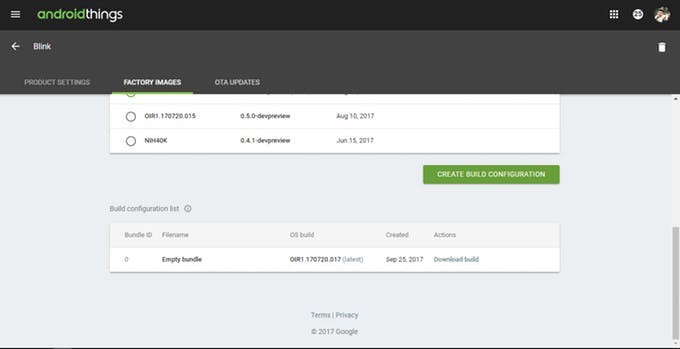
It will take you to a new page. From the new page, Select the FACTORY IMAGES from the menu bar on the top.
Scroll down little bit, and click on the CREATE BUILD CONFIGURATION button.
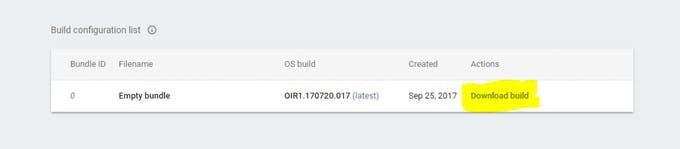
after clicking the button a new Build Configuration List field will visible below the button. just download the build from Build Configuration List.
A zip file will start to download, Wait until the download is complete.
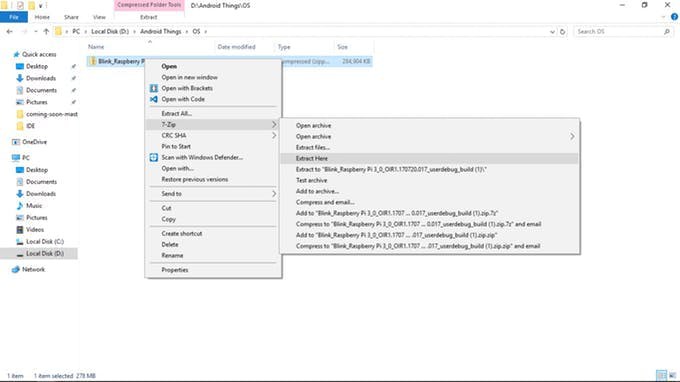
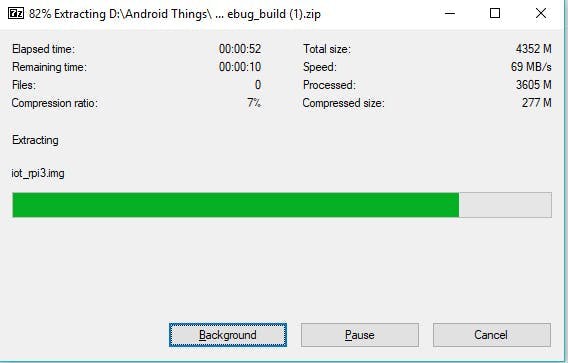
After download is completed. Unzip the file using 7zip or winrar. Wait until the extraction is complete (probably it should take only 1 to 2 minutes).
After extracting the file you will get a .img file(this is the android thing OS for your Raspberry Pi)
-
3Burning Android Things To SD card (Flashing)
Now you need to burn this img file into your micro SD card of the raspberry pi
We are using Etcher (Etcher is an open source project by resin.io).
Connect SD card to Computer via a SD card Reader and open Etcher.
Select image and select SD Card and hit Flash. Wait for it. After the Flash, unplug the SD Card Reader and insert it into our Raspberry Pi 3.
Connect Raspberry Pi 3 to a Ethernet via RJ 45 cable and power it up with 5v adapter.
Now here our Local IP is 192.168.0.22.
-
4Setup Android Studio
Note: Stable version can be also use used for Android things development but preview version comes with a inbuilt Android things Development option.
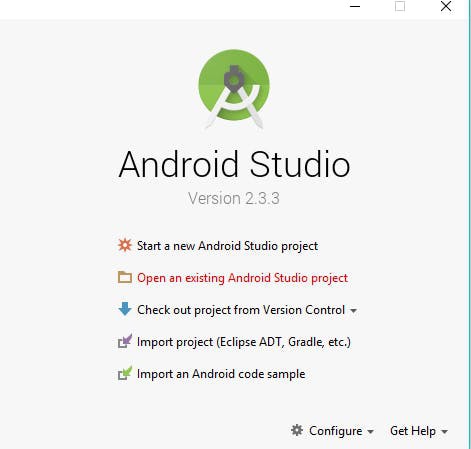
After downloading, install and open Android Studio.
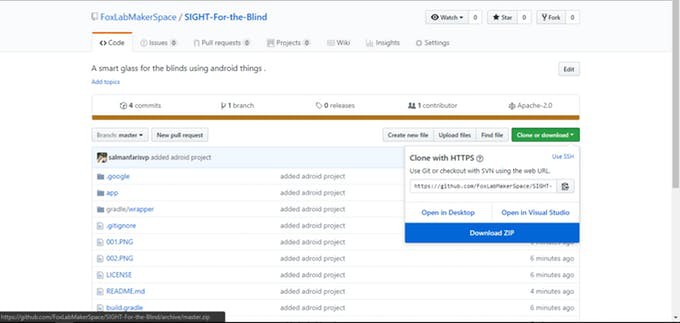
Clone/Download the Project file from GITHUB
go to SIGHT Project Repo by click here
https://github.com/FoxLabMakerSpace/SIGHT-For-the-Blind
and Download as a Zip file
![]()
Open an existing project (SIGHT) by clicking Open an existing Android Studio Project.
![]()
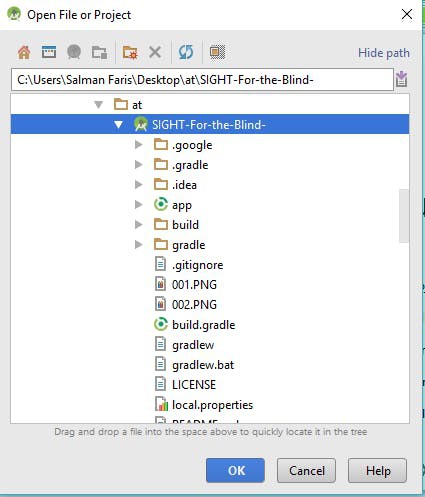
Locate SIGHT project File
![]()
Click OK to Open the Project.
-
5Run the SIGHT on your Raspberry Pi
But we need a connection between the Android Things device (Raspberry Pi) with our Android Studio for Upload and Debug our programs.
We have the ADB tool (Android Debug Bridge). It will act as a bridge between our Android machine (phone/things) and development platform (Android Studio) and help us Upload and Debug our program.
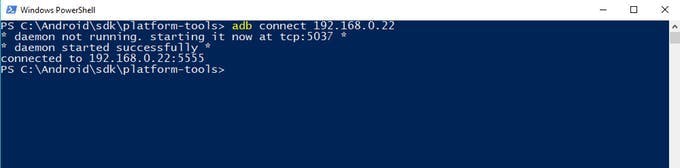
So next we need to set ADB in between Raspberry Pi (running on Android) and Android Studio. In Windows, open Android => SDK => Platform-tools.
You can see the adb.exe file here, but we can't directly access it. So open a command prompt or PowerShell and get in the folder and just type code on command prompt or PowerShell.
adb connect <raspberry pi ip>
![]()
We got the RPi IP from the first step. And you'll get a response after the connection is established.
connected to ip:5555
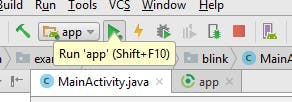
Now just upload the program by clicking the green triangular button.
![]() Hit Run.
Hit Run.
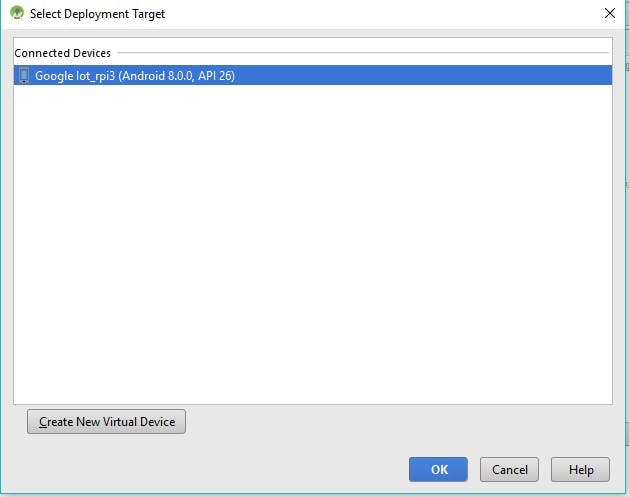
You can see the Raspberry Pi on the listed of devices. Just click OK for running our program.
-
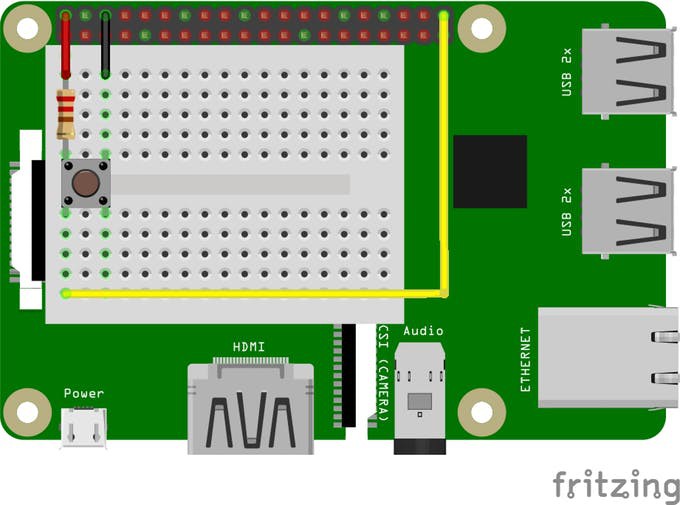
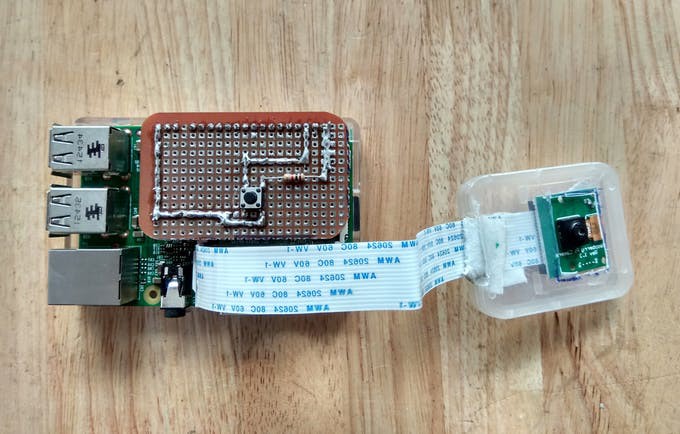
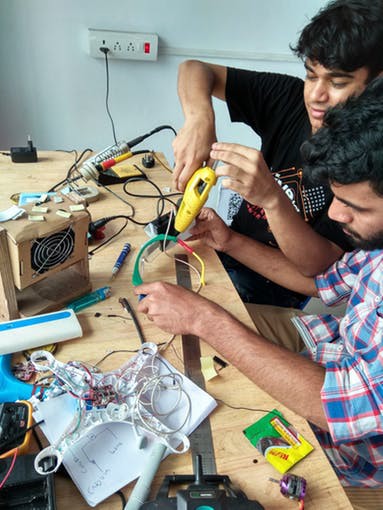
6Raspberry Pi wiring
Time for wiring up the circuit!
Here we are using a button for Triggering the Camera to capture the image
don't forget to connect Raspberry Pi Camera module and Earphone to the raspberry Pi 3
![]()
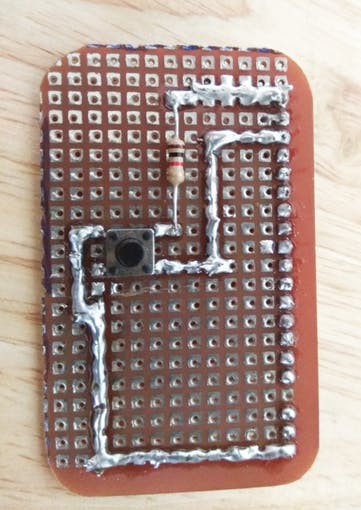
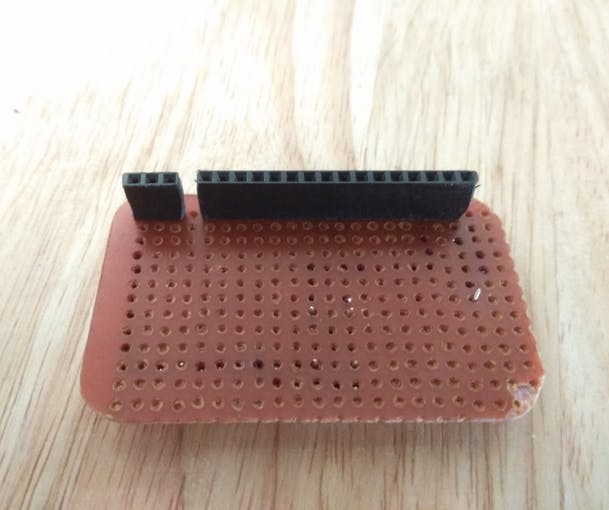
We build our own Pi hat on a pref board, we recommend you to make one yourself.
![]()
![]()
![]()
-
7Testing Everything!
Before we mounting everything in an enclosure, just make sure everything is working perfectly.
Just turn ON your raspberry Pi3 and wait a 5 second to load everything. Press the button to take a shot using the camera and wait another second. You can hear what is it in that image through your headphone or speaker.
If everything perfect, Time for placing them in a secure case to prevent any accidental damage.
-
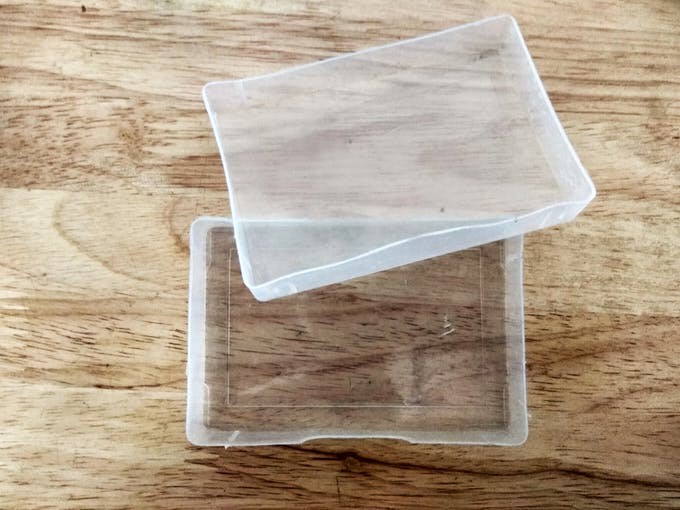
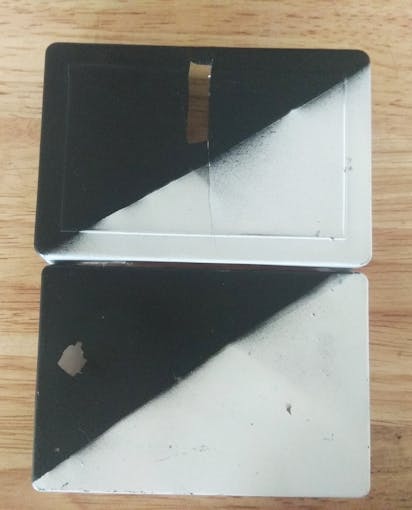
8Making Enclosure
This is not an important step, If you can make an enclosure in your own style, it will be great and looks to be cool.
![]()
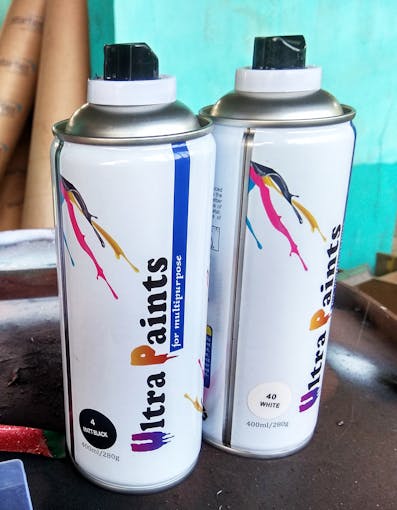
We build a simple enclosure, to place the circuits is in secure before mounting it into the glass. We got a general purpose plastic enclosure from a nearby local store. Made some cuttings and holes for the ports on the Raspberry Pi. We painted them using some spray paints(black and white paints).
![]()
![]()
-
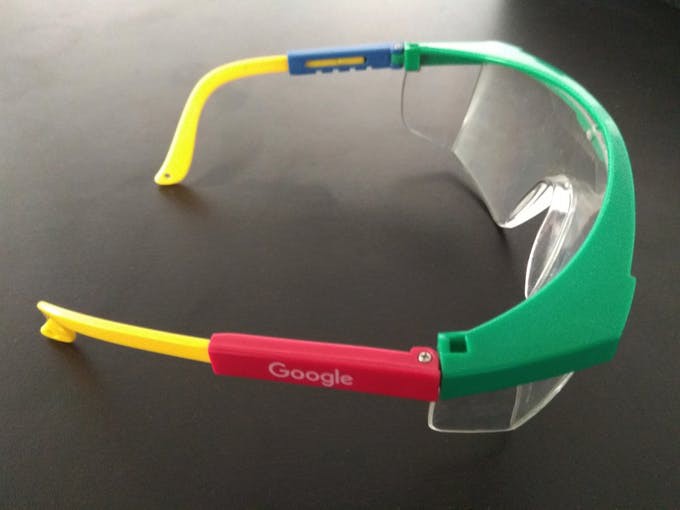
9Mounting To The Glass
We have a Glass that laying around in our lab, Fortunately, it is the best glass that we can find to make this project perfect.
![]()
After placing everything on the glass, its look cool. We used a power bank, that we got recently from intel to power the raspberry Pi and its circuits.
![]()
-
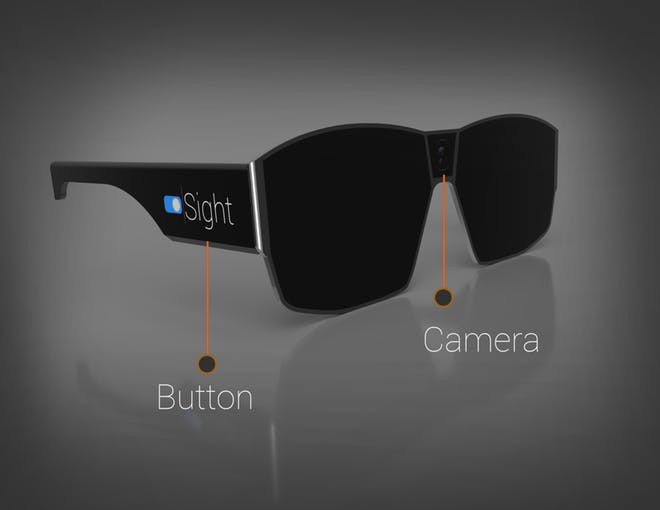
10Concept Design
Many visually impaired peoples out there, expecting some kind of thing that can help them to be self-reliable themselves.
So, we would like to bring this concept into reality. We designed a couple of concept design in a 3D modeling CAD tool.
![]()
SIGHT: For the Blind
Simply, Sight is a smart glass for blinds. By using Sight, a person can able to know what is going on in front of him.


Discussions
Become a Hackaday.io Member
Create an account to leave a comment. Already have an account? Log In.