Scott Clandinin
-
Weather forecast, HTTPS, and lots of data
07/29/2016 at 02:00 • 0 commentsWhoops
So I learned something recently. There is a big difference between HTTP and HTTPS, and the ESP8266 Wi-Fi module is not made for HTTPS communication. There is no simple or reasonable way for for this to be done as far as I've seen. Apparently it can be done, but the knowledge required to make it work is far beyond me.
In my last I mentioned I would be using The Dark Sky weather API for my forecast data. But on my first try making the API call, the call was unsuccessful. This website uses the secure HTTPS pages unlike OpenWeatherMap. I decided to use Wunderground.com which is a non-secure weather API with all of the weather forecast data I was looking for.
Parsing the data
![]()
Before this I only had two points of data to gather, current temperature and wind speed. This revision has 20 different fields of data that I want to parse from the data from wunderground.
The API call to get the current weather and forecast returns nearly 10,000 bytes of data to parse through, way more than the old weather and word APIs.
I set up the code to pick out the data at each point based on the format seen by pasting the API URL into the browser. I was confident I had everything lined up correctly, but I was getting strange results. Sometimes it was perfect, sometimes it was taking incorrect points of data. I took a look at the serial monitor to see what could be causing this.
TCP Packet Size
I never gave it any thought, but with an API call with the ESP8266 would always begin with +IPD,XXXX:. This string was appearing in the middle of the data being sent at different intervals. And since JSON data is dynamic, sometimes the location of this +IPD,1460: would cause problems in the parsing patterns I would follow.
After some research I learned that this +IPD was signifying the start of a new packet of data, with the number being the number of bytes sent in that packet. And the maximum number of bytes that can be sent on TCP in a packet is 1460. So each packet besides the last one sent would begin with +IPD,1460:.
To get around this I would need to keep track of when each packet started, which byte was in what location in the packet, as well as ignoring the +IPD string indicating the new packet. The method of ignoring this interrupting string was to increment a counter on every character read, and once the count reached 1460, I would skip the next 12 characters and reset the counter. After doing this it worked like a charm.
The reason this was never a problem for me before was that I would only ever be receiving one packet of data, and I didn't know the ESP8266 interrupted the string of data with the start of each new packet. Just when I start to think I understand how this thing works, I realize there is so much more that I didn't know or didn't consider.
All that's left now is to make some finishing touches and make another video showing the updated device.
-
One last push for functionality
07/14/2016 at 20:13 • 0 commentsVersion 1 of the printer will nearly be set in stone I believe. The last thing I want to do is add in weather forecast data before being happy with it.
Speeding things up
In an effort to improve printing and data acquisition time, I re-evaluated my method for ensuring a proper connection. Before, everytime I made an API call, I would restart the wifi connection to ensure I was making the API call immediately after a successful connection. This process would take several seconds.
I found from the ESP8266 command set that rather than start a new connection, I can just check to see if the module is connected to my network. This command takes less than a second to process, which can greatly improve the speed of data requisition. The particular command I use to check the wifi status is "AT+CWJAP?". If connected, it will list my network name and IP address. If not connected, it will reply with "No AP.
Ditching OpenWeatherMap
OpenWeatherMap was a nice and reliable API for me, but the forcast request is inferior to other weather APIs. The forecast API call here will return the 5 day forecast in 3 hour blocks. I took a look at some other APIs and found a great one.
The Dark Sky Forecast API
This is an awesome free API with a lot of customization. Check out the documentation here. This API has the option of having blocks for minutely, hourly, daily weather forecast, as well as the ability to exclude any blocks that are not wanted. There is also a units preset for Canada so that wind speed is in kph rather than m/s! The daily forecasts are great as well, a lot of data, summary for the day, highs and lows.
The first 1000 API calls per day are free at this website, then following ones are fractions of a penny. I will never reach anywhere near that amount, so this is great for me.
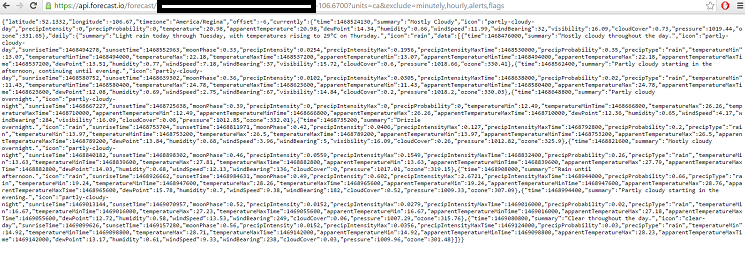
The Challenge
The only difficult/annoying part of this will be parsing byte-by-byte again. It will be nice when I eventually learn how to process this on my own server, but in the meanwhile byte-by-byte will have to do. The following image can be intimidating to find patterns but there is a great tool for understanding the JSON format easier.
![]()
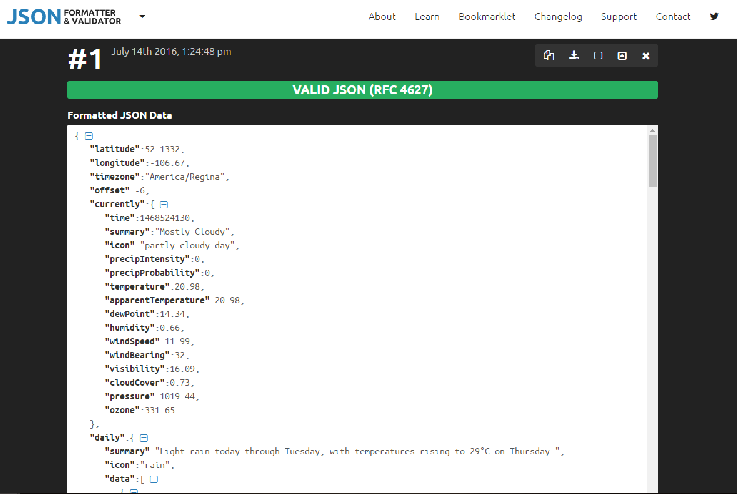
https://jsonformatter.curiousconcept.com/
Sorry for the low quality, but as you can see it's not quite as scary.![]()
-
Time is on my side
07/12/2016 at 22:41 • 0 commentsThe implementation of getting the current time went really well, and its improved the project nicely.
![]()
The last project log details how I used a HEAD request to google to get the current time in GMT, and convert that to CST.
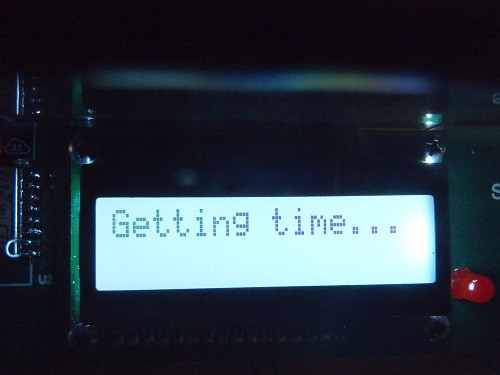
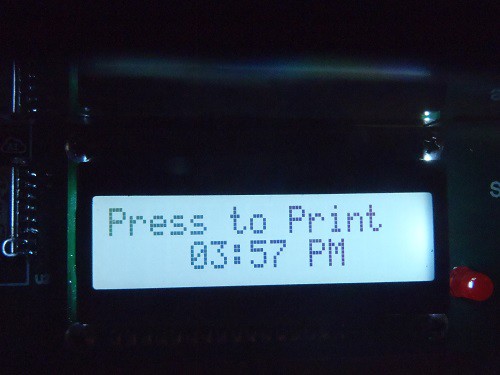
I decided to do a request for time every minute, and update the current time in memory, and on the LCD. While the weather is being requested, the LCD reflects this in case the user wants to do a print. It takes about 5-7 seconds to update the time.
It takes so long because my current method for getting data begins with a fresh connection to the network. I will soon try to find a way to improve this time and still ensure the program does not freeze should the signal be lost before the button is pressed.
![]()
![]()
Timers and Interrupts
To ensure time is requested every minute, timers and interrupts need to be used. I used the timer0 module in the PIC and set it up to trigger an interrupt every minute. The 16-bit timer can be set up to trigger an interrupt on overflow, so the timer0 registers need to be set up to overflow every minute. I used the following equation to determine the number:
I chose an overflow time of 10ms (100Hz), so every 10ms, an interrupt would occur and increment a counter. Once the counter reached 6000, 1 minute would have passed, and a call for time would be made. During API calls it is crucial to disable interrupts so no data is missed. We don't want the program to enter an interrupt while we are waiting for data to arrive. The format for API calls would be:
- Disable global interrupts
- Make the call
- Enable global interrupts
- Reset the timer0 registers to 0xD8F0
To get a better idea of how this works you can check out the Github repository.
Scheduled Printing
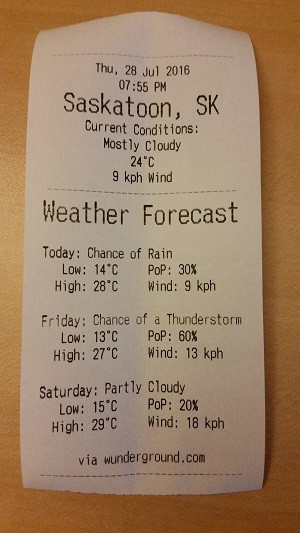
I added functionality to have the printer print off every day at a preset time. For now I have programmed the device to print off the weather and word of the day every day at 7AM. This is a great excuse to look into adding weather forecast to the project. Who needs to go check the weather network when you get a print out of it automatically every morning?
-
New Features and Changes to the Current Design
07/12/2016 at 05:19 • 0 commentsSo I am going ahead with the process of getting current time detailed in the last log. At this point I'm working on a few new features to do with time.
- Adding current time to each printing.
- Displaying current time on the LCD
- Automatically print out the current weather and word of the day at the time time in the morning every day.
To add these features, I will need to change a bit about how the device operates. Before this the PIC, wifi module, and printer would all be sent to sleep. The button press would wake the micro, which would in turn wake the other devices. If I want to keep checking the time, I will need to use timers and interrupts, and therefore not send the micro to sleep. I will however still put the printer and wifi module to sleep during inactivity.
Automation
I've submitted this project the Hackaday Challenge - Automation, so it's time to automate more things. When I wake up in the morning, I don't want to have to press a button to get my weather info, it should automatically be printed out for me! The ideal next step would be to gather the weather forecast of the day and include that in the print-out.
-
Adding Time Functionality
07/12/2016 at 01:44 • 0 commentsMy next goal for this project is to add time-tracking capability to the device. It seems most appropriate to get this information from an online source, so I will attempt that. There are a couple ways I can think of to accomplish this.
Header information (the easy way)
The simplest way to get the current time is by making a call, and taking the current time from the header information. When a basic call is made to a server, there will be some header information including the current time in GMT (Greenwich Mean Time).
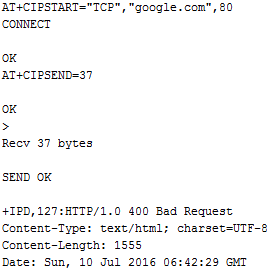
![]() I tested this theory out with a serial monitor too see what returns when I made an HTTP HEAD request to "google.com". As you can see, it show the full date information. Only difficulty is converting GMT to another time zone.I am lucky here as my city does not undergo any daylight savings time change, so my time will always be GMT - 6. This will allow me to easily convert this time to CST.
I tested this theory out with a serial monitor too see what returns when I made an HTTP HEAD request to "google.com". As you can see, it show the full date information. Only difficulty is converting GMT to another time zone.I am lucky here as my city does not undergo any daylight savings time change, so my time will always be GMT - 6. This will allow me to easily convert this time to CST.The downside to this is that it becomes trickier to keep the date, month, and year in order. For example, Monday here will show up as Tuesday in GMT. I will also need to keep track of leap years. Knowing the date is not a priority in my next stage, but it would be very nice to have that information.
API Service (the hard way)
This method seems to be trickier. In my research, I was unable to find a simple free service that allowed the user to get the readable date and time for their time zone. Some services allow for this, but it will return the current date and time in Unix Time Stamp.
What is Unix Time Stamp?
It is a popular format for sending time data around. The number represents the total number of seconds that have elapsed since Thurs, Jan 1, 1970. As of writing this, the current Unix time is 1468268069, a 32-bit number.
A website that looks good for this is https://timezonedb.com/. It is easy to set up and easy to pull the desired Unix time stamp. The difficult part is turning this time format into a readable date and time. There are a couple ways to do this. 1. Manually breaking down the number keeping years, months, days, and leap years in mind. 2. Use a library function.
I'm definitely not keep on manually transforming the format type, so I took a look at some of the ways people have done this in the past. The most common tool people used was the strftime function in the time.h library. An example of such program is http://www.epochconverter.com/programming/c.
Concluding Thoughts
After looking into the Unix conversion code, I don't fully understand the implementation and different ways people have done the conversion. I realize I will need to brush up on my programming knowledge to use this in the future. But in the meanwhile, I will just go with retrieving header information from google and converting that to my local time.
-
CSN-A2 Thermal Printer and Power Supply
07/10/2016 at 05:57 • 0 commentsI recently got inspired again to improve my weather station and add some functionality to it, and I came upon a brick wall.
For no apparent reason, after playing around with some things, the printer was no longer working properly. It would attempt to print the start of the first line, and suddenly give out. The top two lines are the printer attempting to print, the bottom is the intended result.
![]()
It seemed to be an issue with power being disrupted somehow. My worst fear was that the printer was dying. I spent some time tinkering with the code to see if anything else was affecting the printer, but even a simple print command would fail. Next I grabbed a new 5V power supply and hooked it up with a serial monitor program to send data to it. It worked!
It was pretty easy after that to find the issue. The culprit:
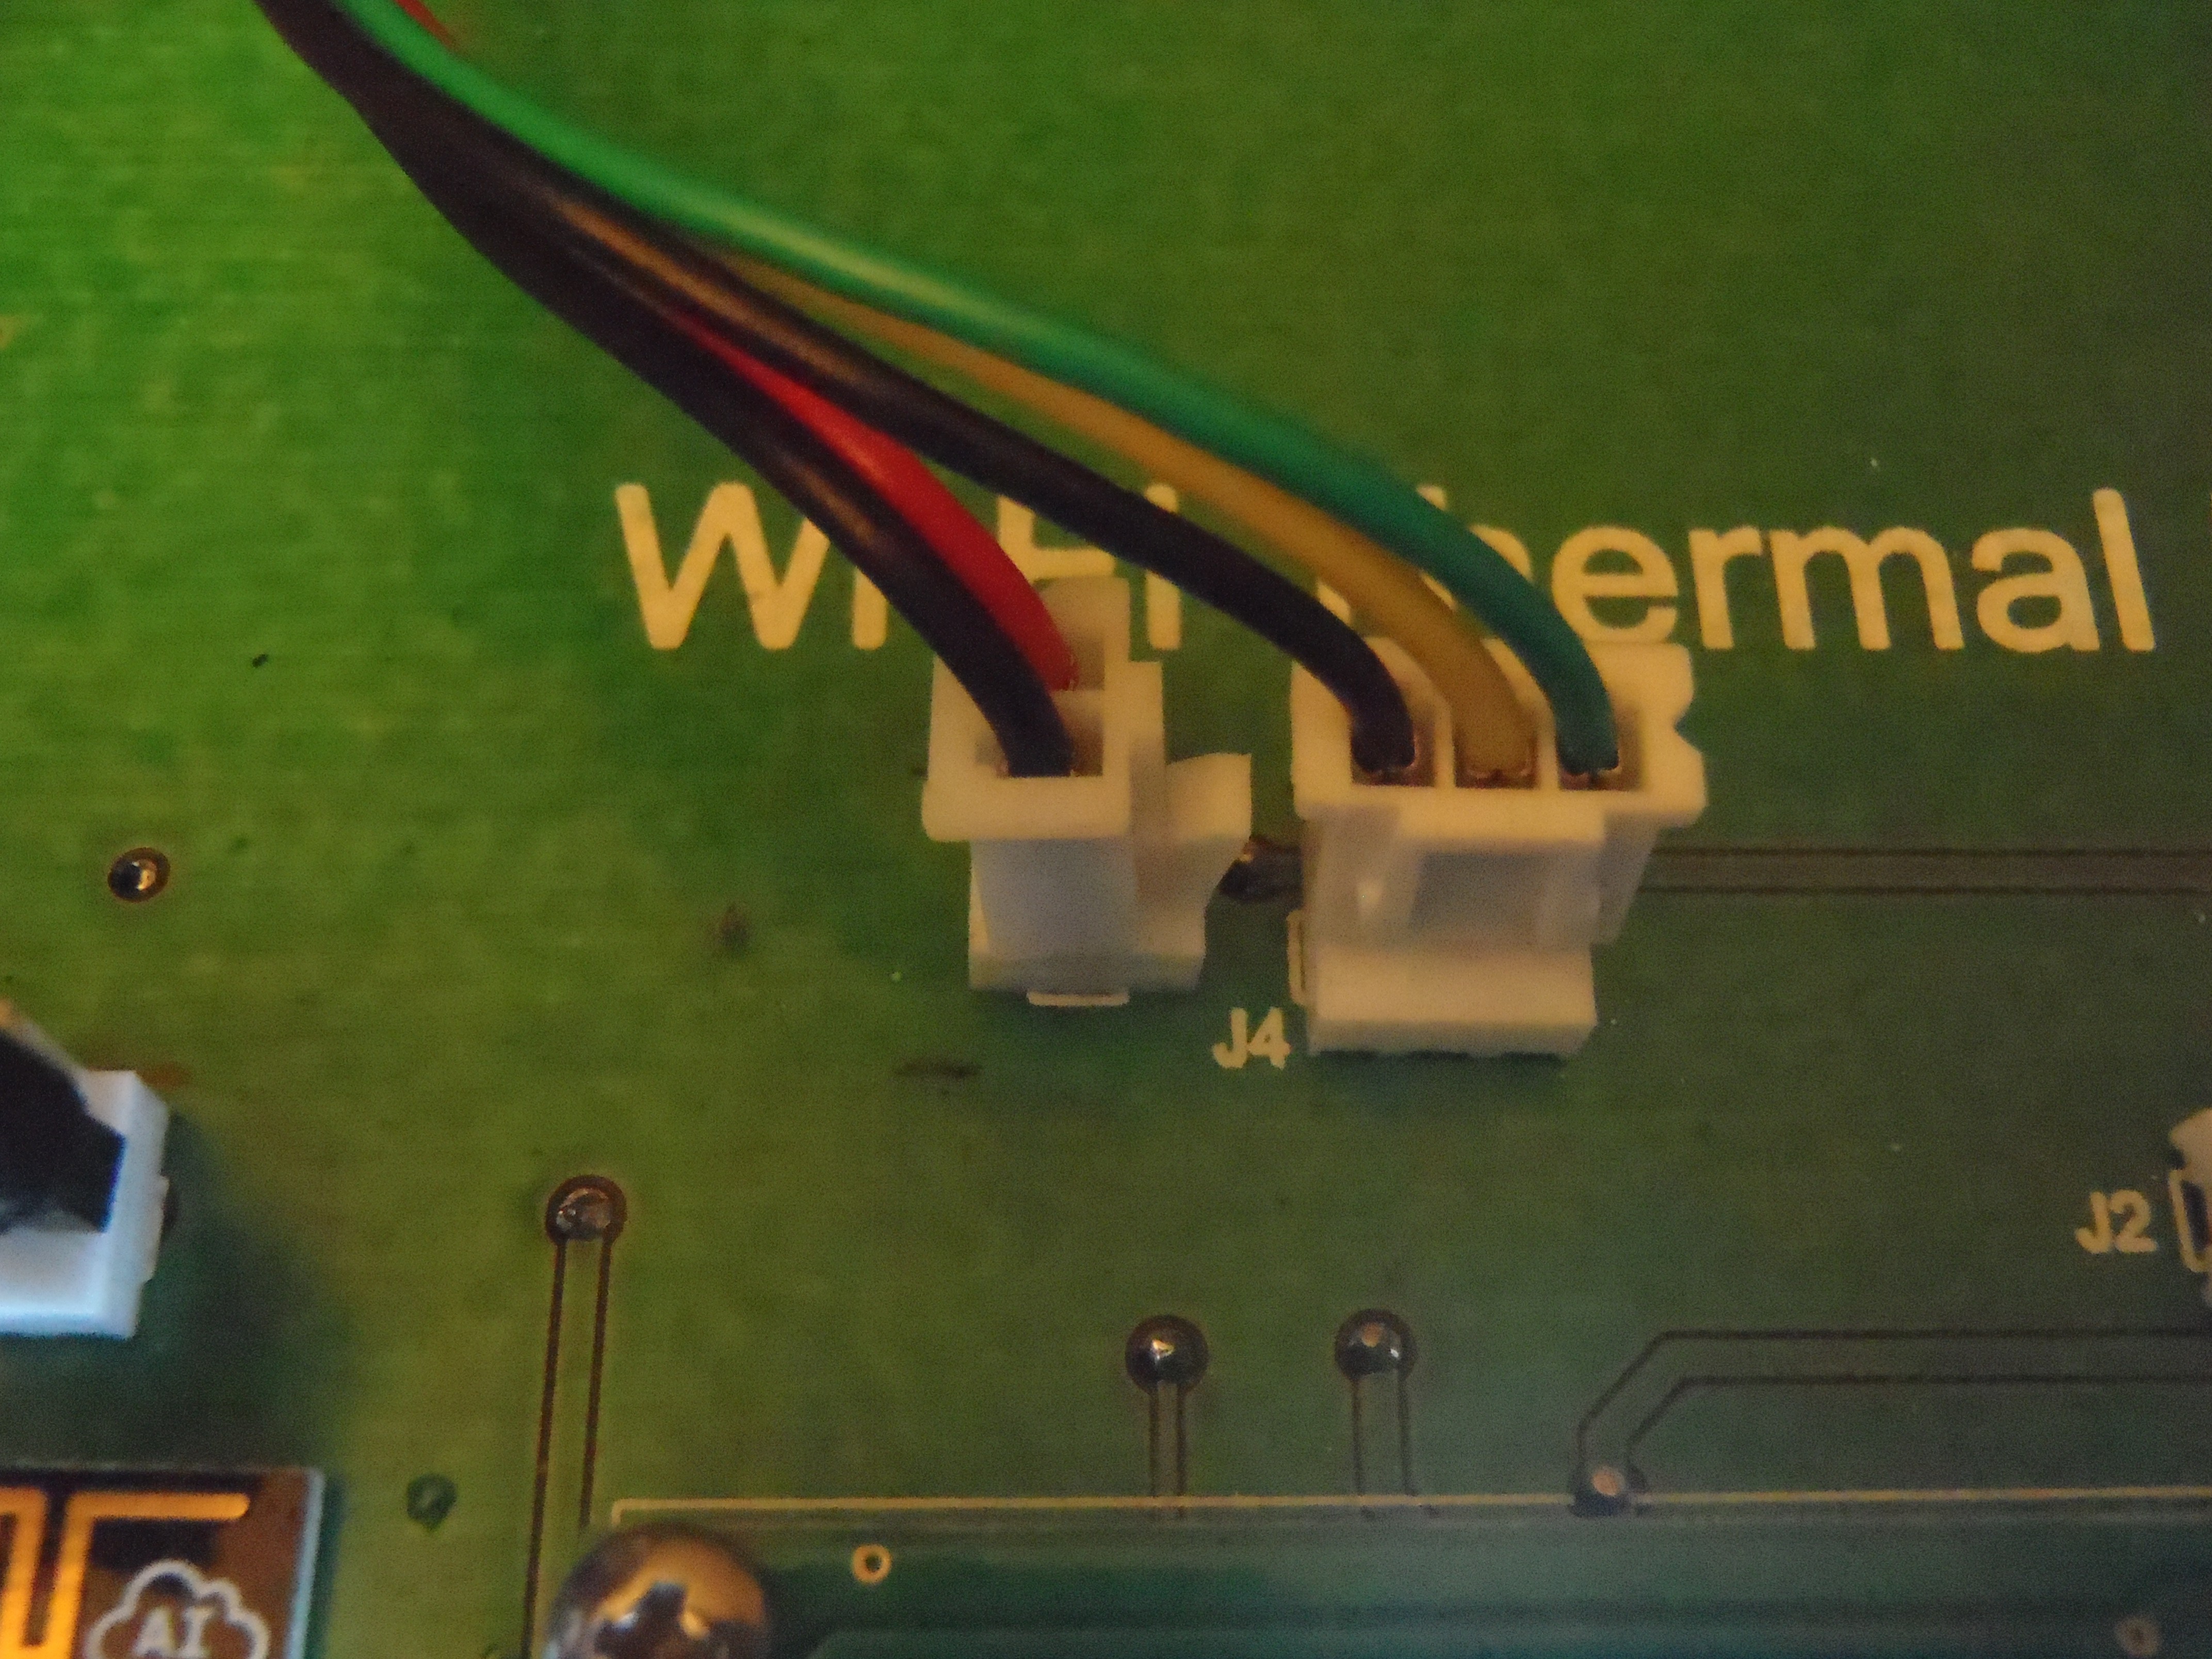
![]()
These are the headers for the power and data lines to the printer. I tightened up the contacts and made sure the connection was nice and snug. The printer was working perfectly again. The loose power connection was causing the power to the printer to be unstable, and lead to failure.
The lesson learned here is that the CSN-A2 thermal receipt printer demands uninterrupted, stable power. Before this I knew that slightly loose data cables could cause huge problems, but I didn't think that a slightly loose power connection would also have such an adverse affect.
Next project log will focus on my plans for improvements.
Wi-Fi Thermal Receipt Printer V1
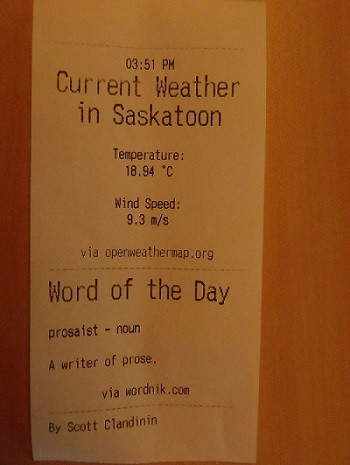
This was a technical thesis project designed to allow a user to get a print out of the current weather and the word of the day via Wi-Fi.
 I tested this theory out with a serial monitor too see what returns when I made an HTTP HEAD request to "