-
11Step 11
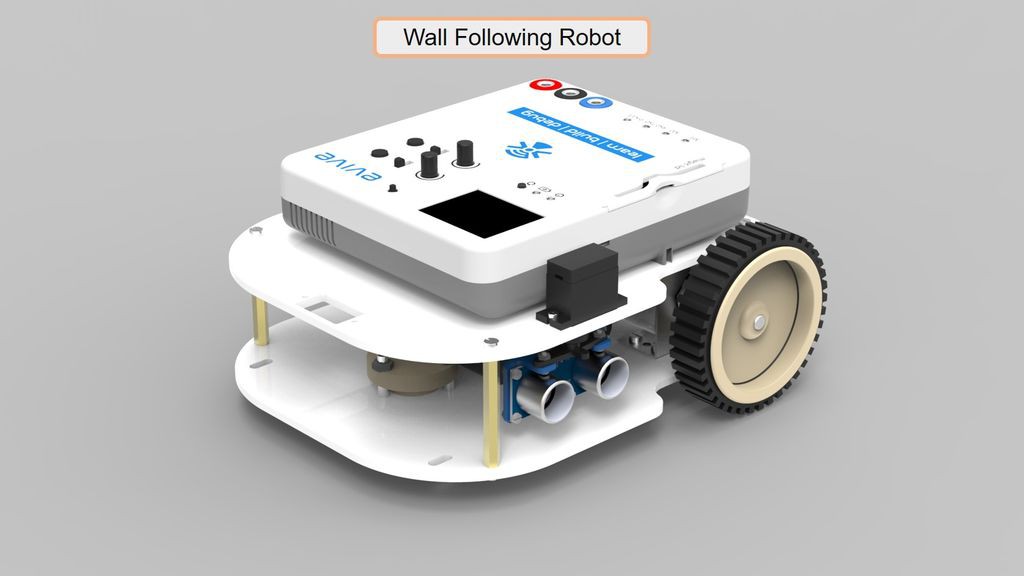
STEP 3: For the wall following robot
Also you can mount servo and ultrasonic sensor on the upper plate using the space given on right side to make the Wall Following Robot.
![]()
-
12Step 12
Adding the upper chassis
Last, we mount the upper plate on the standoffs.
The structure for a robot car is complete. We will wire these components and code the evive depending on whether we want a line following bot or an obstacle avoidance robot.
![]()
-
13Step 13
IMP NOTE:-
evive uses PWM Pins 44, 45 for motors and the same are used for
servos, so you CANNOT use plug and play interface for servo motor. You
will have to use any of the 3 to 13 pin for connecting the signal wire
of servo. ALSO since default servo library uses TIMER 5 (aka PWM pins
44, 45) for controlling the servos. SO PLEASE REPLACE THE DEFAULT SERVO
LIBRARY IN ARDUINO LIBRARIES using the attached file "Servo.rar"
So, you are ready to make your desired project with this modular differential drive robot.
You can explore more projects made using evive here. Checkout evive's product video.
Making a Modular Differential Drive Robot
assembling modular mobile robot for making different type of robots like line following, obstacle avoidance etc.
 evive toolkit

Discussions
Become a Hackaday.io Member
Create an account to leave a comment. Already have an account? Log In.