Close
0%
0%

Blink with ESP8266 and Visuino

Program ESP2866 with Visuino to flash a LED

Similar projects worth following
Programing NodeMCU/ESP8266 as as stand alone controller - quick and easy

In my previous Tutorial, I showed you how to prepare the Arduino IDE to program ESP 8266 modules.

In this Instructable I will show you how you can program the ESP 8266 with Visuino.

It is a tradition to start with a Blink project, so we will do a Blink with ESP 8266.

ESP8266BlinkInstructable.zip

Visuino project file

x-zip-compressed - 636.00 bytes - 07/20/2016 at 04:52

Download

  • 1 × NodeMCU/ESP8266
  • 1 × LED Fiber Optics / Emitters
  • 1 × 220 Ohm Resistor

  • 1
    Step 1

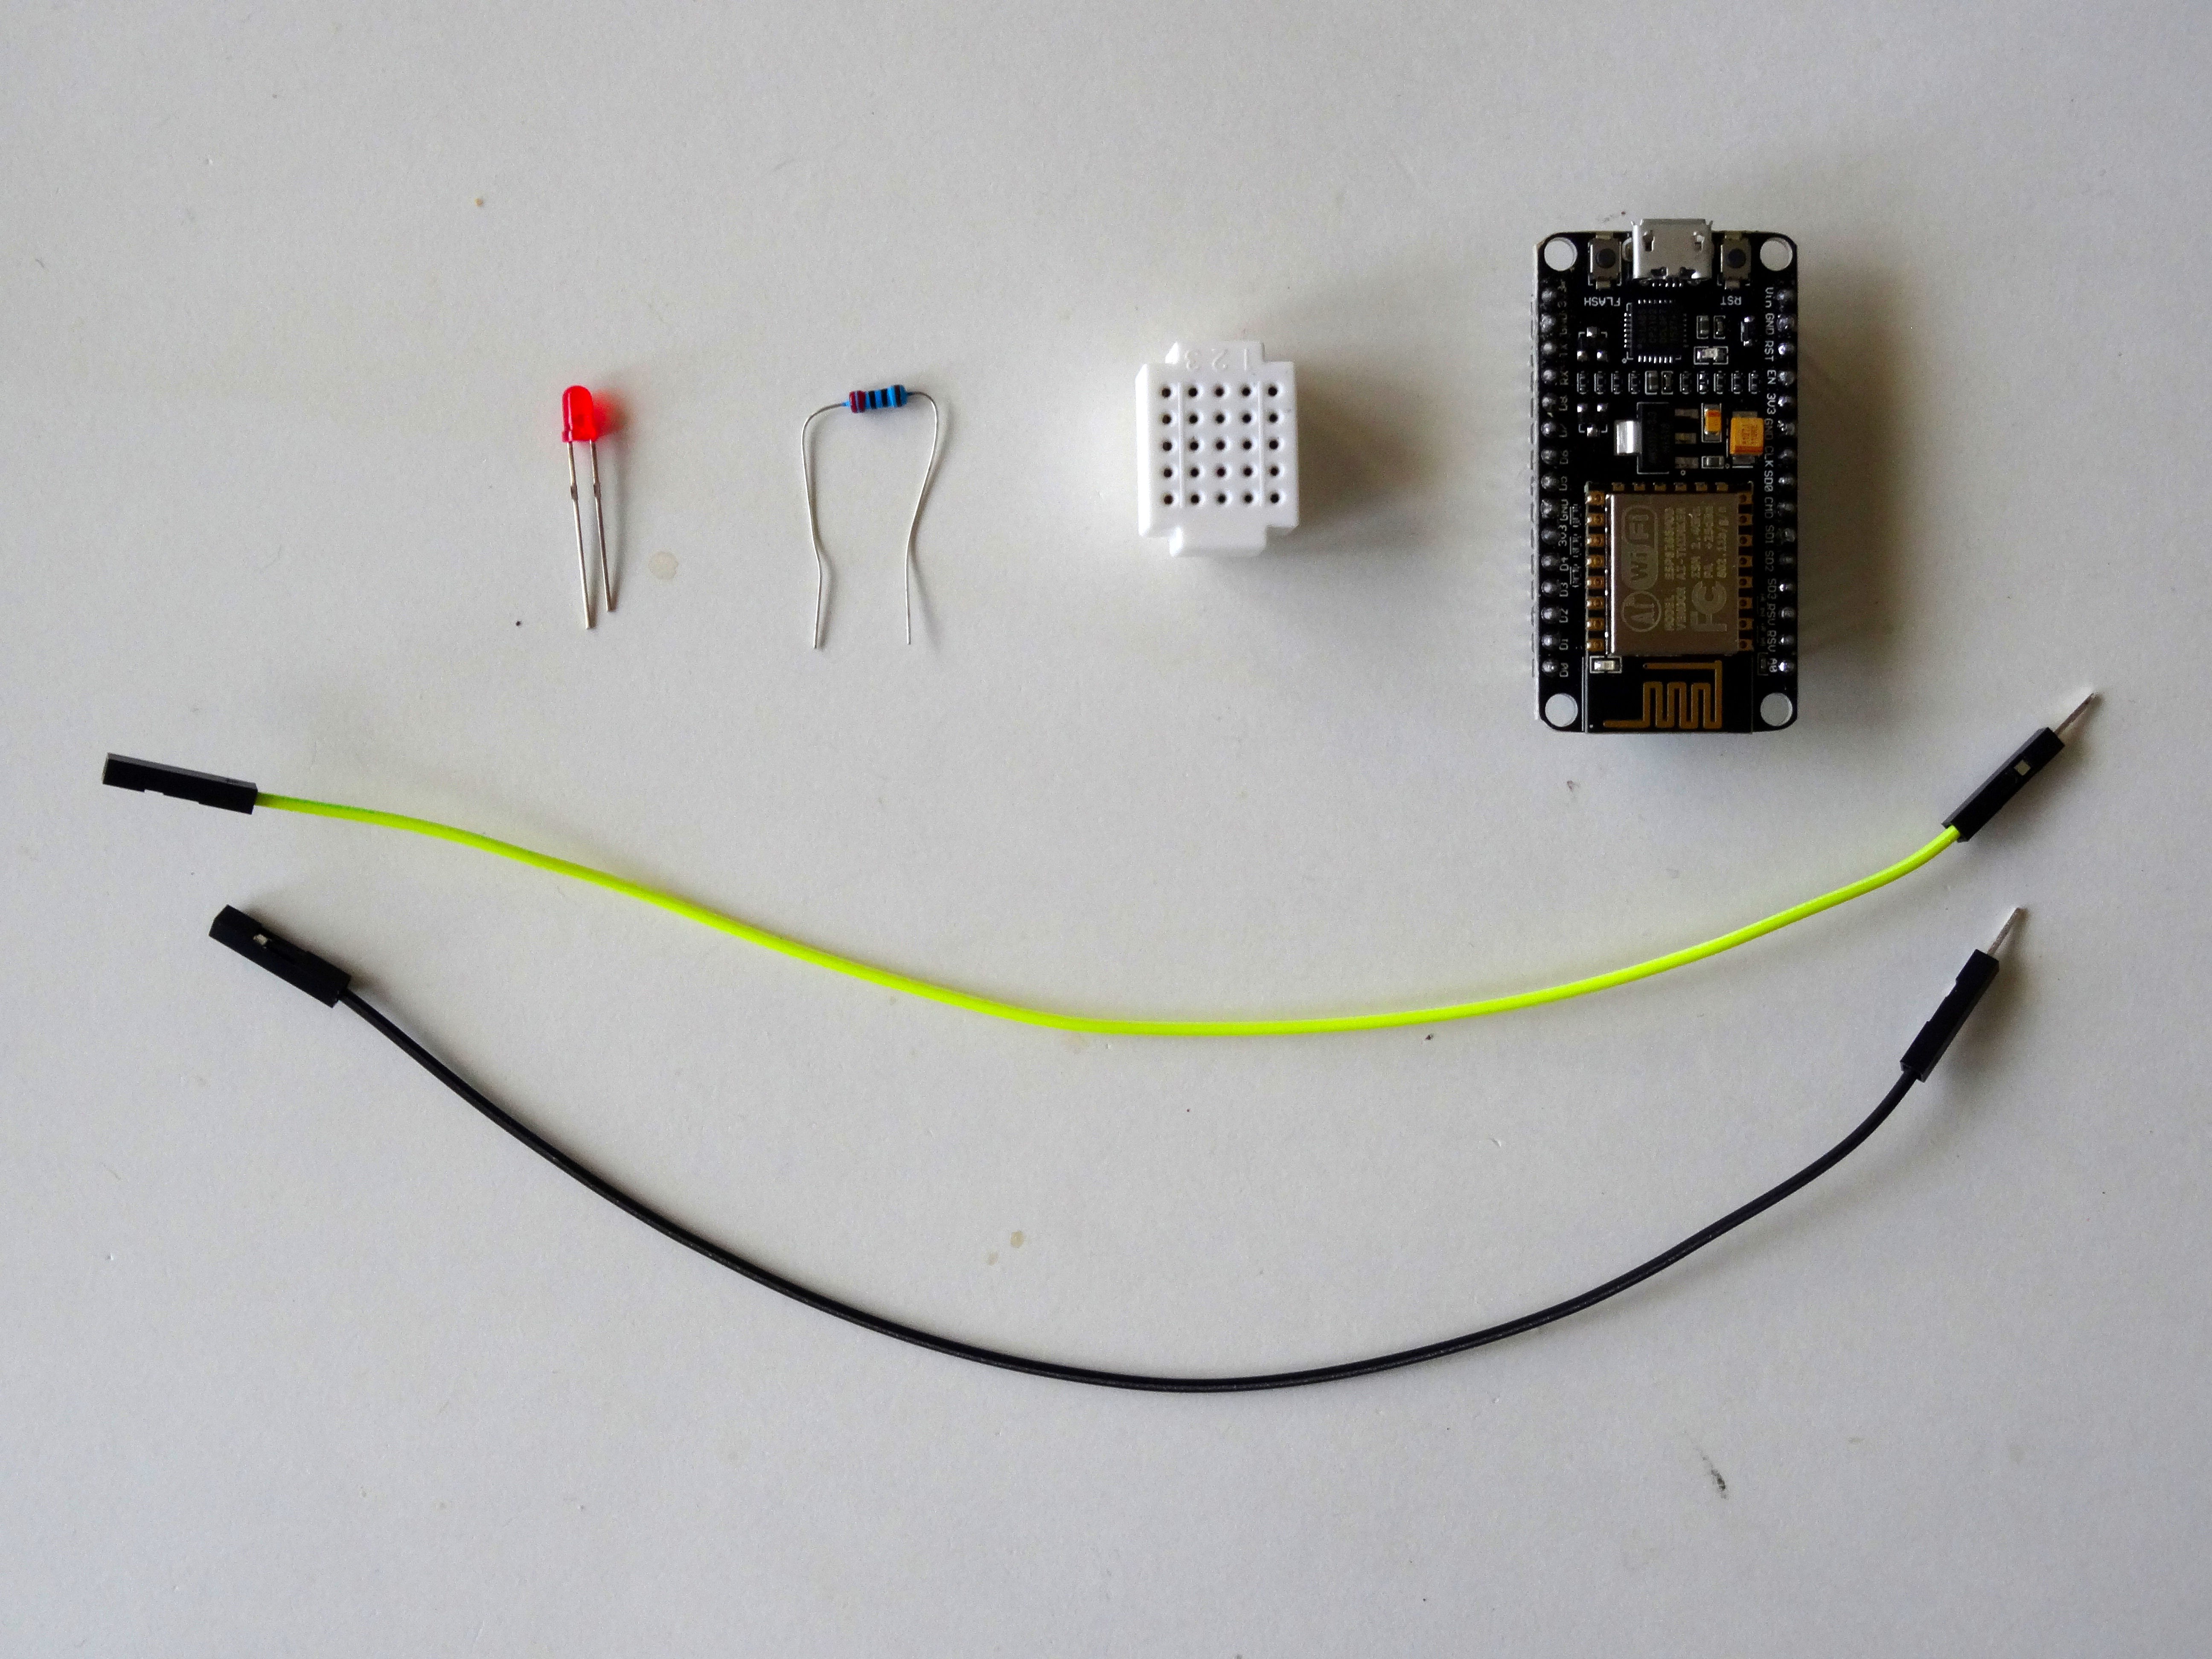
    Components

    1. One ESP8266. (I used NodeMCU 1.0, but other versions will also be fine)
    2. One LED
    3. One 220 Ohm Resistor
    4. One Breadboard (I used a Small Breadboard but any other is just fine)
    5. 2 Female-Male jumper wires
  • 2
    Step 2

    Connect the Resistor and the LED

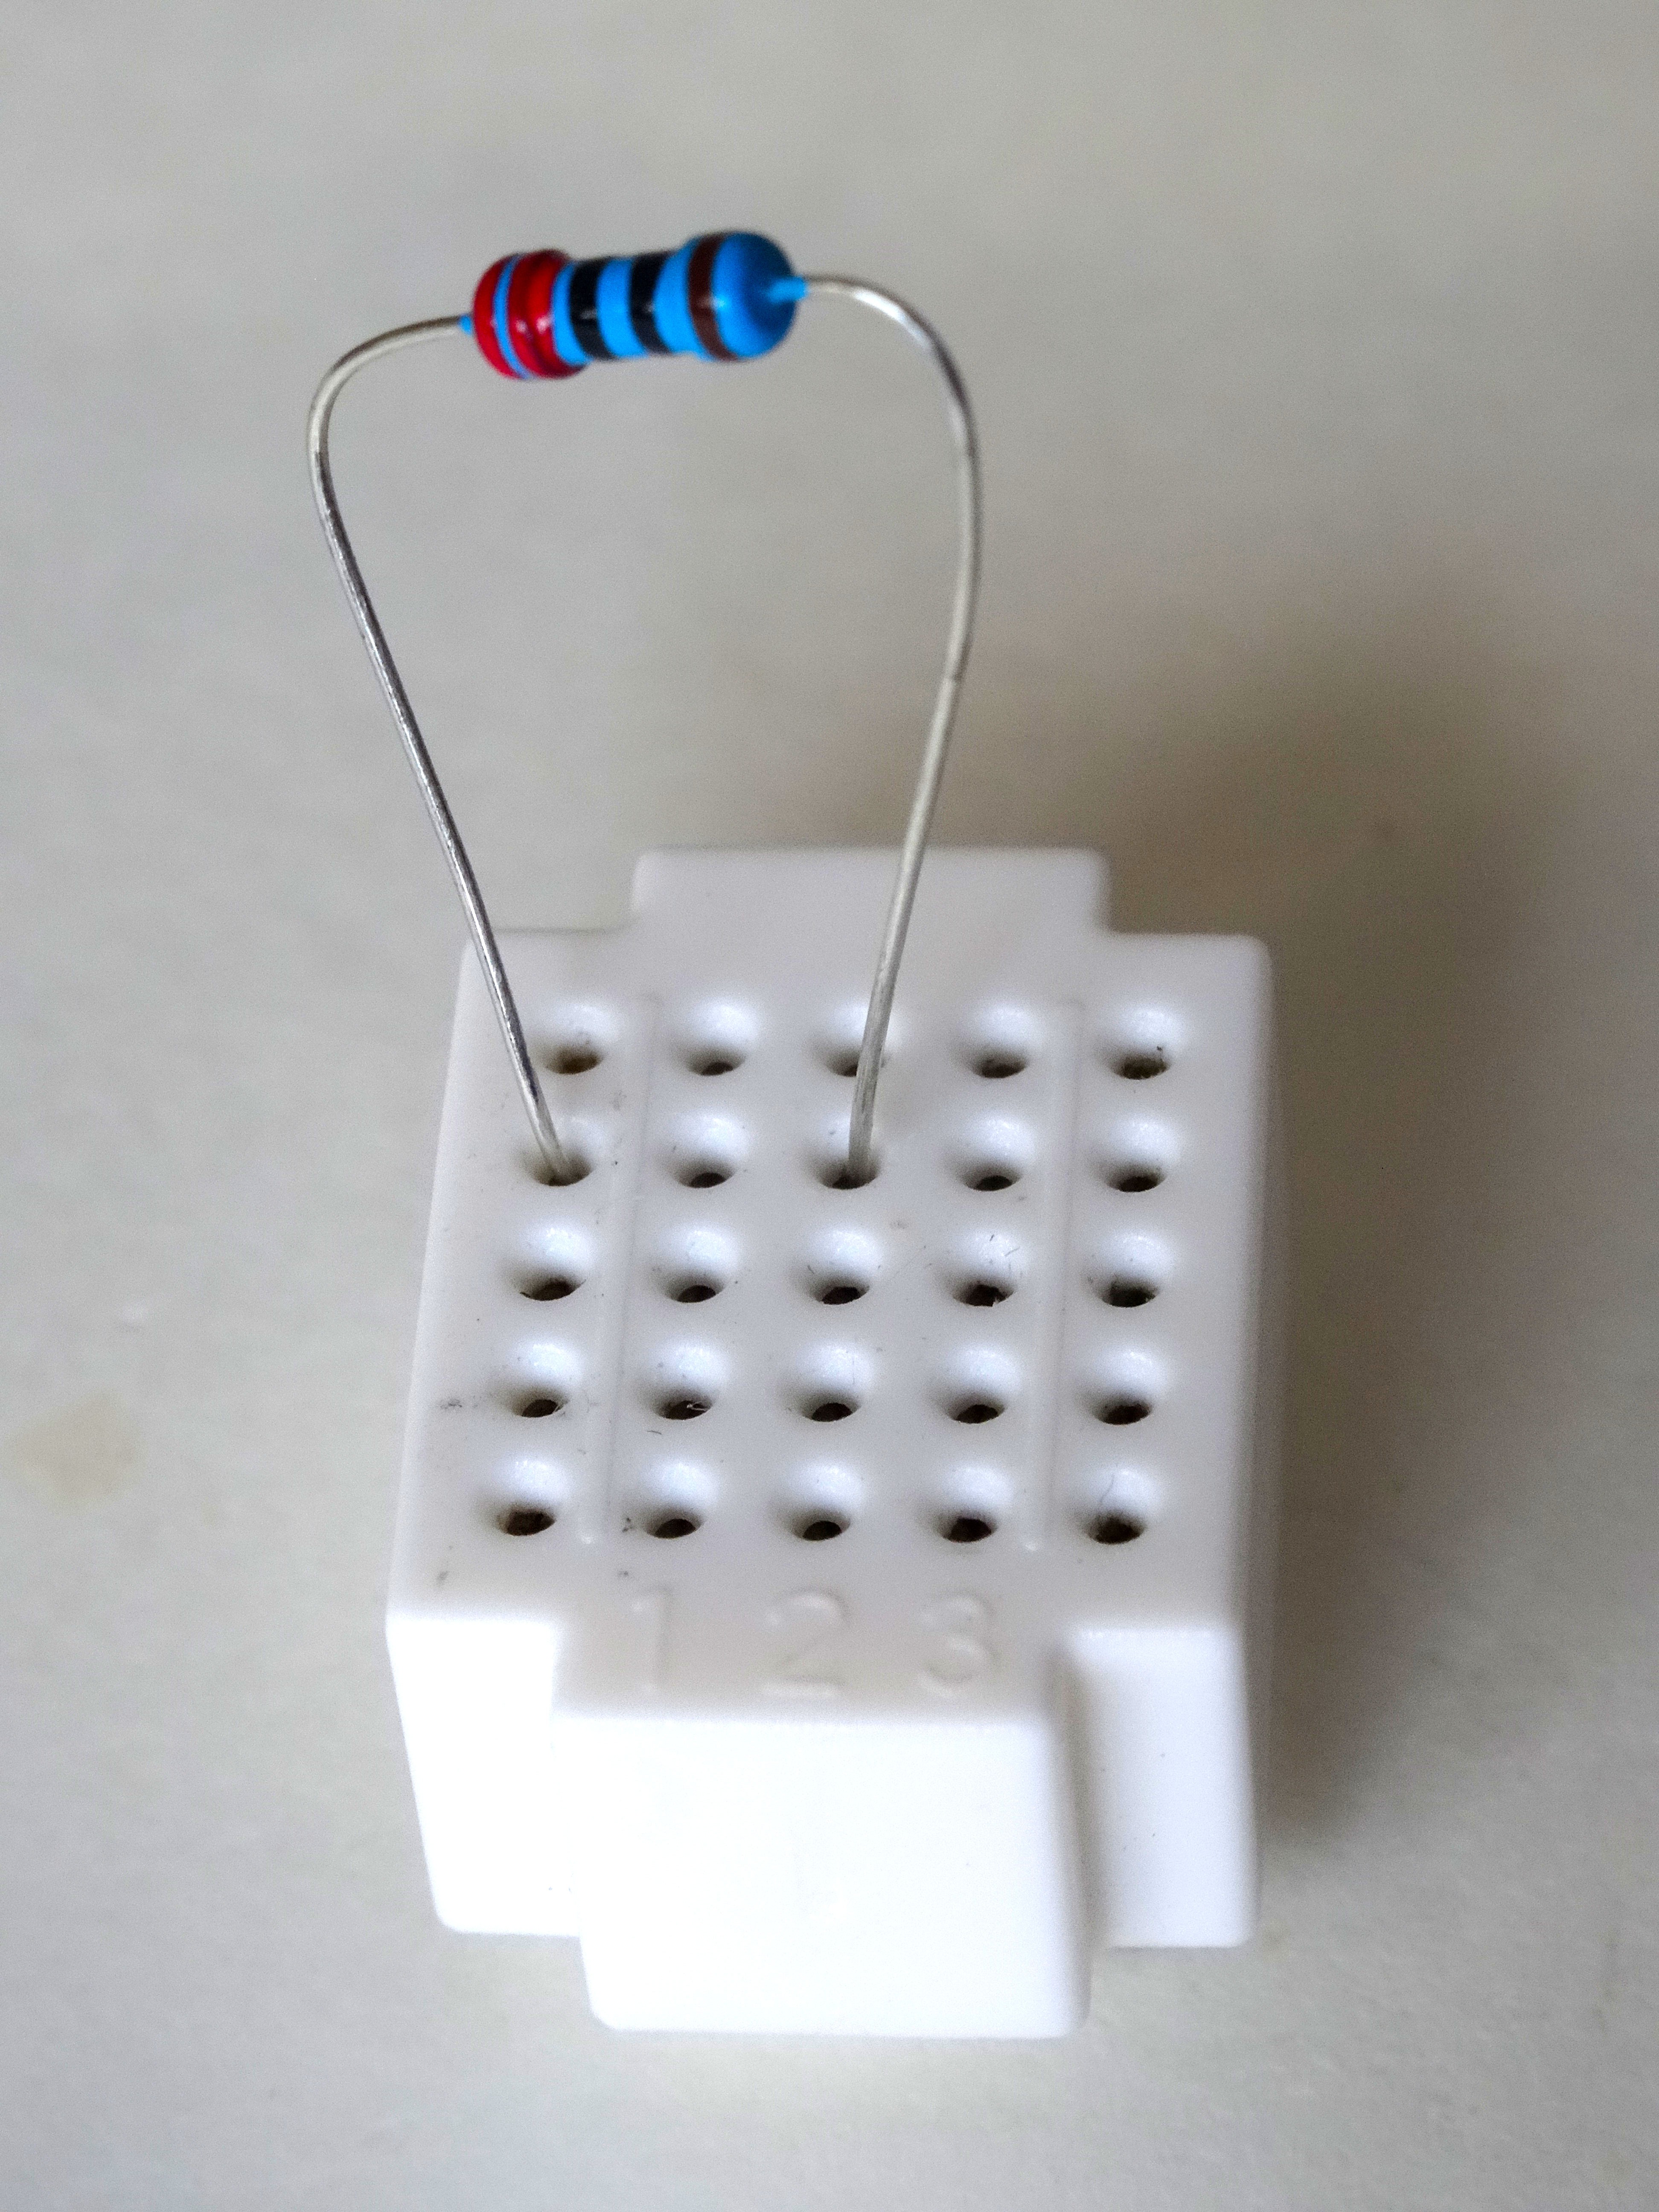
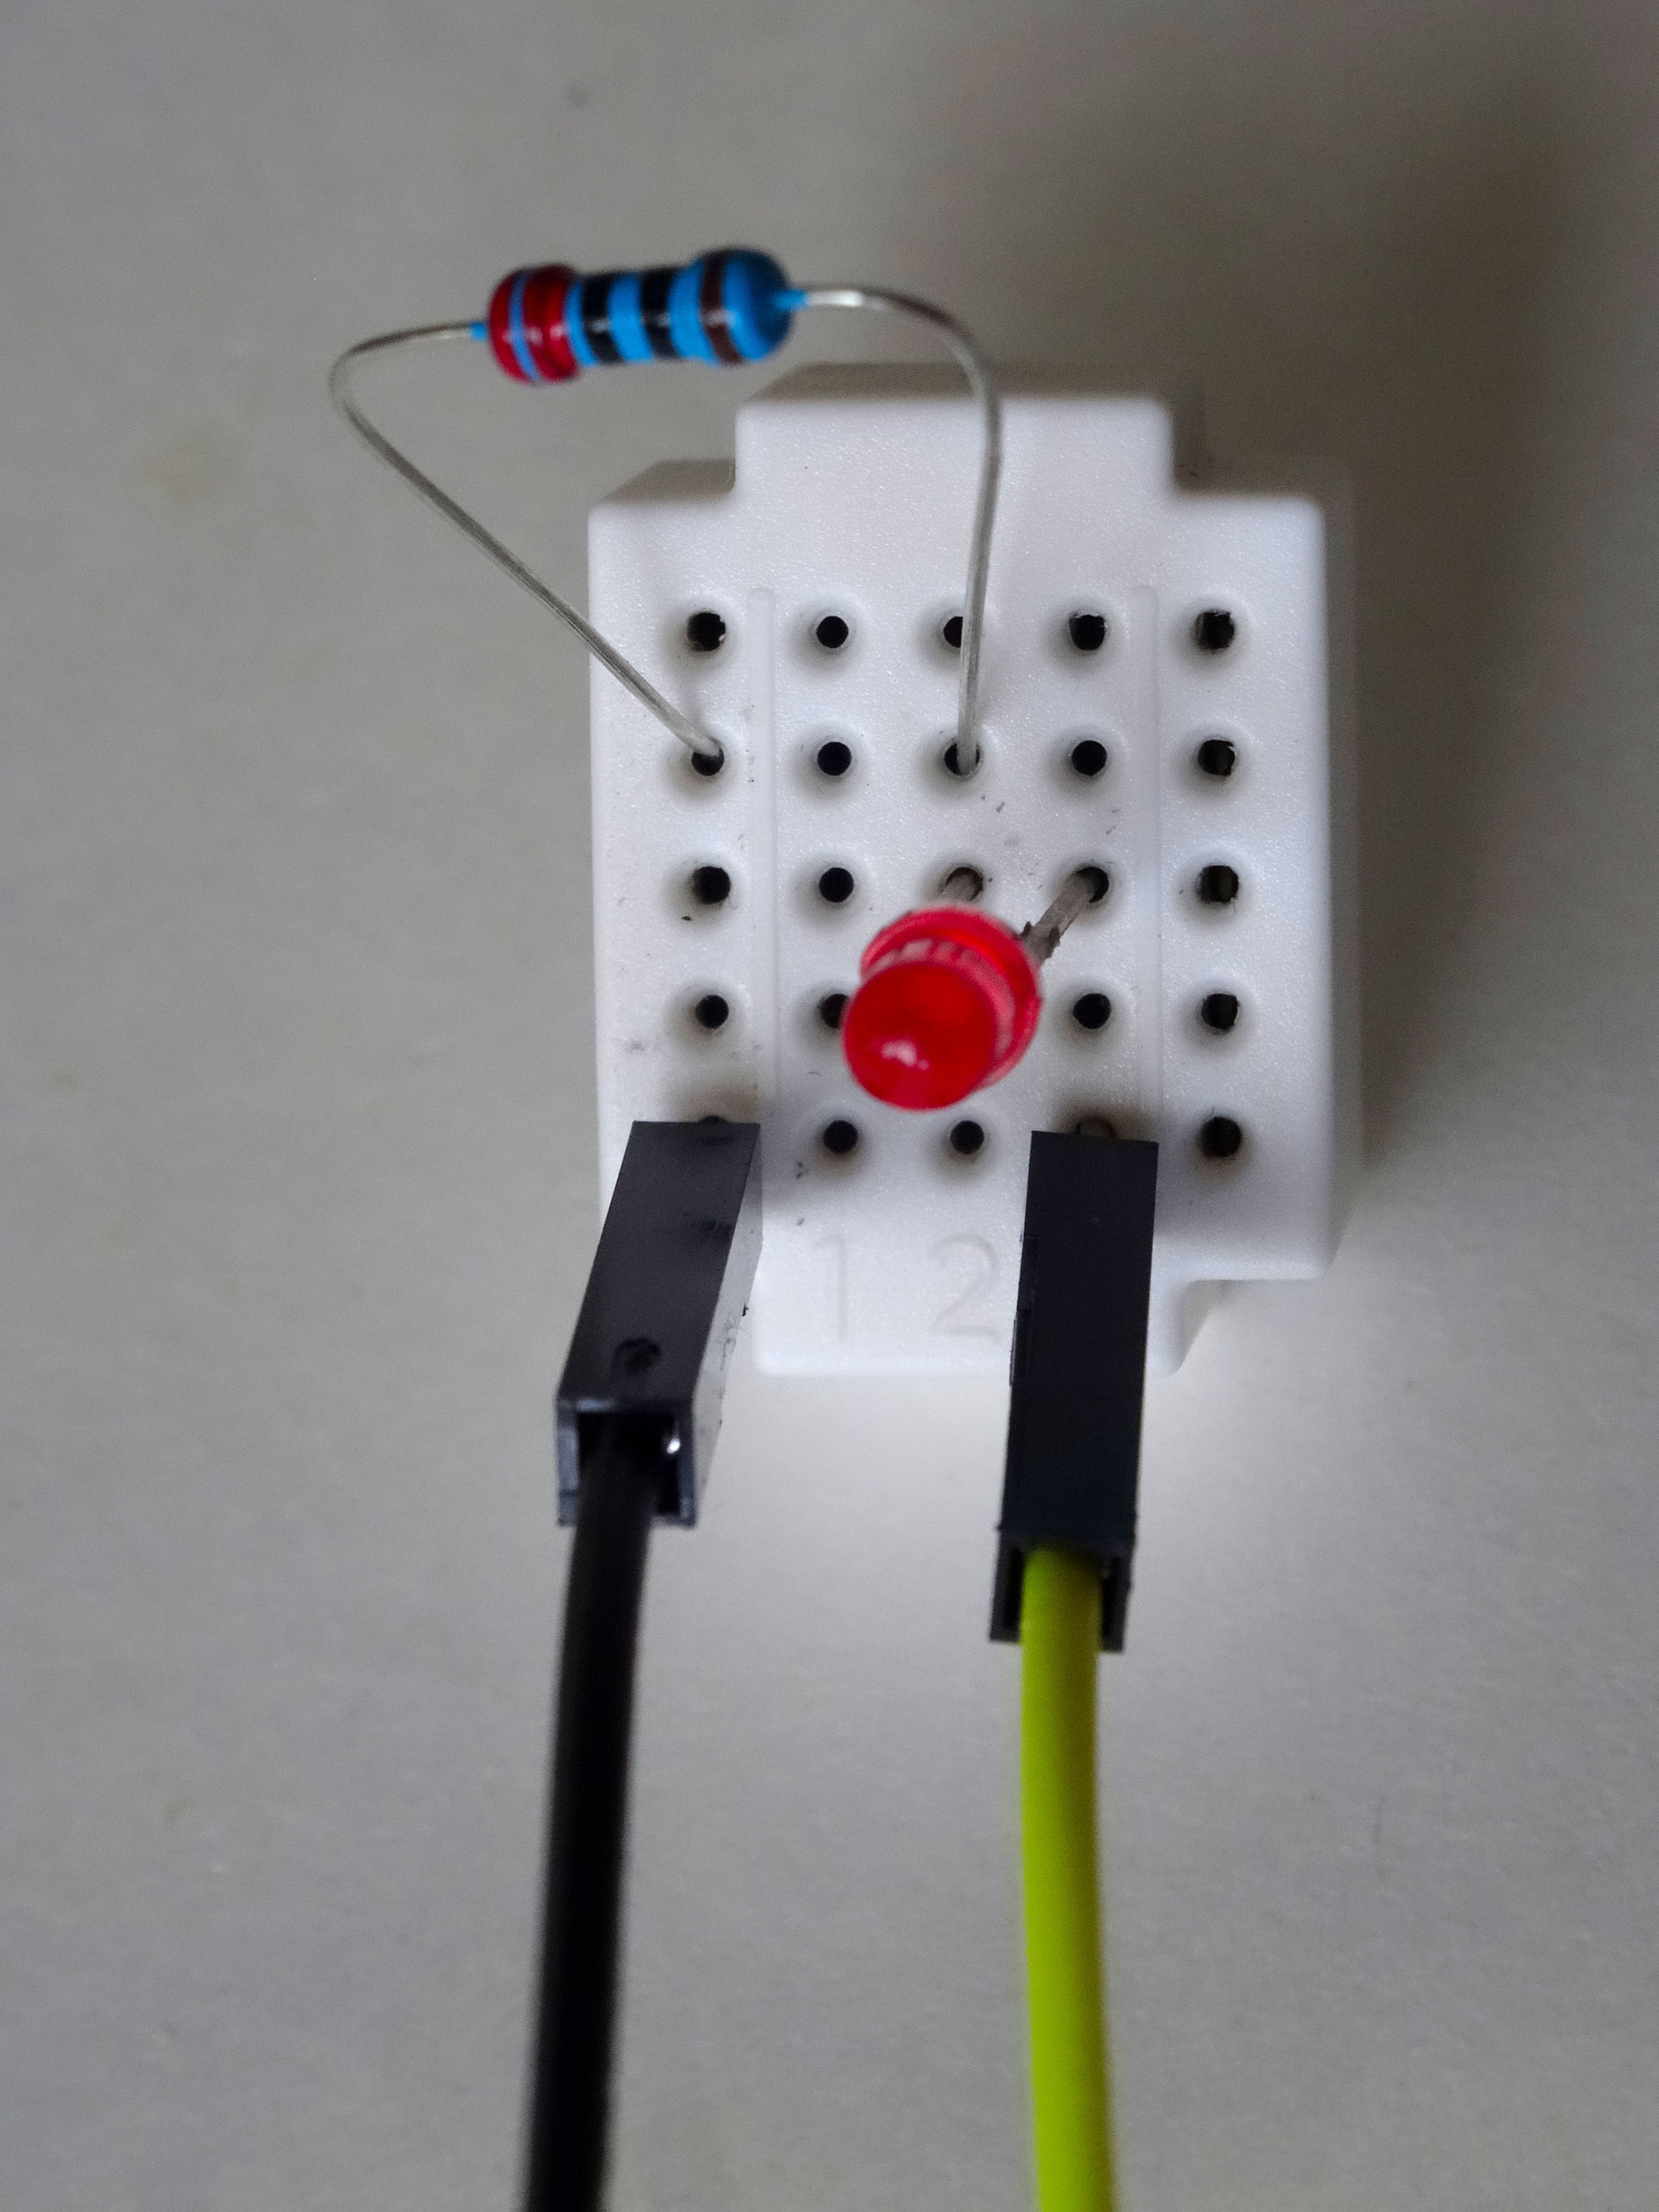
    1. Place the 220 Ohm Resistor on the Breadboard as shown on Picture 1
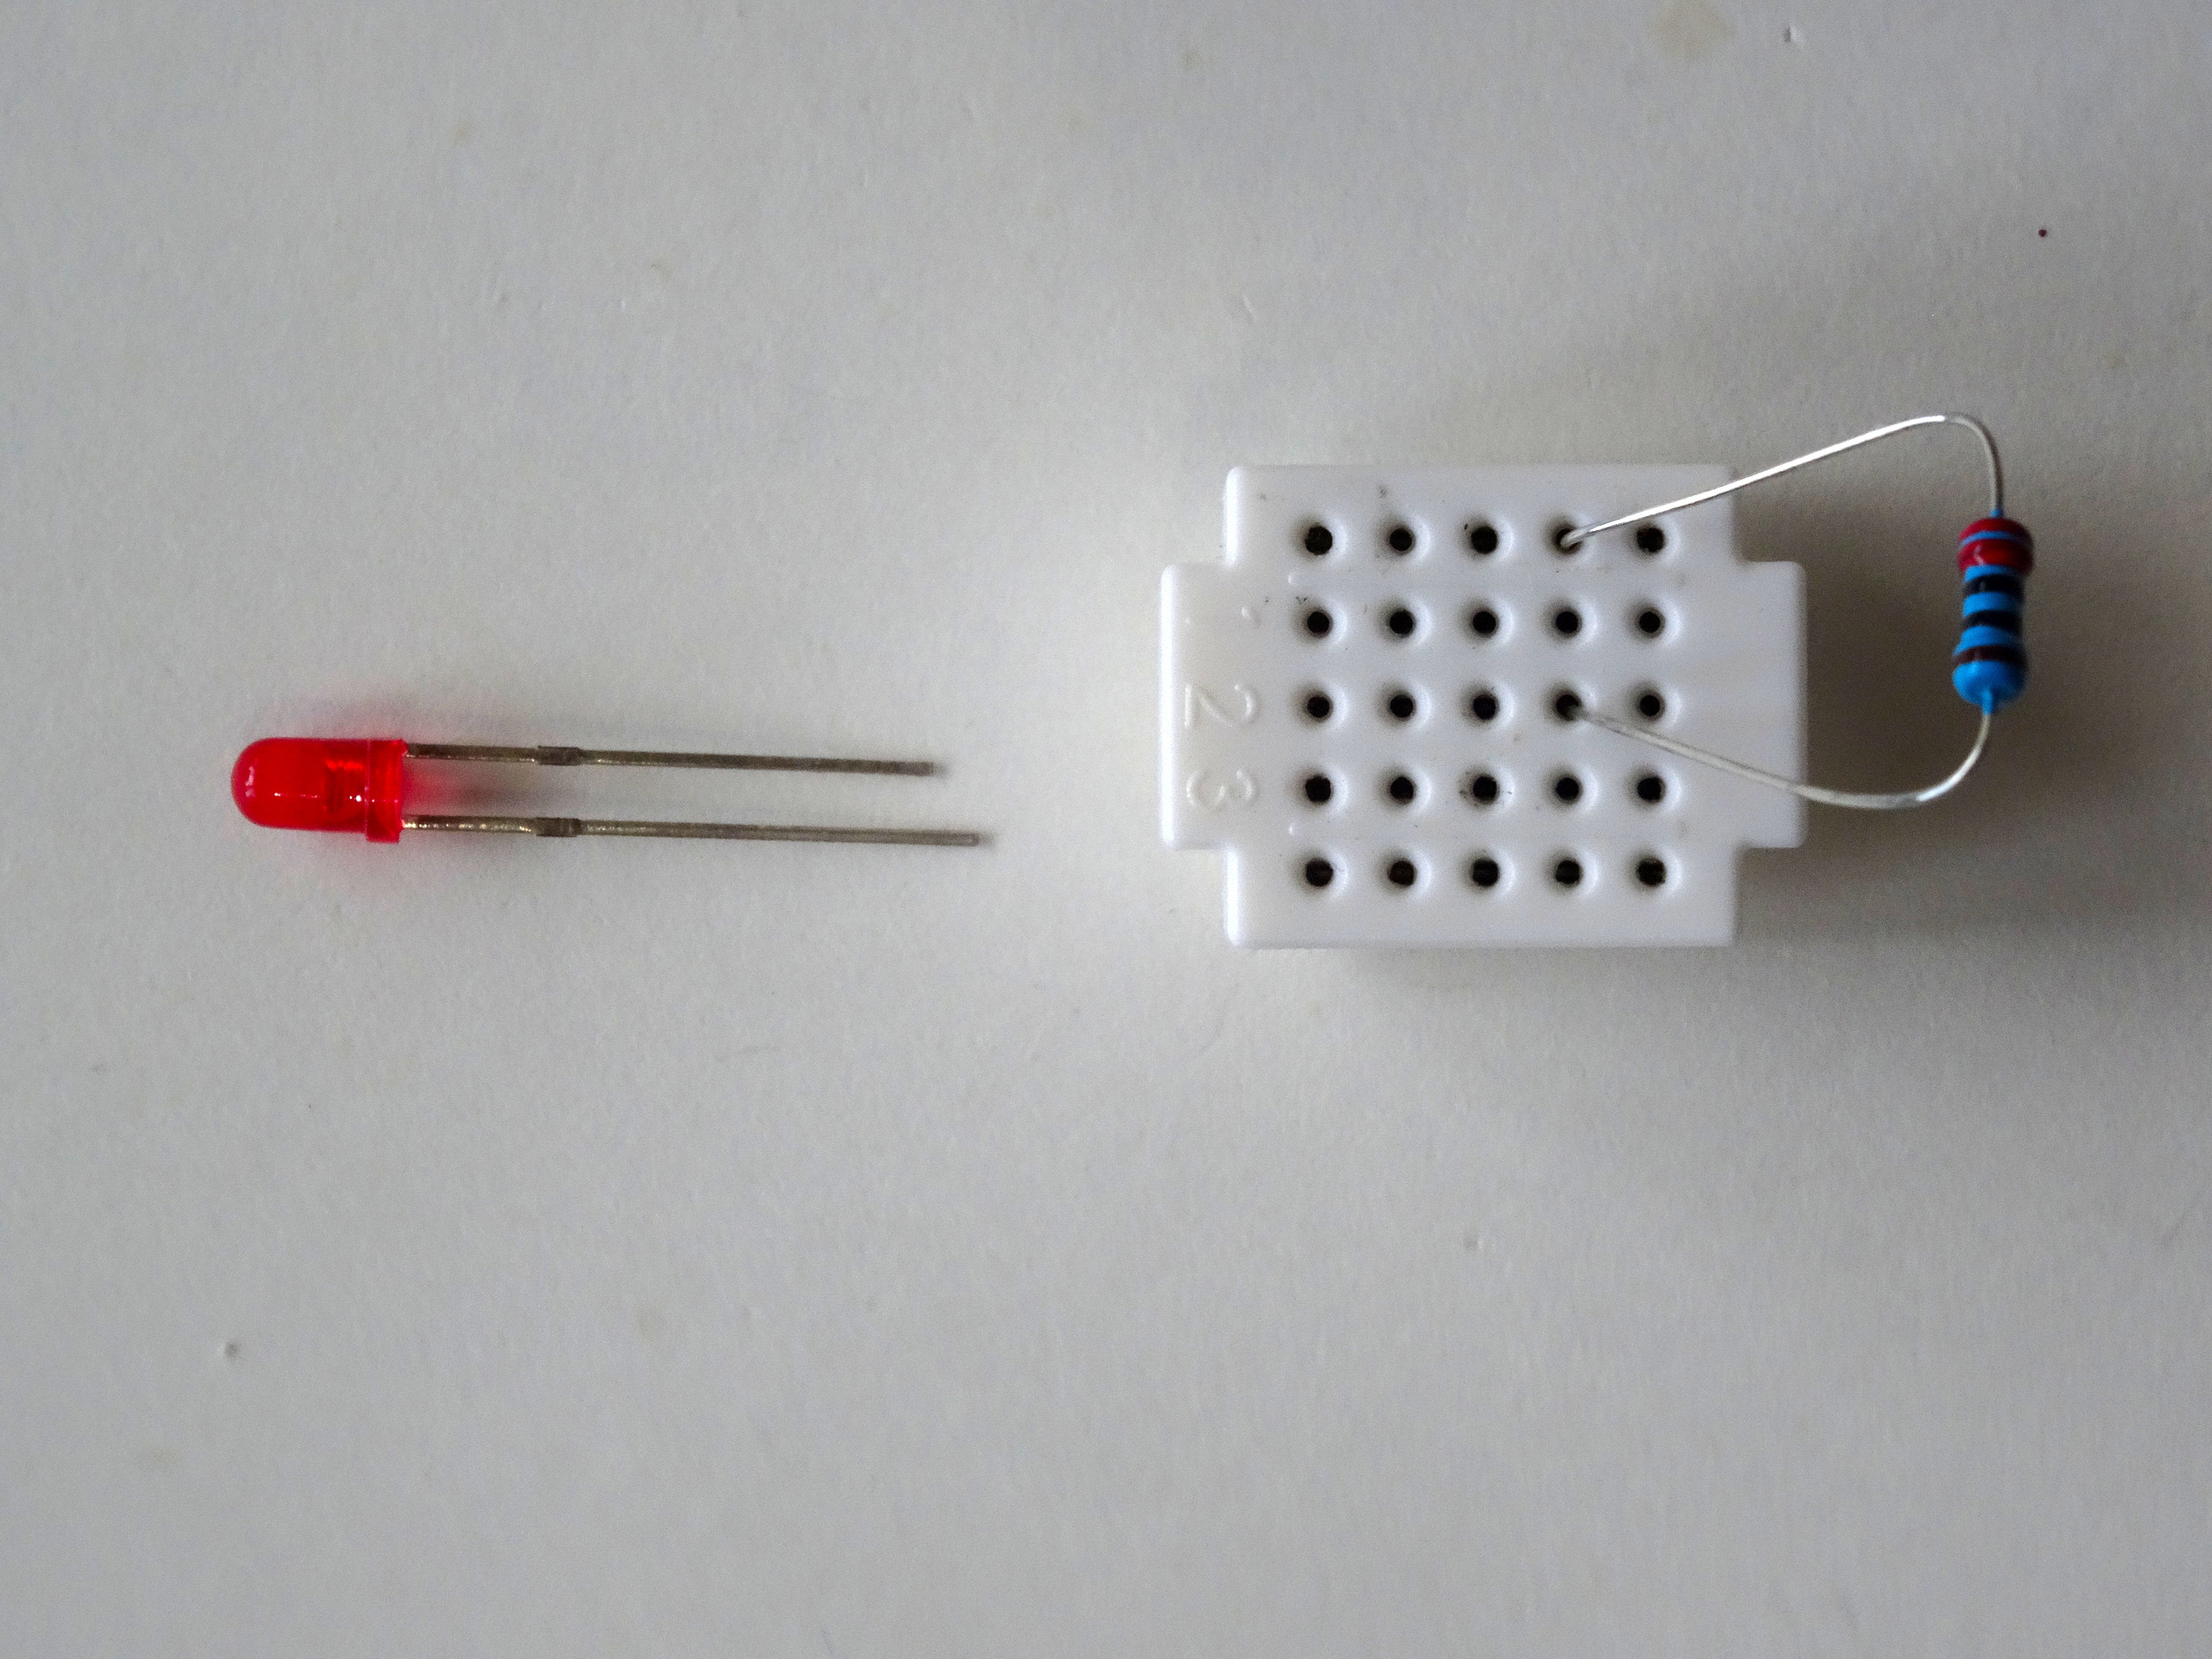
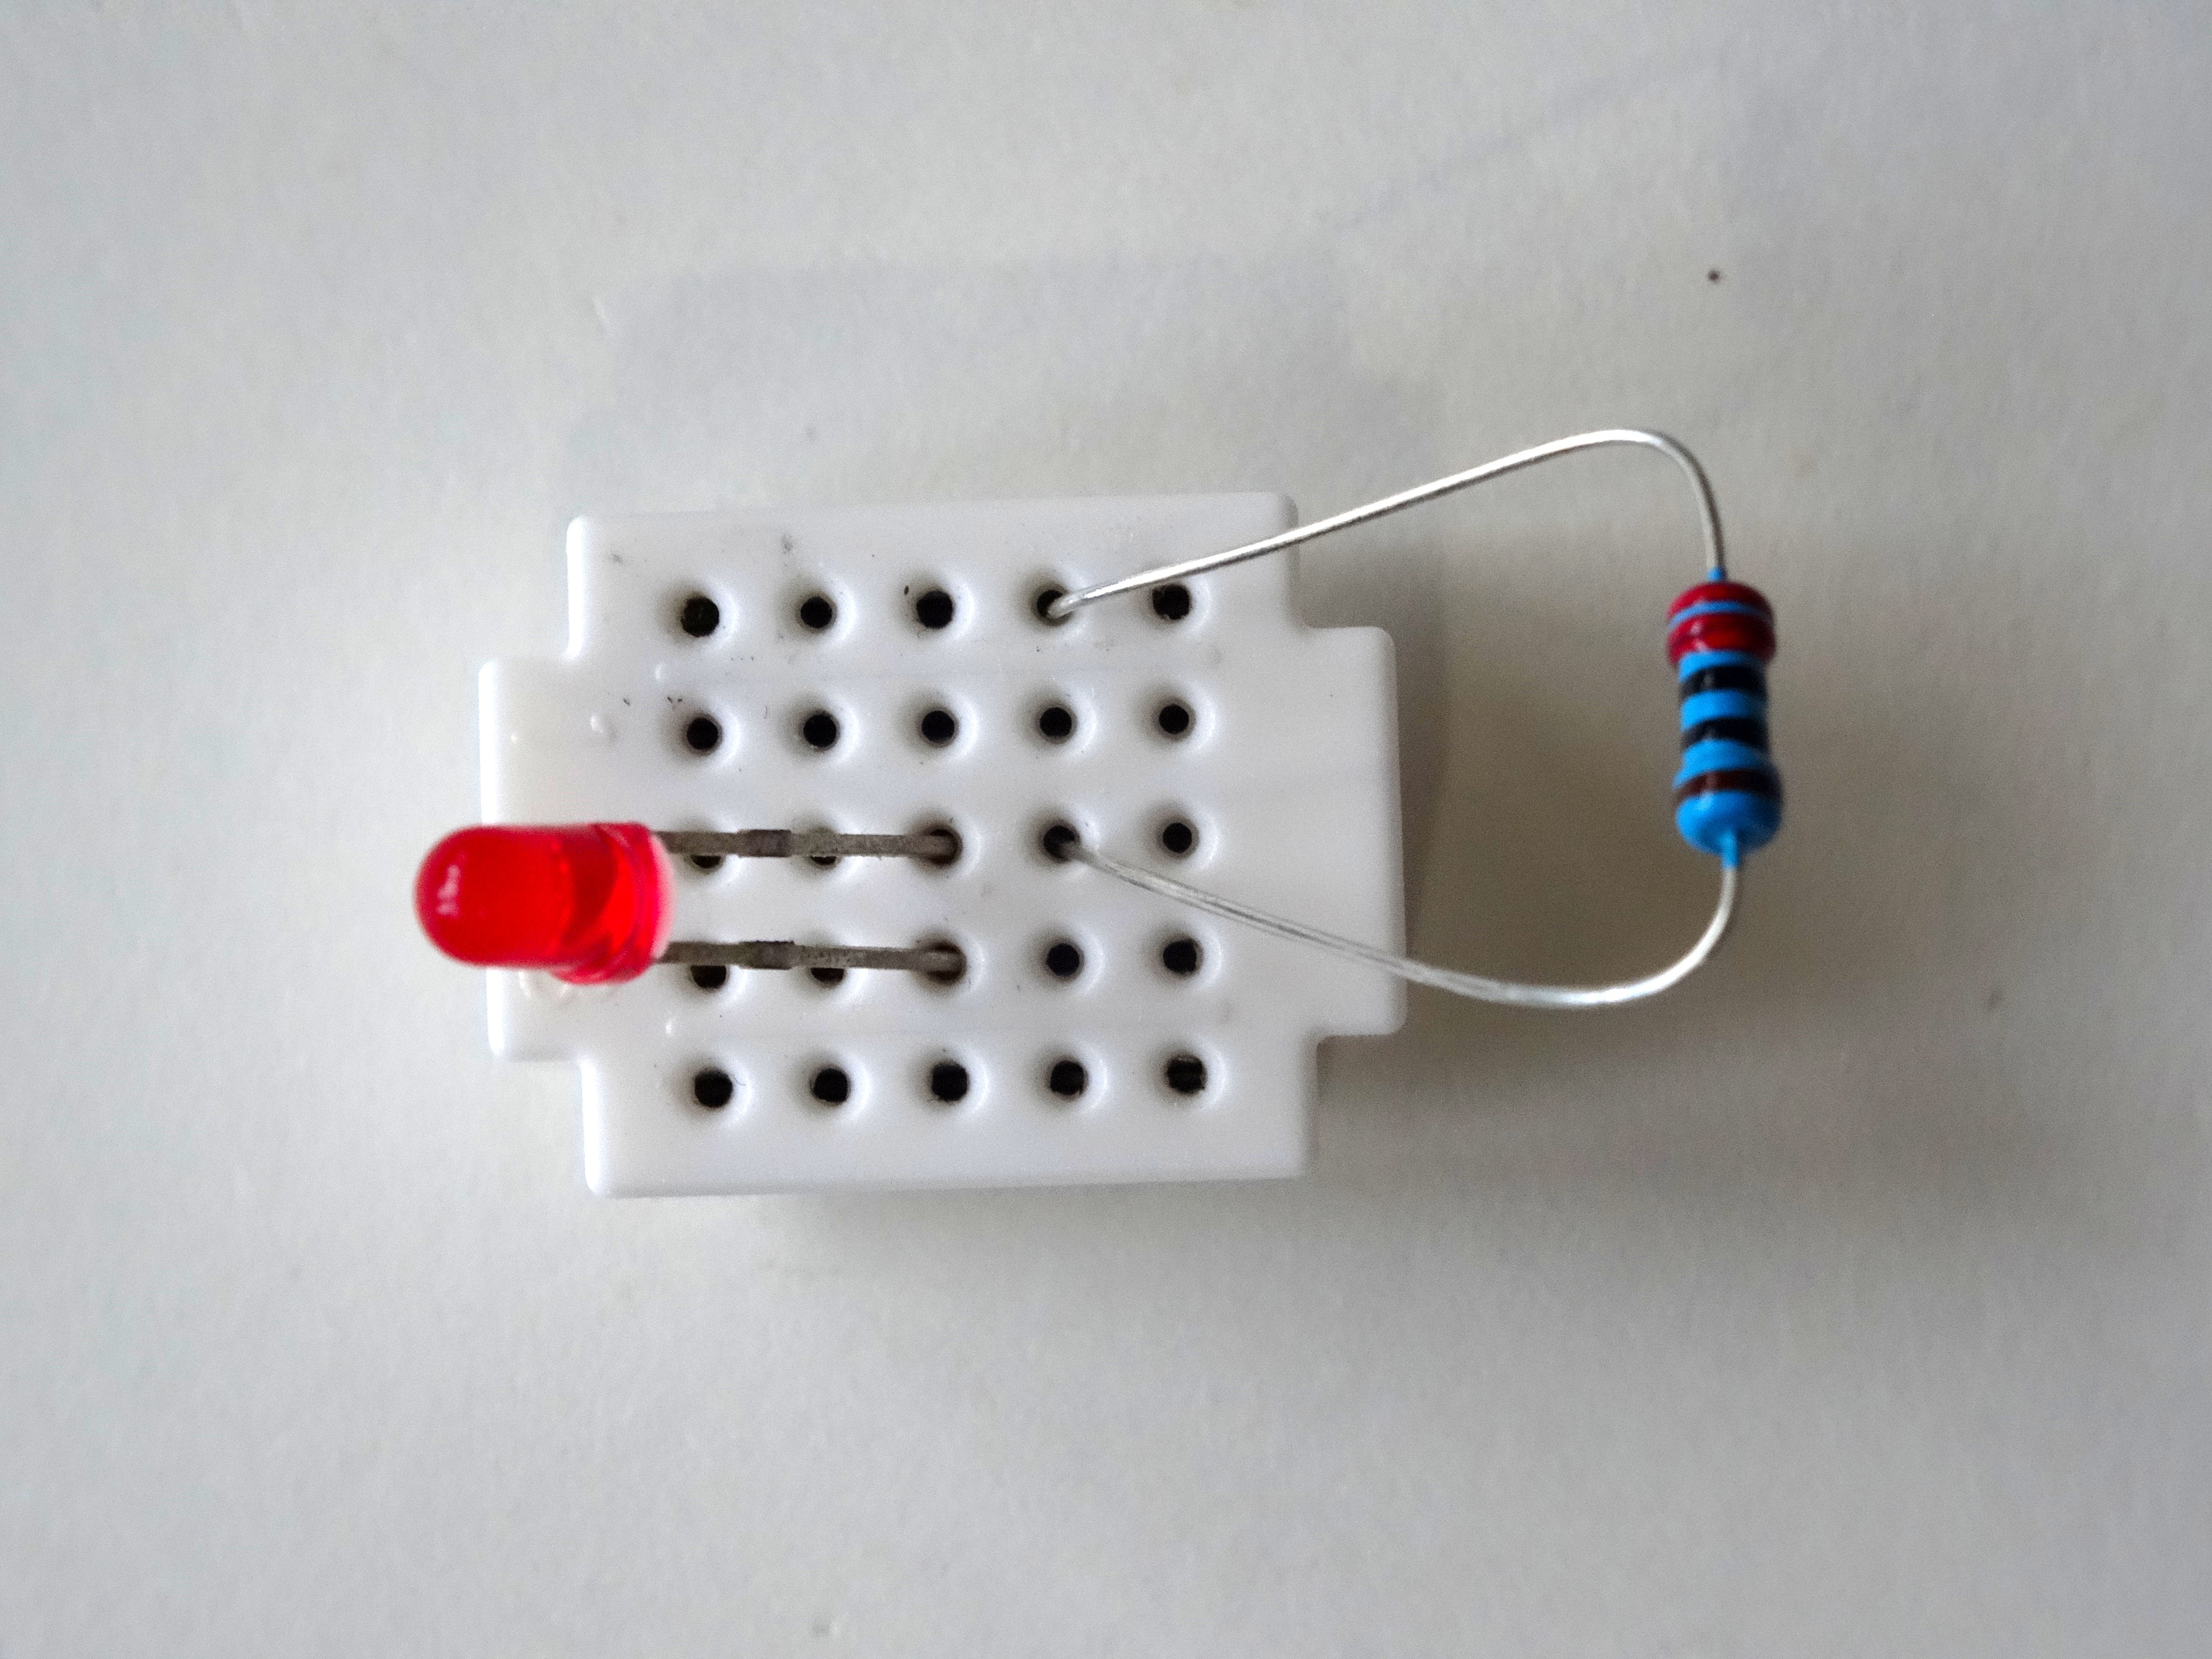
    2. Connect the Place the LED on the Breadboard so the Cathode end (The shorter one) is connected to one end of the Resistor (Picture 2 and 3)
    3. Connect Ground wire (Black wire) to the other end of the resistor (Picture 4)
    4. Connect "LED wire" (Yellow wire) to the Anode (The longer end) of the LED (Picture 4)
  • 3
    Step 3

    Connect the ESP8266 Module

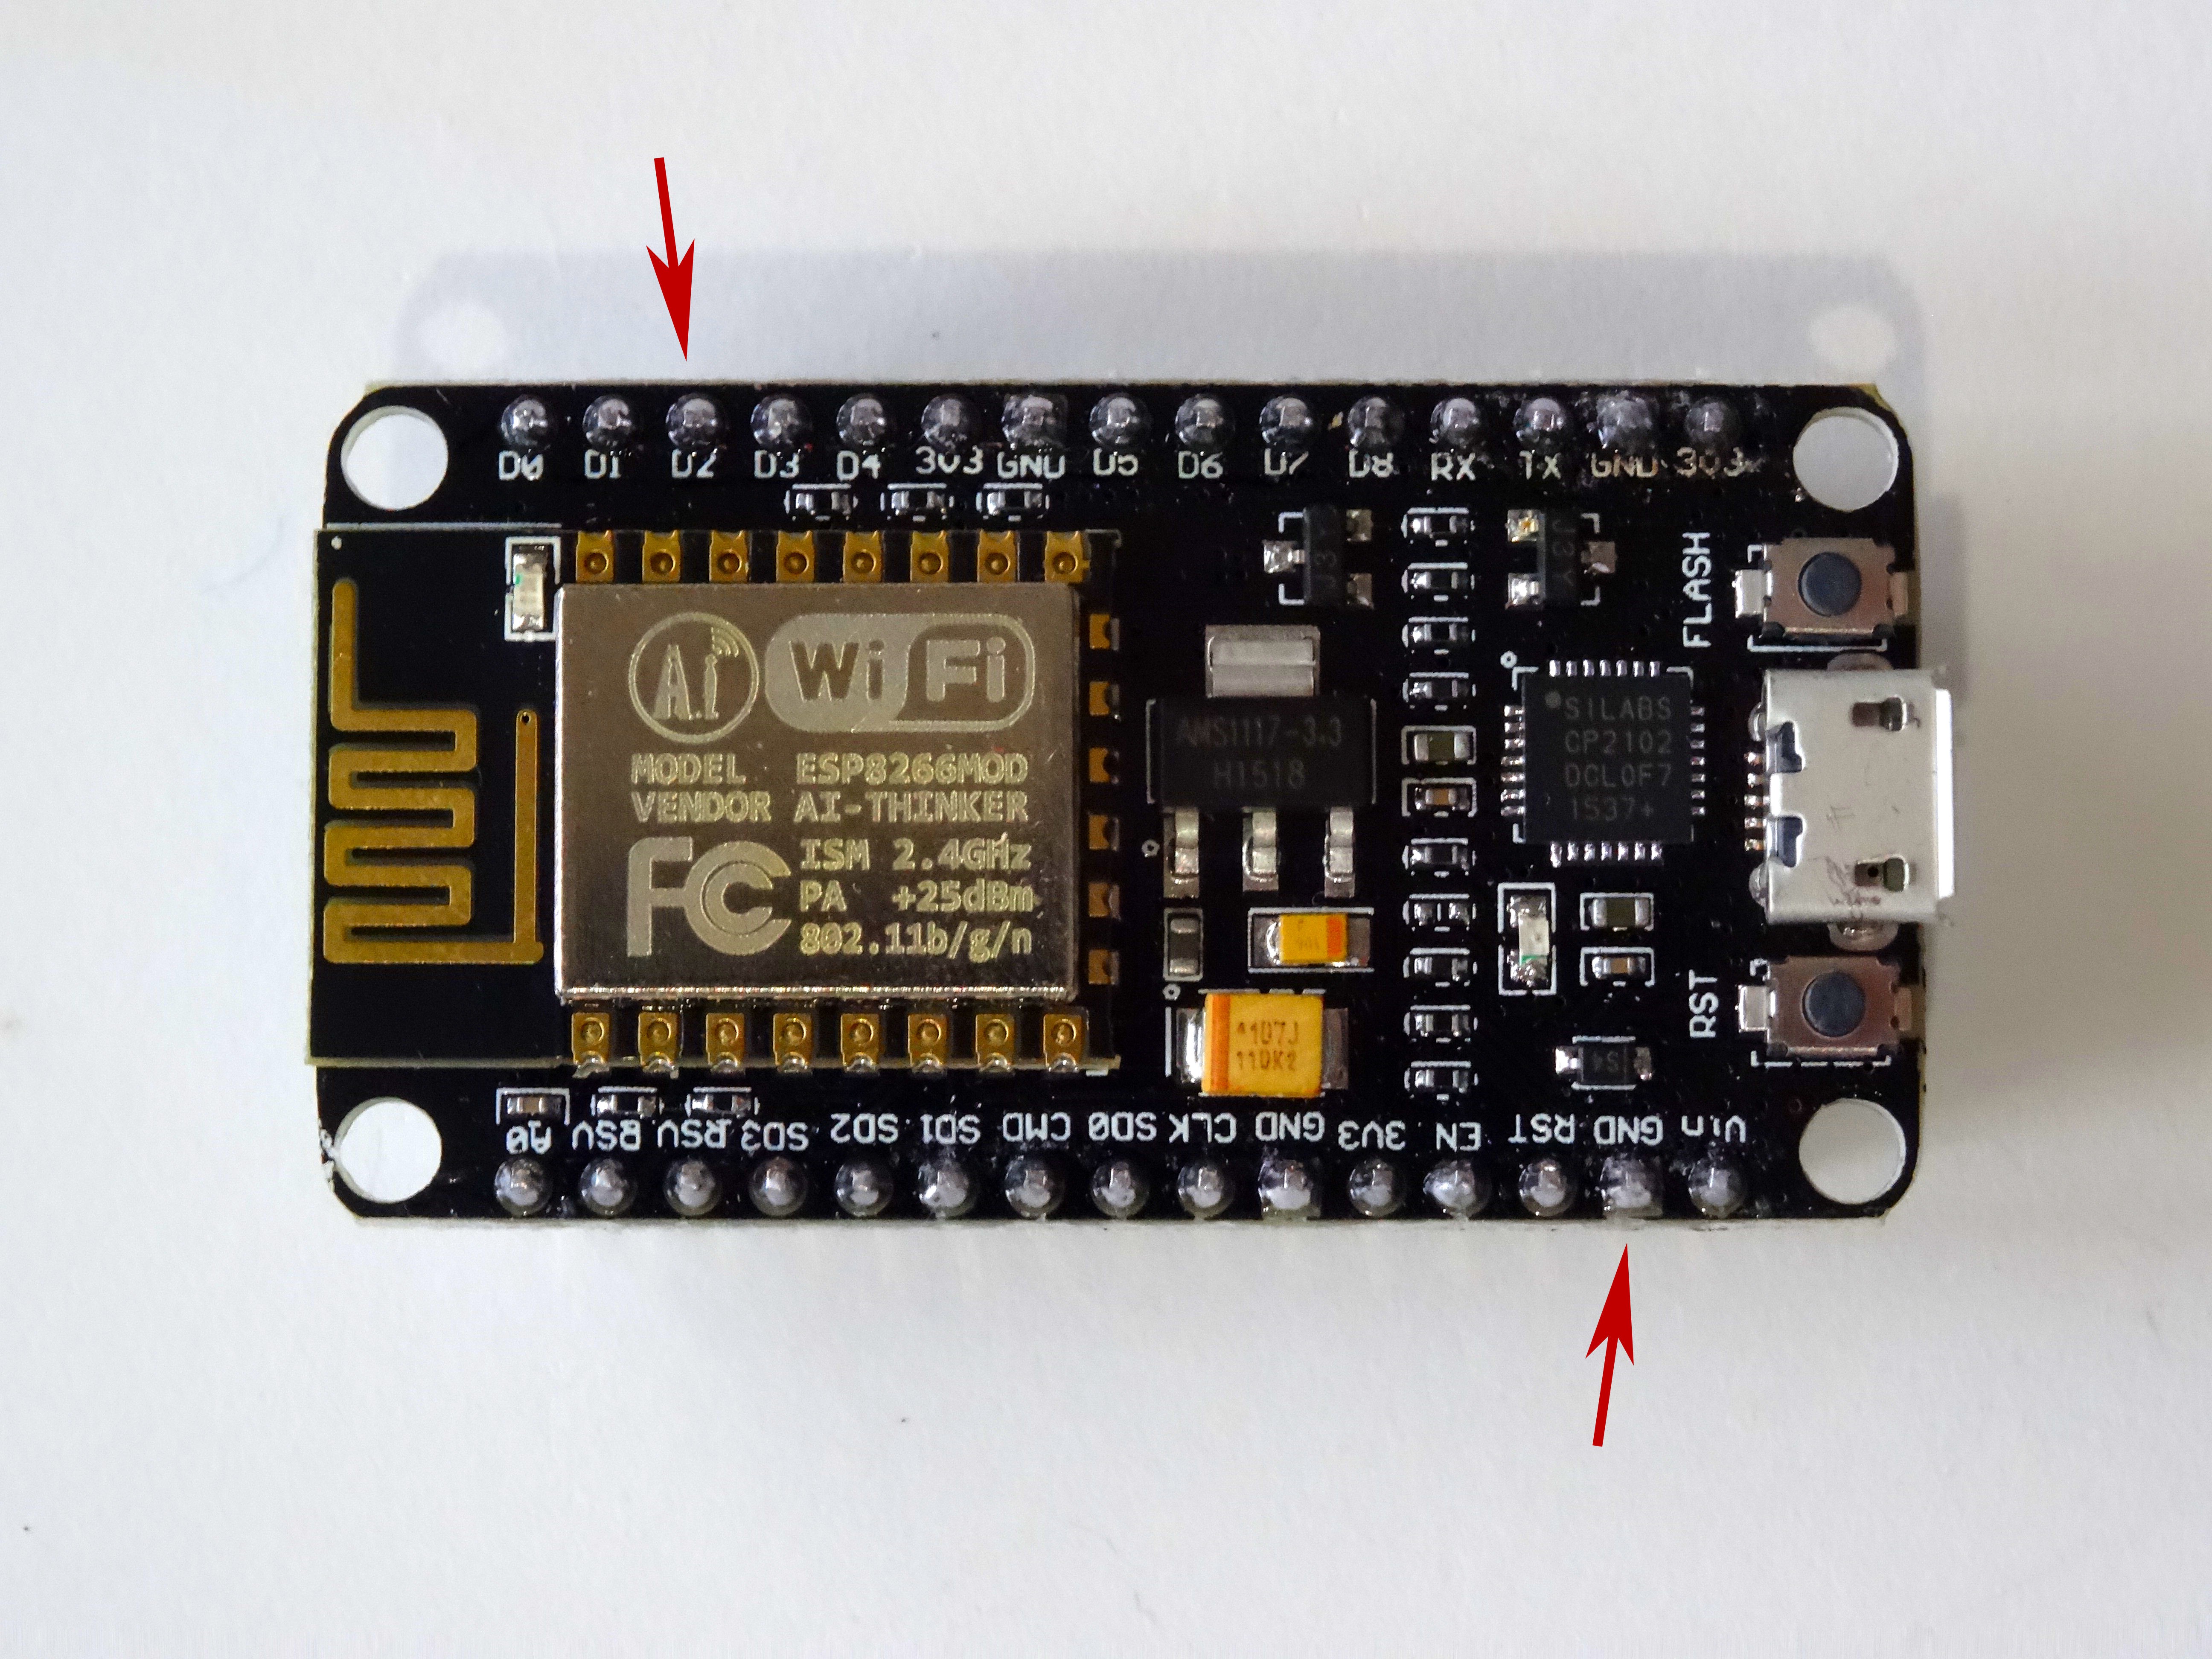
    1. Connect the other end of the Ground wire(Black wire) to the Ground pin of the ESP8266 module (Picture 1)
    2. Connect the other end of the "LED" wire(Yellow wire) to the Digital pin 2 of the ESP8266 module (Picture 2)
    3. Picture 3 shows where are the Ground and Digital 2 pins in the NodeMCU 1.0 that were connected on this step

View all 7 instructions

Enjoy this project?

Share

Discussions

Similar Projects

Does this project spark your interest?

Become a member to follow this project and never miss any updates