Close
0%
0%

The Atomik Controller

Yet another Mi-Light bulb controller. This time with timers, 3rd party integration, and both RGB and CCT bulbs.

Similar projects worth following
The Atomik Controller manages Mi-Light smart bulbs, Mi-Light RF remotes, and Mi-Light Smart Phone remotes. The goal is to create a drop in replacement for the Mi-Light wifi bridge, that expands the zone and device limitations, while providing a more robust home lighting controller. The Atomik controller currently includes a Web GUI for system management, a Nrf24l01+ 2.4 GHz transceiver for listening and transmitting, Mi-Light RF RGB remote compatibility, a Mi-Light Smartphone server emulator that allows use of the Mi-Light Smartphone app as a remote, an API for 3rd party integration, and a task scheduling system to control light zones.

Features:

  • Full featured web administration GUI
  • Maximum of 65,280 uniquely addressable Mi-Light RGB Devices ( But an unlimited amount of Devices can be Synced to a single address )
  • Maximum of 65,280 uniquely addressable Mi-Light CCT Devices ( But an unlimited amount of Devices can be Synced to a single address )
  • Unlimited amount of Mi-Light Smartphone Remotes ( Secured by MAC Address )
  • Maximum of 256 Mi-Light RGB RF Remotes
  • Unlimited amount of Atomik API Remotes ( for 3rd party integration )
  • Unlimited amount of Device Zones
  • Zones can include ANY mix of Devices and Remotes
  • Unlimited amount of scheduled Zone Tasks
  • WiFi and Ethernet connectivity
  • Drop-in replacement for the Mi-Light WiFi Bridge

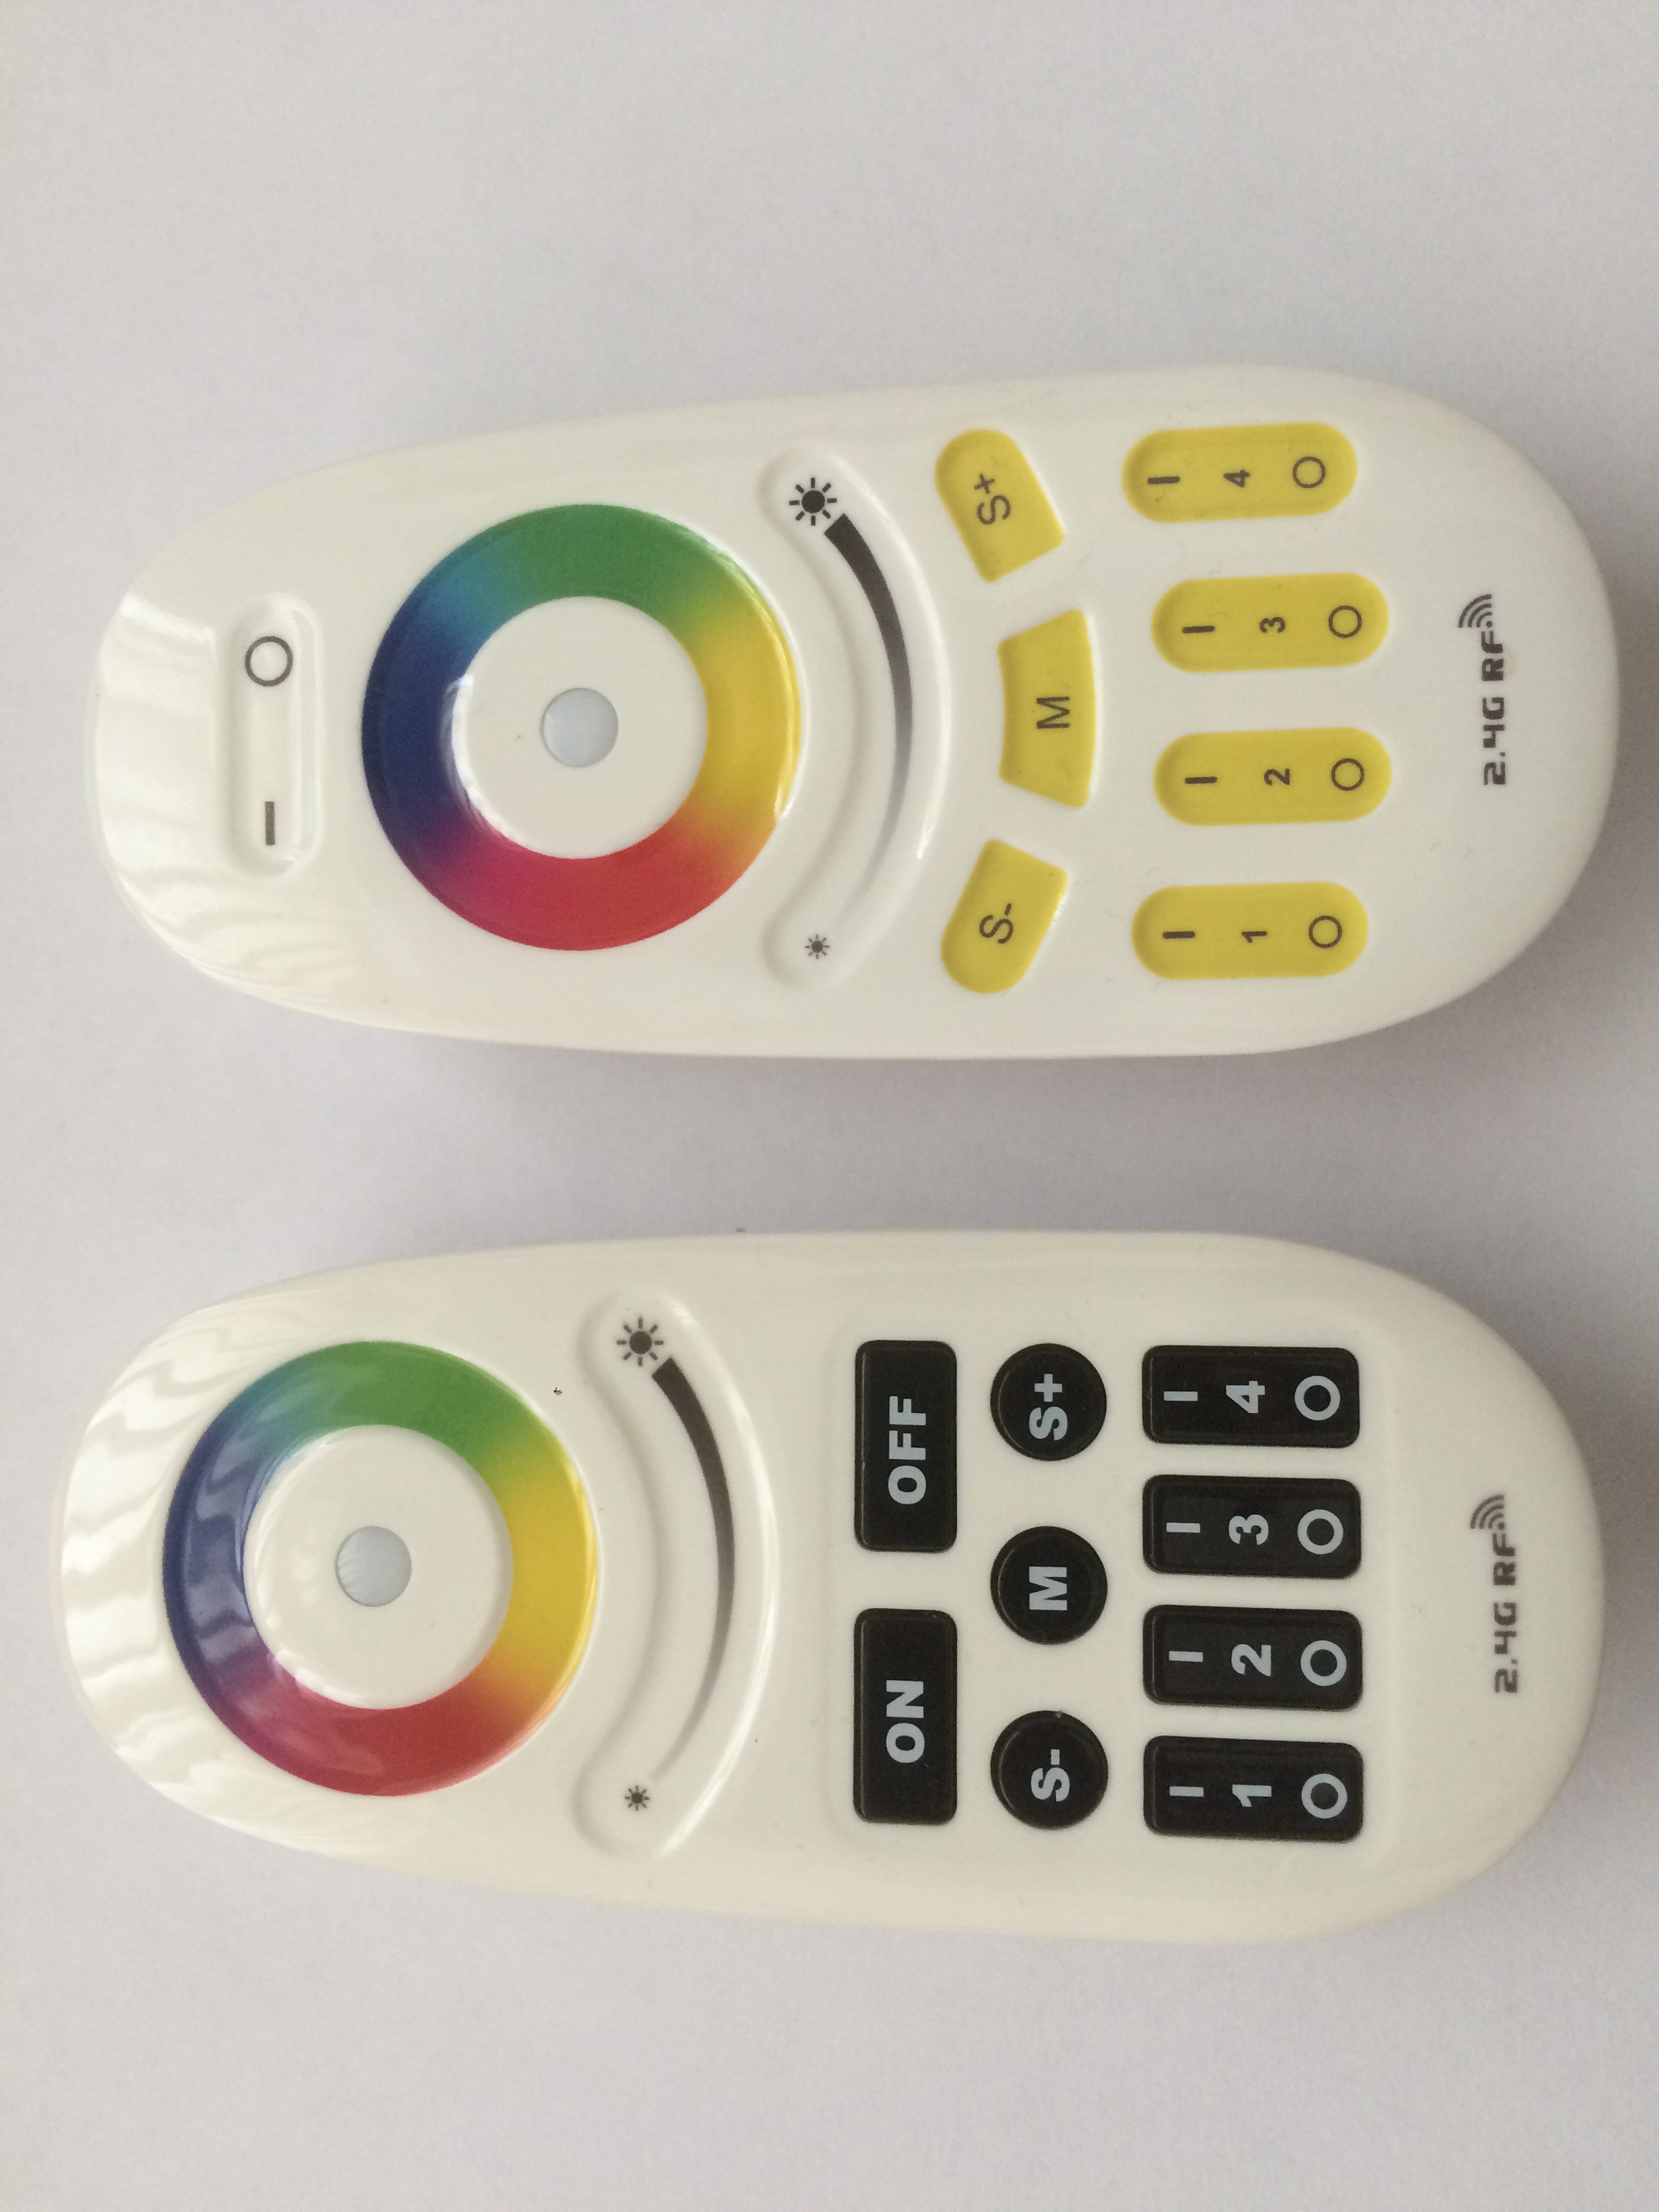
Compatible Bulbs & Remotes (LimitlessLED - MiLight - EasyBulb)
  • 9.0 Watt ALL RGBCW & RGBWW Bulbs (Cool White/Warm White)
  • 9.0 Watt ALL Dual White Bulbs
  • 6.0 Watt ALL RGBCW & RGBWW Bulbs (Cool White/Warm White)
  • 6.0 Watt ALL Dual White Bulbs
  • 5.0 Watt E14 RGBWW & RGBWW Bulbs (Cool White/Warm White)
  • 4.0 Watt GU10 RGBCW & RGBWW Bulbs (Cool White/Warm White)
  • 4.0 Watt MR16 RGBWW Bulbs (Warm White)
  • Not Fully Compatible With V6 WiFi Bridge Bulbs (Only Tested with 9 W Beam Bulbs)
  • Compatible With All Mi-Light RGBWW & RGBCW Remotes
  • Compatible With All IOS/Android Mi-Light SmartPhone Applications (Anything that communicates with the WiFi Bridge)

Atomik Controller Technical Details

Operating System:

  • Raspbian (jessie)

Software Dependencies:

Hardware Setup:

raspberry_pi_nrf24l01_small.jpg

Atomik API Details

The Atomik API accepts JSON Commands on Port 4200 of the Atomik Controller to control the Atomik lighting Zones. Atomik API Remotes are setup, and applied to Zones from within the Atomik Controller web administration GUI. Atomik Api Remotes only have two types of commands, List and Issue. List will accept JSON that contains a valid username and password and return a JSON list of all the available zones and their current settings to the user. Issue will accept JSON that contains a valid username and password along with zone light settings, then it will update the light settings and return a JSON list of all the available zones along with the updates zone information from the Issued command. If command is not accepted or invalid credentials are passed to the Atomik API, an error JSON is returned.

All Commands are posted to 'http://192.168.1.100:4200/atomik' ( or the IP Address of the controller )

Here are some example commands:

List Command - JSON Request Example:

{"Command":"List","User":"rahimk","Password":"password"}

List Command - JSON Response:

{
 { "ZoneName":"Bedroom", "Configuration":{ "Channel":"0", "Status":"1", "ColorMode":"0", "Brightness":"100", "Color":"198", "WhiteTemp":"2700" }}
 { "ZoneName":"Living Room", "Configuration":{ "Channel":"1", "Status":"1", "ColorMode":"1", "Brightness":"100", "Color":"0", "WhiteTemp":"2700" }}
 { "ZoneName":"Hallway", "Configuration":{ "Channel":"2", "Status":"0", "ColorMode":"1", "Brightness":"100", "Color":"0", "WhiteTemp":"6500" }}
}

Issue Command - JSON Request Example:

{"Command":"Issue","User":"rahimk","Password":"password","Configuration":{"Channel":"1","Status":"1","Brightness":"65","ColorMode":"1","Color":"215","WhiteTemp":"6500"}}

Issue Command - JSON Response:

{
 {"ZoneName":"Bedroom", "Configuration":{"Channel":"0", "Status":"1", "ColorMode":"0", "Brightness":"96", "Color":"221", "WhiteTemp":"6500"}}
 {"ZoneName":"Living Room", "Configuration":{"Channel":"1", "Status":"1", "ColorMode":"1", "Brightness":"68", "Color":"215", "WhiteTemp":"6500"}}
 {"ZoneName":"Hallway", "Configuration":{"Channel":"2", "Status":"1", "ColorMode":"1", "Brightness":"18", "Color":"215", "WhiteTemp":"6500"}}
}

Invalid Request - JSON Error Response Example:

{"Error": "Invalid Username or Password"}


Notes on Atomik JSON Requests and Response:

  • Channel can be any integer, but it is assigned by the controller....
Read more »

04.jpg

JPEG Image - 56.53 kB - 09/06/2016 at 20:31

Preview

9w 6W RGBW Schematics.pdf

Adobe Portable Document Format - 116.46 kB - 09/06/2016 at 20:29

Preview

9W 6W CCT Schematics .pdf

Adobe Portable Document Format - 108.73 kB - 09/06/2016 at 20:28

Preview

Closeup of Atomik Controller Pinout.JPG

Closeup of the USB Internal Female Header and Single Female Pins used to connect the Nrf24l01+ to the Pi.

JPEG Image - 1.36 MB - 08/19/2016 at 00:16

Preview

Atomik Controller Costs.txt

Total costs for the parts, bulbs, and remote needed to build an Atomik Controller.

plain - 1.91 kB - 08/18/2016 at 23:52

Download

View all 7 files

  • 1 × Raspberry Pi Model B+ Running Raspbian Jessie
  • 1 × A Nrf24l01+ Radio Module To talk with Mi-Light devices
  • 1 × USB Wireless Adapter For WiFi connectivity
  • 1 × Mi-Light RGBWW Bulb Color Bulbs
  • 1 × Mi-Light CCT Bulb Dual White Bulbs

View all 8 components

View all 8 project logs

  • 1
    Step 1

    I have made it simple to install and try the Atomik Controller.

    Quick Install Instructions:

    1. Download the IMG of the Atomik Controller 7z Direct Download
    2. Download an IMG burning tool such as win32diskimager
    3. Write the IMG to an SD Card (Must fit in your Raspberry Pi)
    4. Put the SD Card into the Raspberry Pi that has been modified
    5. Set your systems Ethernet adapter's IP to 192.168.1.1
    6. Plug the Atomik Controller into your lan and power it up
    7. After 2 Minutes go to http://192.168.1.100 in your web browser
    8. Login to the Atomik Controller with (Username: admin, Password: admin)
    9. Restart the Emulator, Transceiver, and API from the settings page after first boot

    SSH Credentials (pi/raspberry)

  • 2
    Step 2

    Syncing and De-Syncing bulbs

    More than one bulb can be synced to the same Device.

    1. Make sure power is turned off to the bulb(s) that you are going to Sync or De-Sync.

    2. On the Device page, after all the properties are filled in and saved, click the Sync / De-Sync button. (Save General Setting First)

    3. The Sync or De-Sync dialog box will appear.

    4. Turn on the bulb(s) but wait till you see the light turn on.

    5. Immediately when the light turns on, click the OK button on the Sync/De-Sync dialog box.

    6. If the Sync or De-Sync was successful the bulb(s) will blink a few times ( different for different types of bulbs )

    If you synced a bulb, you can test its connectivity by changing some device property settings and clicking the "Set Device Properties" Button. If everything is successful the bulb should change to the set properties. You can than create a zone and add the device to the Zone.

View all instructions

Enjoy this project?

Share

Discussions

Sascha Moo wrote 07/24/2017 at 21:11 point

Someone get this working together with the homebridge-milight plugin?

https://github.com/dotsam/homebridge-milight

  Are you sure? yes | no

MorrisB wrote 02/21/2017 at 18:12 point

Any change of this code will be available without re-imaging my PI (Github maybe)?

I have other stuff running on it too (433MHz control)... 

So i don't want to kill my other  radio controlled outlet capabilities ;-) ...

  Are you sure? yes | no

Rahim Khoja wrote 02/21/2017 at 18:14 point

Sure, use the bitbucket repository. Should be pretty easy to compile on your own.
In the repository there is a file with a list of installed packages. at the top of most cpp files i have left my compile command.  There is a backup sql file around there too . it may take some hacking but i'm sure any linux/pi dude can figure it :)

  Are you sure? yes | no

MorrisB wrote 02/21/2017 at 21:41 point

Just pulled the bitbucket repository ... I'm no C++ buff/programmer, but see the MySQL is hard-coded in the source... 

Any chance of that moving it to a .conf/ini ?

Would be great to make it compatible with Domoticz / OpenHAB ( or name any other HA program) through API calls :-)

(and have them running alongside Atomik)

btw.. Already have compiled 2 of the programs succesfully on the PI... but still have to get the rest running ;-)

  Are you sure? yes | no

Rahim Khoja wrote 02/21/2017 at 21:49 point

+MorrisB

I don't really have the time these days to modify this project, I have a list of additions I need to do already, and haven't gotten around to it. A conf would make sense, and I should of done that originally! However I would be happy to add you to this project and allow you to commit changes to the source. ( Bitbucket is the main repository )

Oh dont forget to setup the CRON jobs. 

PM me with questions and I will try and help as much as I can!

  Are you sure? yes | no

Cliff wrote 11/21/2016 at 13:47 point

I just tried atomik and I like it alot but I cant figure out the json usage. I have tried: 

"curl -H "Content-Type: application/json" -X POST -d '{"Command":"List","User":"rahimk","Password":"password"}' http://192.168.1.100:4200/atomik"

with my own ip and user/pass but I always get Invalid username/password after I send commands. I have tried setting up a api remote with user/pass admin/admin but nothing seams to work. I also tried the atomik login user/pass but I cant get it to work. 

  Are you sure? yes | no

Rahim Khoja wrote 11/21/2016 at 17:35 point

I am glad you have been enjoying the Atomik Controller.

You may of done most of these steps.

First via the web portal create a new Remote (Atomik API Remote). ( I created one with user name "rahimk", and password "password" )

Then add the remote that was just created ( and devices ) to a zone from the web portal. 

Test the zone, by changing the settings via the web portal and confirming they control the zone devices. (Optional)

Then the curl command modified to your specifications will work. Please note that the "Channel" is the "Atomik Remote Channel" listed in the remotes portion of the Zone page. In my case this was "1" .

You may also need to change "http://localhost:4200/atomik"; to "http://<Atomik Controller IP>:4200/atomik"

But I would test local to the controller first.

ssh to pi (user:pi/password:raspberry)

This is the command that works for me with Curl.  
I have tested remotely and locally, I also tested with Chromes Advanced Rest Client, all seem to work. I hope this helps.

To List

curl -H "Content-Type: application/json" -X POST -d '{"Command":"List","User":"rahimk","Password":"password"}' http://localhost:4200/atomik


To Change

curl -H "Content-Type: application/json" -X POST -d '{"Command":"Issue","User":"rahimk","Password":"password","Configuration":{"Channel":"1","Status":"1","Brightness":"100","ColorMode":"1","Color":"215","WhiteTemp":"2700"}}' http://localhost:4200/atomik

On my windows 10 box with curl installed I changed the command to:

curl http://172.16.254.99:4200/atomik -H "Content-Type: application/json" -X POST -d "{\"Command\":\"List\",\"User\":\"rahimk\",\"Password\":\"password\"}"


I hope this helps.

  Are you sure? yes | no

Cliff wrote 11/21/2016 at 18:45 point

Ah, thank you now I understand and it all works. Just one more question, if I want to turn off all lamps at the same time is it possible to combine the command in one json or do I alwasy have to send one json for each bulb-command? If possible could you give me an example? 

  Are you sure? yes | no

Rahim Khoja wrote 11/21/2016 at 19:05 point

"Ah, thank you now I understand and it all works. Just one more question, if I want to turn off all lamps at the same time is it possible to combine the command in one json or do I alwasy have to send one json for each bulb-command? If possible could you give me an example? "

Unfortunately only the bulbs in the zone will be controlled by one command. So if you had 10 bulbs connected to the zone it will turn all 10 of them off, however there can be a second delay between each device turning off. if setup as individual devices. You can also sync more than one bulb to a device with the zone, then they will turn off at the same time.  ( This is how I do my hallway lights )

But to turn off multiple zones, you will need to issue multiple JSON commands.

There is the Scheduled Tasks section of the web console, which you could set multiple zones up with the same turn off time, perhaps that will meet your requirements. 

I am working on an update, and I may add the functionality you require in to it, however it will be a while before it comes out.

  Are you sure? yes | no

jared wrote 10/06/2016 at 19:10 point

Will this work with the new RGB+CCT bulbs?

  Are you sure? yes | no

Rahim Khoja wrote 10/06/2016 at 19:26 point

do you have a model number for the RGB+CCT bulbs in question?

I have only tested with RGB and CCT type bulbs. Both work well, but some older RGB bulbs have some problems. I don't know if RGB+CCT is the same as a RGB WW and RGB CW bulbs, but if they are then they should work fine.

Most MiLight brand bulbs can be easily adapted to work with this system. As with their remotes.

Right now there is a problem with the Mi-Light smart phone server emulator. It will be updated soon, i've just been a little busy. But everything else seems to be working well.

  Are you sure? yes | no

Rahim Khoja wrote 10/06/2016 at 19:38 point

The bulb you have provided the link for is the FUT015 bulb which is older and does not work with the Atomik Controller. ( Well it does for a while )

However there is a new MiLight bulb http://www.futlight.com/productdetails.aspx?id=213&typeid=147 ( FUTD03 ) that looks exactly the same but works on their new protocol.

I have done no testing with their new protocol. So this bulb will probably not work with the Atomik Controller. However, If I ever get time I will update the Atomik Controller to work with these bulbs.  

  Are you sure? yes | no

jared wrote 10/06/2016 at 19:41 point

Actually these are the newest. I bought them earlier last month. They are RGB and CW / WW (RGB+CCT). They do make DXM bulbs now, but that is a different protocol.

Look at the new controller in the pictures. FUT092 if you don't believe me.

  Are you sure? yes | no

Rahim Khoja wrote 10/06/2016 at 19:58 point

So I double checked the list of bulbs I tested and it was not tested. MiLight actually send me an email explaining the FUT015 will only work with one specific remote, they also suggested a different bulb for testing. I guess because of that I skipped it altogether. I doubt it would be too hard to reverse engineer the FUT015 protocol.

Sorry :(

I wish MiLight would spend some cash and get the FCC cert (& UL Cert) for the bulbs and wifi bridge so they can legally be sold in Canada and the USA, it would of been a better use of capital than designing their new protocol. IMO

  Are you sure? yes | no

Rahim Khoja wrote 08/04/2016 at 17:59 point

If anyone needs a php/javascript web GUI for their raspberry pi projects, the one I created for this project should work well. Feel free to use it! It requires Raspbian Jessie, PHP,  MySQL, and some bash scripting. It is pretty secure, offers a system config page ( network, time, system settings ) and there is an interface for scheduled tasks ( CRON - Timers and such) . I think it can be easily modified in to other projects.

  Are you sure? yes | no

Similar Projects

Does this project spark your interest?

Become a member to follow this project and never miss any updates