Close
0%
0%

The Hexachord

A six-chambered, motorized, mechanized, rotary musical string instrument.

Similar projects worth following
It's come to my attention that there are not nearly enough musical instruments that play themselves. During a stint as a maker-in-residence at the Intel Experience Store in Venice, I began to play with motorized noisemakers using e-waste for both the driving motor and the struck objects, and I began to ponder what would be the best design for an interactive rotary string instrument. The project turned into a crash course in detailed woodworking, musical instrument design, and mechanisms.

This project was conceived in early 2014 and built in April and May. Few similar instruments exist, but I was inspired a lot by the Rotoharp, Eric Rosenbaum's musical gears, the Hurdy-Gurdy, Wheelharp, and the Viola Organista.

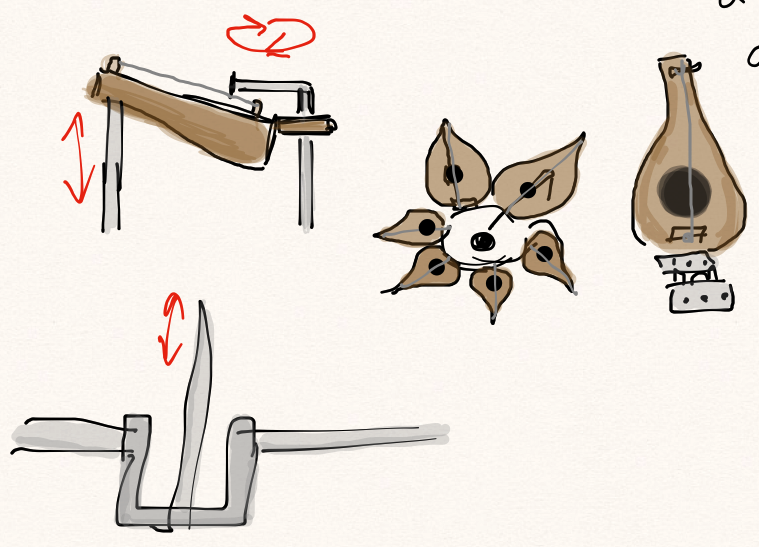
I wanted the instrument to have the effect of an ensemble, so I included multiple sound chambers. I also wanted it to play itself, but have an interactive component, giving the user the option to turn different strings on or off and adjust the chord playing, so I put each resonating chamber on a hinge and attached them to scotch yoke mechanisms.

Six chambers gave the option for time signatures in 2 or 3. Each chamber contains two strings, rather than three you'd need to play an independently defined chord. I considered giving each three strings, but ultimately preferred the flexibility of two. Each pluck of a chamber could give the impression of a different chord based on what other strings were playing immediately before and after. Considering that this instrument loops very quickly, it works better creating a minimalist texture than repeated chord progressions.

I teach and fully embrace tinkering, so simultaneously learning, building, and redesigning is second nature for me. I rarely wait to start a project until after I've surpassed beginner status, and it makes the process all the better.

  • 6 × Sound chambers with 2 strings each
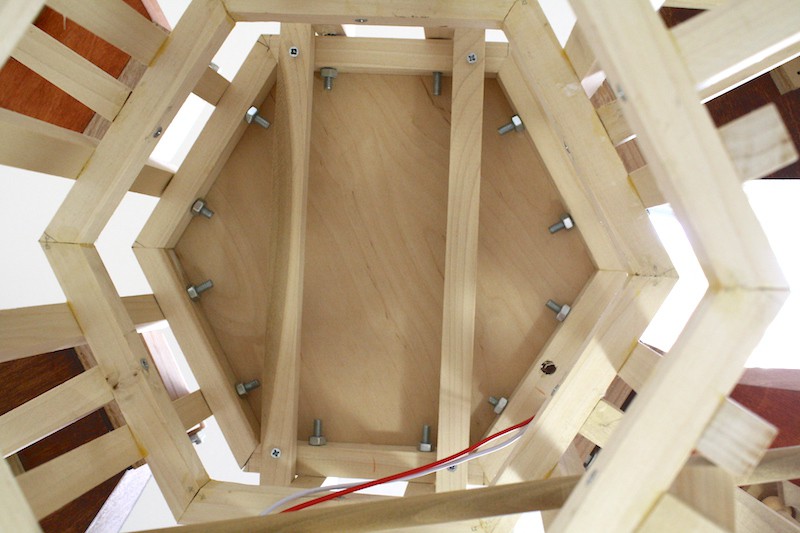
  • 1 × Hexagonal prism frame
  • 1 × Plectrum arm
  • 1 × DC motor
  • 1 × AC-DC power adapter

  • Hexachord Origin Story

    barb10/01/2018 at 21:03 0 comments

  • The Completed Hexachord (and Future Plans)

    barb08/22/2016 at 20:05 0 comments

    I first showed my Hexachord at the Bay Area Maker Faire in 2014, and again in 2015, and won editor's choice ribbons at both events. I was fortunate enough to give a couple talks about making the instrument at Two-Bit Circus' STEAM Carnival in the fall of 2014.

    I wrote an article for Make about the tinkering process for this instrument and how it relates to my work in maker education.

    A year after making this first Hexachord, I made a new version that was quite a bit smaller, and featured only a single chamber with the same number of strings. This second Hexachord was controlled by an Arduino Uno and six servos.

    Designing and building new musical instruments is very rewarding for me, and I hope to make a series of different instruments that are able to interact with each other and effect each others' performances. Stay tuned for more about that upcoming project.

  • Face and Plucking Arm

    barb08/22/2016 at 19:56 0 comments

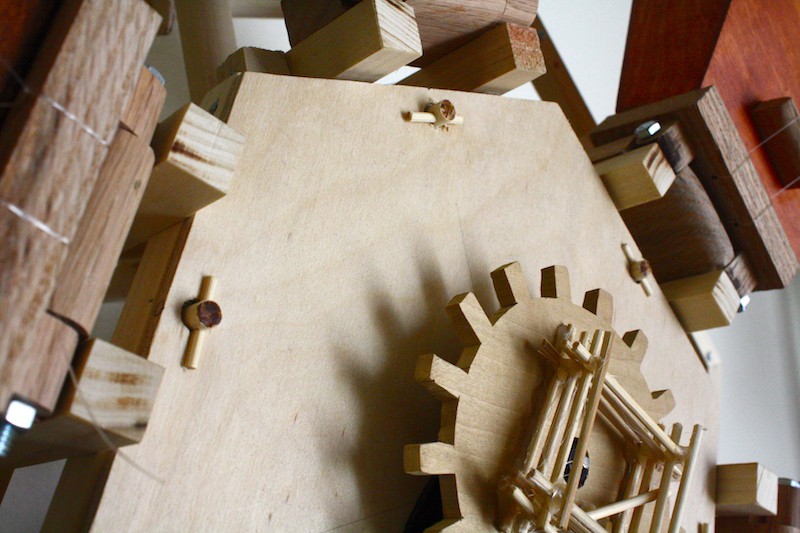
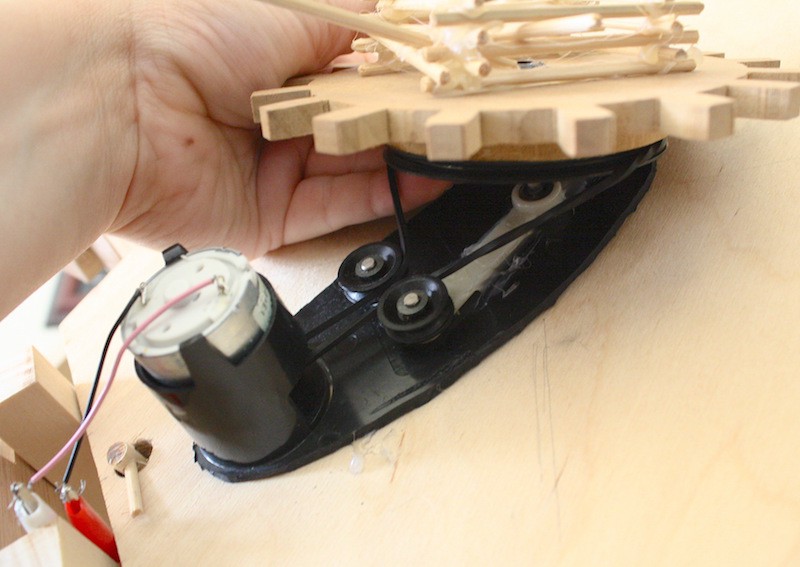
    To play the instrument, I pulled a DC motor, pulley, belt, and tension wheels from an old videocassette rewinder and mounted them to the face. The center wheel has a hand-cut wooden gear attached, which is a reference to an early design, which had the Hexachord powered by hand crank and a series of wooden gears. (I've done several geared projects since then, including a geared noisemaker, and a beveled gear fidget bracelet.) The gear is base for the plectrum arm, which has a guitar pick attached to a zip tie. I initially had the pick attached directly the wood, but the pick was too rigid without the flexibility of a musician's fingers, and the arm was frequently stopped by the tense strings.

    The motor is powered by a variable AC-DC converter, so the speed can be changed.

  • Mechanisms

    barb08/22/2016 at 19:33 0 comments

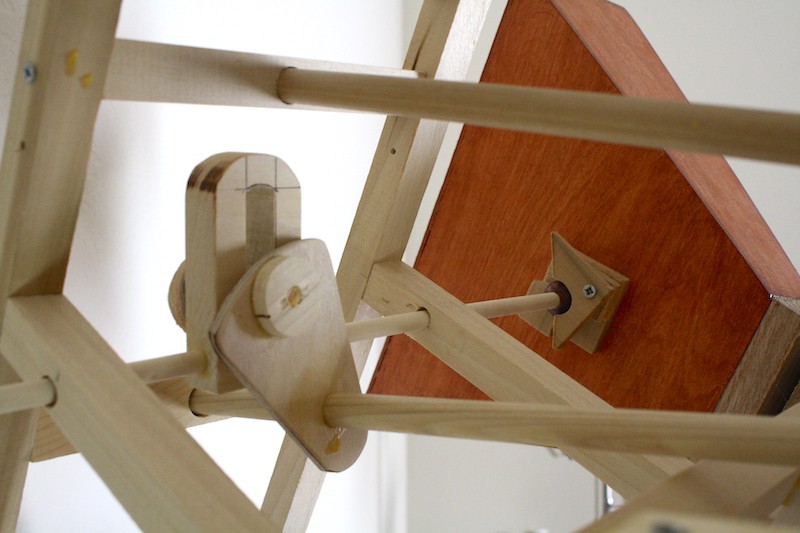
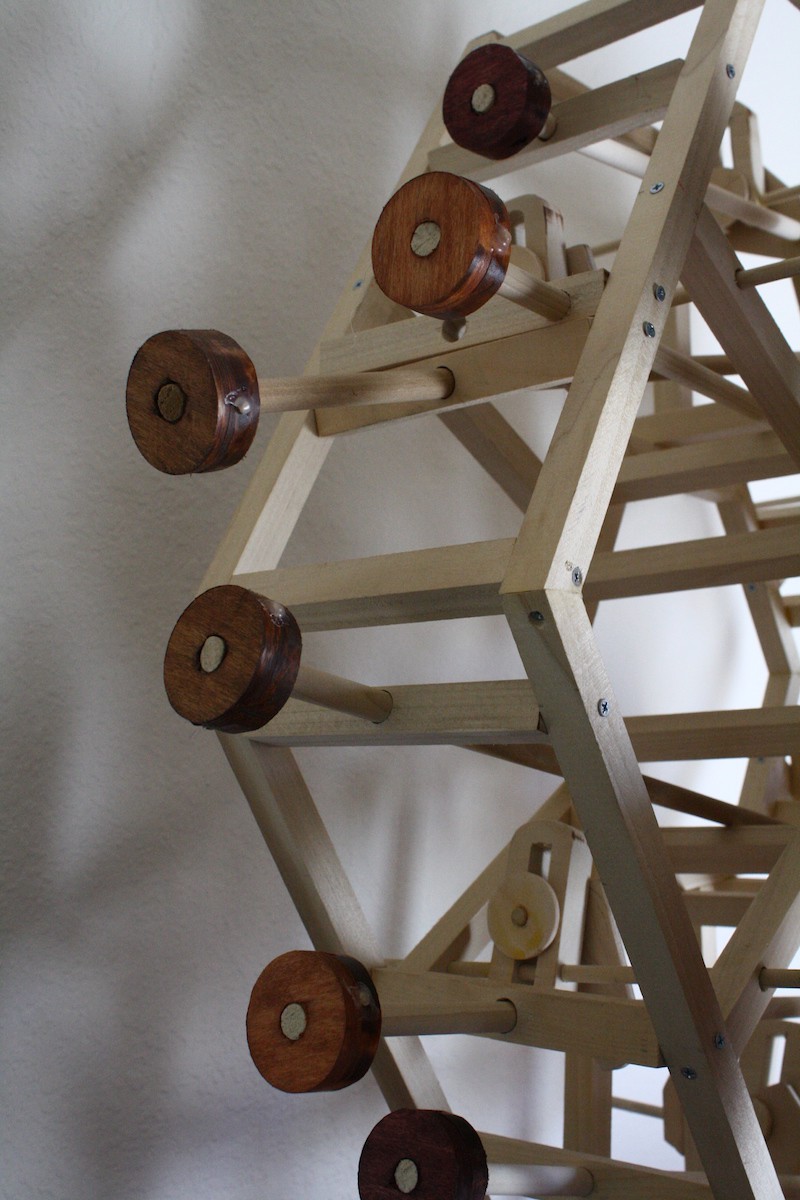
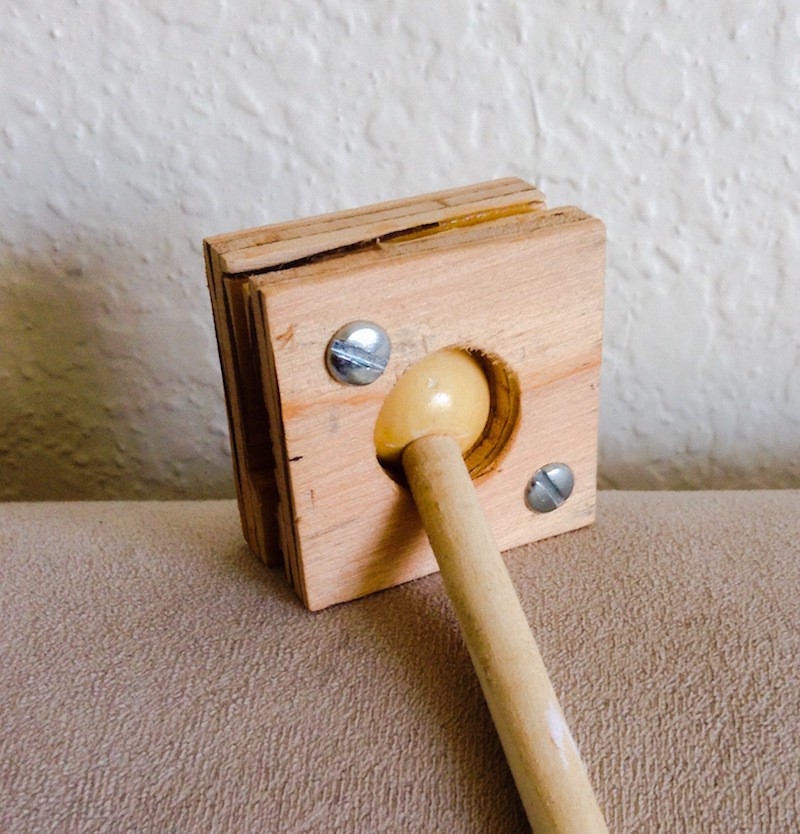
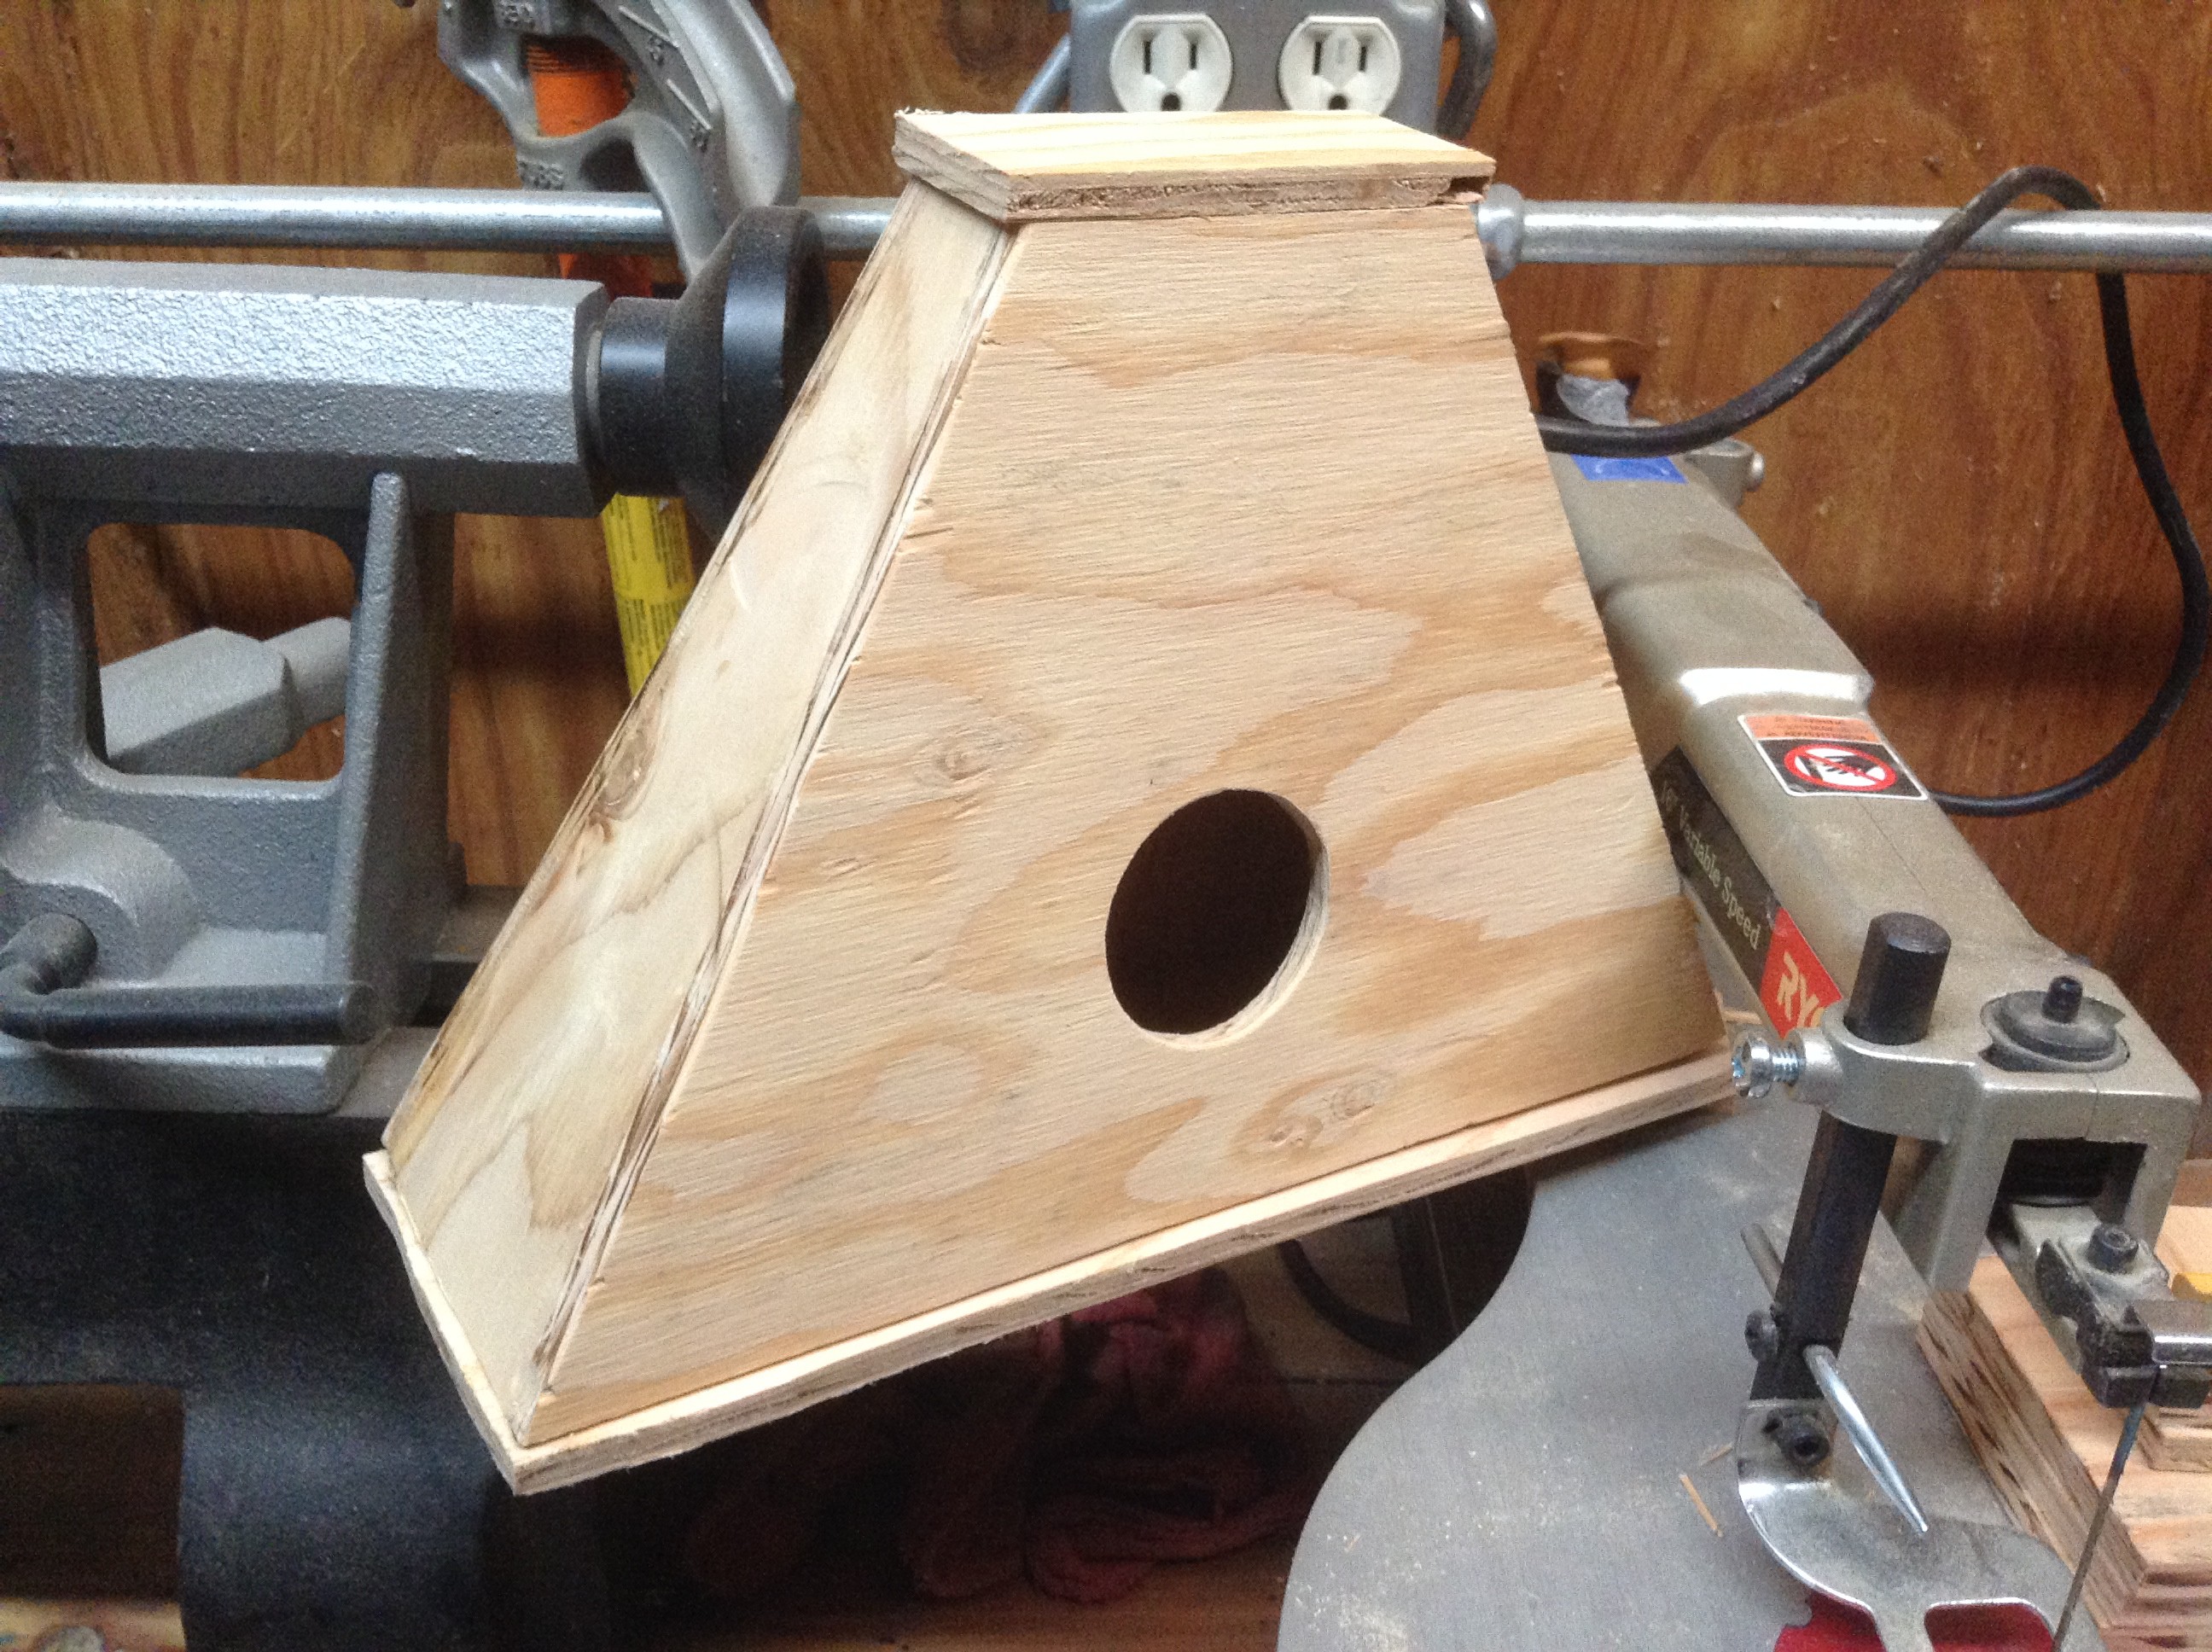
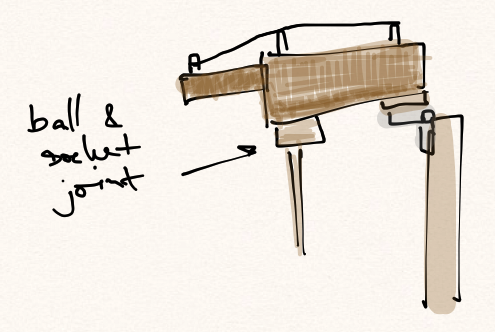
    To make the Hexachord playable by a single person, I put knobs all along one side to control the individual sound chambers. Each knob was attached to a dowel that ran through the frame of the instrument to a scotch yoke mechanism, converting rotary to reciprocating motion. The scotch yoke mechanisms attached to ball and socket joints on the back of each sound chamber, allowing them to pivot on their wooden hinges, and move the strings in or out of the way of the spinning plectrum arm.

  • Frame

    barb08/20/2016 at 23:55 0 comments

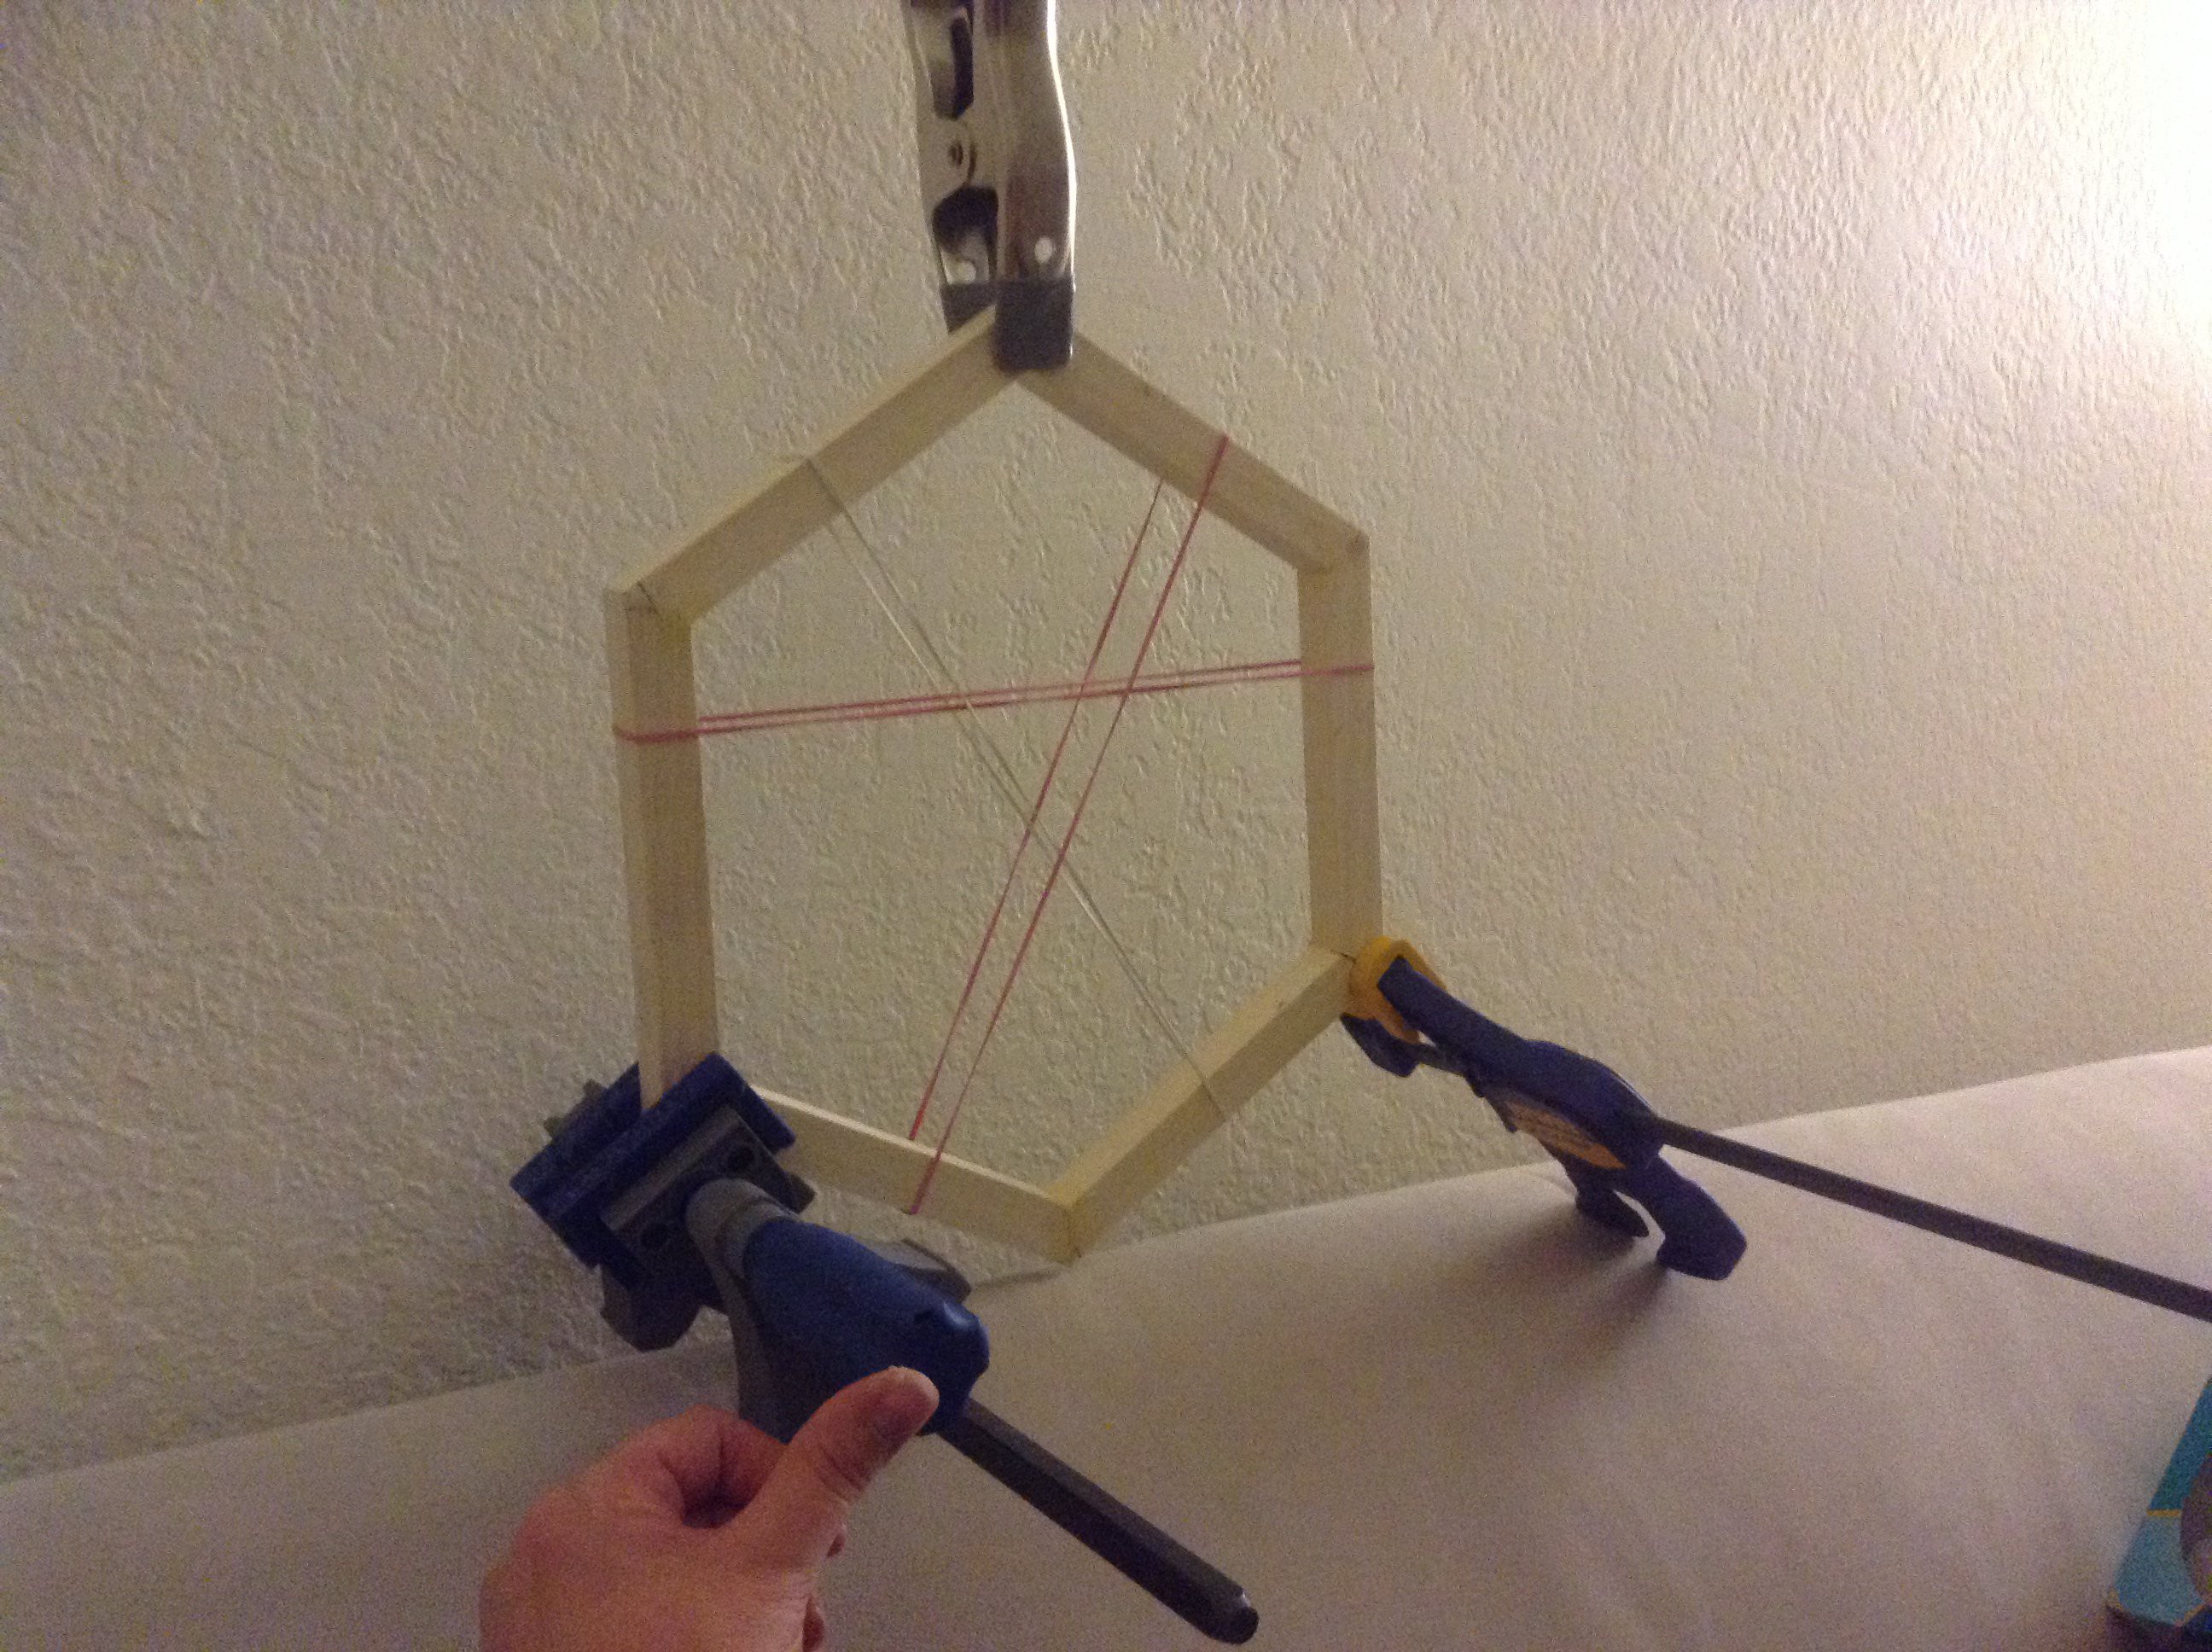
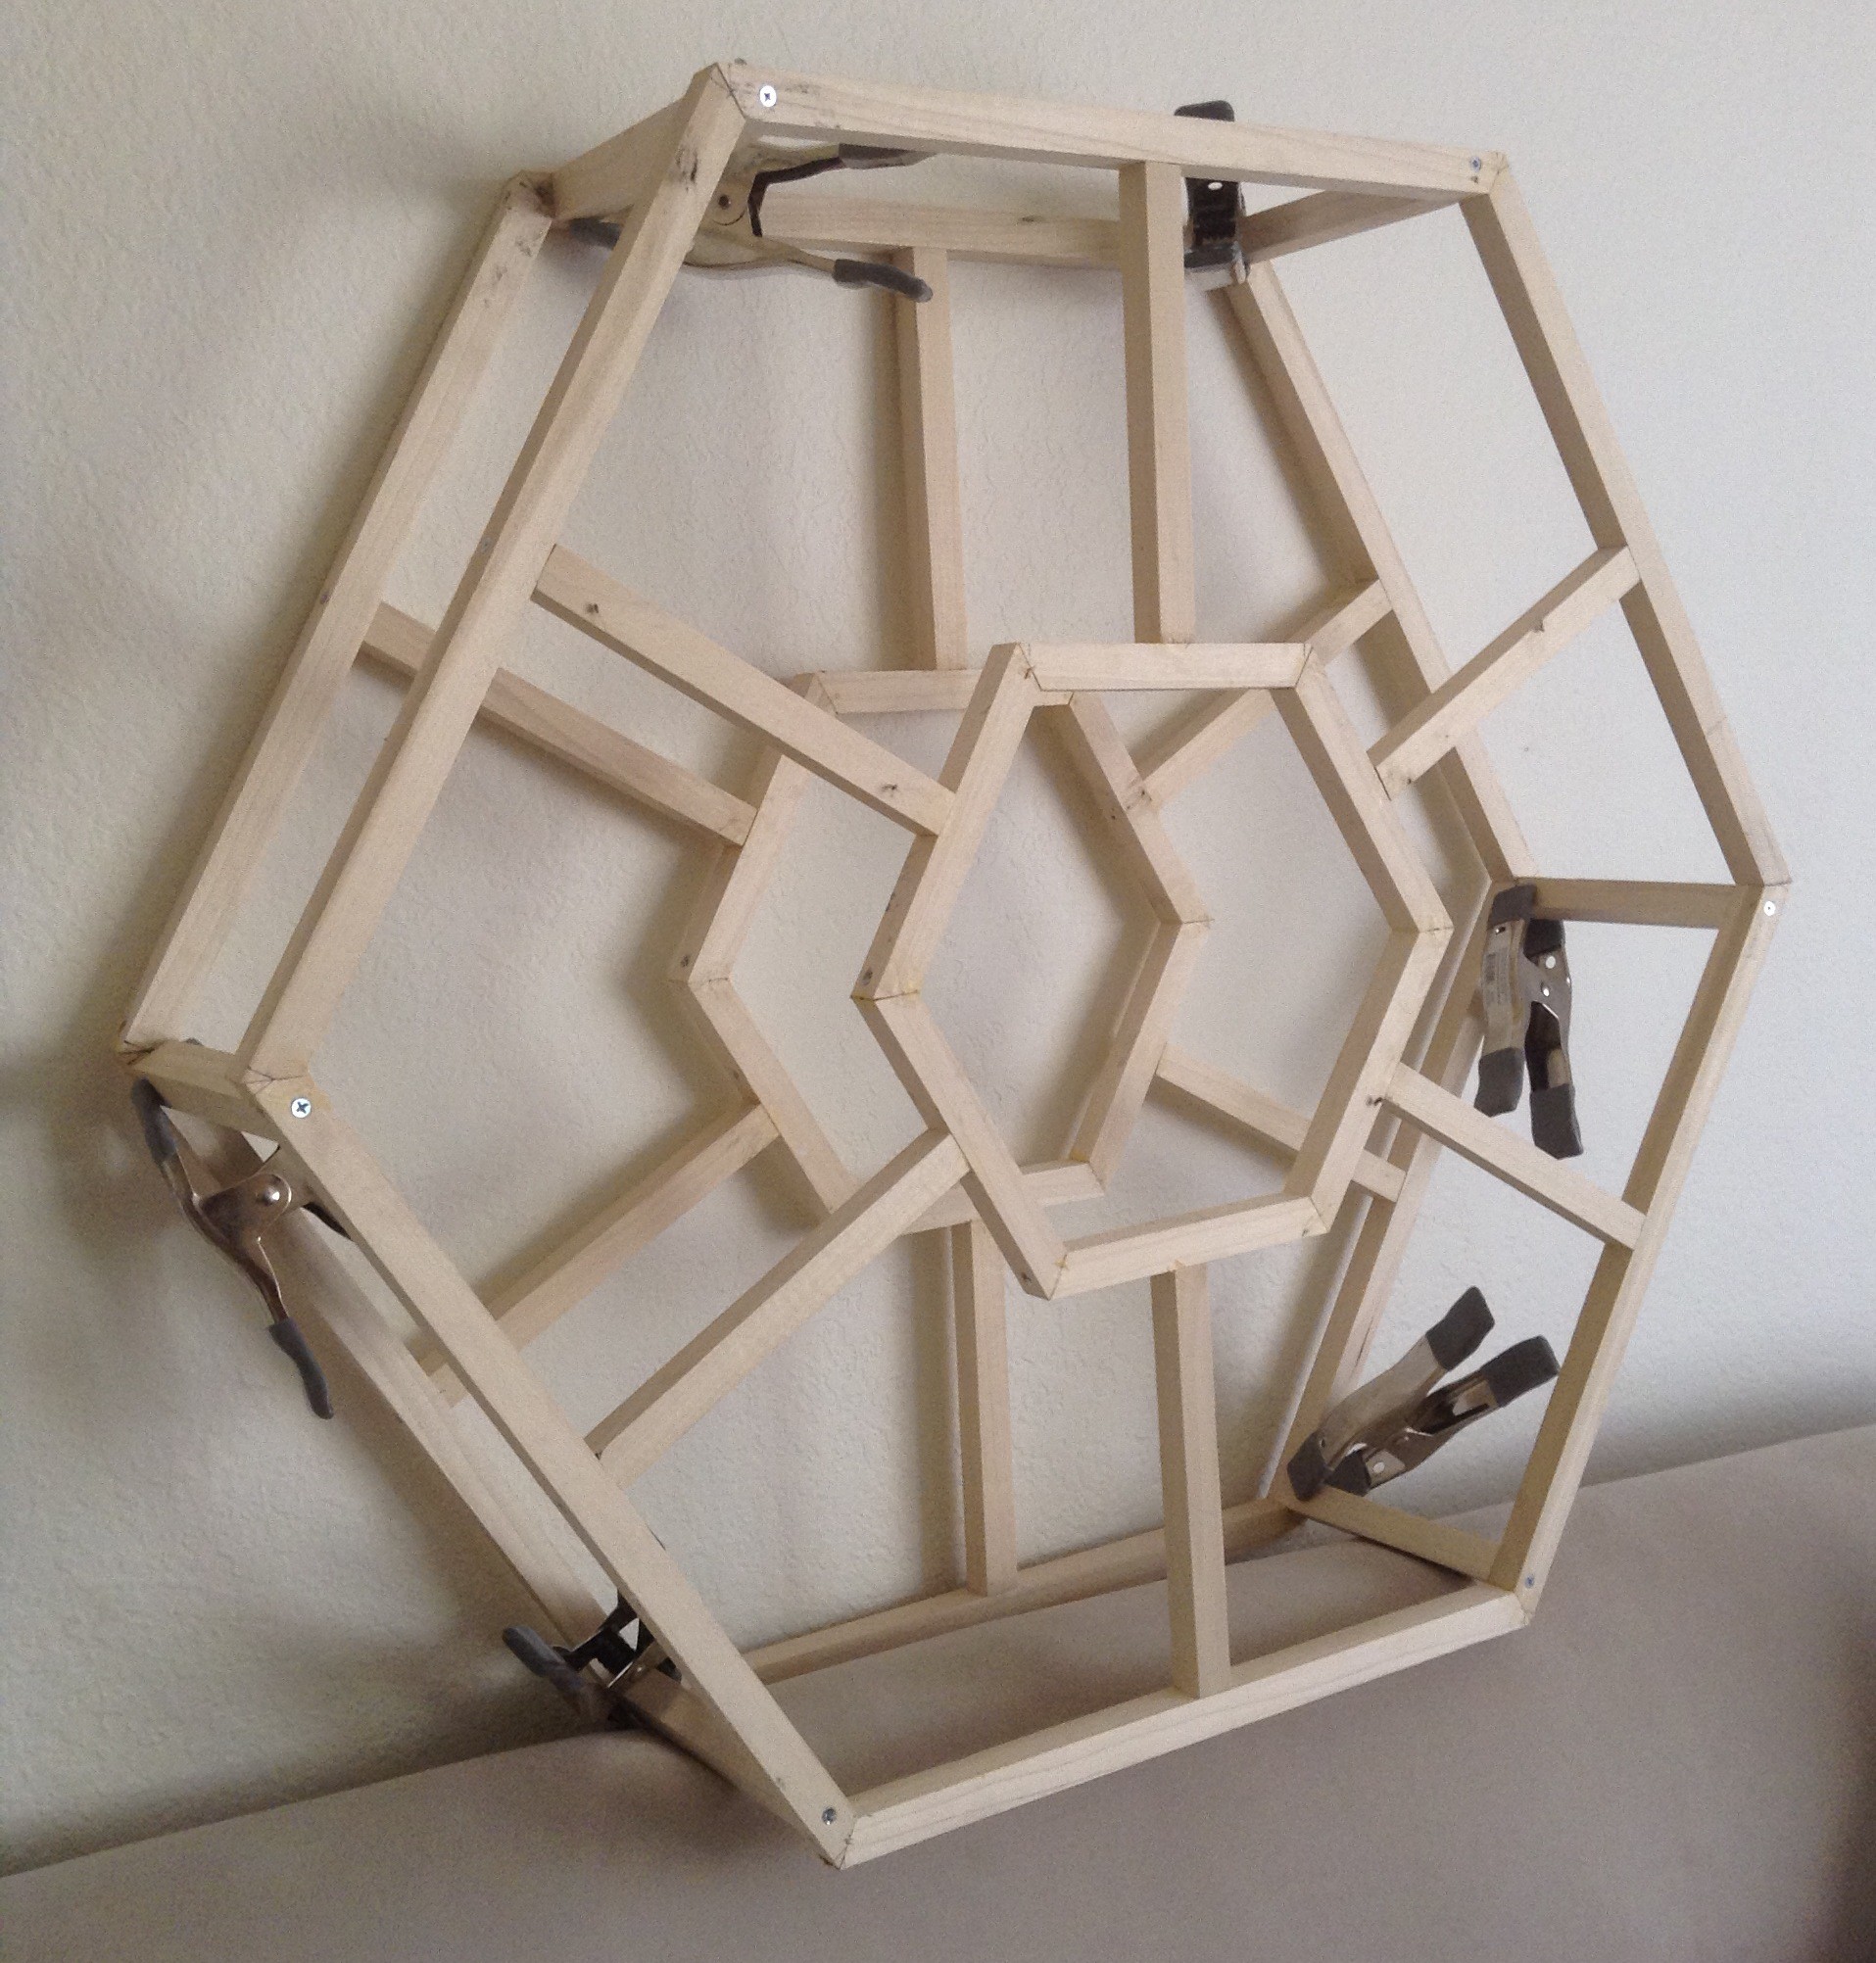
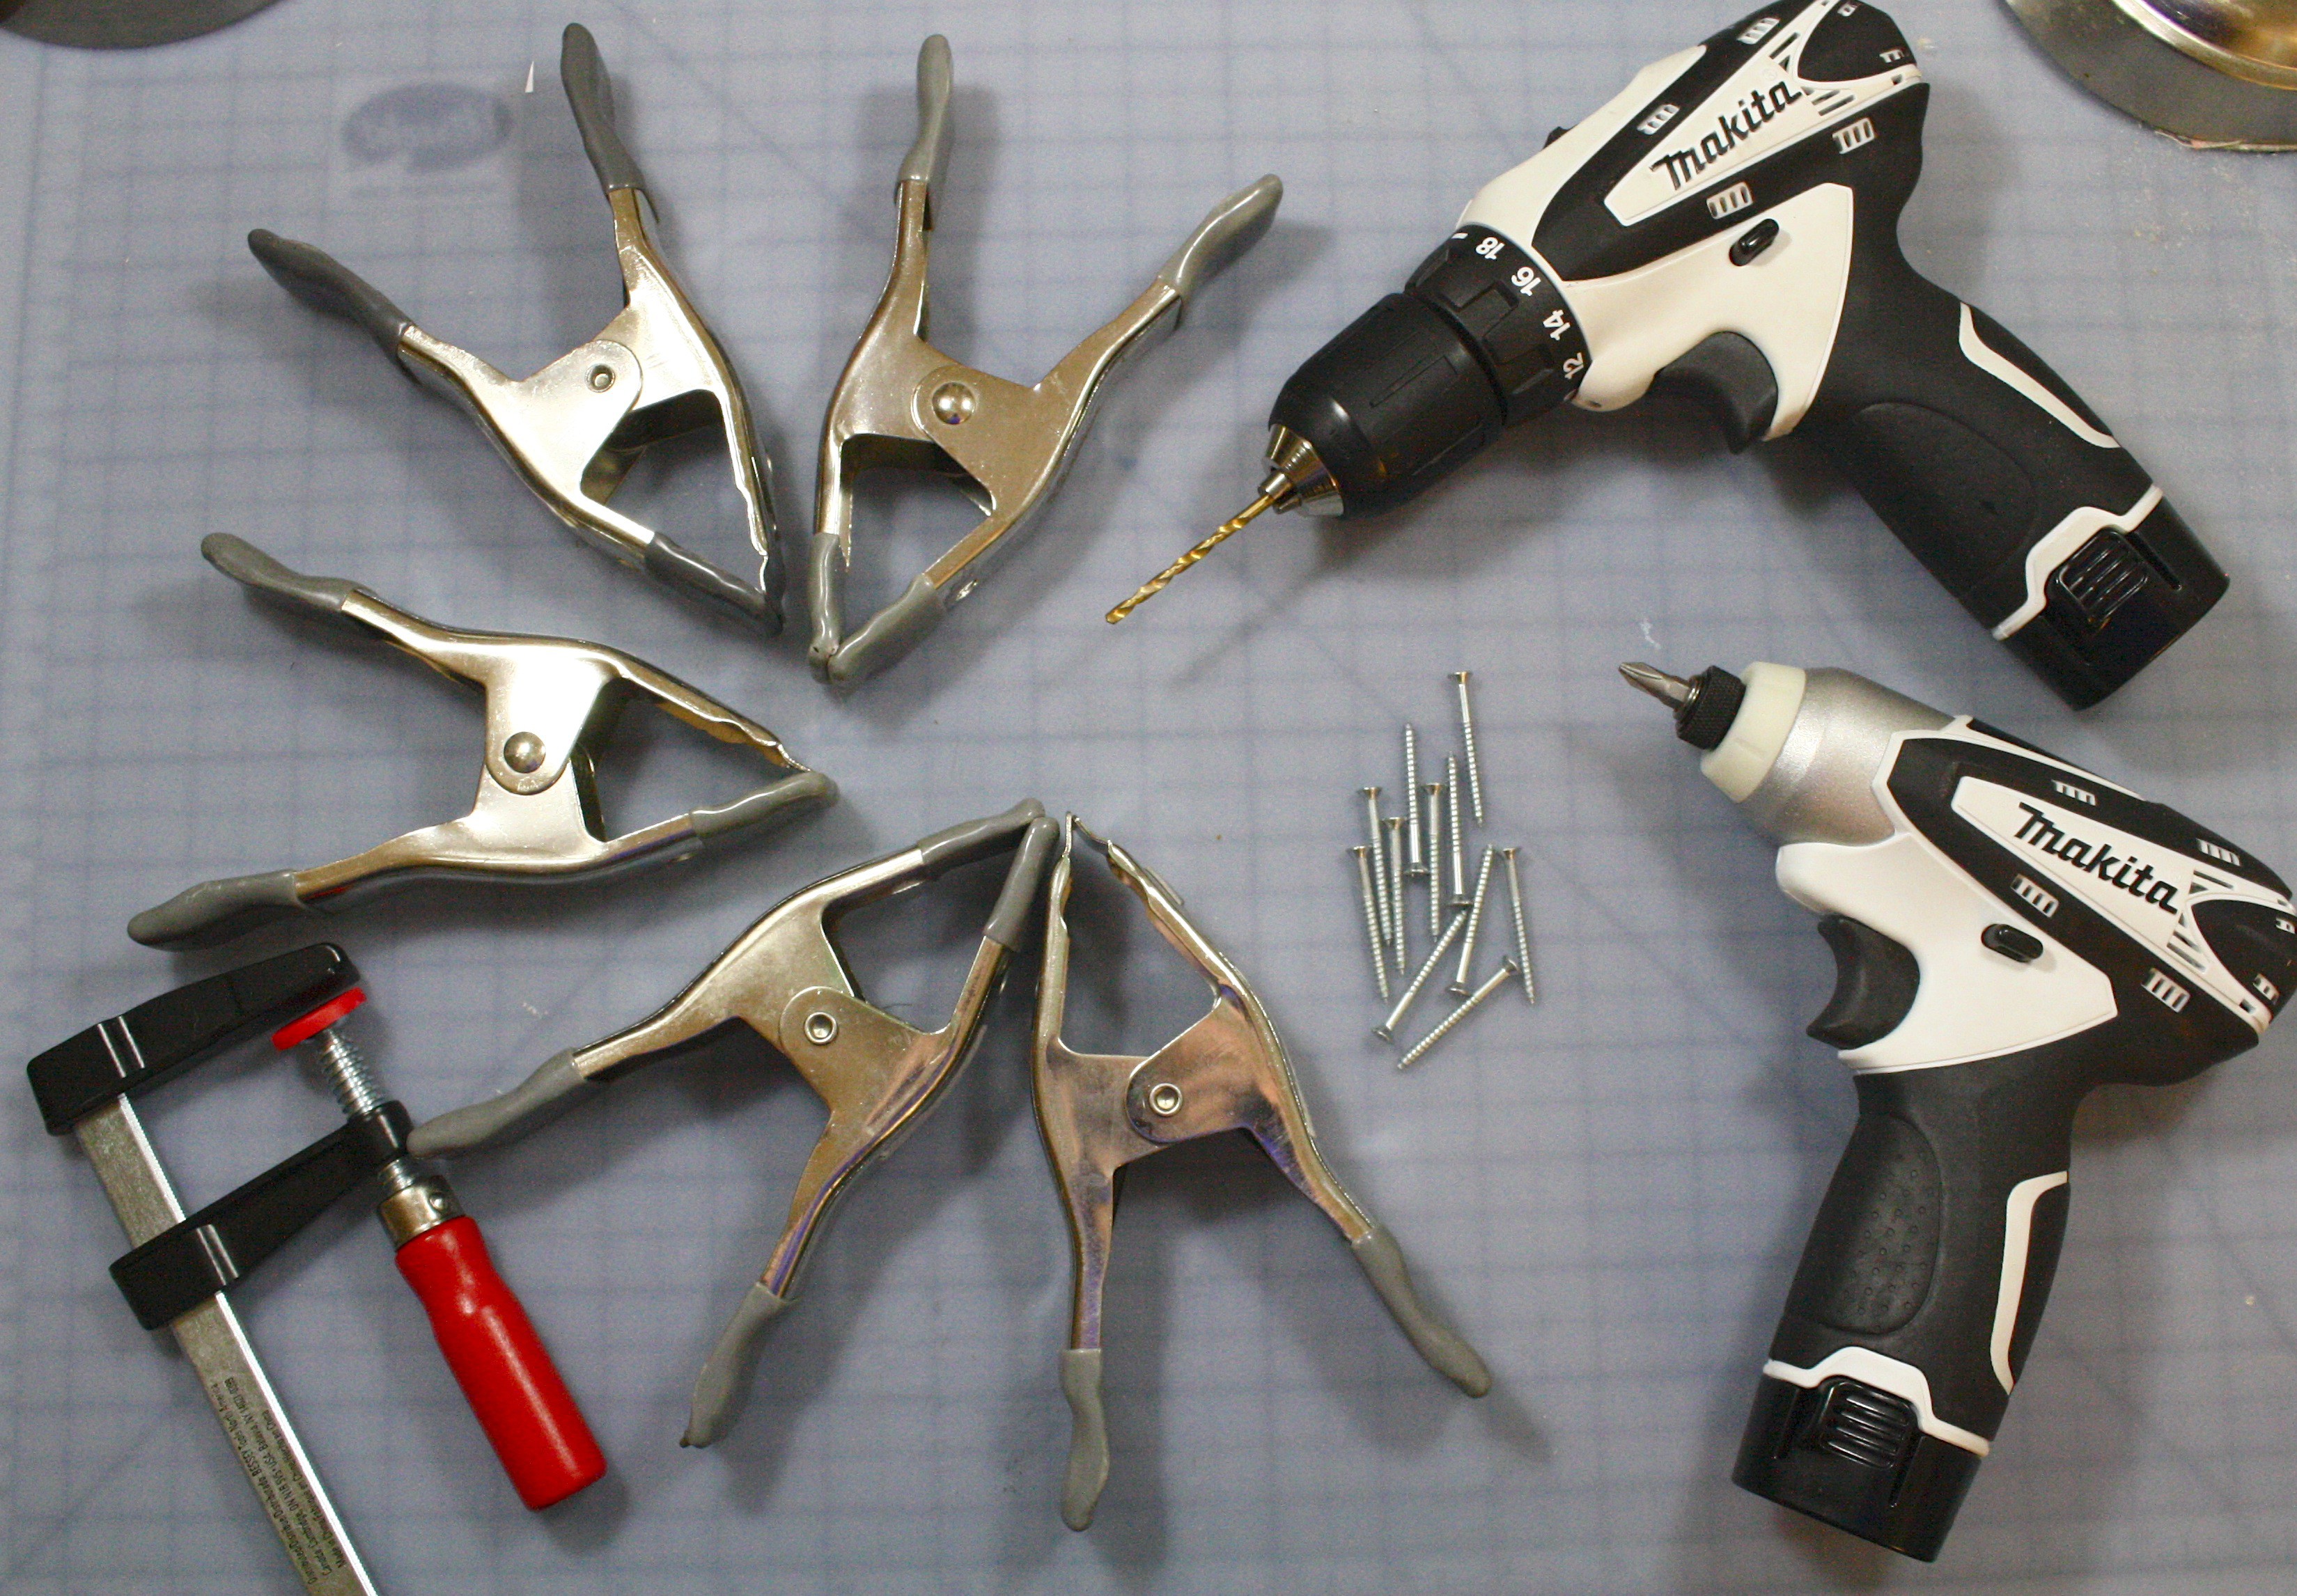
    This is where a large number of $1 hand clamps are most useful. To ensure this was strong enough (because obviously it needed to not only hold 6 sound chambers, but also house all of the mechanisms to move them), I first glued, then screwed. I had a drill already, but needed to get a new, smaller drill set to attach things from inside, as the old one wouldn't fit. The set I got are 12V Makitas (which is also what we use at Tinkering School LA), and I still love them.

  • Sound Chambers

    barb08/20/2016 at 23:47 0 comments

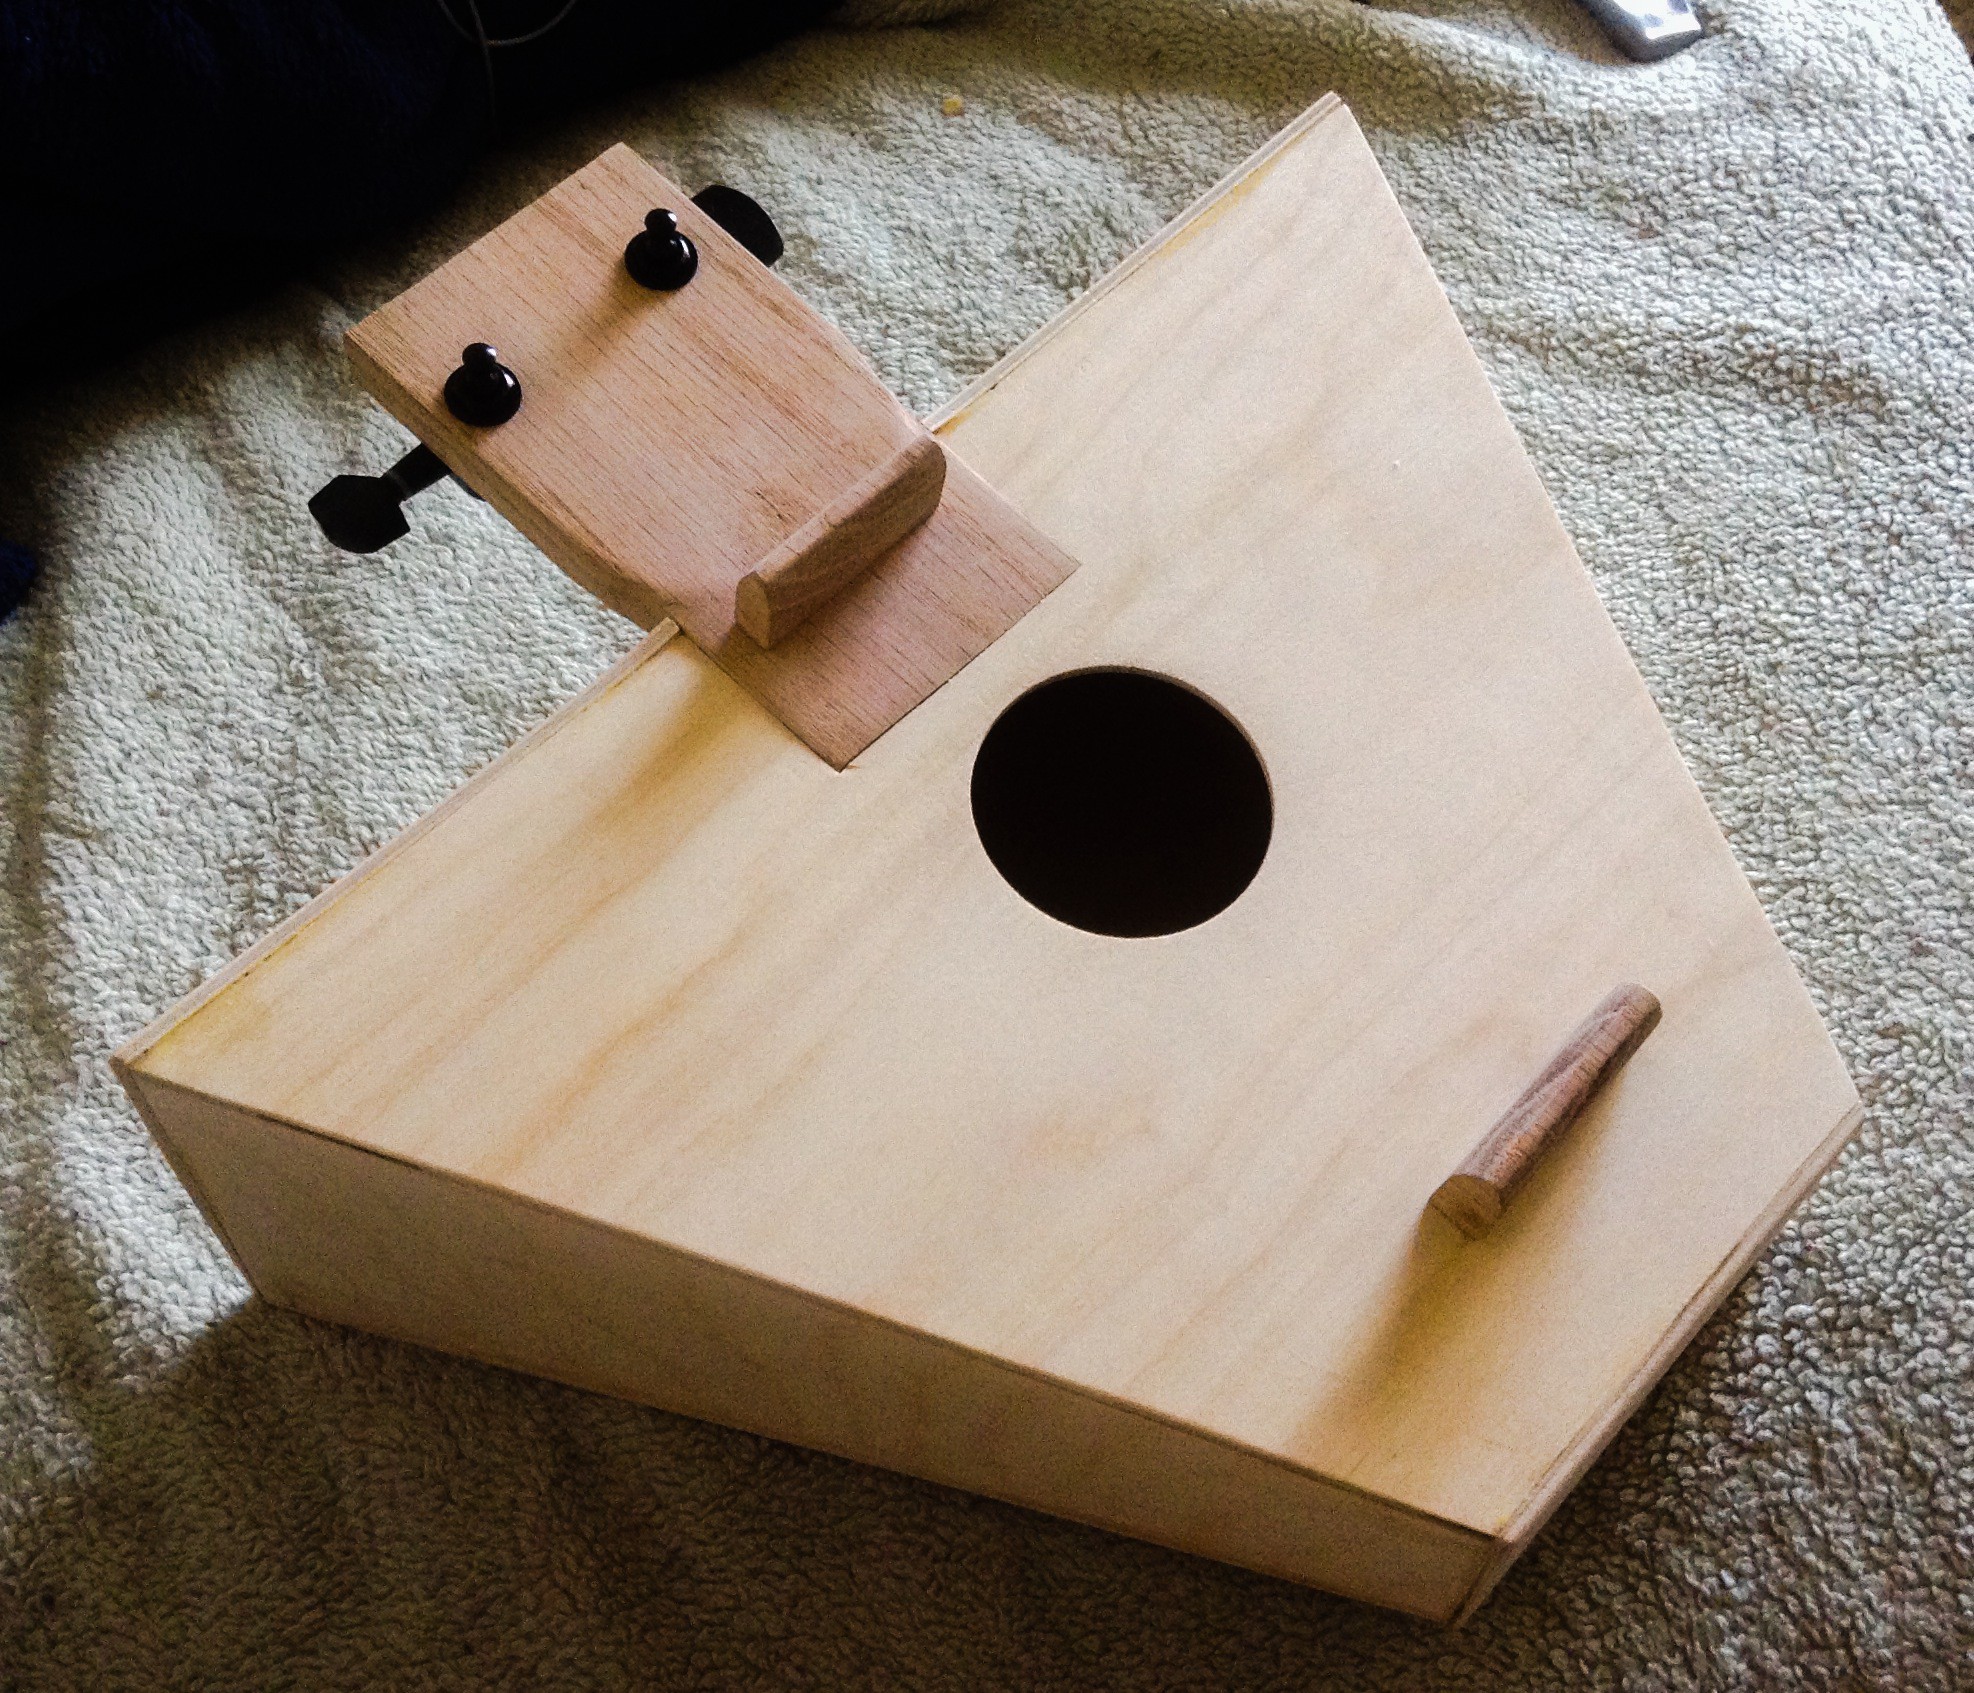
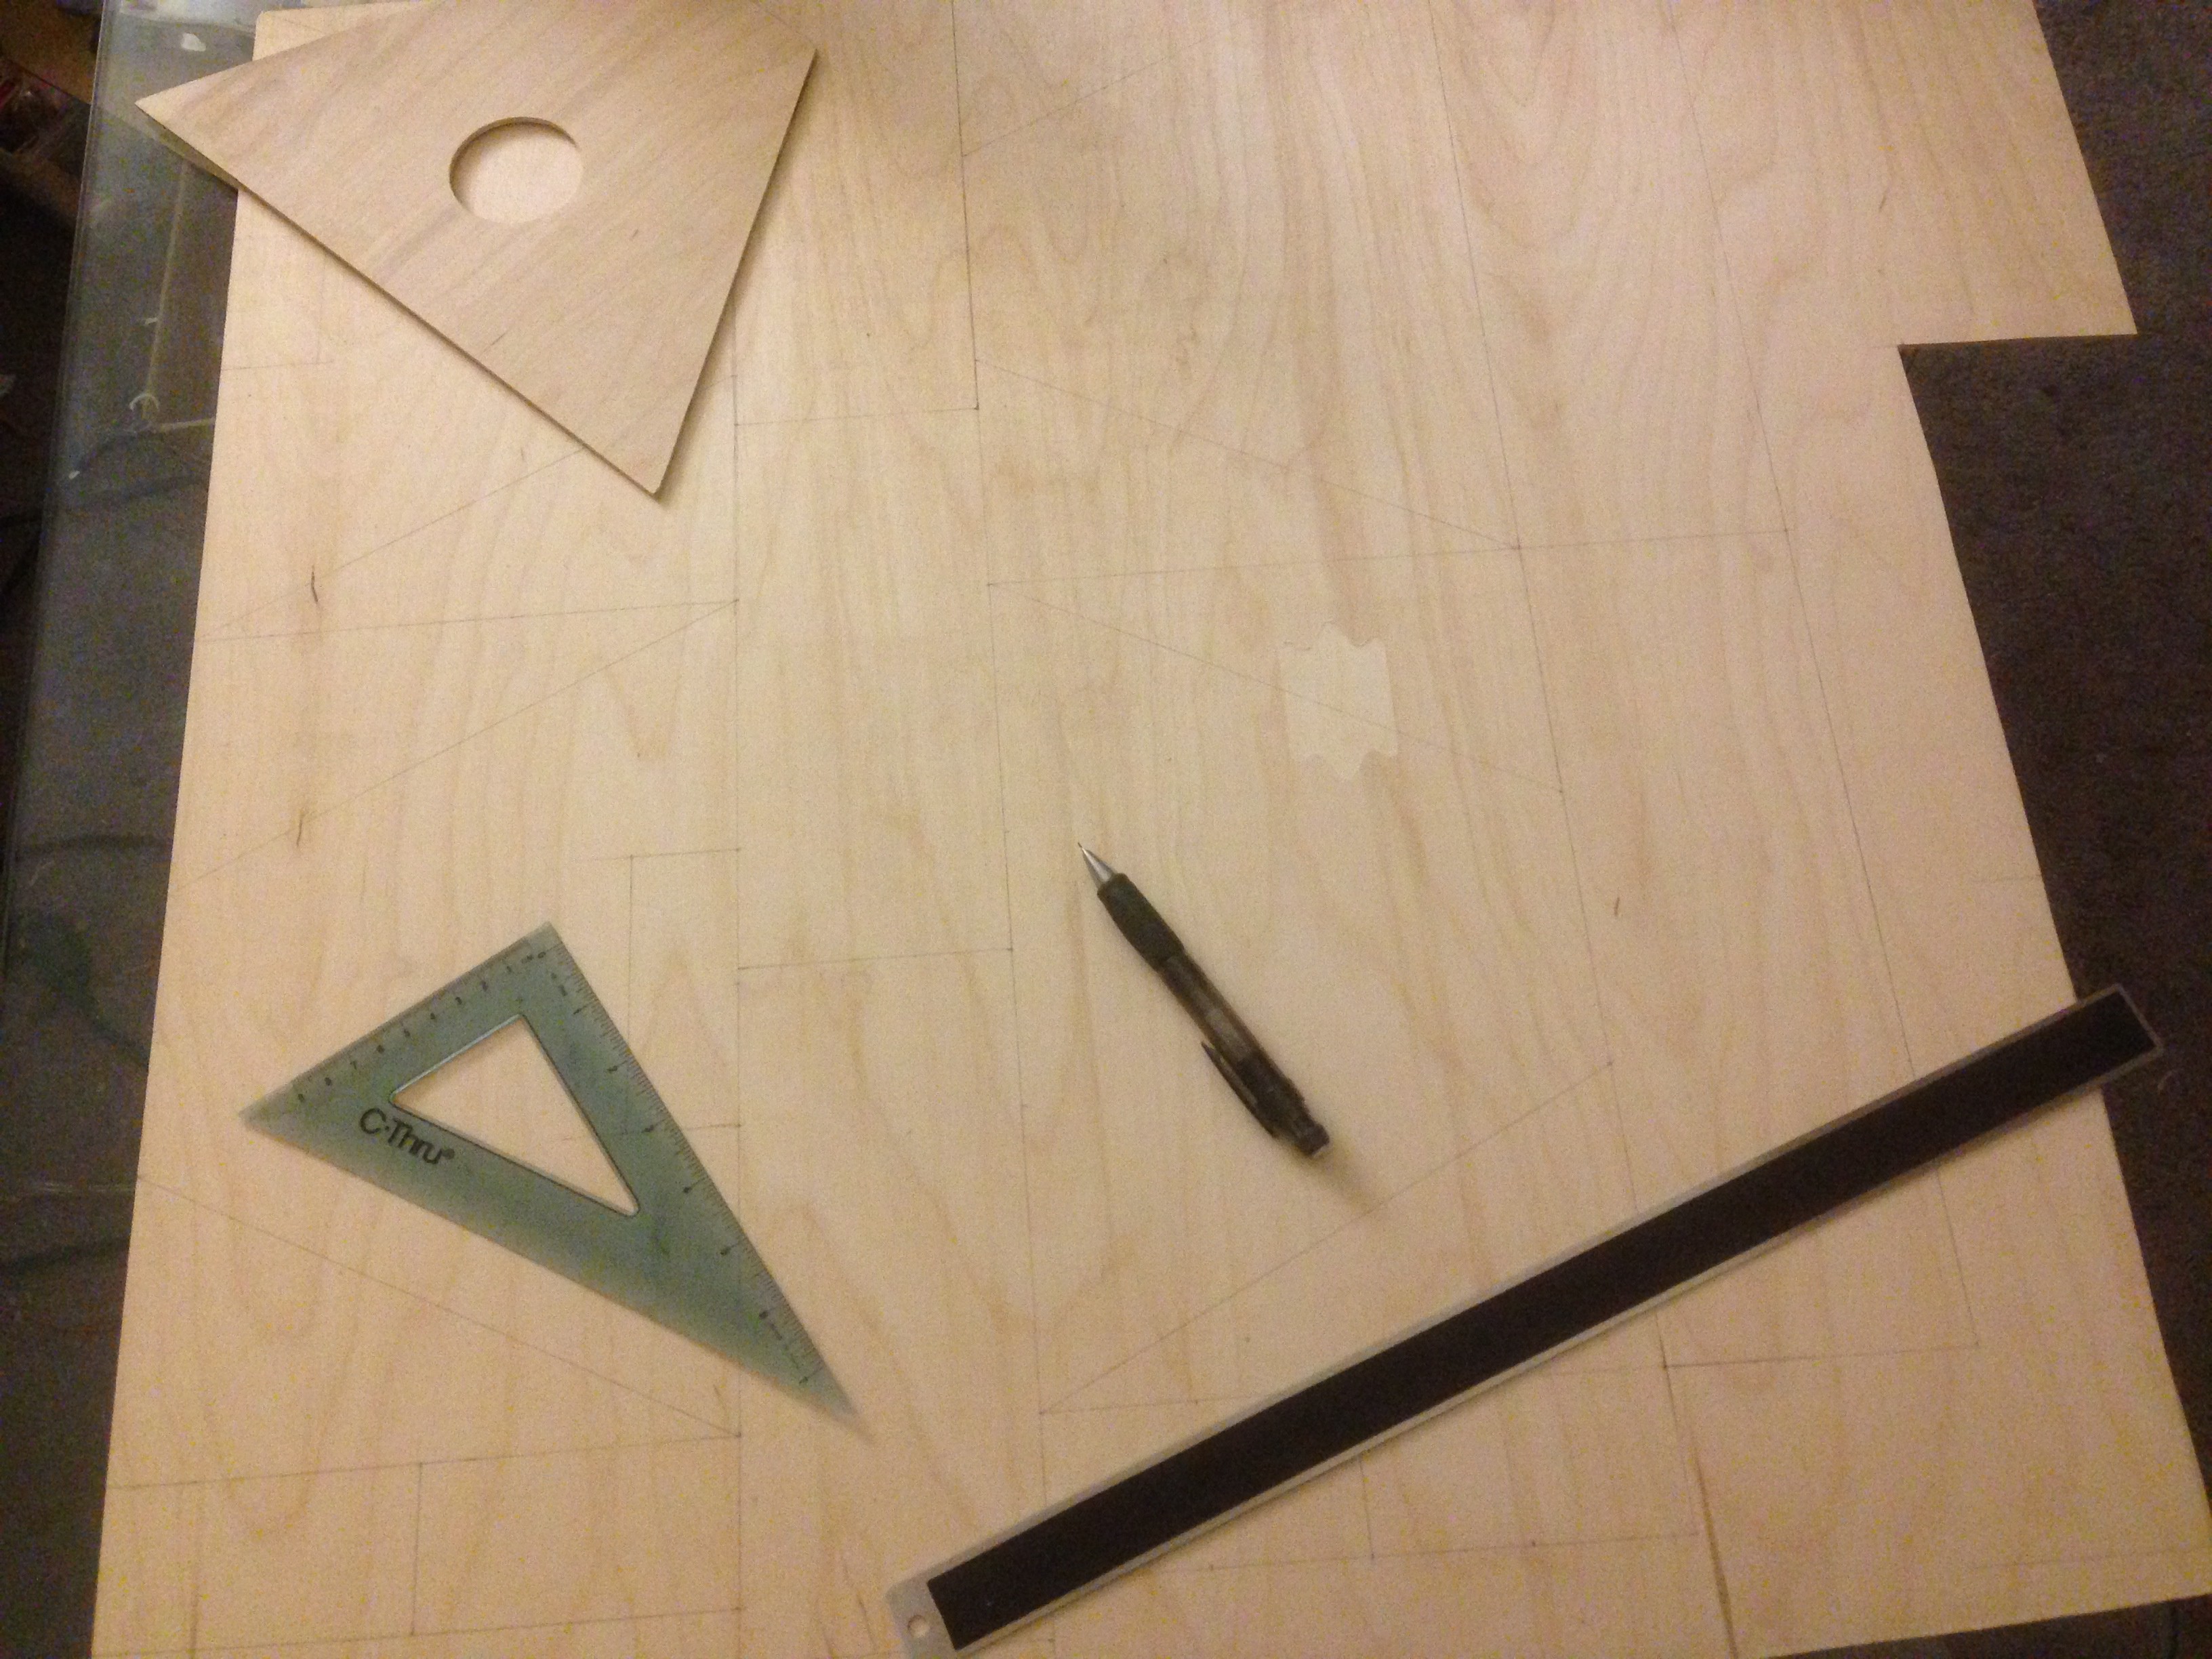
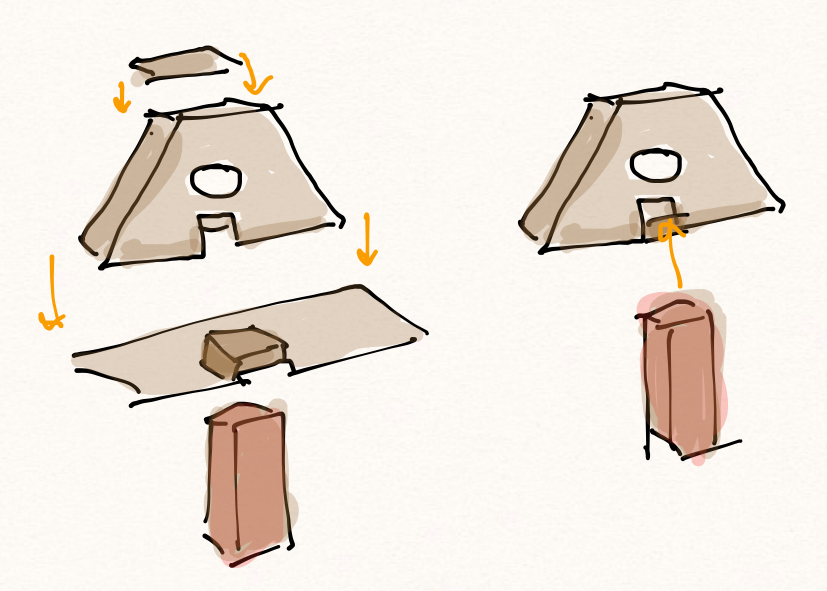
    I cut most of the pieces for this on a scroll saw (and got very good at being precise with it) due to the size of the material I was working with. The first version was inexpensive 3/4" plywood, and I went with progressively better material until I was happy with the design and construction.

    Each sound chamber was stained one of three colors to help associate them with the knobs that would control each.

  • Rapid Prototyping

    barb08/20/2016 at 23:36 0 comments

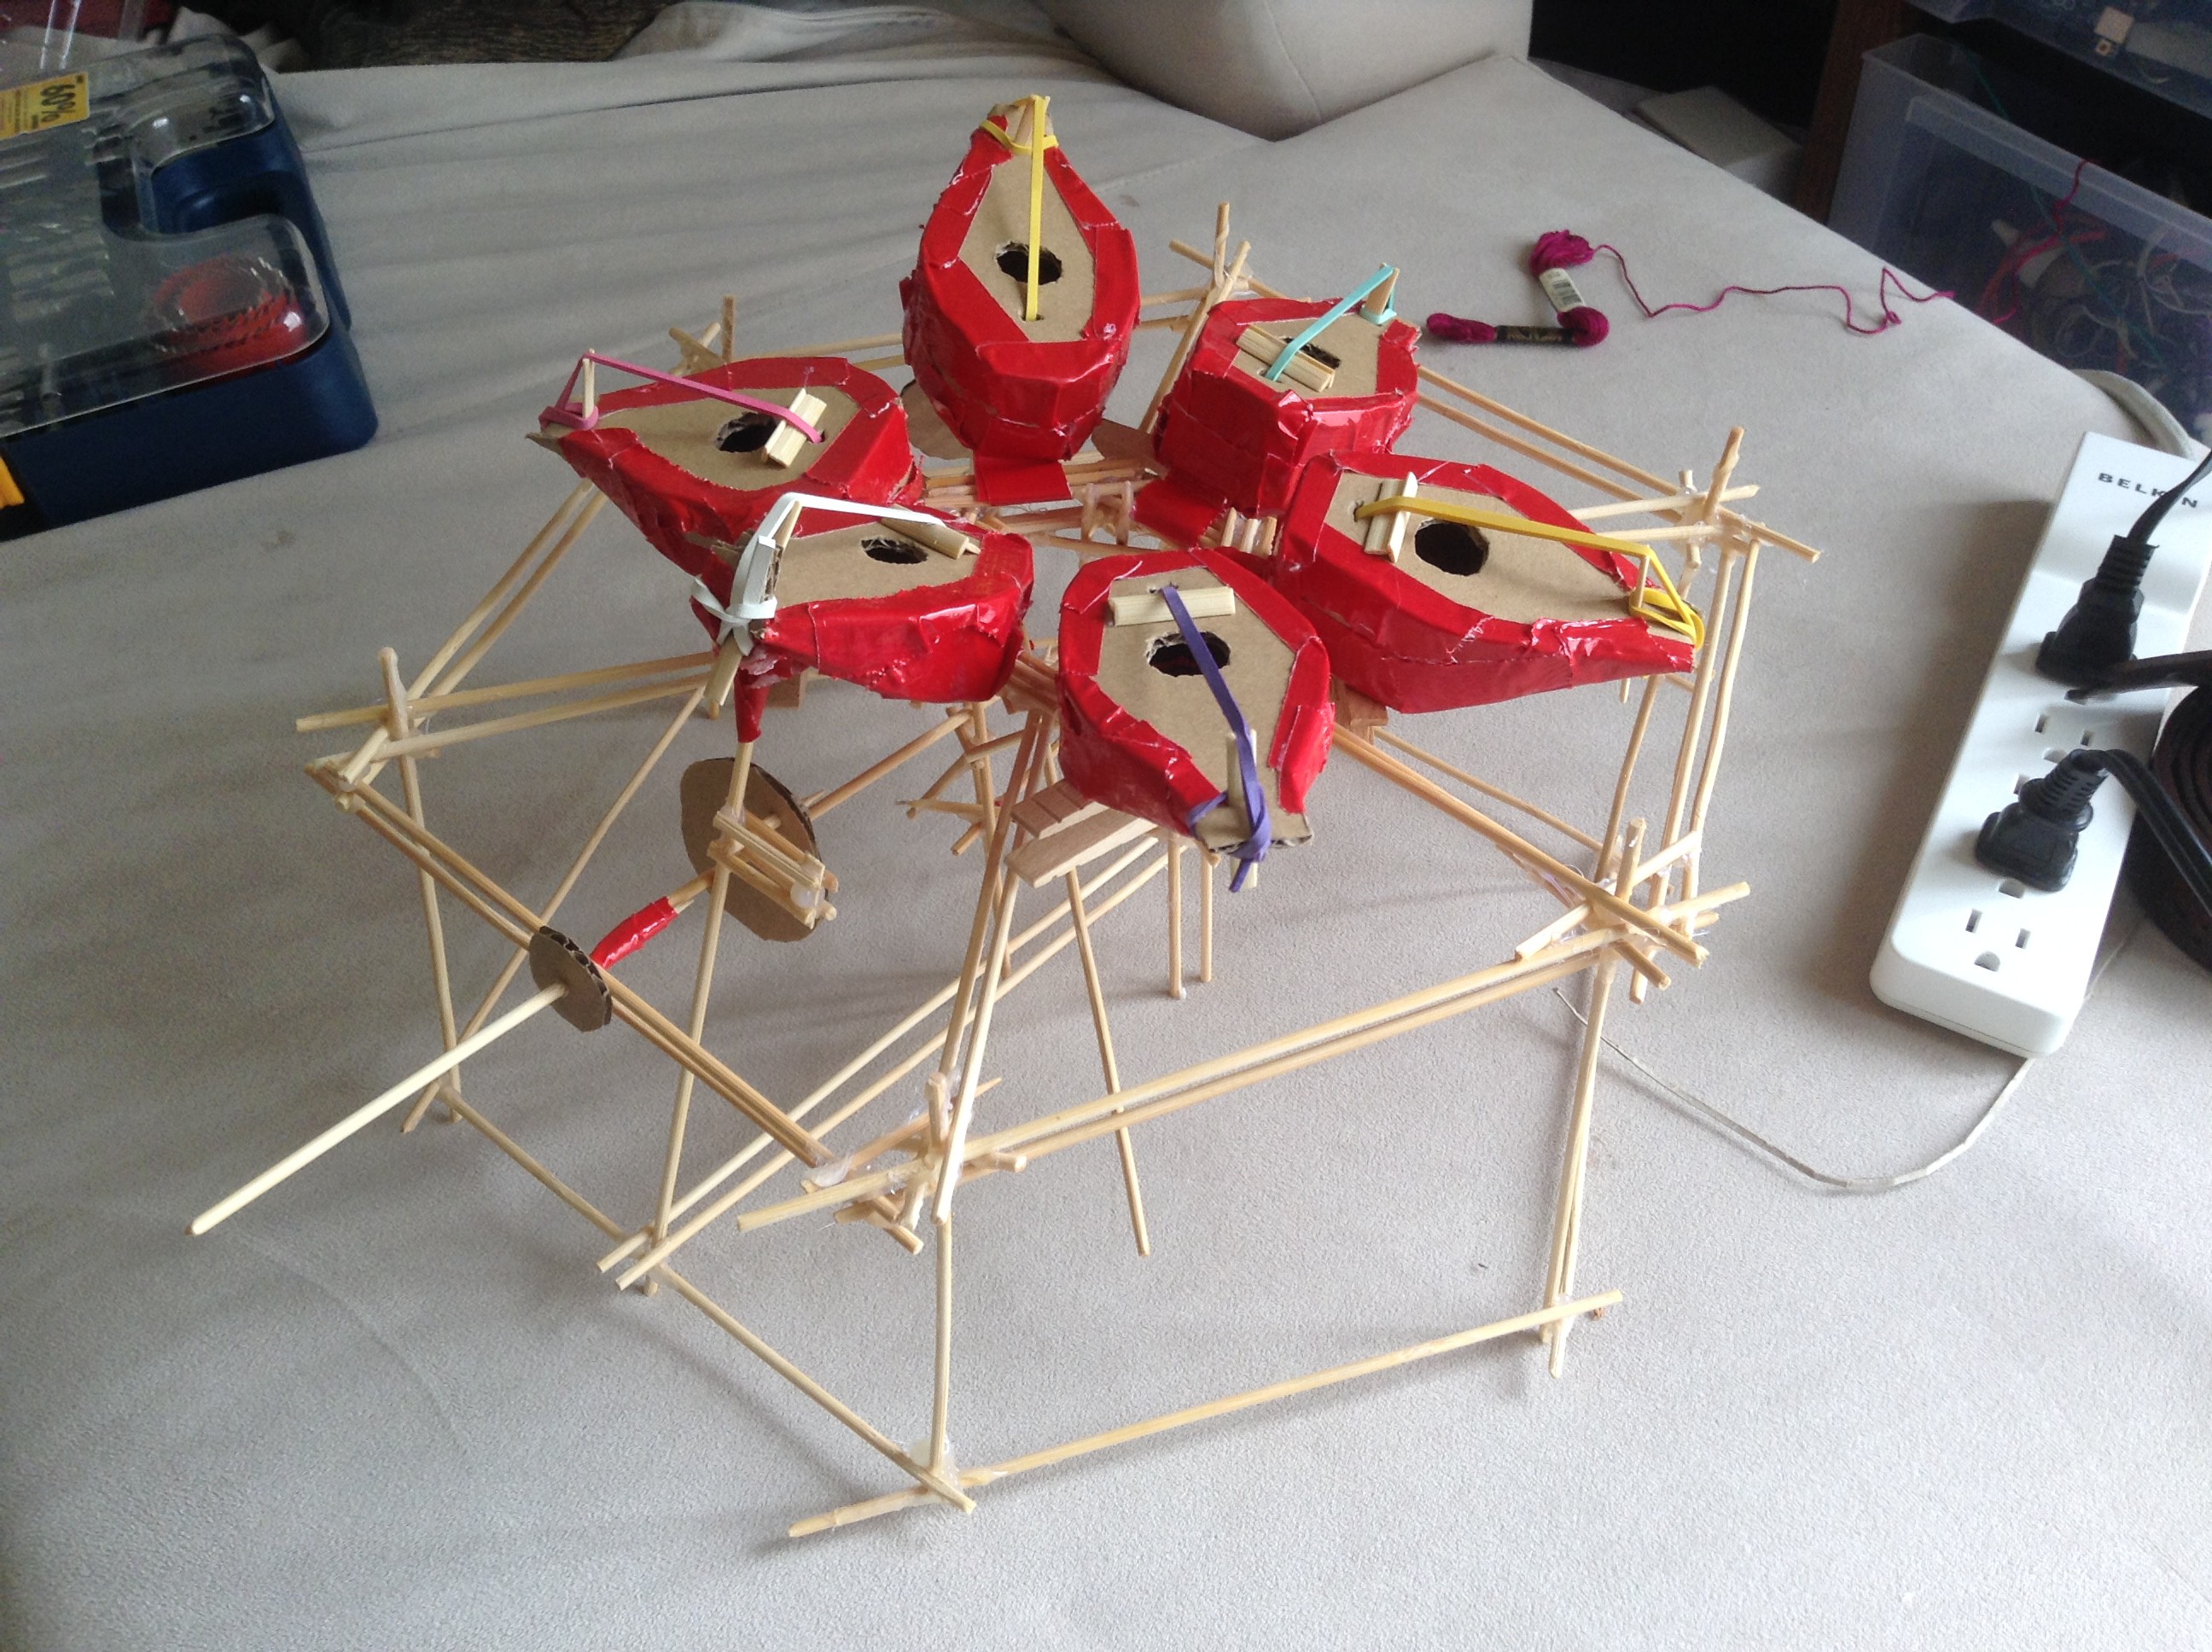
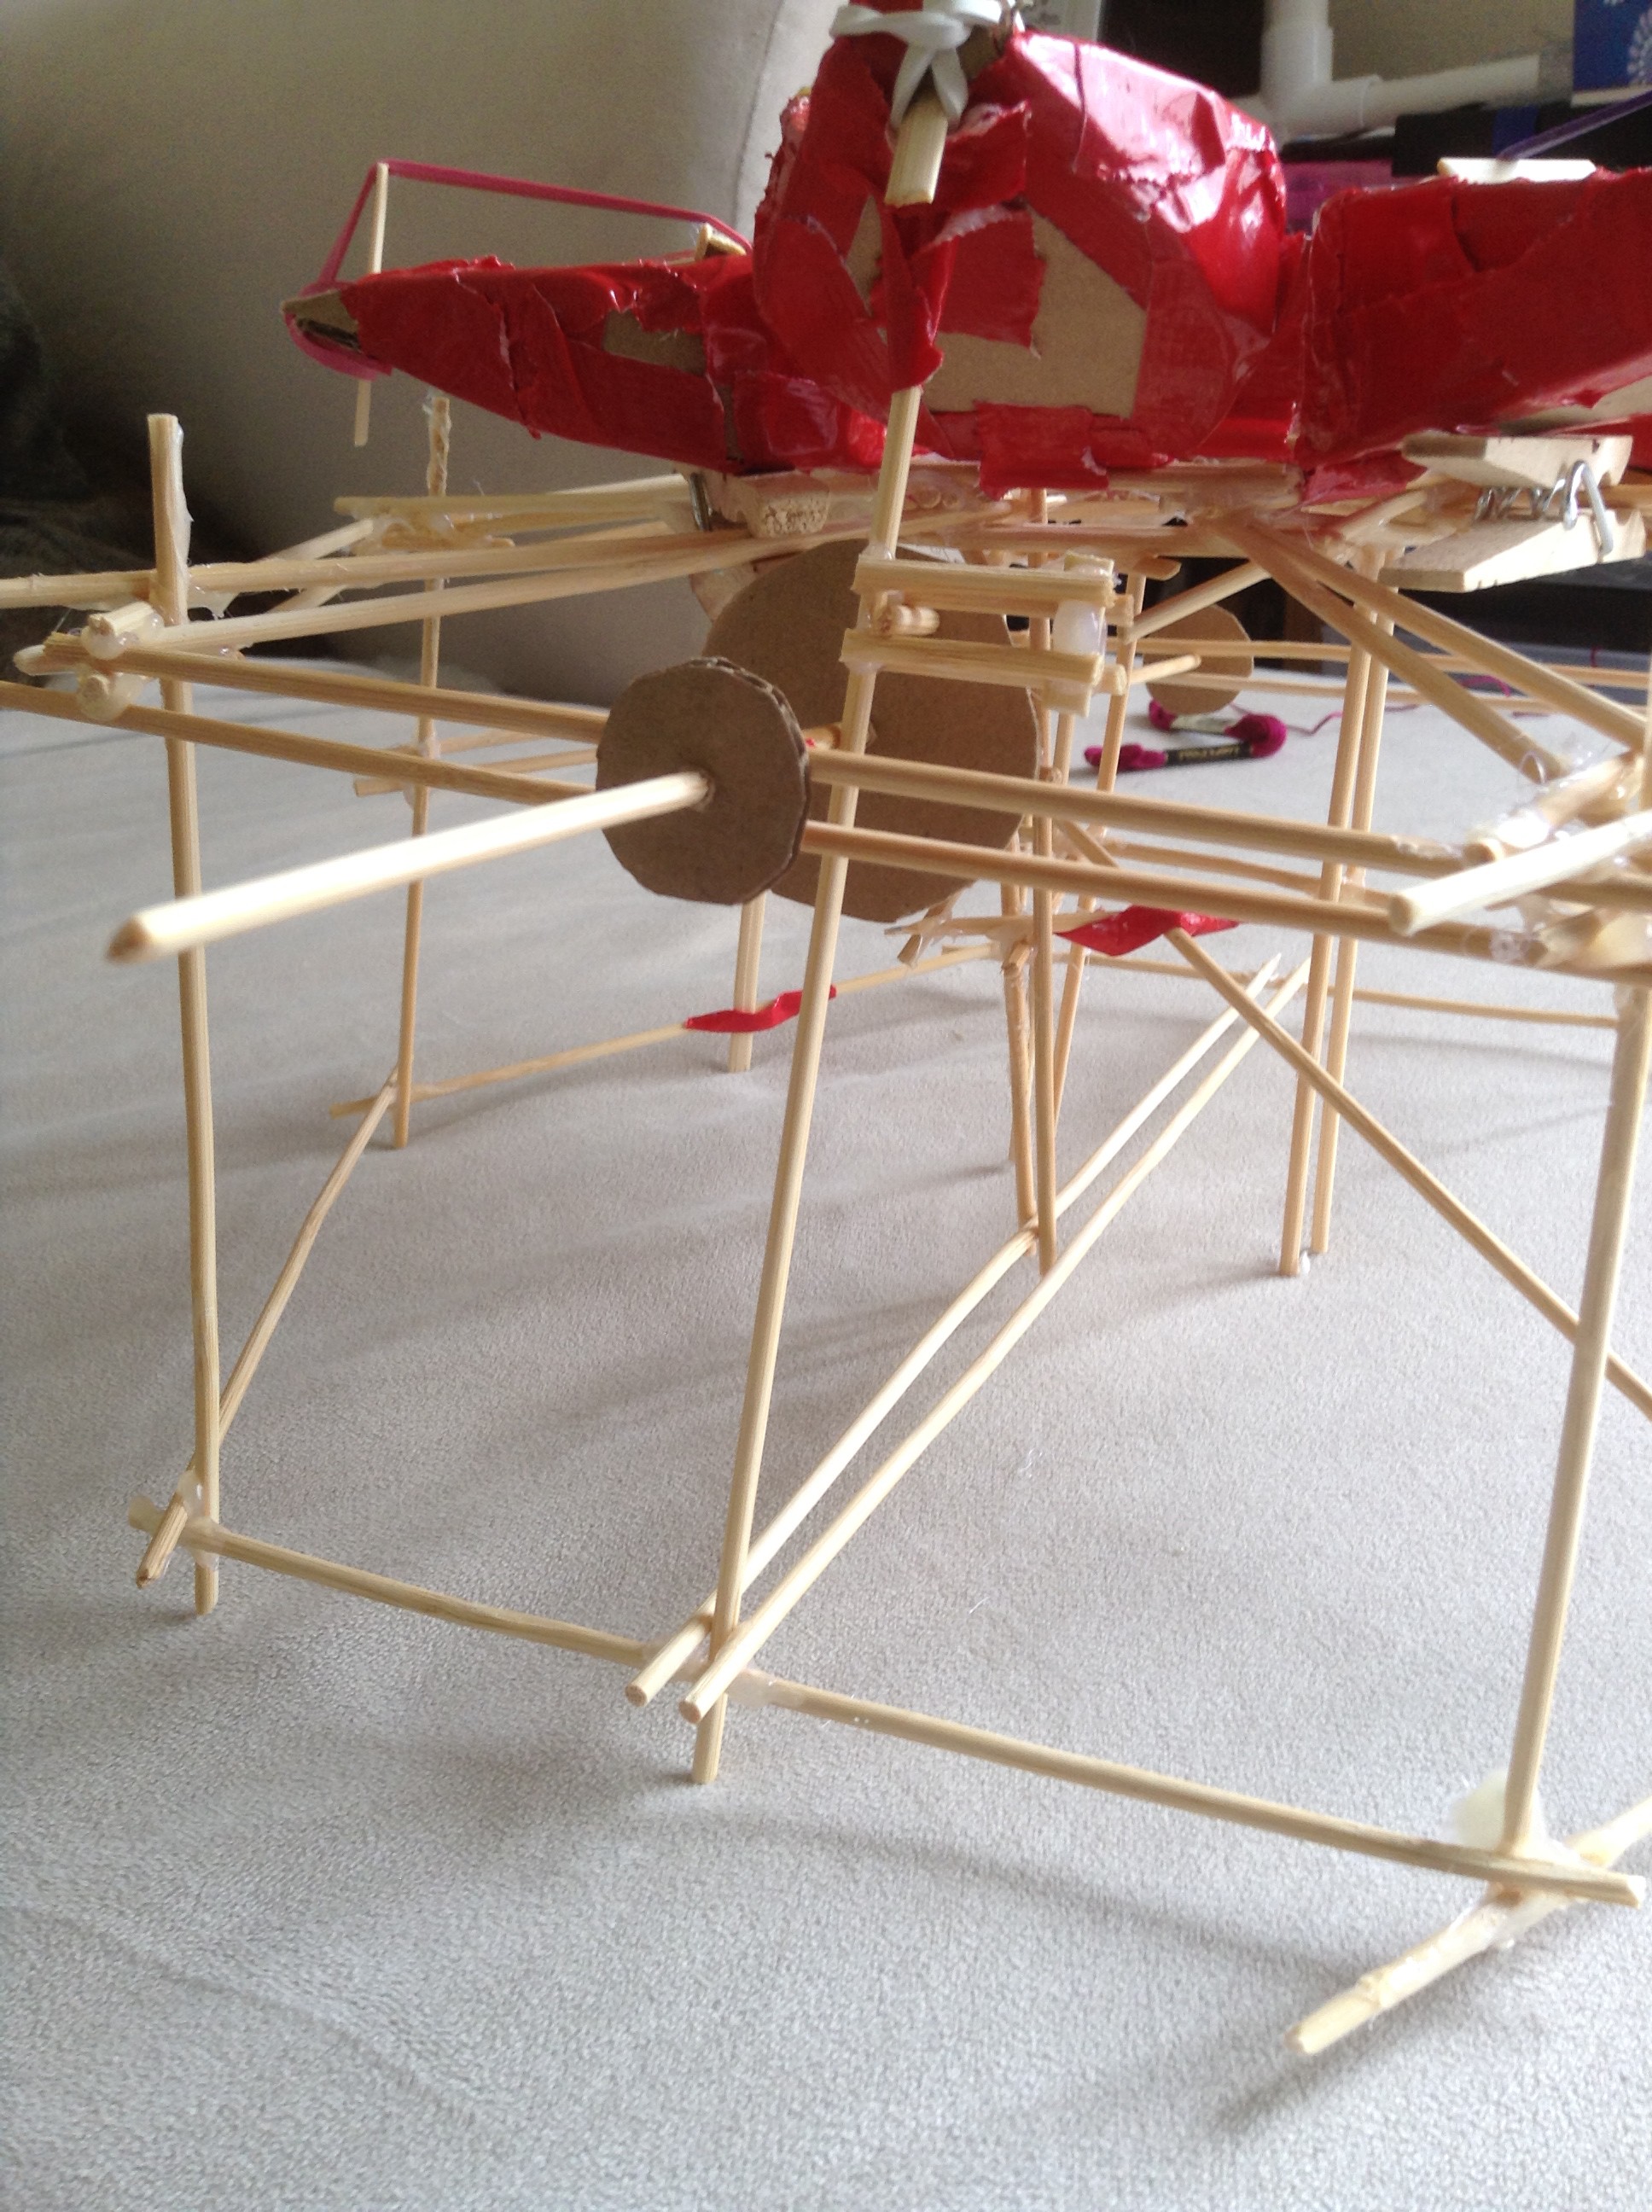
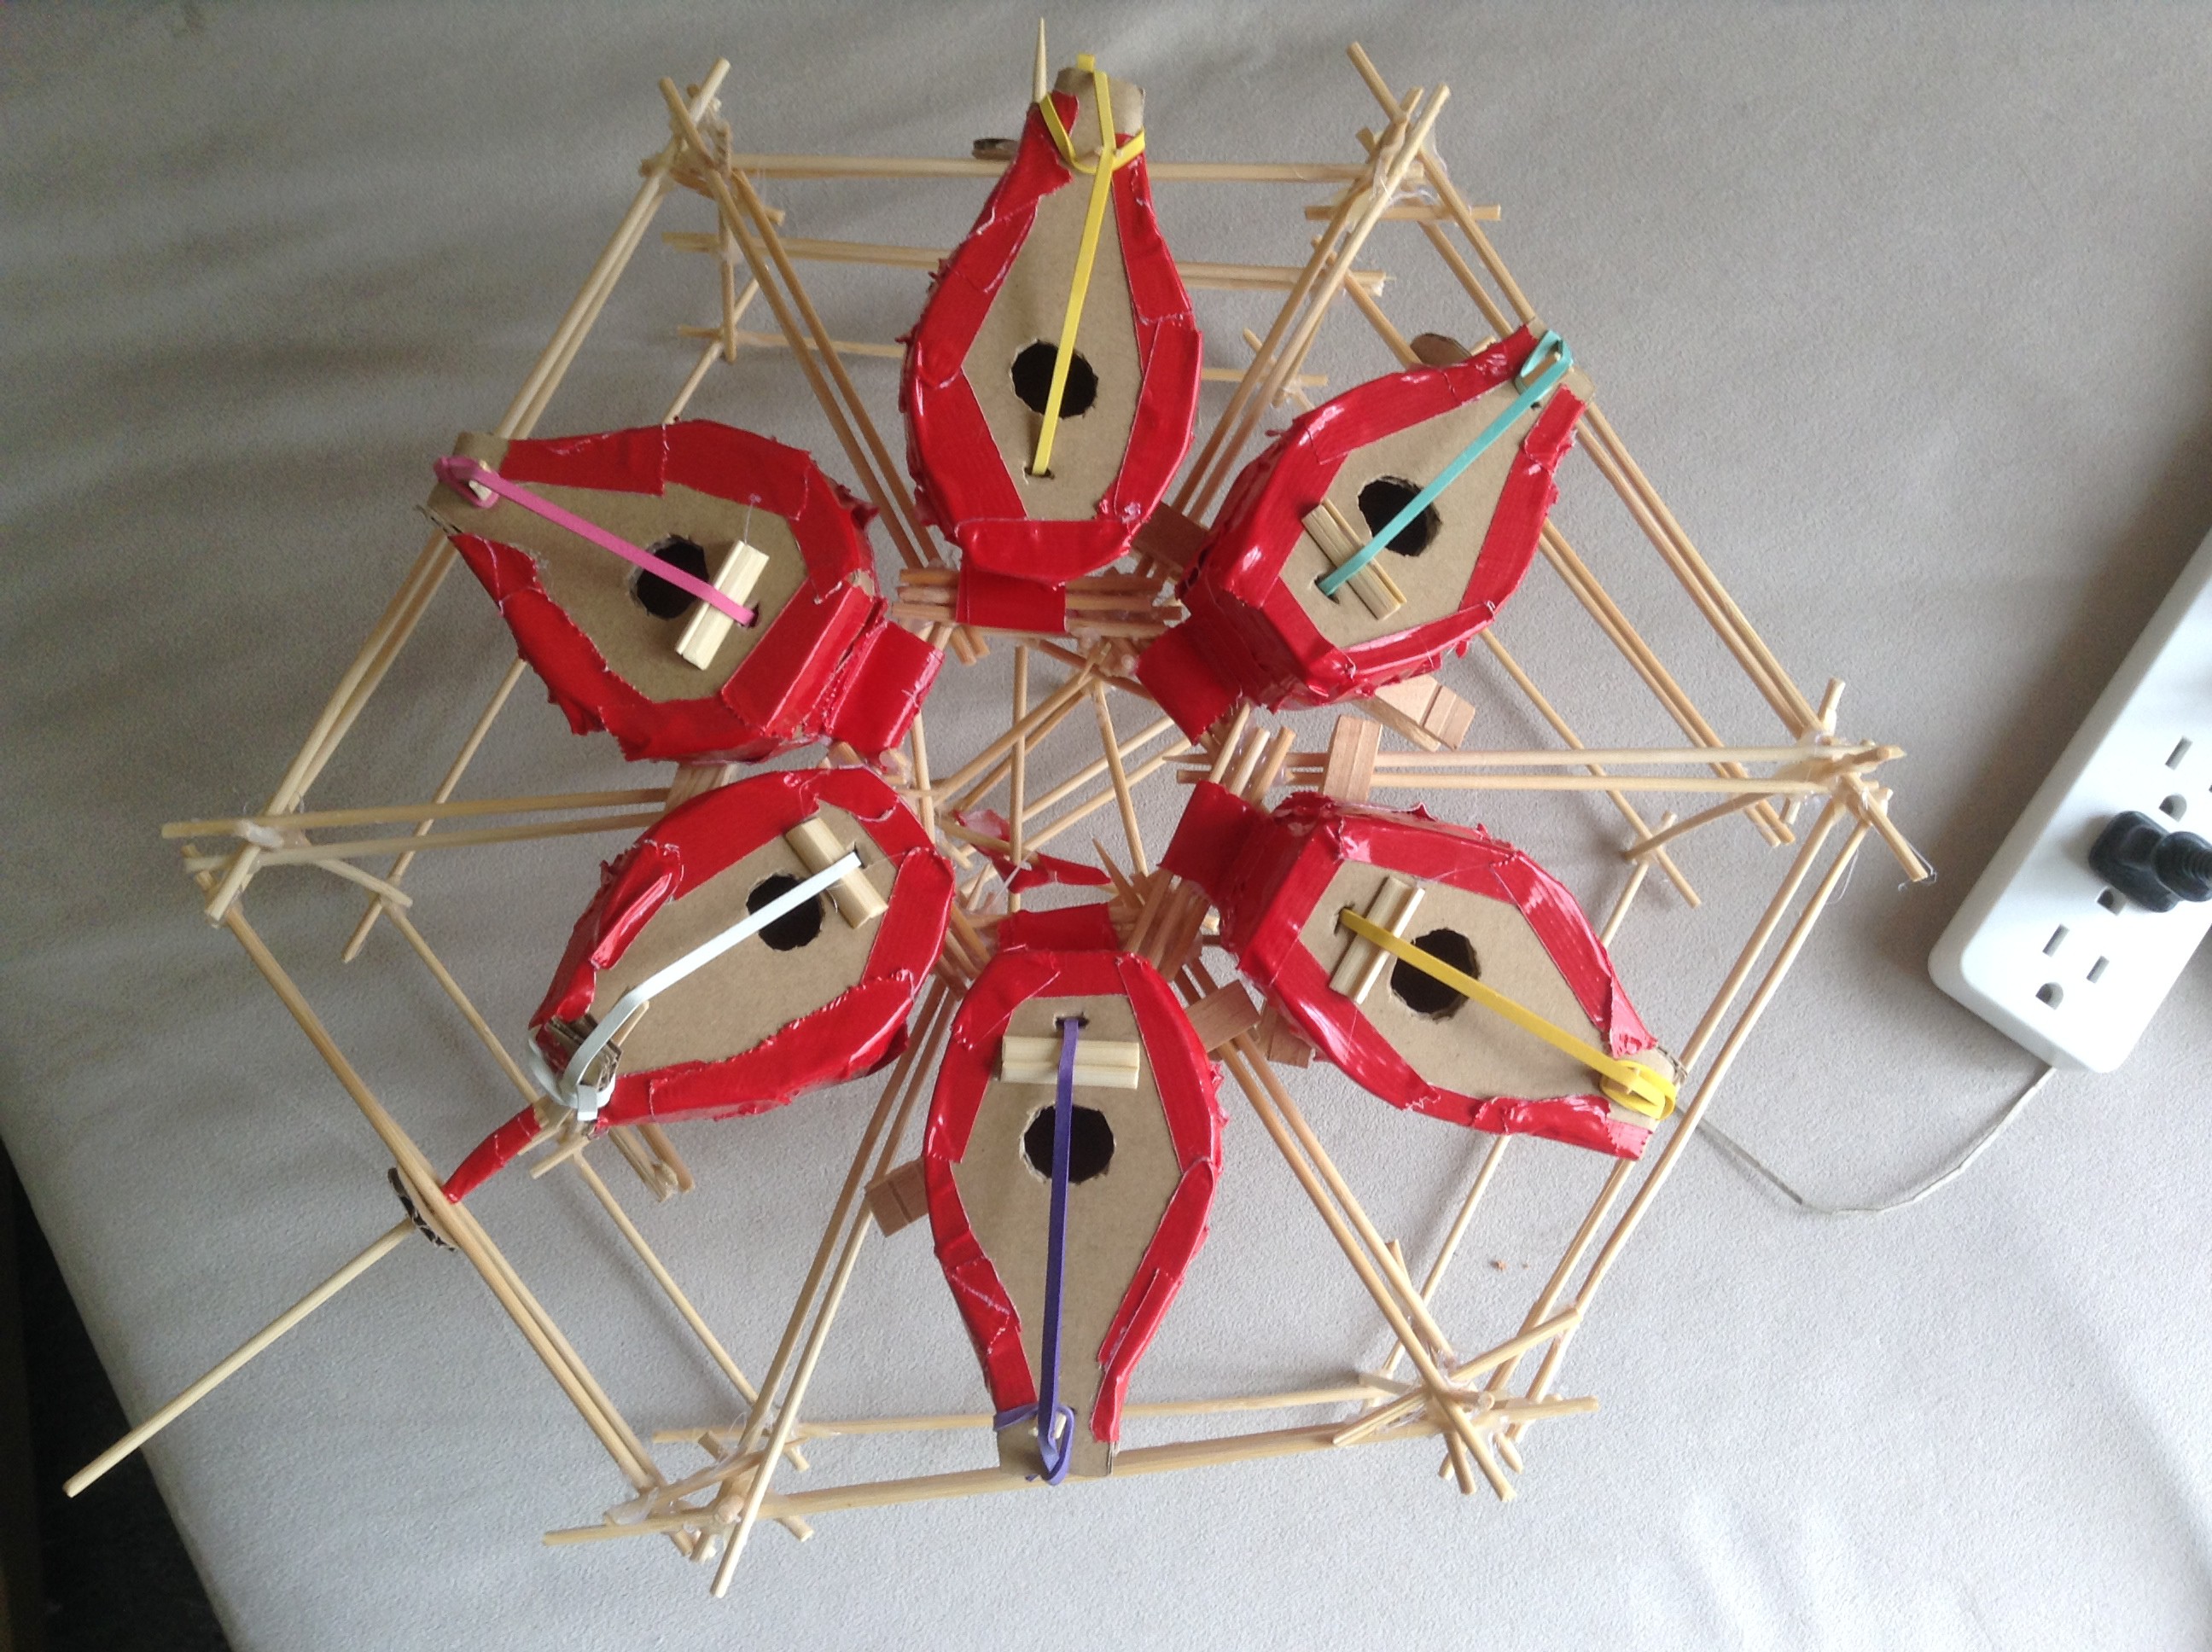
    I have a regular set of quick prototyping materials that include skewers, cardboard, duct tape, and hot glue. This is what my prototypes were made from. They didn't last long, but they didn't have to. I was able to wrap my brain around the project.

    (Throughout the process, I shared my progress with the fine folks at CRASH Space. Somehow, the fact that this little first version was only about a third the size of the final thing escaped them, and by the time the 3-foot tall version started coming together, there was a lot of surprise.)

  • Design

    barb08/20/2016 at 23:27 0 comments

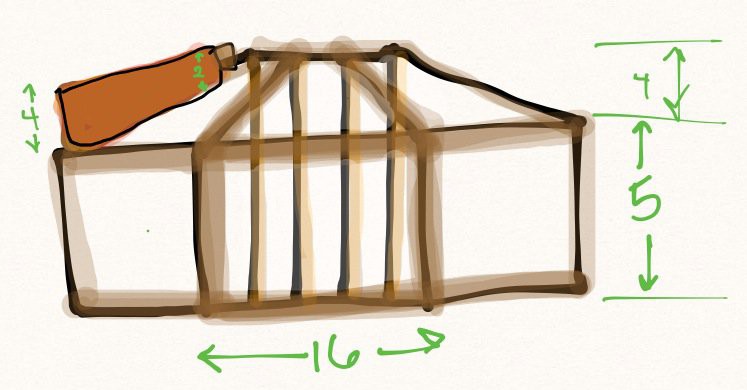
    I sketched out several possible designs and options for the mechanisms that would move the sound chambers. The measurements changed over the course of the project, especially right after the rapid prototyping stage that came next.

  • Tools and Materials

    barb08/20/2016 at 23:15 0 comments

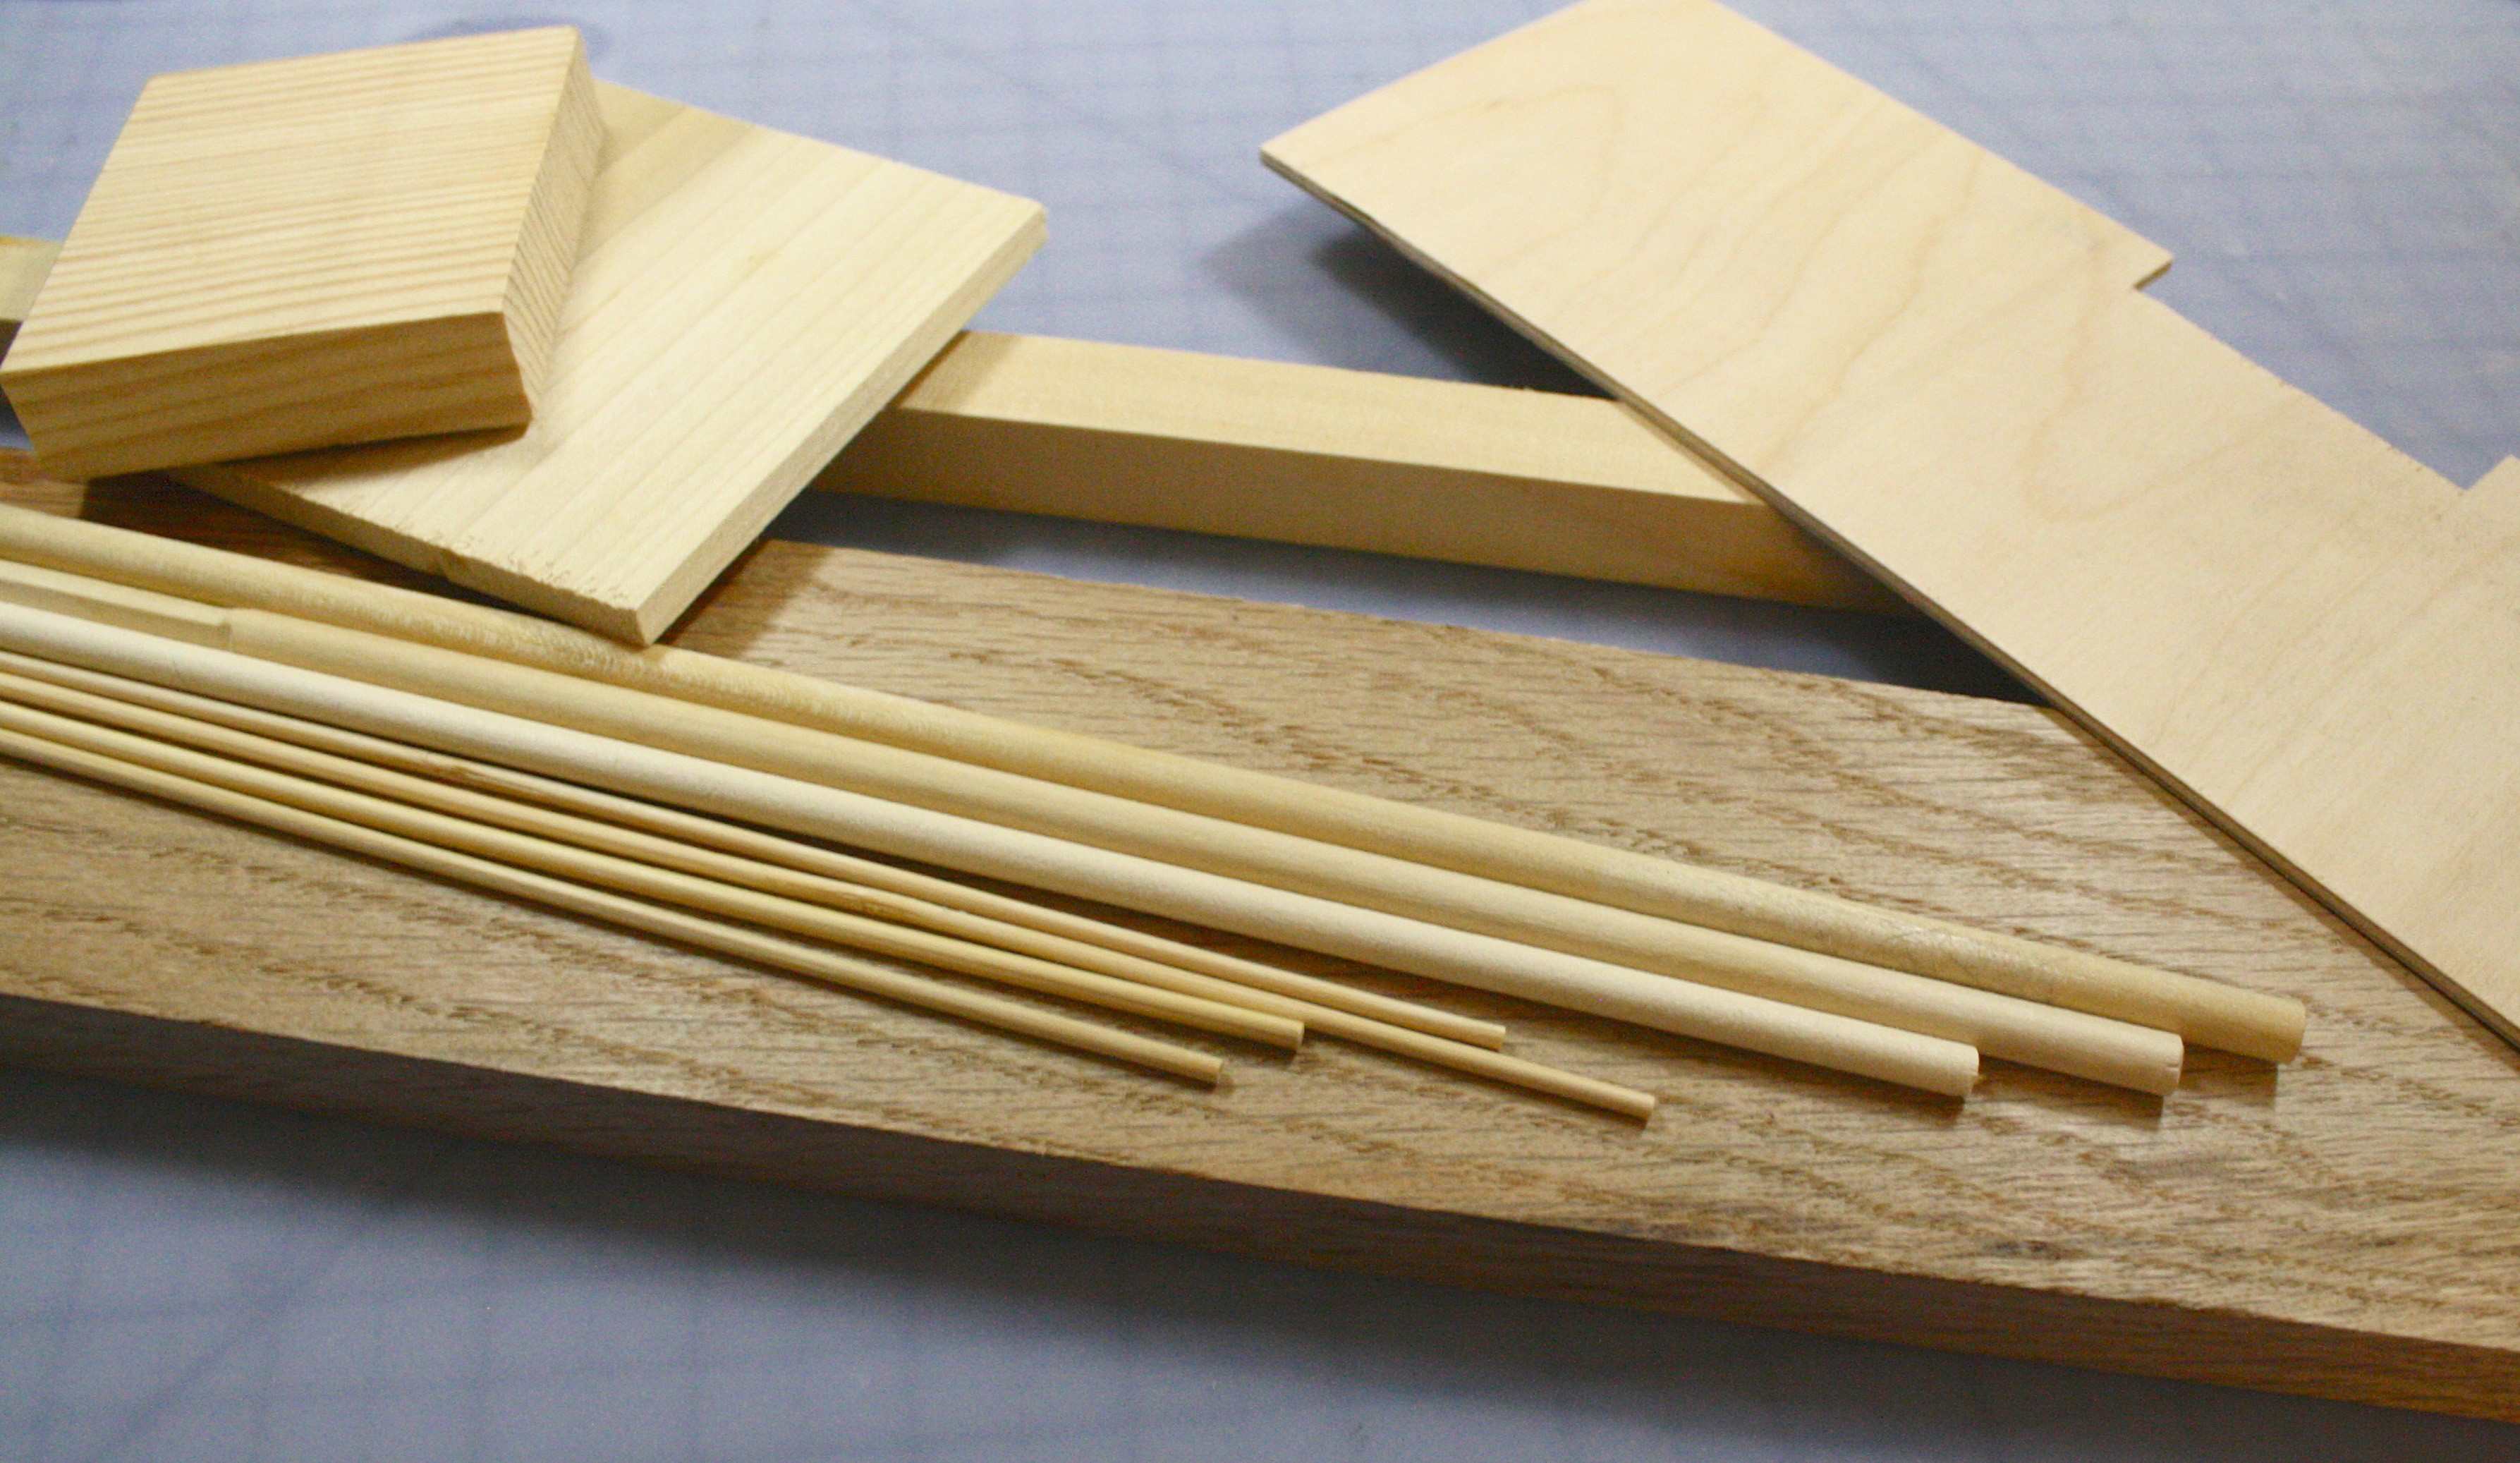
    Wood (and lots of it):

    • Various types of plywood - a future version will use hardwood for the sound chambers.
    • 3/4" Solid (Poplar, Oak, etc) Boards
    • Various Size Round Dowels
    • 1x1" Poplar Square Dowels
    • Bamboo Skewers
    • Large Wooden Beads

    Adhering:

    • Wood Glue
    • Screws (and a LOT of them, I went through over a hundred)
    • Bolts for attaching sound chambers

    Tools:

    • Drill and Driver
    • Clamps - I bought a ton of dollar clamps from Home Depot, plus a few larger clamps
    • Good Ruler/Protractor/Square
    • Scroll saw
    • Drill Press - with various bits and hole saws
    • Belt sander
    • Dremel
    • Orbital sander
    • Various hand tools for tweaking

    Other:

    • Soprano Ukulele Strings
    • Tuning pegs
    • Guitar Pick
    • Motor and Hookup Wire - I used a motor from a video cassette rewinder, along with other bits from the machine, such as the belt and pulleys
    • Zip Tie
    • Wood Stain, Multiple Colors

    I went through various types of plywood in the learning/tinkering process of building the sound chambers. By the time I got to the nice 1/8" baltic birch ply, I had refined the design, process, and my skills to have a satisfying result.

View all 9 project logs

Enjoy this project?

Share

Discussions

gestikulierend wrote 07/08/2021 at 10:10 point

Creating an automatic musical instrument will take a lot of efforts because no one created it before. I hope you will succeed in your mission. It will bring a huge change in the music industry if you succeeded in it.I will do the it as well, but now I have to visit this edubirdie review to get motivation in hiring the best writer for assistance in writing research paper about this kind of work.

  Are you sure? yes | no

Similar Projects

Does this project spark your interest?

Become a member to follow this project and never miss any updates