Close
0%
0%

Raspberry Pi Zero Smart Glass

Pi Zero Smart Glass can help you identify objects using image recognition technology.
Easily make your own smart glasses with the Raspberry

Similar projects worth following
Designed by Ricardo Ferro | Licensed under CC BY 3.0
Demo of the PiZero in action below!
At a lose for words? Can't describe an object? PiZero SmartGlass can help you with that by using image recognition tech. Make your own smart glasses easily with the Raspberry Pi Zero! Affordable and easy to build, retro-wearable 3D Virtual Stereo Digital Video glasses are around $75 along with the Pi Zero. This display uses composite video to connect the Pi Zero's video out pins and are easily customized. There are many applications for image recognition, which allows computers to translate written text into digital text. The PiGlasses can help with the field of machine vision, recognizing people and objects. Add any battery pack and your PiGlasses are ready to go! Highly customizable, use any API for different applications.

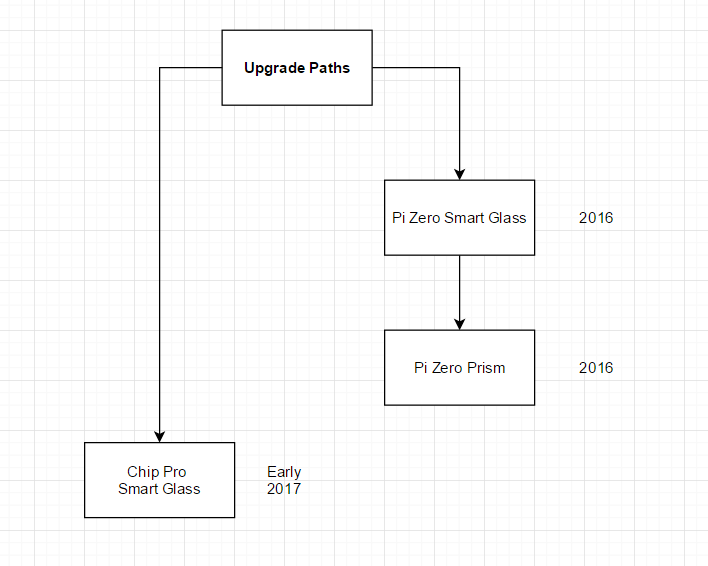
https://hackaday.io/project/18033-raspberry-pi-zero-prism is the next ver

There are many applications for image recognition, which allows computers to translate written text into digital text. The PiGlass can help with the field of machine vision, recognizing people and objects. I will add major upgrades to the PiGlass in a few months.

Make your own smart glasses easily with the Raspberry Pi Zero! Affordable and easy to build, retro-wearable 3D Virtual Stereo Digital Video glasses are around $75 along with the Pi Zero. This display uses composite video to connect the Pi Zero's video out pins and are easily customized. Add a battery pack and your PiGlasses are ready to go!

Raspberry_Pi_Zero_Smart_Glass.zip

Includes 3D Printed Files, Python code, and code for Arduino Battery Pack

Zip Archive - 1.59 MB - 08/26/2016 at 16:35

Download

  • 1 × Raspberry Pi3 (for Quick Programming, and switching card into pi zero.)
  • 1 × PI NOIR Camera V2 or Pi Camera V2 (I love Noir)
  • 1 × Silicon 30AWG wires (variety of colors is recommended)
  • 1 × Silicon 26AWG wires (2 colors)
  • 1 × 20x SMD Tactile Pushbutton Key Switch Momentary Tact 2 Pins 362.5mm

View all 14 components

View all 12 project logs

  • 1
    Step 1

    Steps

    First print out all the parts. Make sure the pieces snap together without any problems.

    Step1: First dissemble the video glasses.

  • 2
    Step 2

    Step2: Pop out the Lenses

  • 3
    Step 3

    Step 3 Remove the 2 screws in the glasses by the nose area.

View all 24 instructions

Enjoy this project?

Share

Discussions

naveednaw wrote 10/04/2020 at 11:47 point

Hi,

Where can I buy the exact video glasses that you used.

Thanks my students love your project

  Are you sure? yes | no

Jacob MacLeod wrote 10/11/2019 at 09:58 point

Nice! I am also making a similar pair of smart glasses.

https://hackaday.io/project/167850-raspberry-pi-smart-glasses

  Are you sure? yes | no

f wrote 10/19/2016 at 19:01 point

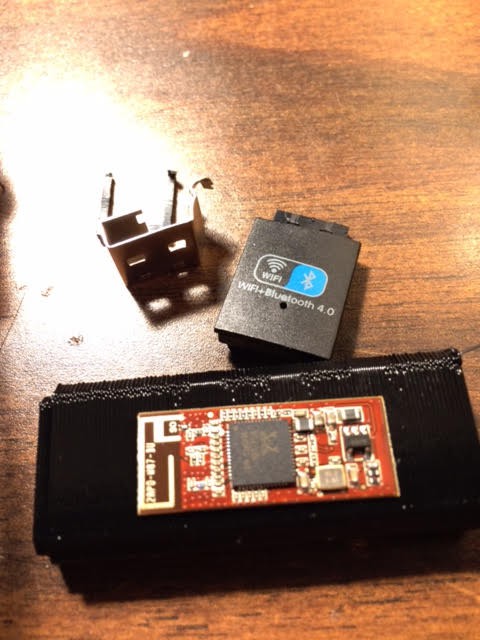
I started to play with BT audio, but haven't gotten it working just yet.  IIRC, I never finished configuring bluez for this.

I have a full size BT keyboard and mouse paired to the pi zero glass to make updates a bit easier without another system around.  I also use 2 other bt hid devices:

1) http://twiddler.tekgear.com/ - expensive, full keyboard and mouse, steep learning curve

2) https://www.amazon.com/dp/B01KCI6ALC?th=1 - cheap, switches between bt joystick mode and mouse/limited keyboard mode

Where only an external button is needed via bluetooth, one could use a cheap bt shutter fob and follow some of the tips in https://shkspr.mobi/blog/2016/02/cheap-bluetooth-buttons-and-linux/ to have it launch specific actions

planned modifications:

1)  I have trouble with focus on the viewfinder.  My next step is to change out the hotend on my printer, try to print out the right angle case with flexible filament, and add some heavy wire internally to support the ribbon cable.  My hope is this will allow the fine adjustments to more clearly read the screen.  Ideally i can find an angle that does not completely block my fov but is readable. 

2) add some detachable pins for the power cable.  on more than one occasion a snag has caused..... unexpected results.  microsoft had it right with the xbox controllers, building a cable that is secure enough, but breaks away easily when tugged.  

3) the pi zero supports usb on the go.  bringing out all the pins to a control box will allow for a custom power supply / usb hub to swap in devices and storage.  I think one or both ports are disabled when using the usb pads on the board.  It may be easier to remove the wireless from the case and expose the microusb port directly

  Are you sure? yes | no

Ricardo Ferro wrote 10/21/2016 at 03:47 point

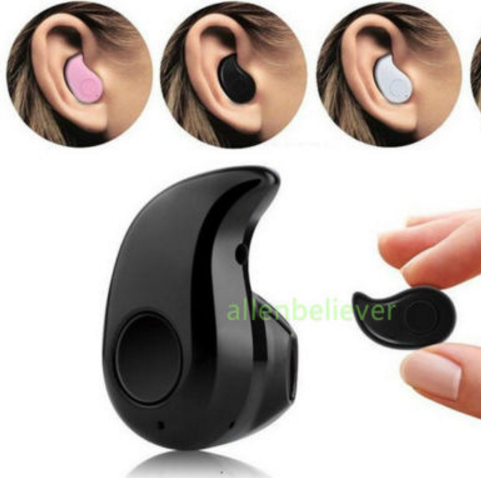
Im still configuring  the bluetooth hsp profile. 

http://youness.net/raspberry-pi/bluetooth-headset-raspberry-pi this guide might be close but really really buggy.  

1) At this moment I received the beam splitter prism, and a clearer and higher resolution kopin module. I'm currently experimenting on the projection of the display on the glass. Later down the line if everything goes well, another team member will implement a focus function(for near or far sighted peeps).

  Are you sure? yes | no

Similar Projects

Does this project spark your interest?

Become a member to follow this project and never miss any updates