$50 Foot Controlled Mouse
Reimagining expensive commercial accessibility solutions with new prototyping materials
Reimagining expensive commercial accessibility solutions with new prototyping materials
To make the experience fit your profile, pick a username and tell us what interests you.
We found and based on your interests.
FootMouseController.inoArduino code for the controller board. Intended for 32u4-type board.ino - 4.23 kB - 08/27/2016 at 15:13 |
|
The simplified pad design is complete, and going out in the mail. While attempts to remove the zig-zag conductive thread pattern failed due to significantly different resistance levels, I did make a few updates:
Reduced the number of solder joints by 50% by using more length of the 24ga ps2 wire
Reduced the number of pieces and installation complexity by using a single backing. This will ensure it is not installed backwards
Strengthened the joints between the conductive thread and wire with stainless steel crimp tubes. I believe this was the failure point in the last set of pads.
This will be the last update until I get the old pads back and can determine the failure point.
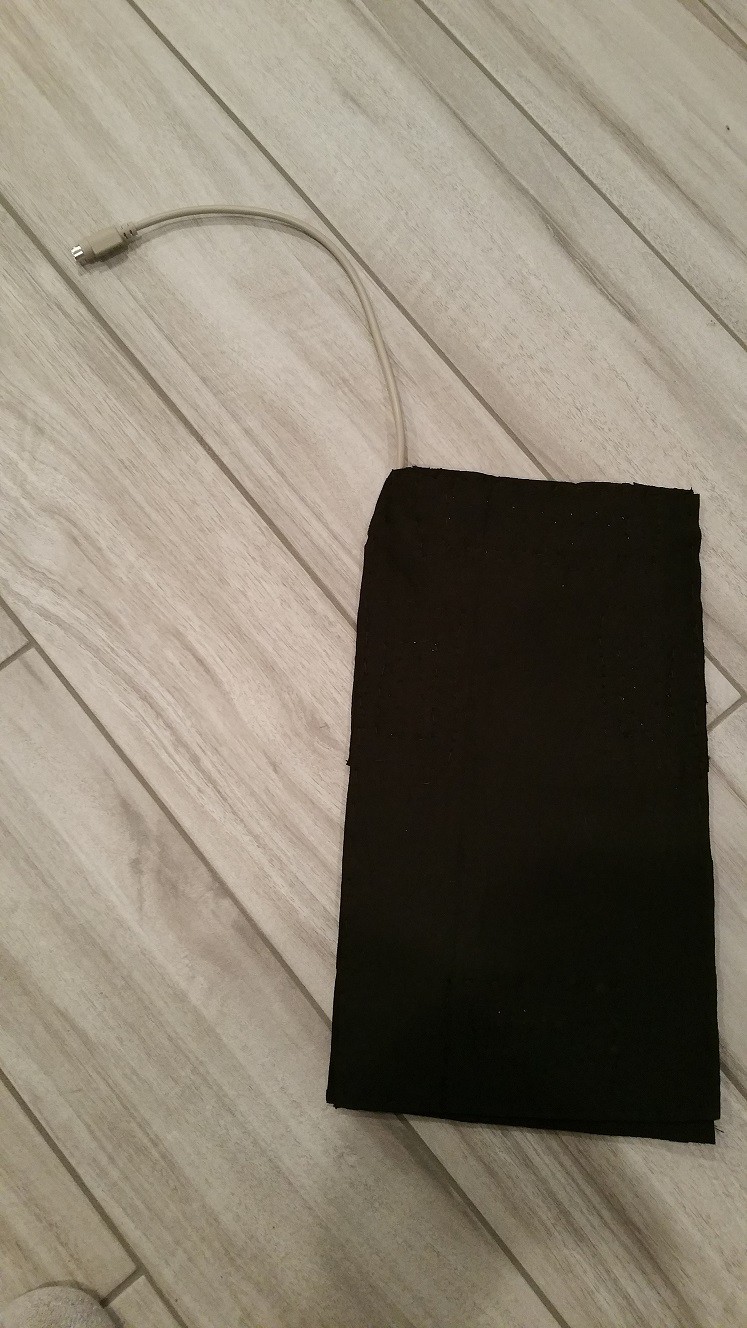
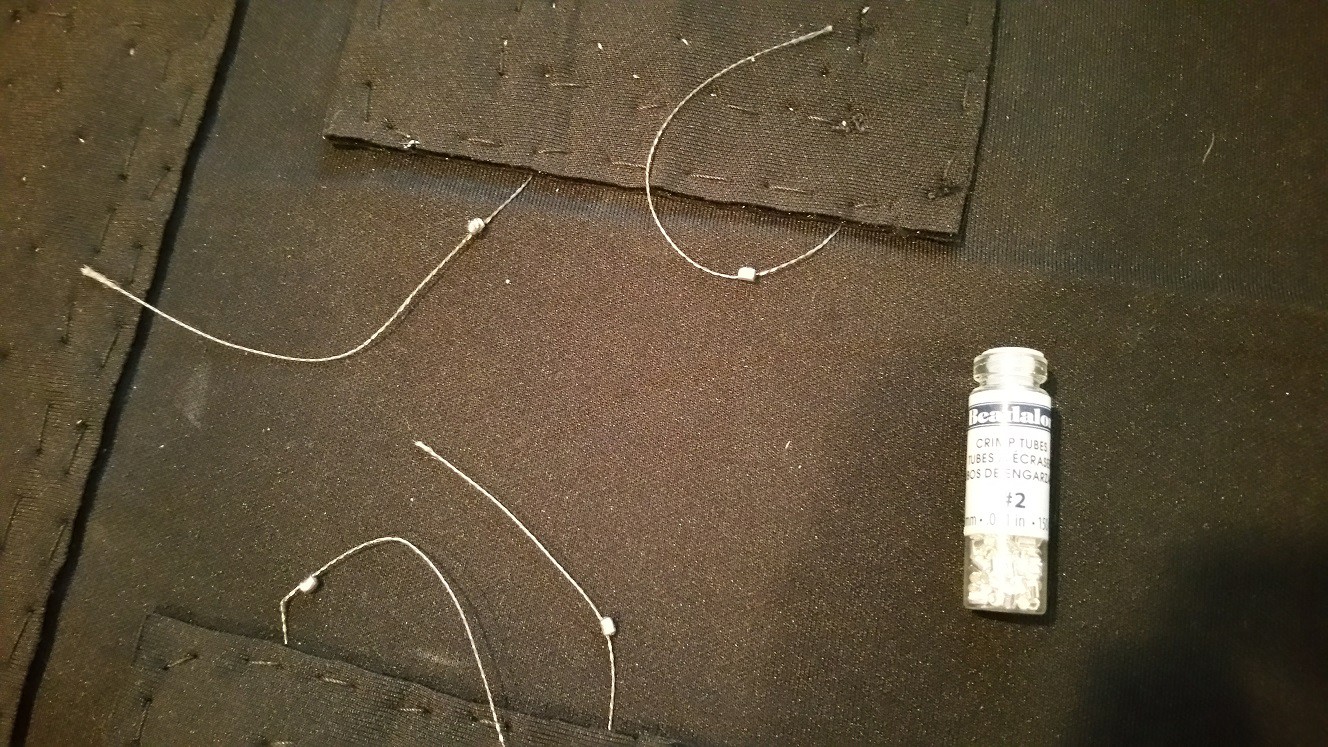
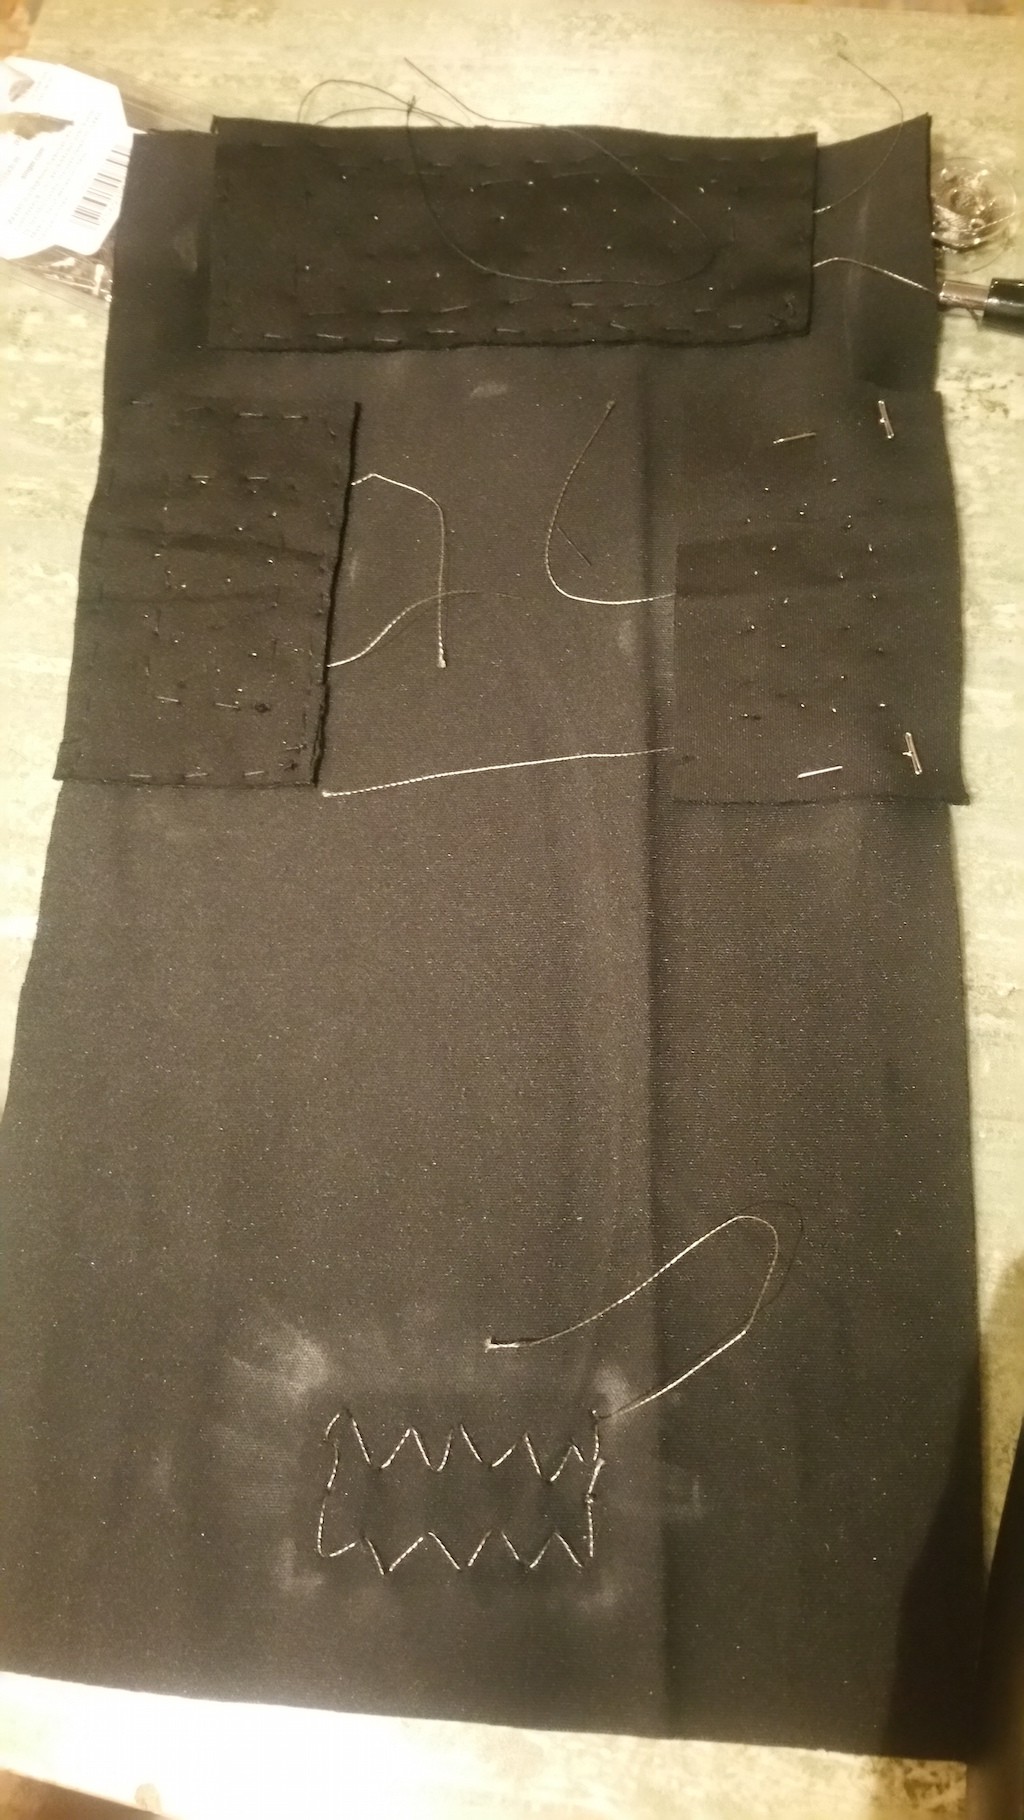
After a failure in one of the pads, they need a redesign to make it more modular and resilient. The new design uses a single piece of neoprene for the base, which will incorporate all pads (instead of 4 unique ones, which need to be placed correctly on the board. After experimenting with other wire shapes, we are continuing with the conductive thread zig-zag, in order to have consistent resistance to the original design. This negates having to push a software update.
The thread will be soldered using crimp beads in order to create a stronger mechanical bond - this is likely what failed in the previous design. I expect to have the original pads back in a week or two and will tear them down to find the failure.
After disabling key repeat, it seems that usage has really improved. The user is now reporting some problems with the left and up buttons on one pad, so we are switching left and right - one of the strengths of this design is that it is fully modular, so troubleshooting is fairly easy. Once we hear what is / is not working, I can develop a replacement part.
At the end of August, I built and delivered the first version of this tool. The build process took about 30-40 hours, much of it because each pressure pad was hand-sewn. This could easily be reduced by 50-60% with a machine, and reduced further with different designs. Because it was going to be used by a family member 1500 miles away, I needed the first build to be very resilient, so it may be a bit overbuilt.
In general, the build is well documented in the project steps. I had an issue with one pad, where it had a significant difference in resistance, which was odd, considering 5 other pads of the same size were quite close. Upon examination, I found that the internal piece of Velostat had shifted, allowing some of the thread to contact directly. I ripped out the stitching that held in the Velostat, and one side of the outside stitching, replaced the internal component, and sewed it back up.
The second issue was when mounting the pads on a 2' x 4' piece of MDF using DAP contact cement, I pulled one of the tails off of a pad, requiring another removal of a seam, replacement and re-solder, and closing back up, ensuring to add plenty of strain relief in the stitching. This leads me to want to experiment with using loops of wire within the pad, instead of conductive thread. If this works, it would further reduce the complexity and solder joints, which are points of failure.
After coating the MDF with contact cement and applying the pads based on the user's foot size, I covered the entire panel with a large piece of Neoprene. This provided protection for the wires coming off each pad and gave the product a more finished look. It would be worth evaluating if this top-sheet should be used as an element of the pressure pads to again reduce the amount of material and effort.
With the construction complete, I tuned the analog pin definitions in the software to match the pad locations on the panel, and delivered the controller.
Within a few minutes, the user was able to use the controller to move the mouse, bring up a web browser, and navigate to a social networking site. Considering he has not been able to do this on his own for over 6 months, it was amazing to see him gain this element of autonomy back. Typing using the on-screen keyboard was difficult, we may need to modify the software or Accessibility settings to accommodate.
Pressure pads needed to be an appropriate size to make pressure easy, while being able to be placed close enough together for complex movements such as moving the mouse diagonally. After tracing my foot, I came up with pad sizes of 4"x2.5" for the Left/Right/Down pads, and 6"x2.5" for the Up (toe) pad. This allows for pivoting on the heel to press Up/Left or Up/Right at the same time. The Velostat pads are reduced by 1 - 1.5" to allow for dead zone and room to sew.
Using a rotary cutter, cut 12 4"x2.5" pieces of neoprene fabric, 4 6"x2.5" pieces of neoprene fabric, 6 2.5"x 1.5" pieces of Velostat, and 2 4.5"x1.5" pieces of Velostat.
Measure out and mark a square in the center of each piece of neoprene for the placement of the Velostat pad. Inside of this square, sew a zig-zag pattern with conductive thread to ensure strong contact and consistent results no matter where the foot contacts the pad.
Then place the Velostat between the two pieces of neoprene and sew the edges of the Velostat in place. Movement of this layer could cause a short, or inconsistent results when pressure is applied.
Attach 12"-18" wire tails, I used 24ga solid-core wire, which I had laying around, to allow for easy connection to the PS2 cord.
Finally, sew the perimeter of the neoprene pad, ensuring to put in some strain relief for the tails. The solder joints between the conductive thread and the solid-core wire are likely to be weak.
Test each pad individually, to try and get reasonably similar resistance patterns. Typically I saw resting resistance at 4K ohm, with pressure reducing to resistance 400 ohm. One pad had less base resistance, so a 560 ohm resistor was added to the wire tail to balance it out. The toe pads also had a lower resistance, and required a smaller resistor in the voltage divider to balance.
The schematic below shows the usage of 1K ohm and 470 ohm resistors in the voltage dividers to achieve a signal between 300-900 (on the Arduino measuring scale of 0 to 1023). You may need to make changes depending on the outputs from your pads.
Create an account to leave a comment. Already have an account? Log In.
Become a member to follow this project and never miss any updates
By using our website and services, you expressly agree to the placement of our performance, functionality, and advertising cookies. Learn More

 Bree Hoffman
 Jeremy Ruhland