Close
0%
0%

How to create an app for Arduino projects

Making an Android application for Arduino hardware

Similar projects worth following
This project is about making an Android application for a WiFi connected Huzzah ESP8266. Learn how to create an Android app with a Huzzah ESP8266 running the Arduino IDE. Check out the basic setup of the Huzzah and Blynk app in this project https://hackaday.io/project/8831-huzzah-esp8266-and-blynkcc-app Follow this project to stay updated while I document the steps covering the idea to the finished product.

Where is everything? This project has just started!


To do:

  • Android app setup and bootstrapping
  • Writing and testing the Android app
  • Publishing the app

There will be published logs covering the above and more. Follow this project above for updates.

  • 1 × Arduino compatible board
  • 1 × Android smartphone

  • Connect the Arduino hardware to the local app server

    Richard Hogben09/26/2016 at 19:41 0 comments

    To check that everything is working locally in a standard configuration I update the Arduino sketch and connect to the locally running app server.

    Startup the local server

    From the location of the java server start the server from a terminal and verify the server is running.

    In terminal run:

    java -jar server-0.18.2-SNAPSHOT.jar
    
    In browser ( remember https in the url):

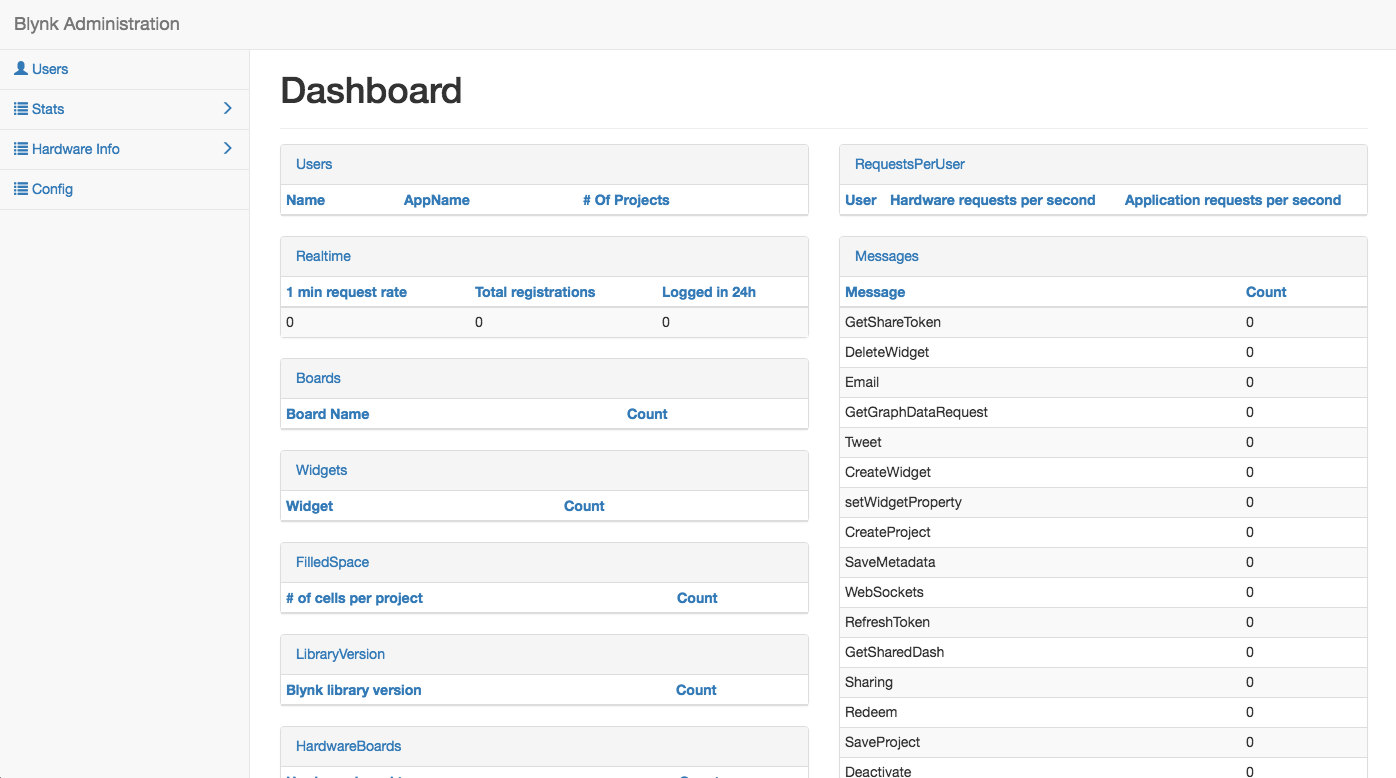
    https://YOUR_LOCAL_IP:7443/admin

    Login to the Blynk app locally and add a new Blynk project

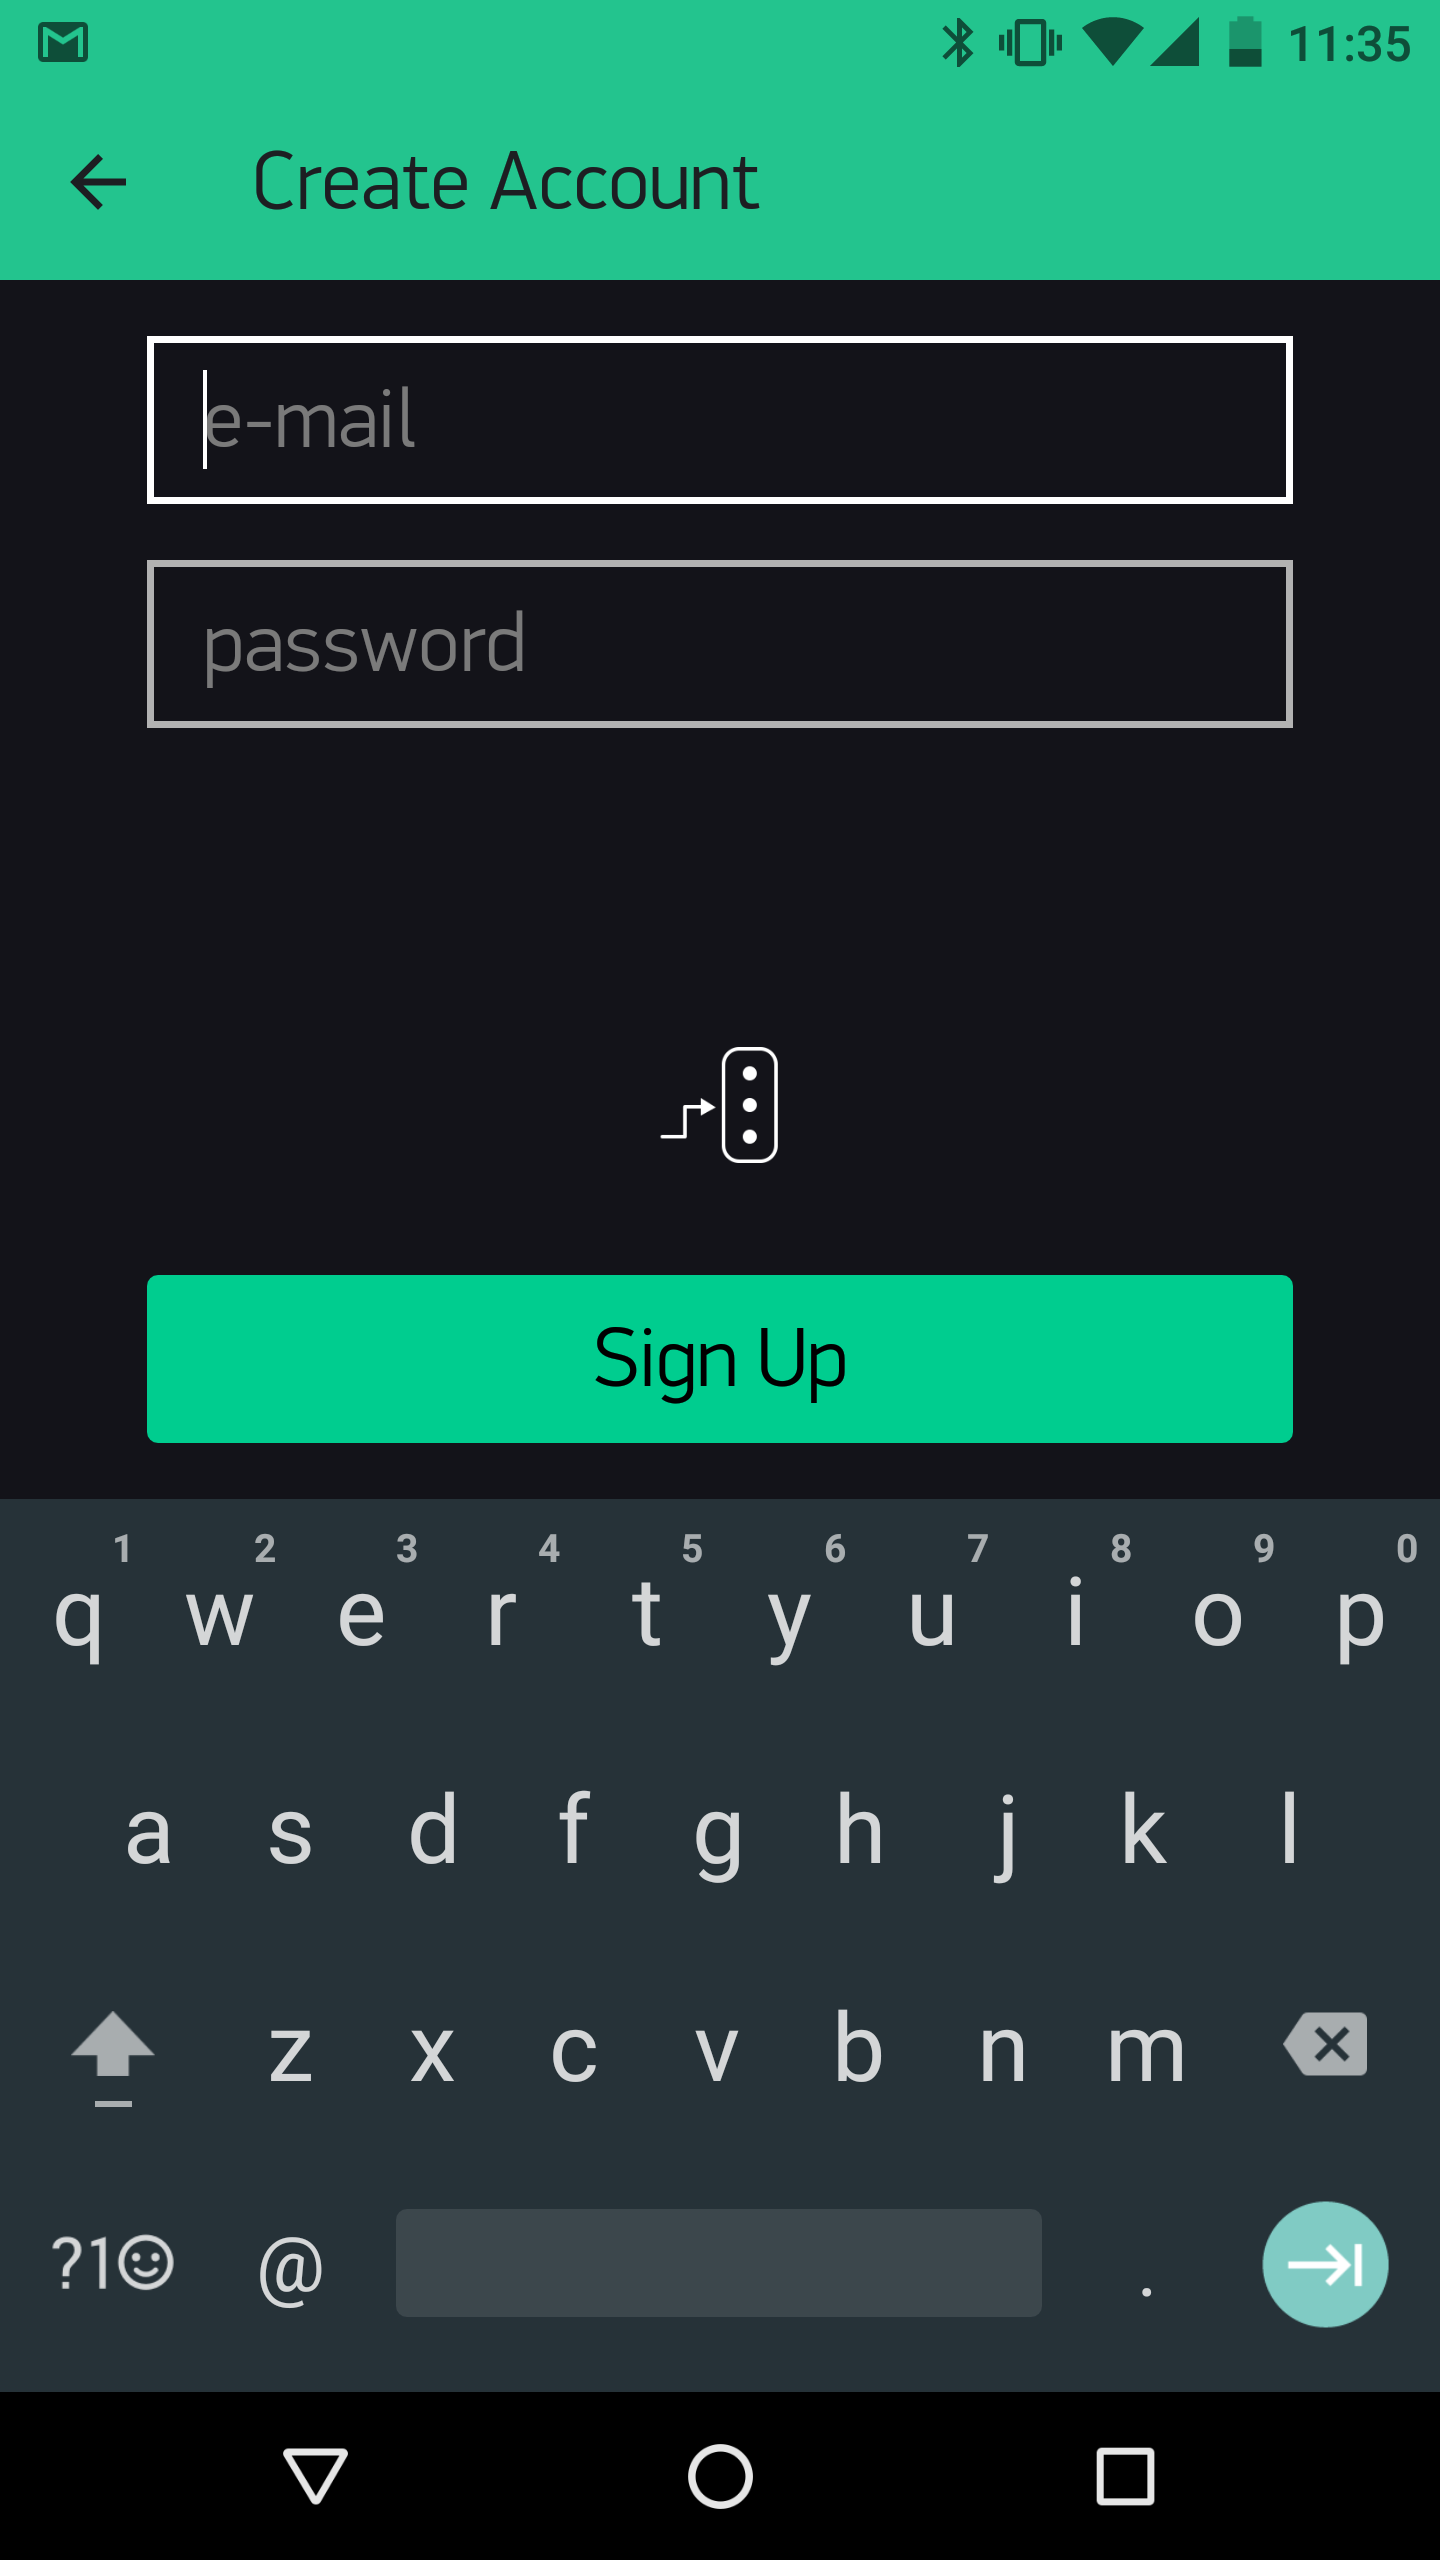
    From the login screen click on create new account. This is separate from the Blynk servers so the email and password can be whatever you want.

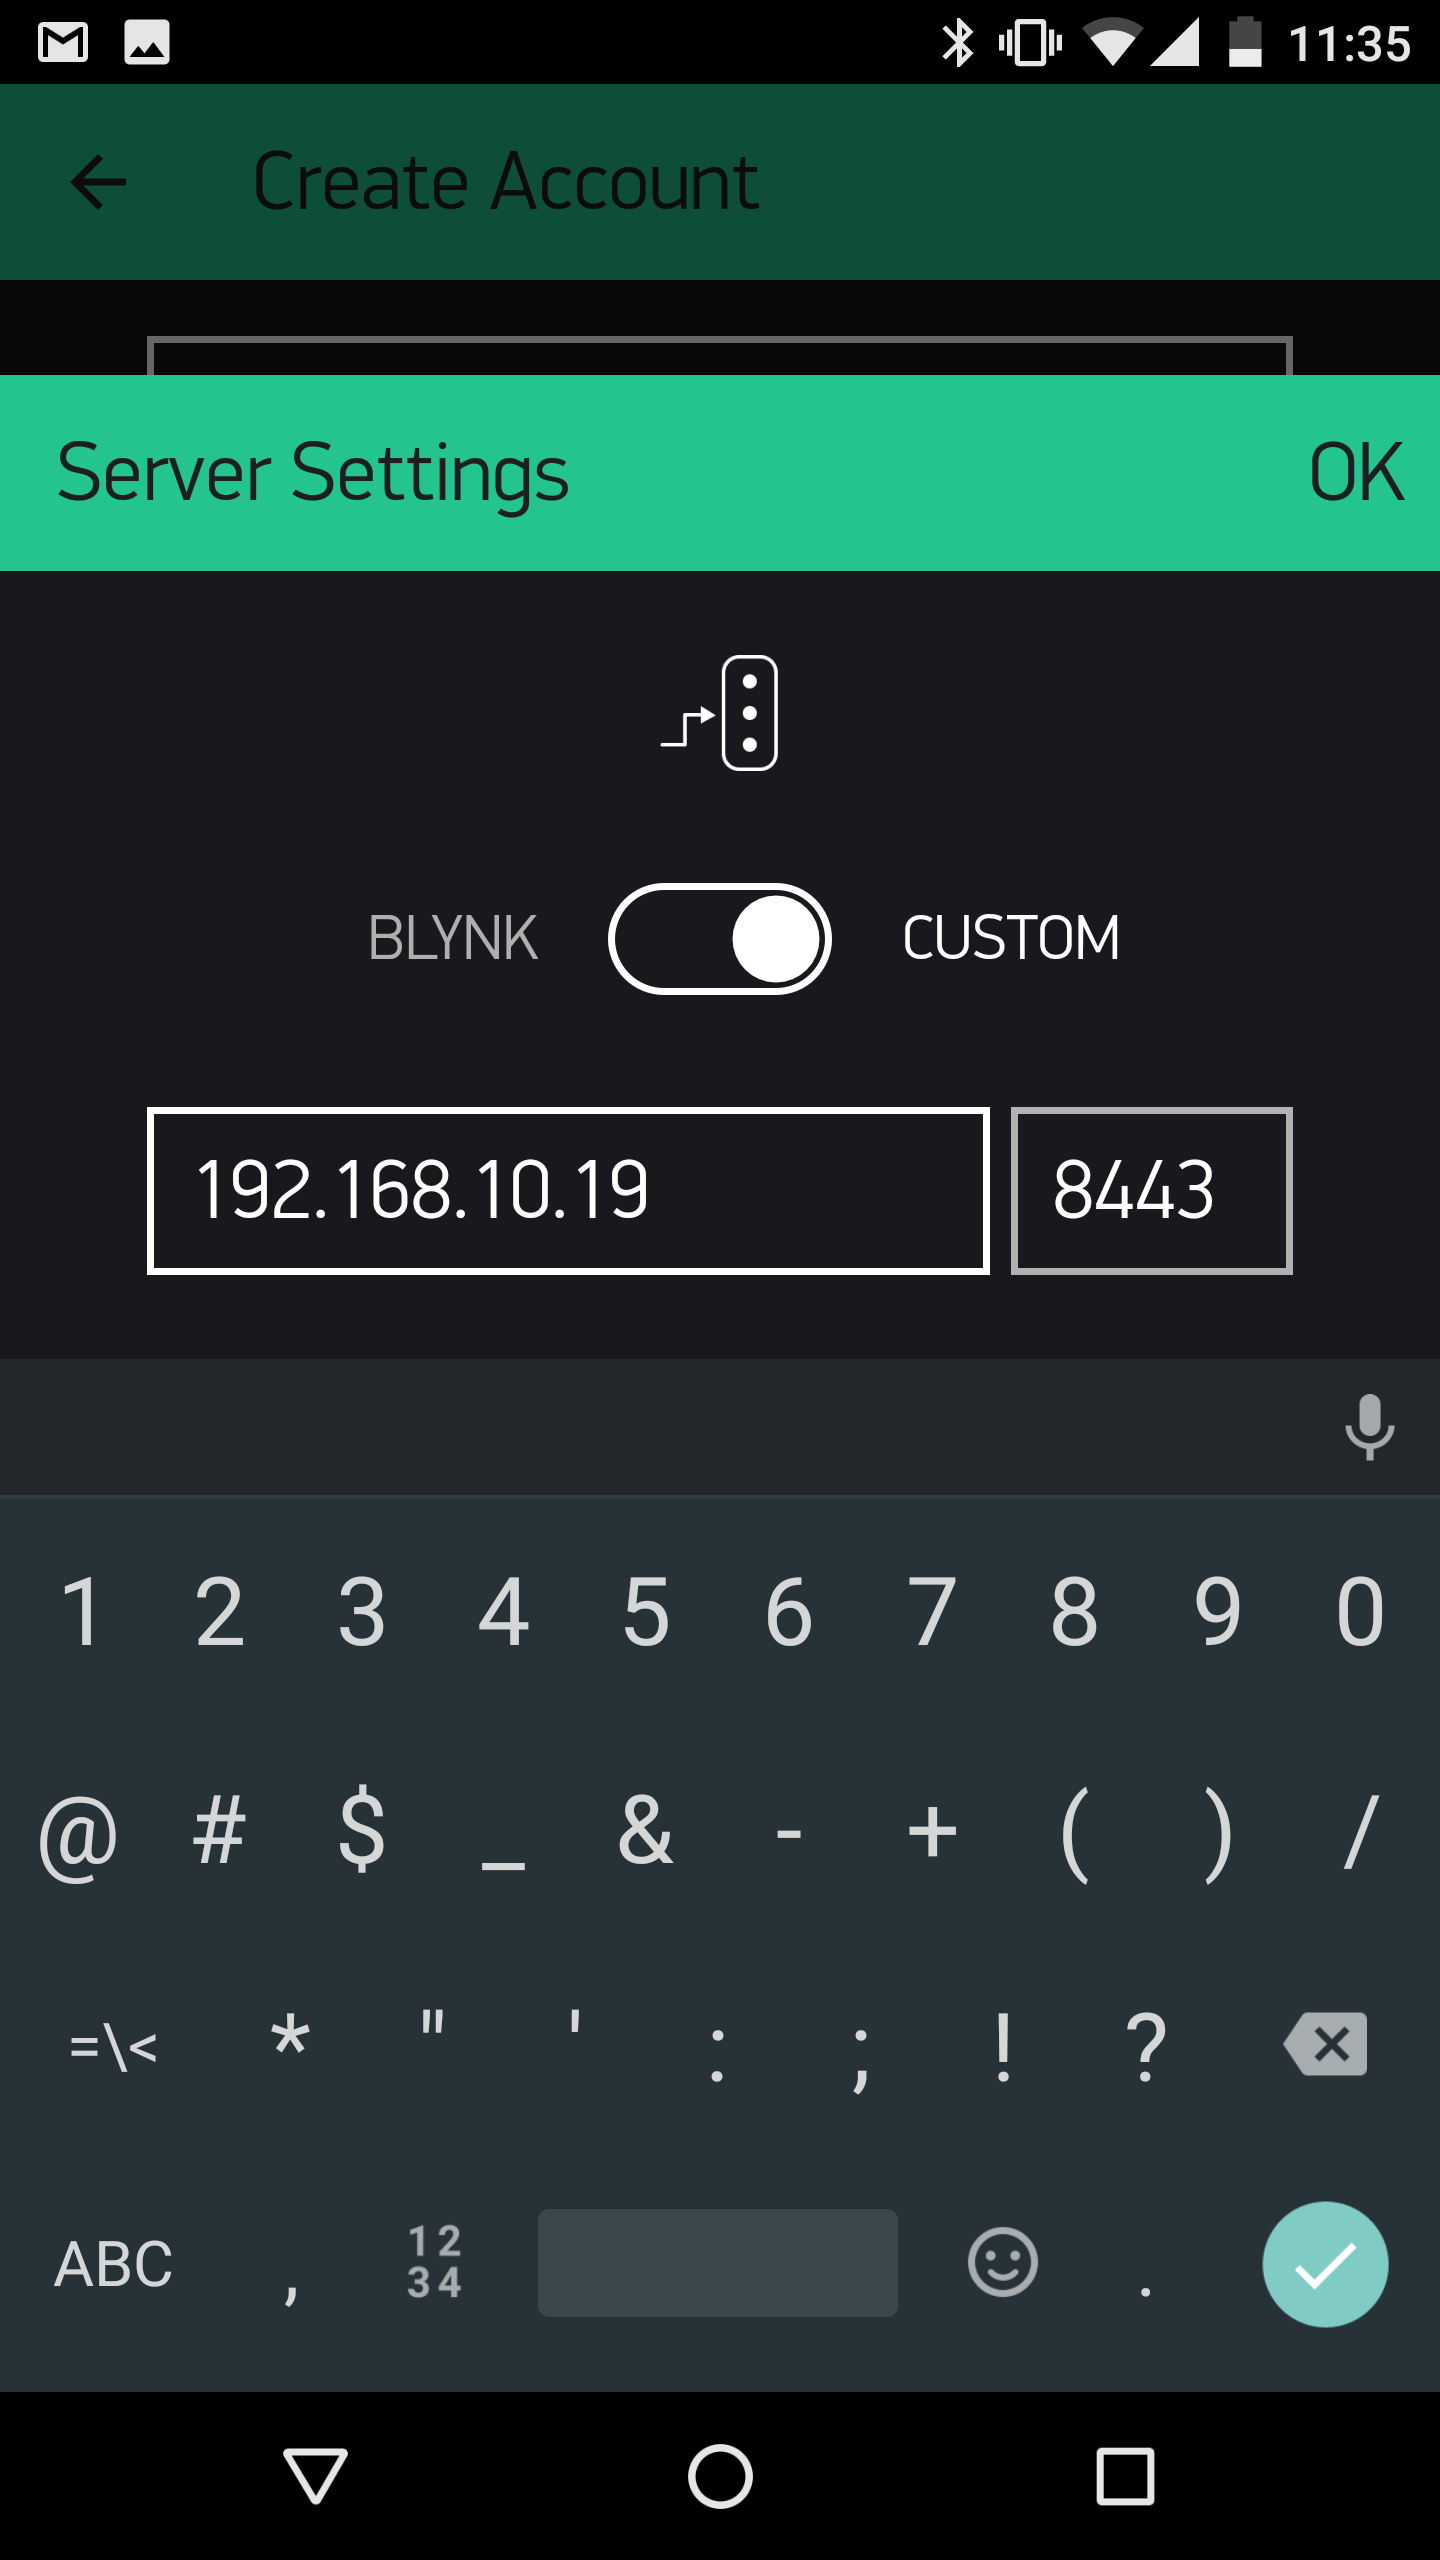
    Click on the stoplight looking settings icon and switch to custom, then enter your local server IP.

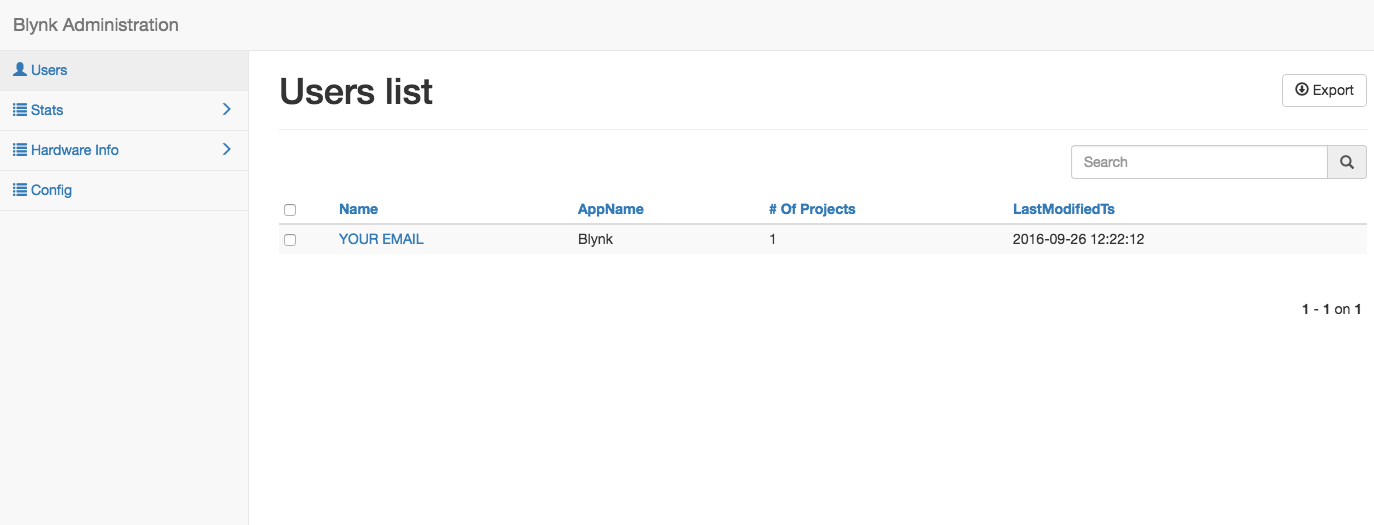
    When login is complete check that your new user displays on the local server.

    Create another hello world led toggle project in the Blynk app. Note the Auth ID, email won't work but you can tap it to copy and email it to yourself manually

    Update the Arduino sketch and upload

    The new sketch has an IP address value added in Blynk.begin, this should be the IP of your local Blynk server. Enter you new Auth ID from above. Update this sketch, re verify, and upload, if you need help refer to the ESP8266 and Blynk setup steps.

    /**************************************************************
     * Blynk is a platform with iOS and Android apps to control
     * Arduino, Raspberry Pi and the likes over the Internet.
     * You can easily build graphic interfaces for all your
     * projects by simply dragging and dropping widgets.
     *
     *   Downloads, docs, tutorials: http://www.blynk.cc
     *   Blynk community:            http://community.blynk.cc
     *   Social networks:            http://www.fb.com/blynkapp
     *                               http://twitter.com/blynk_app
     *
     * Blynk library is licensed under MIT license
     * This example code is in public domain.
     *
     **************************************************************
     * This example runs directly on ESP8266 chip.
     *
     * You need to install this for ESP8266 development:
     *   https://github.com/esp8266/Arduino
     *
     * Please be sure to select the right ESP8266 module
     * in the Tools -> Board menu!
     *
     * Change WiFi ssid, pass, and Blynk auth token to run :)
     *
     **************************************************************/
    #define BLYNK_PRINT Serial    // Comment this out to disable prints and save space
    #include 
    #include 
    // You should get Auth Token in the Blynk App.
    // Go to the Project Settings (nut icon).
    char auth[] = "XXXXXXXXXXXXXXXXXXXXXXXX";
    // Your WiFi credentials.
    // Set password to "" for open networks.
    char ssid[] = "XXXXXX";
    char pass[] = "XXXXXX";
    void setup()
    {
      Serial.begin(115200);
      Blynk.begin(auth, ssid, pass, IPAddress(XXX,XXX,XX,XX));
    }
    void loop()
    {
      Blynk.run();
    }
    

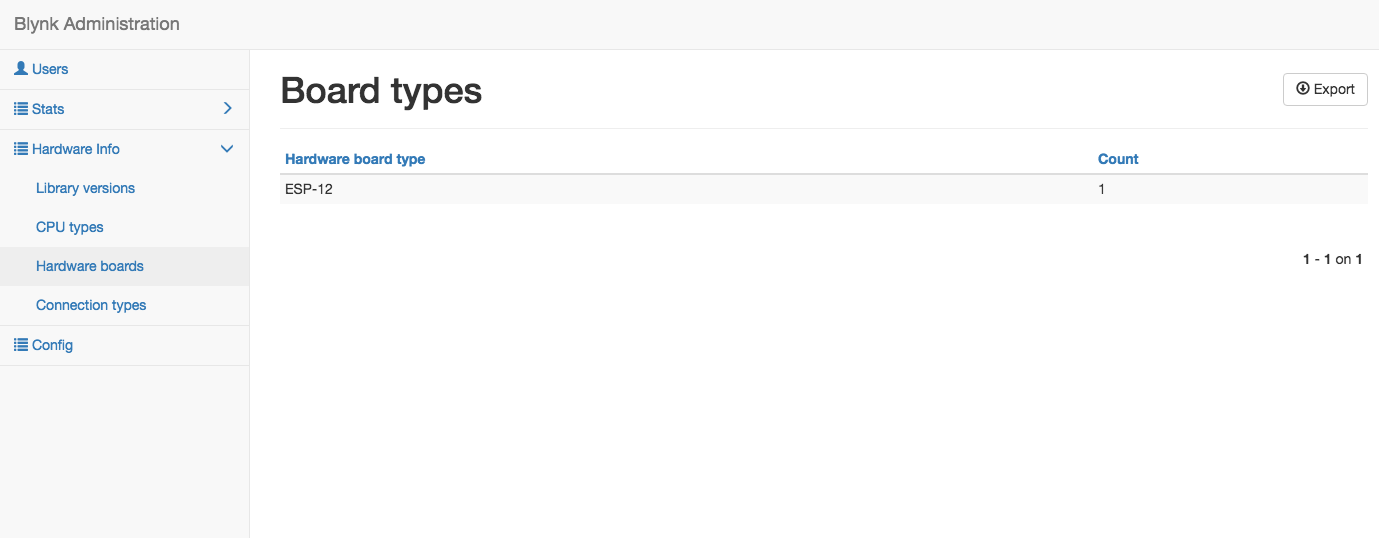
    Refresh the server page and navigate to Hardware boards to check that the device has logged in locally.

    From the Blynk app run your app and toggle the button, the LED should turn on and off if you used the blink led example linked above. This is all that's needed to test the local server and Arduino hardware. If it works everything is ready for creating a custom Android app.

  • Running the local app server for the project

    Richard Hogben09/14/2016 at 20:41 0 comments

    The local Blynk server requires a few steps to get running. When complete, you will have access to the admin panel for the local app server ready to take connections from the Android app and the Arduino hardware.

    Read more »

  • Android app project idea, turntable tonearm lifter

    Richard Hogben09/06/2016 at 19:34 2 comments

    To decide on an idea I first looked for a problem I could solve or a problem that has been solved before but could be improved on.

    Turntables

    When I listen to records at home I run across two issues. I'm sometimes not in the same room when the record is finished and the needle is left on the record. Other times I would just like to pause the record but again I'm upstairs or otherwise not in front of the turntable. These are two minor inconvenices I think could be fixed.

    Read more »

  • Ideas for creating an app for Arduino projects

    Richard Hogben09/02/2016 at 01:00 0 comments

    Requirements

    What about the app?

    Will start with React Native, which requires Android Studio and JavaScript knowledge. This also means the code can be shared and run in Xcode for an iOS build.

    Read more »

View all 4 project logs

Enjoy this project?

Share

Discussions

modgilaapk51 wrote 09/03/2024 at 14:16 point

i want to create an app based on my website. can someone help me in this regard. here is my website and name and link.

https://modgila.net/

  Are you sure? yes | no

David Zil wrote 06/20/2024 at 19:38 point

Exciting project! Looking forward to seeing the development process from idea to finished product. The turntable tonearm lifter is a great idea, and integrating it with a WiFi connected Huzzah ESP8266 and an Android app will surely make it a unique and innovative project.  Thanks for sharing the project link and outlining the steps you'll be taking. I'll definitely be following along for updates. Good luck with the project, and I'm eager to see it come to life!

  Are you sure? yes | no

Similar Projects

Does this project spark your interest?

Become a member to follow this project and never miss any updates