-
Project Hibernation
01/26/2015 at 03:40 • 1 commentI have come to the conclusion that the Atmel Atmega32u4 is simply too slow/small to run/store any useful software. I have plans for an upgraded version with an Atmel M0 or M4 chip that runs much faster and has much more storage space for programs that make use of all the sensors on board. This project has been an incredible learning experience, and I appreciate everyone's avid interest! I will return to hackaday.io with a bigger and better (working) smart watch. See you then!
-
FINAL PROTOTYPE COMPLETE!
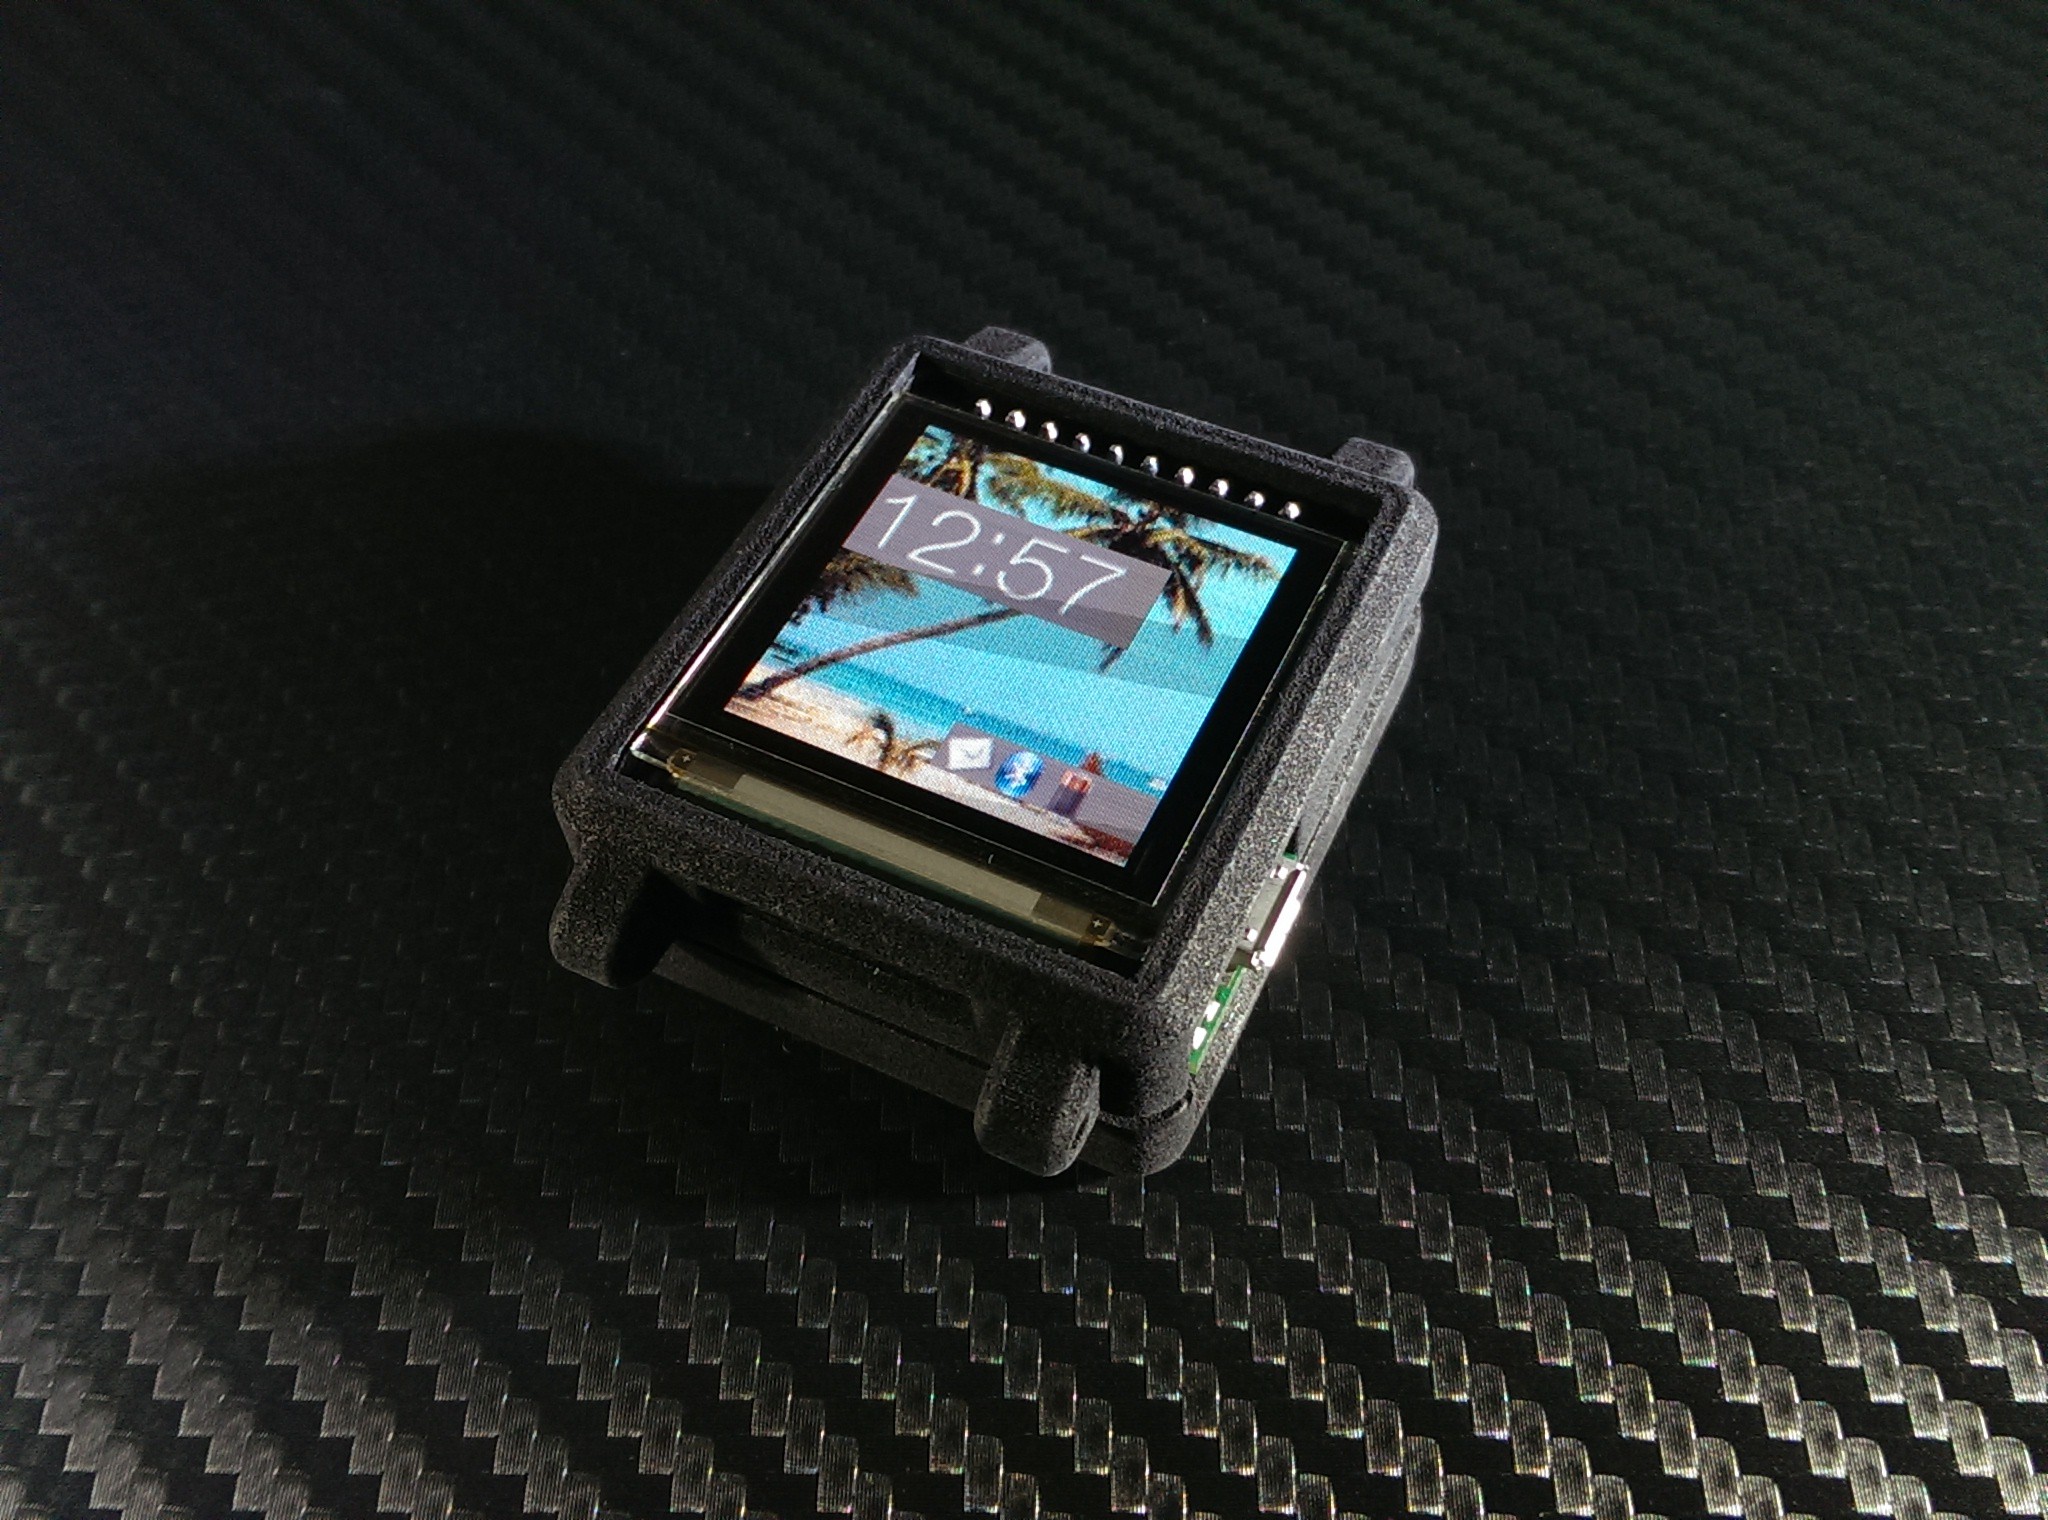
10/13/2014 at 00:40 • 0 commentsAfter all my hard work, soldering iron burns, panic moments, unforeseen delays, and small victories, my smart watch finally exists:
![]()
![]()
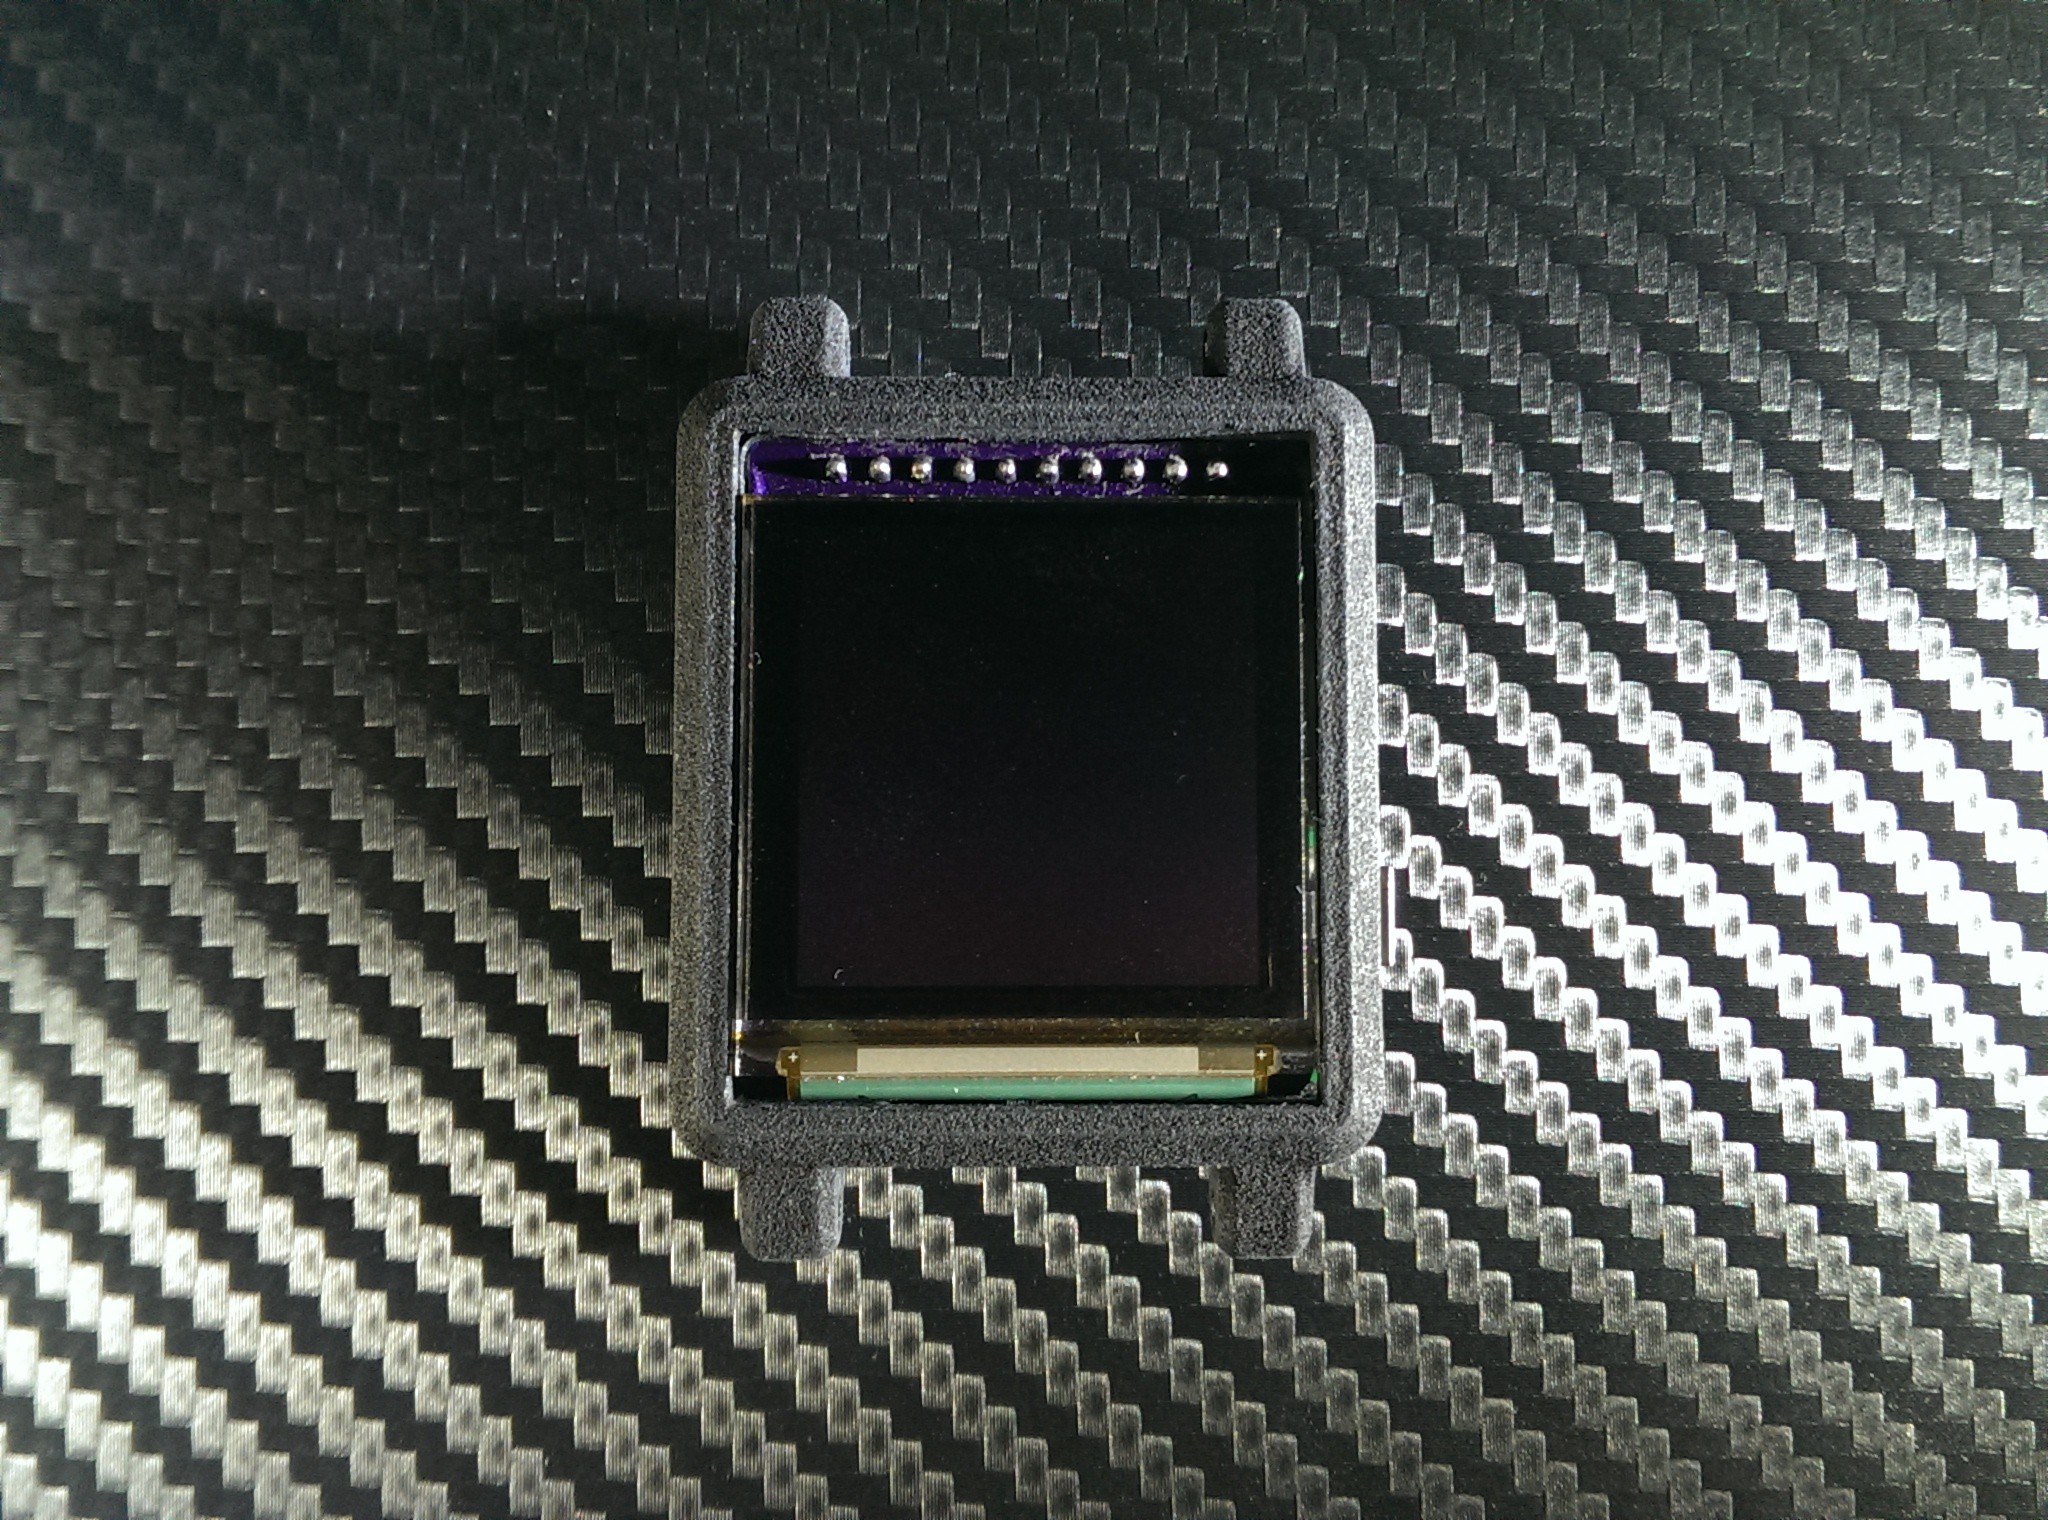
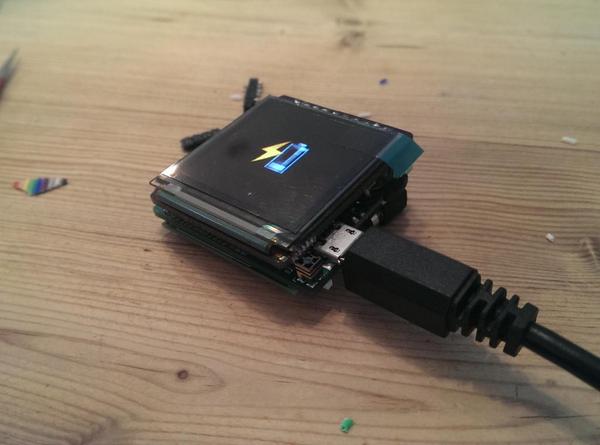
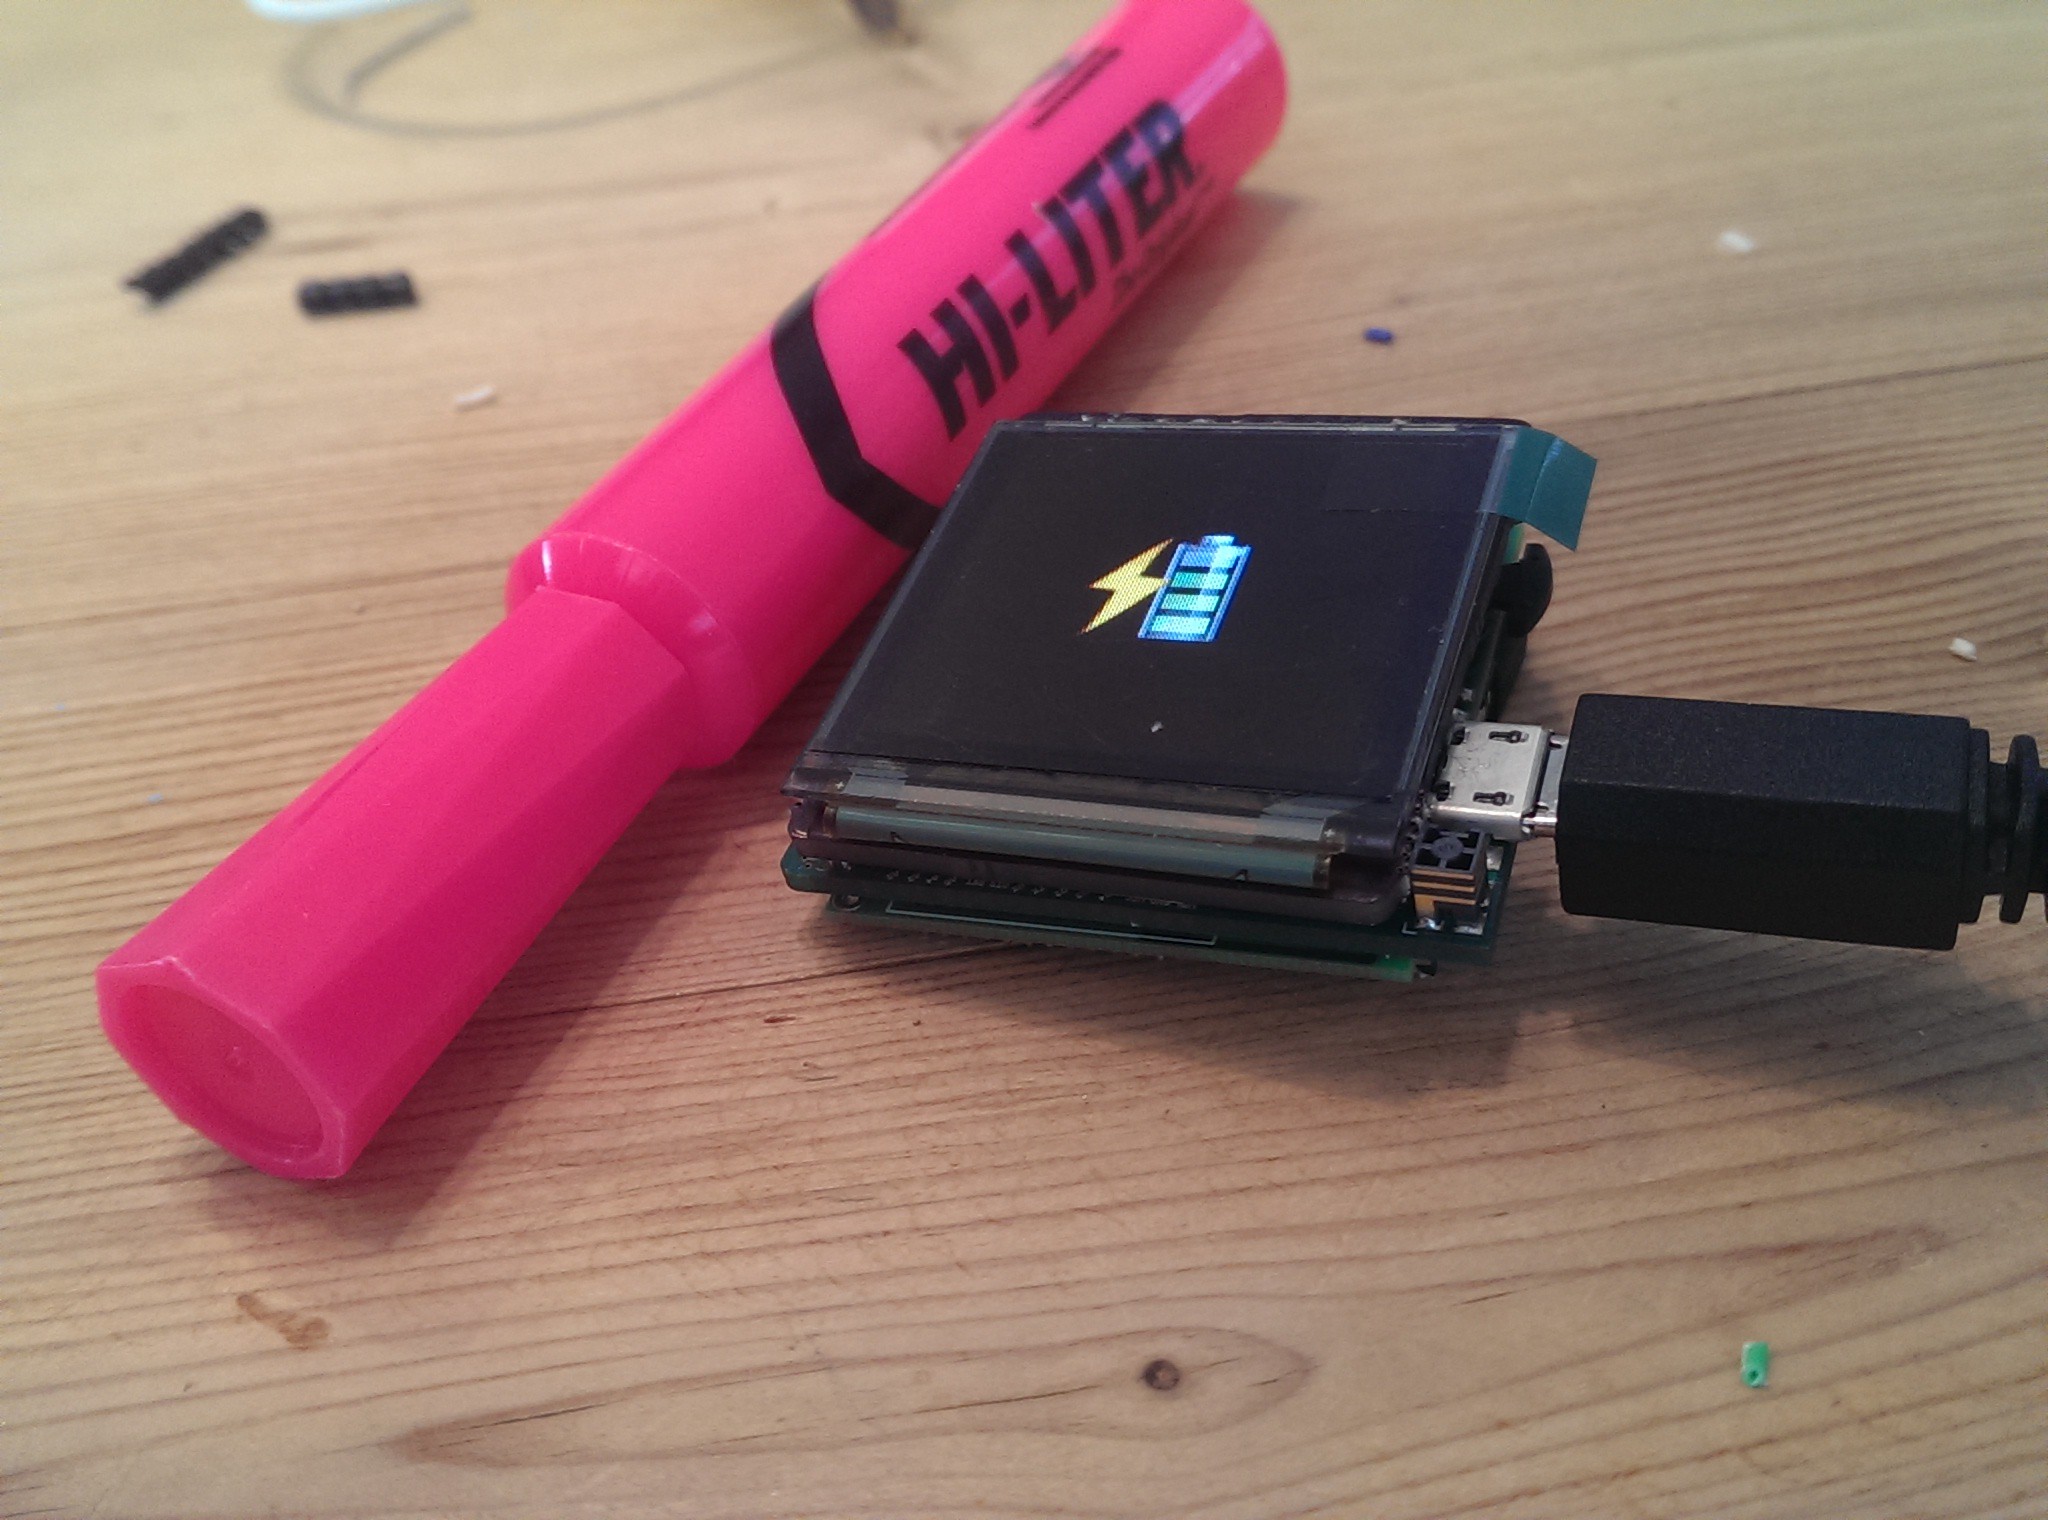
With the case and new OLED display just in, I was able to remove the screen used for testing and permanently assemble the watch. Coming in at .5mm thinner than my previous generation OLED watch, it's much thinner than I anticipated, and the 3D printed case is almost perfect, although I'll order another top half of the case to tweak several spots to ensure a precise fit in the long run, but for the most part, it's complete! Once I'm completely happy with the case, I'll wire and adhere the QI wireless charging receiver to the bottom where a slot is inset for it and then I'll be able to just place it down on my charging base and it will begin charging wirelessly and by itself. Now I will continue work on the smart phone companion app, and when that is finished and working, I'll complete the operating system to use the communication standards I created in the app and add the fancy animations and features that will make this the coolest smart watch out there.
-
IMUduinoBTLE Kickstarter!
10/08/2014 at 01:03 • 0 commentsMy buddy Alex from Femtoduino.com has just started a Kickstarter campaign for mass producing the IMUduinoBTLE microcontroller used in this smart watch! The starter pledge is a crazy good price, and most of the amazing sensors and features of my watch come from this incredible board including all the bluetooth low energy capability! It's essentially an Arduino Leonardo in the tiniest form factor physically possible, and I can trust Alex and his devices 100%. If you need a microcontroller that's incredibly small, but still easily incorporated into advanced projects with a host of sensors and wireless communication, check out the Kickstarter!
-
Smart Watch Almost Complete!
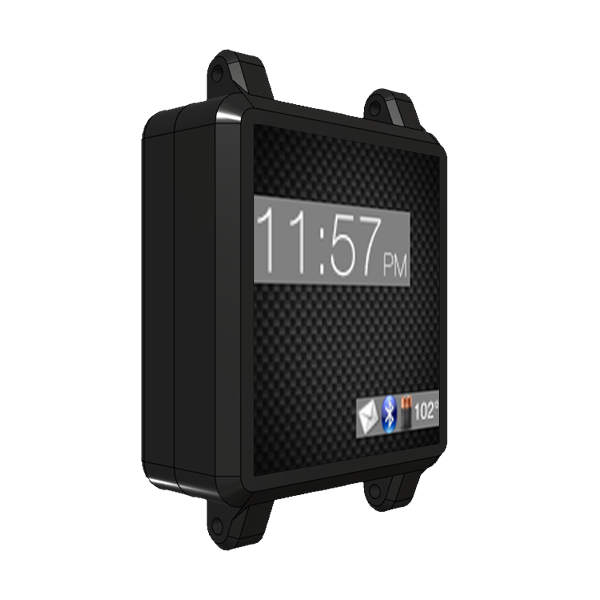
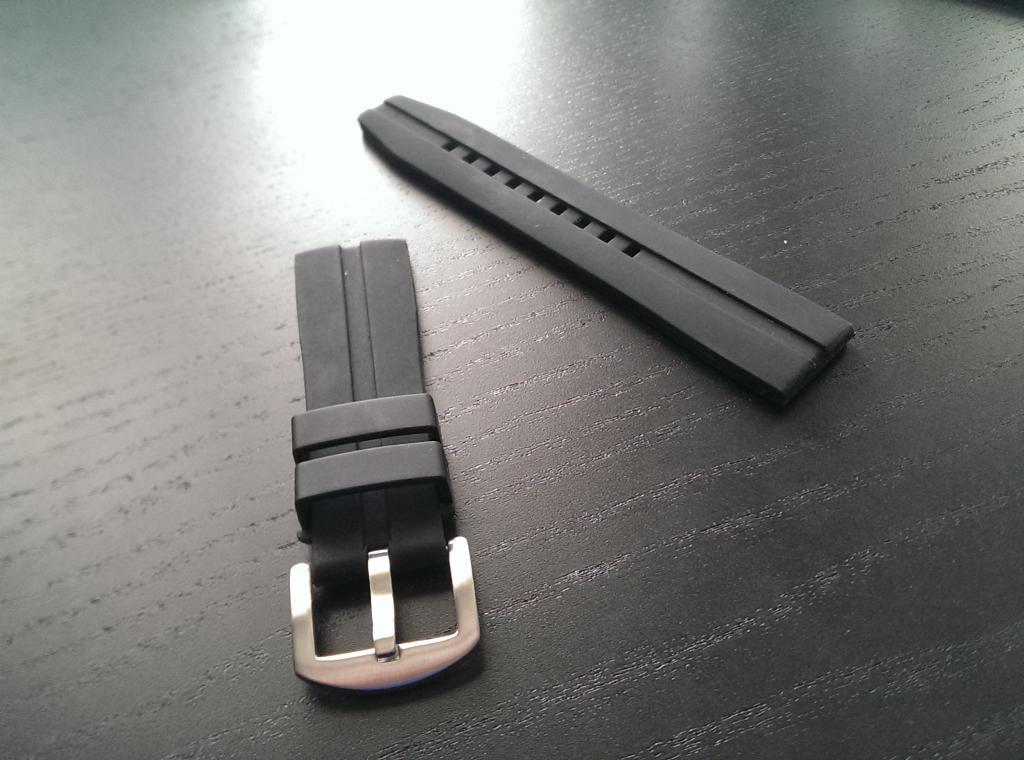
10/01/2014 at 22:20 • 0 commentsIt's an exciting time for my smart watch project! My hardware is assembled and fully functional, test software is working and looking far slicker and more professional than I could have ever thought, and the companion app for android is almost complete. At the moment I'm waiting for the watch case to be 3d printed in polished black plastic from Sculpteo.com which should arrive next week, and with the bands that arrived today, if my caliper skills are up to par, I'll be able to case up the pcbs and focus on software! From my preliminary renderings and what the bands look like, this thing is going to look mean, and compete visually as well as in stats with other smart watches on the market today (which wasn't my goal at all with this project). Once my app is done, I'll make another post and make a video of it working, so I'll keep developing and get back to you in a few days!
![]()
![]()
![]()
-
Latest GUI Test
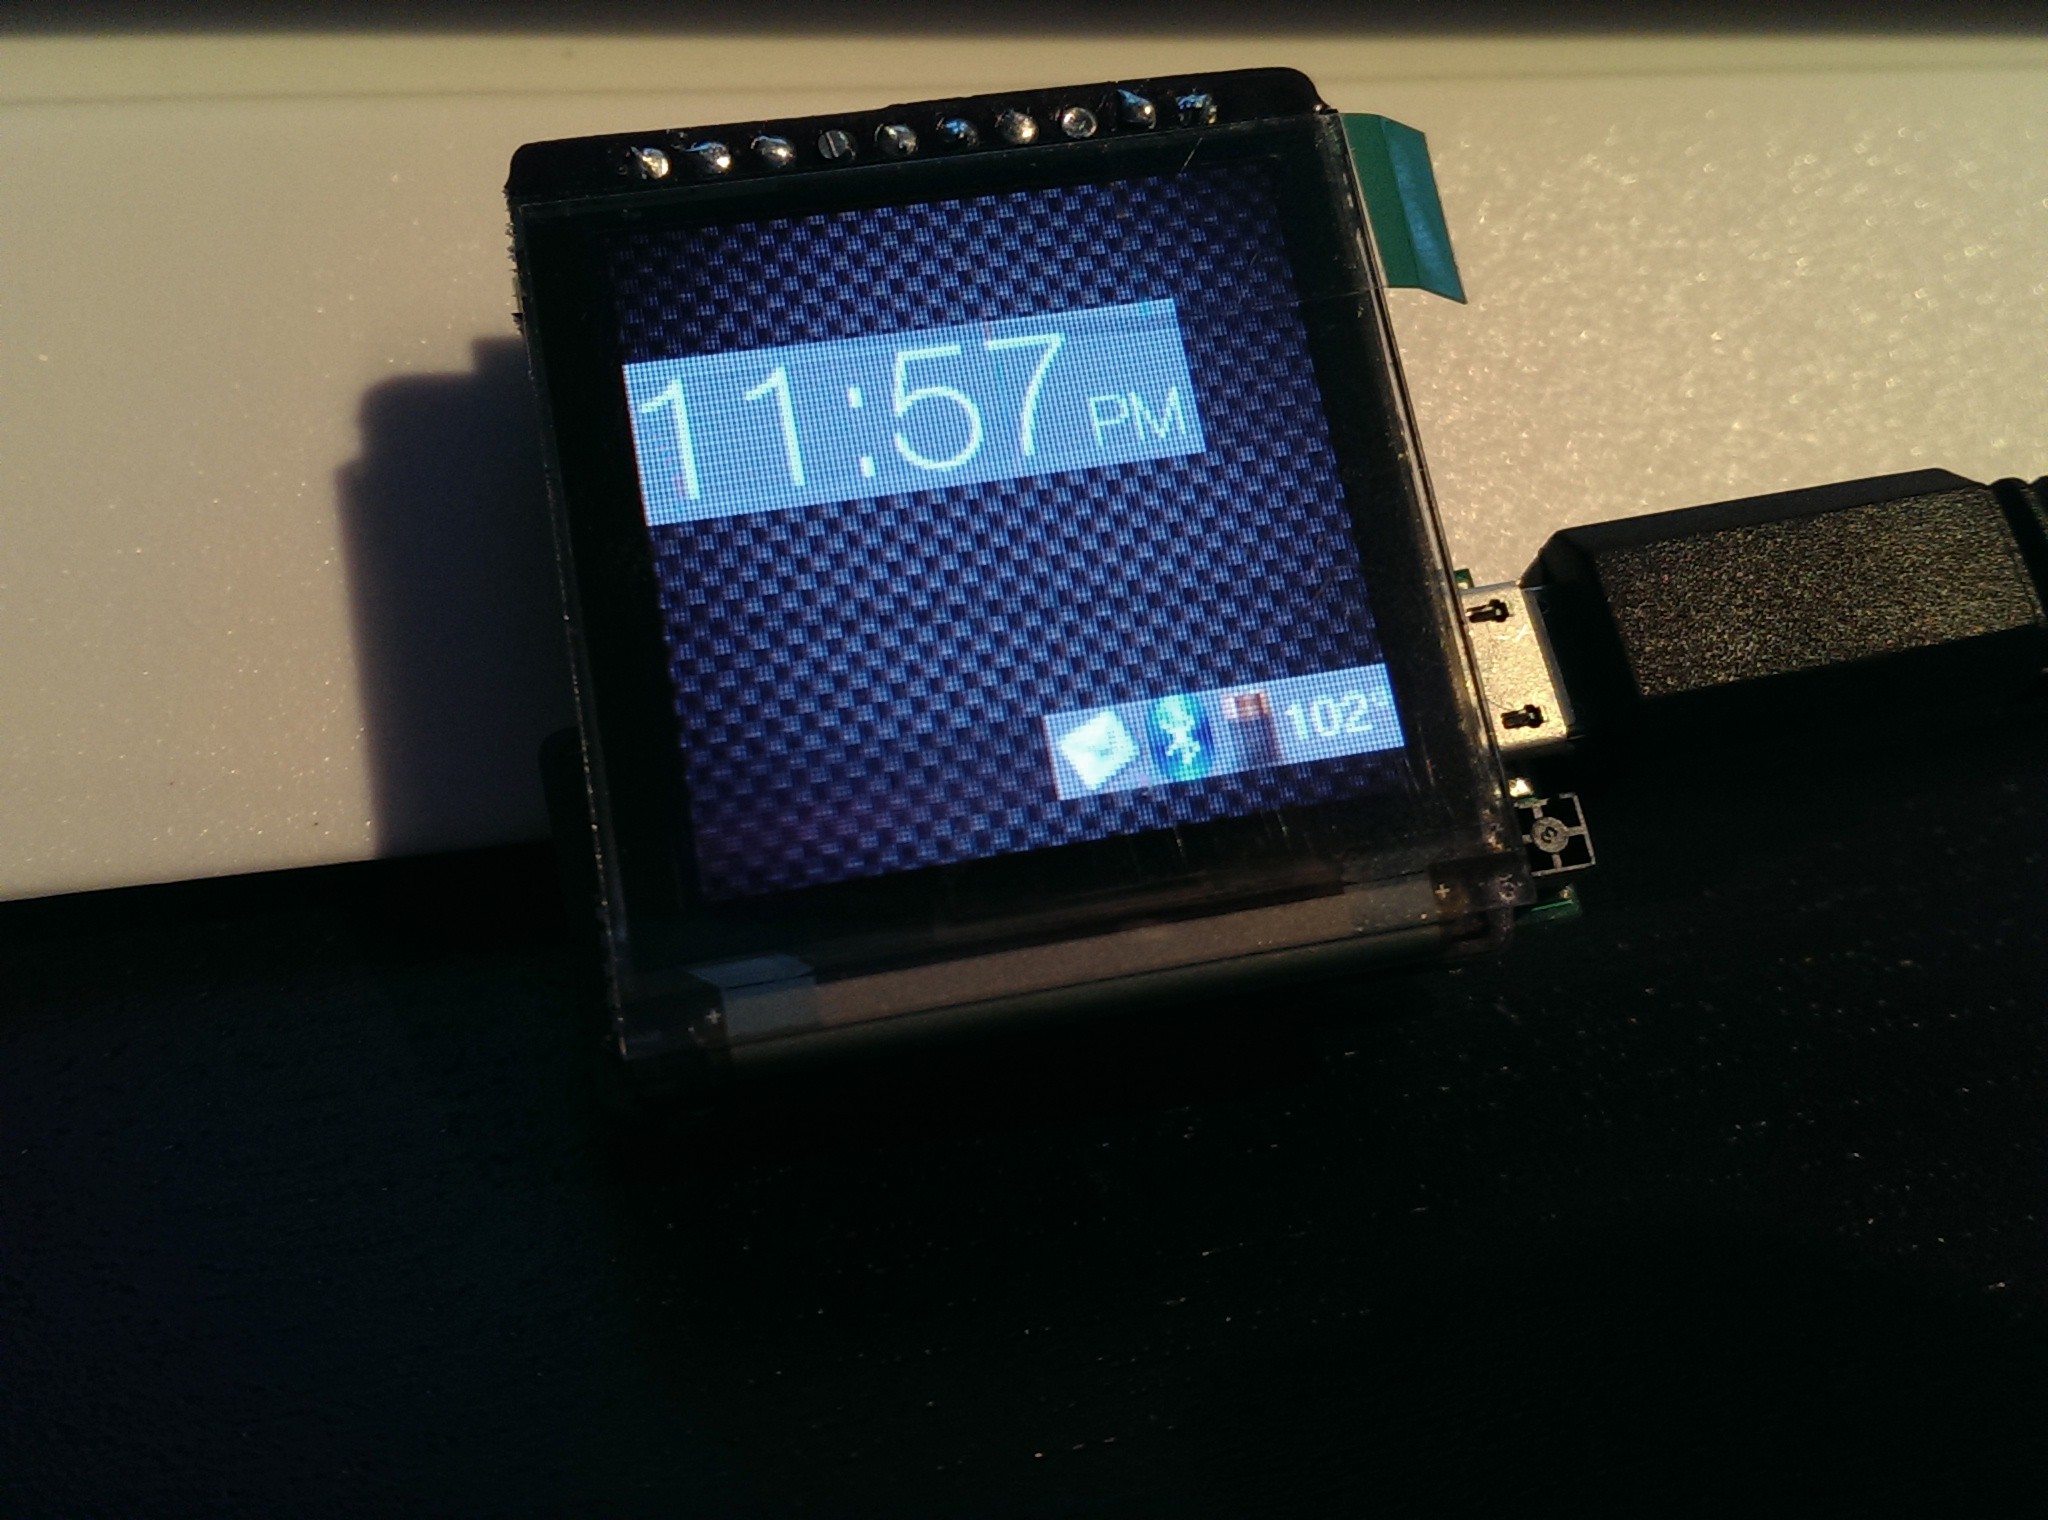
09/24/2014 at 01:39 • 1 commentI've evolved my GUI design to what's shown below. This screen will animate as the main menu when the side button is pressed. When the watch is tilted to view, it'll show your preselected watch face, but if at any time you press the side button in, it'll go to this menu with your wallpaper and give you information about the temperature, if you have notifications, your battery and bluetooth state, and things like that. You can then scroll up or down to read notifications or see sensor data!
![]()
-
FIRST PROTOTYPE COMPLETE!
09/20/2014 at 21:35 • 0 commentsThe day has come... My smart watch prototype works! It turned out I hadn't switched some of the pin assignments in arduino from my testing rig over to the new pins, so after some more tracing, the OLED is working along with everything else on the board! Success! Now I have hardware to play with, I can work on some software and trimming down all the libraries for maximum space. I'll also make my own fonts and store them on the sd card as they take up WAY too much space in flash. I've gotten emails back from help sources about the companion app, and should have it done soon. This is shaping up to be an awesome project!
![]()
![]()
-
Quick Update
09/17/2014 at 22:26 • 0 commentsAfter testing showed the OLED io pin choices would work, and I was fully confident in assembling the prototype, the second I sat down to assemble it, the microSD card fell out of its slot, and I discovered the mechanism no longer worked. Two weeks ago, Mike was kind enough to send some replacement card slots for me to repair it with, but they've been lost in the mail, and so two more are coming via air and I hope they arrive shortly. That aside, during these weeks, I've made great progress on the firmware and android companion app, but have reached a point where I need help as detailed here: https://discuss.tindie.com/t/w-llt-ch-smart-watch-android-app-help/1047. With less than two weeks left, if my sd card slots come in time, I'm confident I'll have a functional prototype, and with the code I've written and tested so far, it should be enough to meet the deadline requirements. I'll do some CAD and mock up another "artists render" of what it will look like, and will polish up the documentation here to best support the guidelines.
-
Prototype *Almost* Complete
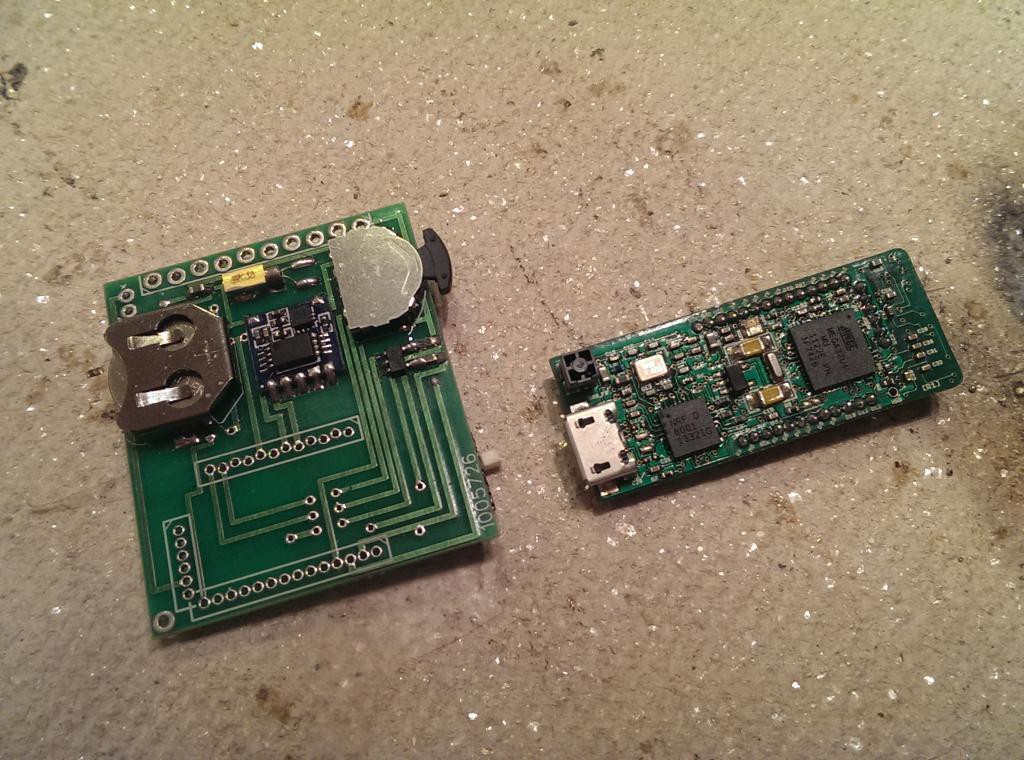
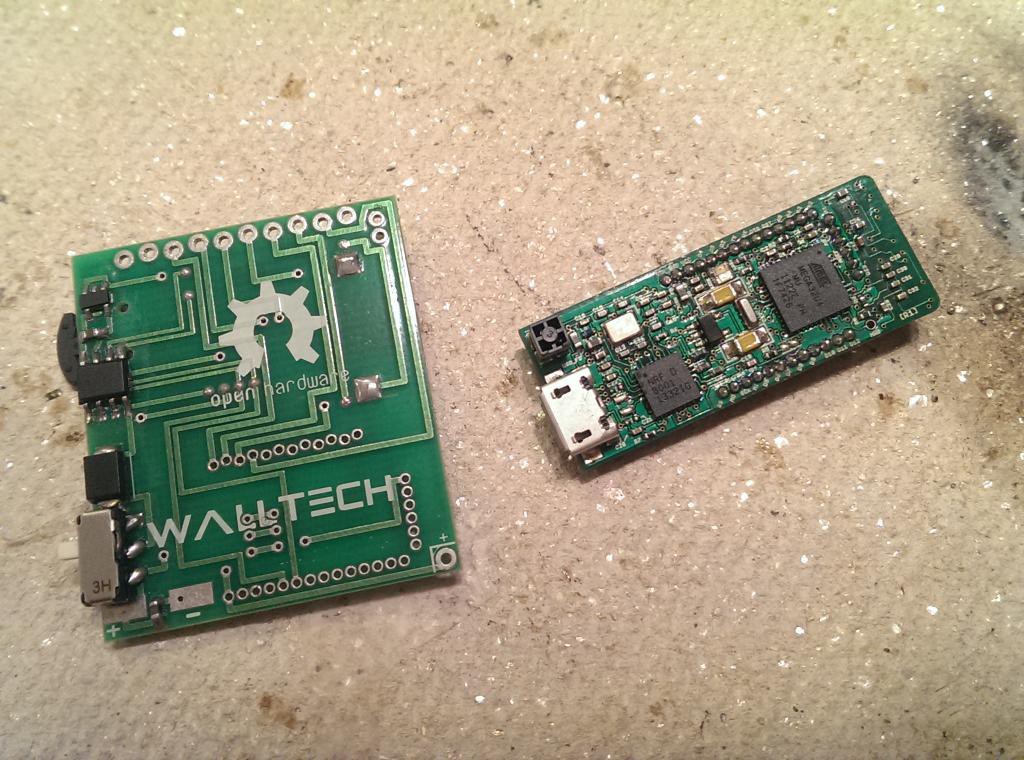
09/06/2014 at 15:09 • 0 commentsLabor day weekend I had some time to populate the pcb for the smart watch and do some preliminary testing, but left off the expensive IMUduinoBTLE and OLED display until I was fully confident in the design. After all the ICs and passives were soldered on by hand with my Hakko 888D, I probed the regulator and tested the power circuit, and it all worked perfectly. Next I soldered pin headers to the IMUduinoBTLE, as it'll need headers wether this prototype works or not, and press-fit it into its place on the board. I also fit the OLED display into it's row of pins, and with my tongue at the right angle, held everything to the pins made contact. Upon powering it up, my test image showed on the OLED, and the screen could refresh, and then I lost concentration and lost connection. The OLED is very very picky about having a solid connection to work at all, so I was half expecting this not do anything. I now know that the IMUduinoBTLE can run the screen with the pins I chose, and the power is routed correctly. \o/ All I need now is to find a suitable place to mount the vibration motor, and a free day to work on it, and I'll have a functional prototype to test the software I've already written for it! Can't wait!
![]()
![]()
-
GUI Toolbar Concept Test
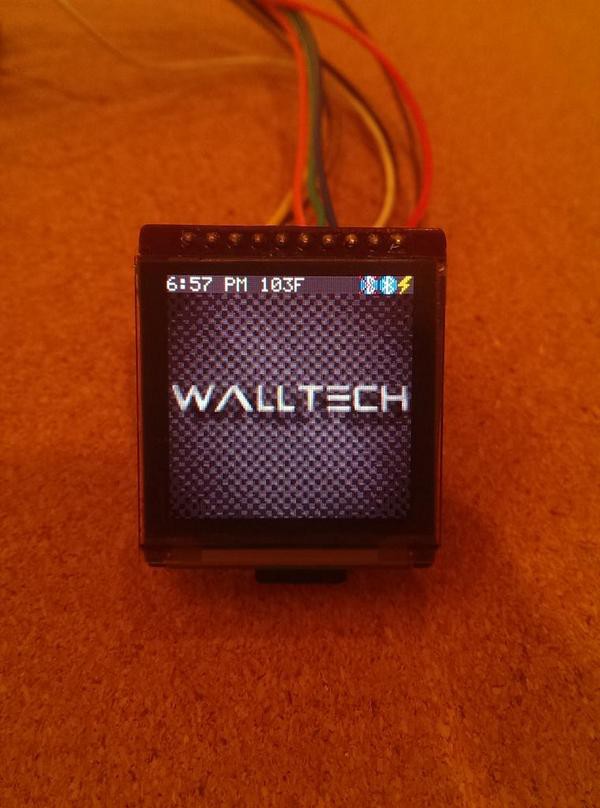
08/29/2014 at 01:43 • 0 commentsI mocked up some toolbar icons in photoshop for the smart watch GUI today and tested them out on the display when I got home from school. I played around with colors until I found the perfect grey for the toolbar, and after setting some alignment and measurement standards form myself, created a concept GUI that I really like and will stick with in the final software. The icons from right to left are the charging icon, bluetooth connected icon, and bluetooth disconnected icon. Obviously both bluetooth icons won't be on at the same time, but rather with boolean connection values coming from the Nordic nRF8001 will reflect the current bluetooth state of the watch. The time from the DS1307 and temperature from the IMUduinoBTLE's barometer will appear on all non-watch face screens, and will disappear when switched to a time face. When showing a time face after waking with a tap, pressing the side button will show the toolbar and show the number of notifications and the information mentioned above.
![]()
-
QI Wireless Charging, Check
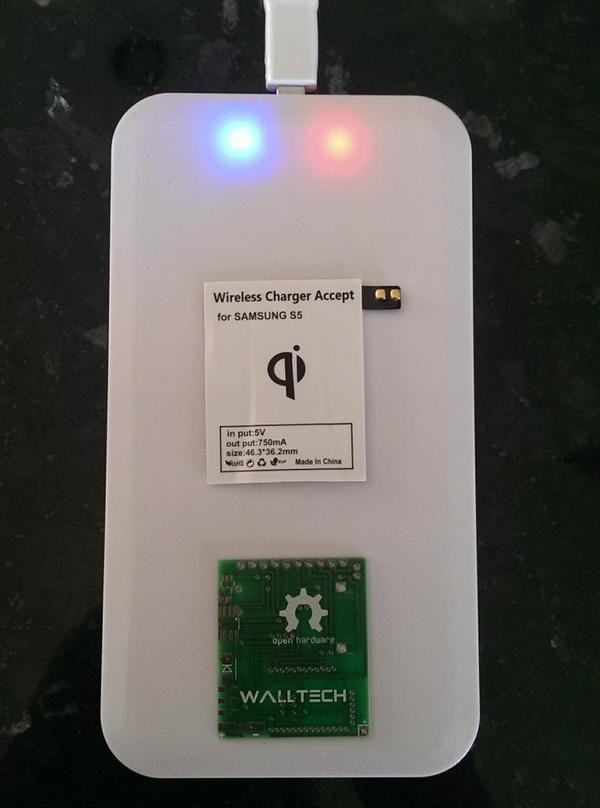
08/25/2014 at 22:34 • 0 commentsA Galaxy S5 wireless inductive charging receiver module arrived at my doorstep today and will work perfectly to supply my smart watch with up to 750ma of 5v charging power, for it to use along with USB, to charge the watch's 500mah lithium polymer battery. With its two solderable contacts and small size, this receiver will be perfect to slot in the watch case and provide the charging circuit with wireless power when soldered to the PCB's auxiliary power input pin at the circuit board's bottom right corner in the picture. Instead of fumbling for a micro USB cable, all you have to do now is place the watch on a QI standard compatible charging pad, and the watch will automatically begin receiving 5v with no connections and charging the battery just as fast as plugging in the USB cable. Seamless, high-tech, easy. Fantastic!
![]()
WΛLLTΞCH OLED BTLE Smart Watch v6.1
A BT 4.0 fitness-tracking smart watch for Android+iOS with a 1.5" color OLED display, SD card, NFC, wireless charging, and precision IMU
 WΛLLTΞCH