-
1A QUICK PRIMER ON THE GUIDE
There are 2 main sections for the instruction set. The first section is BUILDING THE GROUND UNIT. The second section is BUILDING THE CLOUD SERVICE.
BUILDING THE GROUND UNIT focuses on building the PR-Holonet ground unit, the actual device that the end user connects to. It has 2 parts. Part A focuses on putting the hardware together. Part B does all the OS configuration and PR-Holonet software installation starting from a blank Micro SD card.
BUILDING THE CLOUD SERVICE lays out all the steps to setup the cloud backend that makes the ground units work. It consists of 3 parts:
- PART A: Setting up AWS
- PART B: Setting up Rock7 Core
- PART C: Setting up Twilio
If you find any bugs, please leave a comment. Thanks!
-- Inventive Prototypes
(Click view all instructions for TOC to work 😉 )
Table of Contents
-
2BUILDING THE GROUND UNIT
Back to top
The next couple steps will guide you on how to build the bare minimum to get a working PR-Holonet ground unit
-
3Part A: HARDWARE
Back to top
Putting the unit together
-
4STEP 1: Getting the parts
Back to top
To build a working ground unit you will need:
- 1 Raspberry Pi 3 Model B
- 1 Rockblock MK II
- 6 jumper cables
- 1 Configured microSD card (with the OS and PR-Holonet software)
- 1 Micro USB cable
- A usb power source (take your pick)
-
5STEP 2: Connect the Rockblock to the PI
Back to top
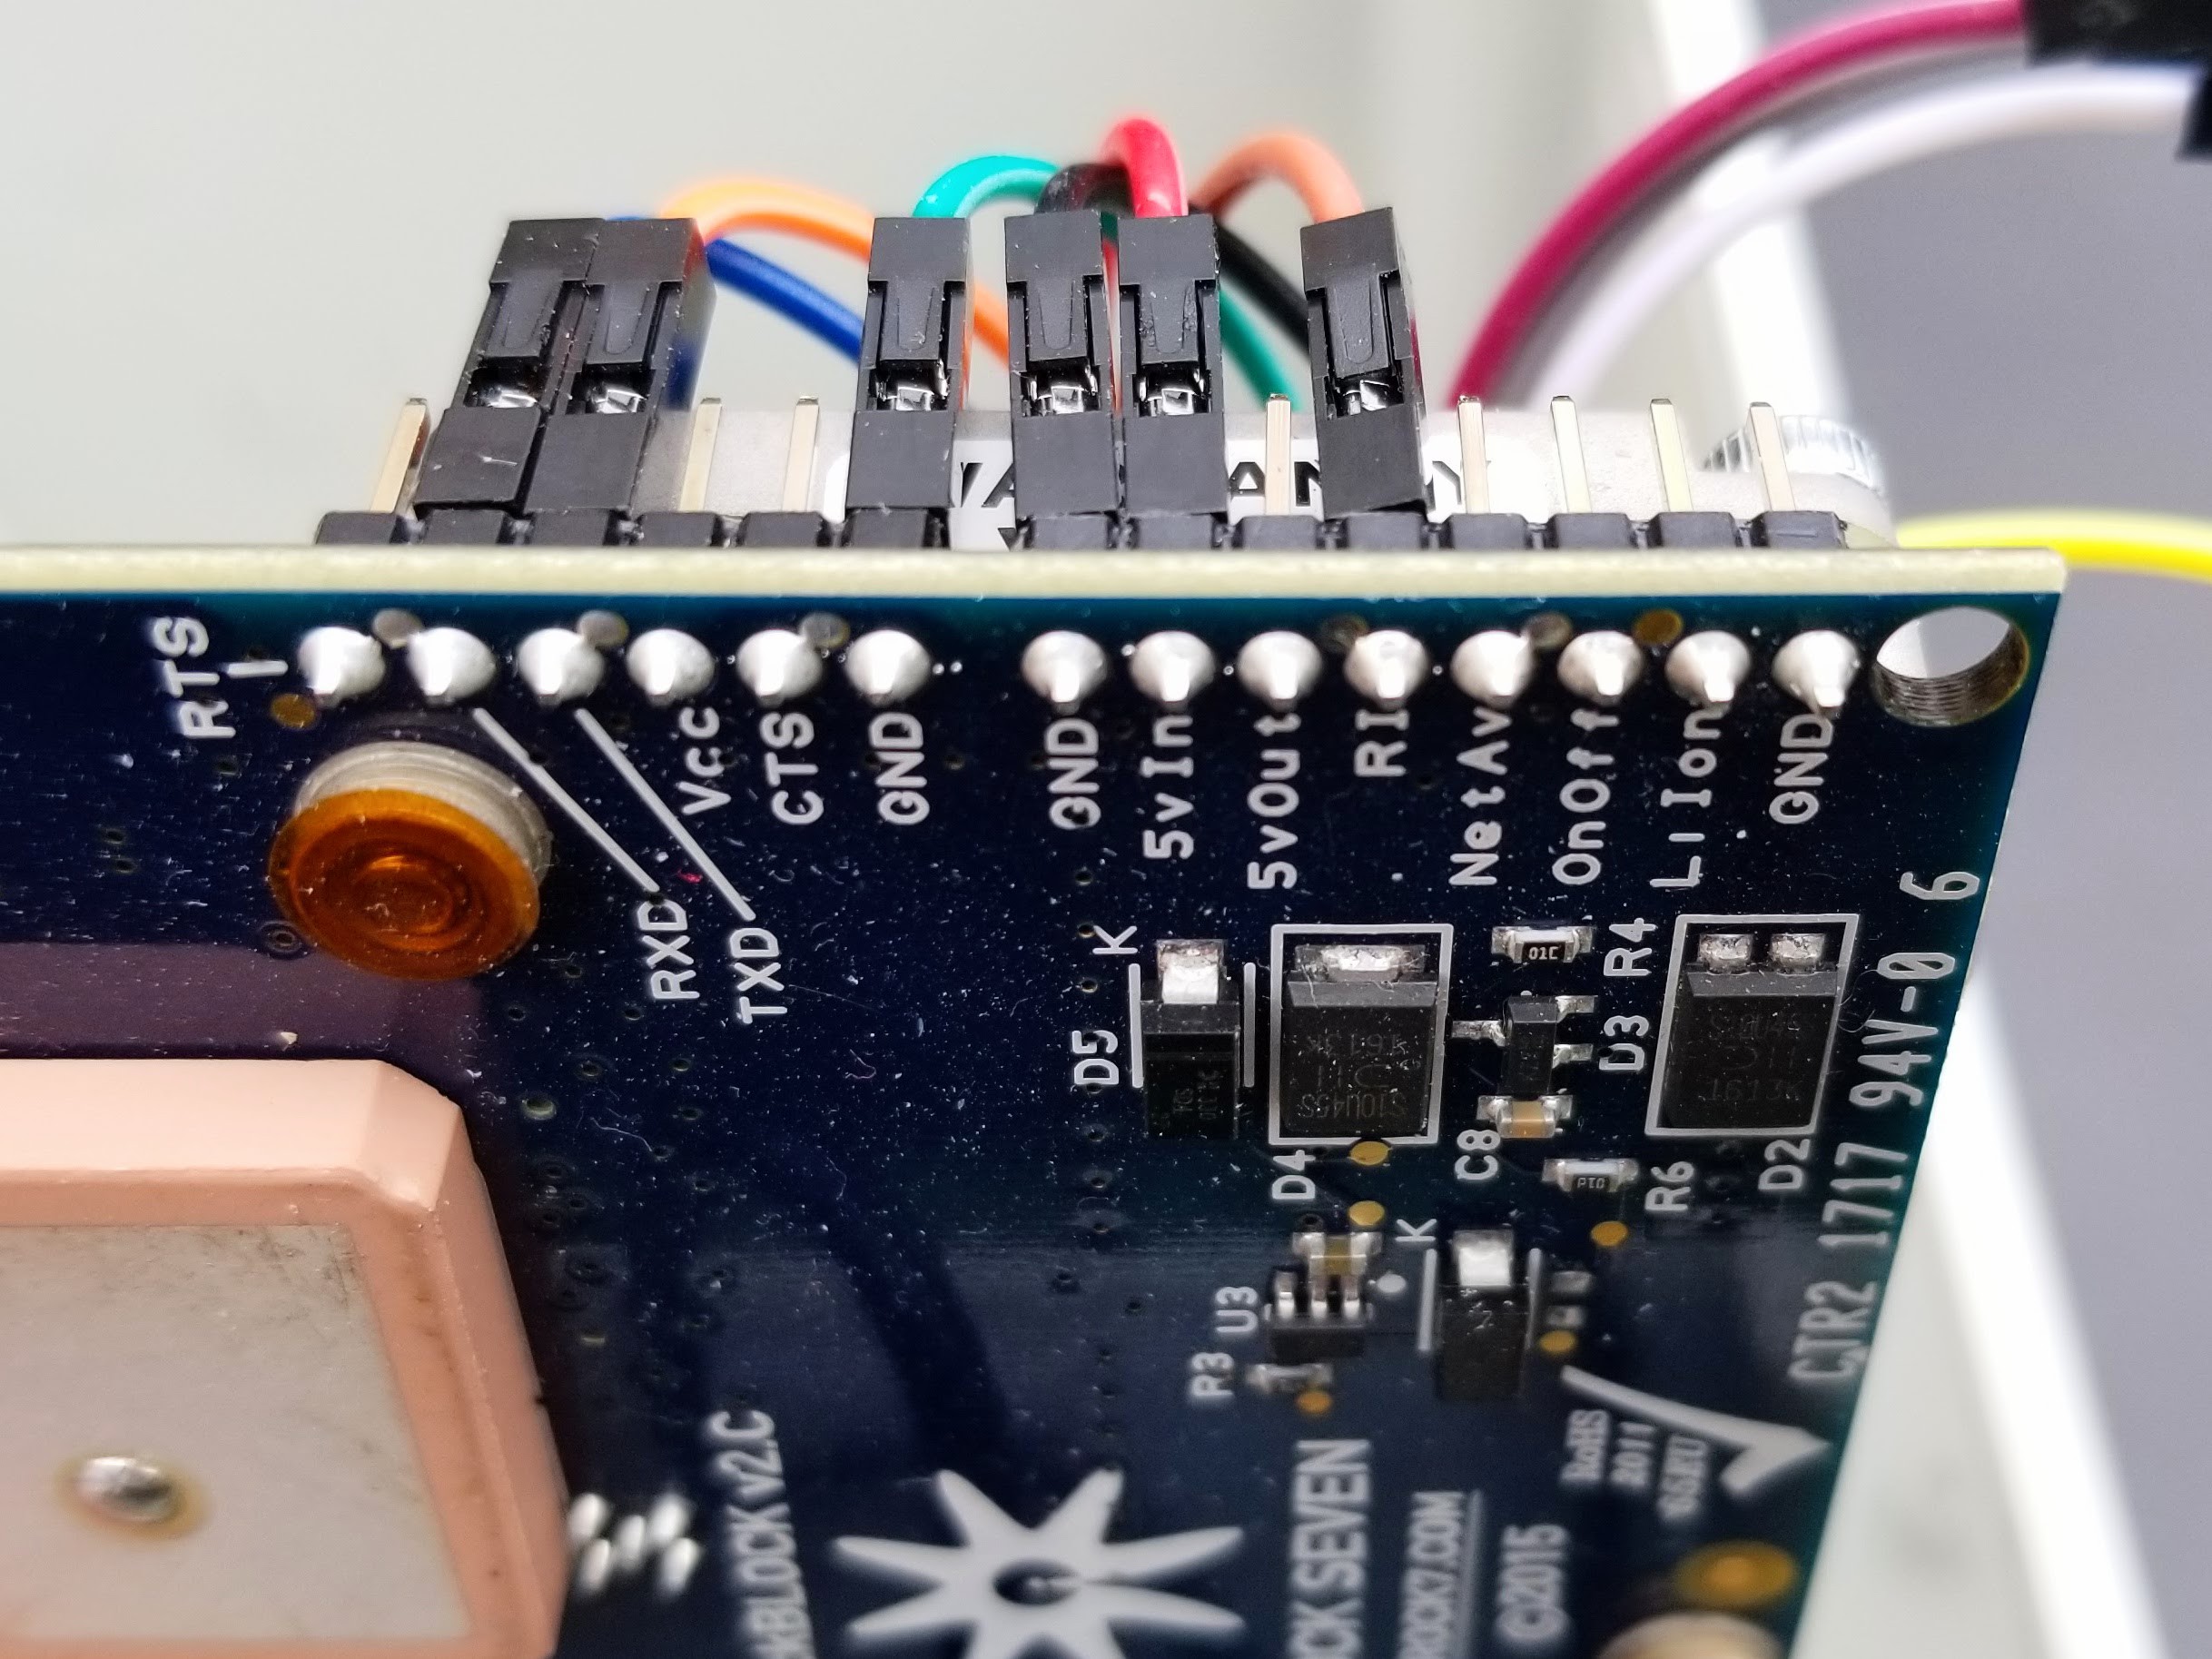
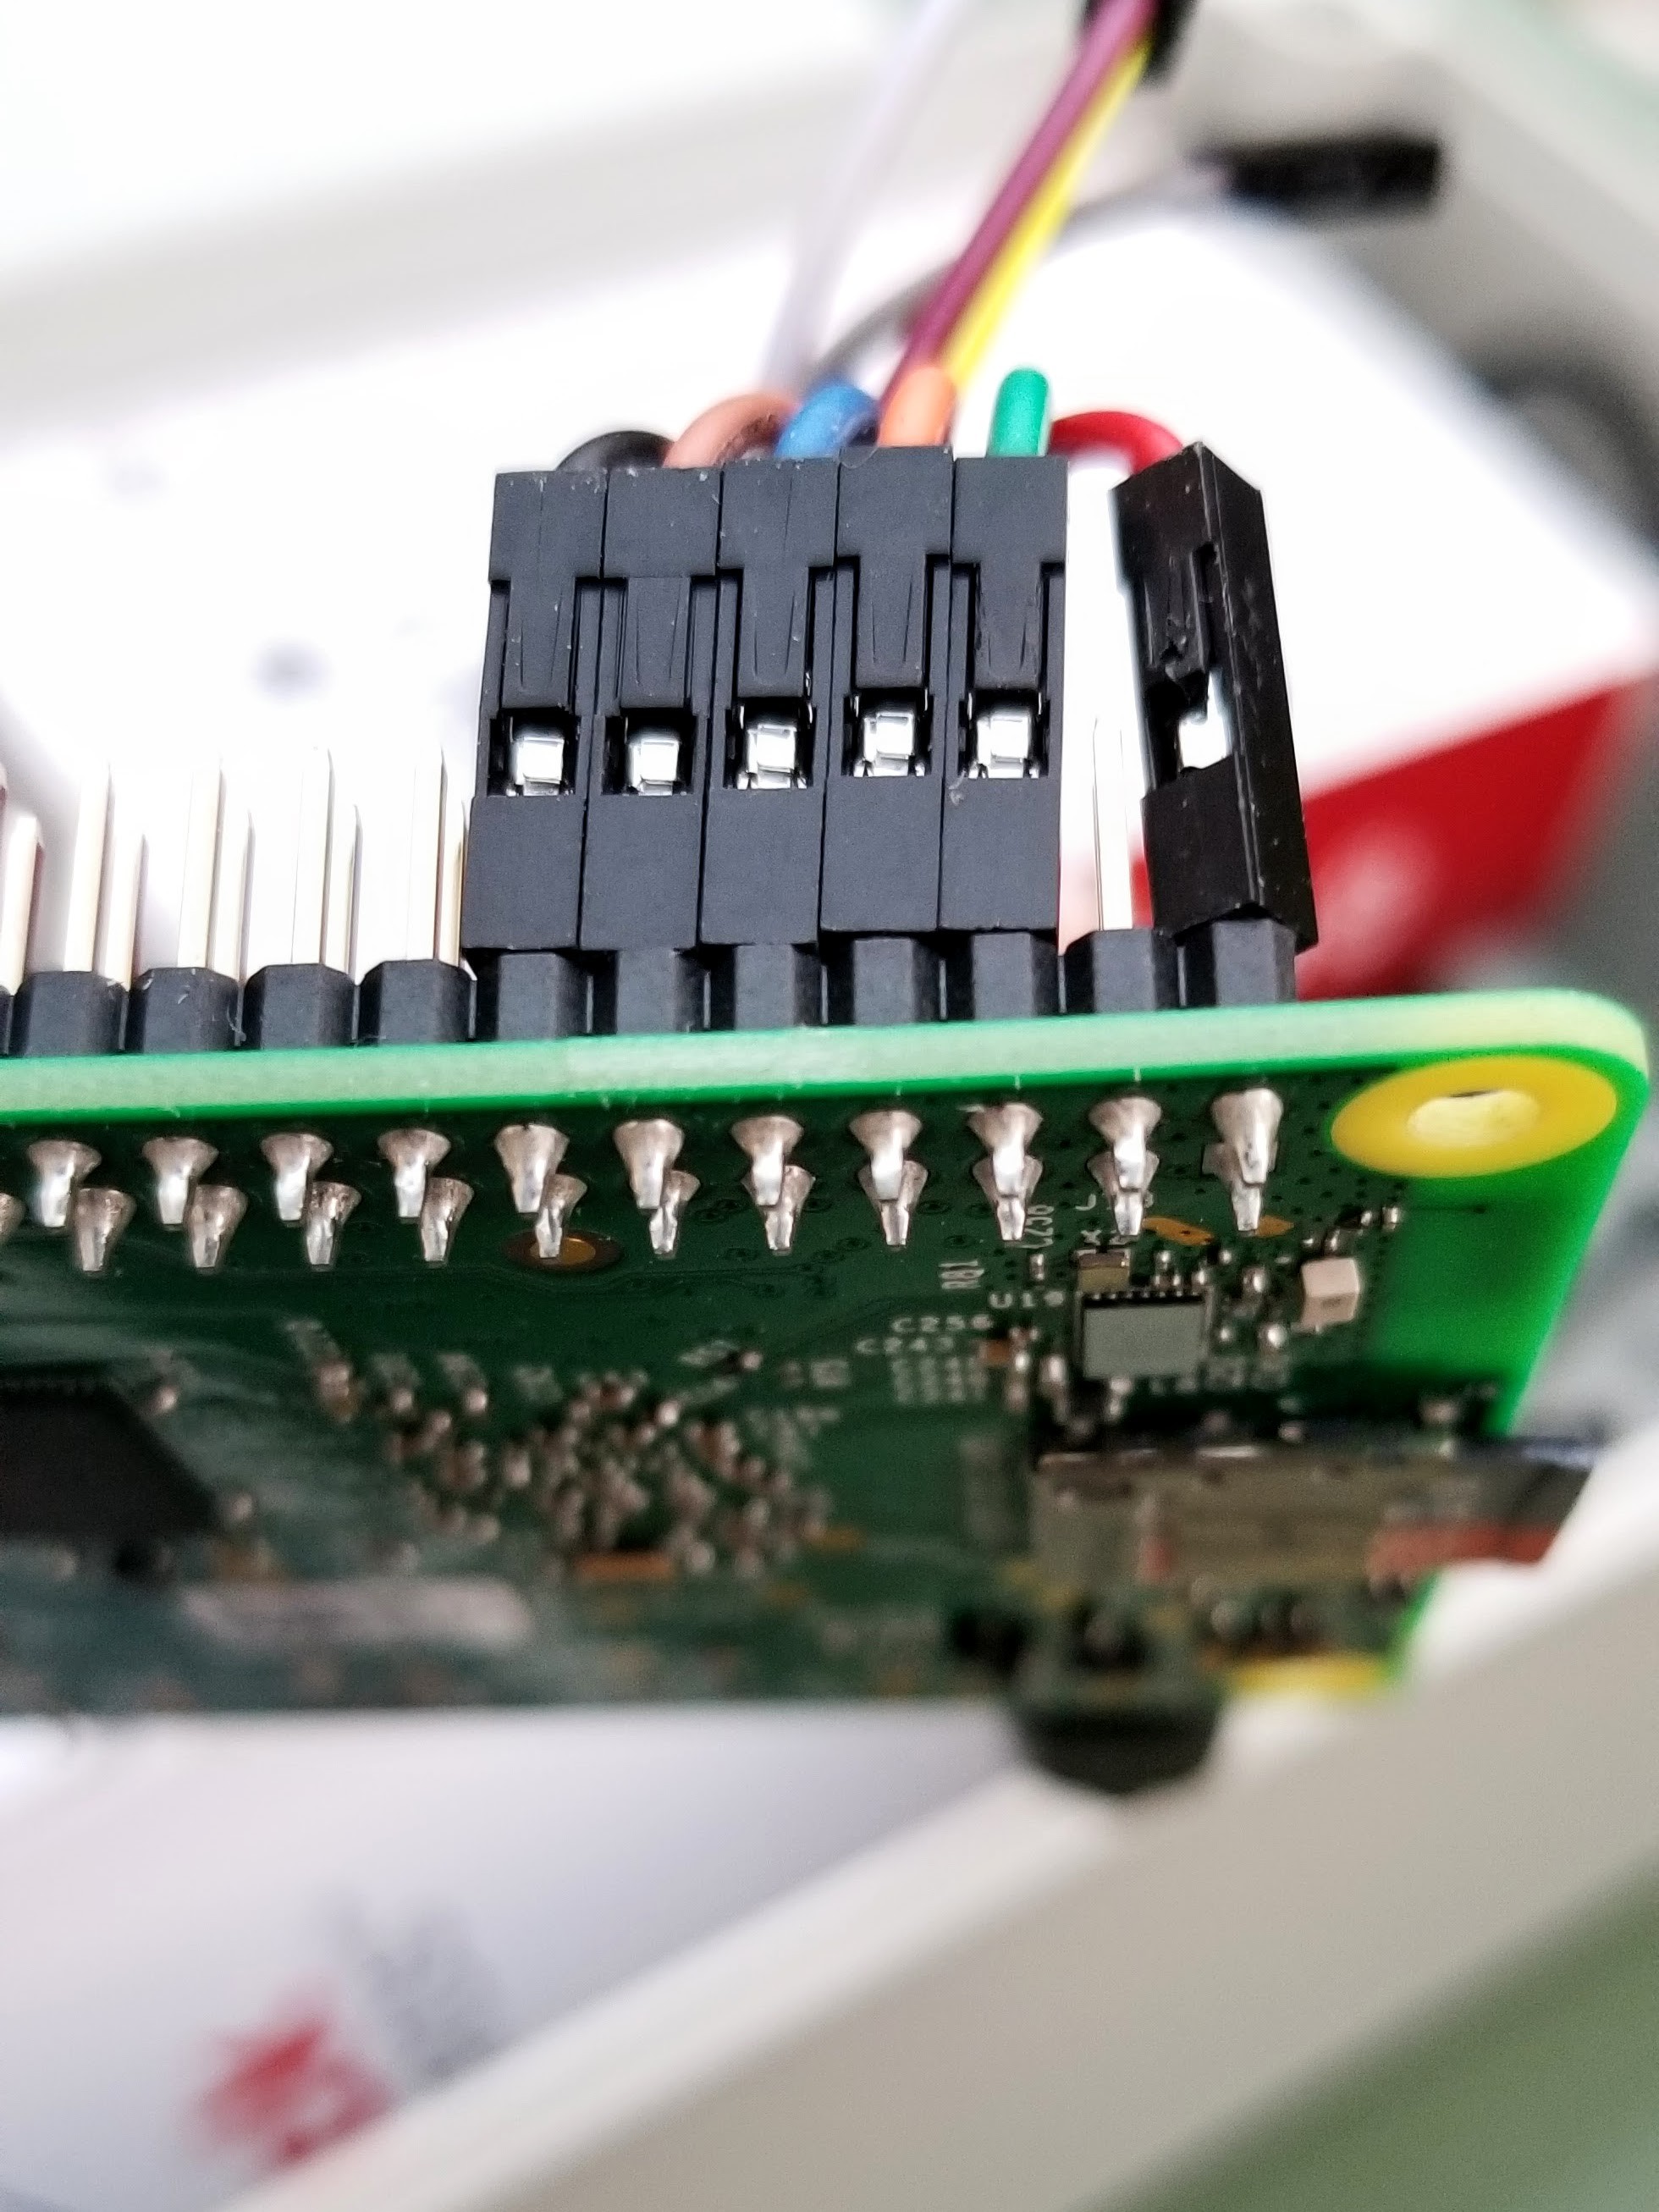
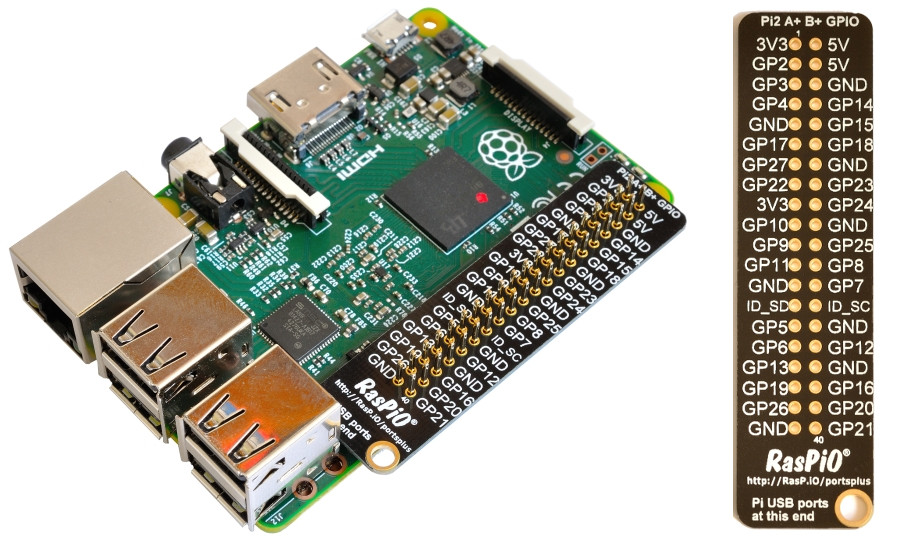
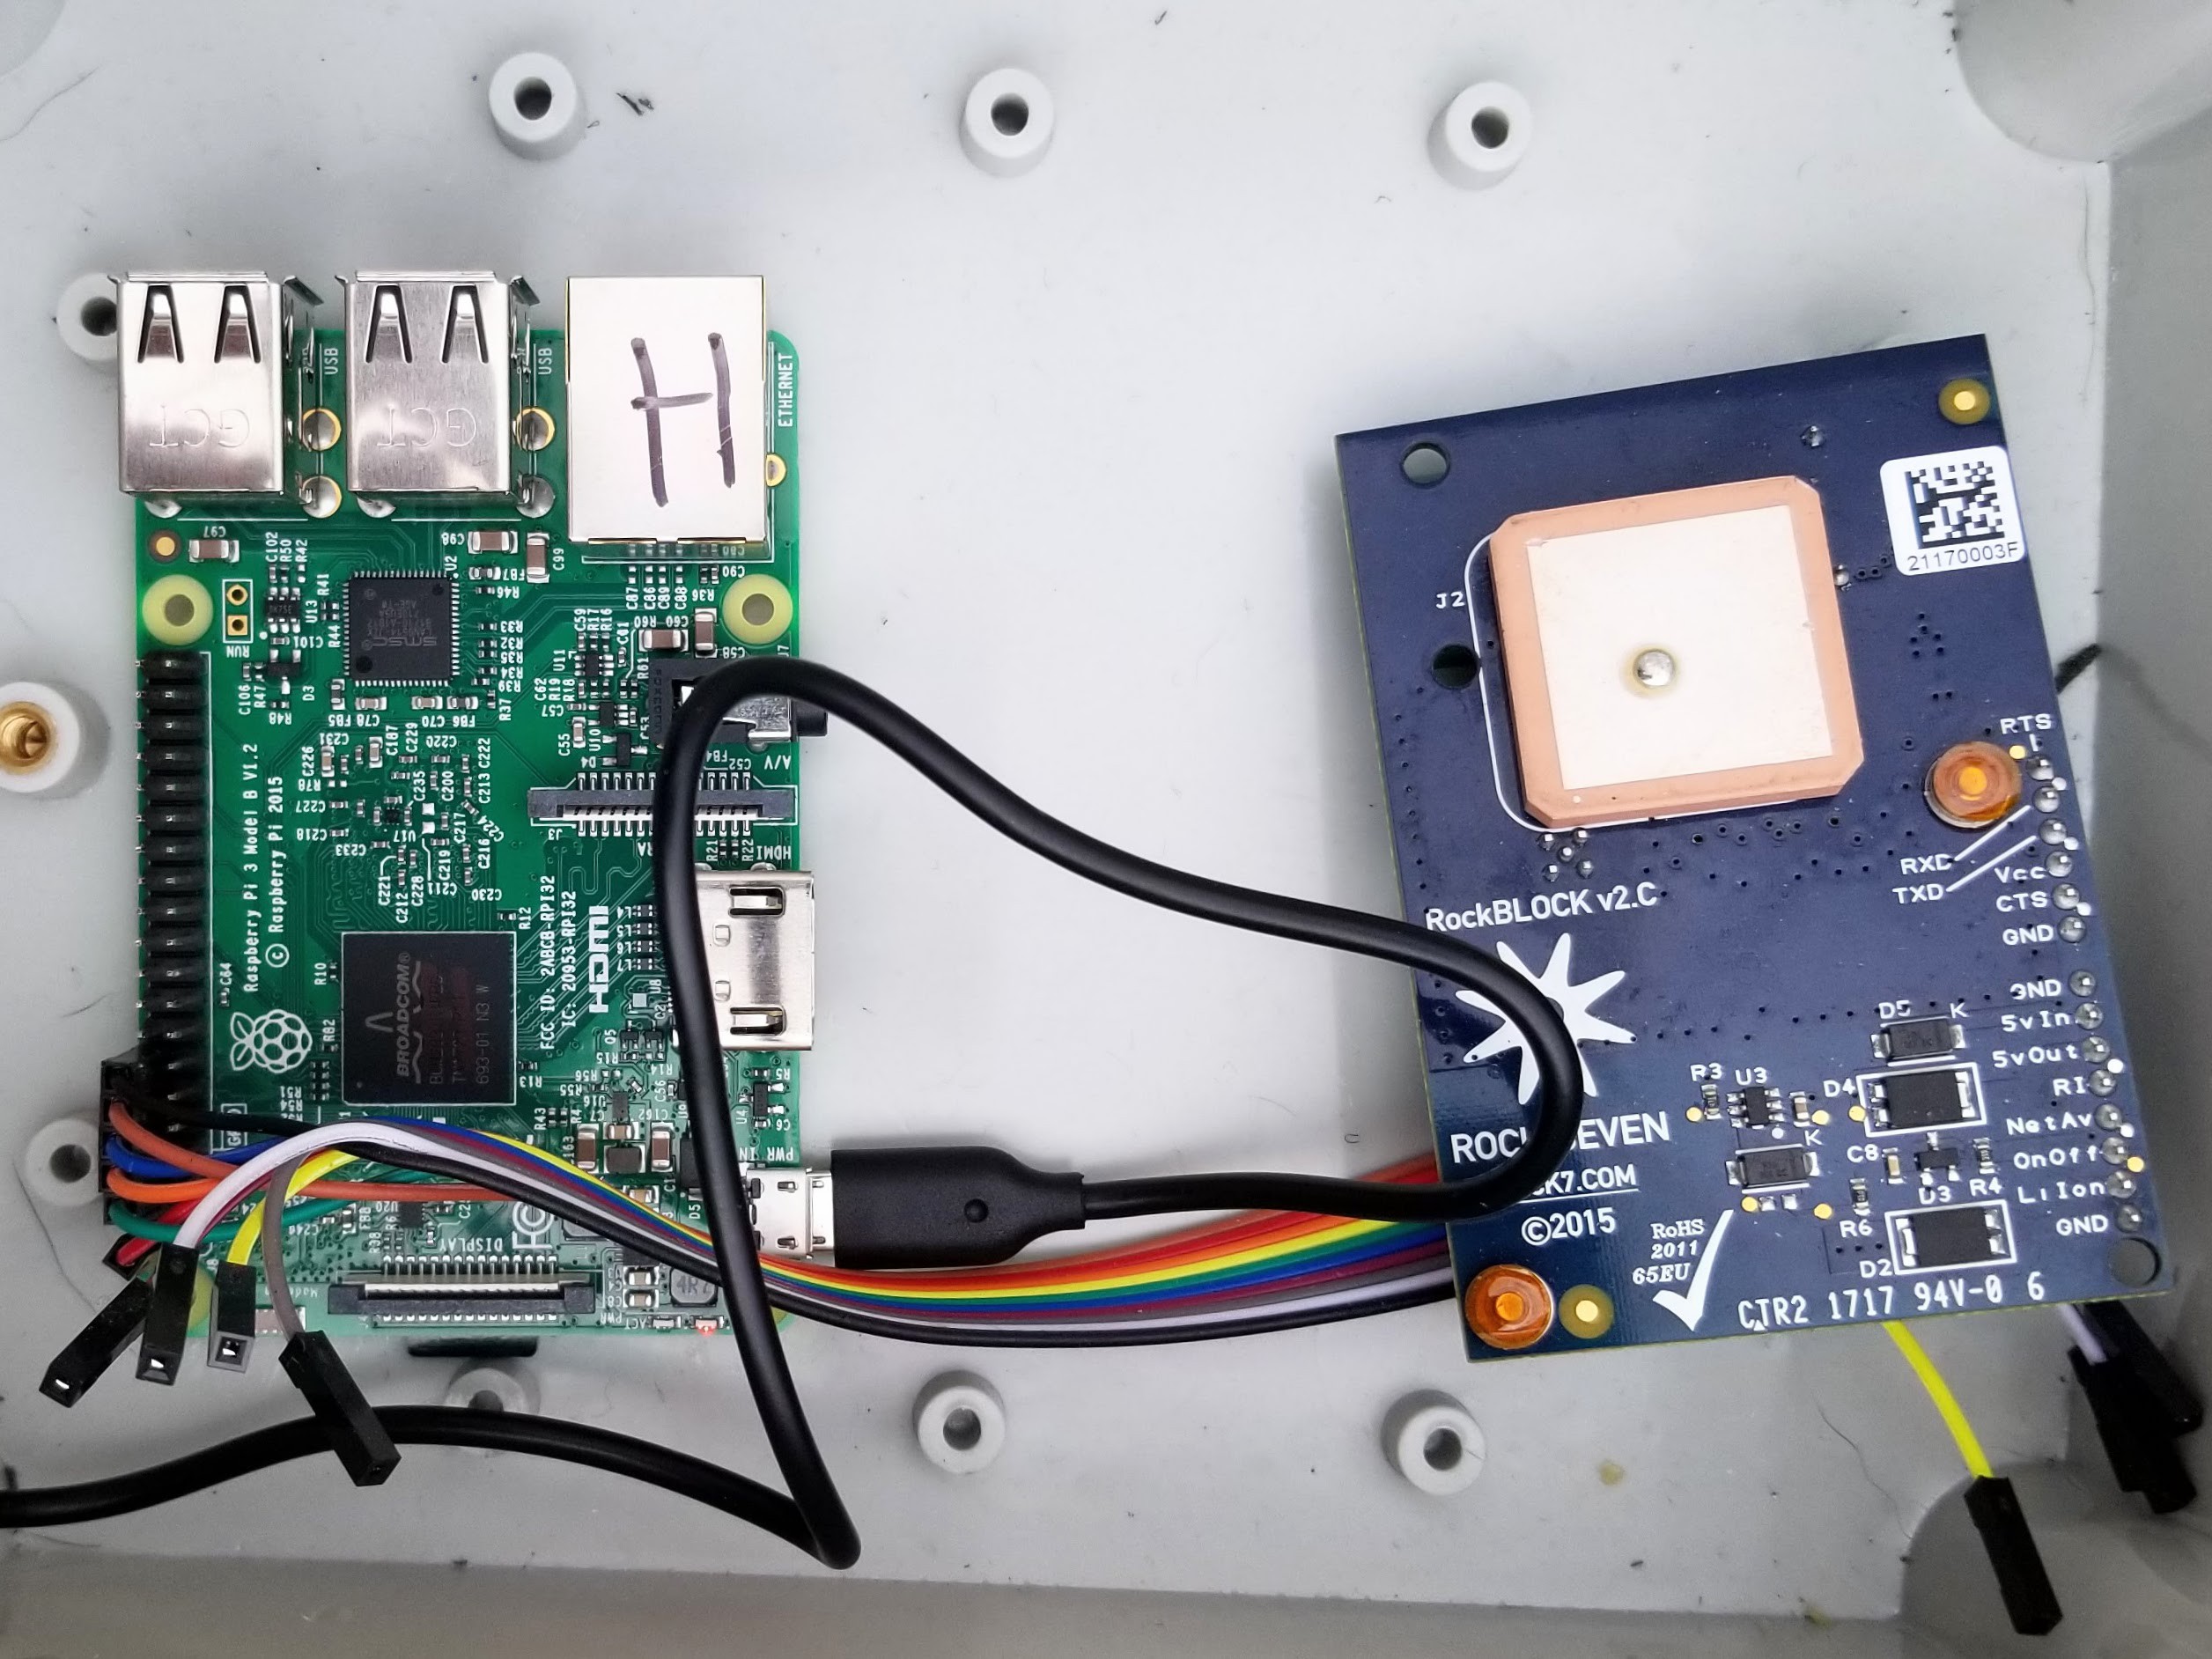
The following table describes the pin connections between the Pi and the Rockblock. Remeber that pin numbers are DIFFERENT from the GPIO numbers.
If you have questions, there's reference pictures further down.
Raspberry Pi
Pin NumberRaspberry Pi
Pin DescriptionColor Rockblock
Pin NumberRockblock
Pin Description2 5V power RED 8 5V In 6 Ground BLACK 7 Ground 8 TXD0 (GPIO 14) BLUE 2 RXD 10 RXD0 (GPIO 15) ORANGE 3 TXD 12 PCM_CLC (GPIO 18) BROWN 10 RI (Ring Indicator) 14 Ground GREEN 6 Ground ![Rockblock Header Rockblock Header]()
Rockblock Header. Use for reference with table. For example: the RED jumper goes from 5v IN ![Raspberry Pi Header Raspberry Pi Header]()
Raspberry Pi Header. Use for reference with table. For example: the RED jumper comes into pin 2 ![Raspberry Pi Pinout (Models 0, 2, 3) Raspberry Pi Pinout (Models 0, 2, 3)]()
Raspberry Pi Pinout (Models 0, 2, 3) ![Raspberry Pi 3b pinout, top view Raspberry Pi 3b pinout, top view]()
Raspberry Pi 3b pinout, top view. Use for reference with first column of connections table. -
6STEP 3: Insert the microSD card in the Raspberry Pi
Back to top
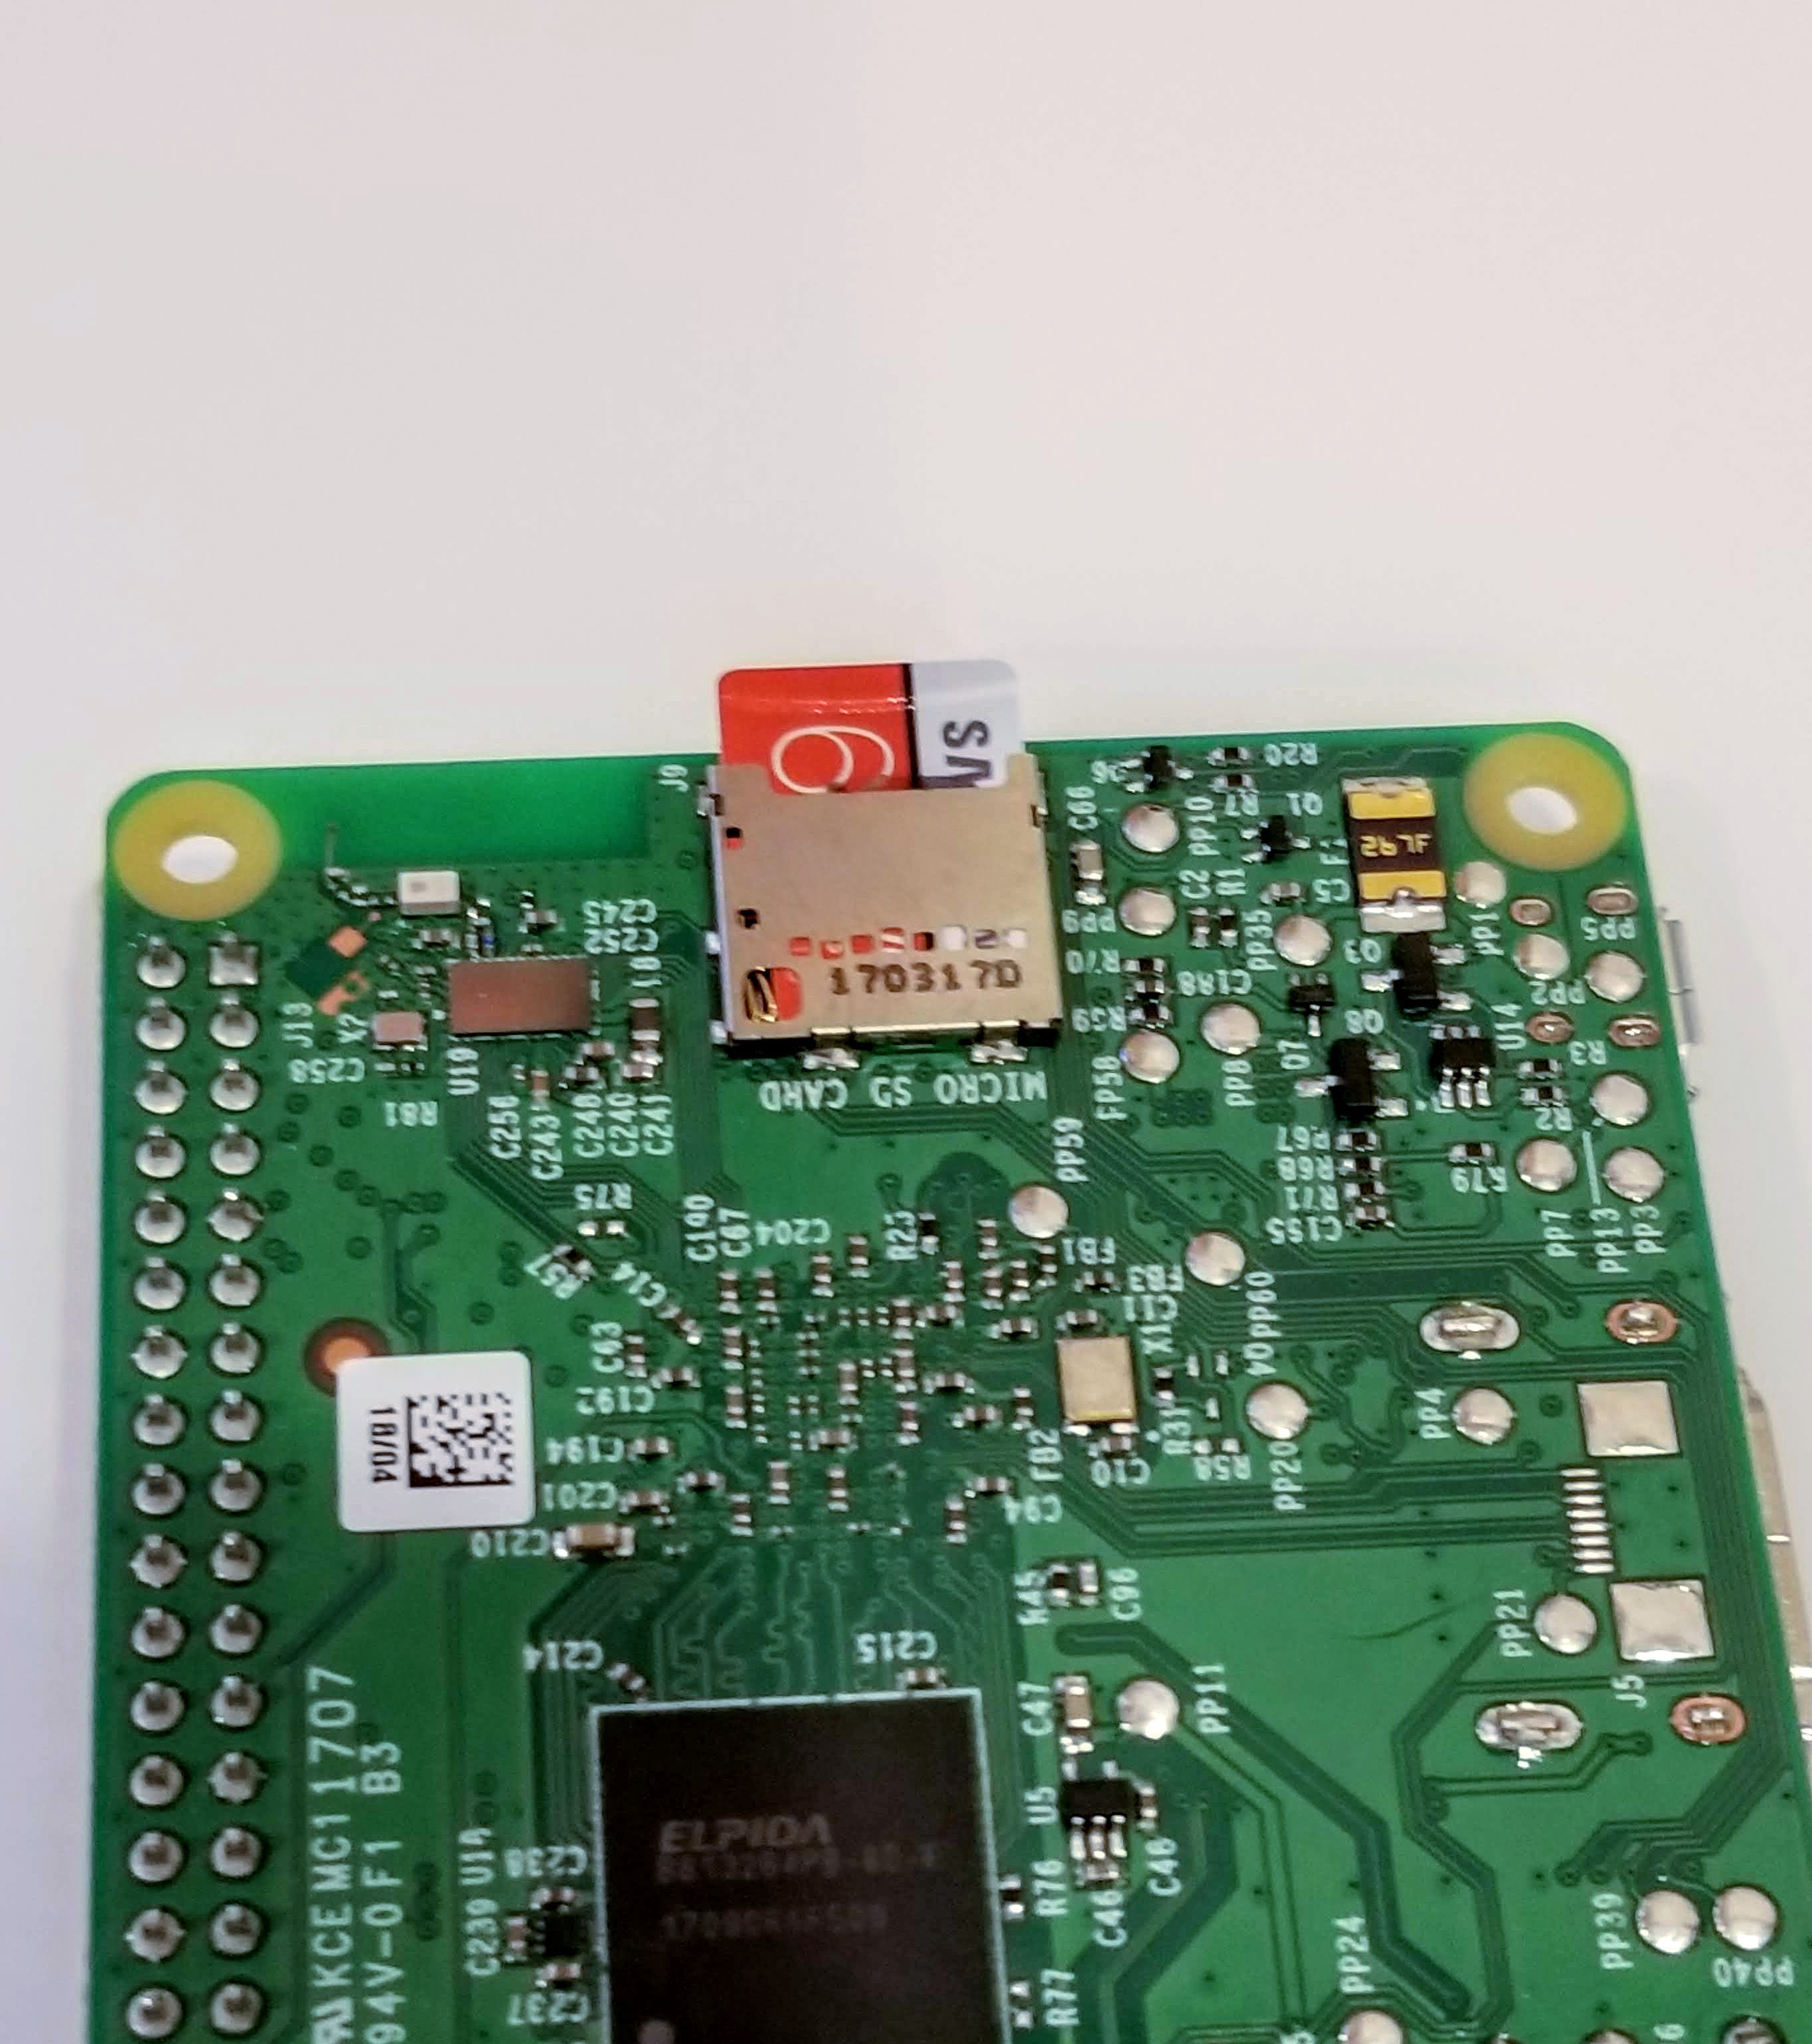
![]()
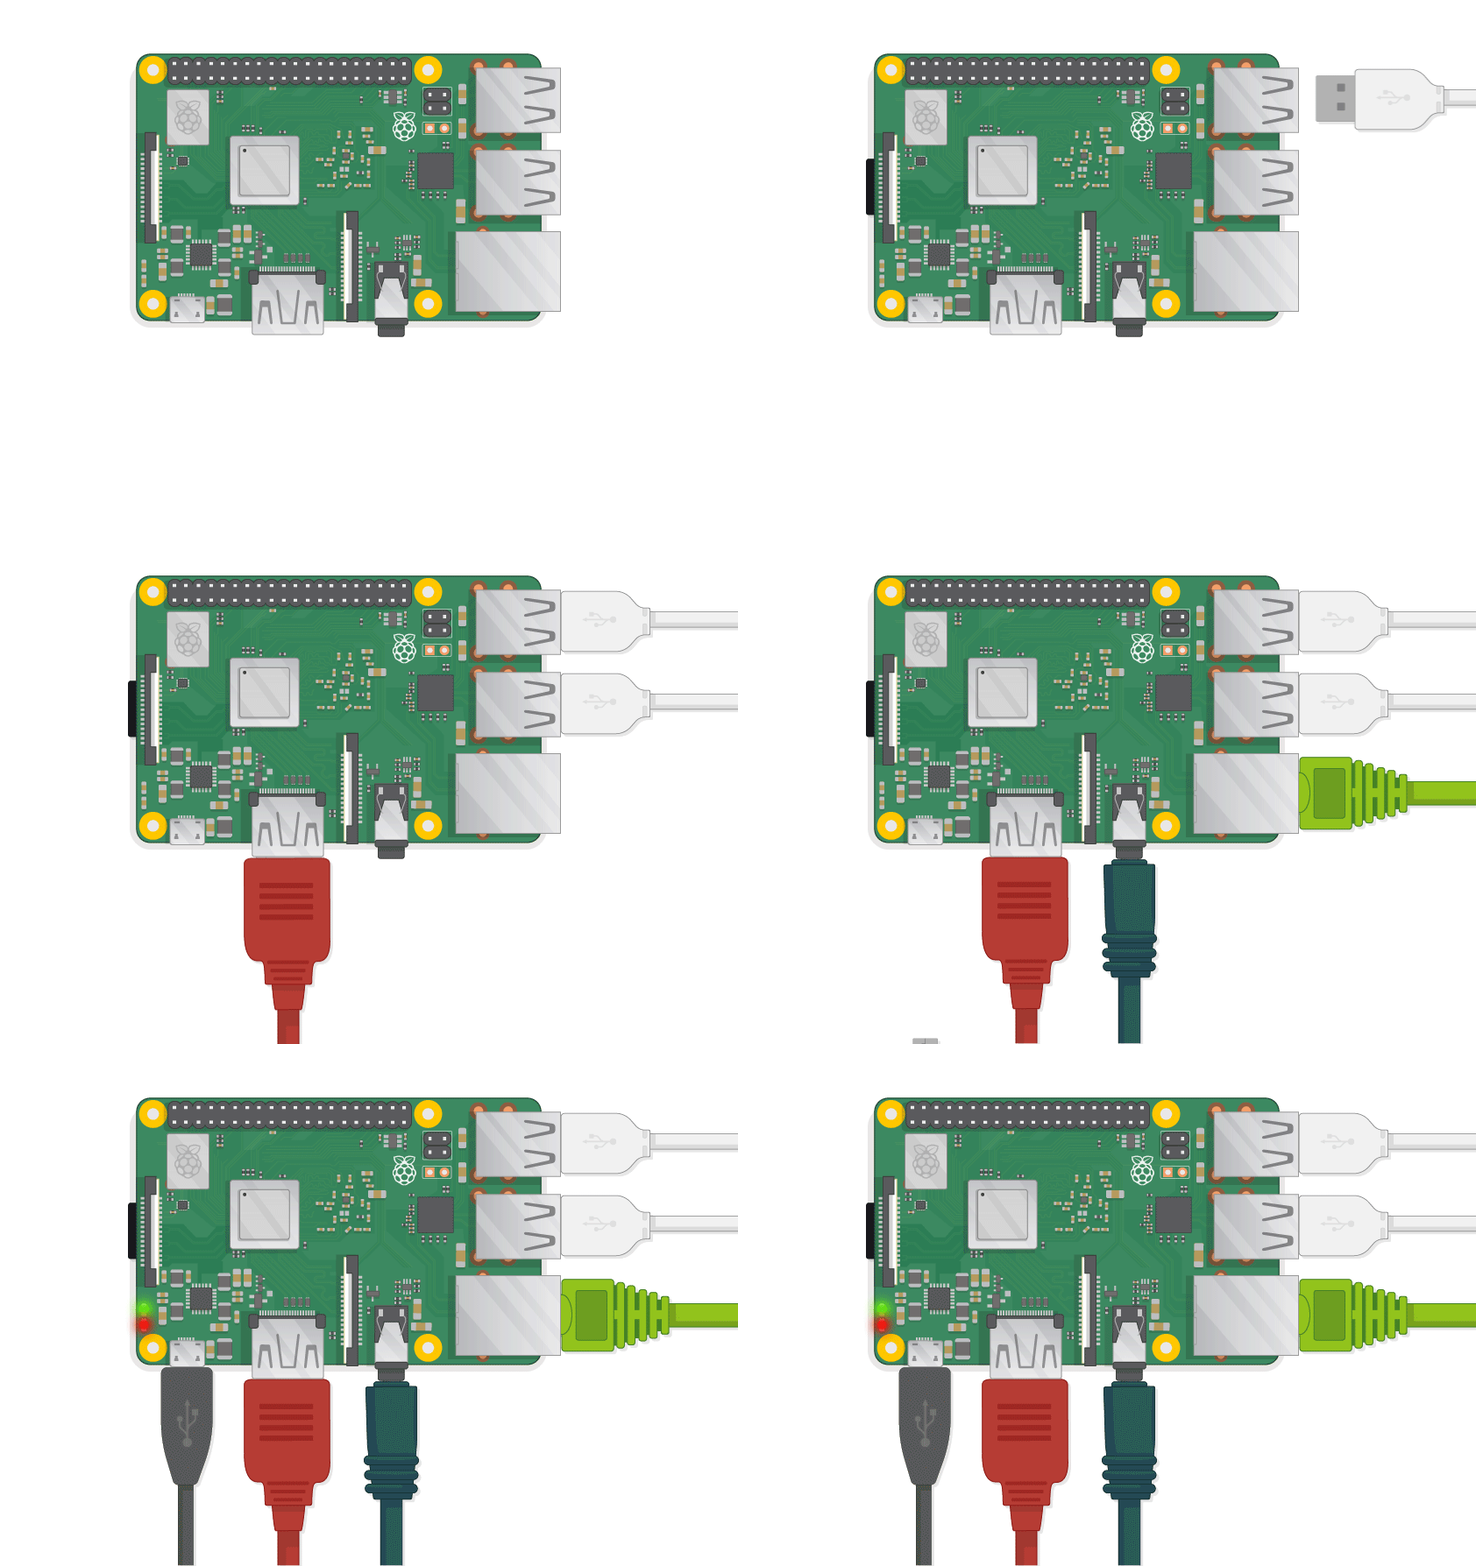
Remember, this step assumes your Pi is fully configured at this point :)
If you have NOT configured your Raspberry Pi, follow the steps for "BUILDING THE GROUND UNIT Part B: SOFTWARE"
-
7STEP 4: Plug the power in
Back to top
Once you have connected the Rockblock to the Pi:
- Make sure you have a good view of the skies and that there are no buildings or obstructions
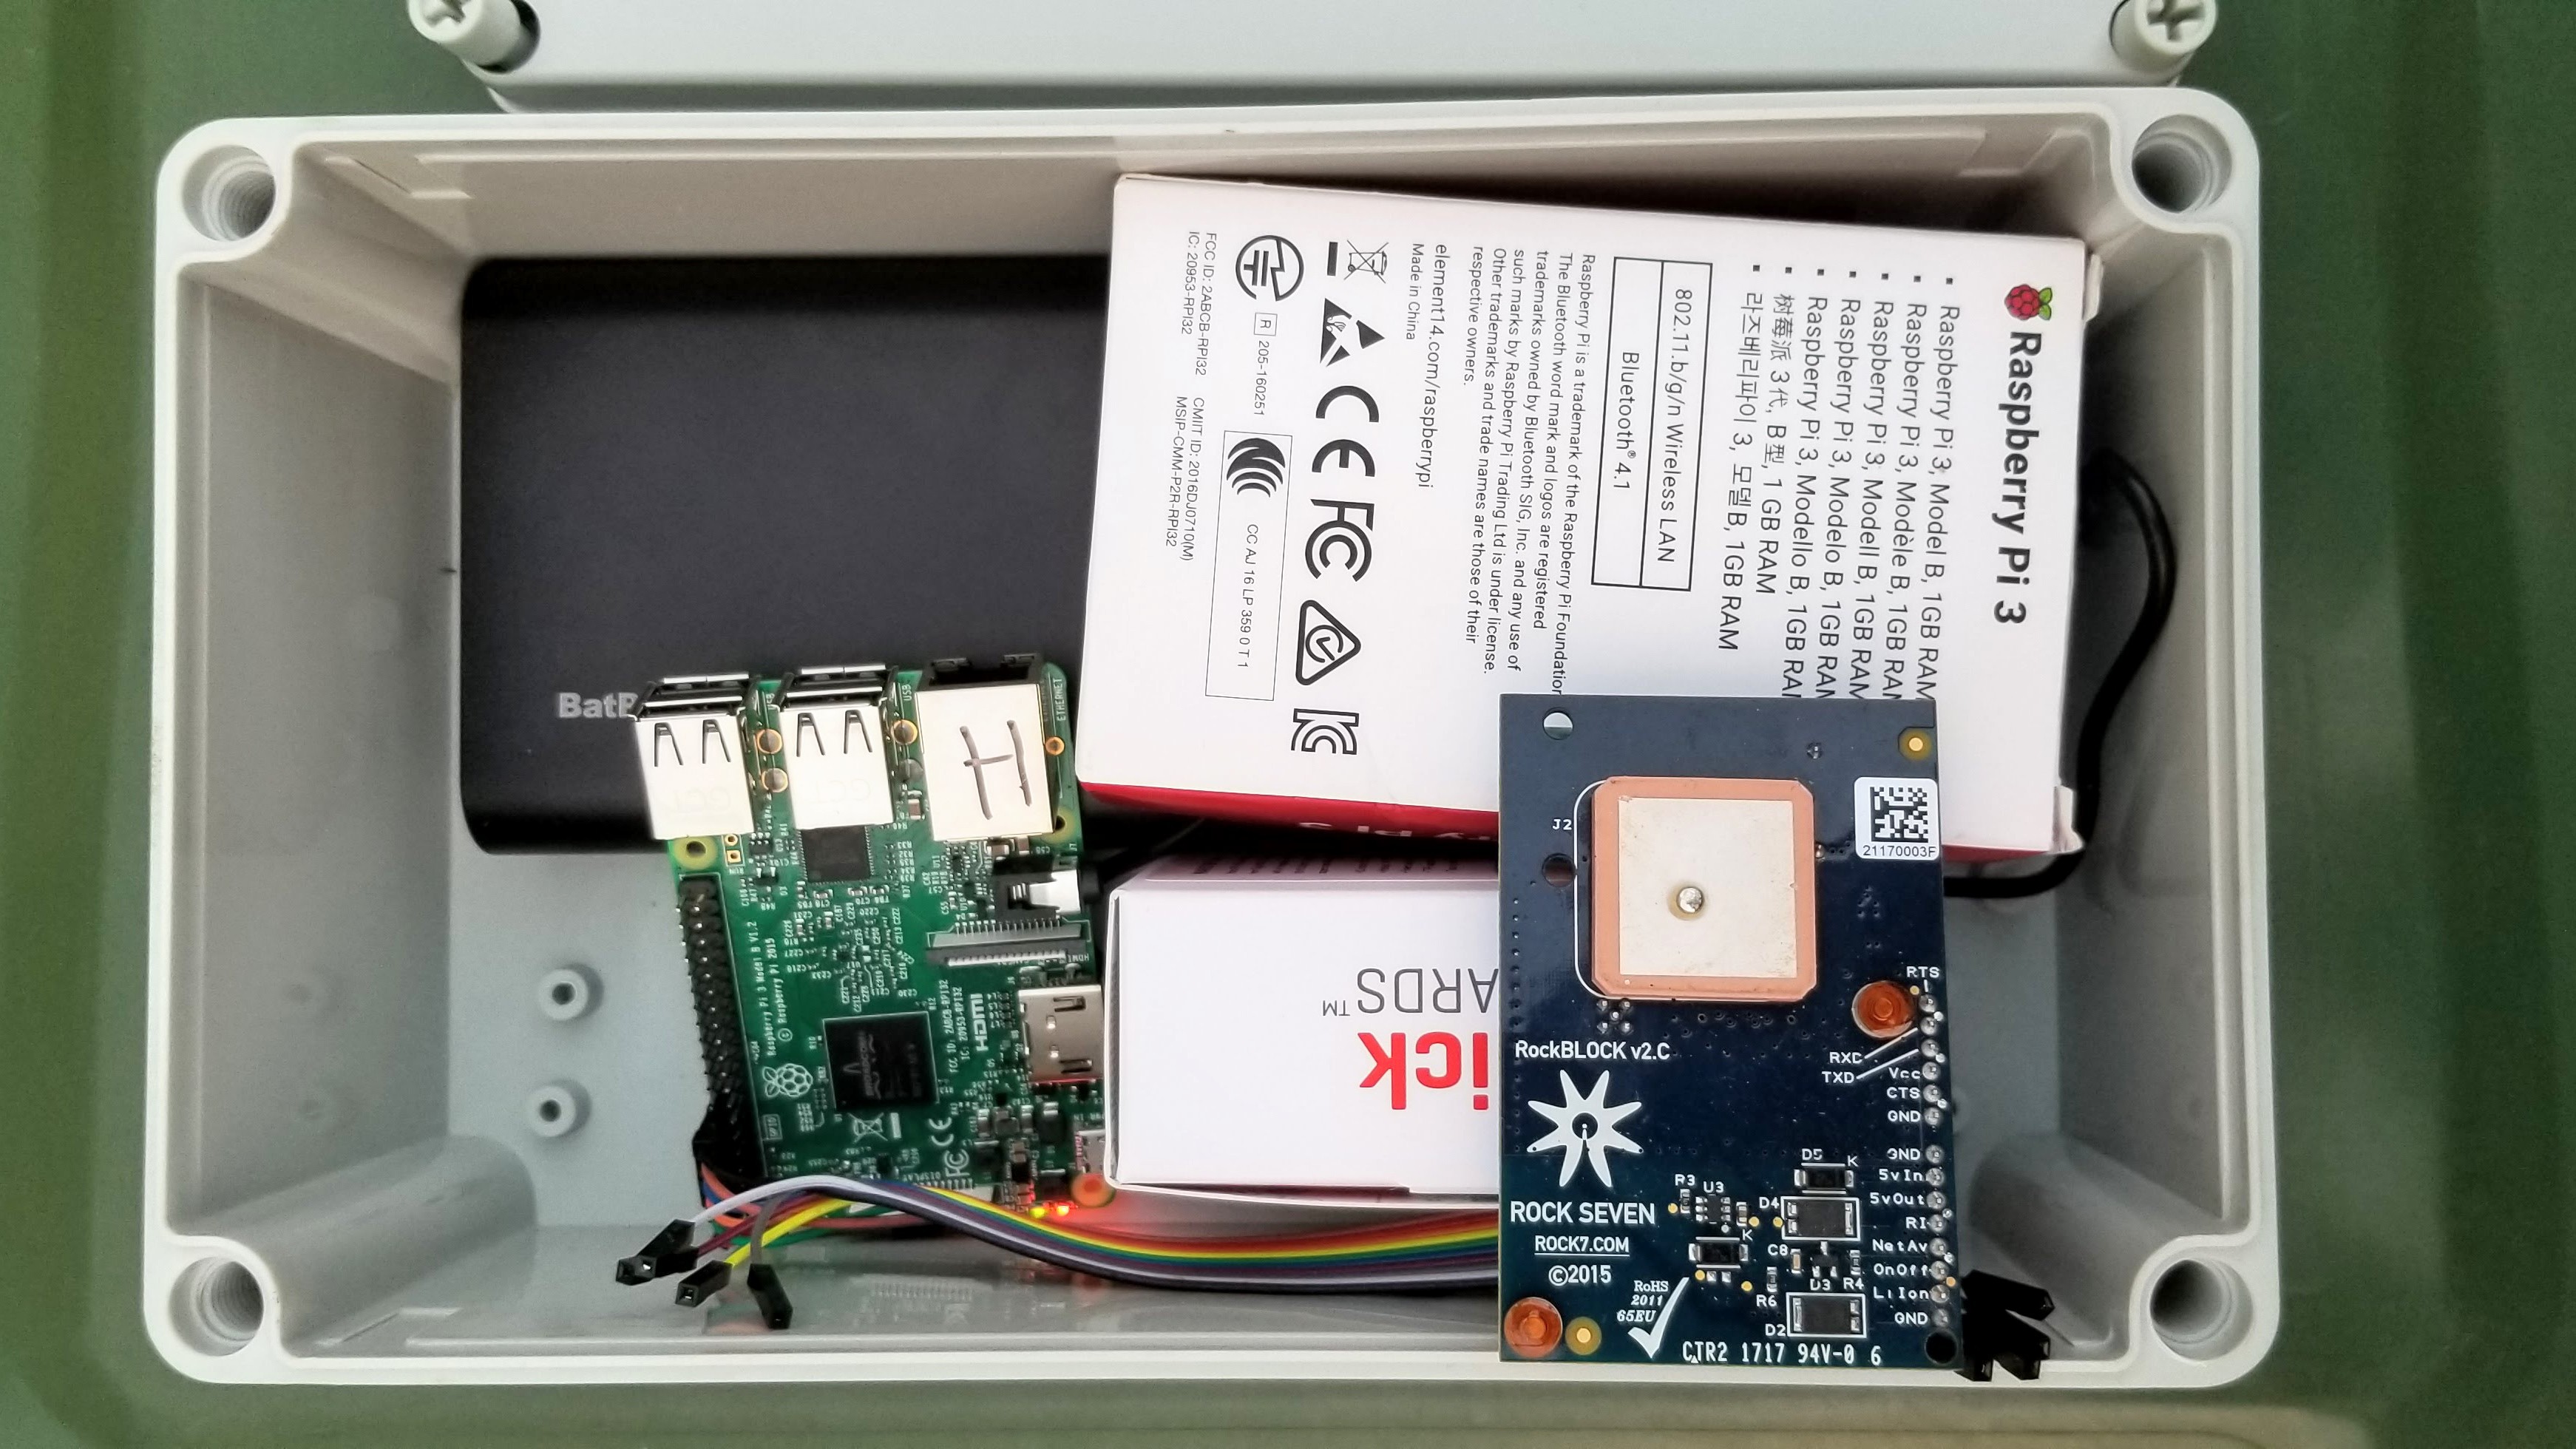
- Make sure the Rockblock antenna (that white square with a dot) is facing UP
- Connect the USB power cable
- Watch the red light on the PI turn on
- You are ready to go!!
You should see your WiFi access point come up if you scan for WiFi signals with your computer or cellphone.
![]()
![]()
-
8Part B: SOFTWARE
Back to top
All the software and configuration you'll need to do to get a working ground unit.
These steps are meant to be done BEFORE you deploy the system.
The way the system is setup, you could print a couple of these SD cards and have them ready for when you need them. That way, when disaster strikes, or when you need the system to work, you can just pop one into the raspberry pi and have your comms system up and operational in less than 10 mins.
-
9STEP 1: Install Raspbian on your microSD card
Back to top
Follow the instructions HERE to install the Raspberry Pi operating system.
These instructions were tested on Raspbian STRETCH:
- Released June 2018
- Kernel version 4.14
- http://downloads.raspberrypi.org/raspbian/images/raspbian-2018-06-29/
If you have not worked with a Raspberry Pi before, or you are not familiar with Linux, I STRONGLY encourage you to take some time to familiarize yourself with the computer and go through this tutorial:
https://projects.raspberrypi.org/en/projects/raspberry-pi-getting-started
![screenshot]()
Other References:
- https://projects.raspberrypi.org/en/projects/raspberry-pi-using
- https://projects.raspberrypi.org/en/projects/raspberry-pi-setting-up
- https://projects.raspberrypi.org/en/projects/raspberry-pi-getting-started
- https://www.raspberrypi.org/documentation/configuration/raspi-config.md
- https://www.raspberrypi.org/documentation/usage/gpio/
- https://projects.raspberrypi.org/en/projects/physical-computing
-
10STEP 2: Basic Setup
Back to top
To install the software necessary for building a PR-Holonet ground unit, you'll need the following:
- Your Raspberry Pi
- A monitor or TV screen with HDMI input for video
- A keyboard
- An Internet connection ( Ethernet or WiFi is fine)
The following installation instructions assume that:
- Your Pi is NOT behind a firewall
- You have working knowledge of Linux (or are adventurous enough to give it a shot) ( I encourage adventure and curiosity :) )
- You are starting with a basic install of the Raspbian OS
- You read the previous step and installed the same version of Raspbian
PR-Holonet: Disaster Area Emergency Comms
An easy to build, setup, and use emergency communicator for disaster-struck zones with no working power or comms infrastructure.

Discussions
Become a Hackaday.io Member
Create an account to leave a comment. Already have an account? Log In.