Julian Hofmann
-
debugging
10/03/2016 at 22:54 • 0 commentsIf you want to see simulate what the gcode will do to the printer, her is our software for you to do so:
https://github.com/Mofef/gcodelib.git
---------- more ----------
import sys import matplotlib.pyplot as plt import mpl_toolkits.mplot3d.axes3d as p3 import matplotlib.animation as animation from gcodelib import line_reader if len(sys.argv) != 2: print "please specify gcode file you want to plot as commandline argument. E.g.:\n python postprocess.py model.gcode" exit(1) f = open(sys.argv[1]) gcode = f.readlines() f.close() ## 3D def update_line(state): xdata.append(state["X"]) ydata.append(state["Y"]) zdata.append(state["Z"]) #line.set_data(np.asarray([xdata, ydata, zdata])) line.set_data(xdata, ydata) line.set_3d_properties(zdata) fig = plt.figure() ax = p3.Axes3D(fig) xdata, ydata, zdata = [0,0], [0,0], [0,0] line = ax.plot(xdata, ydata, zdata,"-")[0] ax.set_xlim3d([90.0, 130.0]) ax.set_xlabel('X') ax.set_ylim3d([90.0, 130.0]) ax.set_ylabel('Y') ax.set_zlim3d([0.0, 4.0]) ax.set_zlabel('Z') ani = animation.FuncAnimation(fig, update_line, line_reader(gcode), blit=False, interval=1, repeat=True) plt.show() ## 2D fig, ax = plt.subplots() xdata, ydata = [], [] line, = ax.plot(xdata, ydata) ax.set_ylim(0, 200) ax.set_xlim(0, 200) ani = animation.FuncAnimation(fig, update_line, line_reader(gcode), blit=False, interval=10, repeat=True) plt.show() -
Connecting the syringe pump
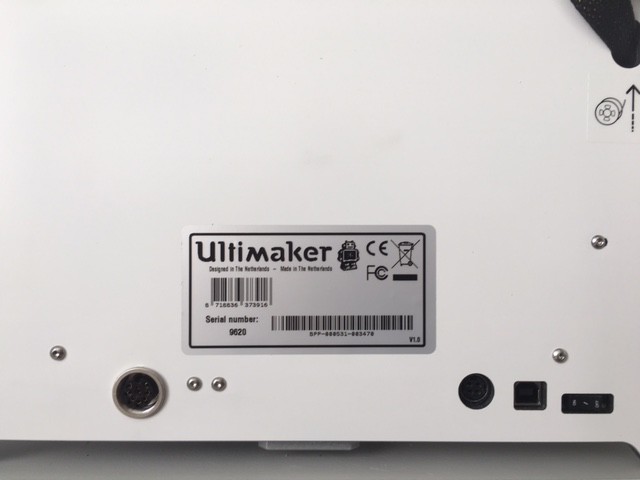
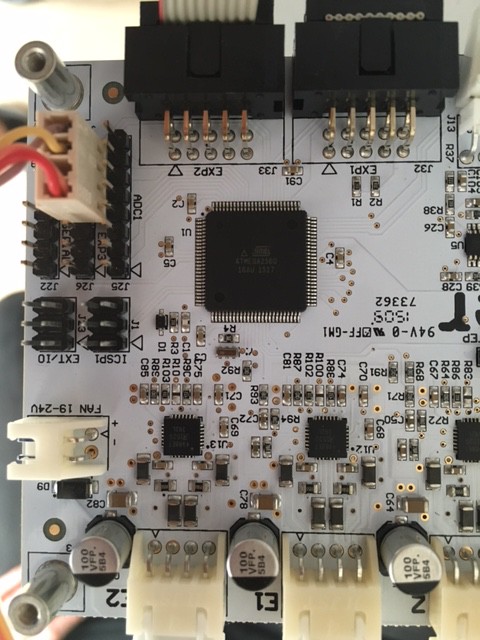
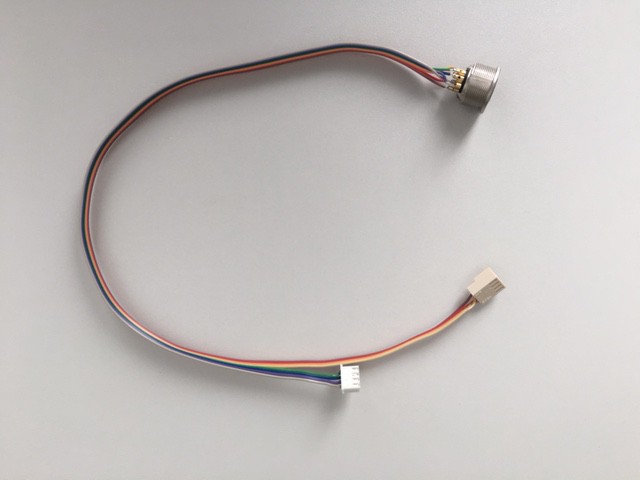
10/03/2016 at 19:26 • 0 commentsTo have a more convenient and faster way of changing from FDM printer to bioprinter, we decided to install plugs to connect either our syringe pump or the conventional extruder. After removing the screws we got to see the heart of our machine.
![]()
---------- more ----------
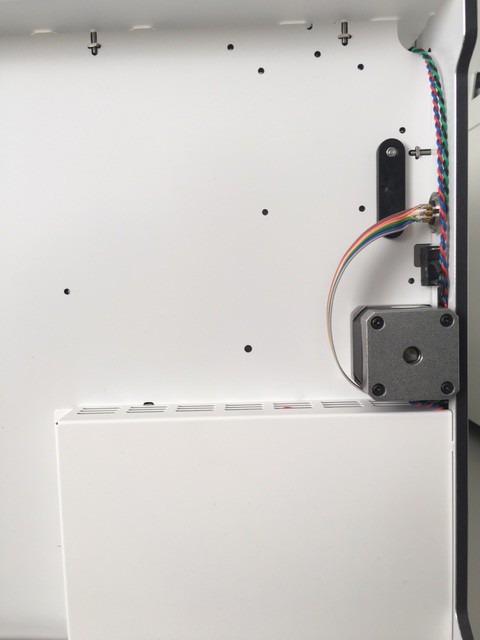
After some time of disorientation we found a fitting solution.
![]()
![]() And now we are able to switch between print heads in a matter of minutes!
And now we are able to switch between print heads in a matter of minutes!![]()
![]()
-
now with videos
10/03/2016 at 17:11 • 0 commentsIf you couldn't imagine what our bioprinter would look like:
rendering
real life
-
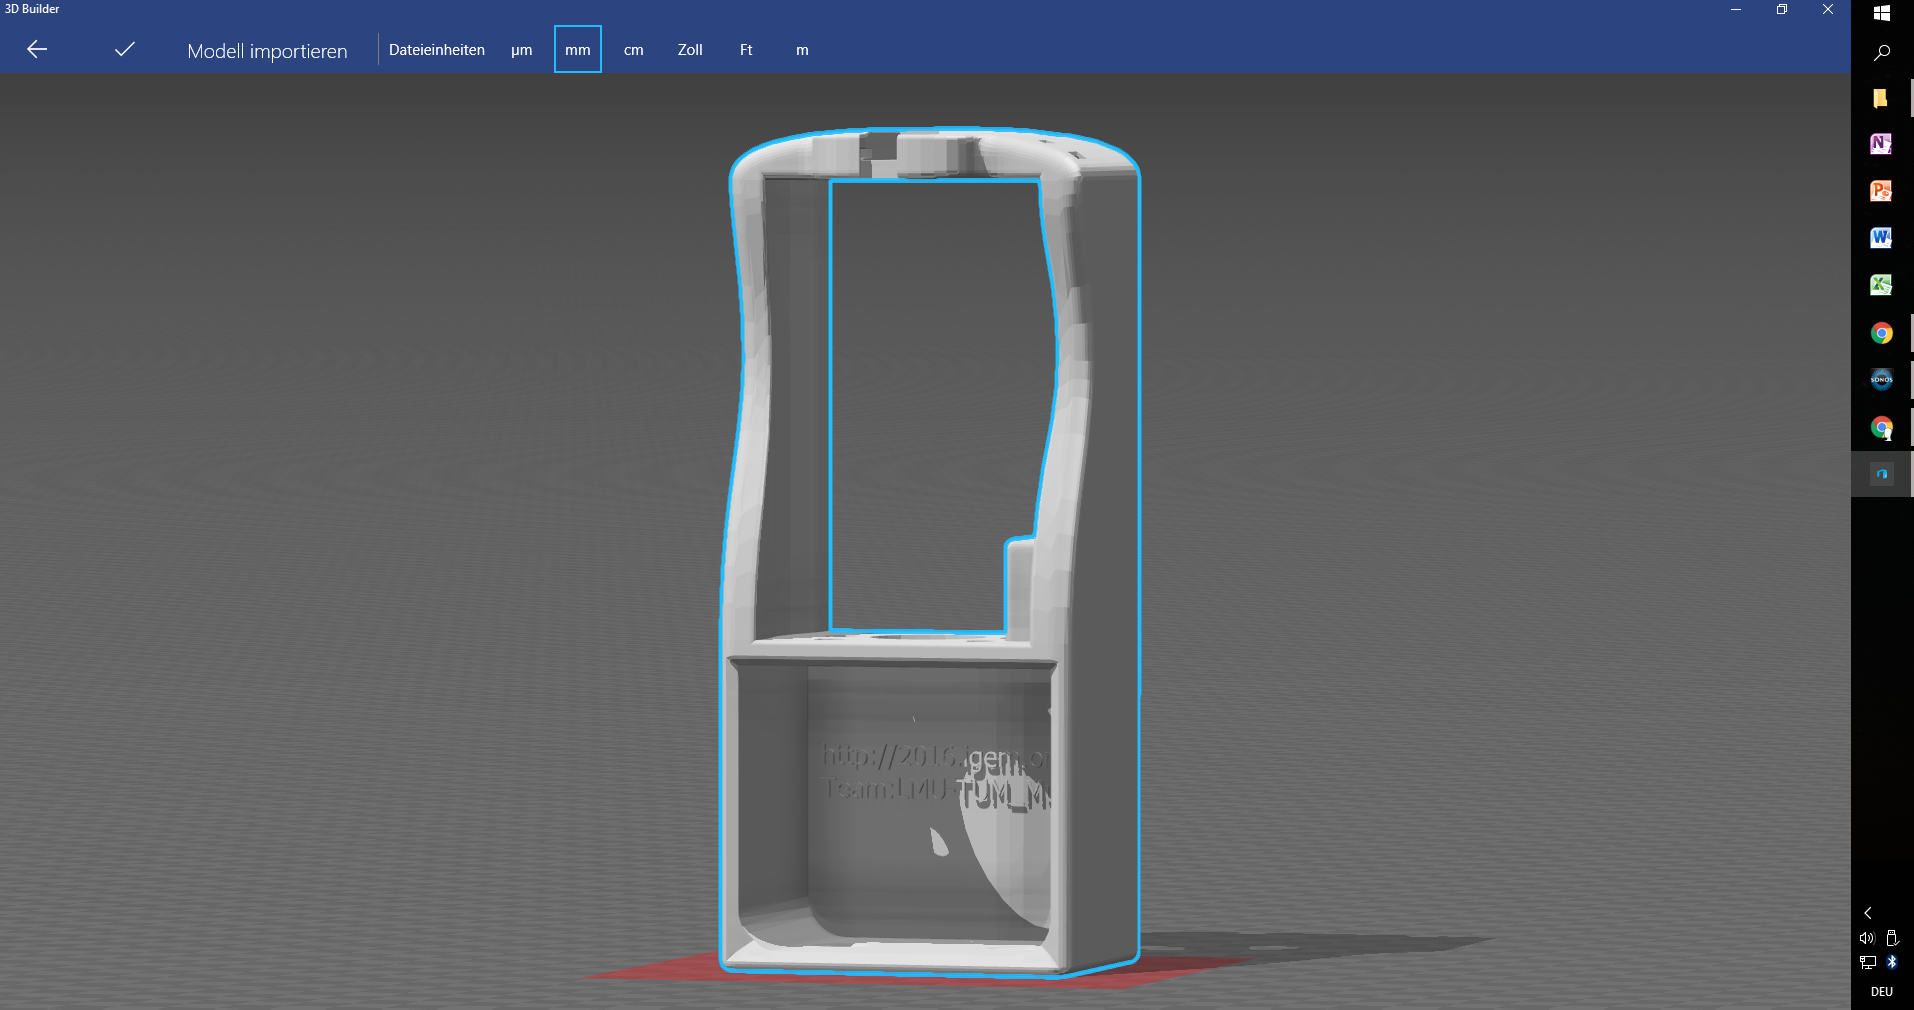
3D files
10/01/2016 at 18:46 • 0 commentsFinally the 3D files for the plastic part of the syringe pump are online for you out there!
![]()
So what are you waiting for? ;)
Transform your conventional desktop 3D-printer into a fabulous laboratory-grade bioprinter !
-
the components
10/01/2016 at 16:00 • 0 commentsthe list of all the stuff you need to build our syringe pump are here! Yeah!
exploded-view diagram following shortly...
-
how to test
09/26/2016 at 19:24 • 0 commentsHave you wondered how to test your fancy new bioprinter once its done?
Well don't fear, we got you covered!
the chemical stuff
There is this (not really) magical substance called "Alginate".
And just in case someone fears this neat polysaccharid might be some dangerous chmical, don't worry, it's made (suprise, suprise! :) ) from algea and other seaweeds. It's used all the time as a natural thickening and jelling agent for such things as ice cream. And then there is of course also Molecular gastronomy...
You can get it easily online or in a well equipped grocery store!
the recipe
So that is how you do it:
- Decide how much volume of "ink" you want
- Calculate the amount of alginate you need for a 0.5% w/v solution (e.g. 1 g for 200 mL)
- Slowly stir it into water, otherwise it will clump a little
- Optional: Add food coloring to your "ink", it will look pretty fancy
Your solution should always be stored in the fridge, otherwise it will go bad just like e.g. milk
Next up is the reservoir with the "curing solution" to print into. It's just some Calcium citrate, also a common food additive you can by online quite easily.
Just dissolve the amount you need for a 2% w/v solution. It will be way more soluble than the alginate by the way ;)
Well, yeah .... that's basically all you need!
Inject the "ink" into the bath of Calcium citrate and congratulations to a wurst of alginate. Now let's see how the printer handles it!
-
the Hardware
09/14/2016 at 17:00 • 0 commentsfirst tests upcoming
After dozens of designs and prototypes our hardware parts finally reached the first testing stage.
First experiments with alginate should give us a good clue at what speeds our pump will have to operate and how fast the print head is allowed to move to avoid turbulent current.
Pictures and videos (hopefully) following soon.
parts and print files
We are also completing the CAD files of the print parts and the list of additional hardware.
It will go live as soon as its finished, so stay tuned!
biotINK - the bioprinter of tomorrow
a novel DIY bioprinter via hijacking an ordinary 3D printer
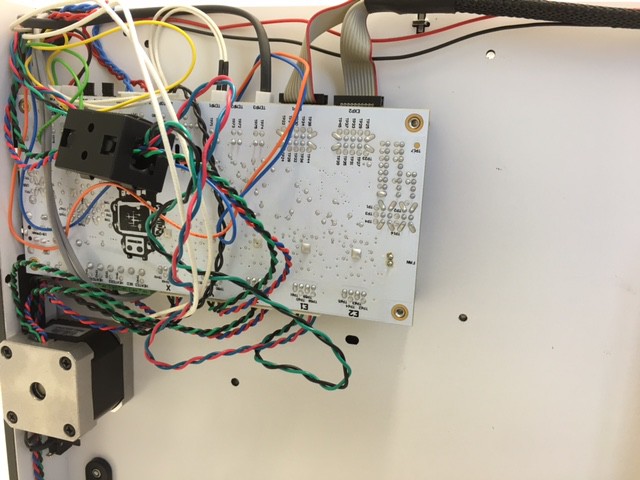
 And now we are able to switch between print heads in a matter of minutes!