I wasn’t confident that I would be able to manufacture the three vertical sliders and end effector with the tools I had (to sufficient accuracy). I originally planned to have them printed using Shapeways. The price was going to be over AUD$100 (not including shipping). This was far out of my budget so I needed to find another way.
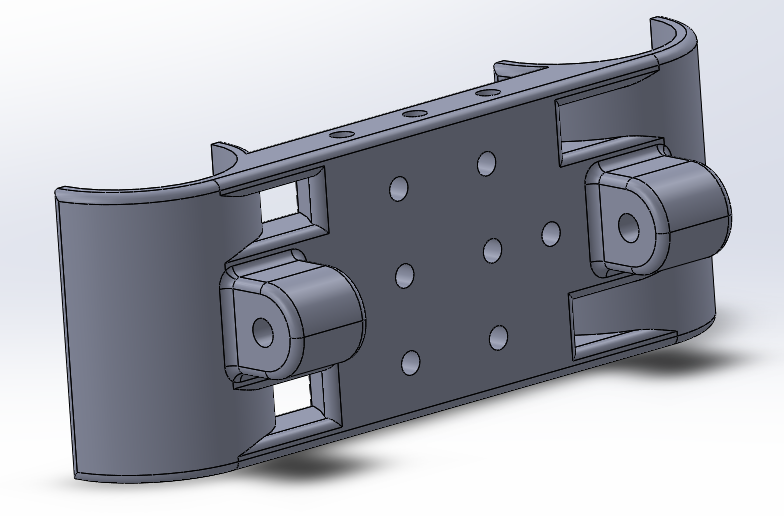
Slider V1
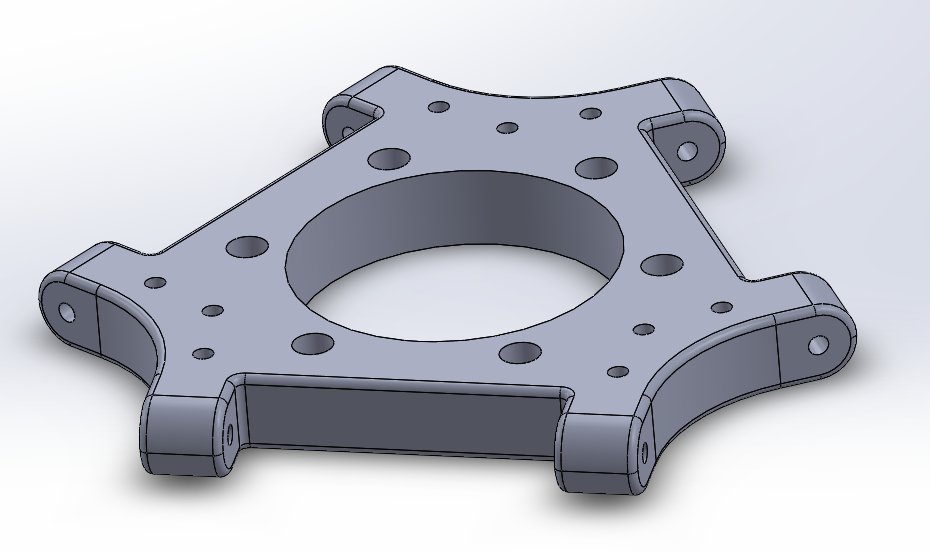
Platform V1
I had another friend who had just joined a makerspace in Perth. He was showing me some of the trinkets and boxes he had made using their laser cutter. He offered to cut me some parts. I had to redesign the slider and platform (as I called it) to be made from acrylic/MDF sheet. I came up with the design below. Note that the little slots are for the cable ties to pass through and attach the linear bearings.
Slider V2
Platform V2 with groove for J-Head hot end
A short time later these arrived in the mail:
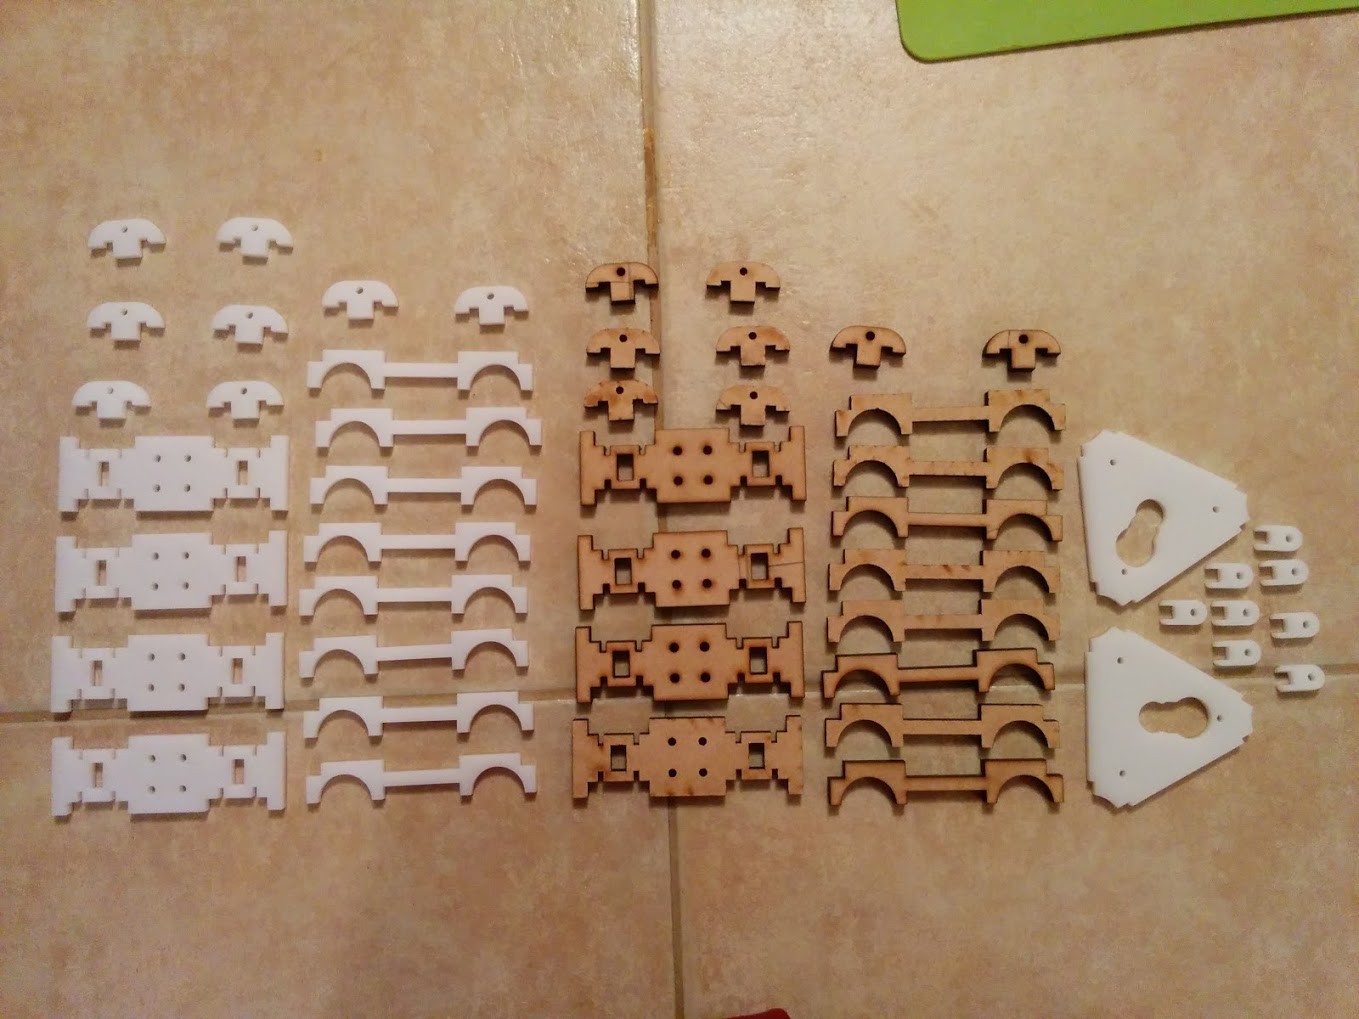
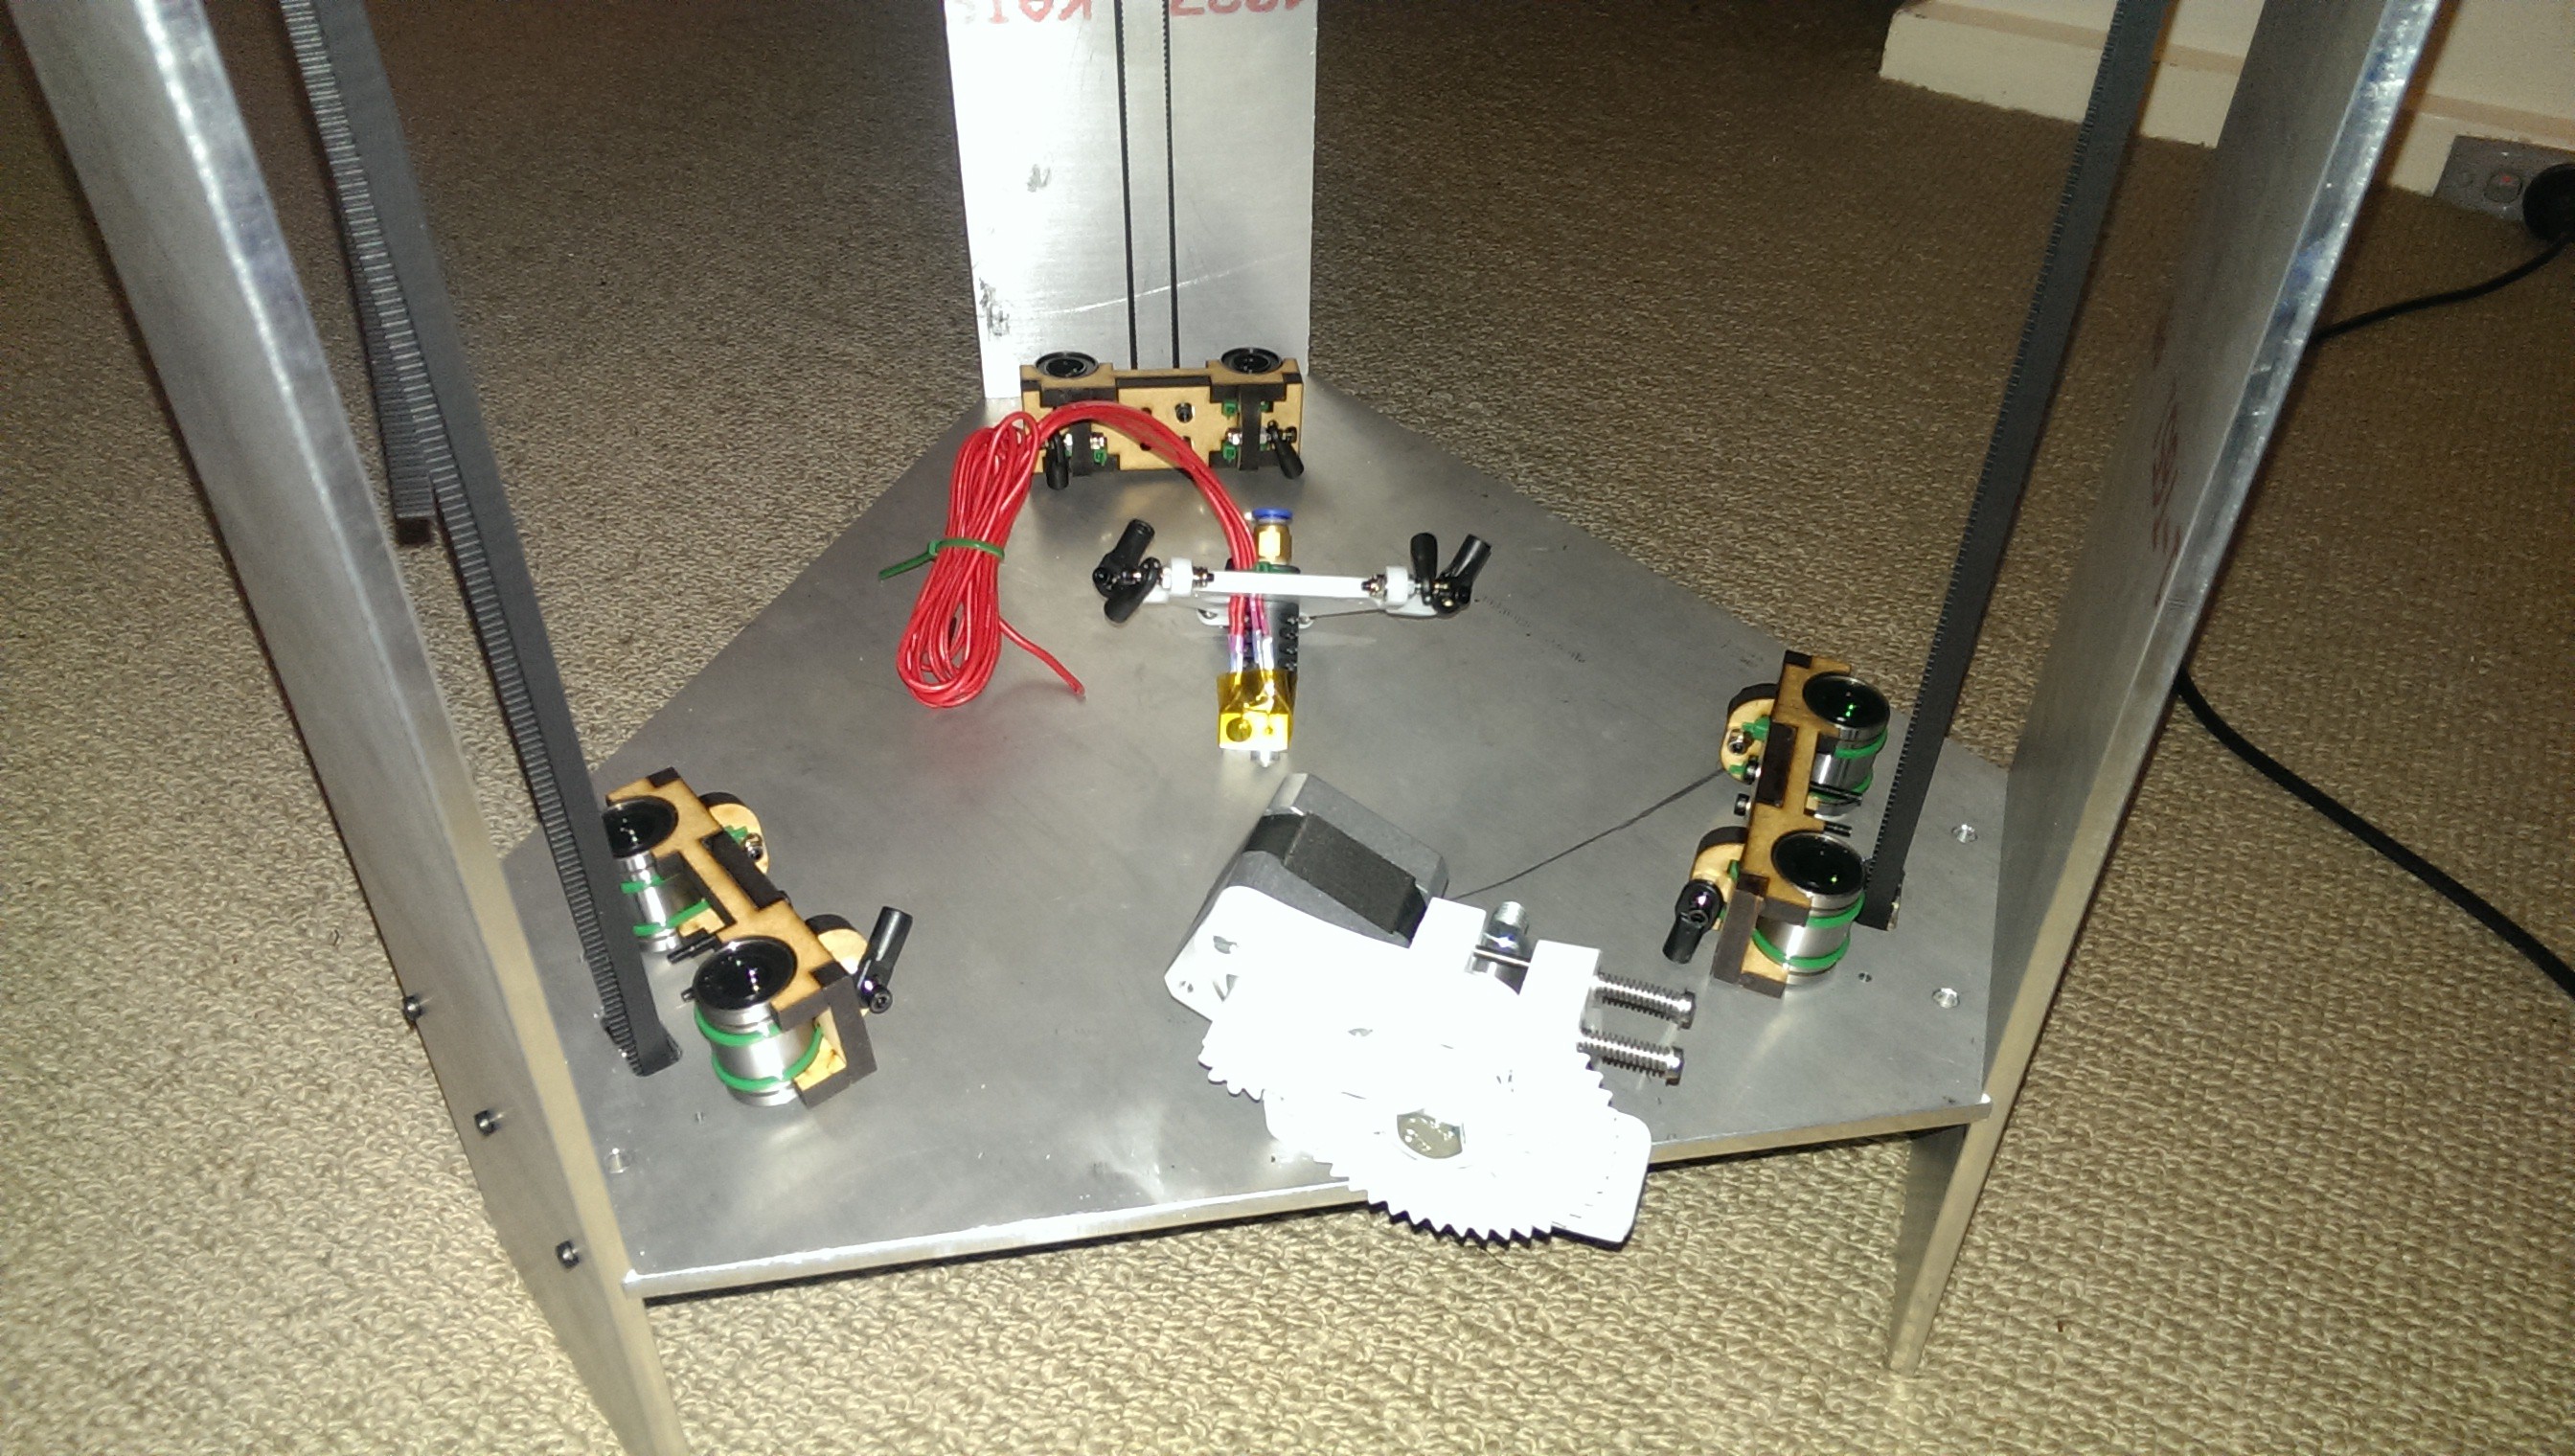
So many bits to assemble!
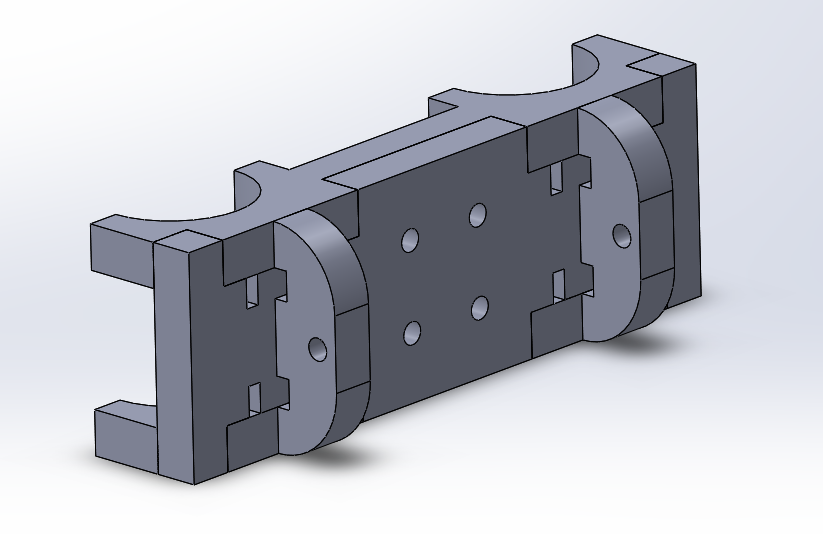
He ended up cutting them from both materials and threw in a few spares. I decided to go with the MDF sliders as they would have a bit of give if things weren’t quite aligned. Armed with my bottle of CA glue, I began the assembly process.
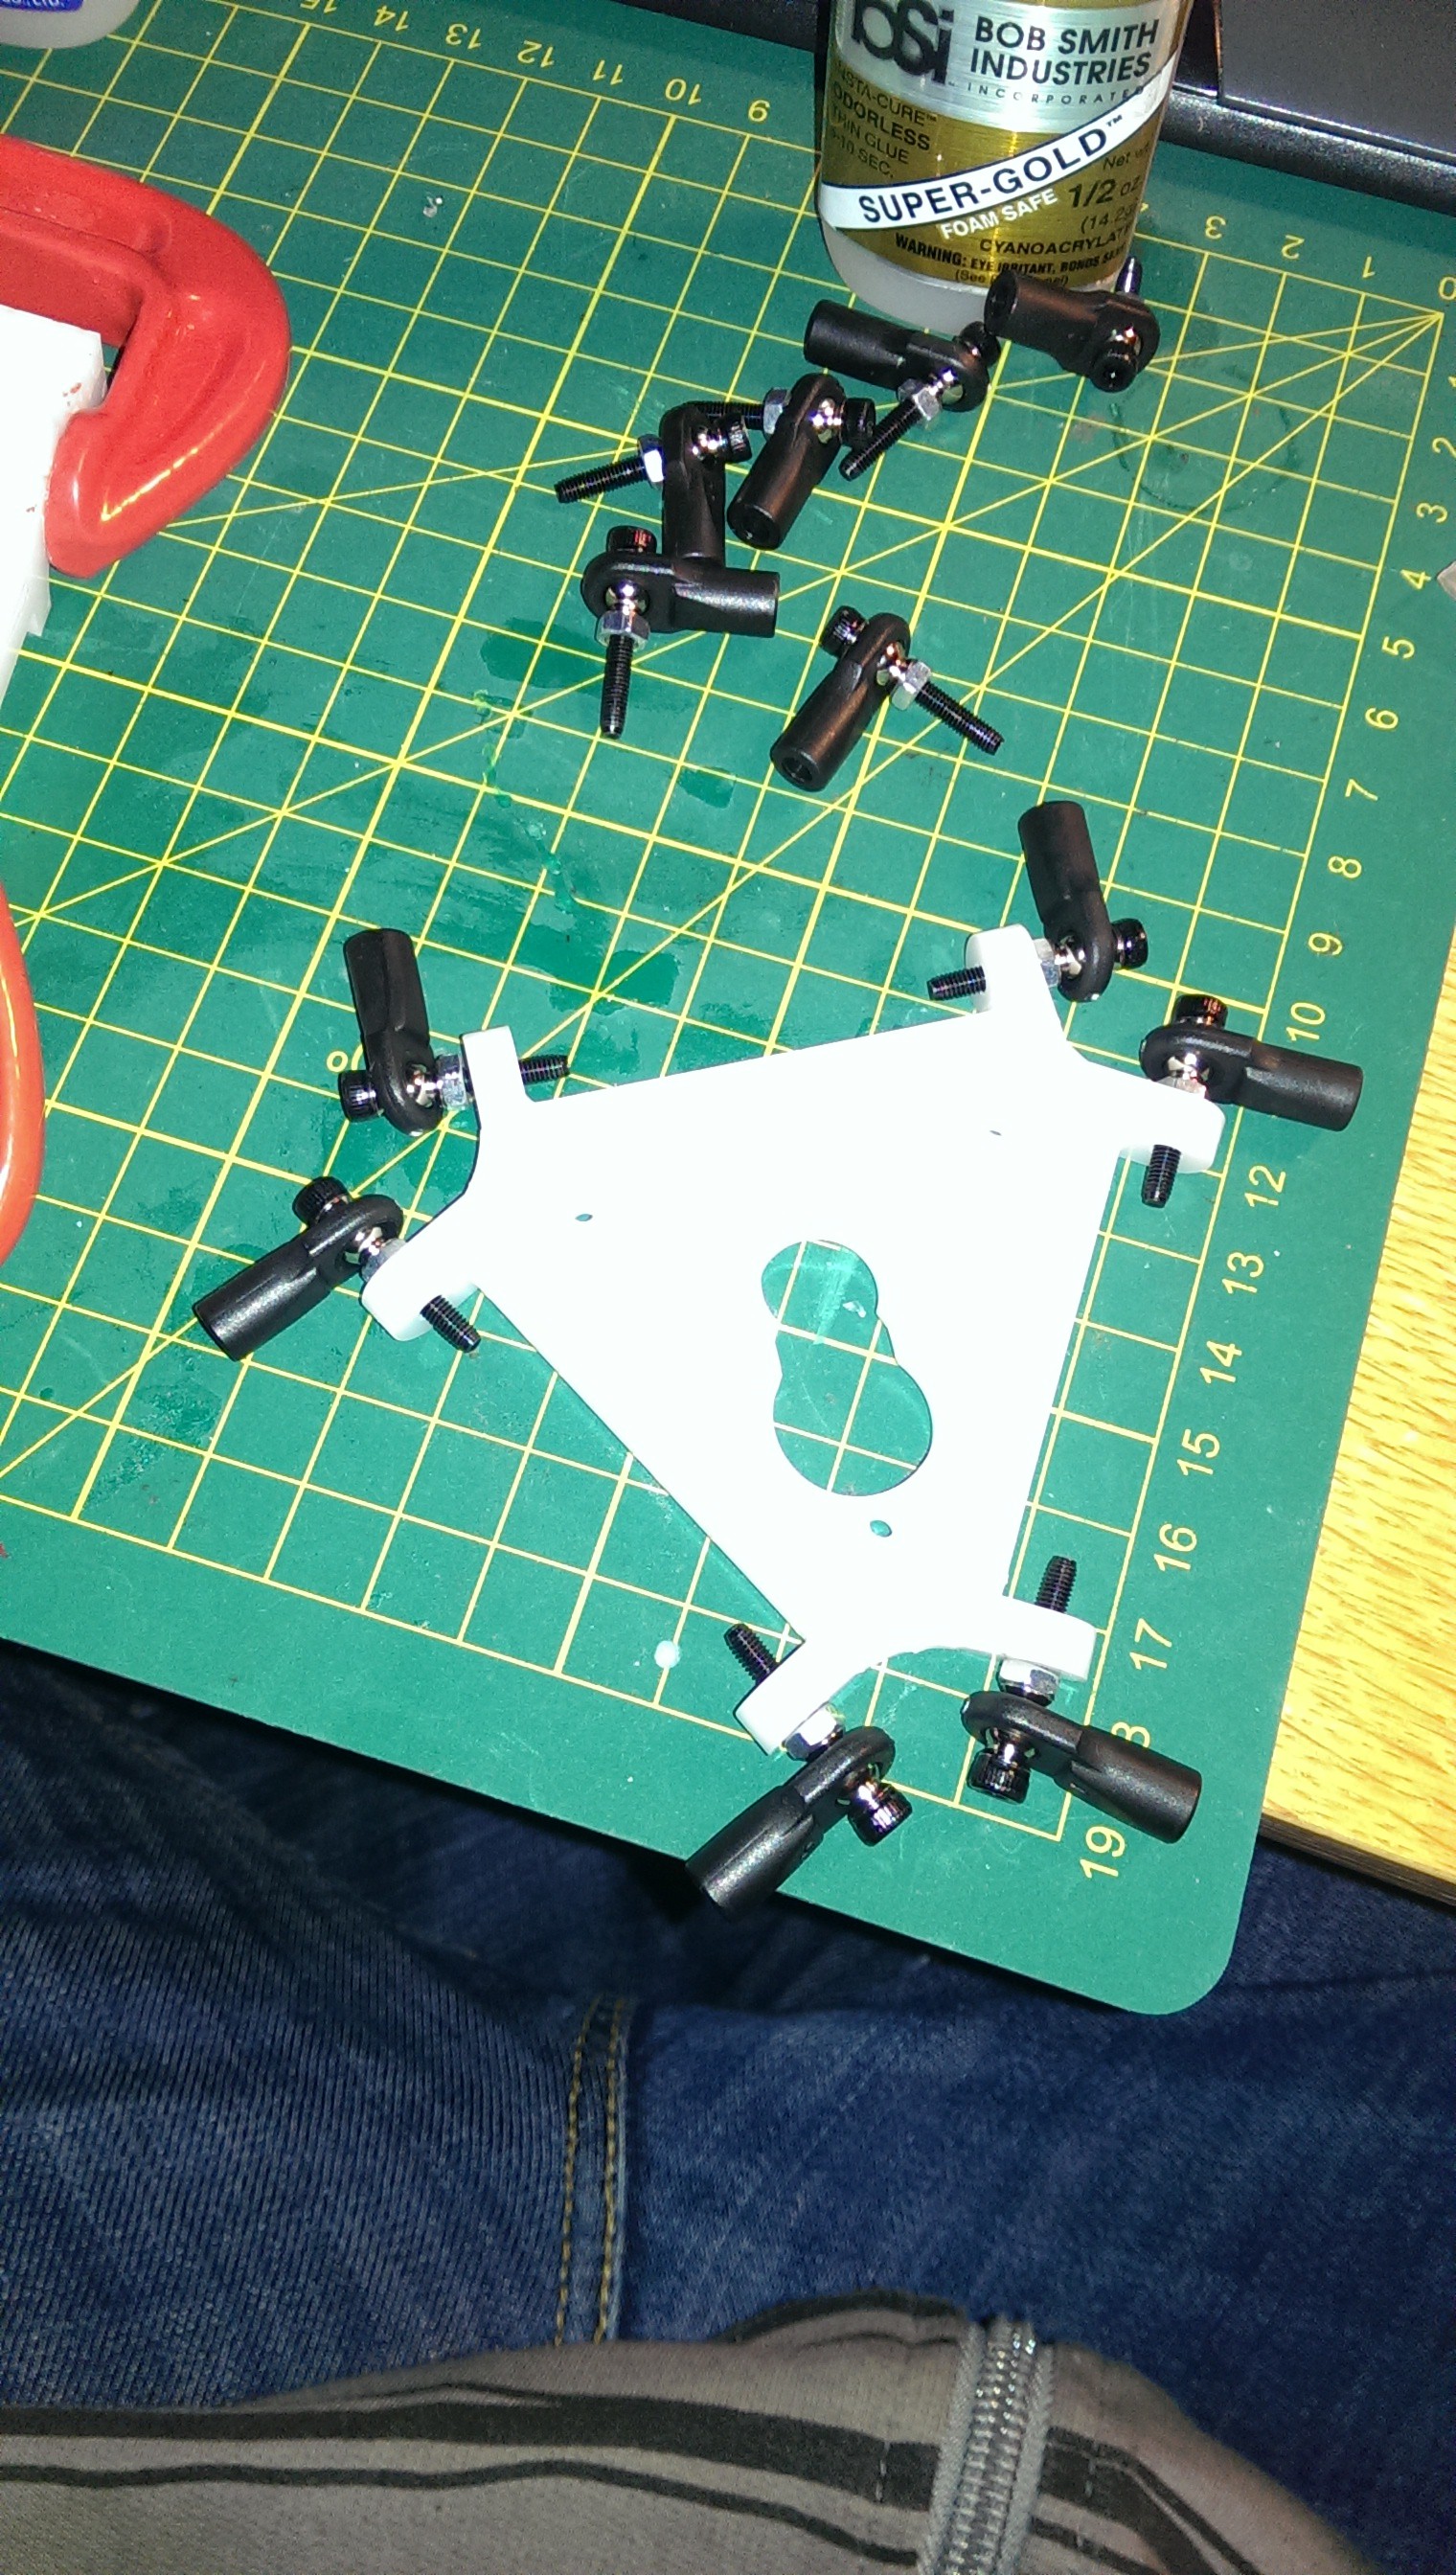
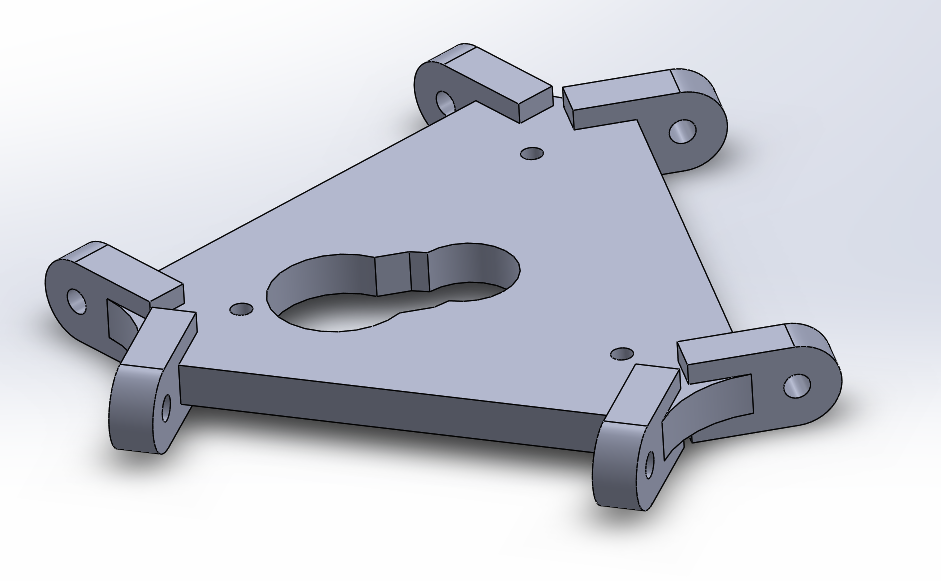
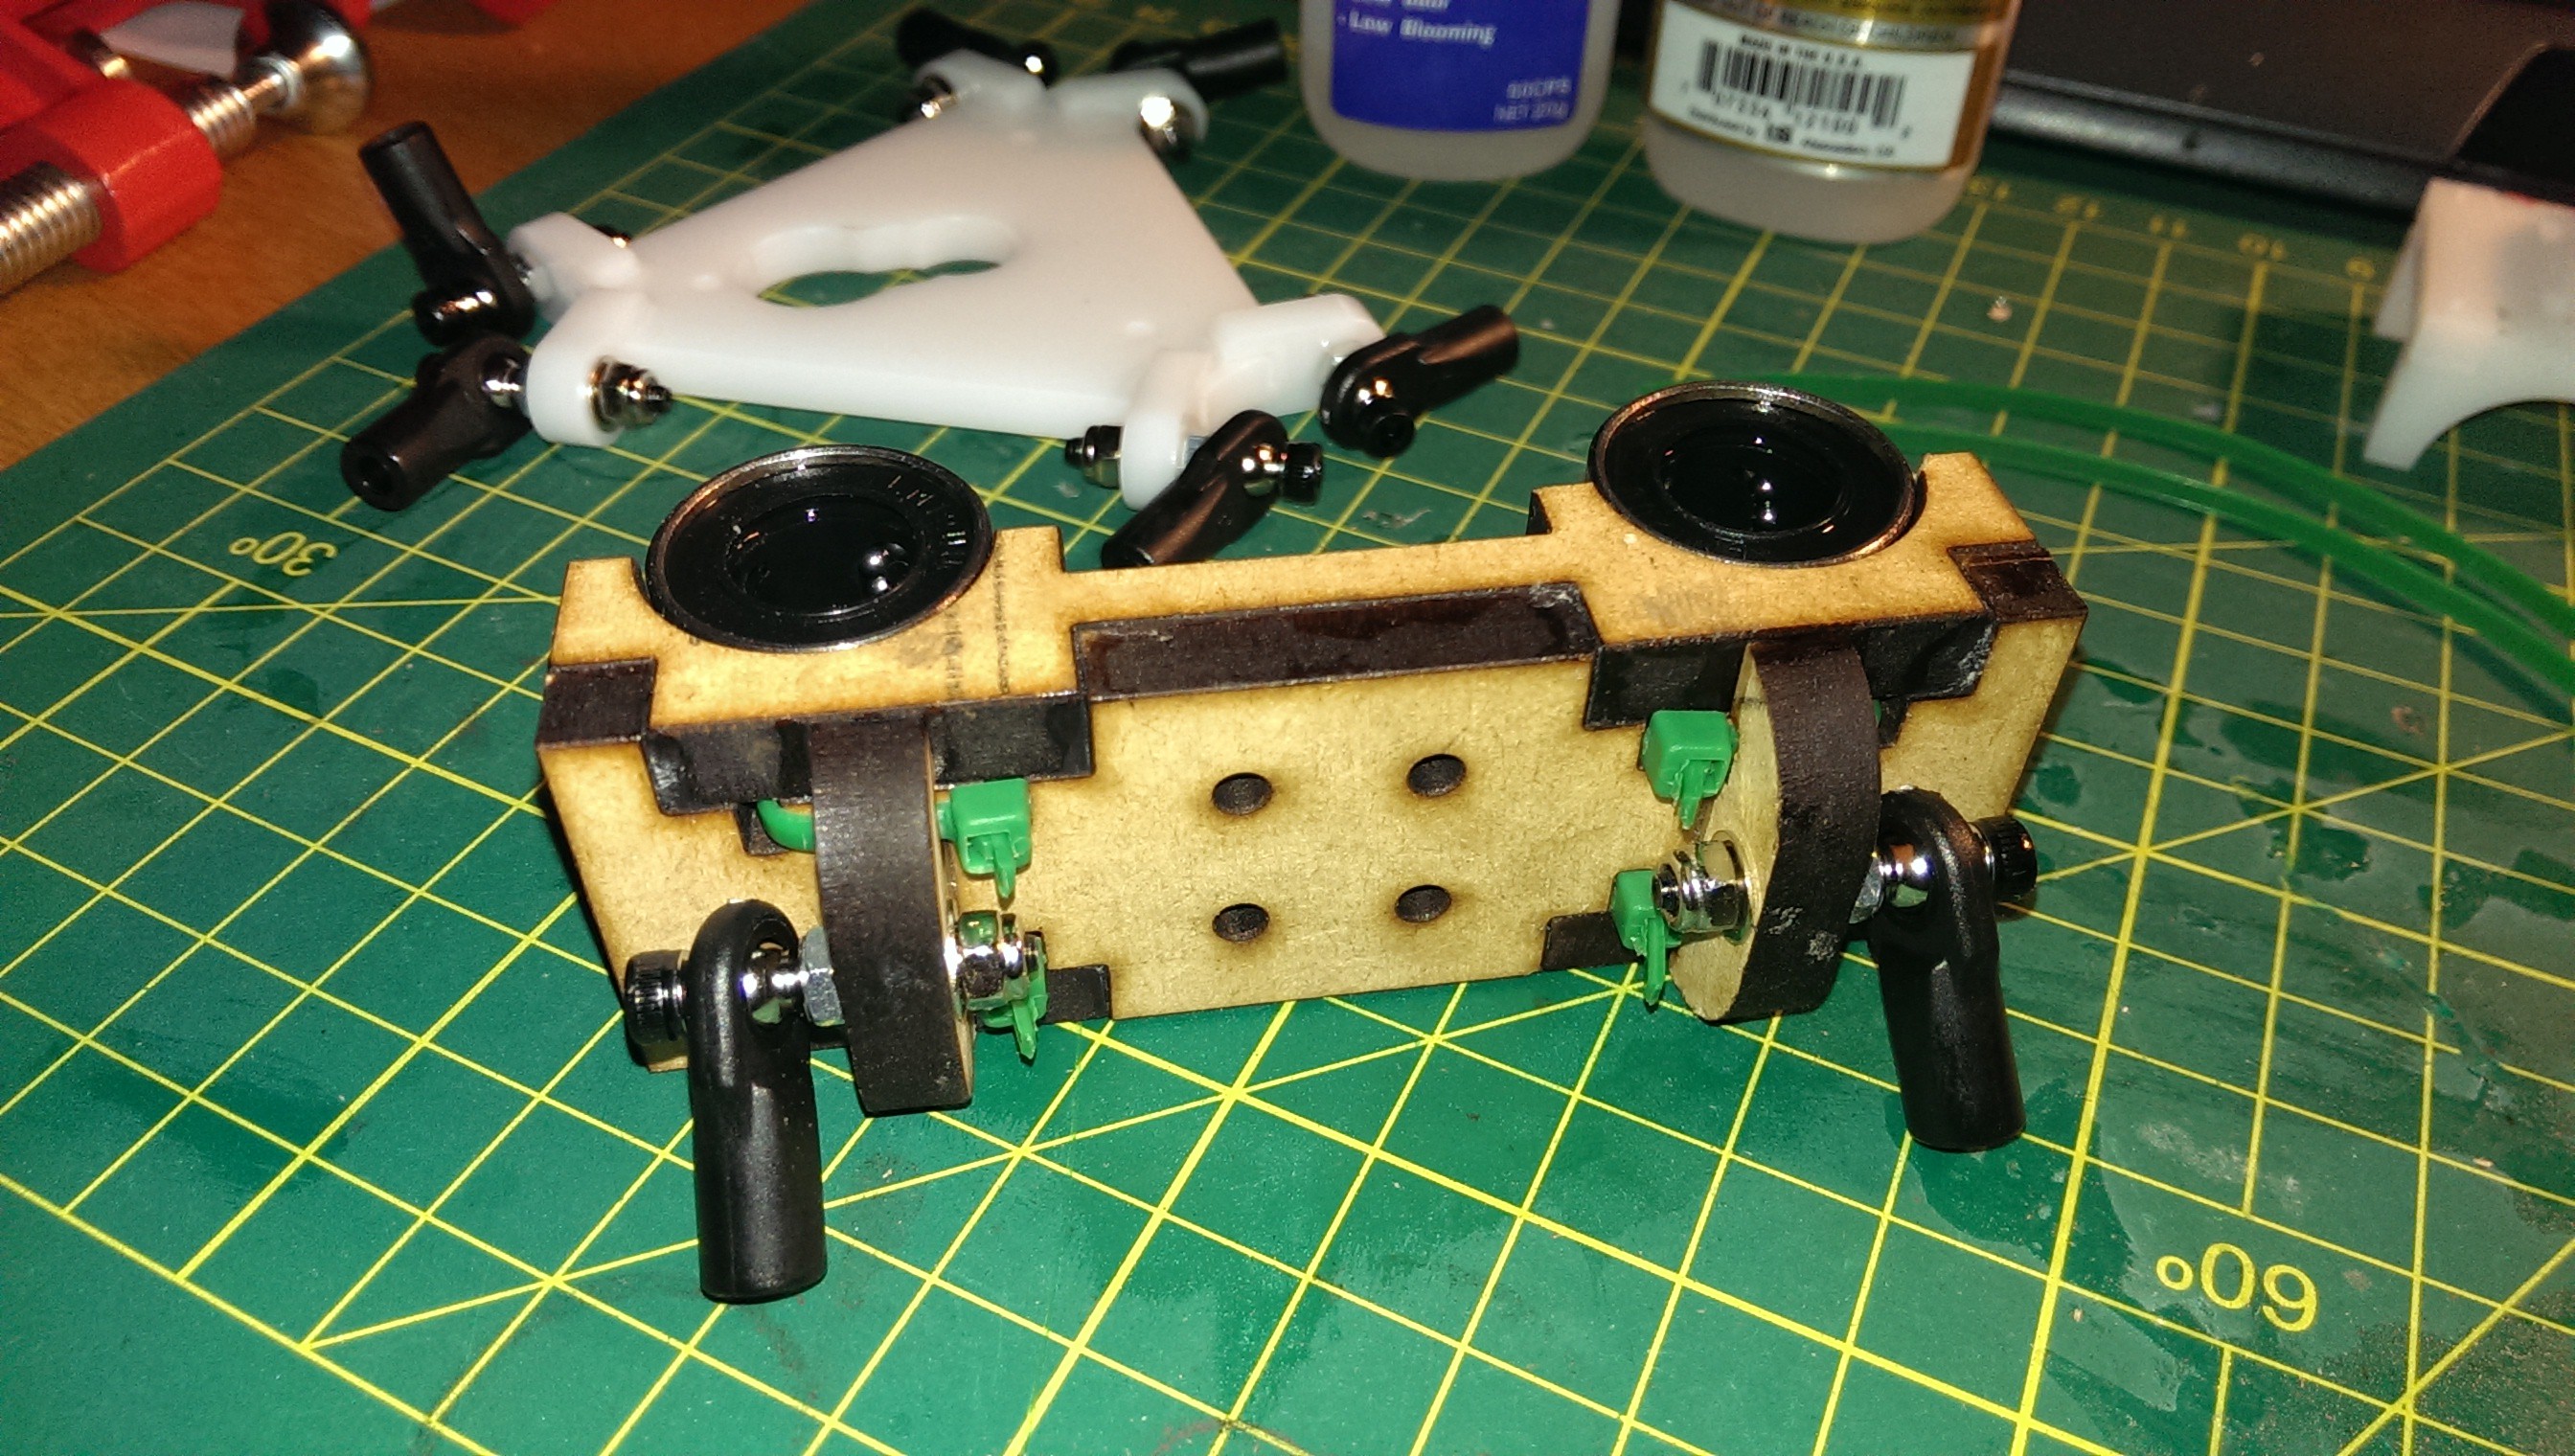
Platform assembled
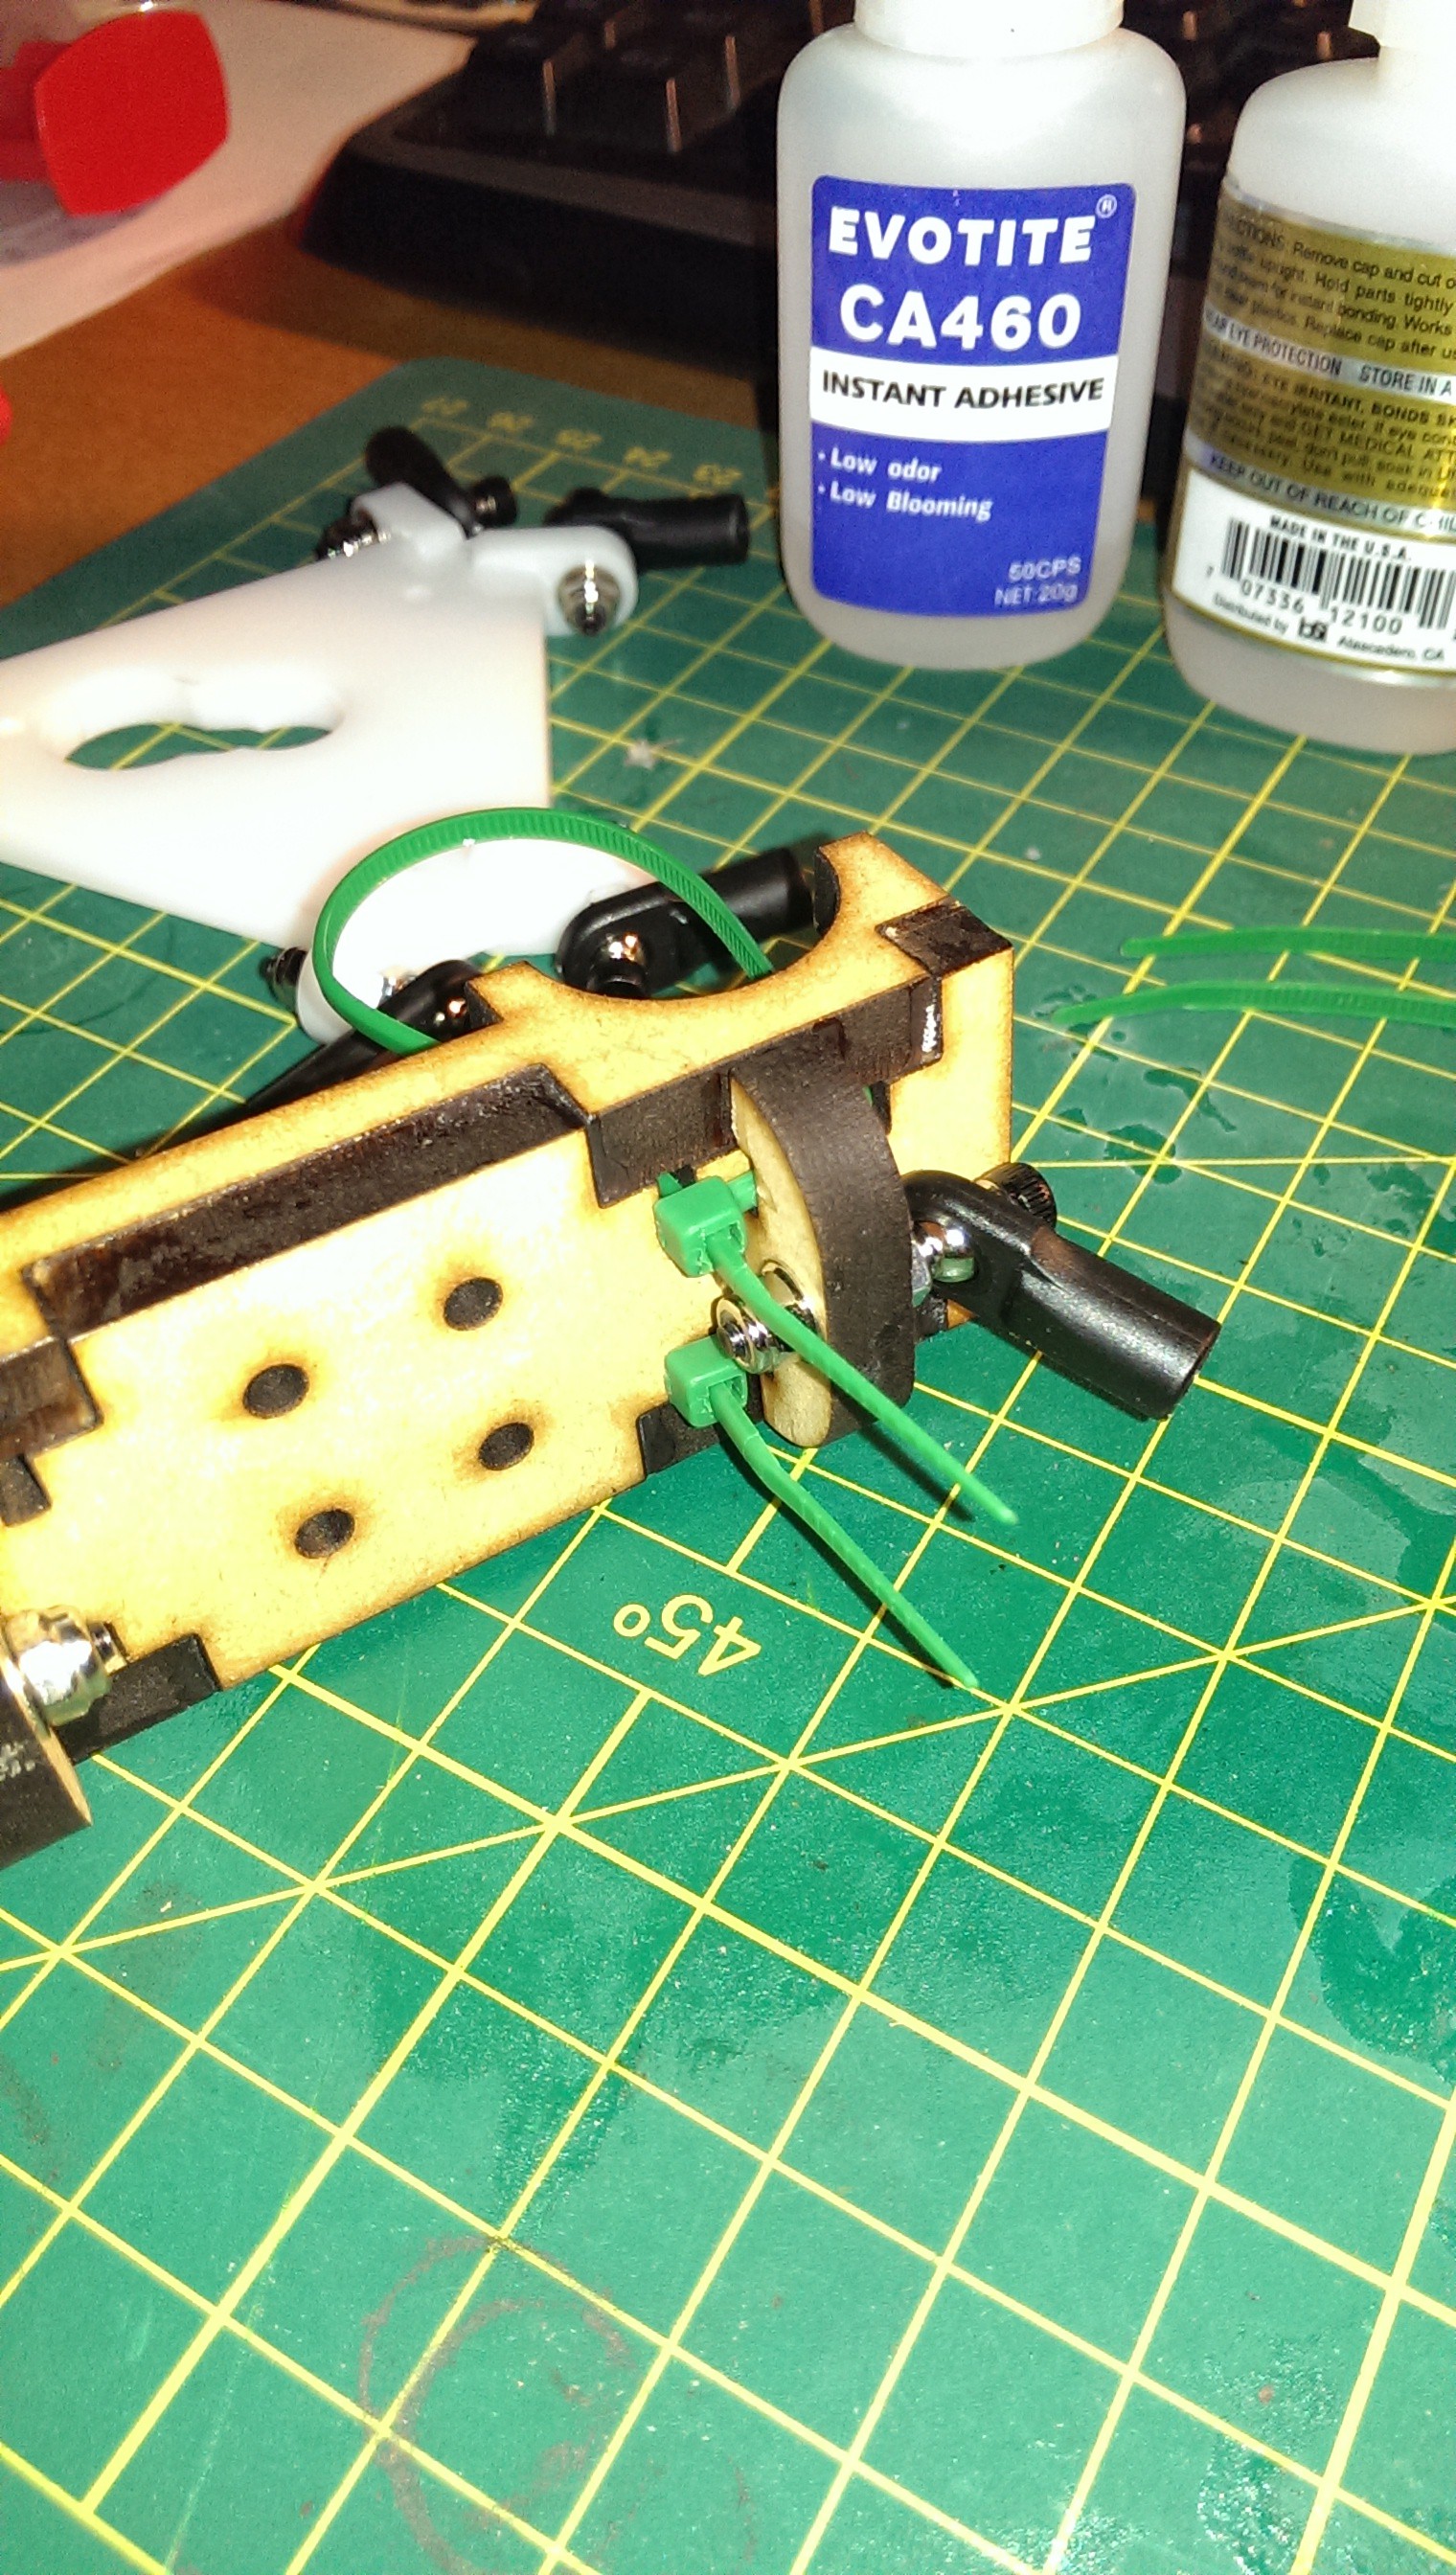
Cable tie routing
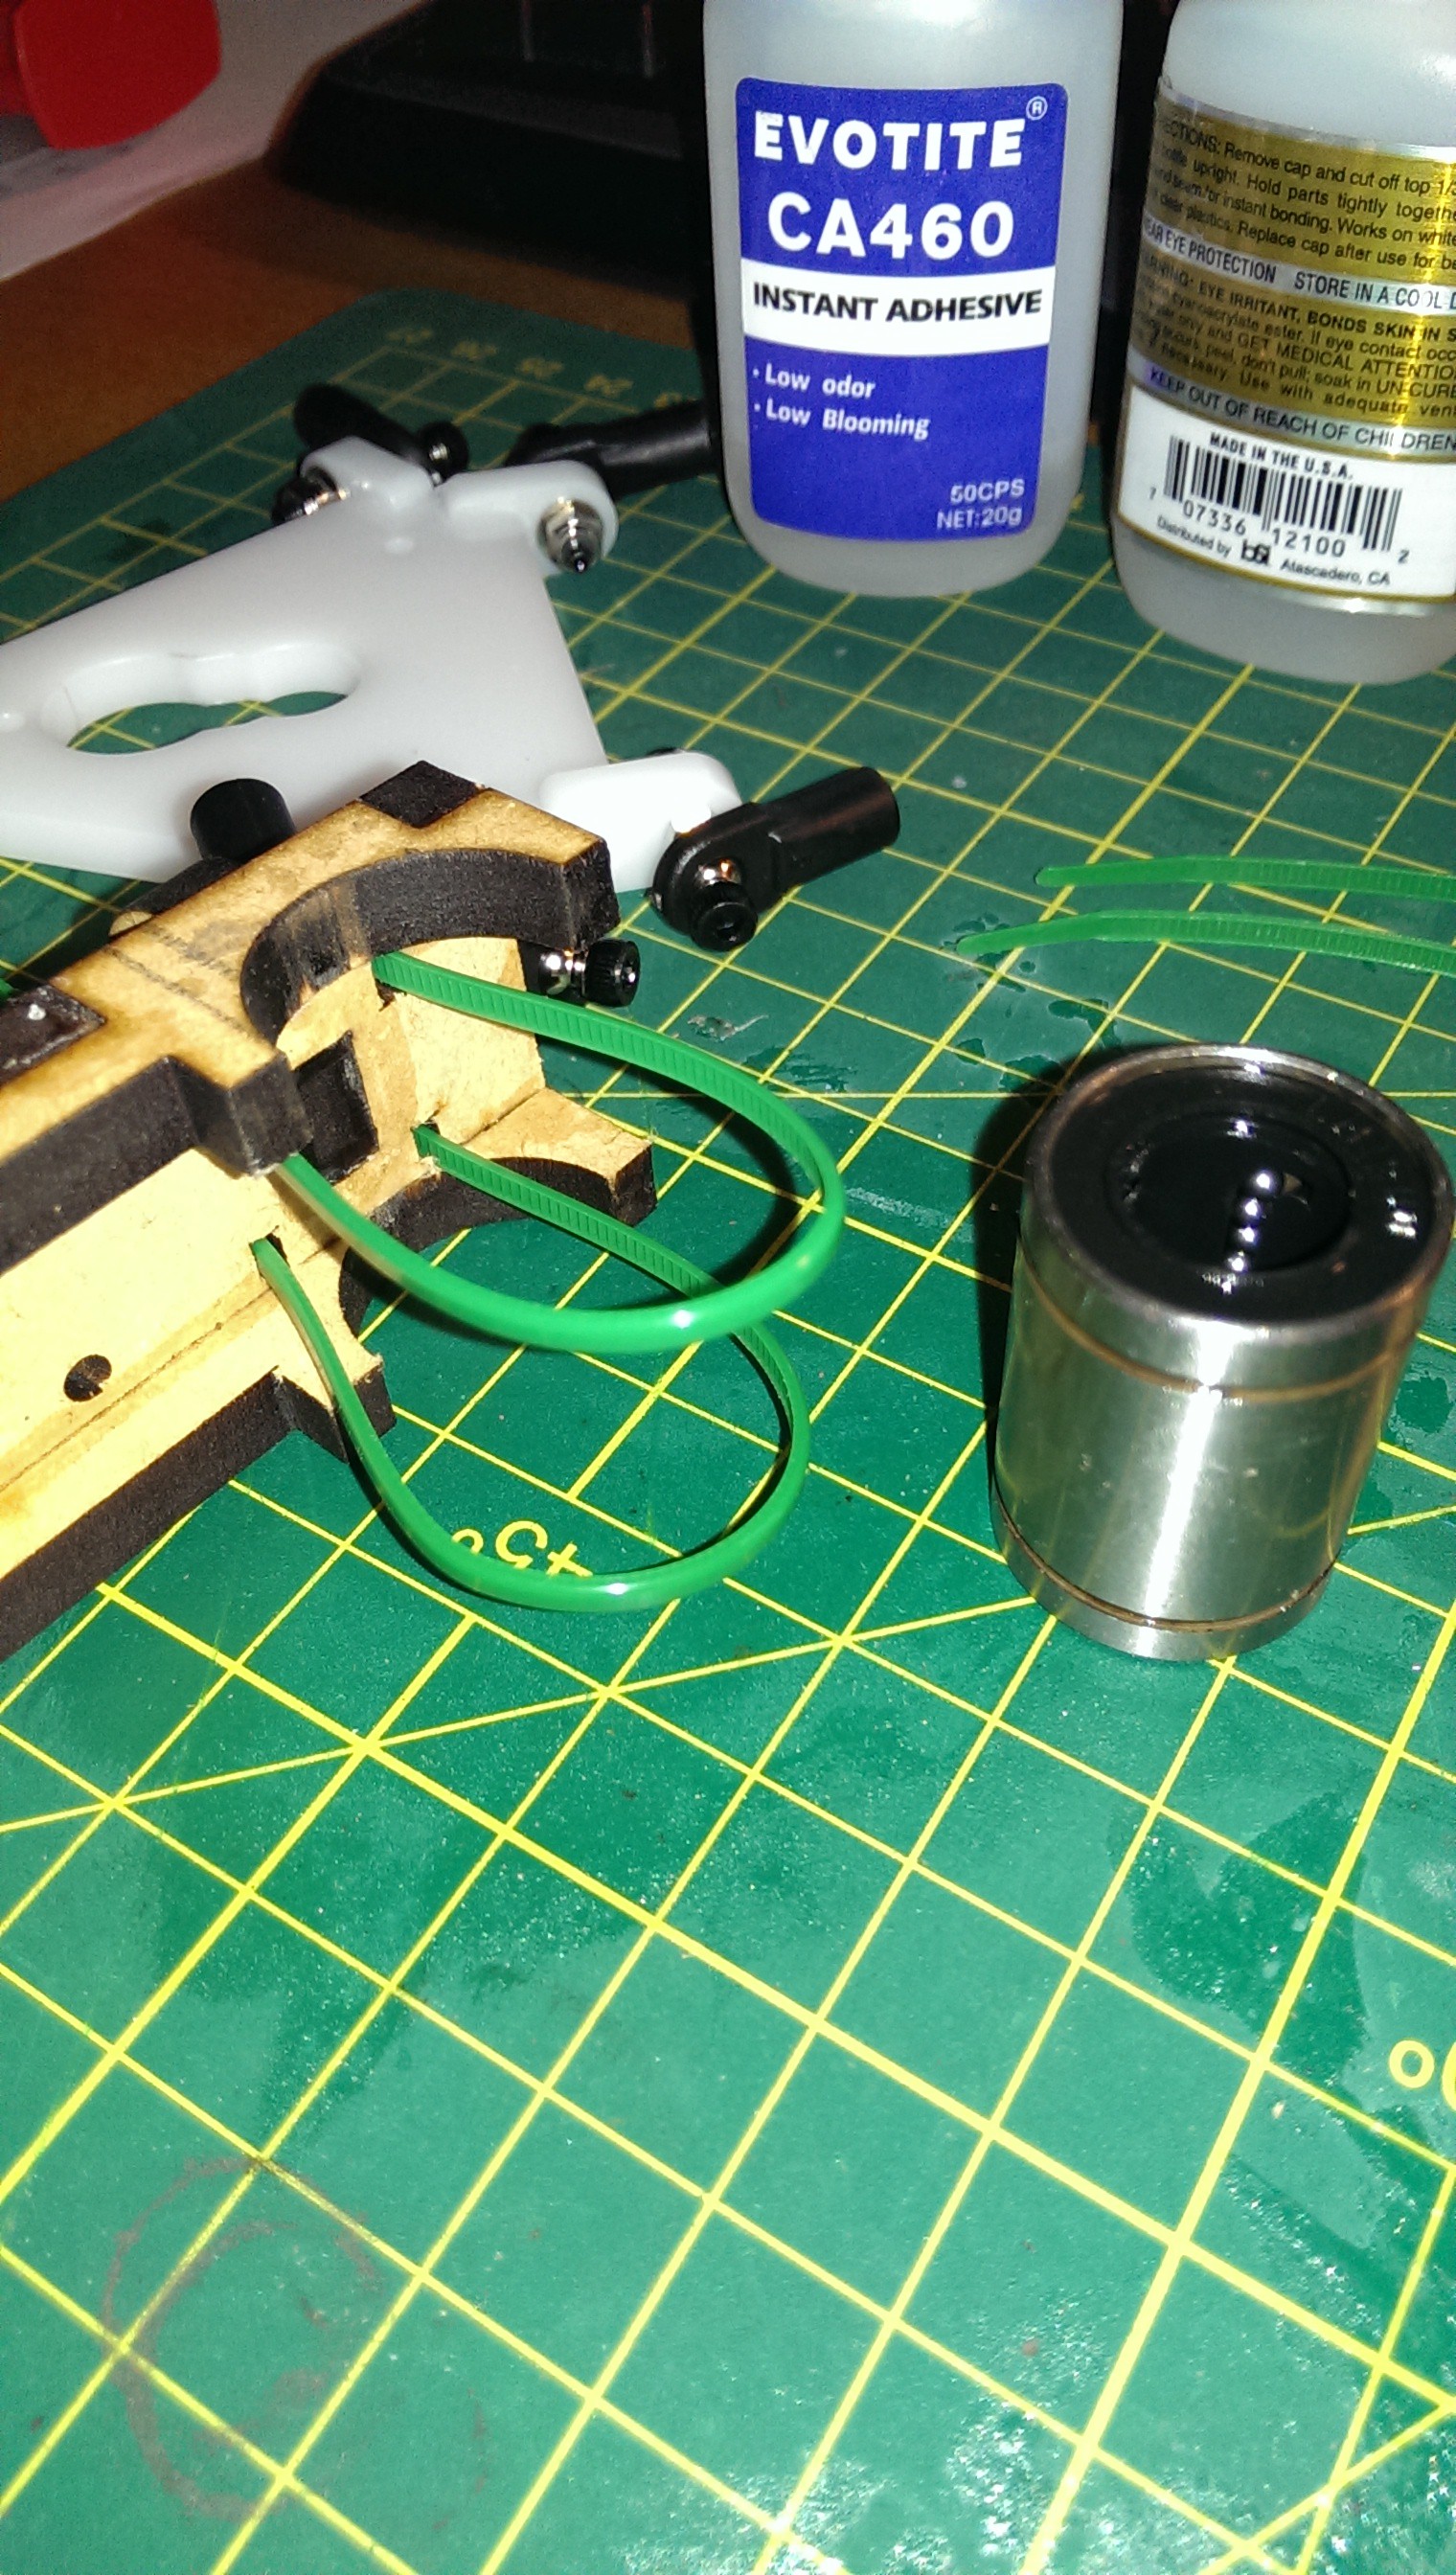
Test-fitting the LM12UU linear bearings
One down, two more to go!
Only two of the four holes in the middle would be used for anchoring the GT2 belts. A simple anchoring method was to loop the timing belt over a protruding bolt. The bolts were aligned to ensure the belts would run straight between the motor pulley and idler pulley.
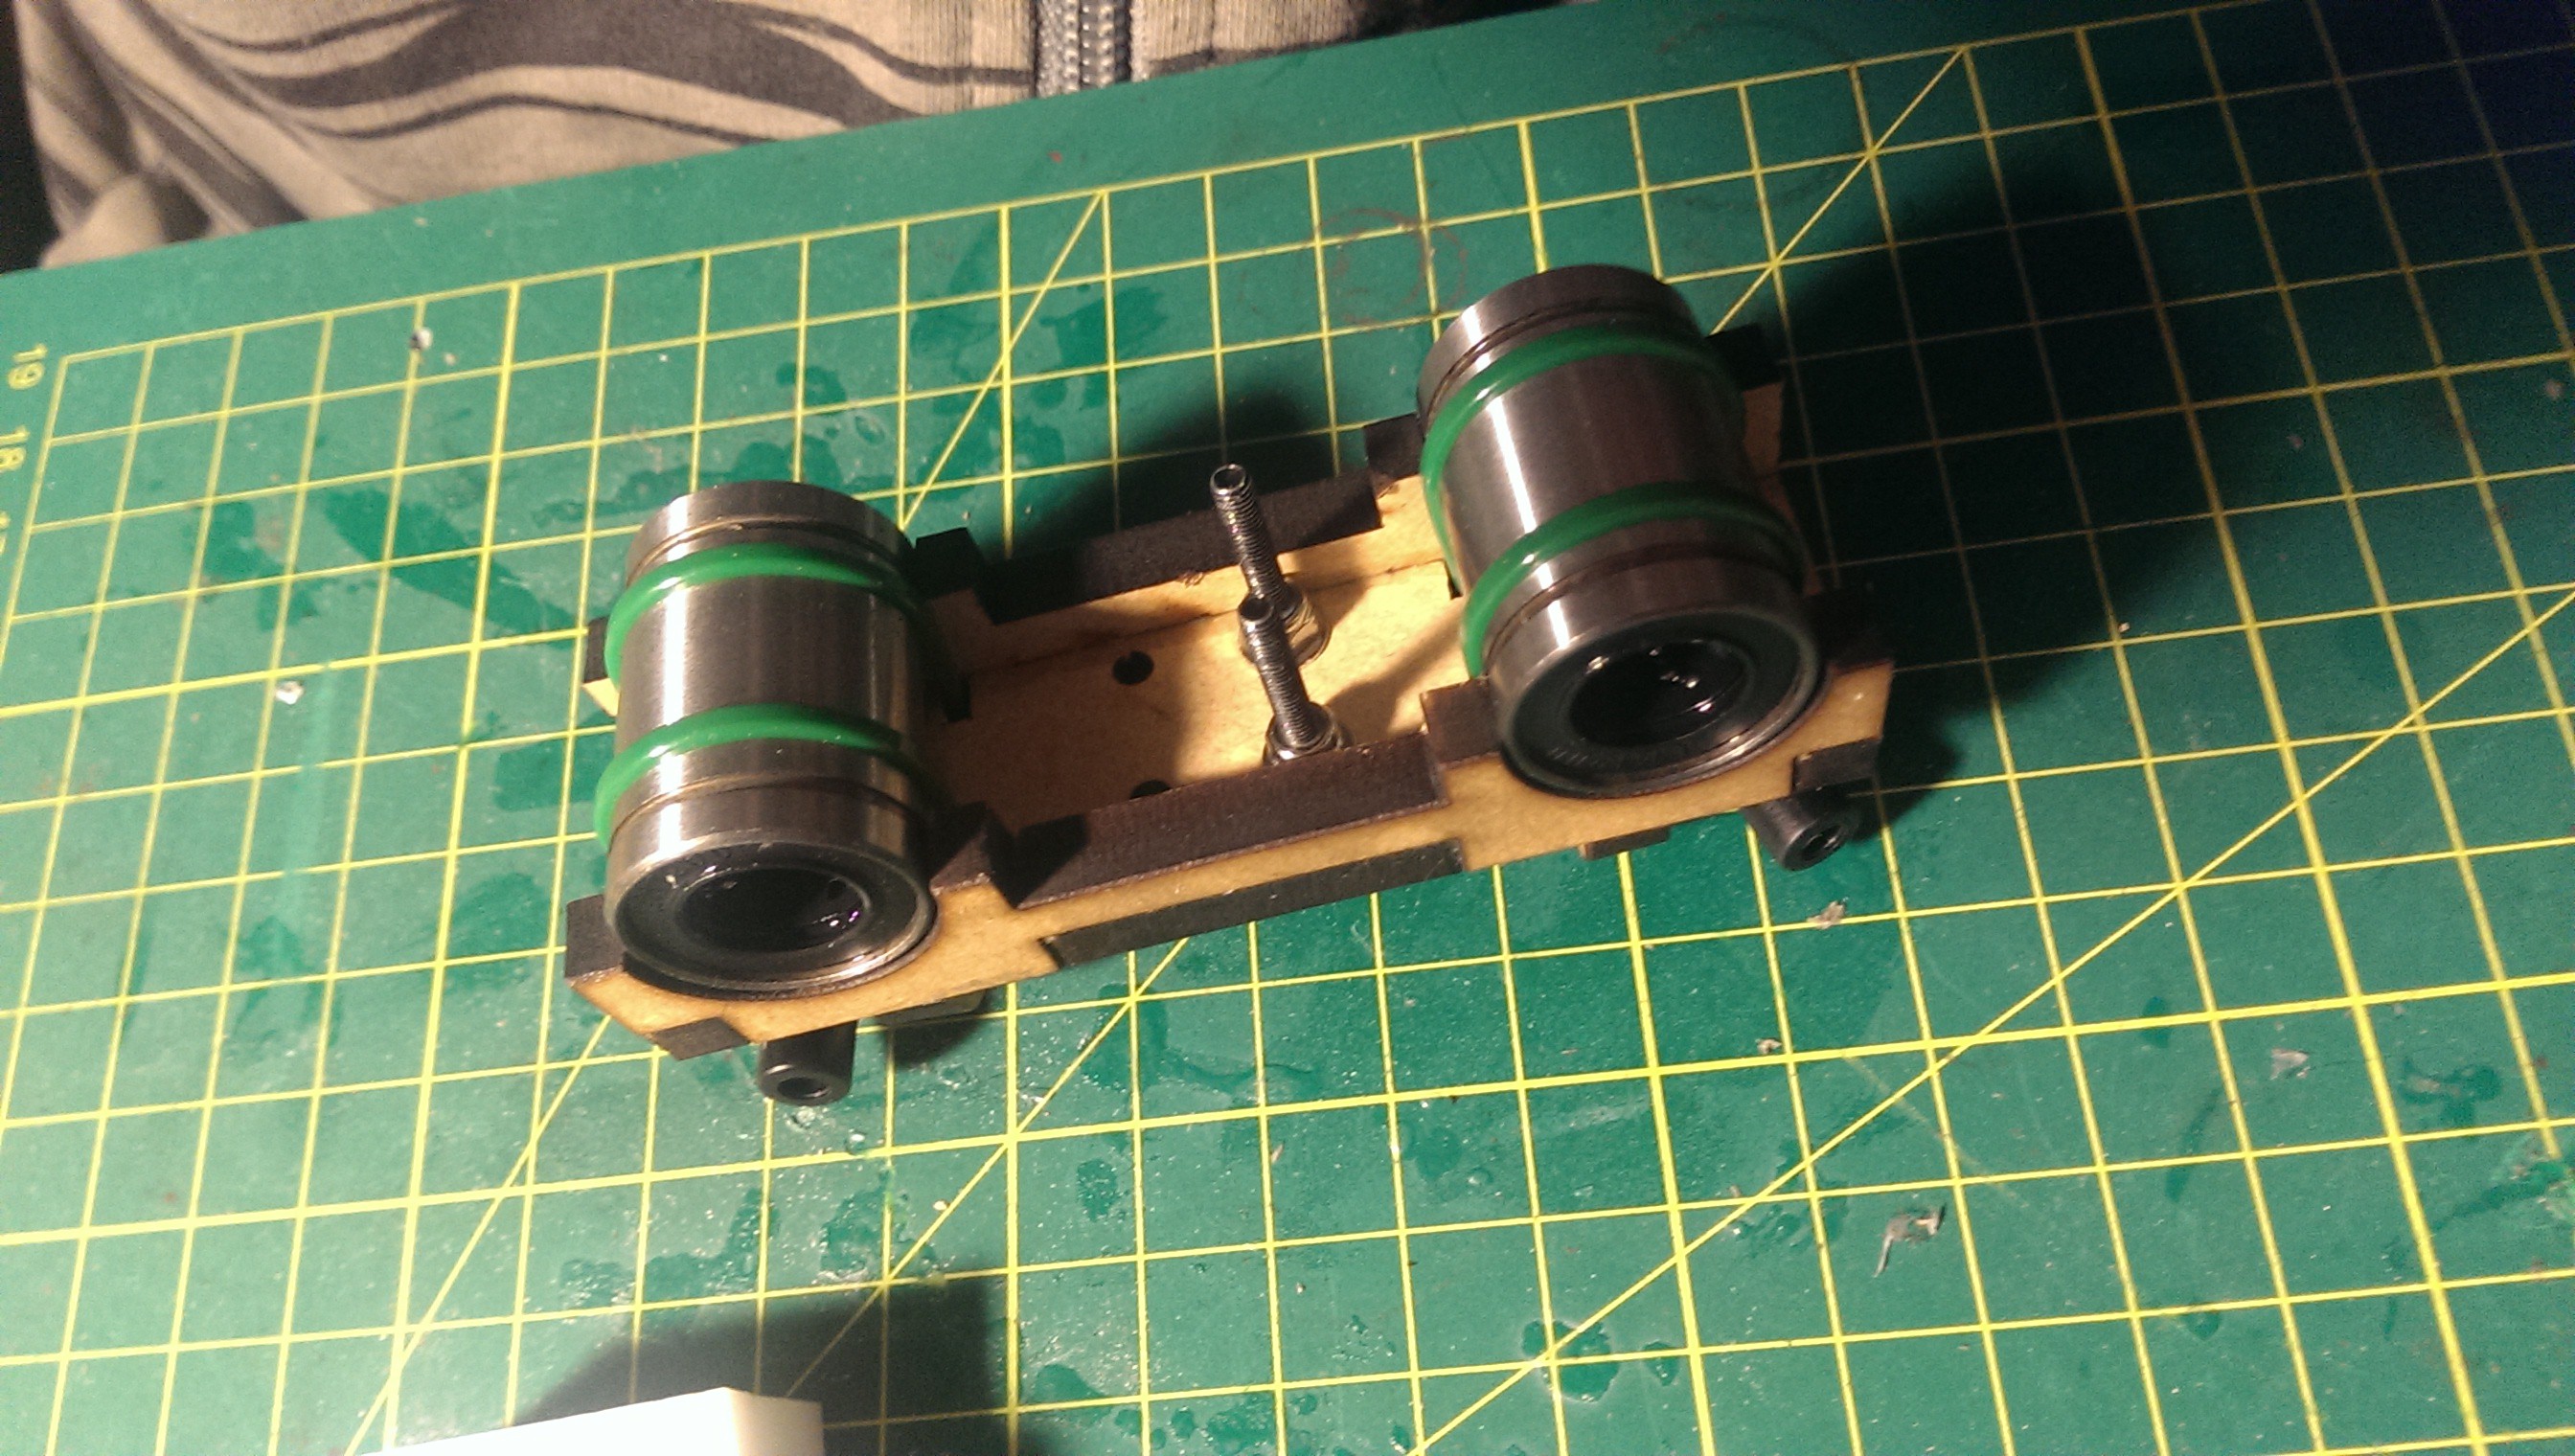
Belt anchor bolts
The platform was cut with a tapered groove to allow the hot end to snap into. I was a bit off with my dimensions and needed to do some filing to get it to fit nicely. I had chosen the 5mm thick acrylic because that was the thickness required by the hot end groove.
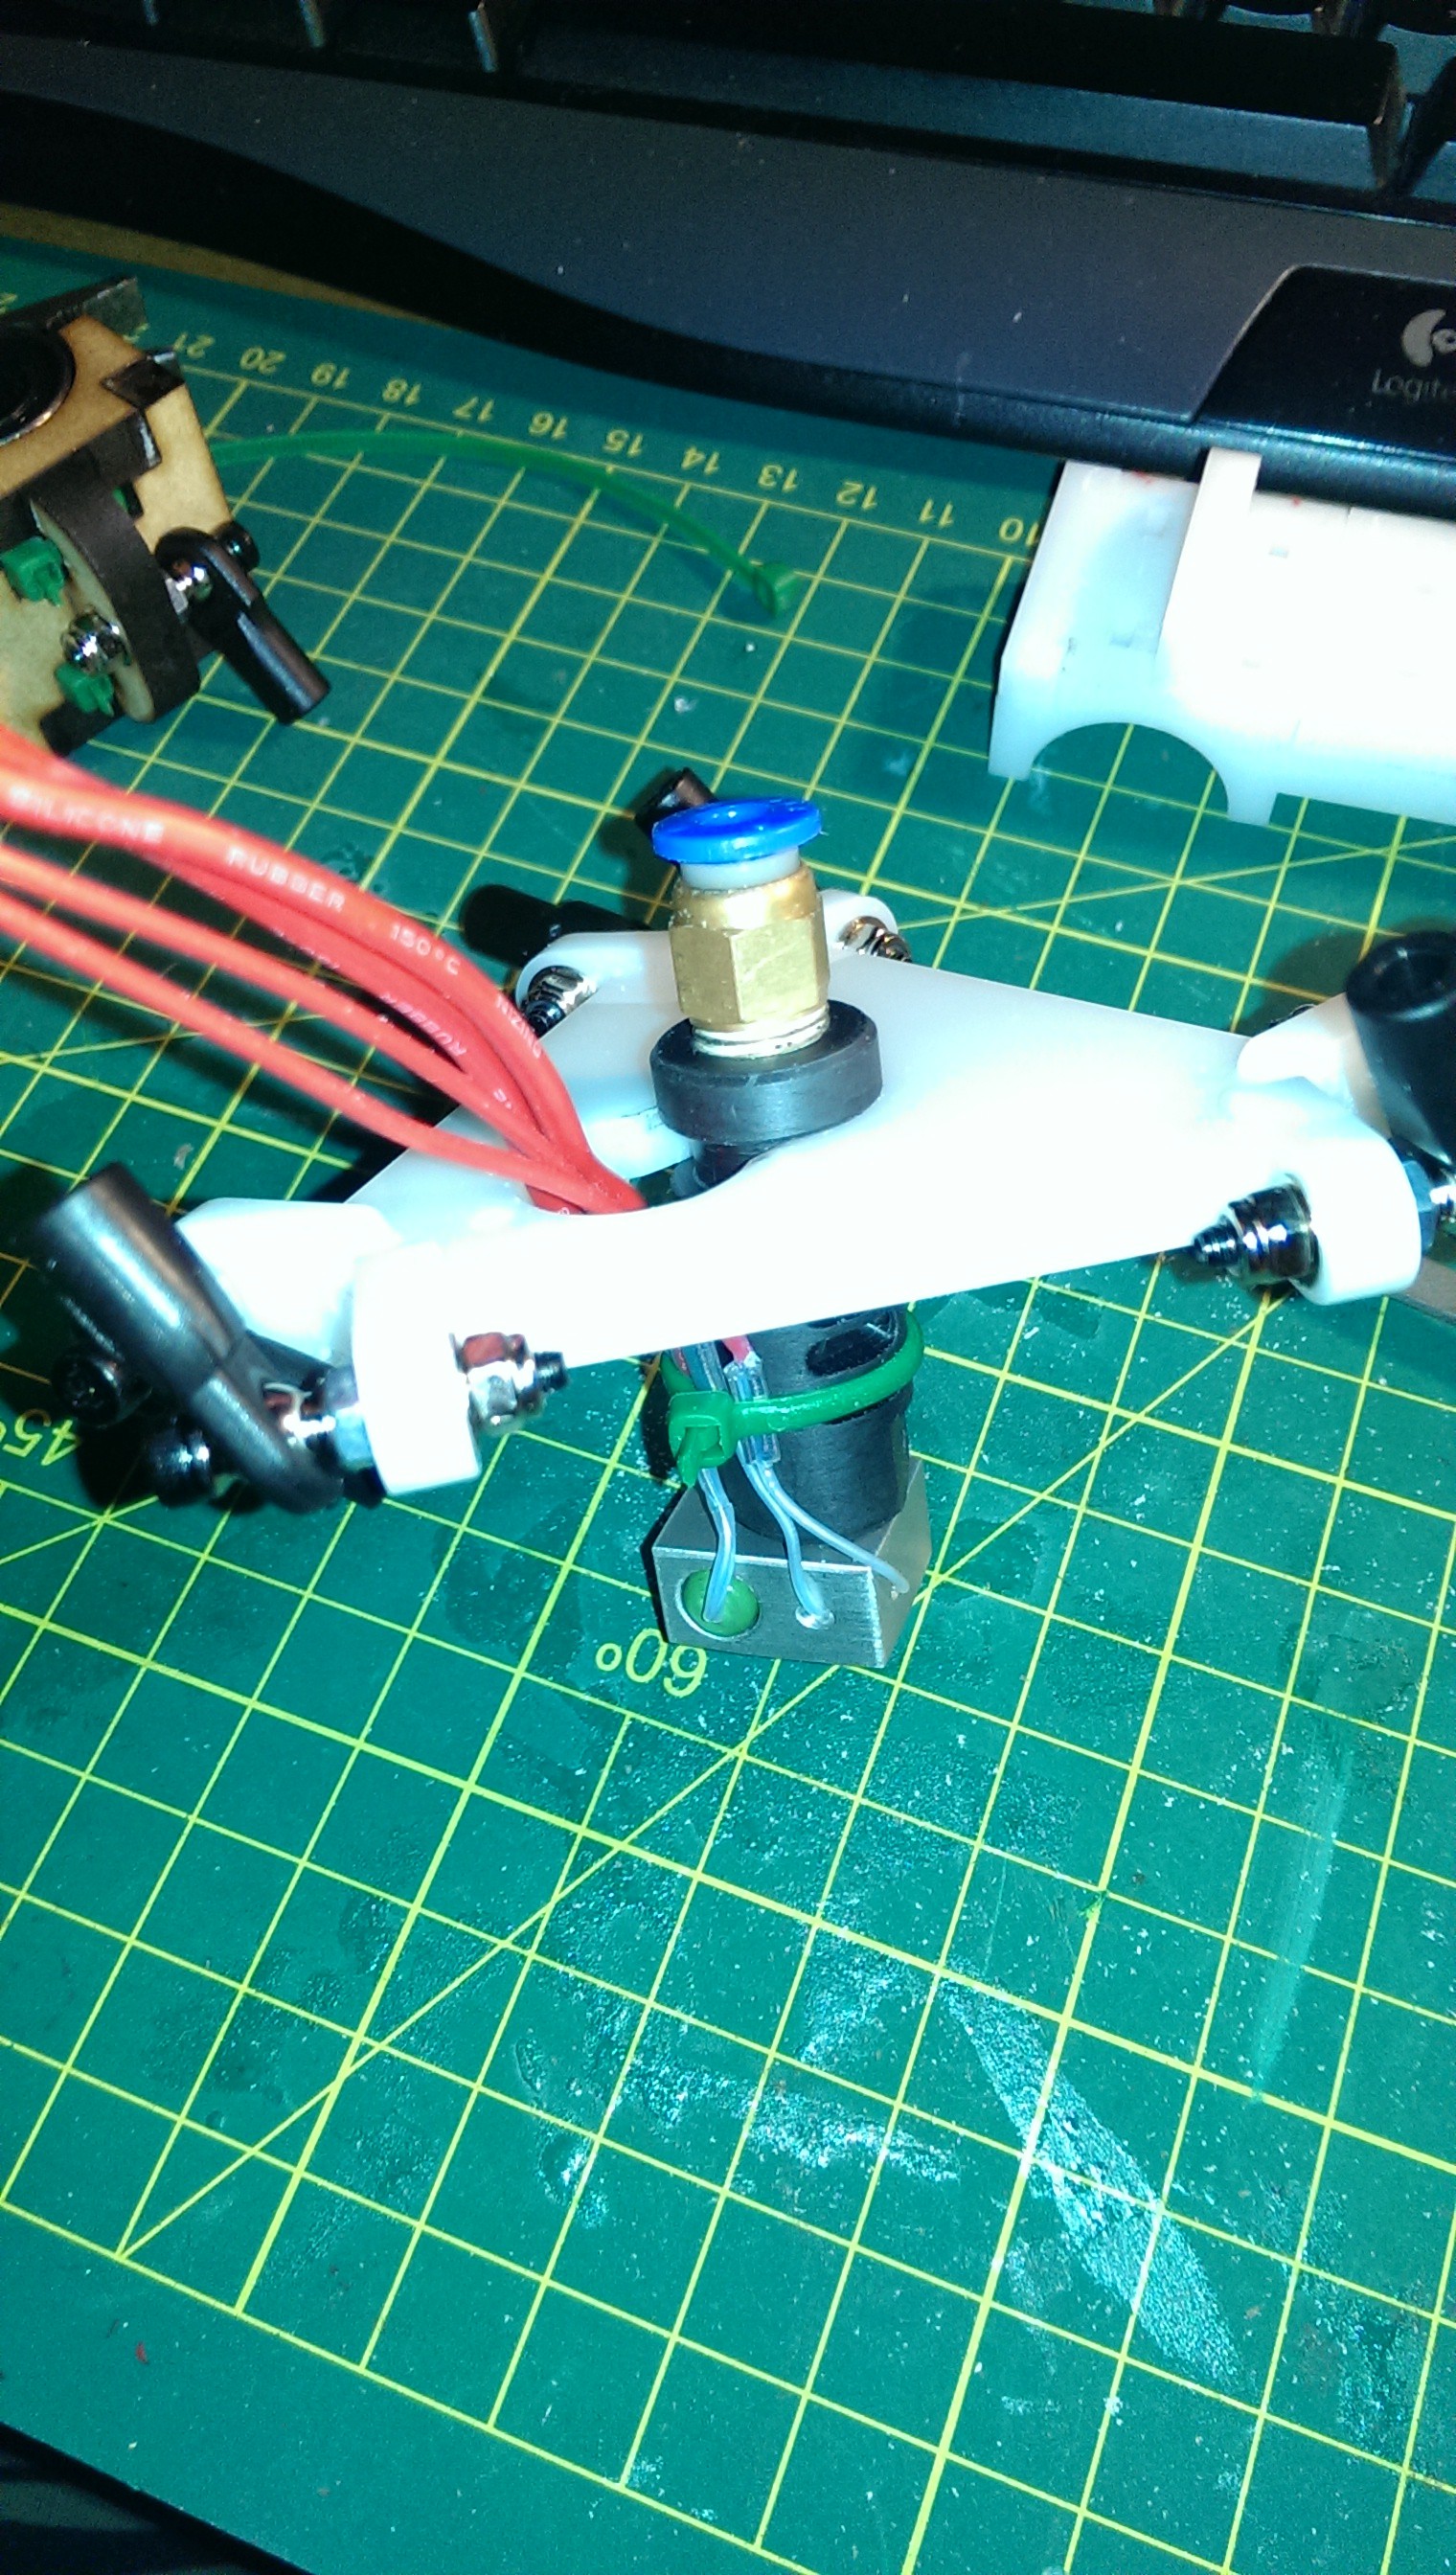
J-Head hot end fits!
It was then just a matter of precisely cutting the carbon fiber tube to length and gluing it into the ball ends. They ended up more-or-less the same length. In hindsight I should have used a jig.
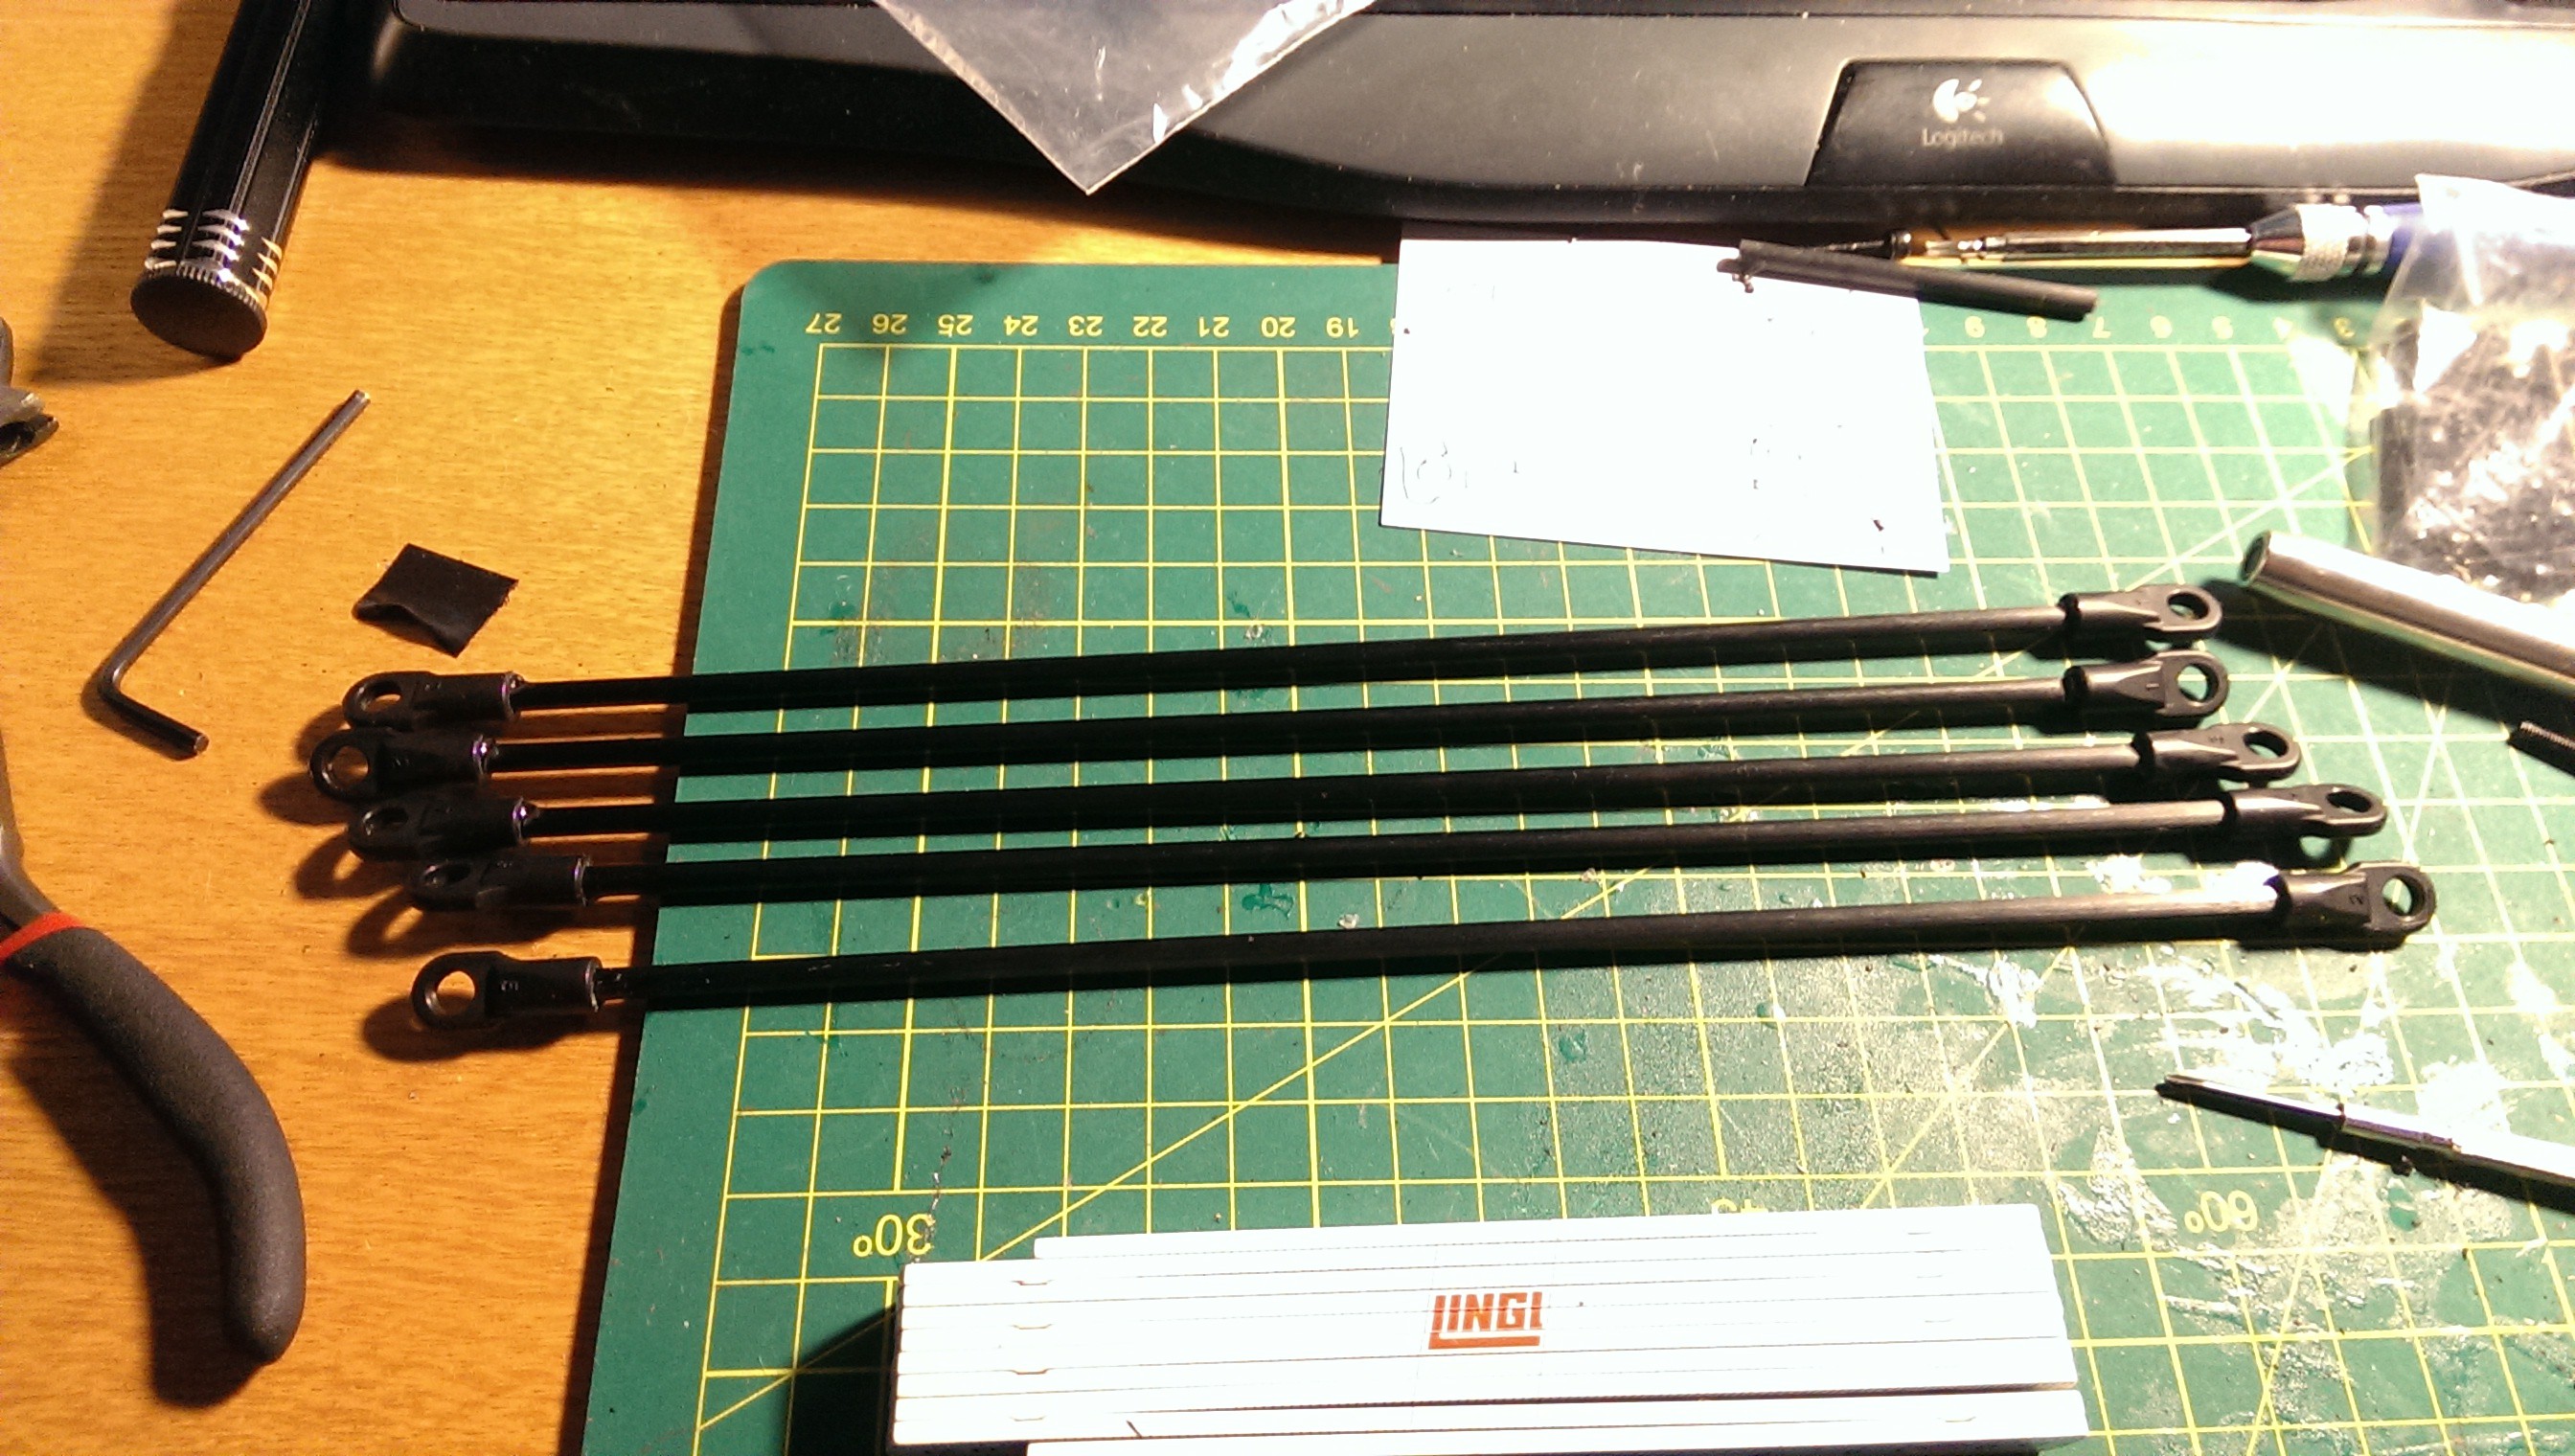
“Precision” cut rods
I was now ready to assemble the delta mechanism and see how it all moved together.
Ready to assemble
Discussions
Become a Hackaday.io Member
Create an account to leave a comment. Already have an account? Log In.