Tim Wilkinson
-
Design 3: Camera mounting
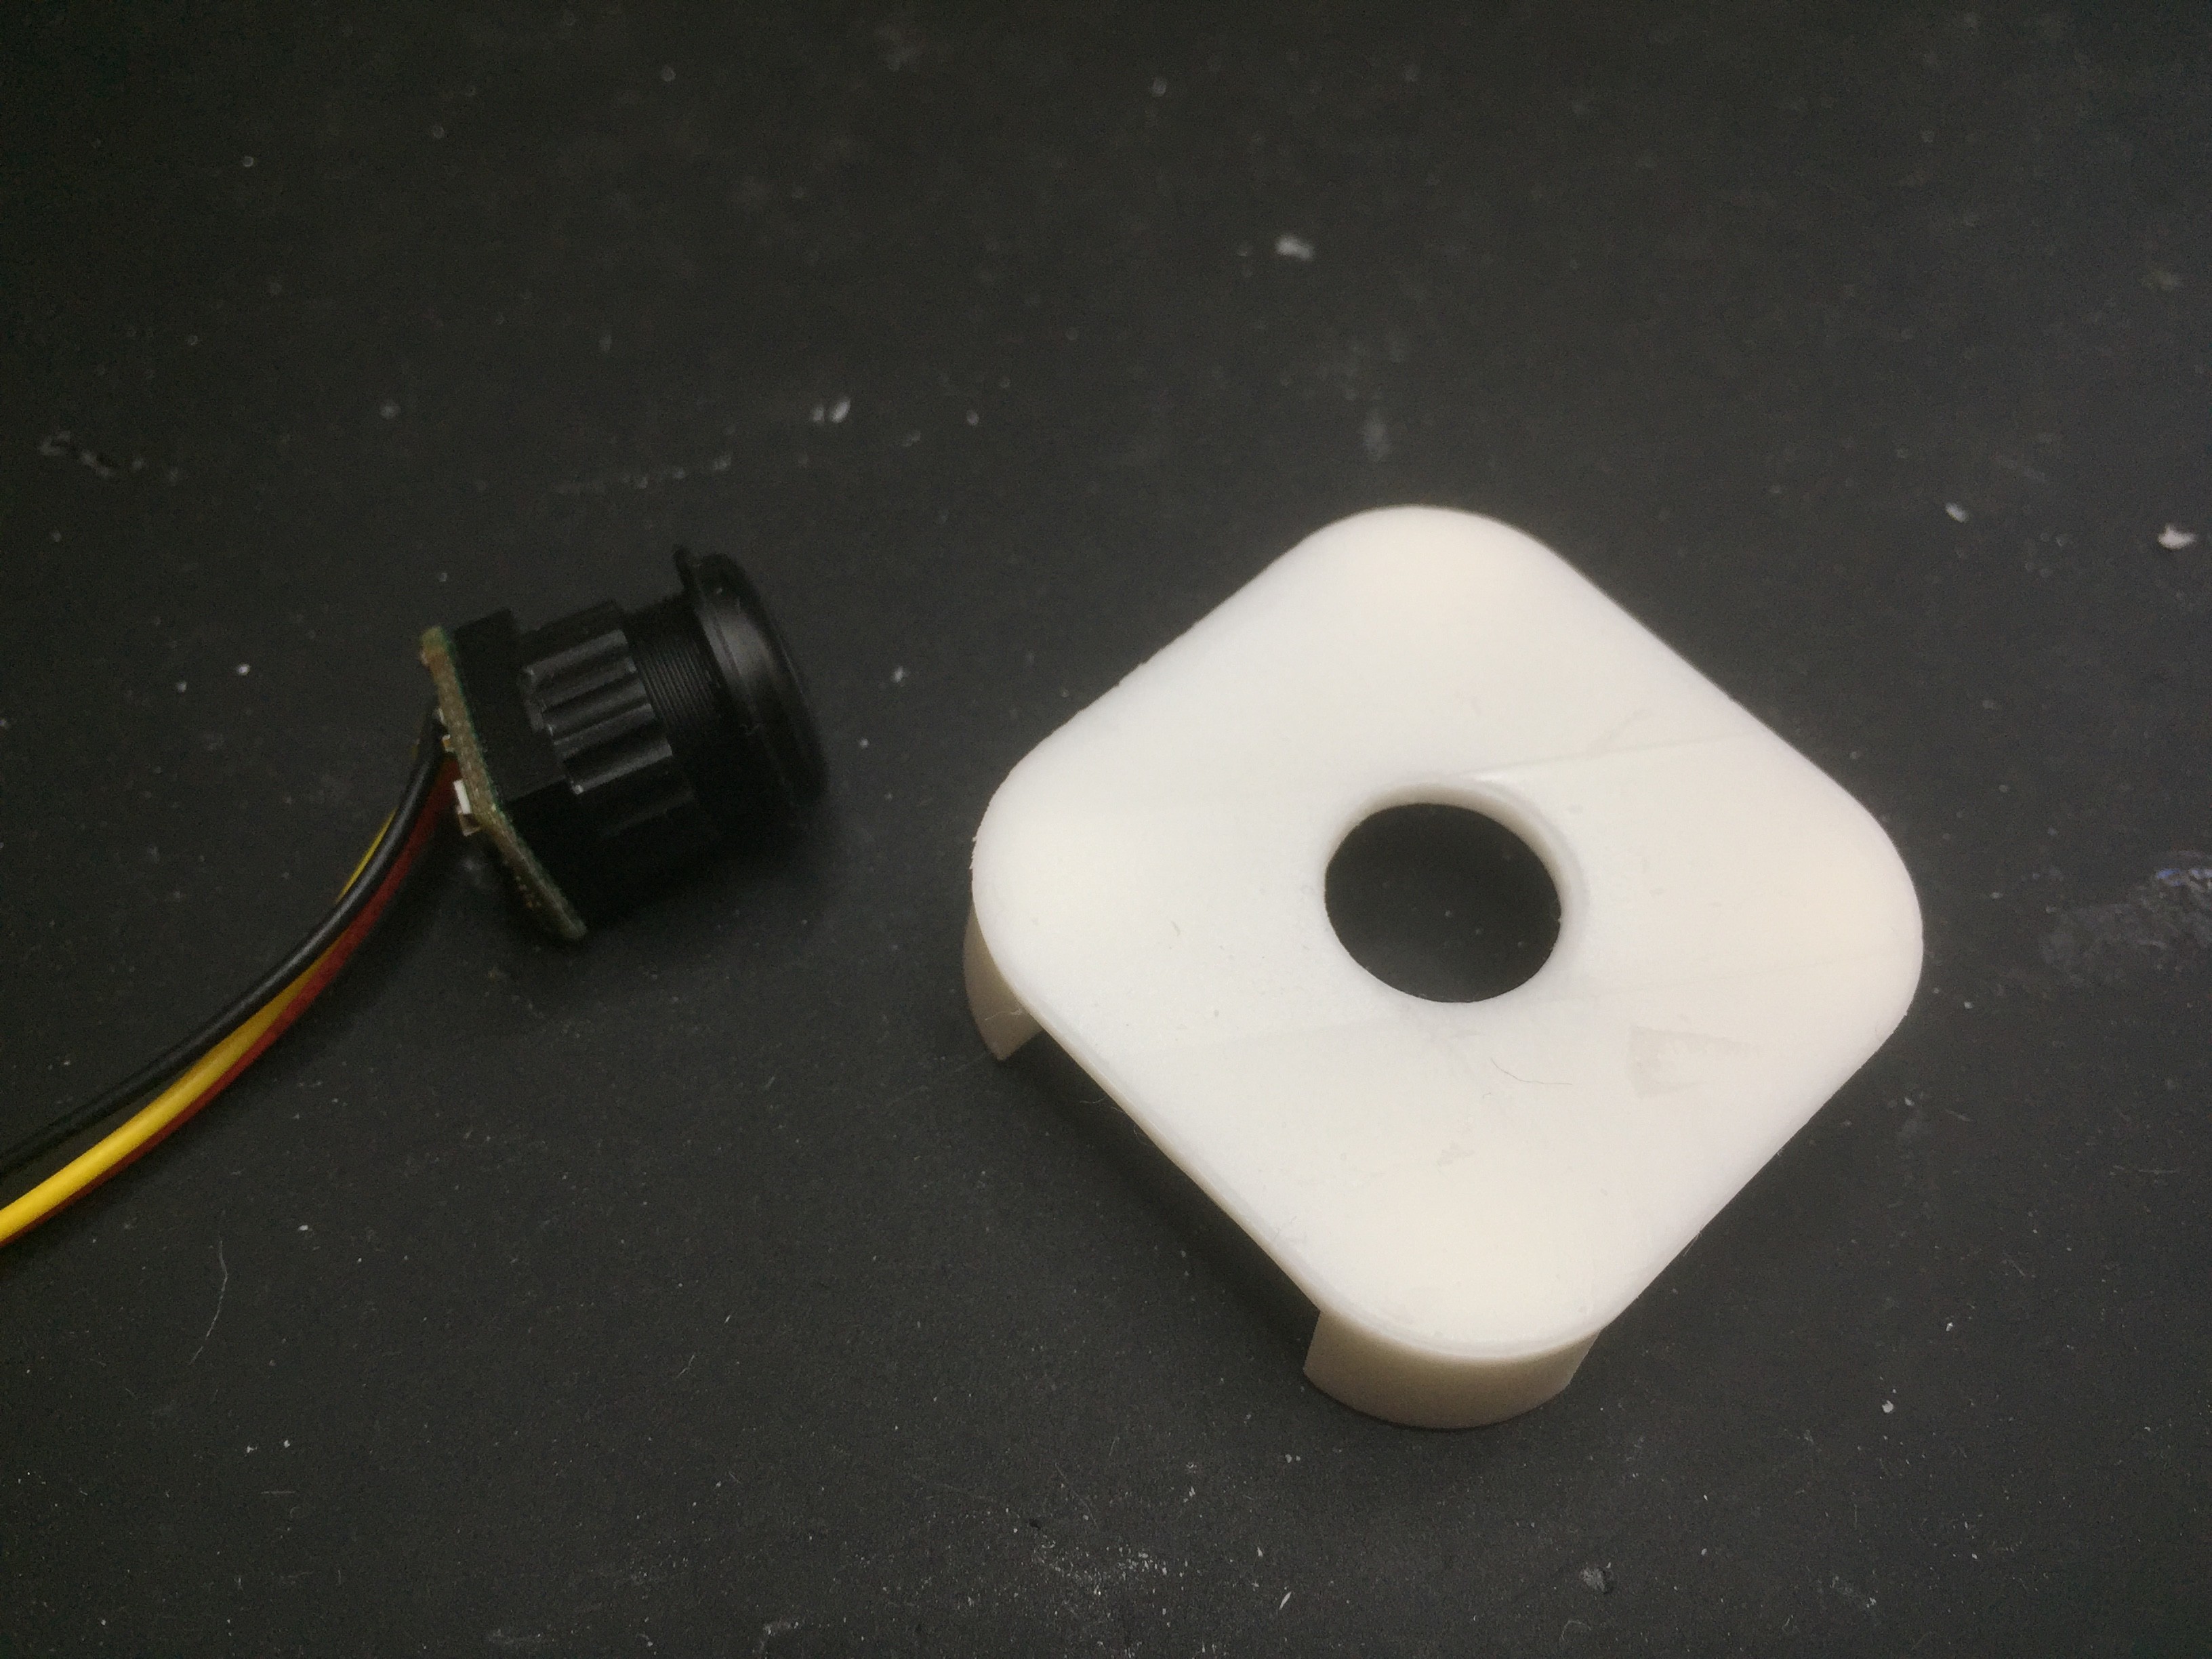
09/28/2016 at 20:37 • 0 commentsMounting the camera in the GoPro box is a little trickier. The easiest solution was to 3d print a mount which fits snuggly inside the box and has a hole to mount the camera. The design is here http://bit.ly/2drxVC4.
The design has legs to stabilize the mount inside the box and keep the lens a fixed distance from the box surface.
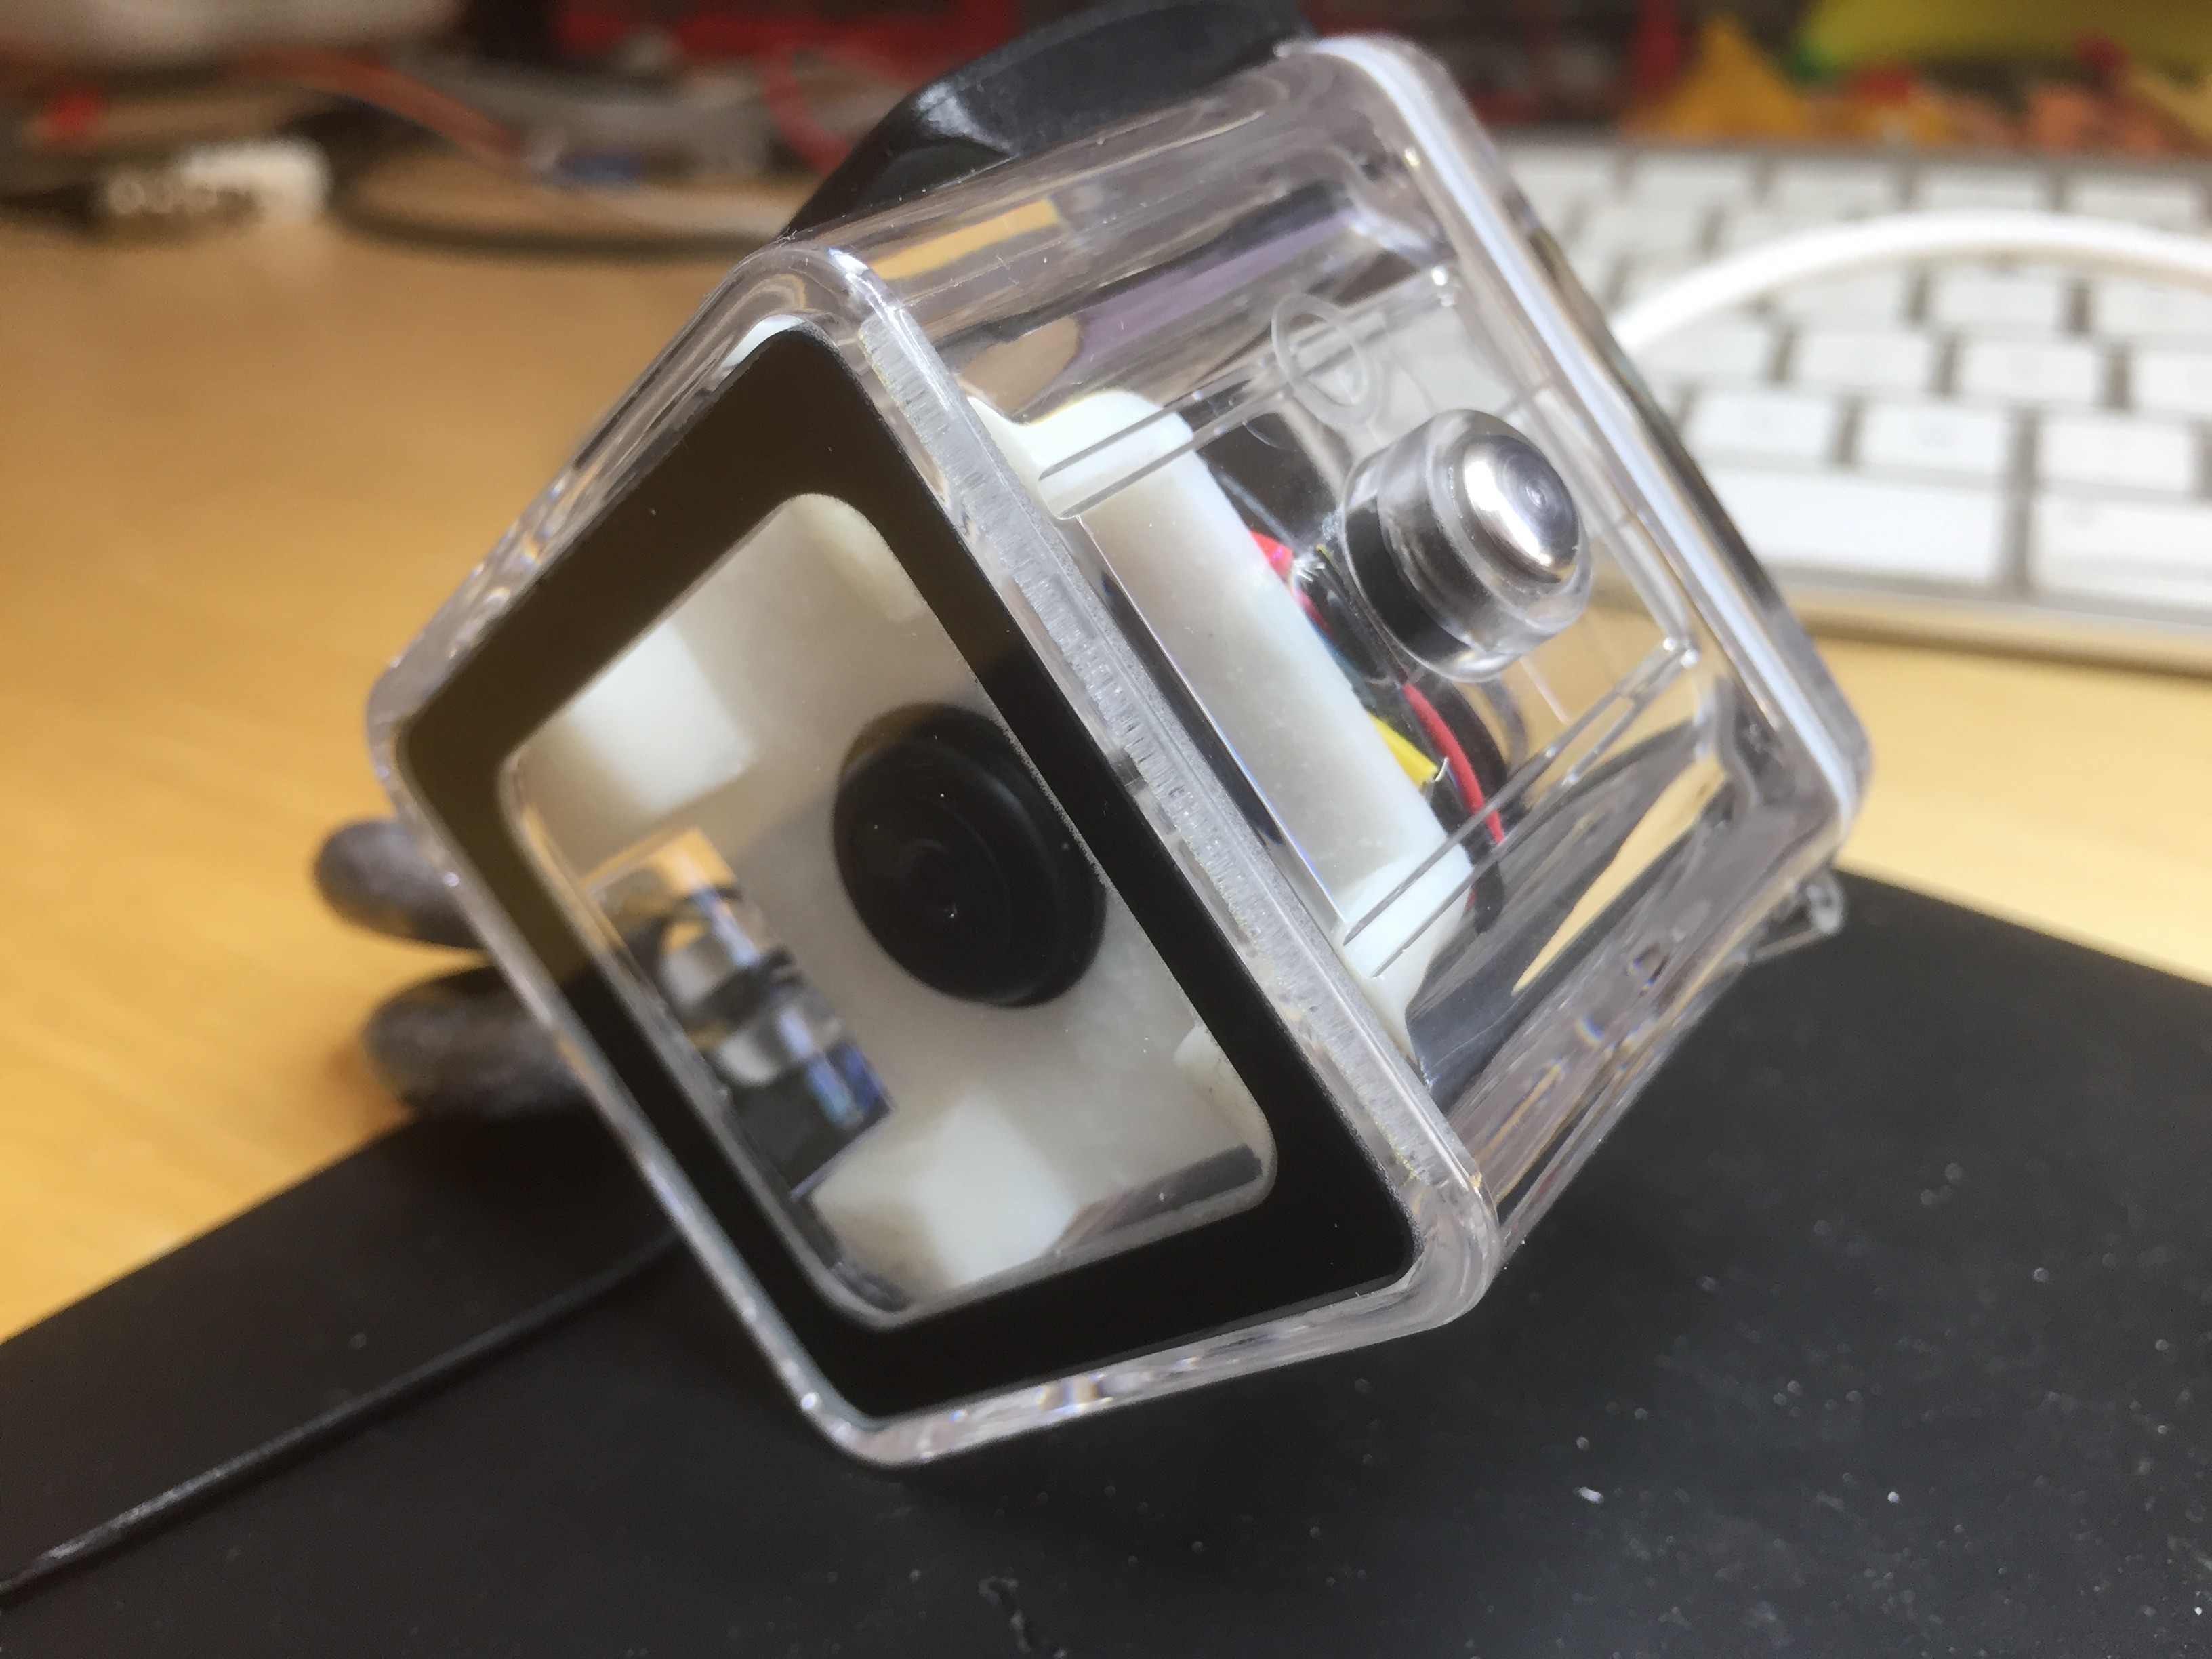
Here is the final result with the camera and video balun inside the GoPro box. -
Design 3: Overnight water test
09/28/2016 at 16:35 • 0 commentsUnfortunately the GoPro case is just a tiny bit big to go into the 10ft pool, so I had to put it in the hot tub - only about 2ft deep. Overnight the case maintained its integrity with >1000 MOhm resistance.
-
Design 3: Cheap GoPro case
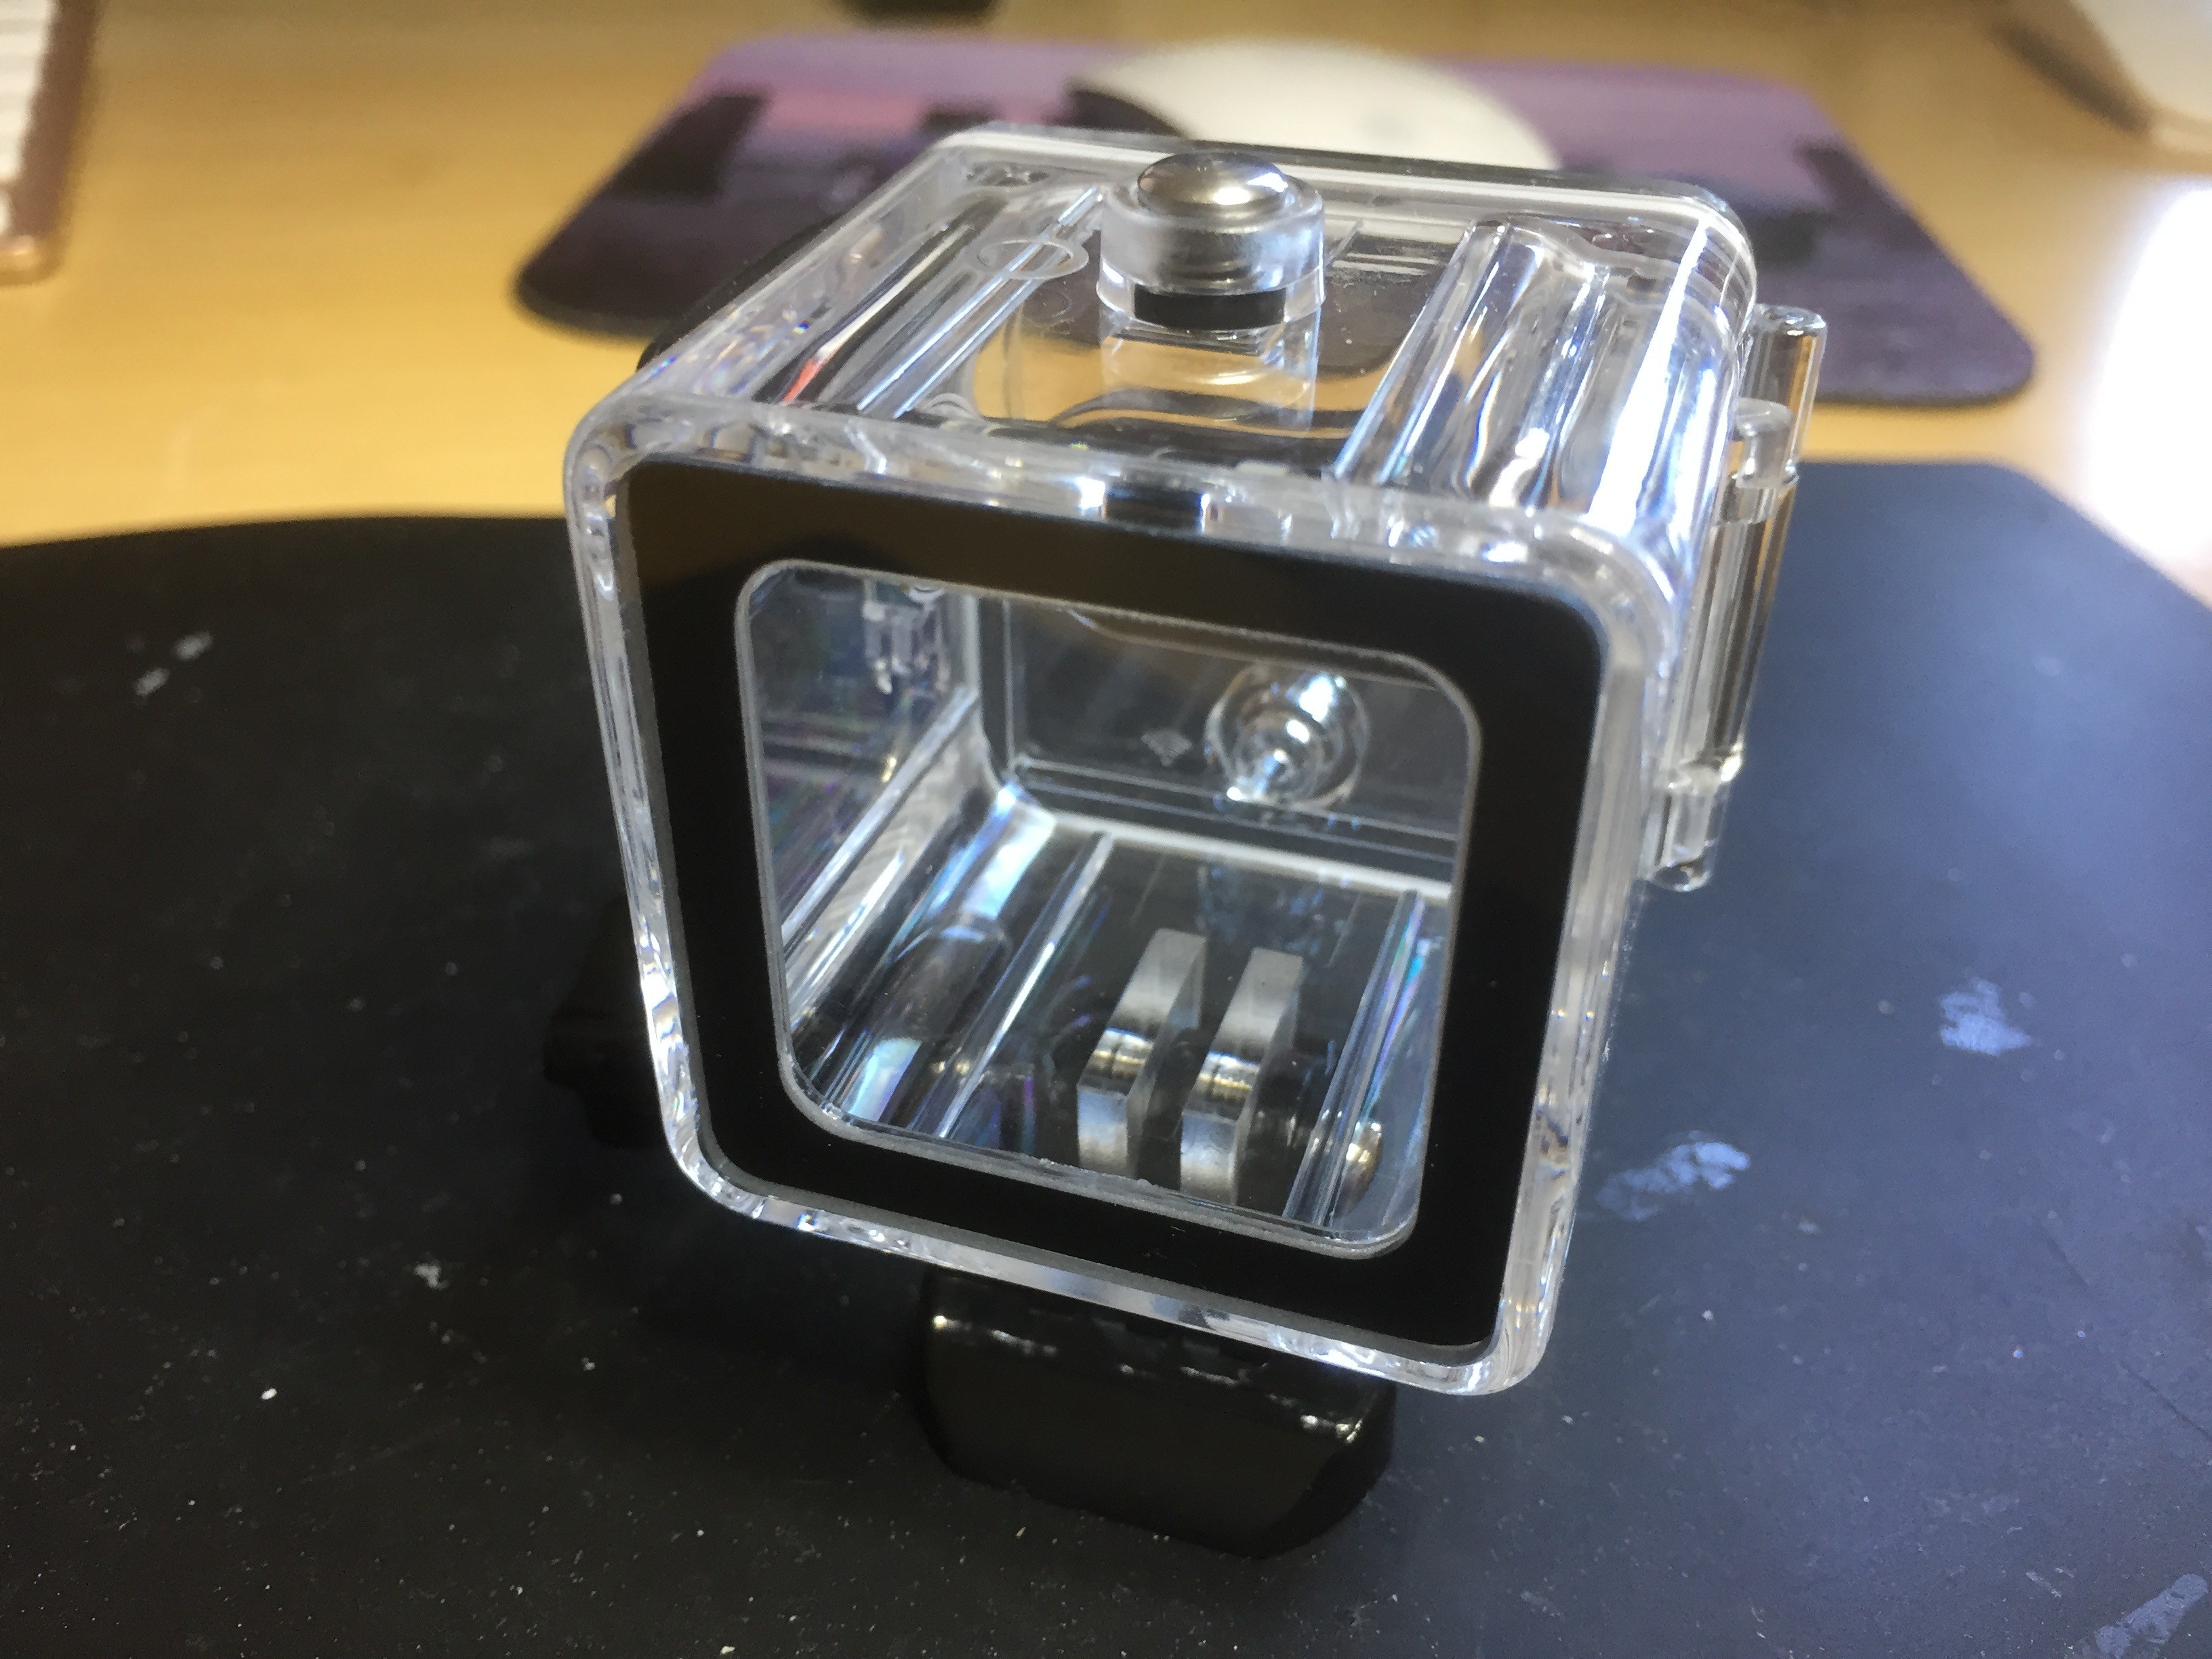
09/28/2016 at 01:57 • 0 commentsWhen I was looking for waterproof cases I bought two: a waterproof flashlight and a cheap GoPro waterproof case (about $15). With the success of Design 2 (flashlight), it's time to try out Design 3.
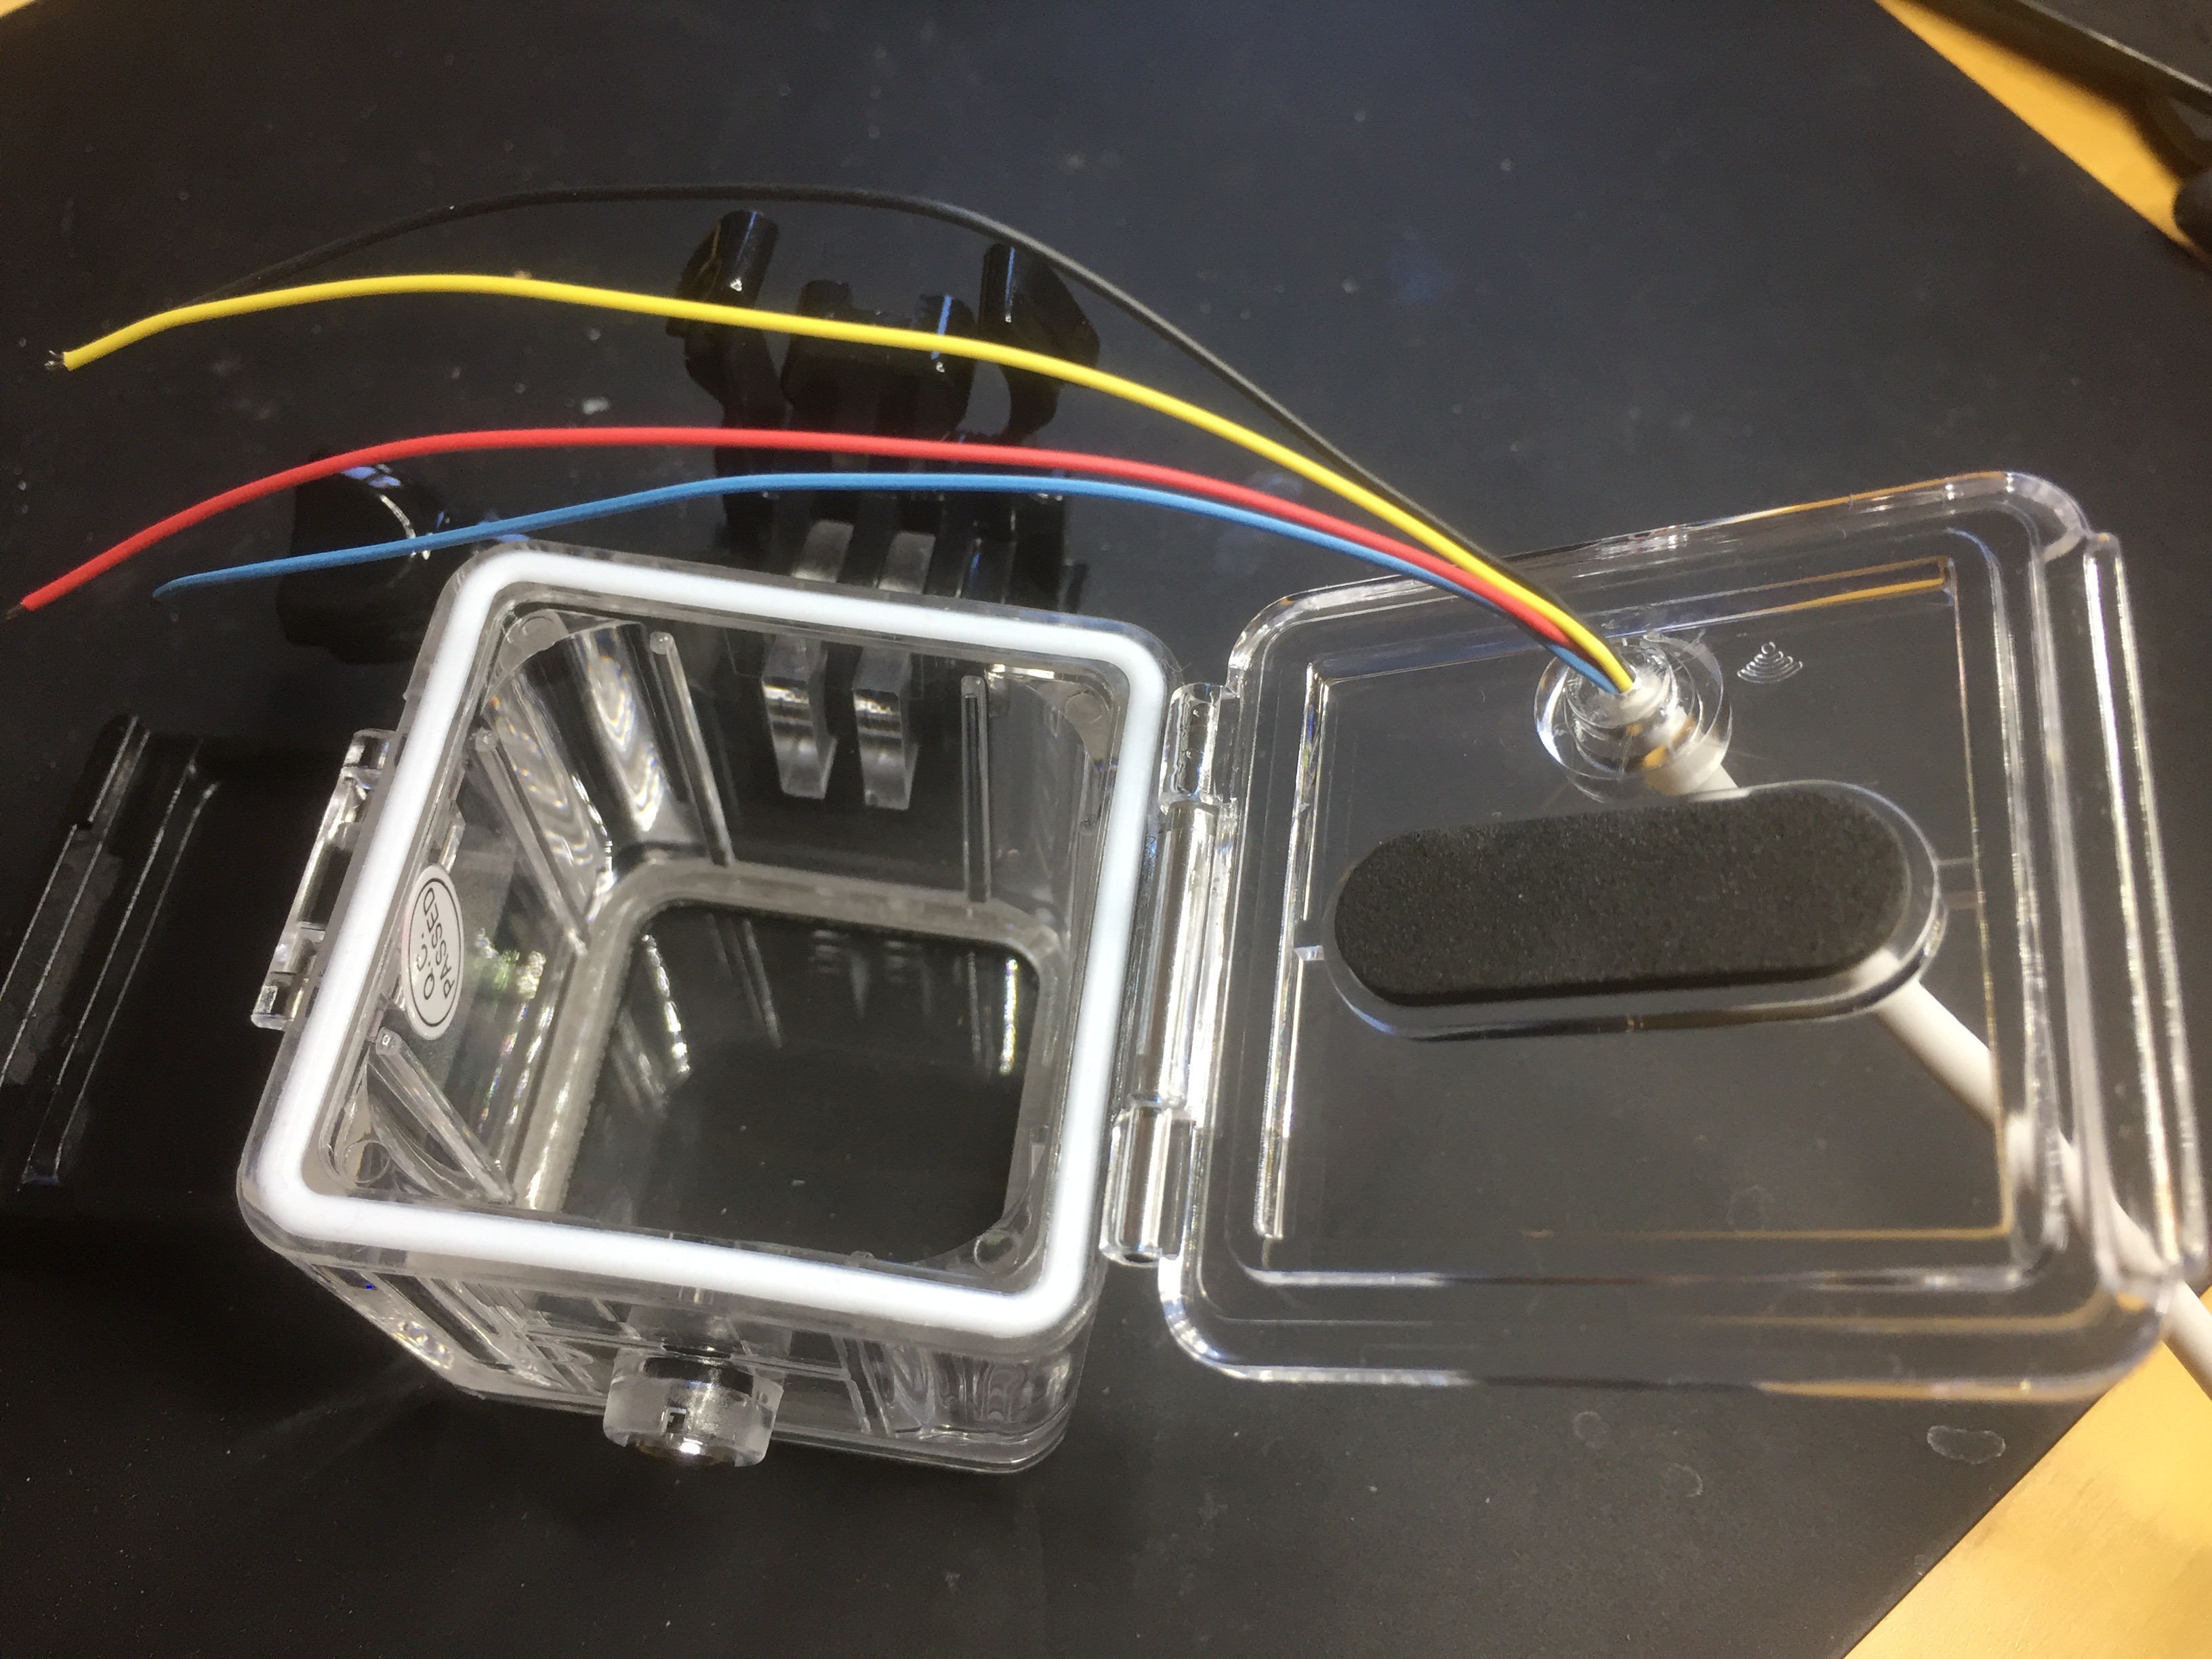
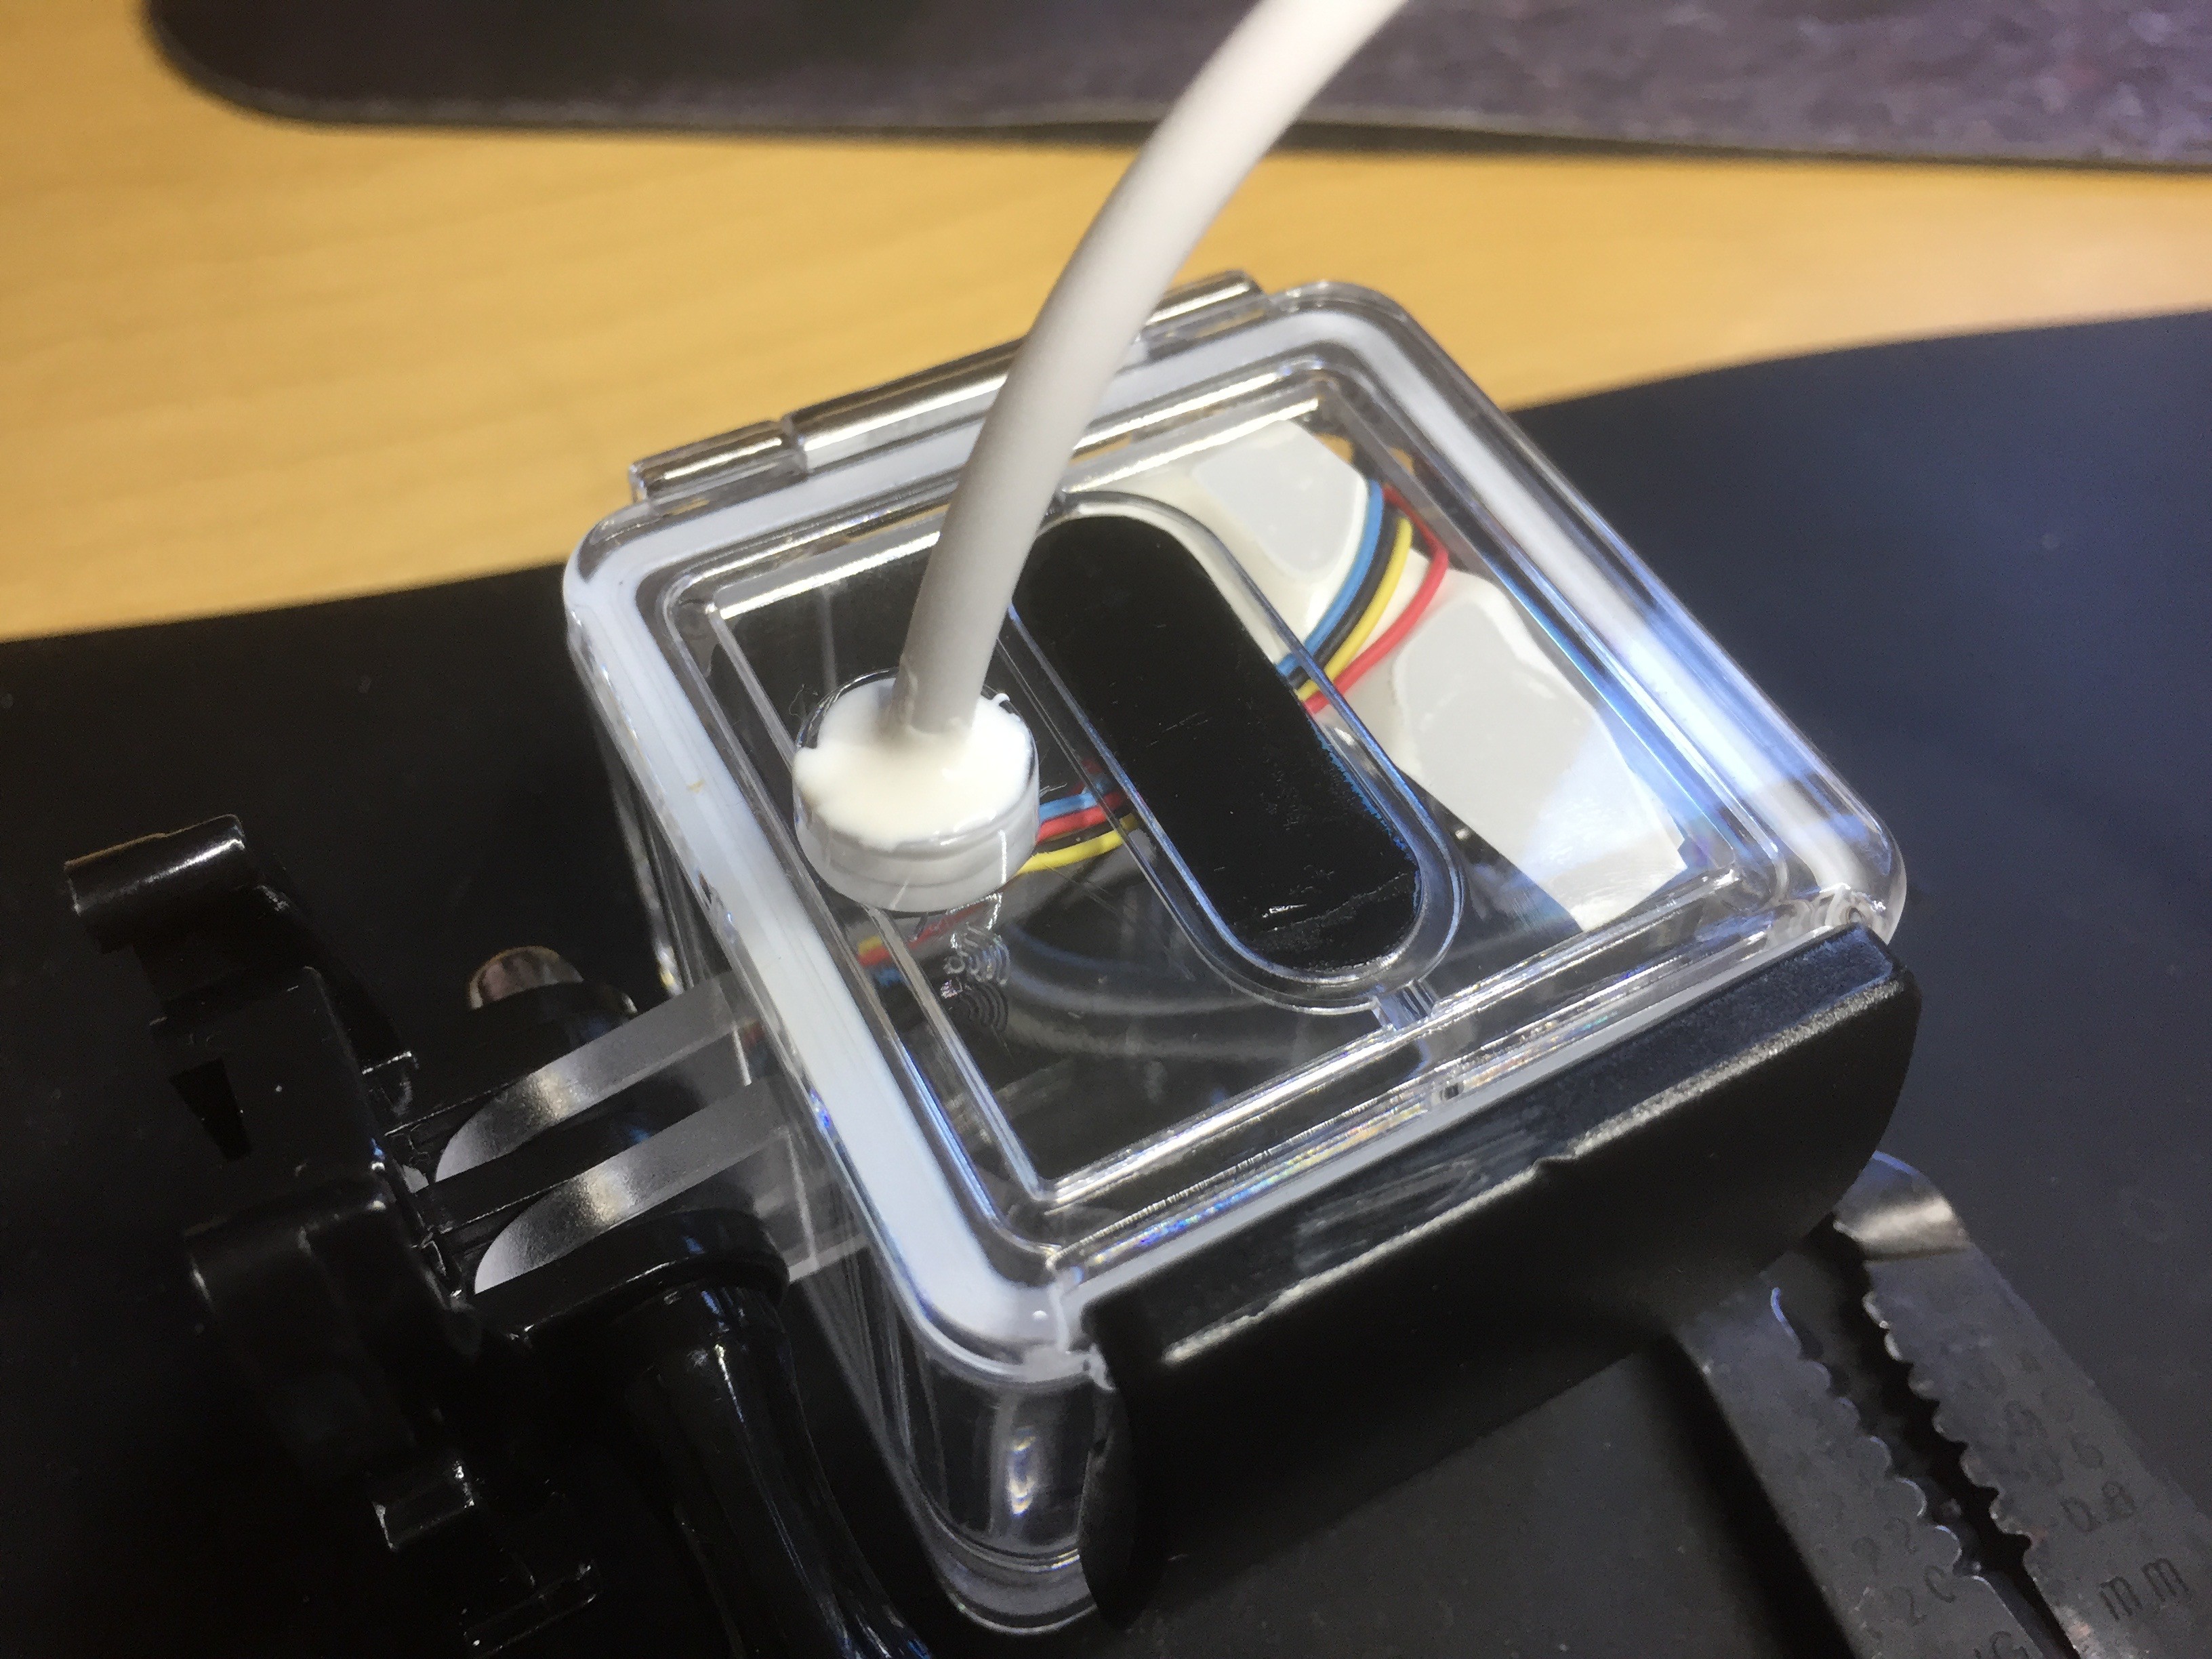
The GoPro case is a rather splendid little transparent cube, with enough space inside to accommodate the camera and the video balun. The case unclips making the internals easy to access. There are a couple of waterproofed buttons which are used to trigger a GoPro camera ... if one were inside, and by removing one of these I was able to pass the 4-wire tether from outside to in. I had originally feared I would have to drill the case but this was better.
Unfortunately this hole was far too small to accommodate a waterproof gland (as I'd used in the flashlight design), but the cable still needed to be waterproofed. As much as I wanted to avoid it, I used Marine Epoxy to fill the space around the wire on the outside of the case, and so make a waterproof (but permanent) seal.
The design of the case made this sealing very simple - the hole allowing the wires into the case was small enough for 4 wires but no so big to allows the epoxy to drip in, and the outside of the case had a circular wall while held the epoxy on the outside making a good seal. It wasn't design for this, but it really couldn't have been better.
Once this is dry, it will go into the water for a first test.
-
Design 2: Mounting the camera in the tube
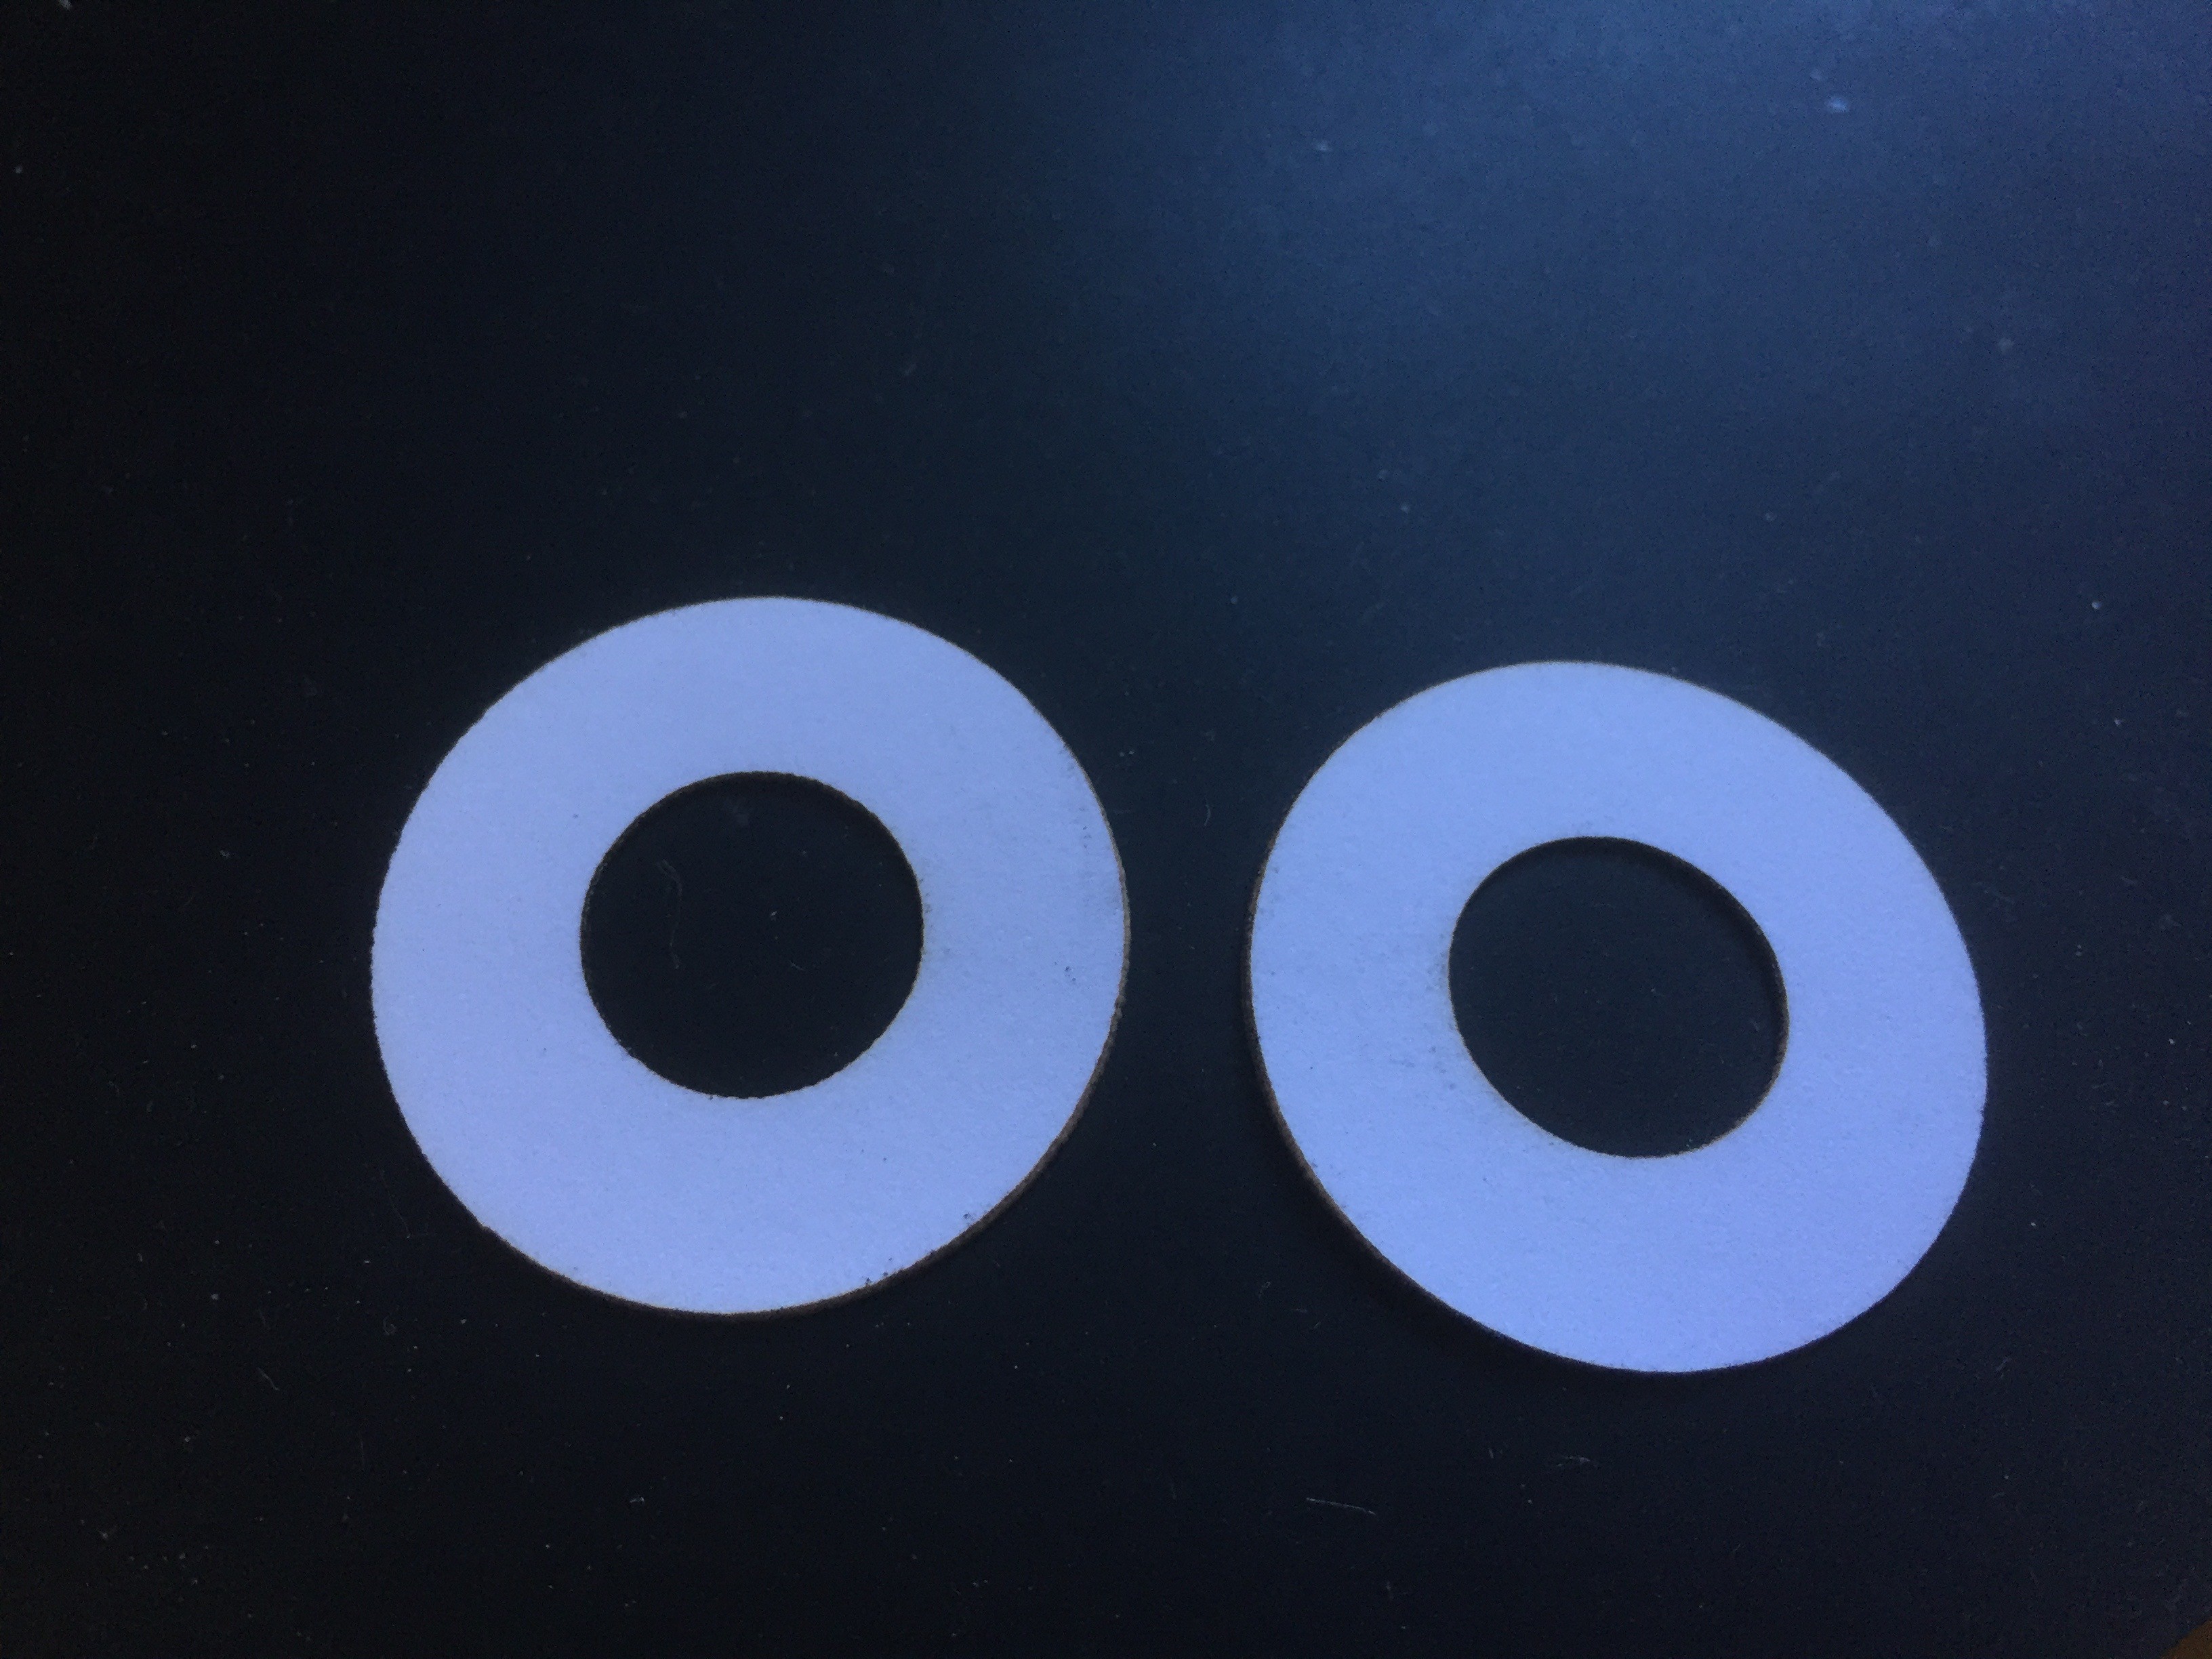
09/27/2016 at 19:24 • 0 commentsFor the Design 2 build, I decided not to put the camera in the tub until I'd completed all the underwater tests (in an attempt to not break the camera this time). That done, I now needed to mount the camera. To do this I laser cut (I'm useless with a scalpel) two circular mounts out of card stock (designs are here: http://bit.ly/2drxVC4)
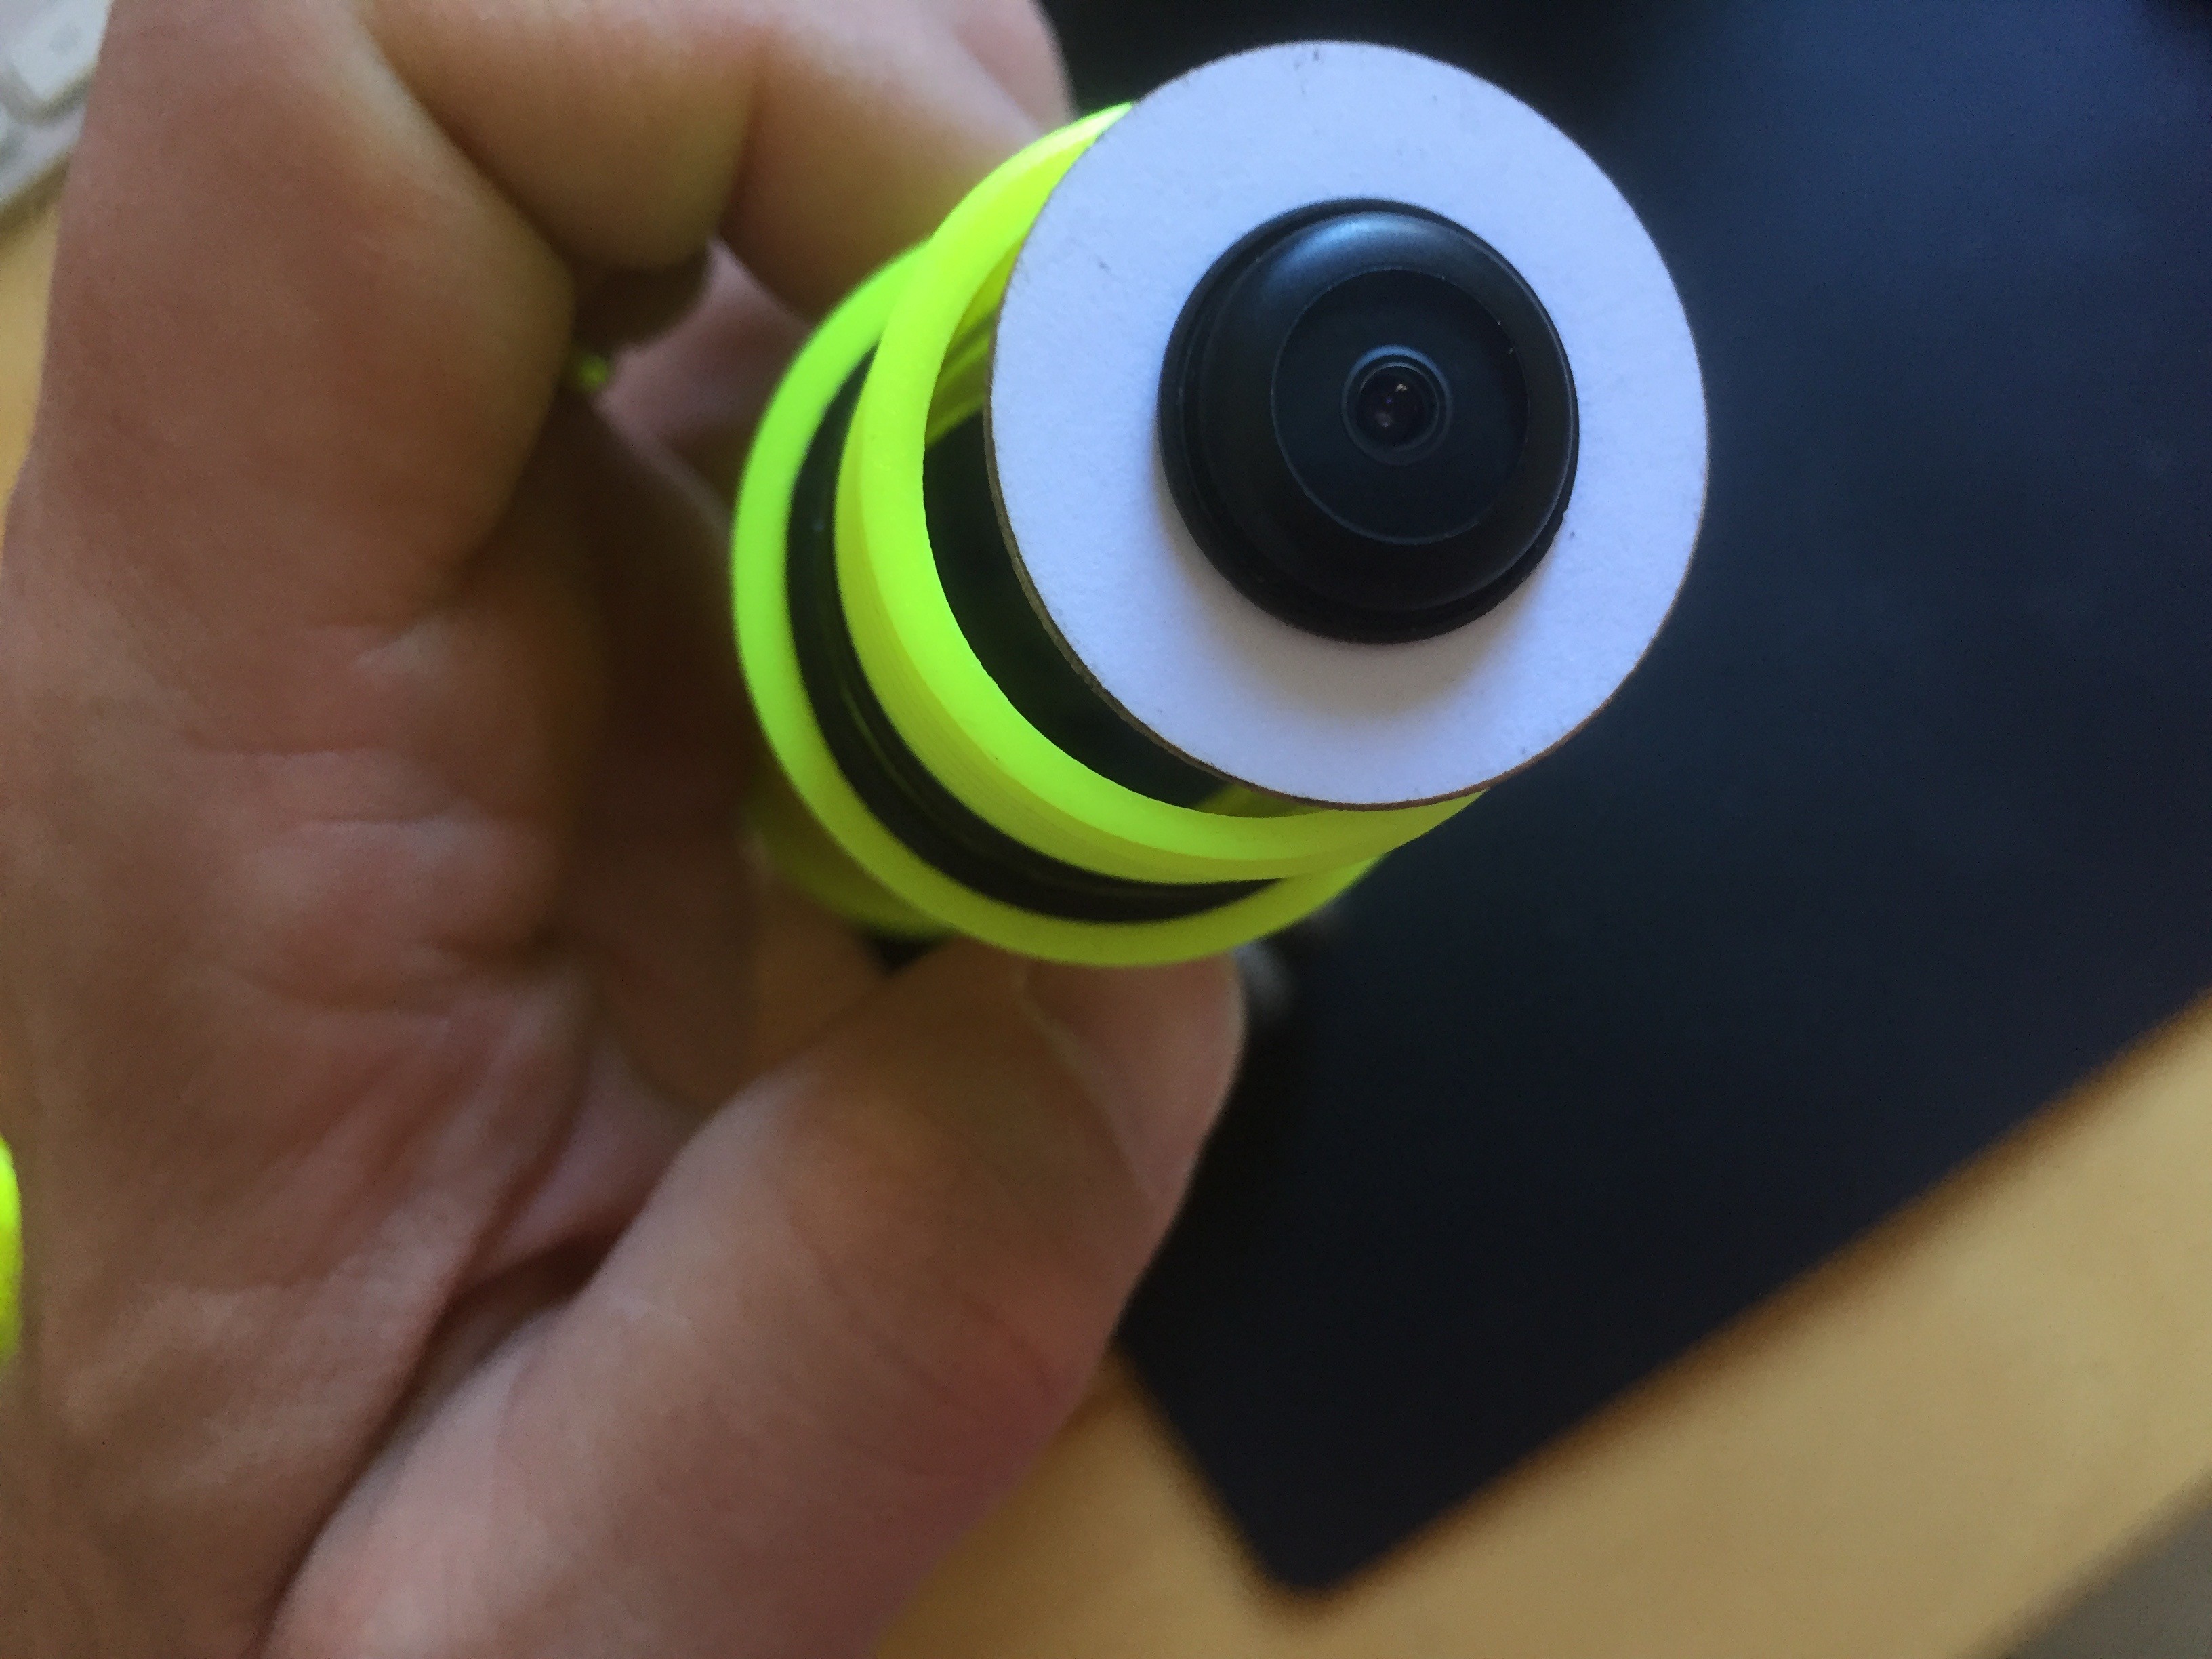
The camera is screwed into the center of the discs, the outer sits on the lip of the tube.
When the top is screwed back on, the camera is held in place.
Now back into the pool to make sure the the seals are still good.
-
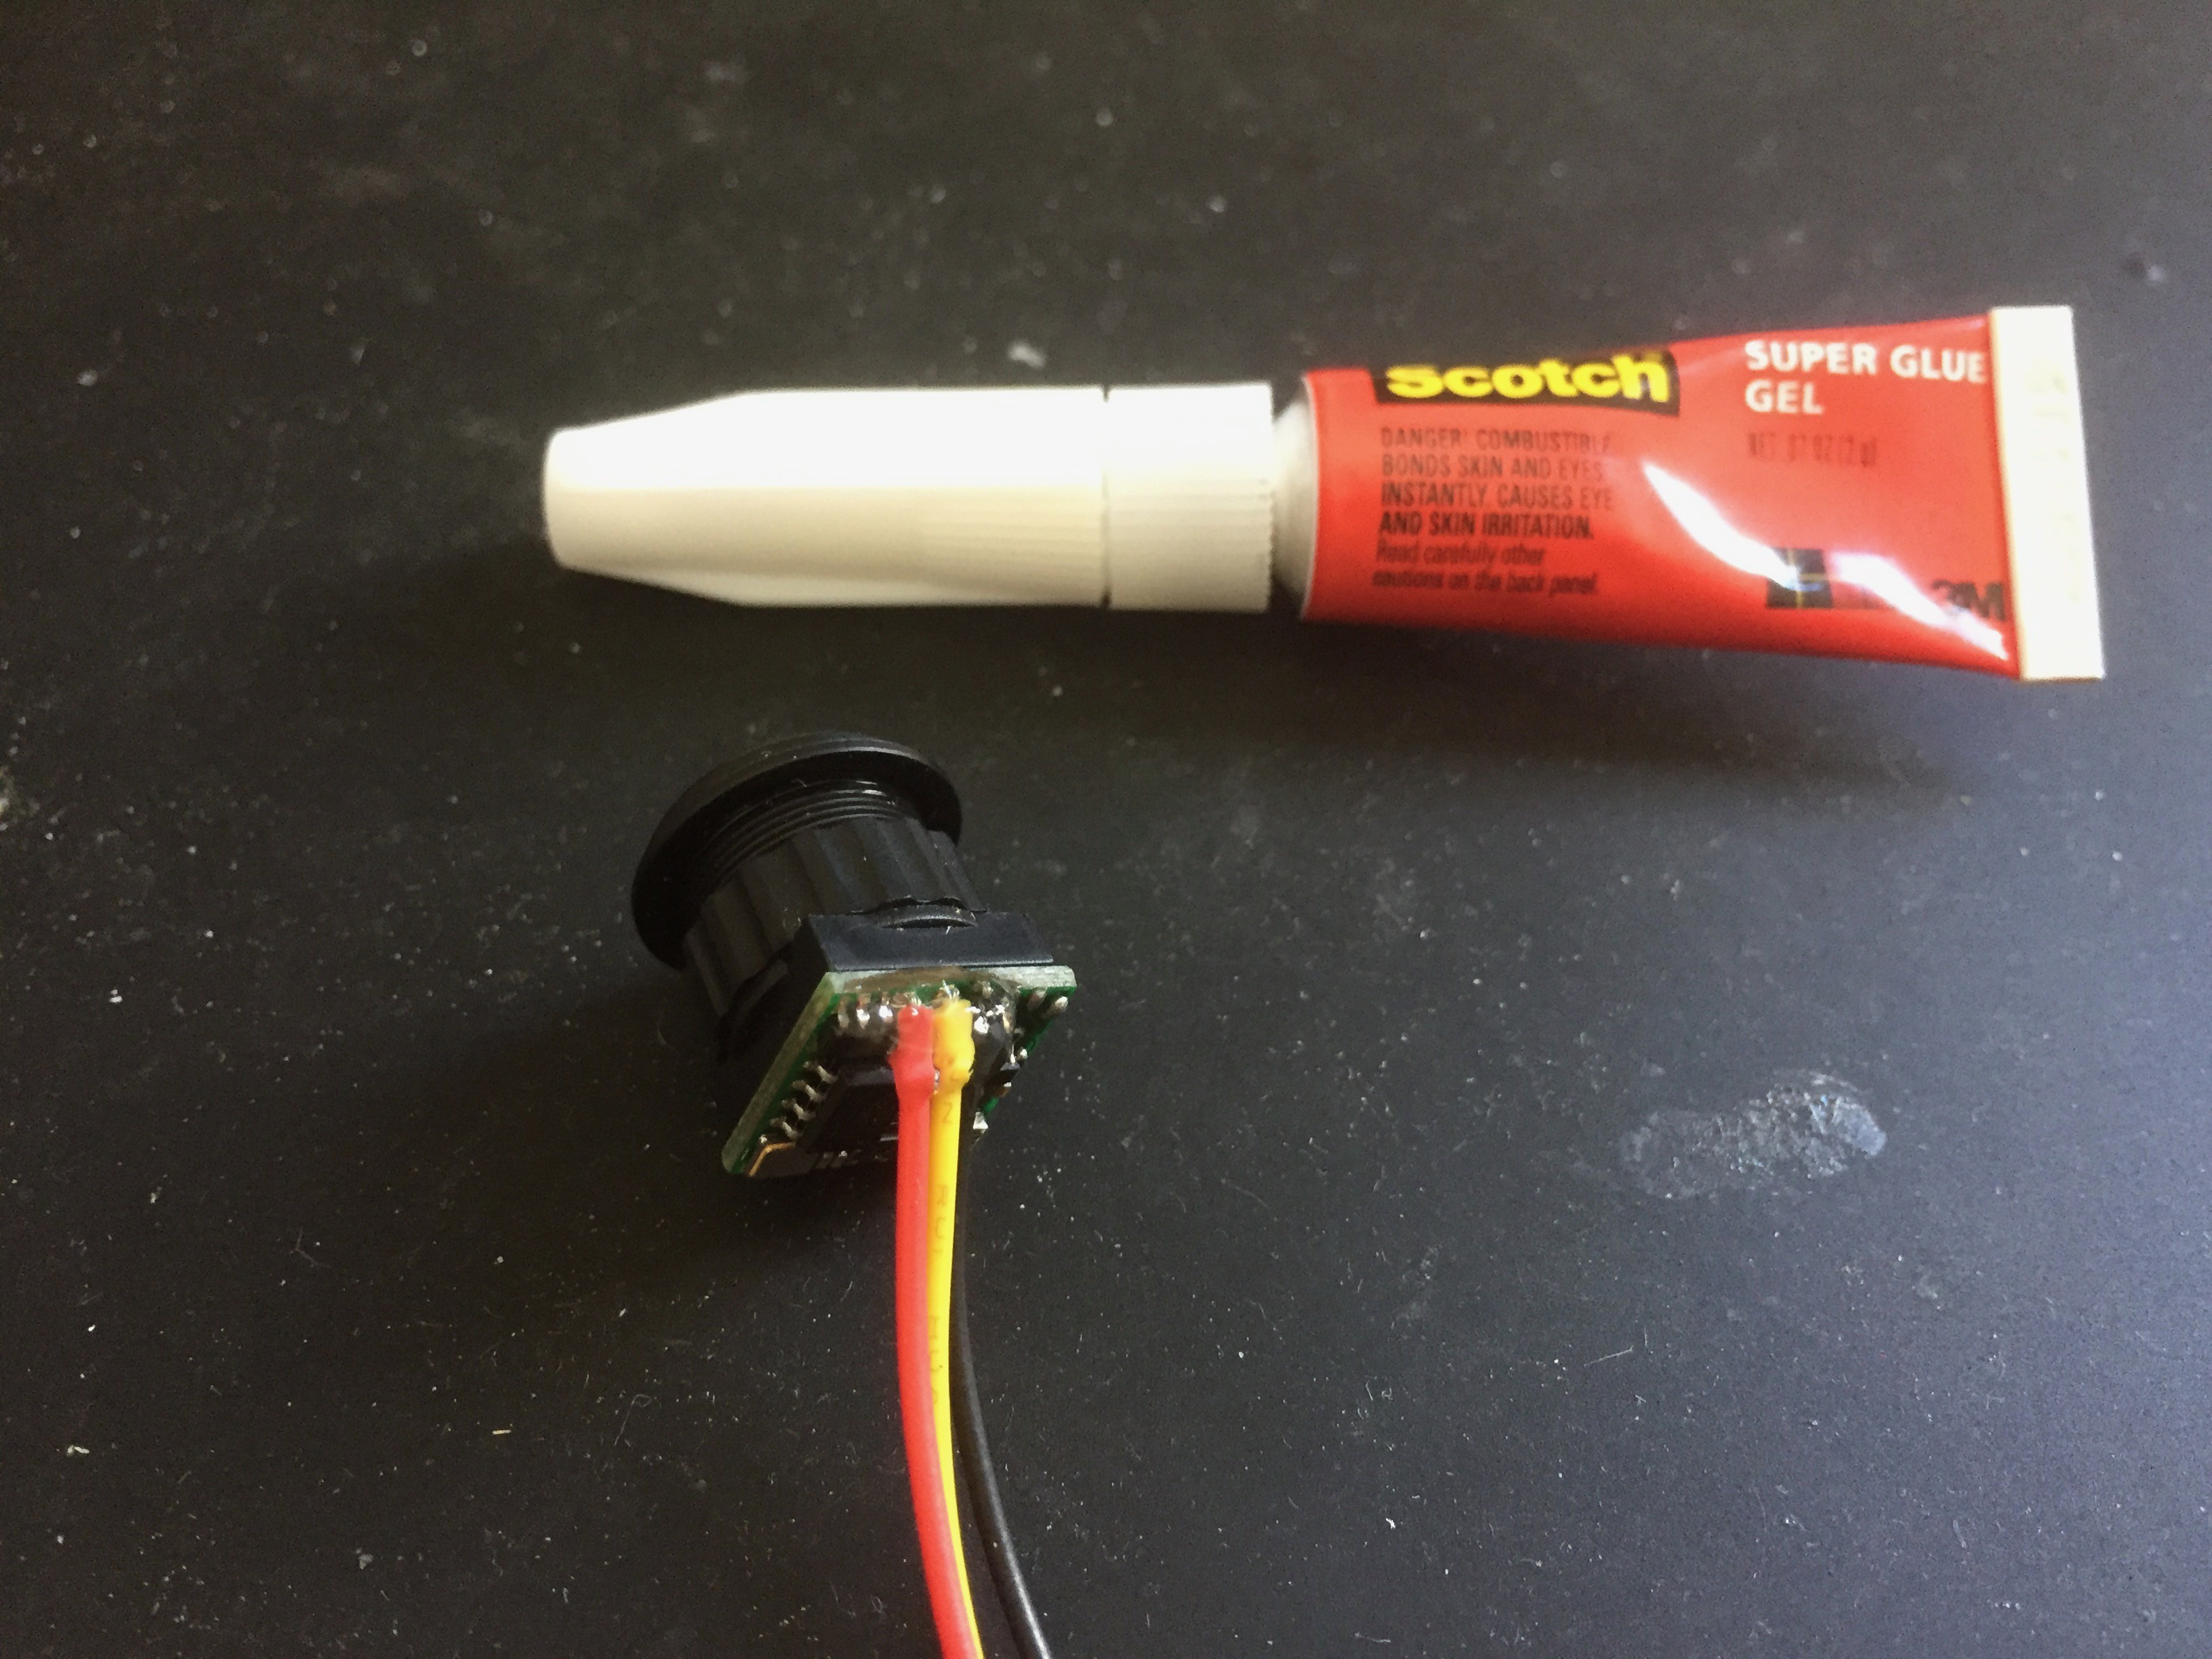
A little glue
09/27/2016 at 19:11 • 0 commentsAs an aside to this camera build I've found that the wires, soldered to the camera PCB, are very fragile and easily break-off. I suggest applying a little glue (I used gel superglue) to provide better strain relief.
-
Design 2: Three days later
09/27/2016 at 01:24 • 0 commentsI've been out of town, but I left the camera in its 10' pool while I was away. Three days later, and the megohm meter reads > 1000 MOhms. I'm happy.
-
Design 2: Morning check
09/23/2016 at 16:56 • 0 commentsA quick check of the camera this morning and the megohm meter is still reading > 1000 MOhms - looks like all the seals are good!
-
Design 2: Waterproof flashlight
09/23/2016 at 06:04 • 0 commentsThe electronics of this design appear sound, but the first design failed at depth to keep the water out. So, on to design two.
A commenter suggested I look at converting a waterproof flashlight to contain the camera, and this seems like a fabulous idea. Waterproof flashlight are cheap on eBay, but there's always a questions of how "waterproof" they really are. Are some searching I found a $10 flashlight rated to 80ft on Amazon (https://smile.amazon.com/Flashlight-Flashlights-Submarine-Waterproof-Underwater/dp/B01K6K69R6).
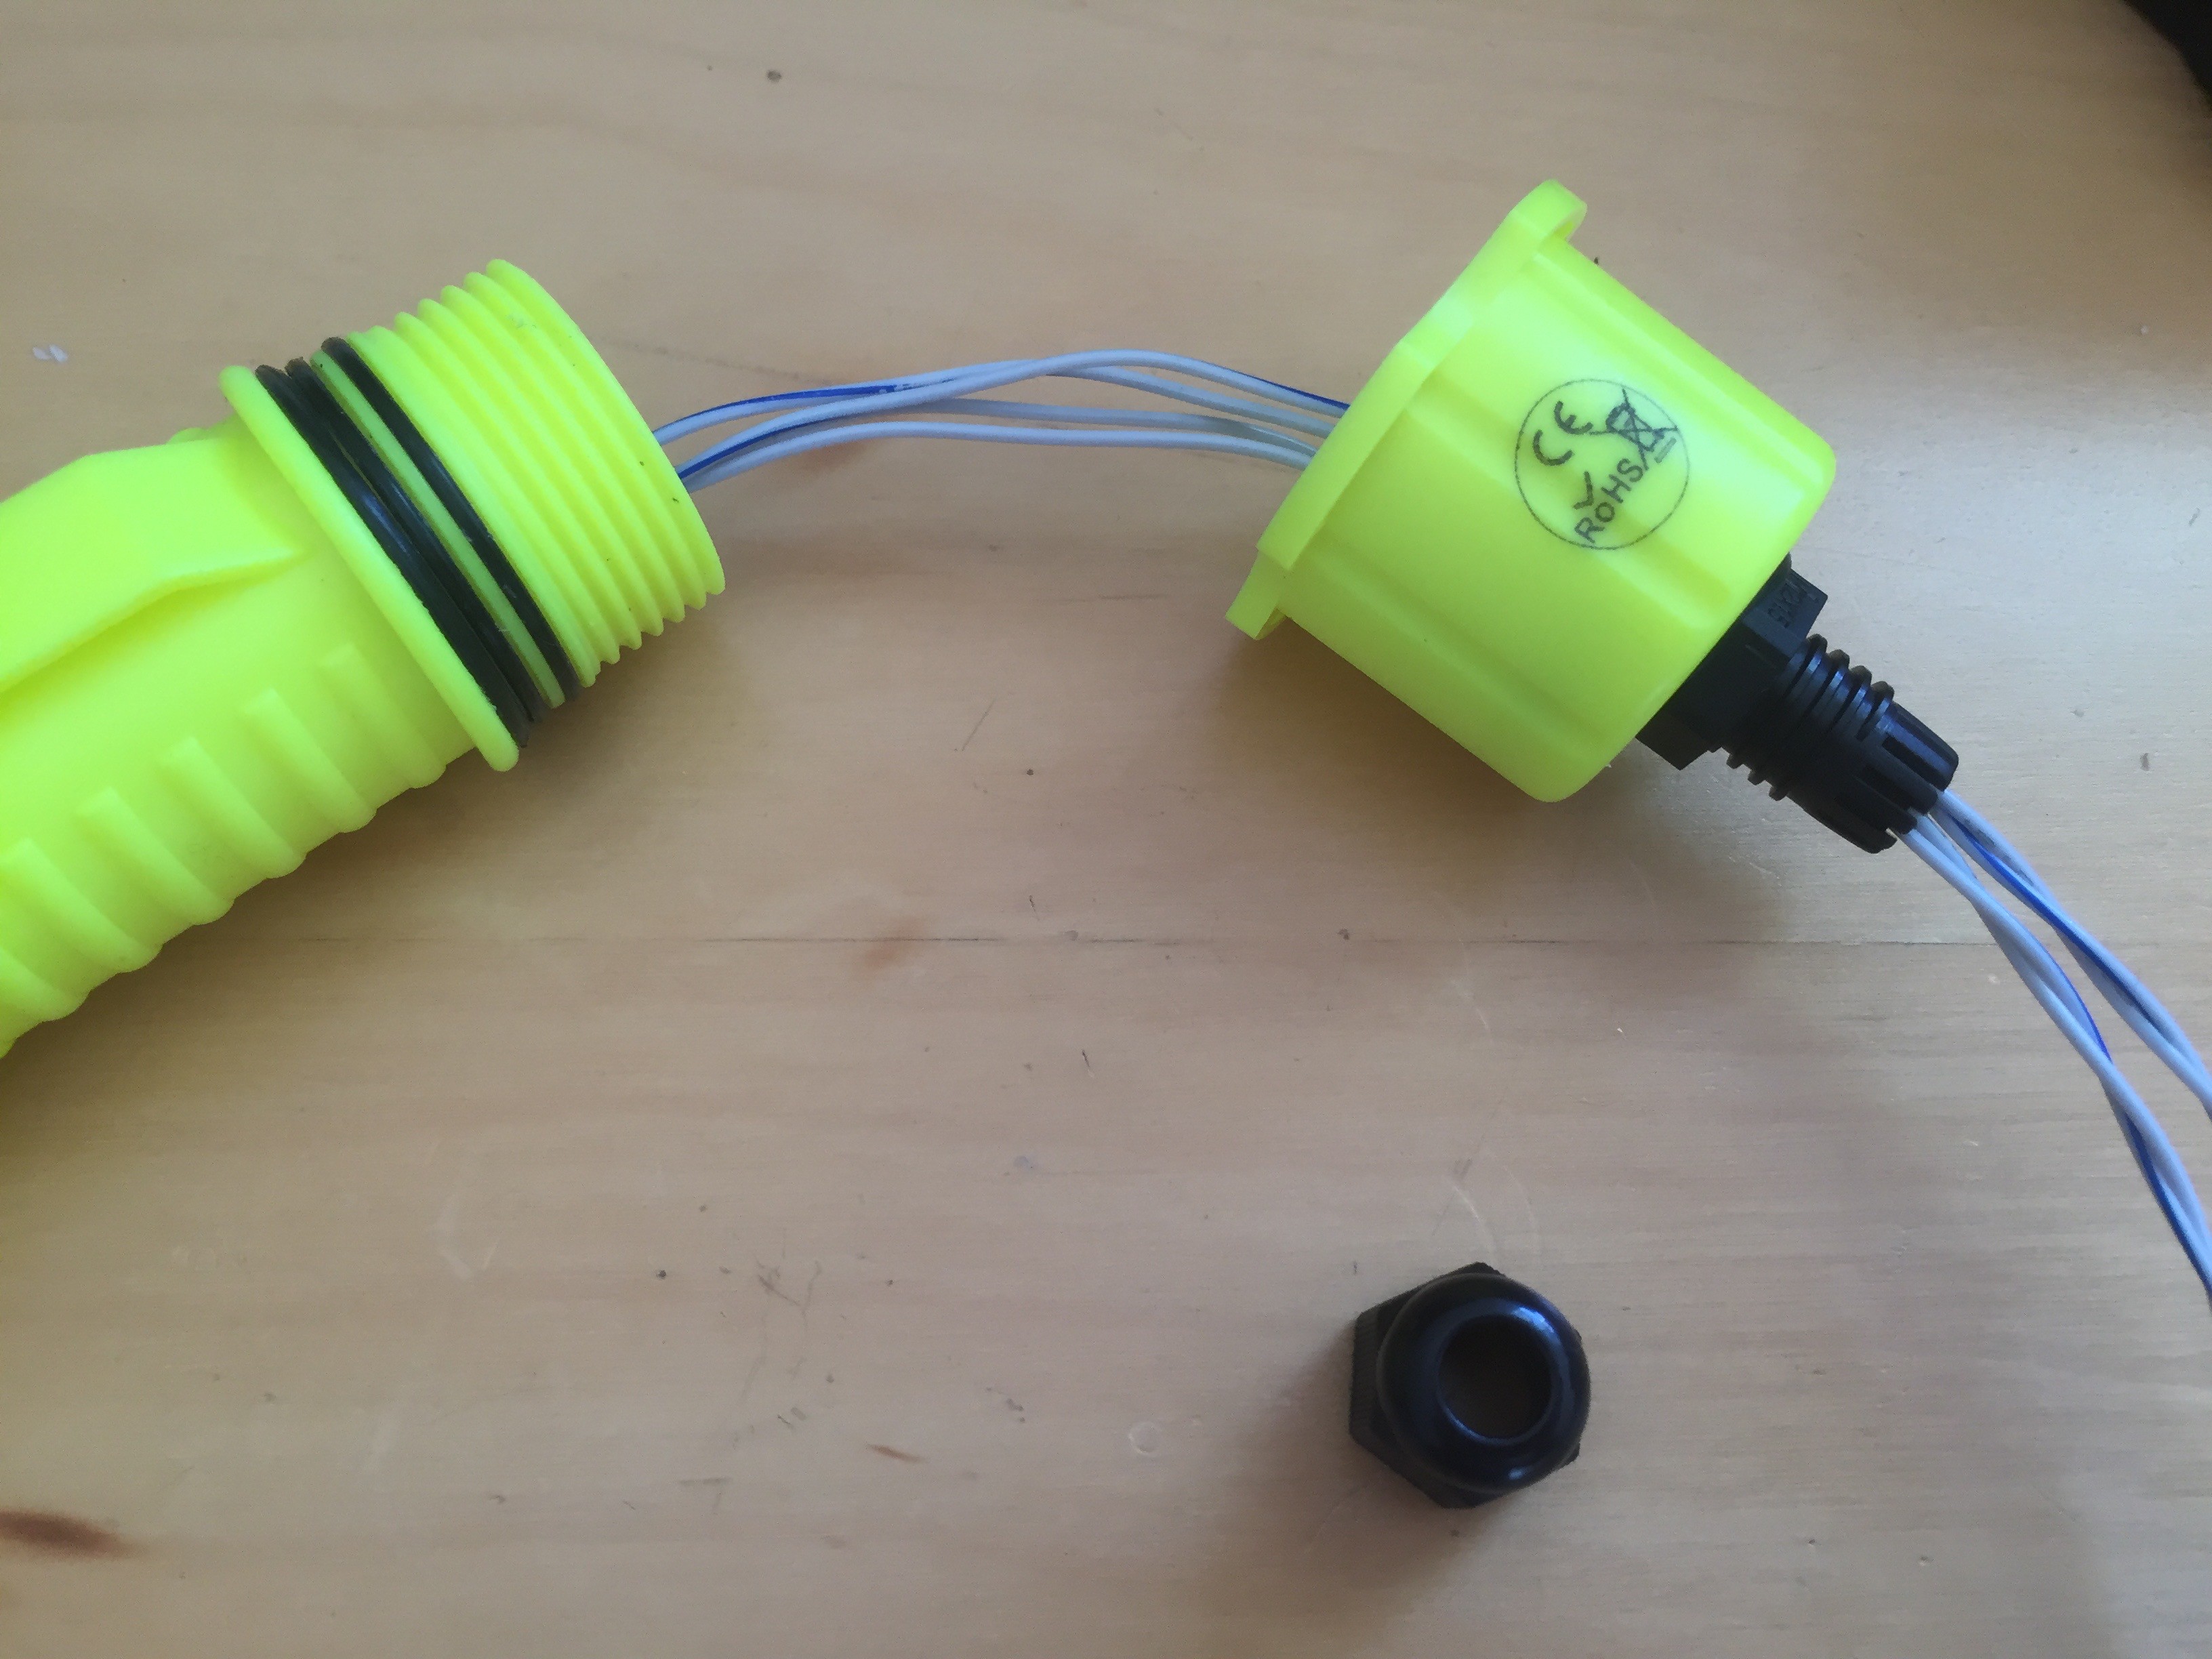
The internals are easily removed; I just needed to get the cabling into it without ruining the waterproof seal.
I'm attempting to do this without potting or epoxy, so I chose to use a cheap cable gland. I drilled a hole in the base of the tube
And inserted the gland and wires
At this point it became obvious that this wiring was not going to work. In Design 1 I had water wicking between the wires and into the camera. This design would suffer the same problem. Time to change the wiring.
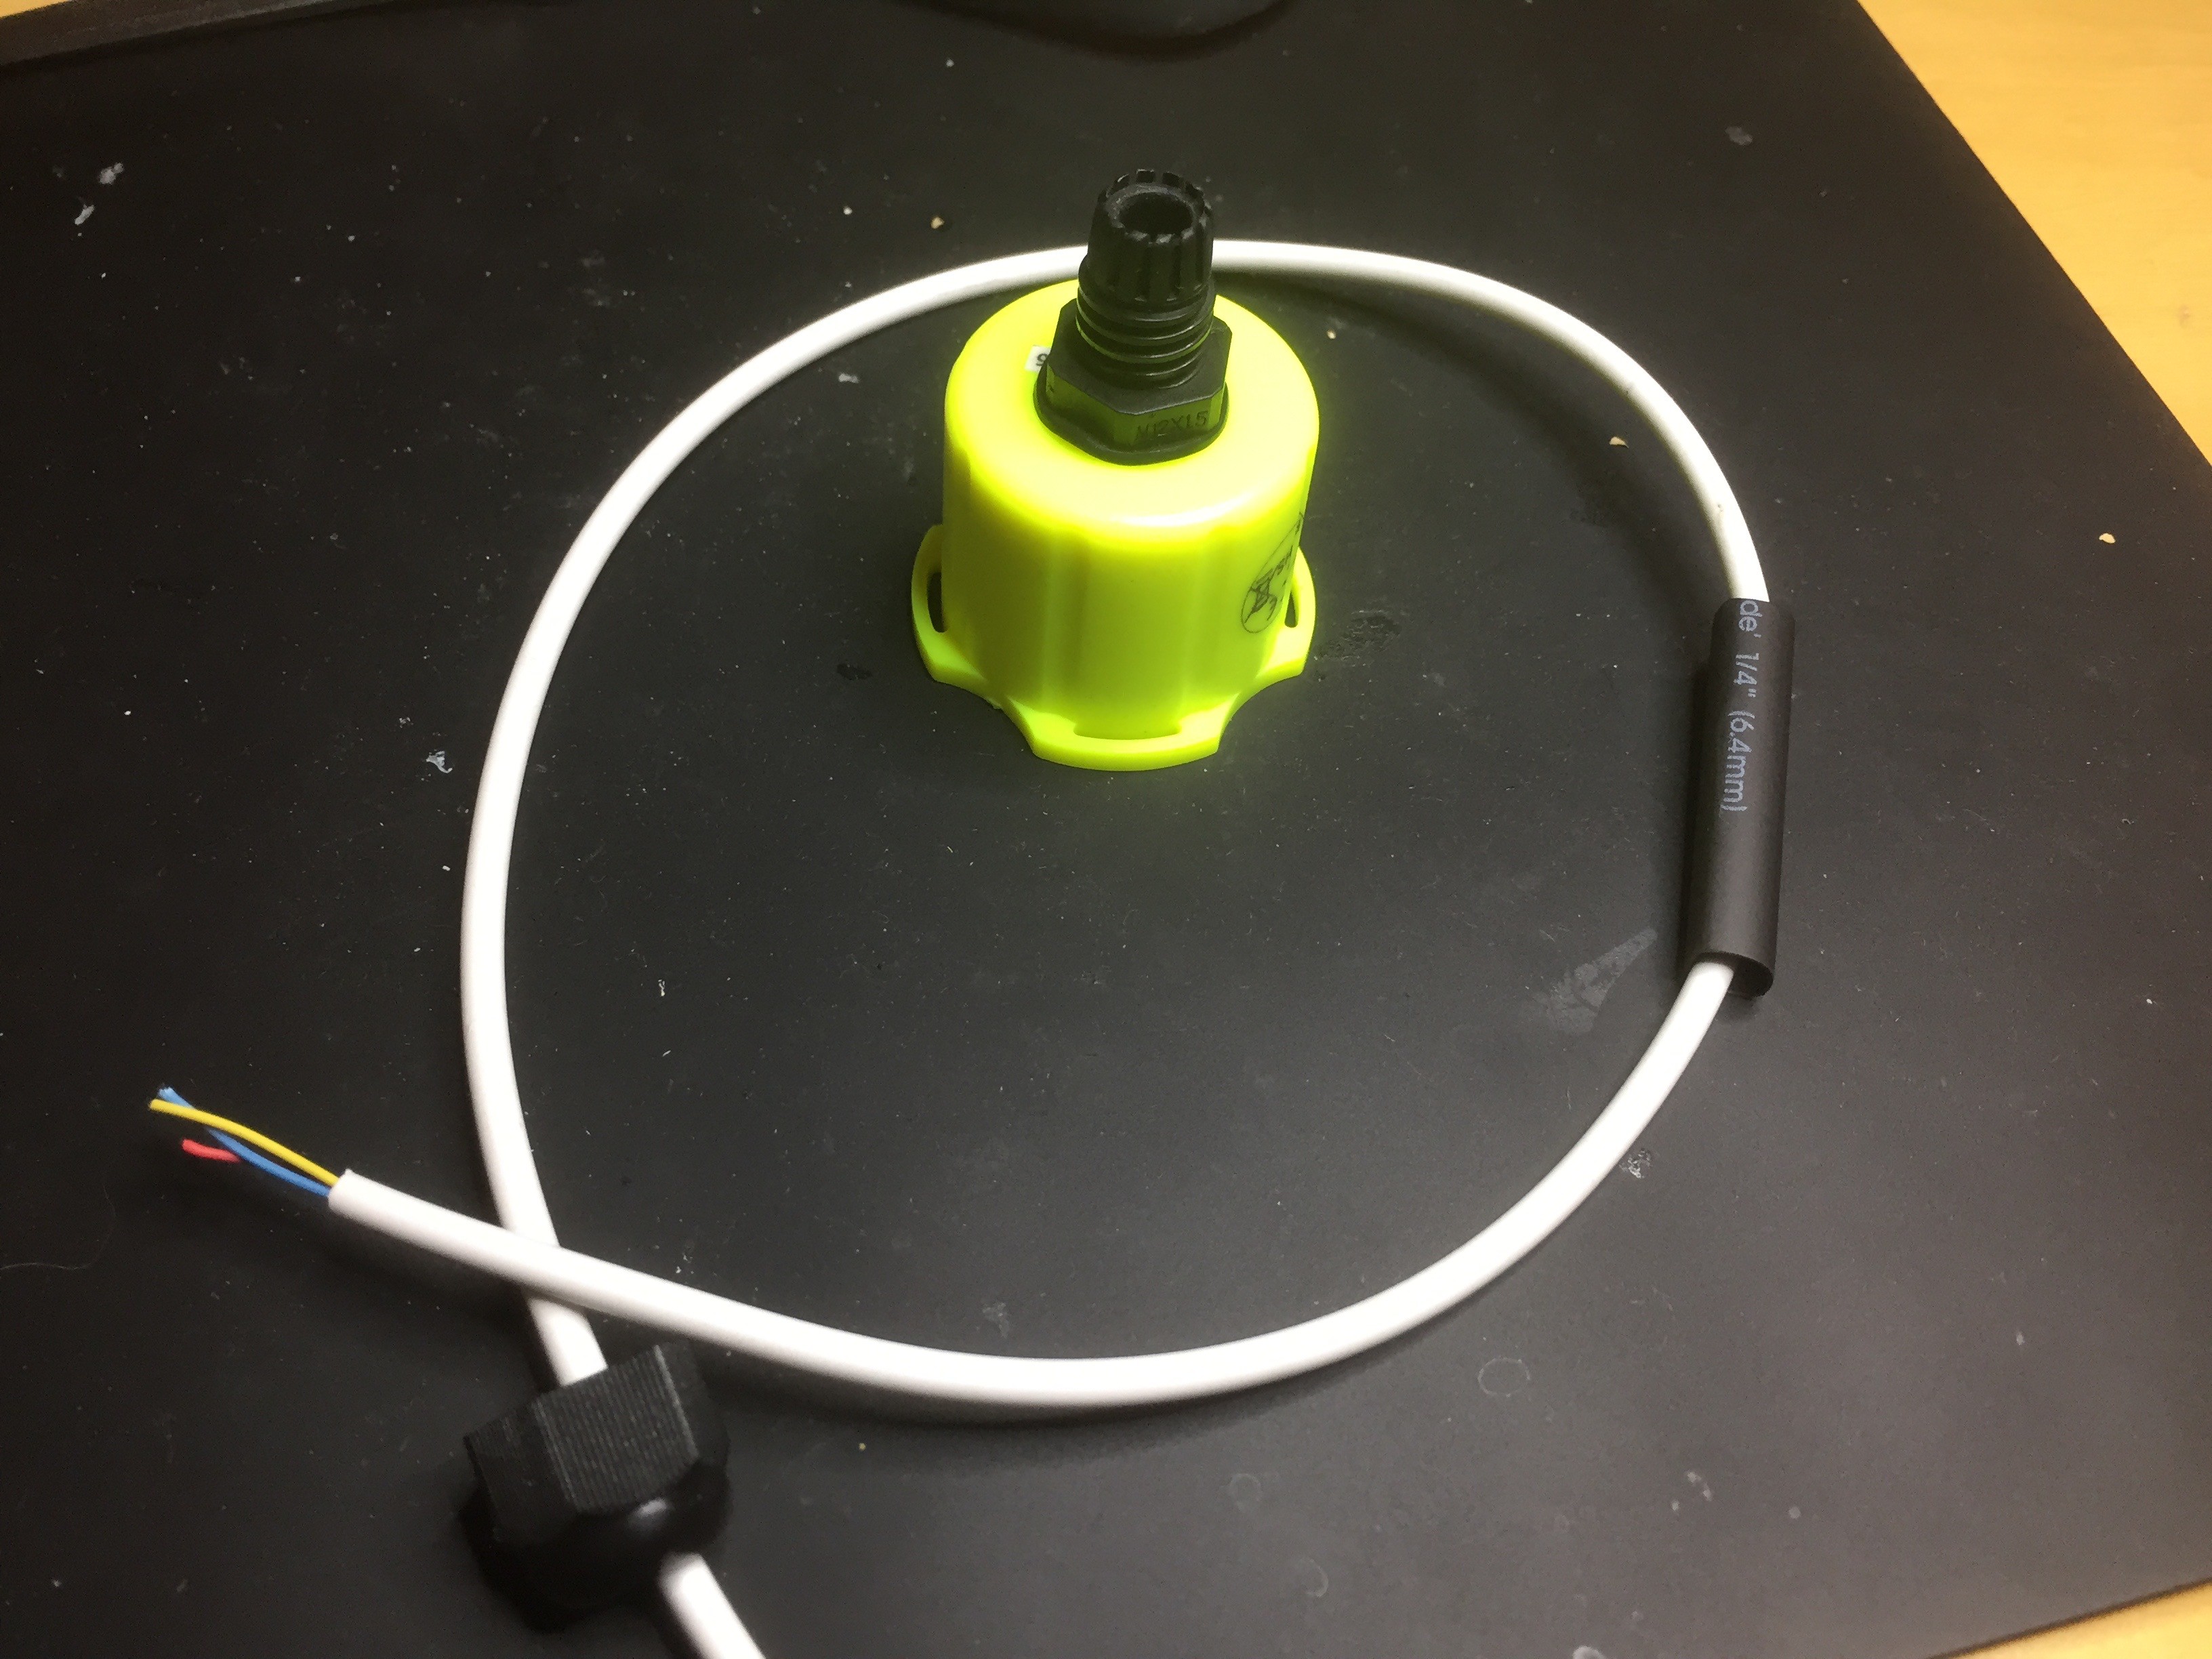
This time I used some cheap 4-core phone cable. This has an outer shield which would waterproof the internal wires and provide a single surface for the cable gland to grip. However, there was a mismatch between the diameter of the wire the size of the cable gland (an M12 - the smallest I had). To fix this I used some 1/4" marine heat shrink tubing to thicken the wire where it entered the gland.
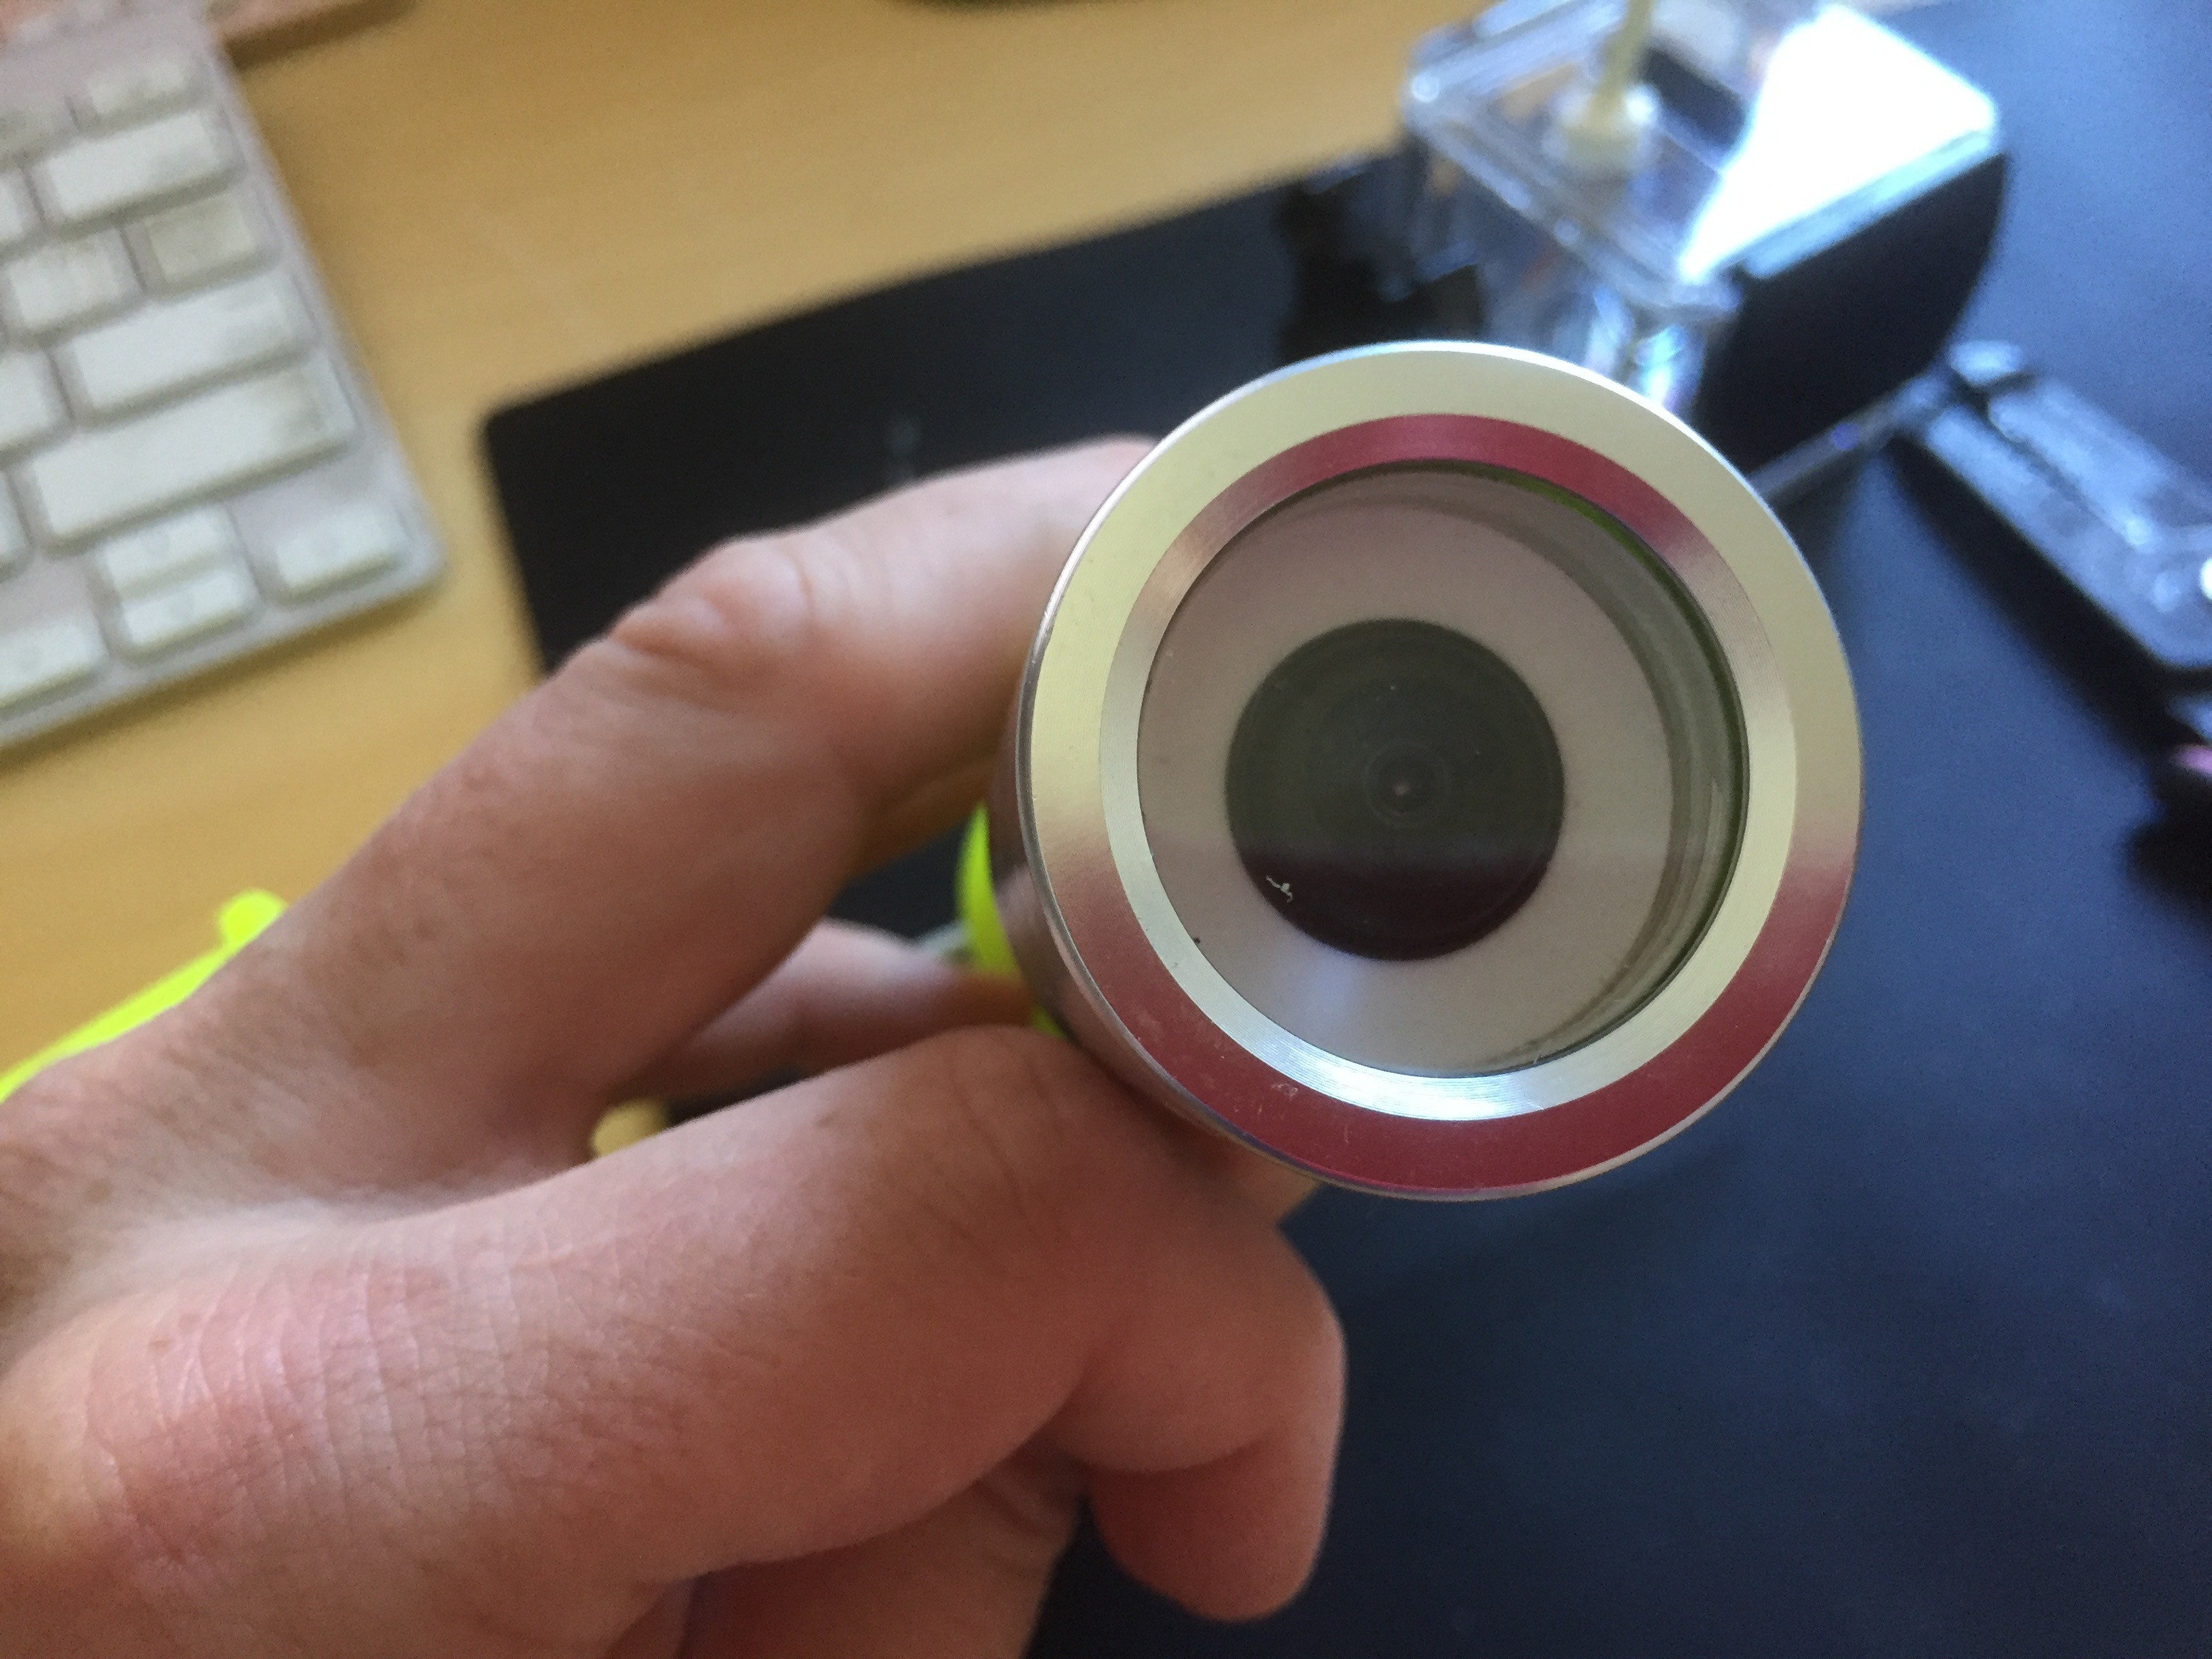
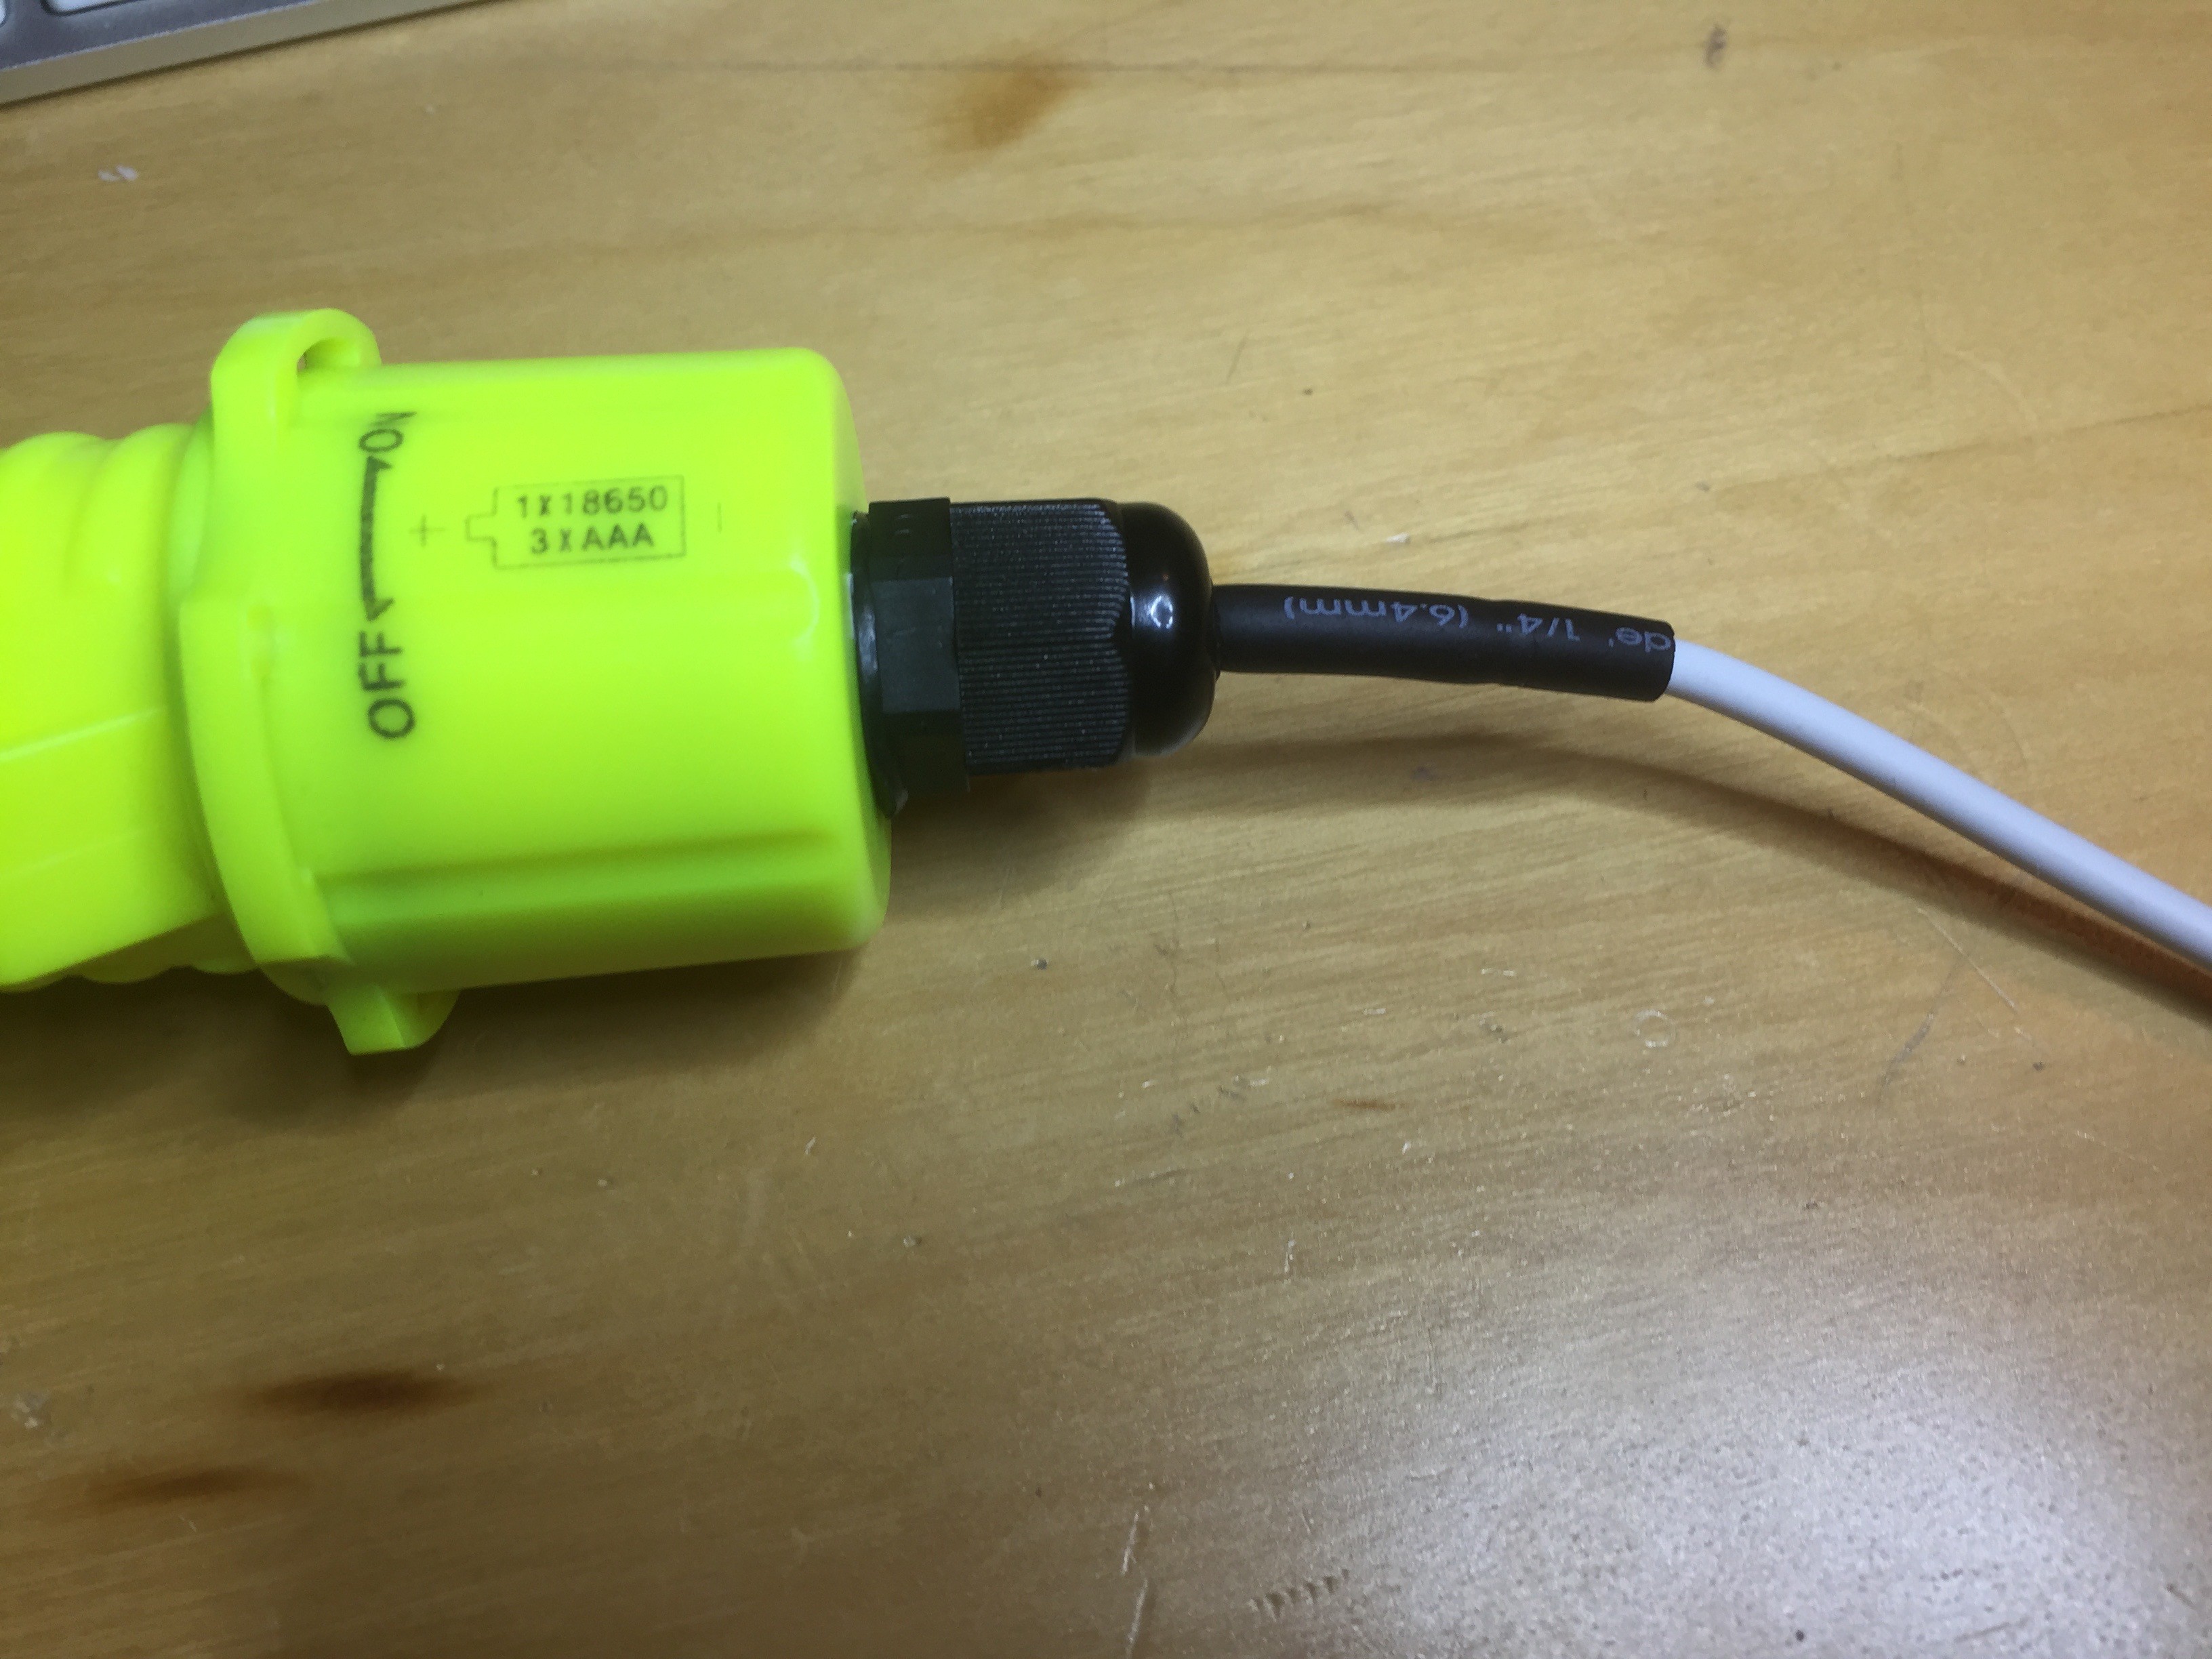
And here's the final assembly
Visually the seal looks good.
Back in the 10ft water tube and the megohm meter showed a resistance >1000 MOhms. Now to leave it overnight and test tomorrow.
-
Overnight failure
09/20/2016 at 18:46 • 0 commentsI tested the camera after it had been immersed in the 10' pool overnight, and it still works. However, the megohm meter now reads < 10MOhms which is an electrical failure. So where's the problem? In turns out that the front of the camera is not seal as well as it could be - in fact that's kind of obvious from the photos when you look at them. I needed to find a better, but simple, way to seal this part.
-
Electrical testing: Megaohms
09/20/2016 at 05:33 • 0 commentsThe final test for the camera is to make sure it's electrically insulated. Of course, if it's waterproof it should also be electrically insulated; but there are degrees to which that might be true. Just as waterproofing is only good to a certain depth, insulation can be measured.
It's difficult to know a good measure of insulation but >100 Mega Ohms is suggested as as a lower limit. To test this I used a Supco M500 Insulation Tester (megohmmeter). With the camera submerged, I connected one lead to the positive power cable at the end of my cables, and put the other connectors in the water. My meter measured the resistance as > 1000 Mega Ohms; 10x the lowest acceptable level.
Success!
It's worth noting that if this test had failed in a significant way, the camera electronics would likely be fried. But then, if this test had failed, the electronics would eventually get wet and fry anyway.
Simple ROV waterproof cameras
3 attempts to build simple and cheap waterproof ROV cameras