Mike Rigsby
-
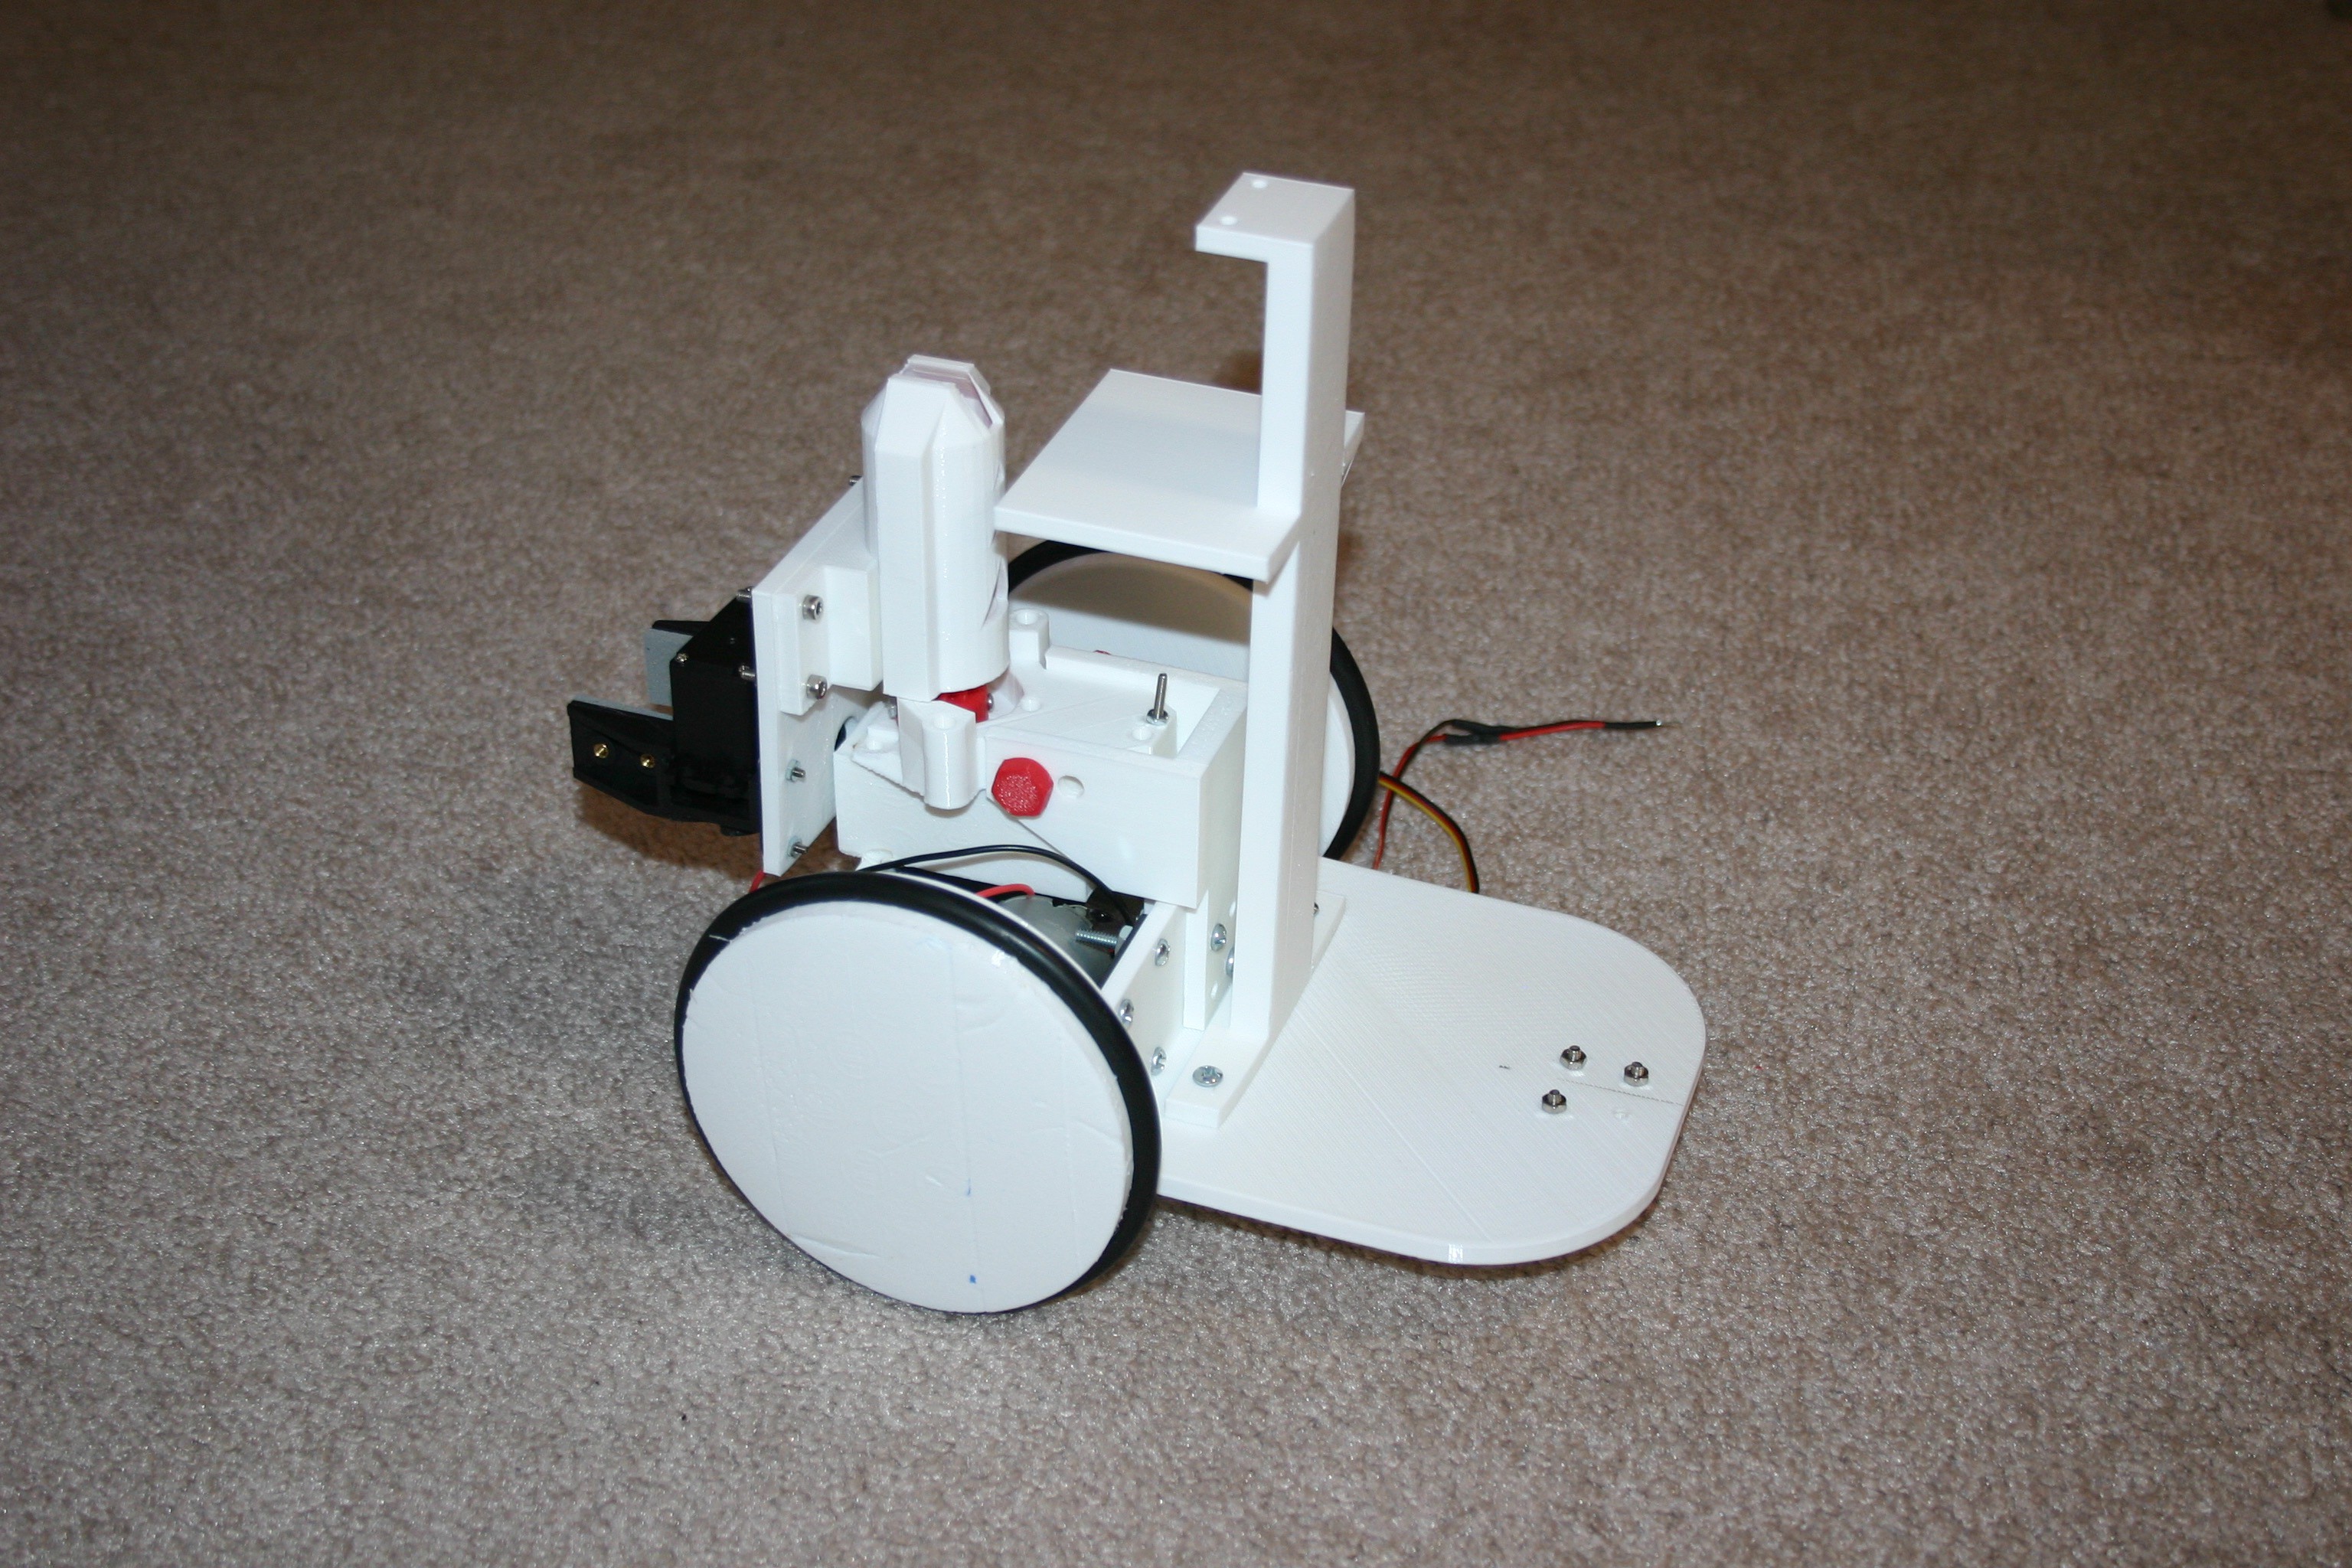
Camera Bracket and Caster Wheel
09/22/2016 at 17:42 • 0 commentsPrint the caster ball, caster base, camera bracket and camera tilt bracket. Drill holes and fasten to the robot base.
![]()
-
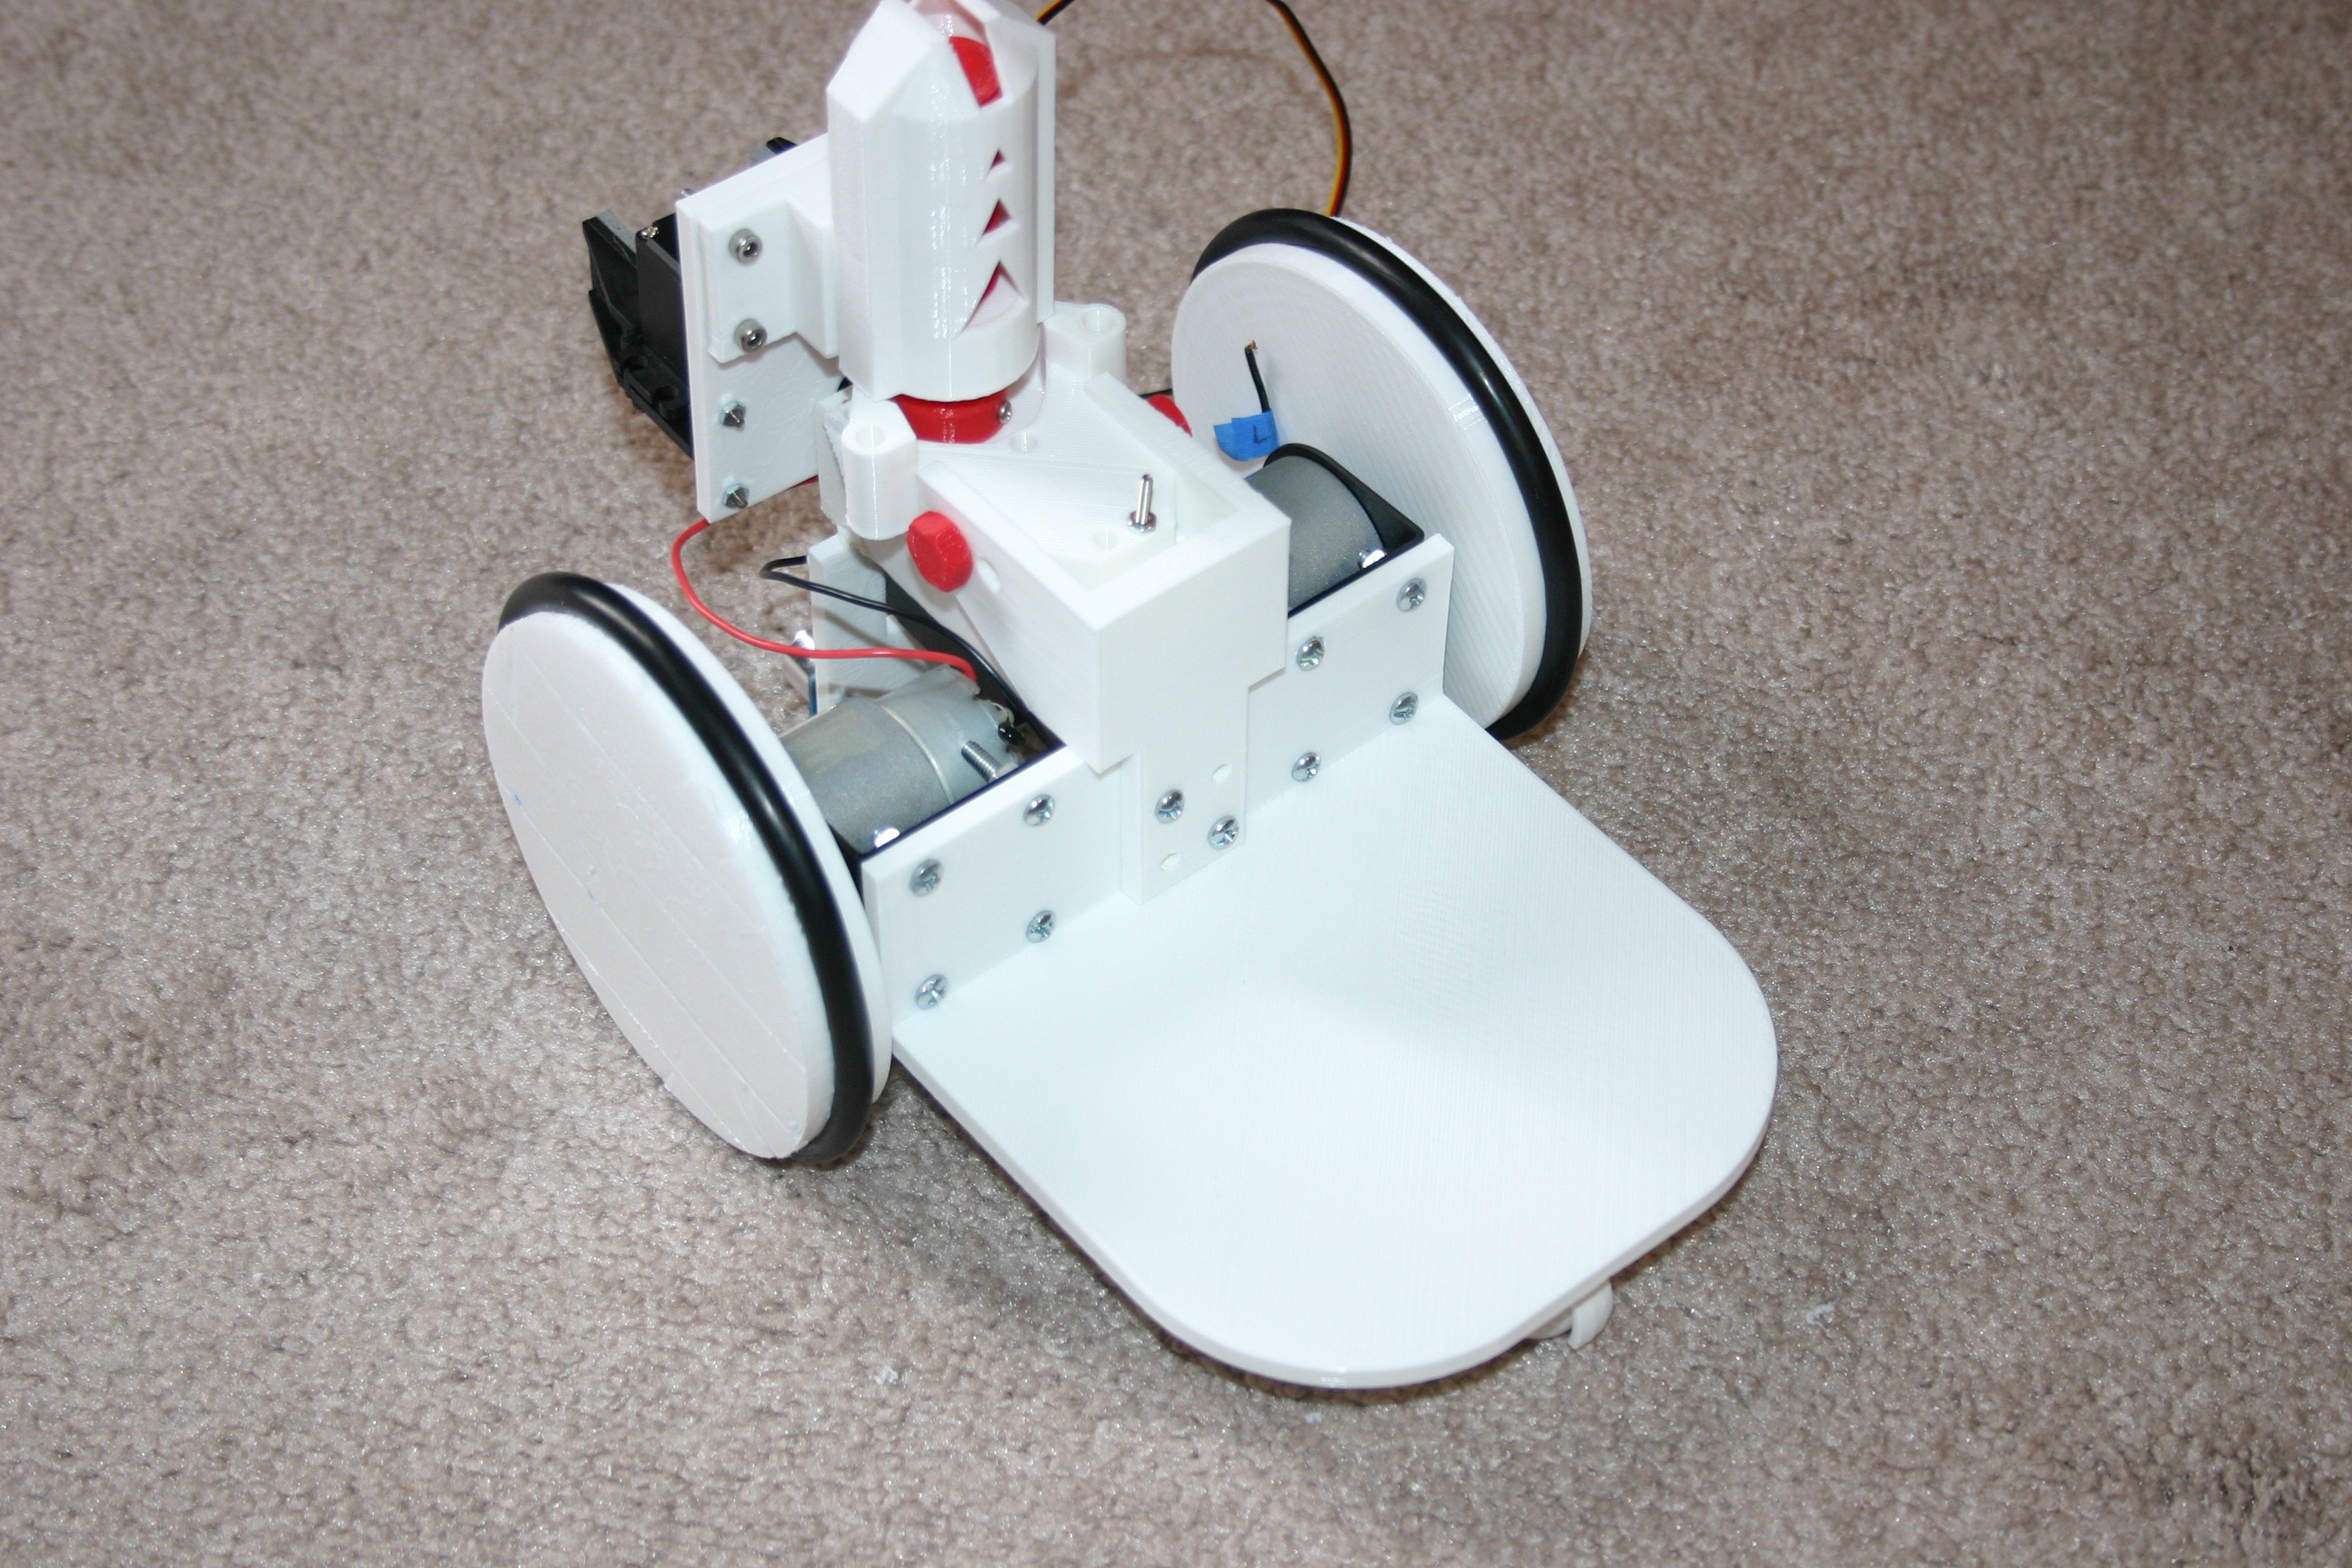
Attach Lifter
09/22/2016 at 17:38 • 0 commentsTake bodybracketd and attach it to the body (drill appropriate holes in the body), then attach the lifter.
![]()
-
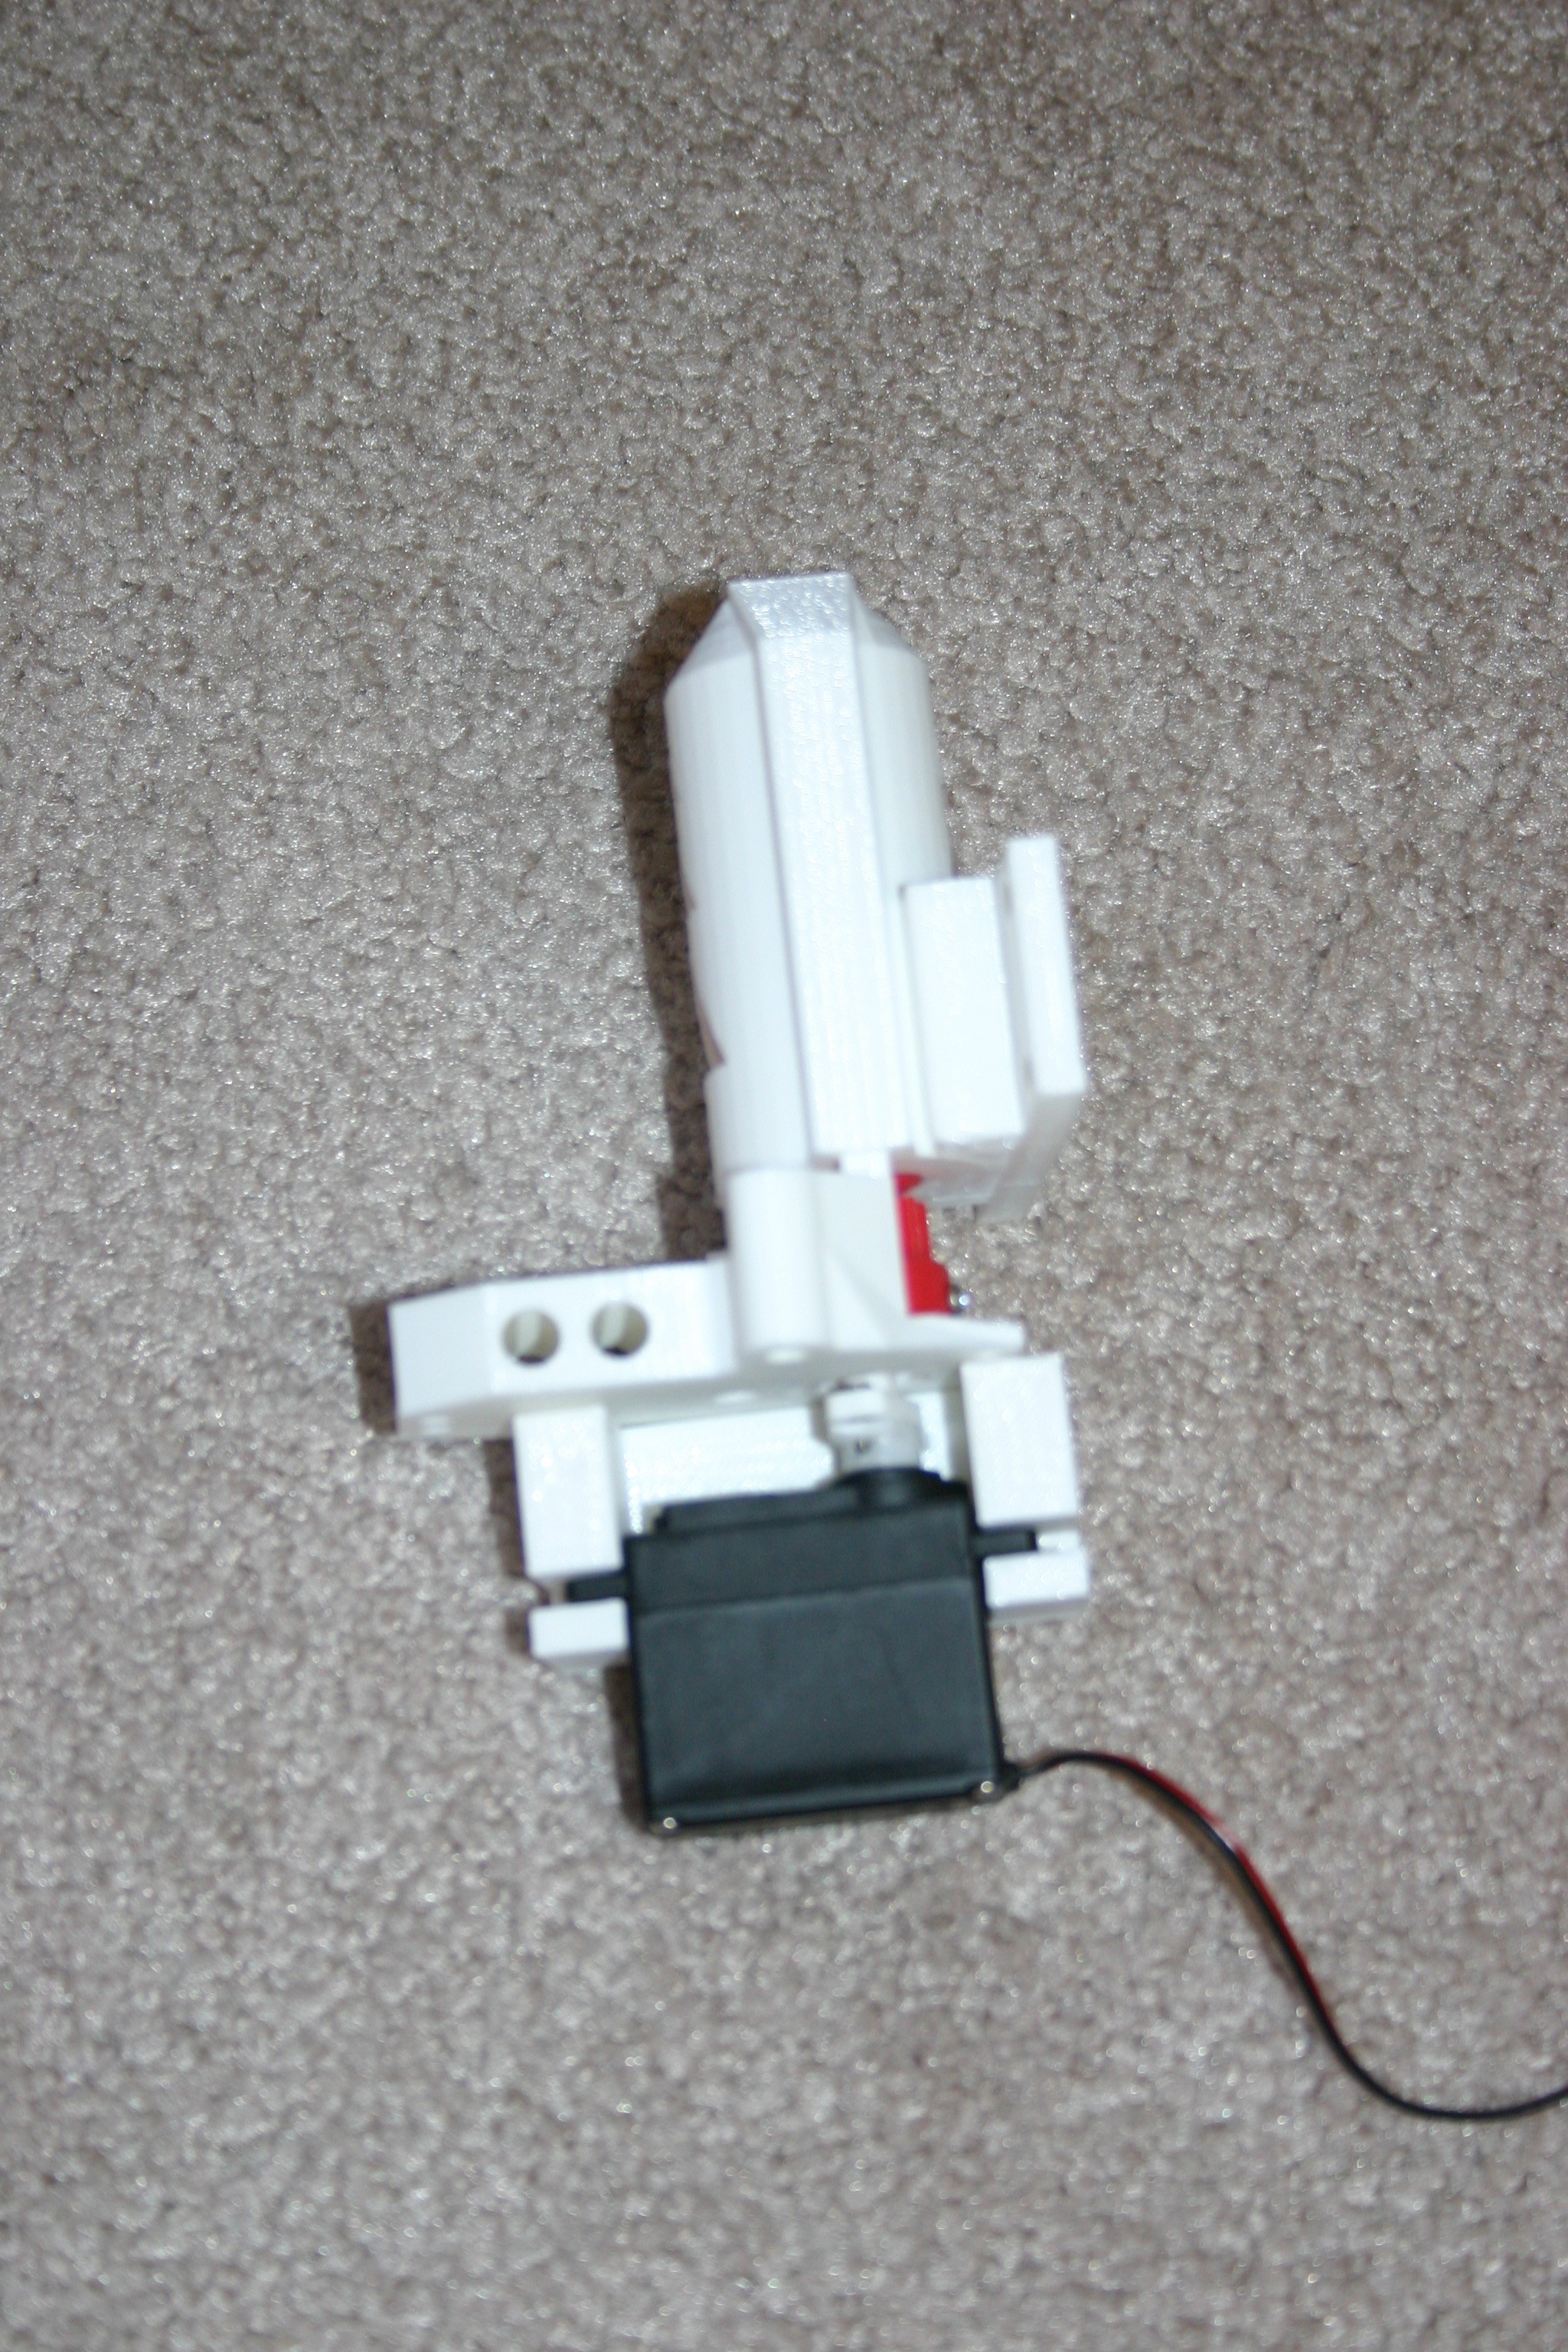
Lifter
09/22/2016 at 14:28 • 0 commentsWhen the robot finds the "thing," it has to grab it and lift it off the ground to carry back to the catapult. Here's how this is built.
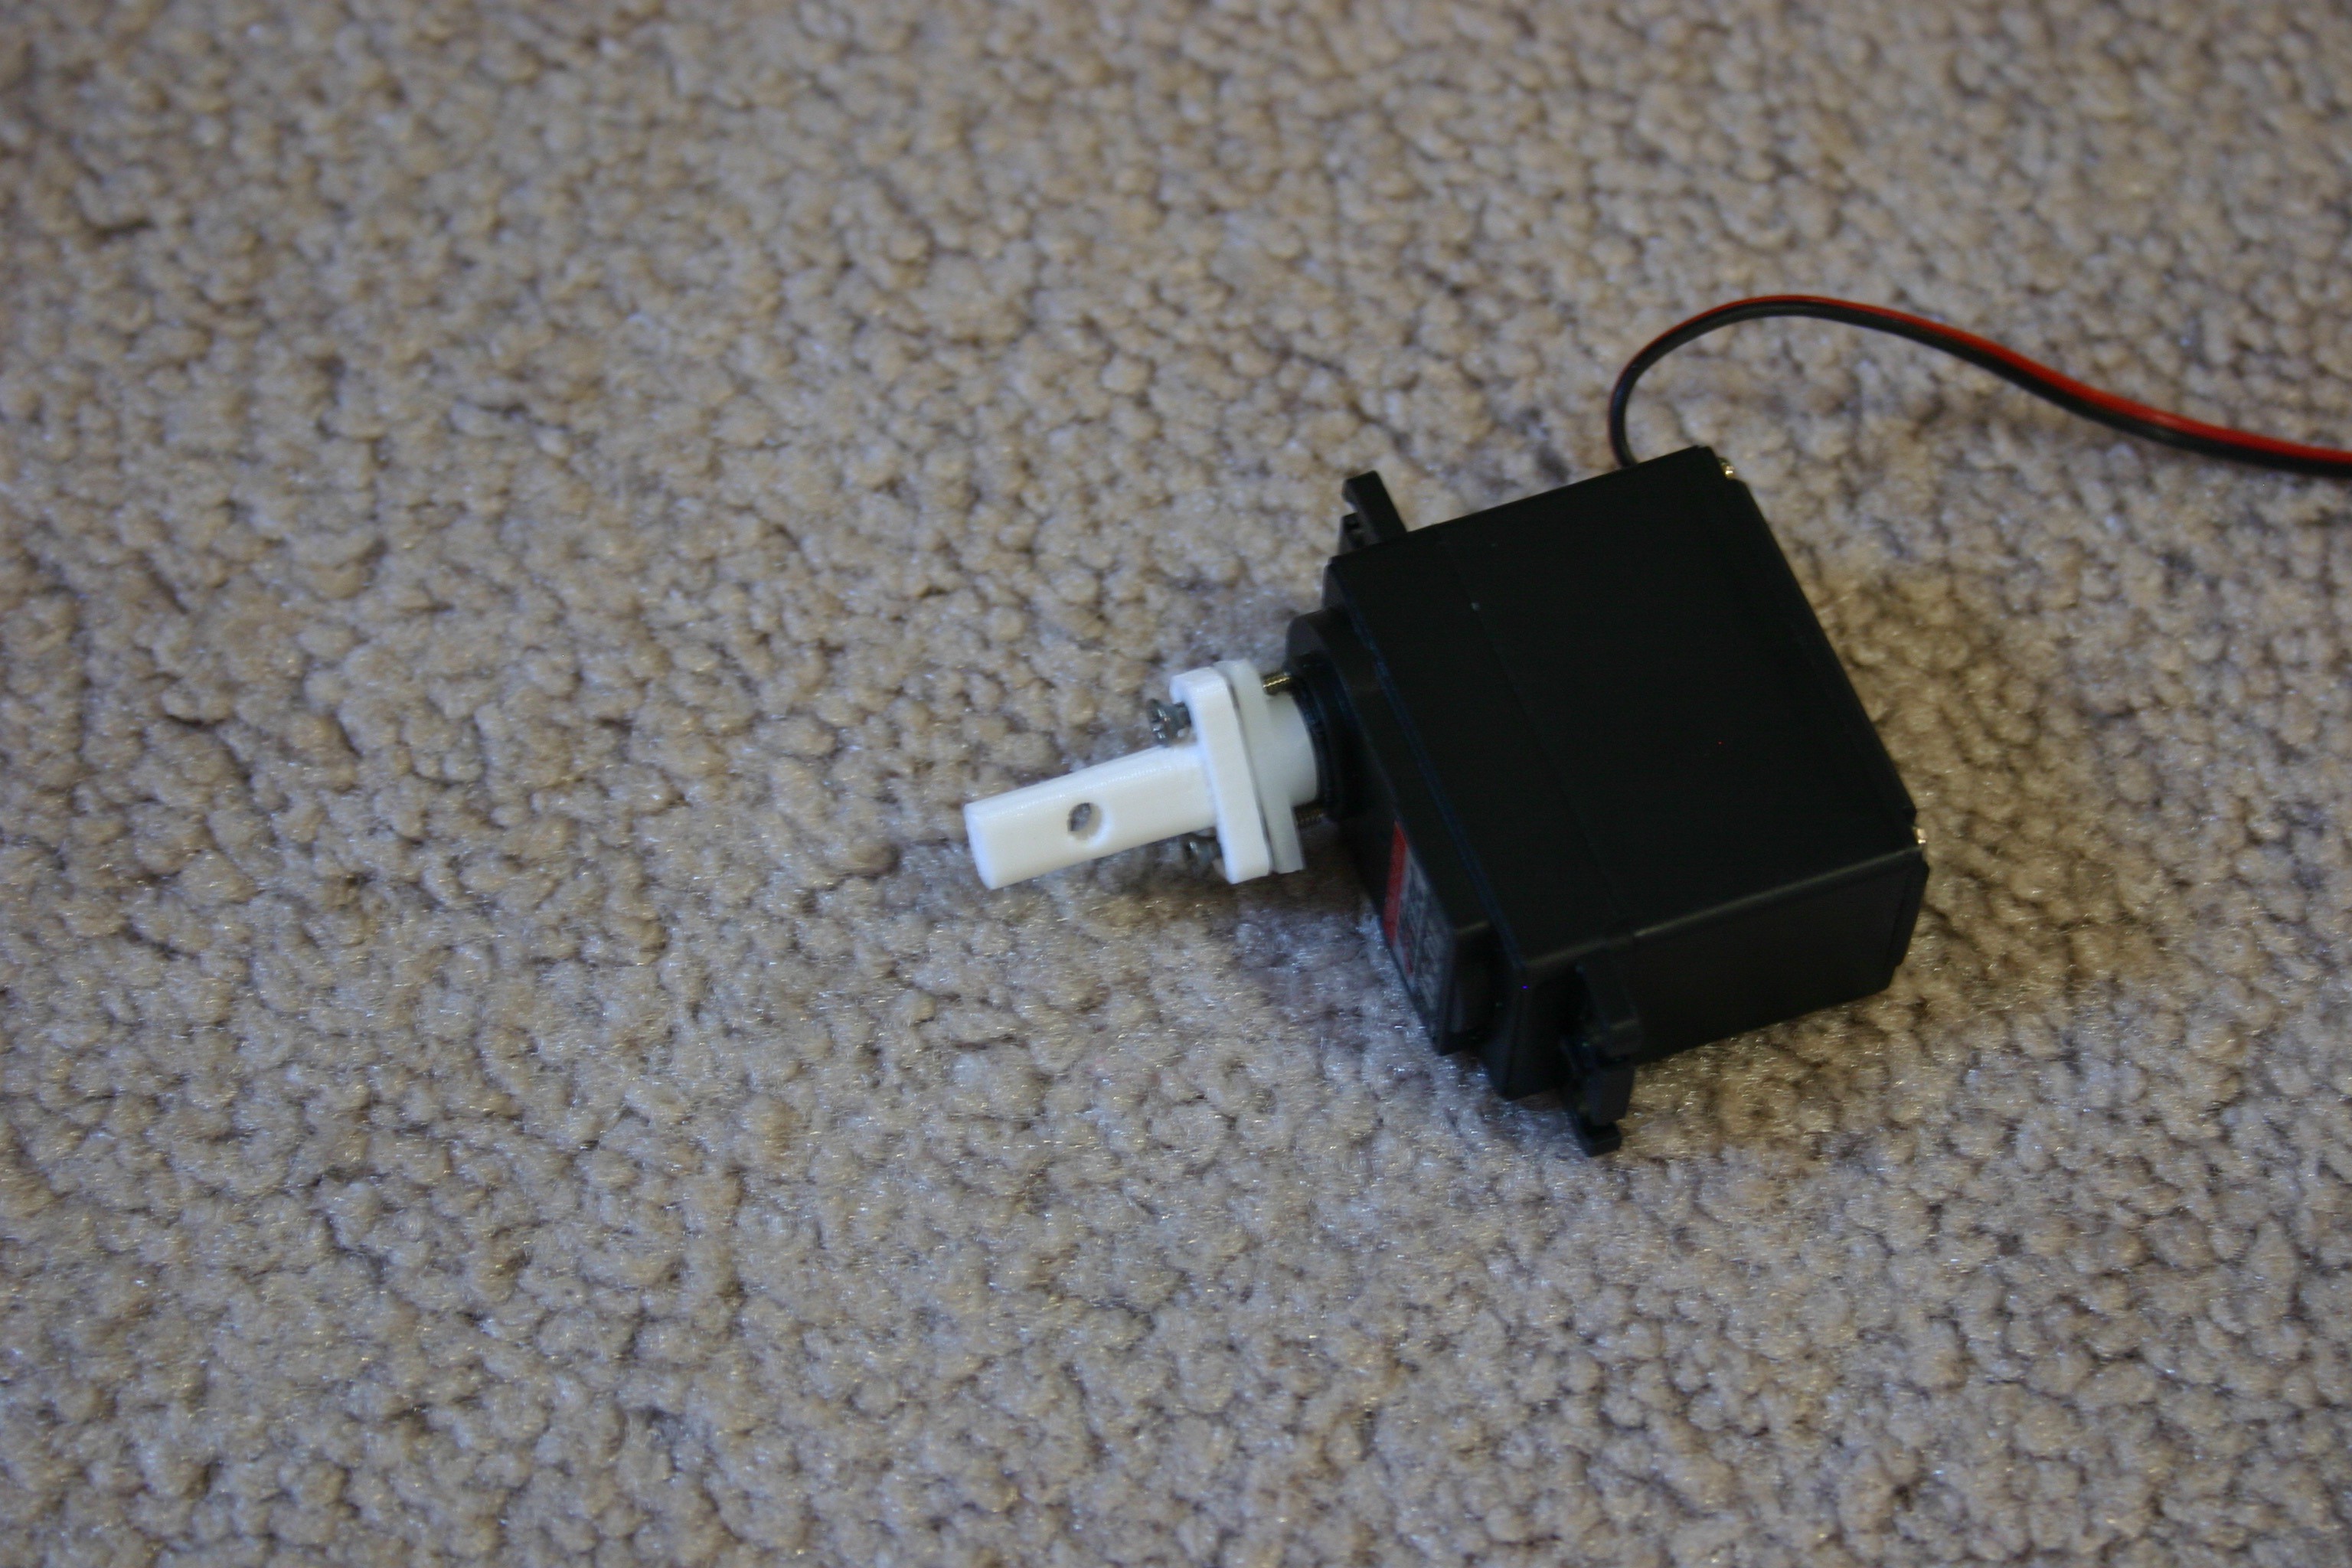
Cut off the ends of a servo horn and attach the horn to a continuous rotation servo motor. This is a normal servo motor with the electronics and end stop removed--just a dc gear motor.
![]()
Attach the 3d printed servo horn.
![]()
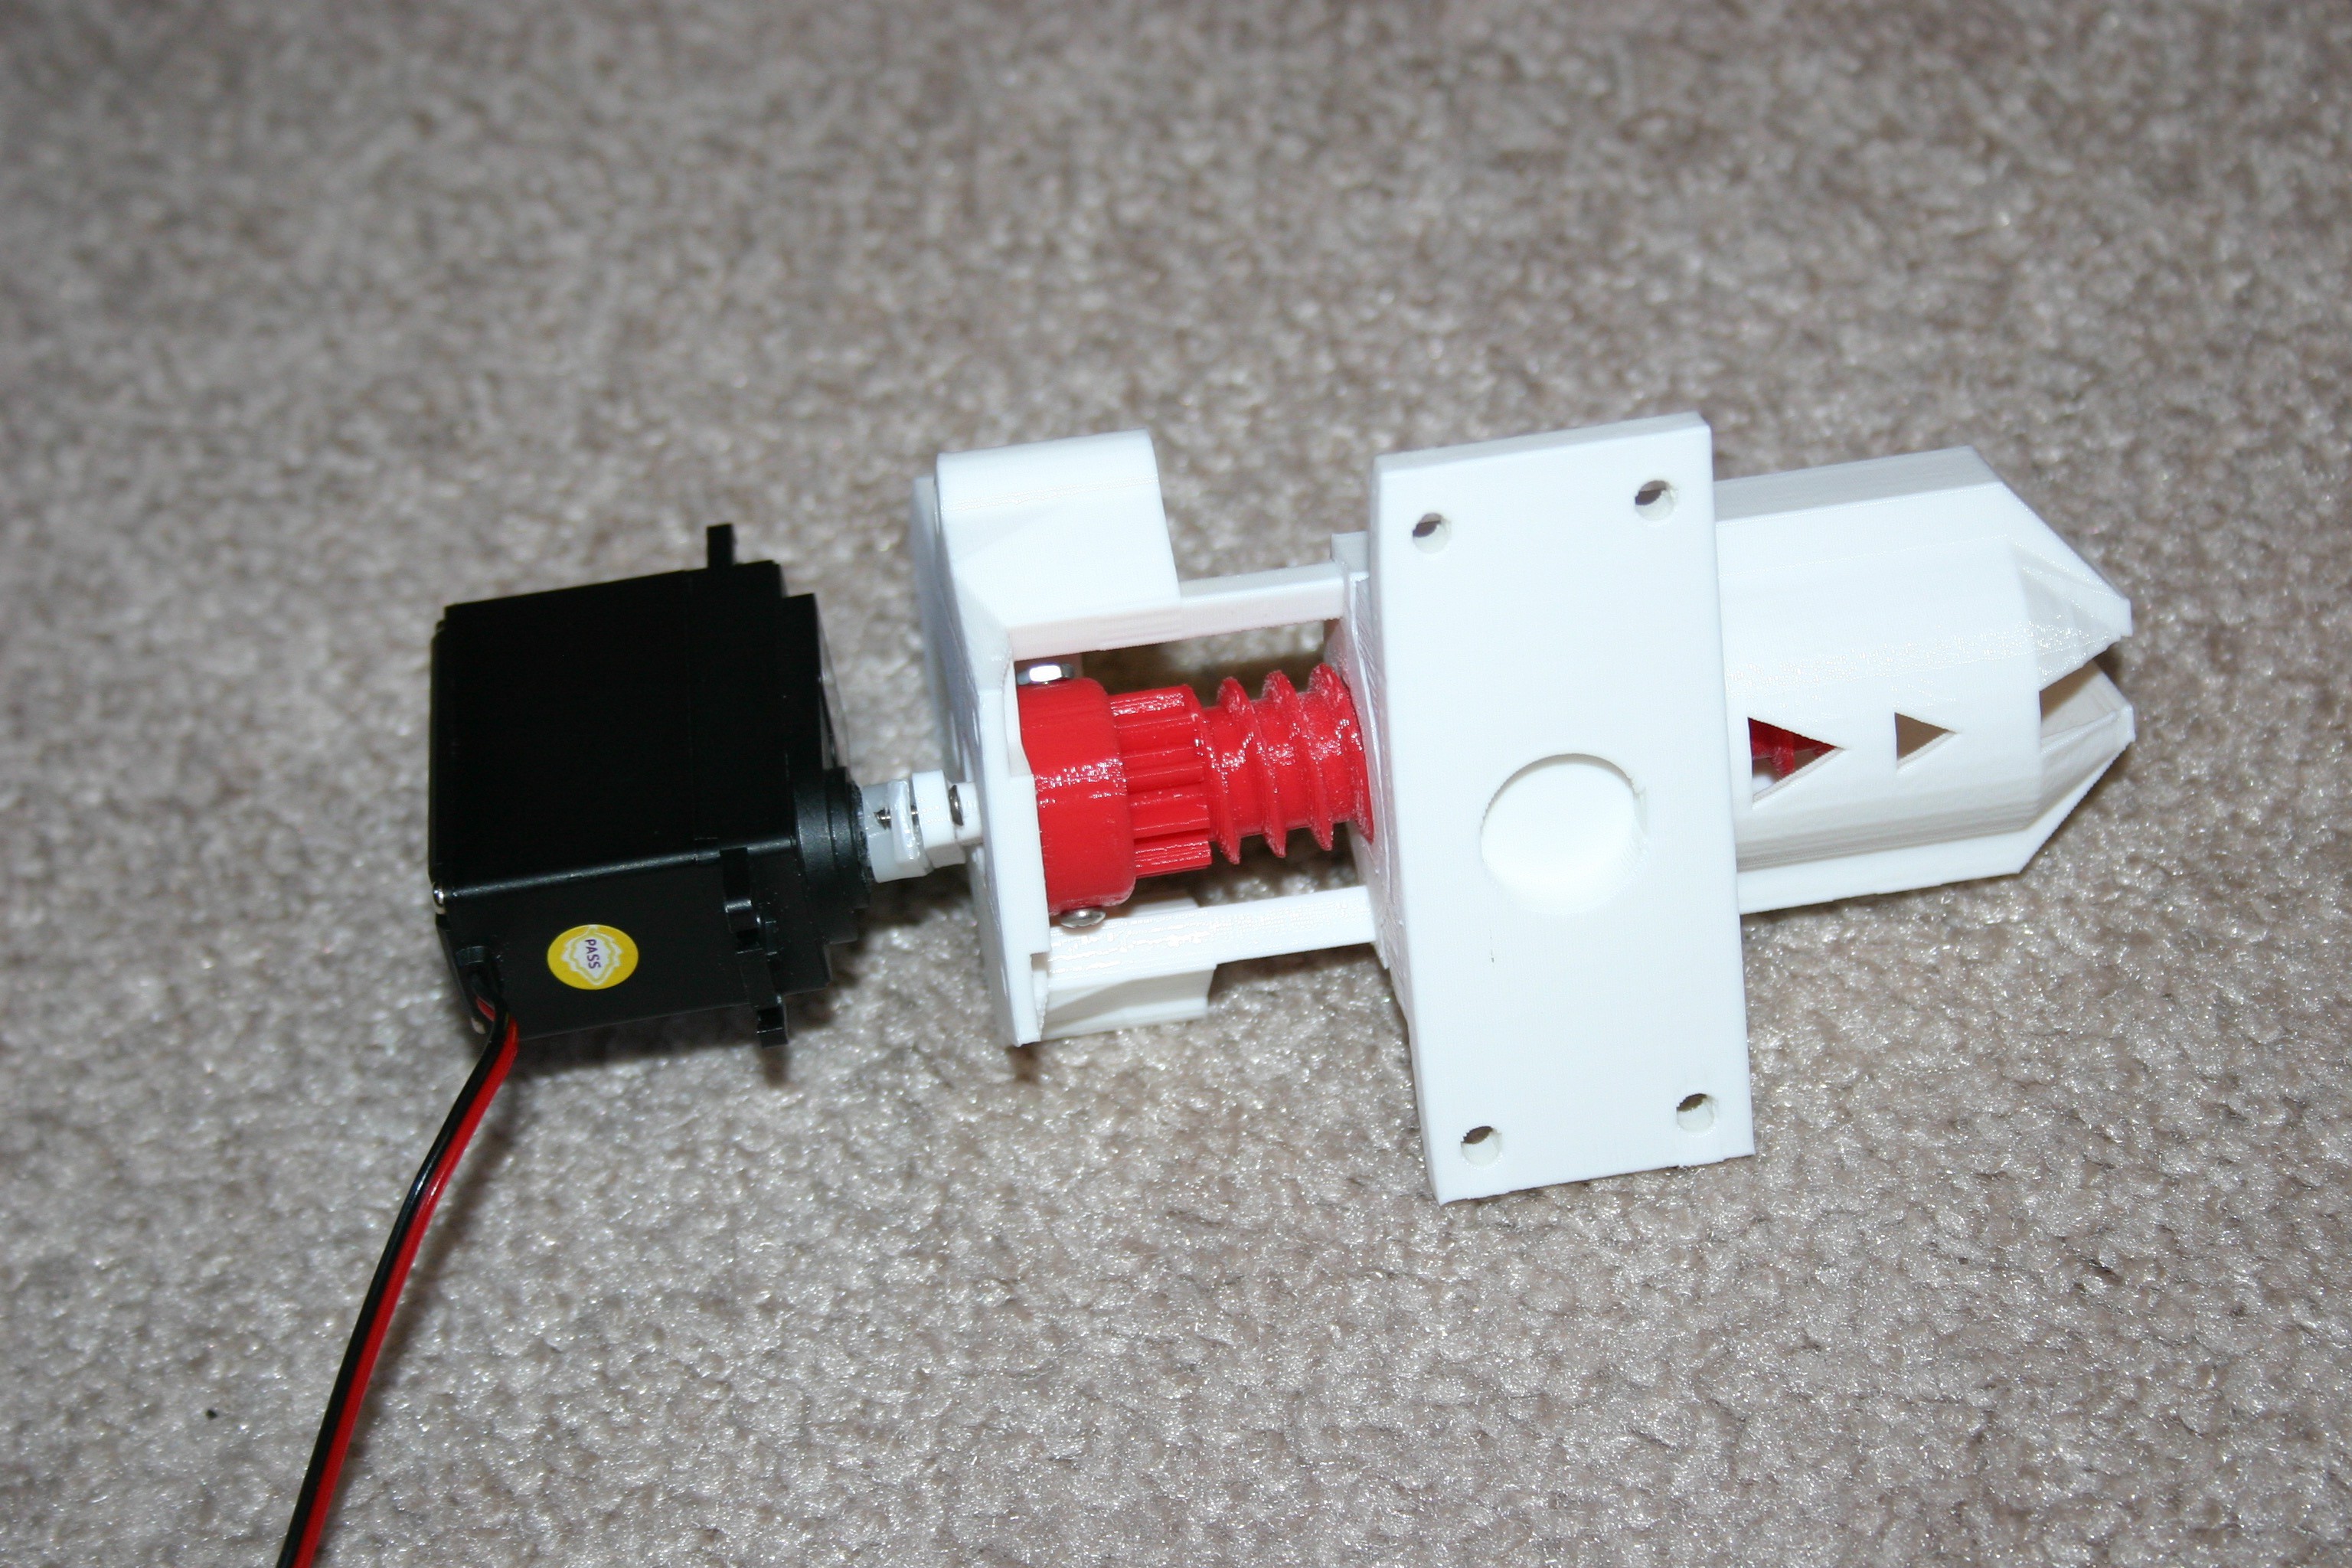
Push this into the leadscrew and secure with a 2-56 screw and nut.
![]()
Place the servo bracket against this assembly, making sure that the motor shaft can turn freely. Melt the servo bracket to the assembly using a soldering iron (or glue).
![]()
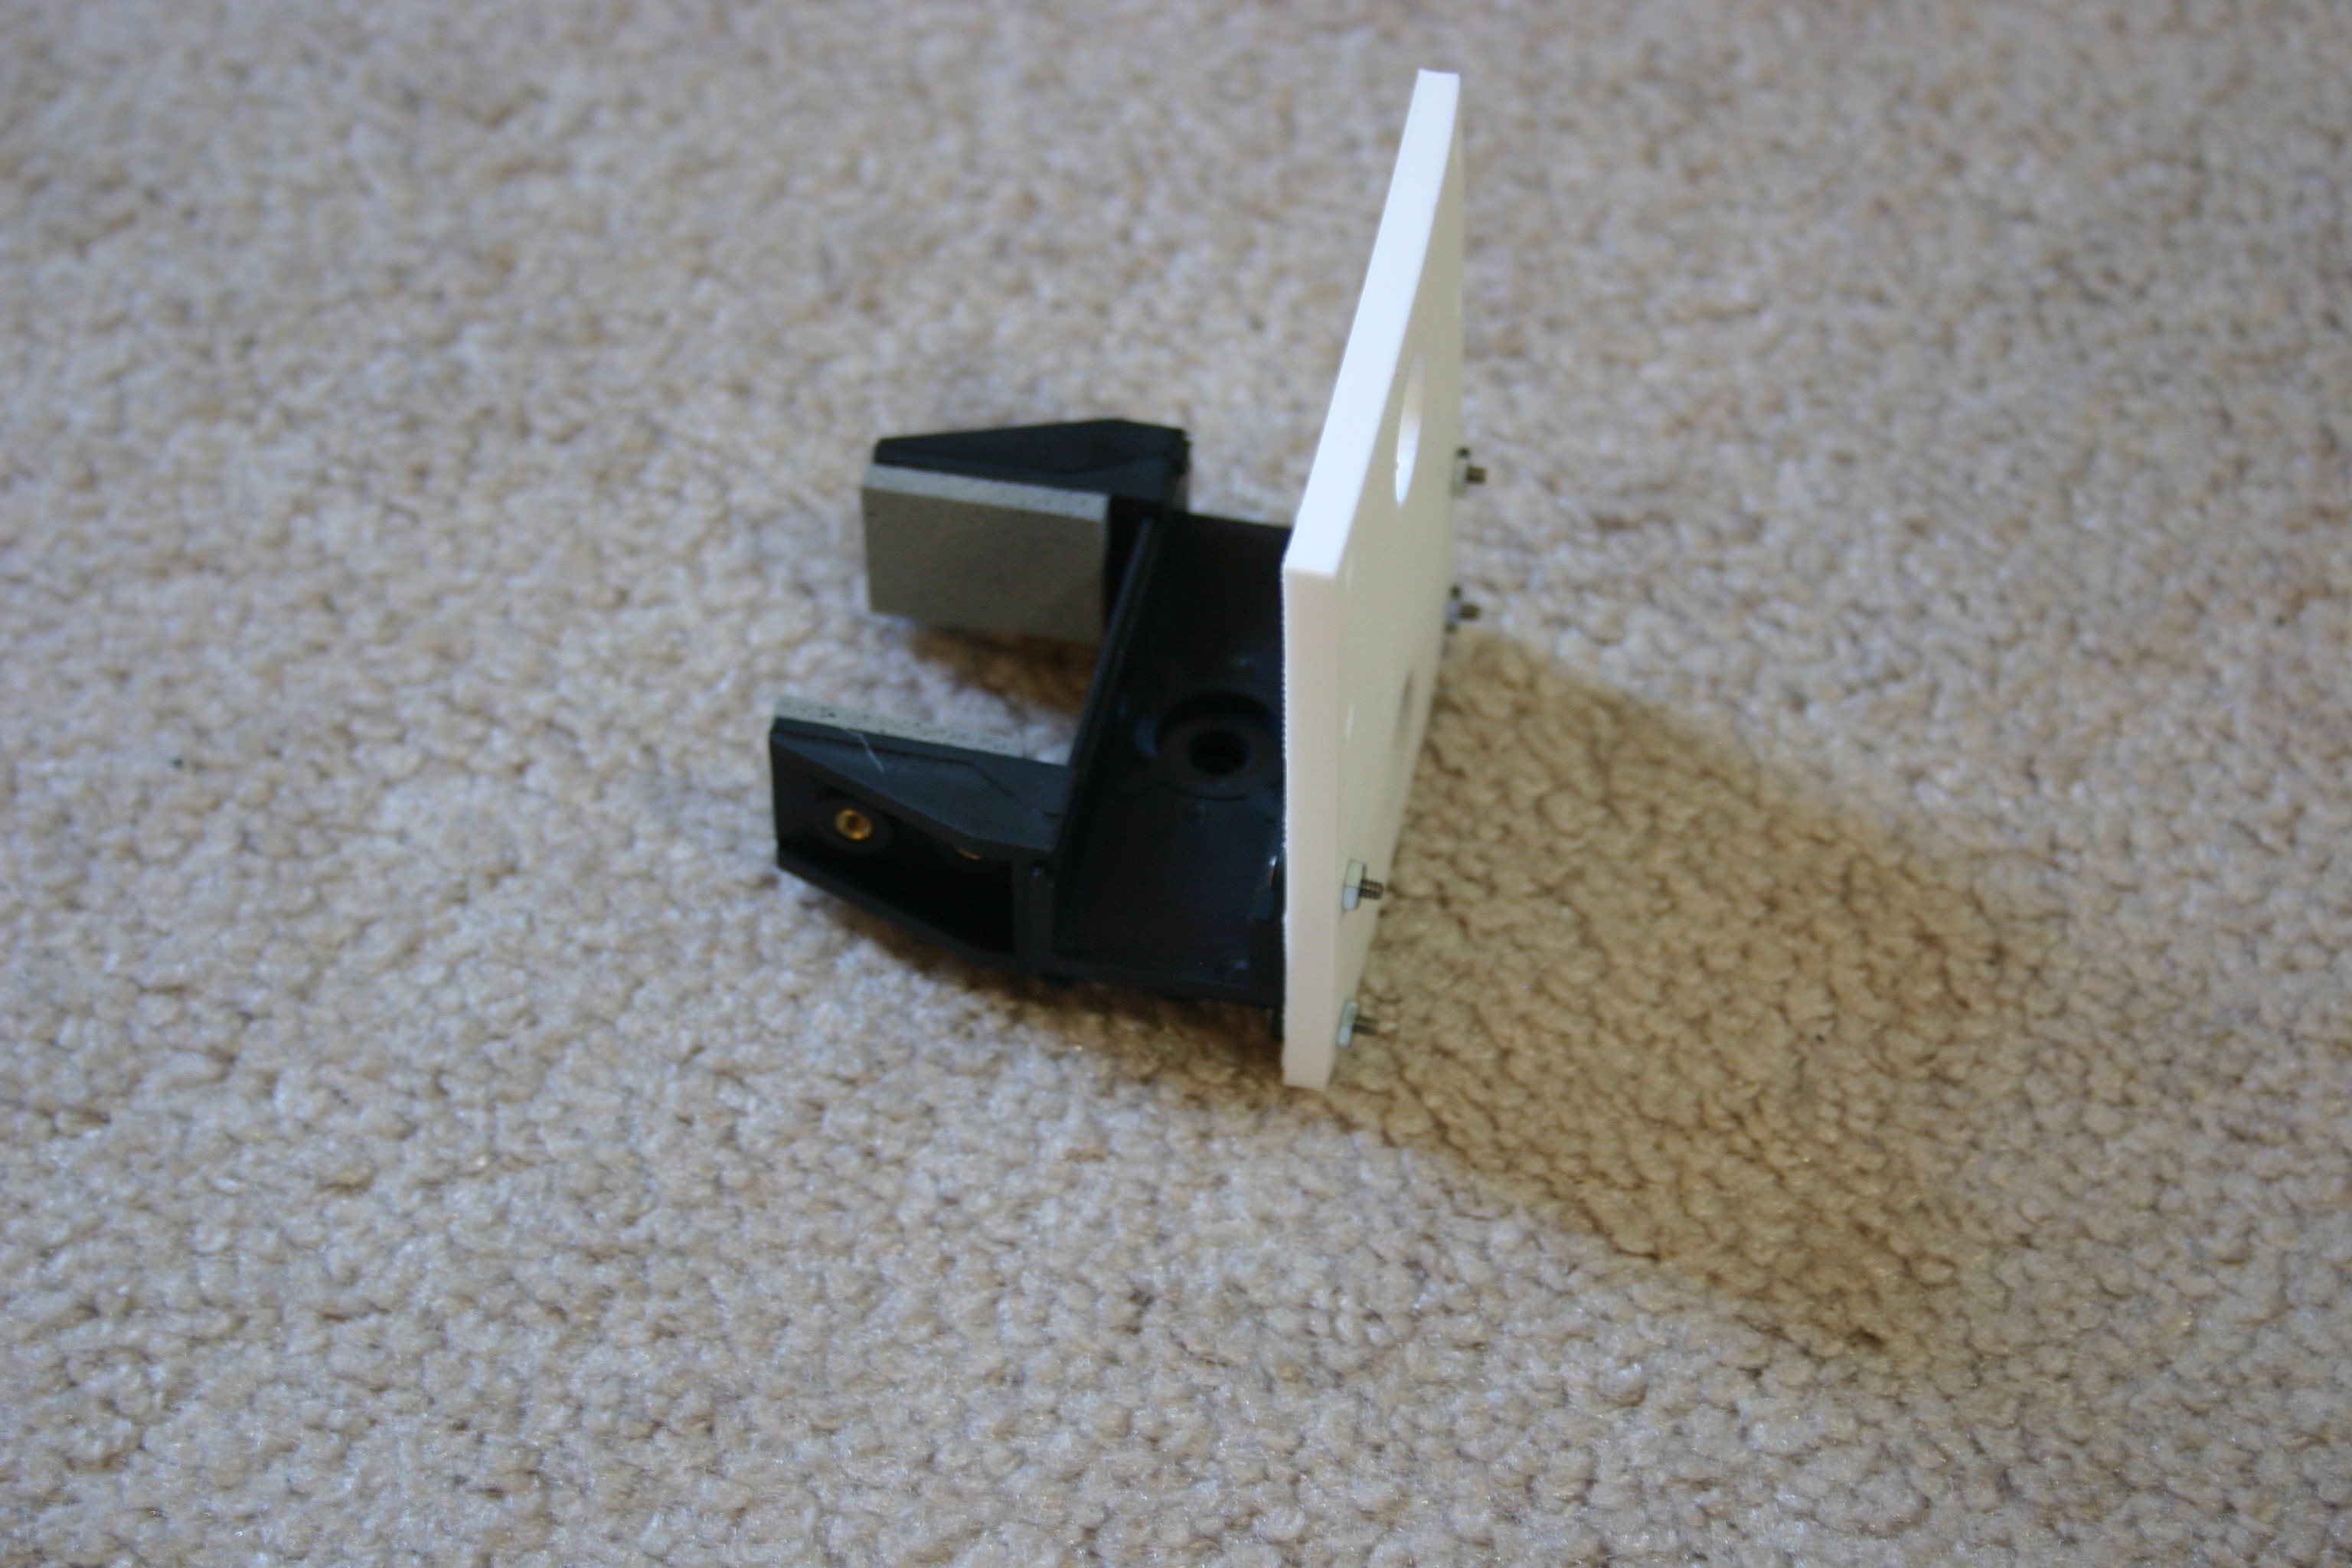
Attach the pincer to the extend plate.
![]()
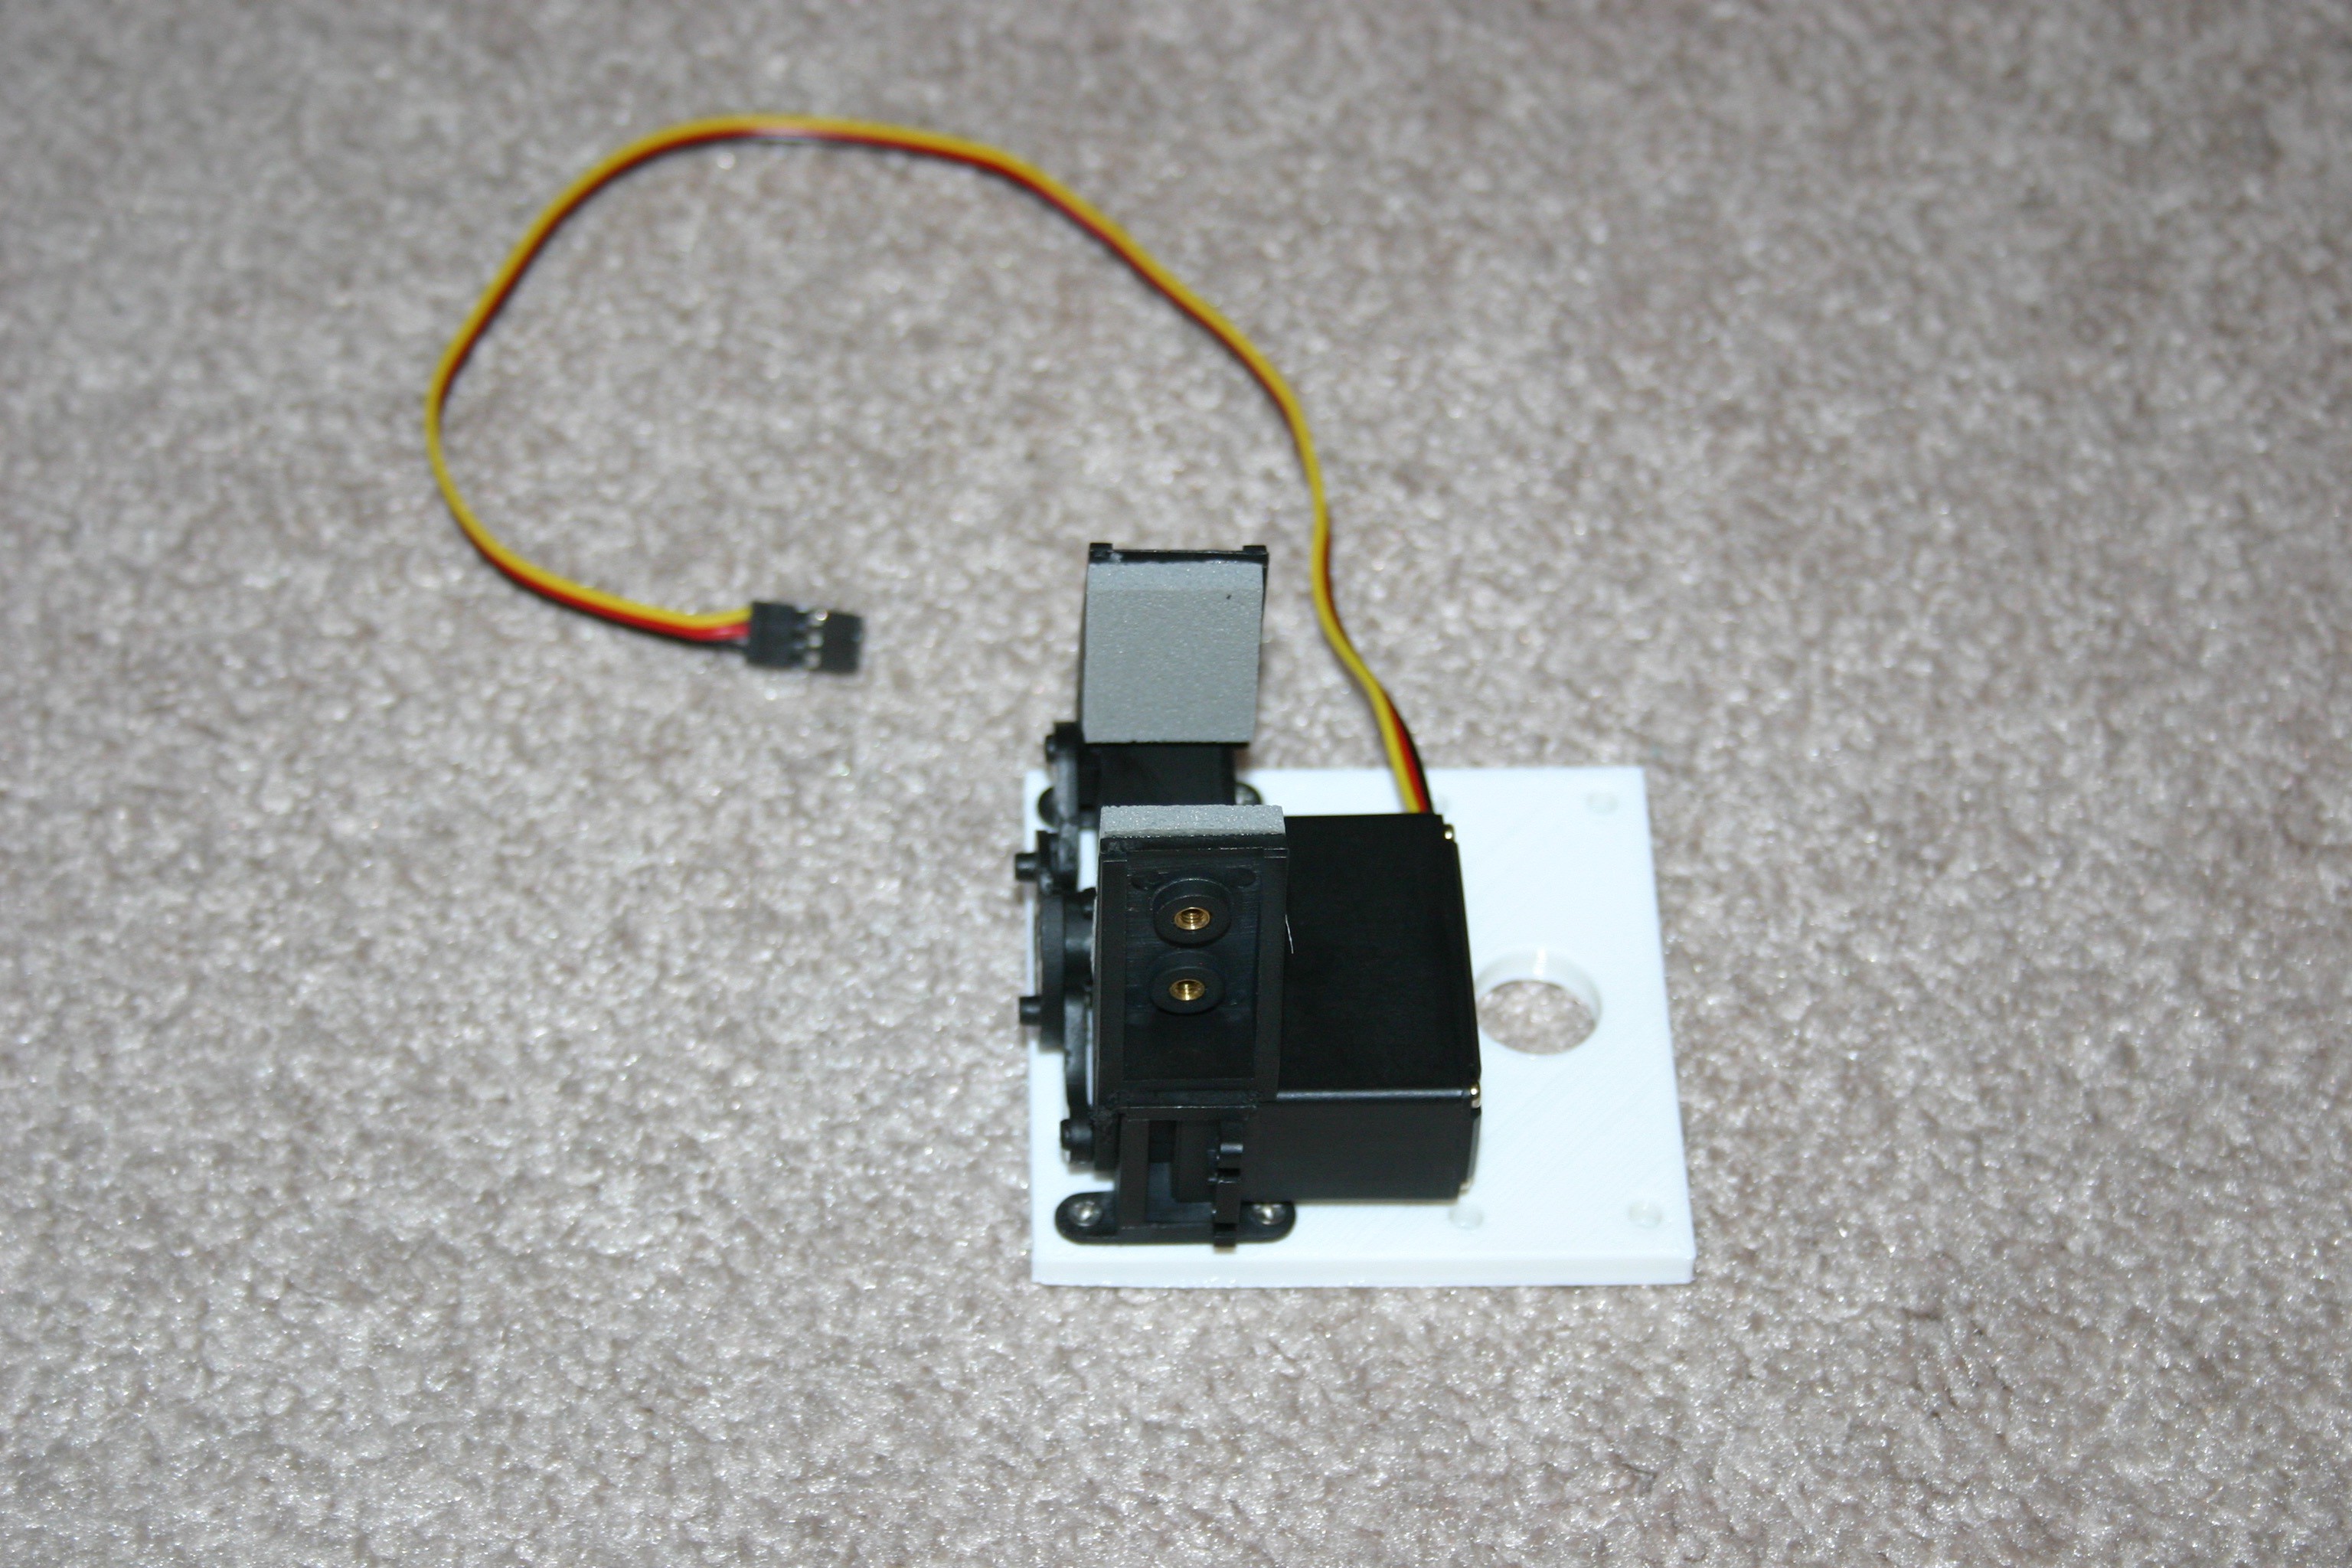
Attach a servo motor to the pincer.
![]()
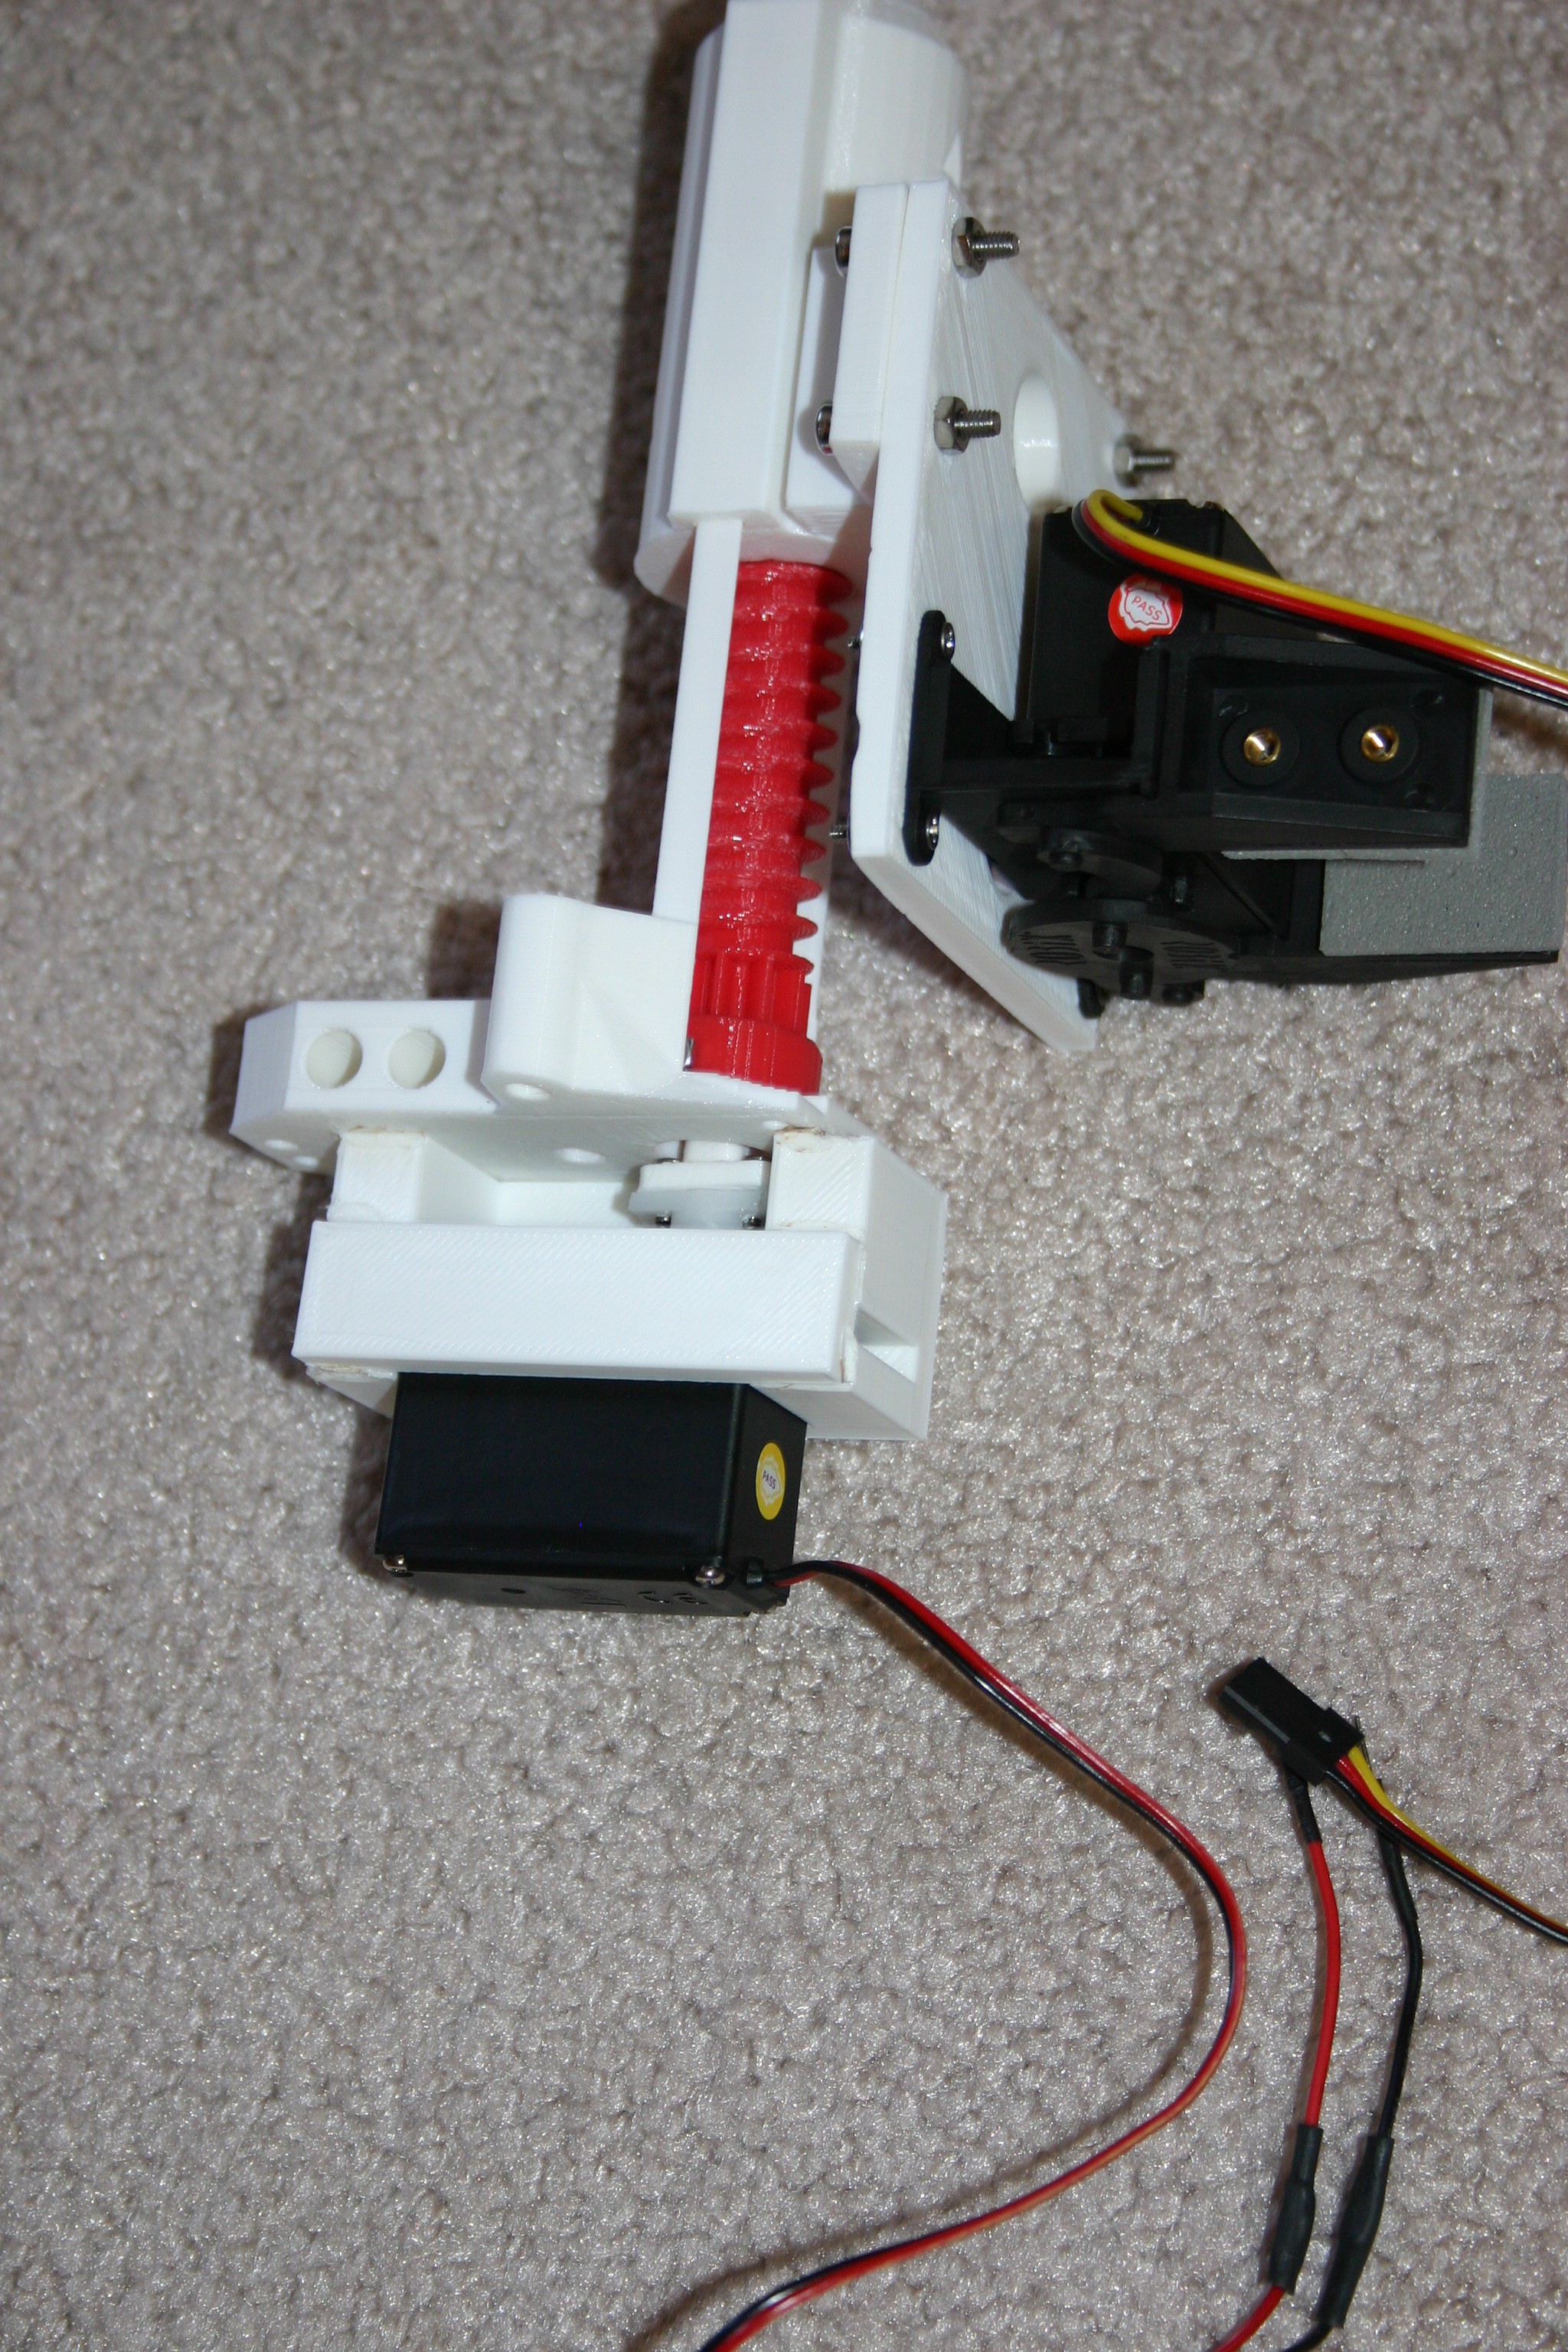
Attach the pincer assembly to the actuator assembly.
![]()
Glue the servo lid to the servo motor bracket.
![]()
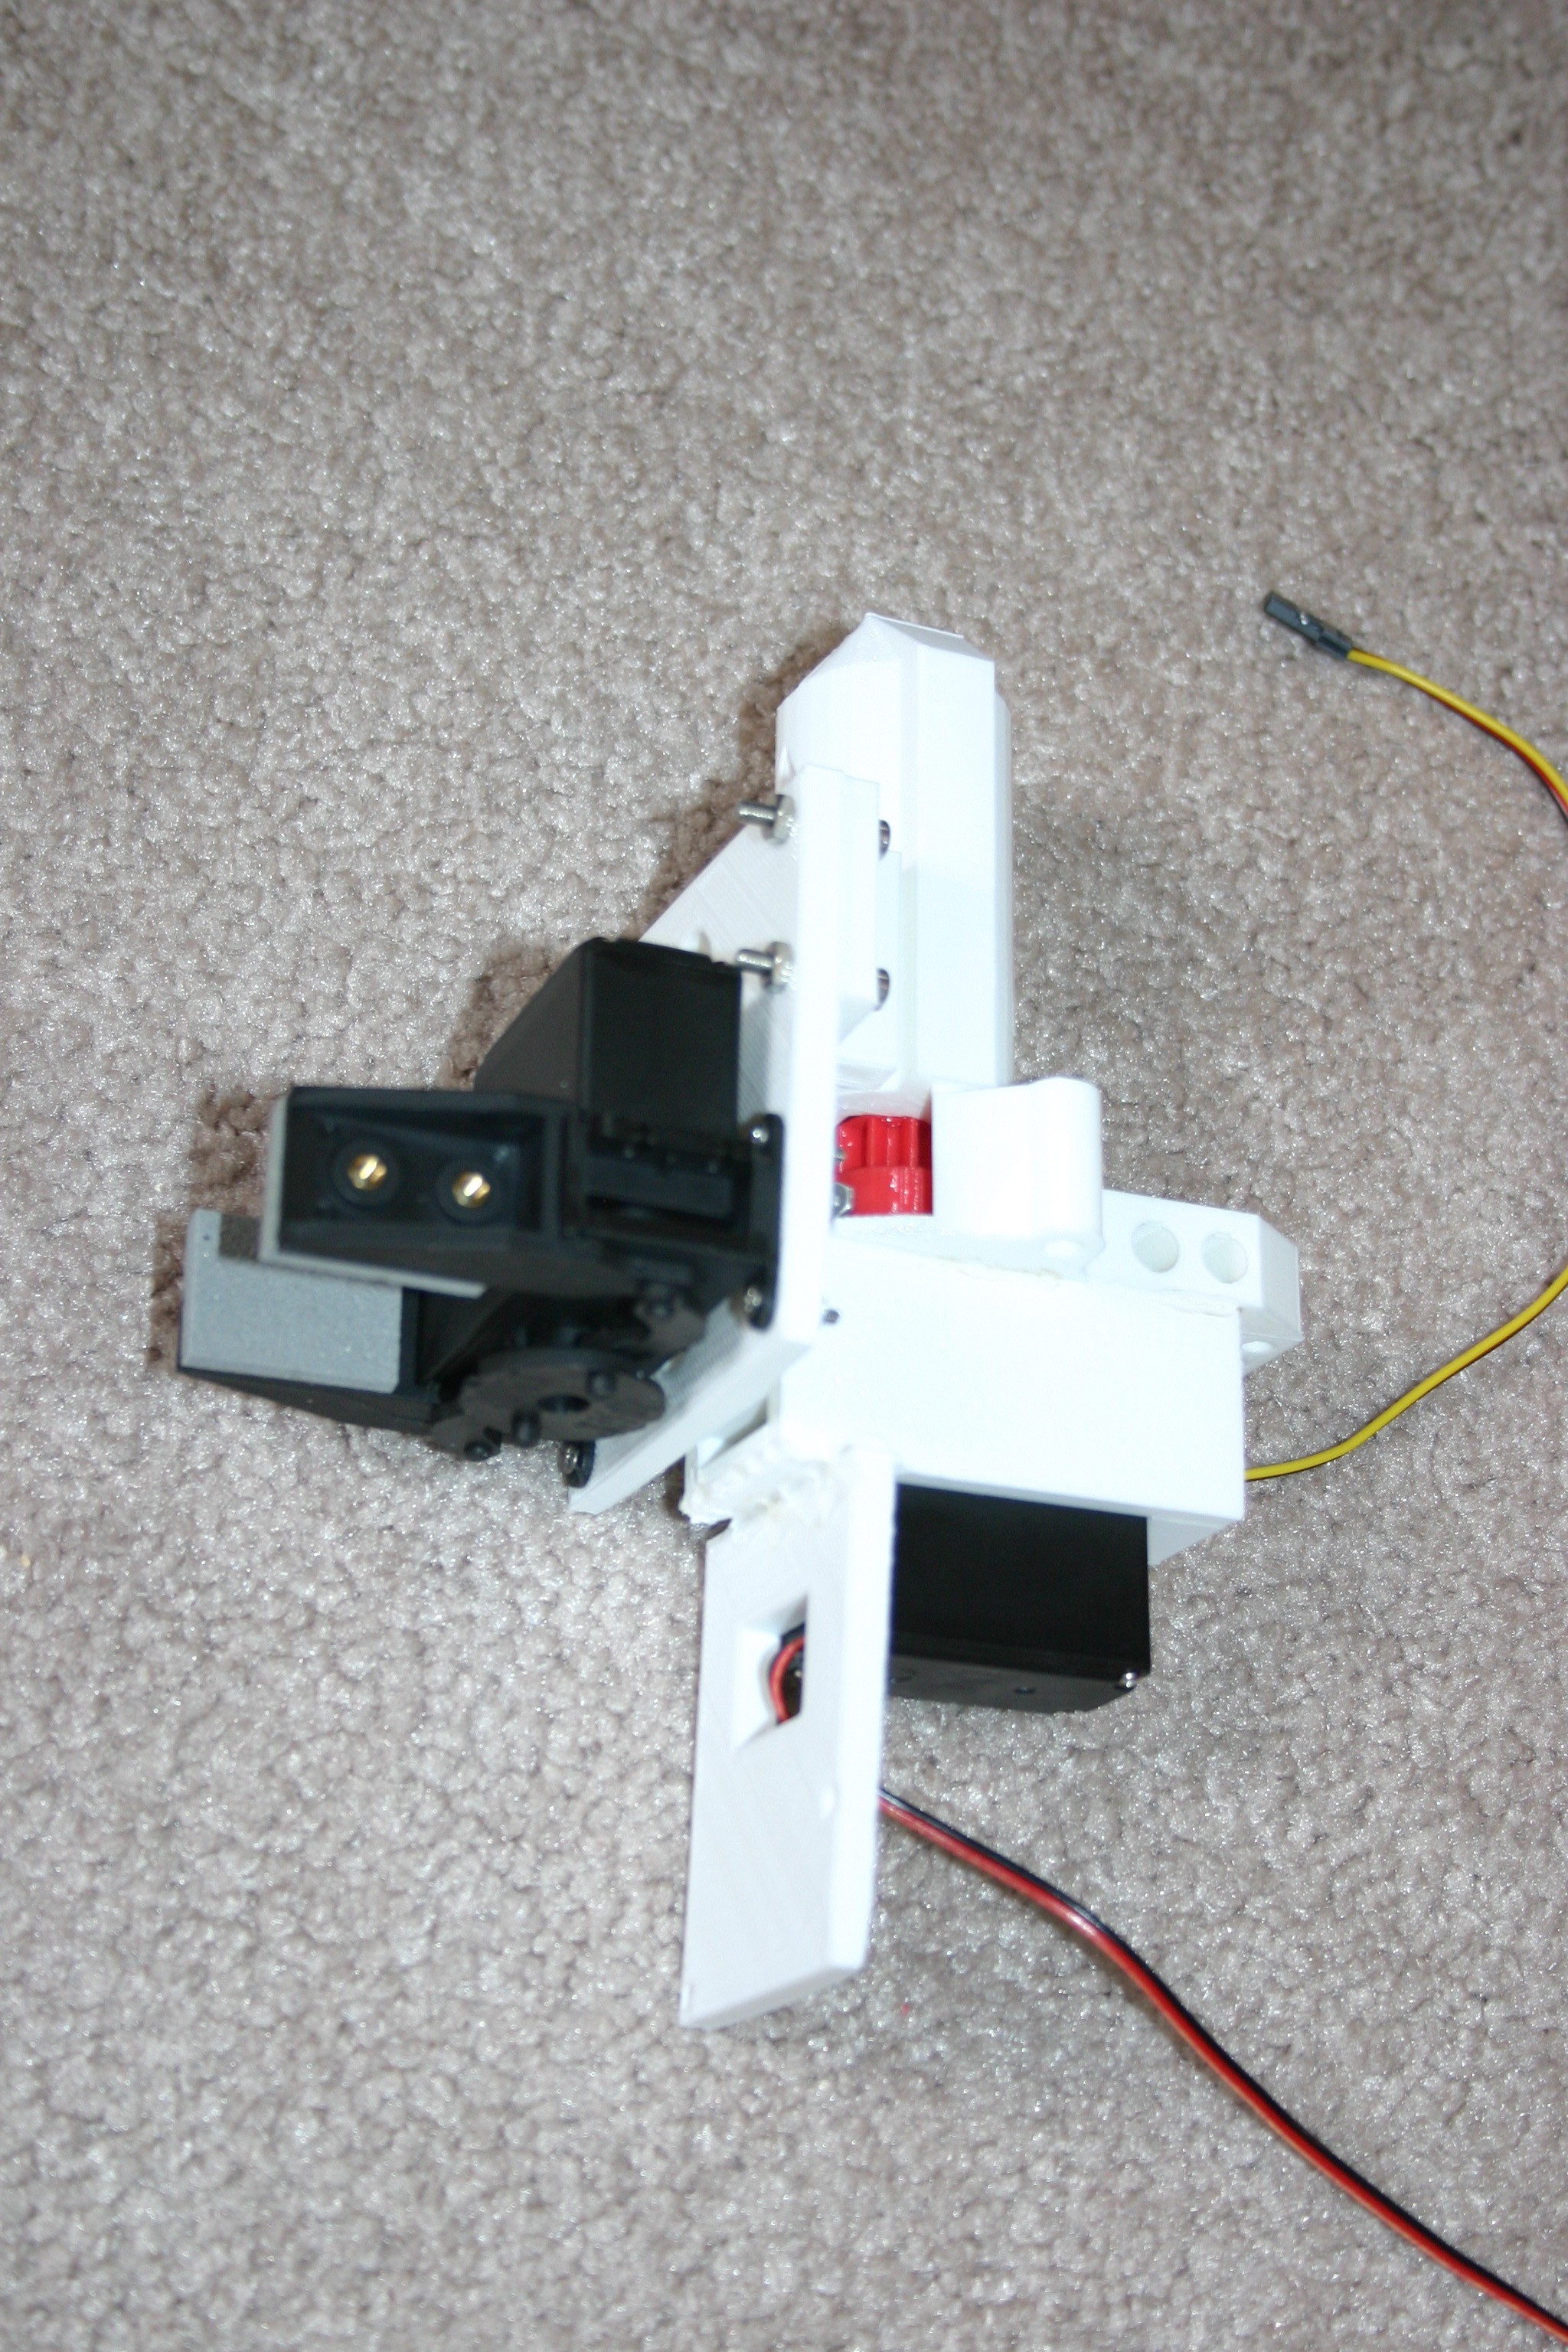
Melt (or glue) the ping holder to the bottom of the servo bracket--adjacent to the servo motor.
![]()
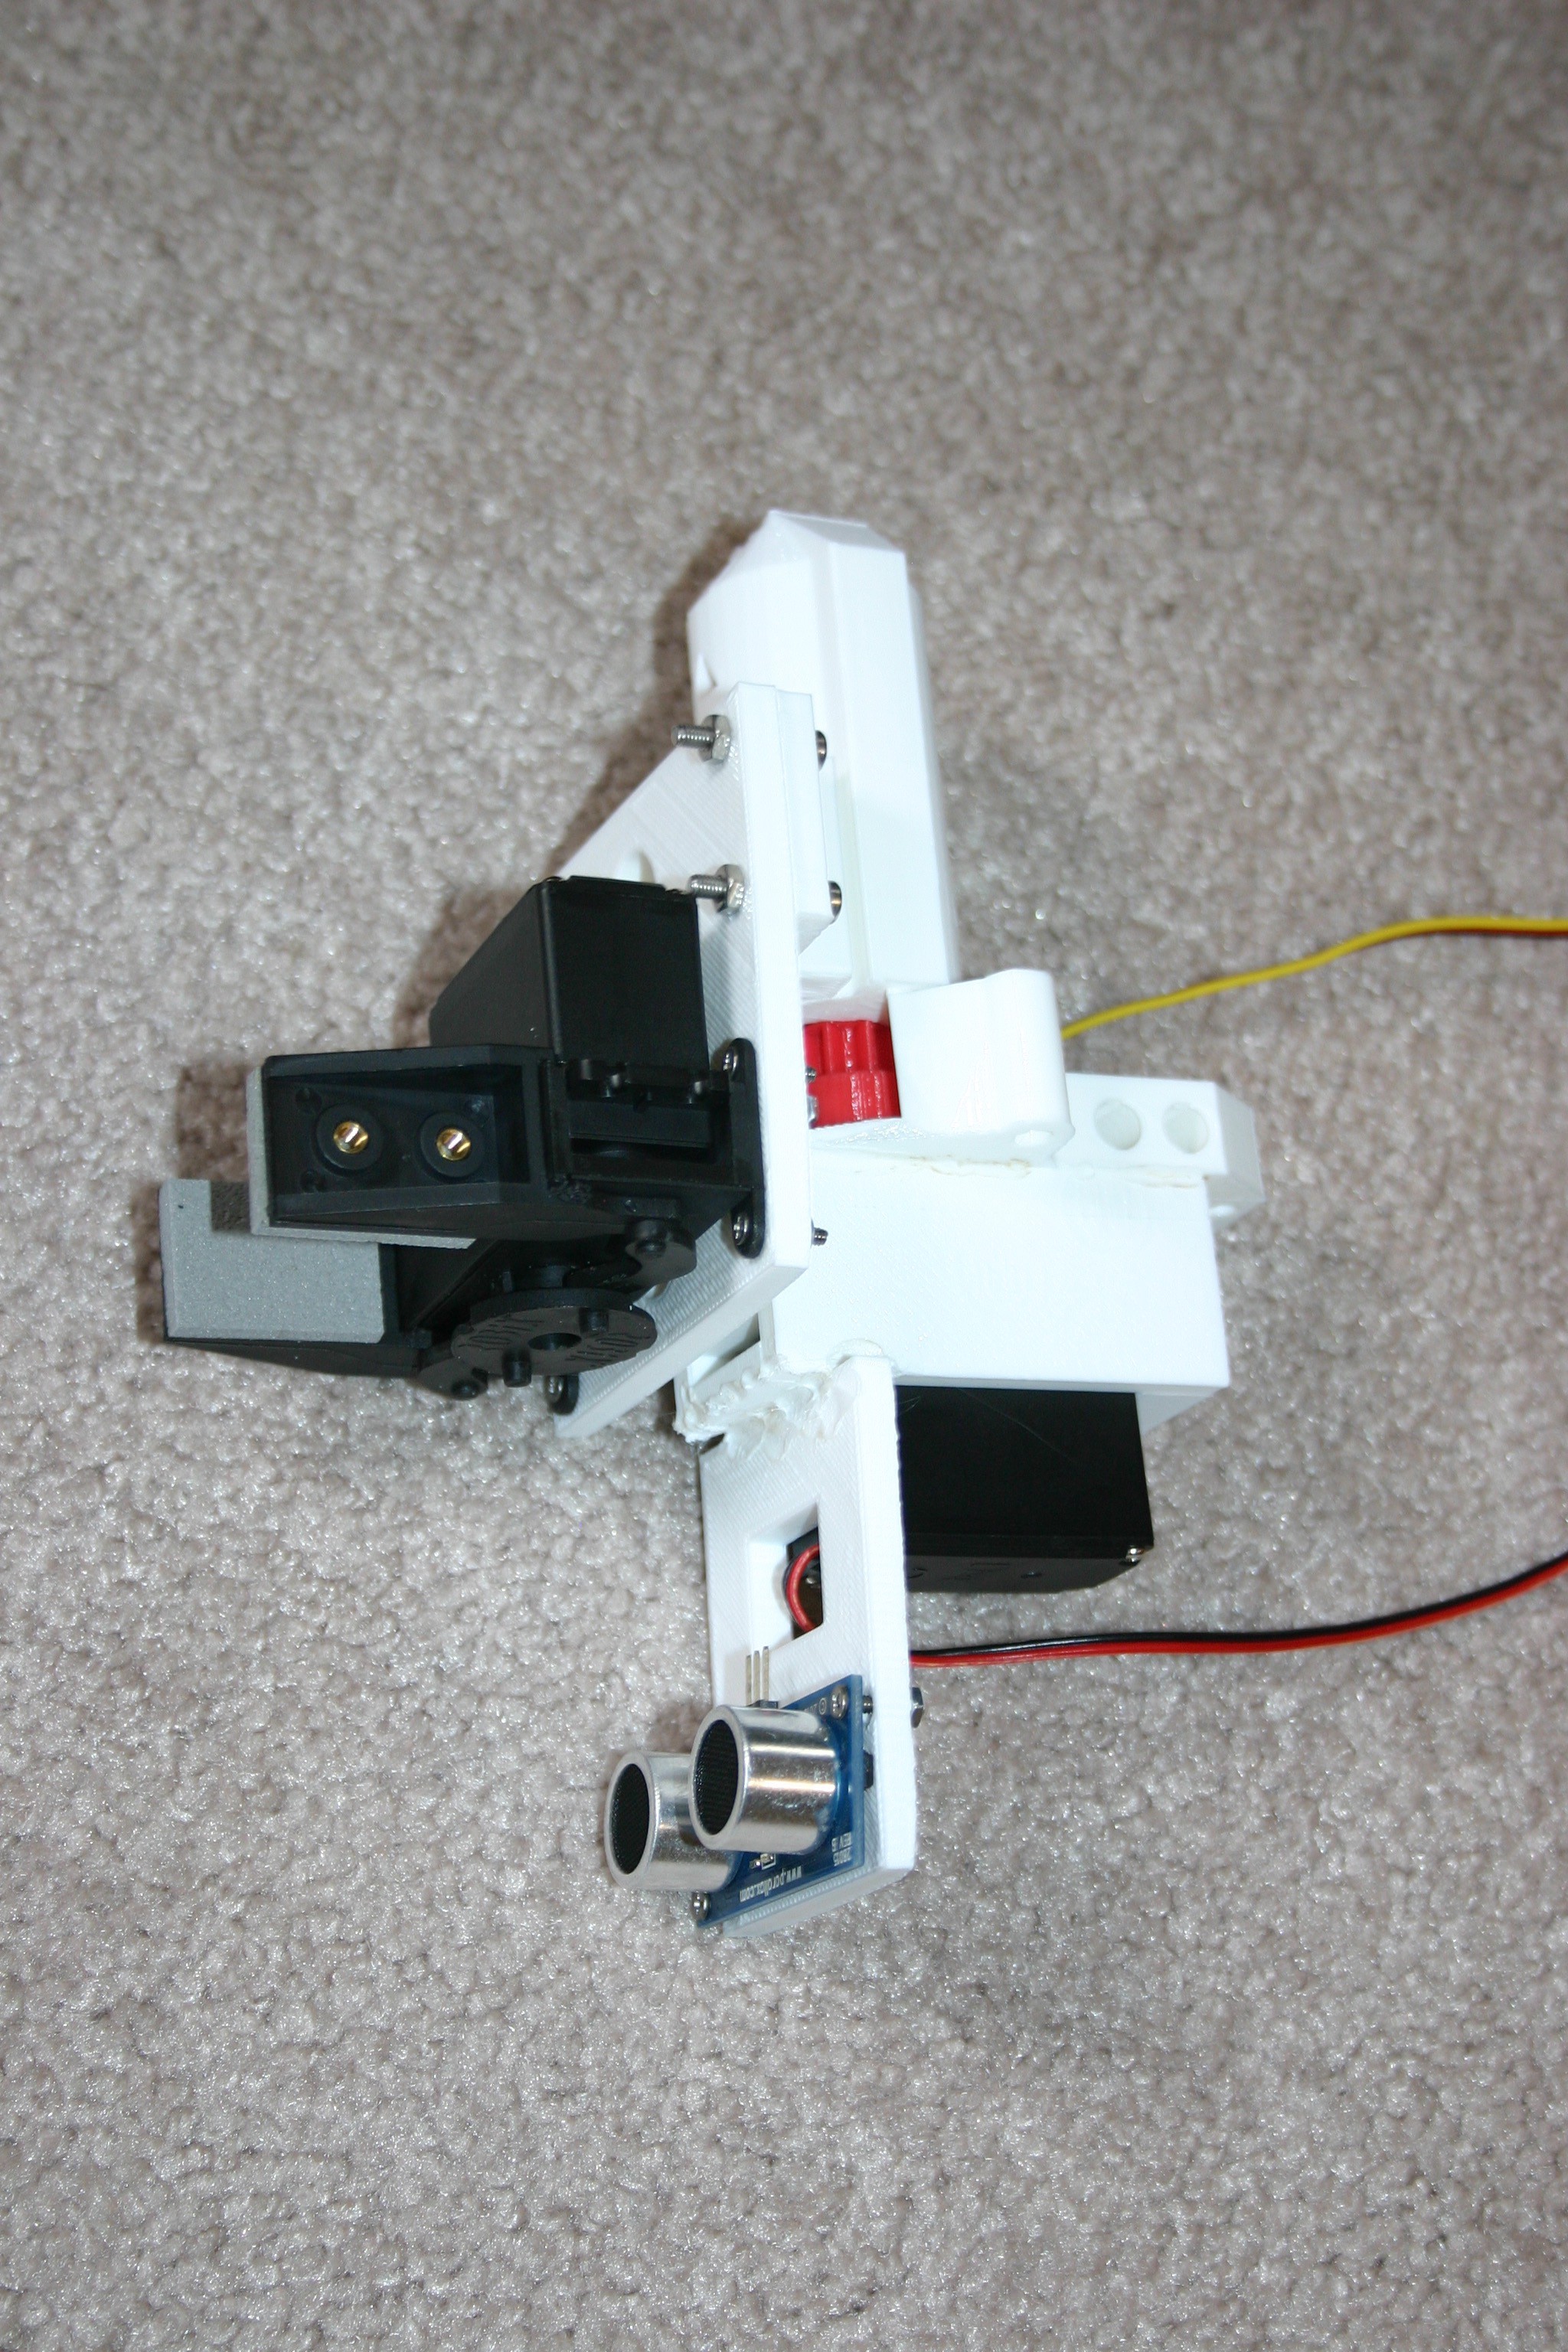
Add the ping ultrasonic detector to the bracket.
![]()
The lifter assembly is now ready for attachment to the body.
-
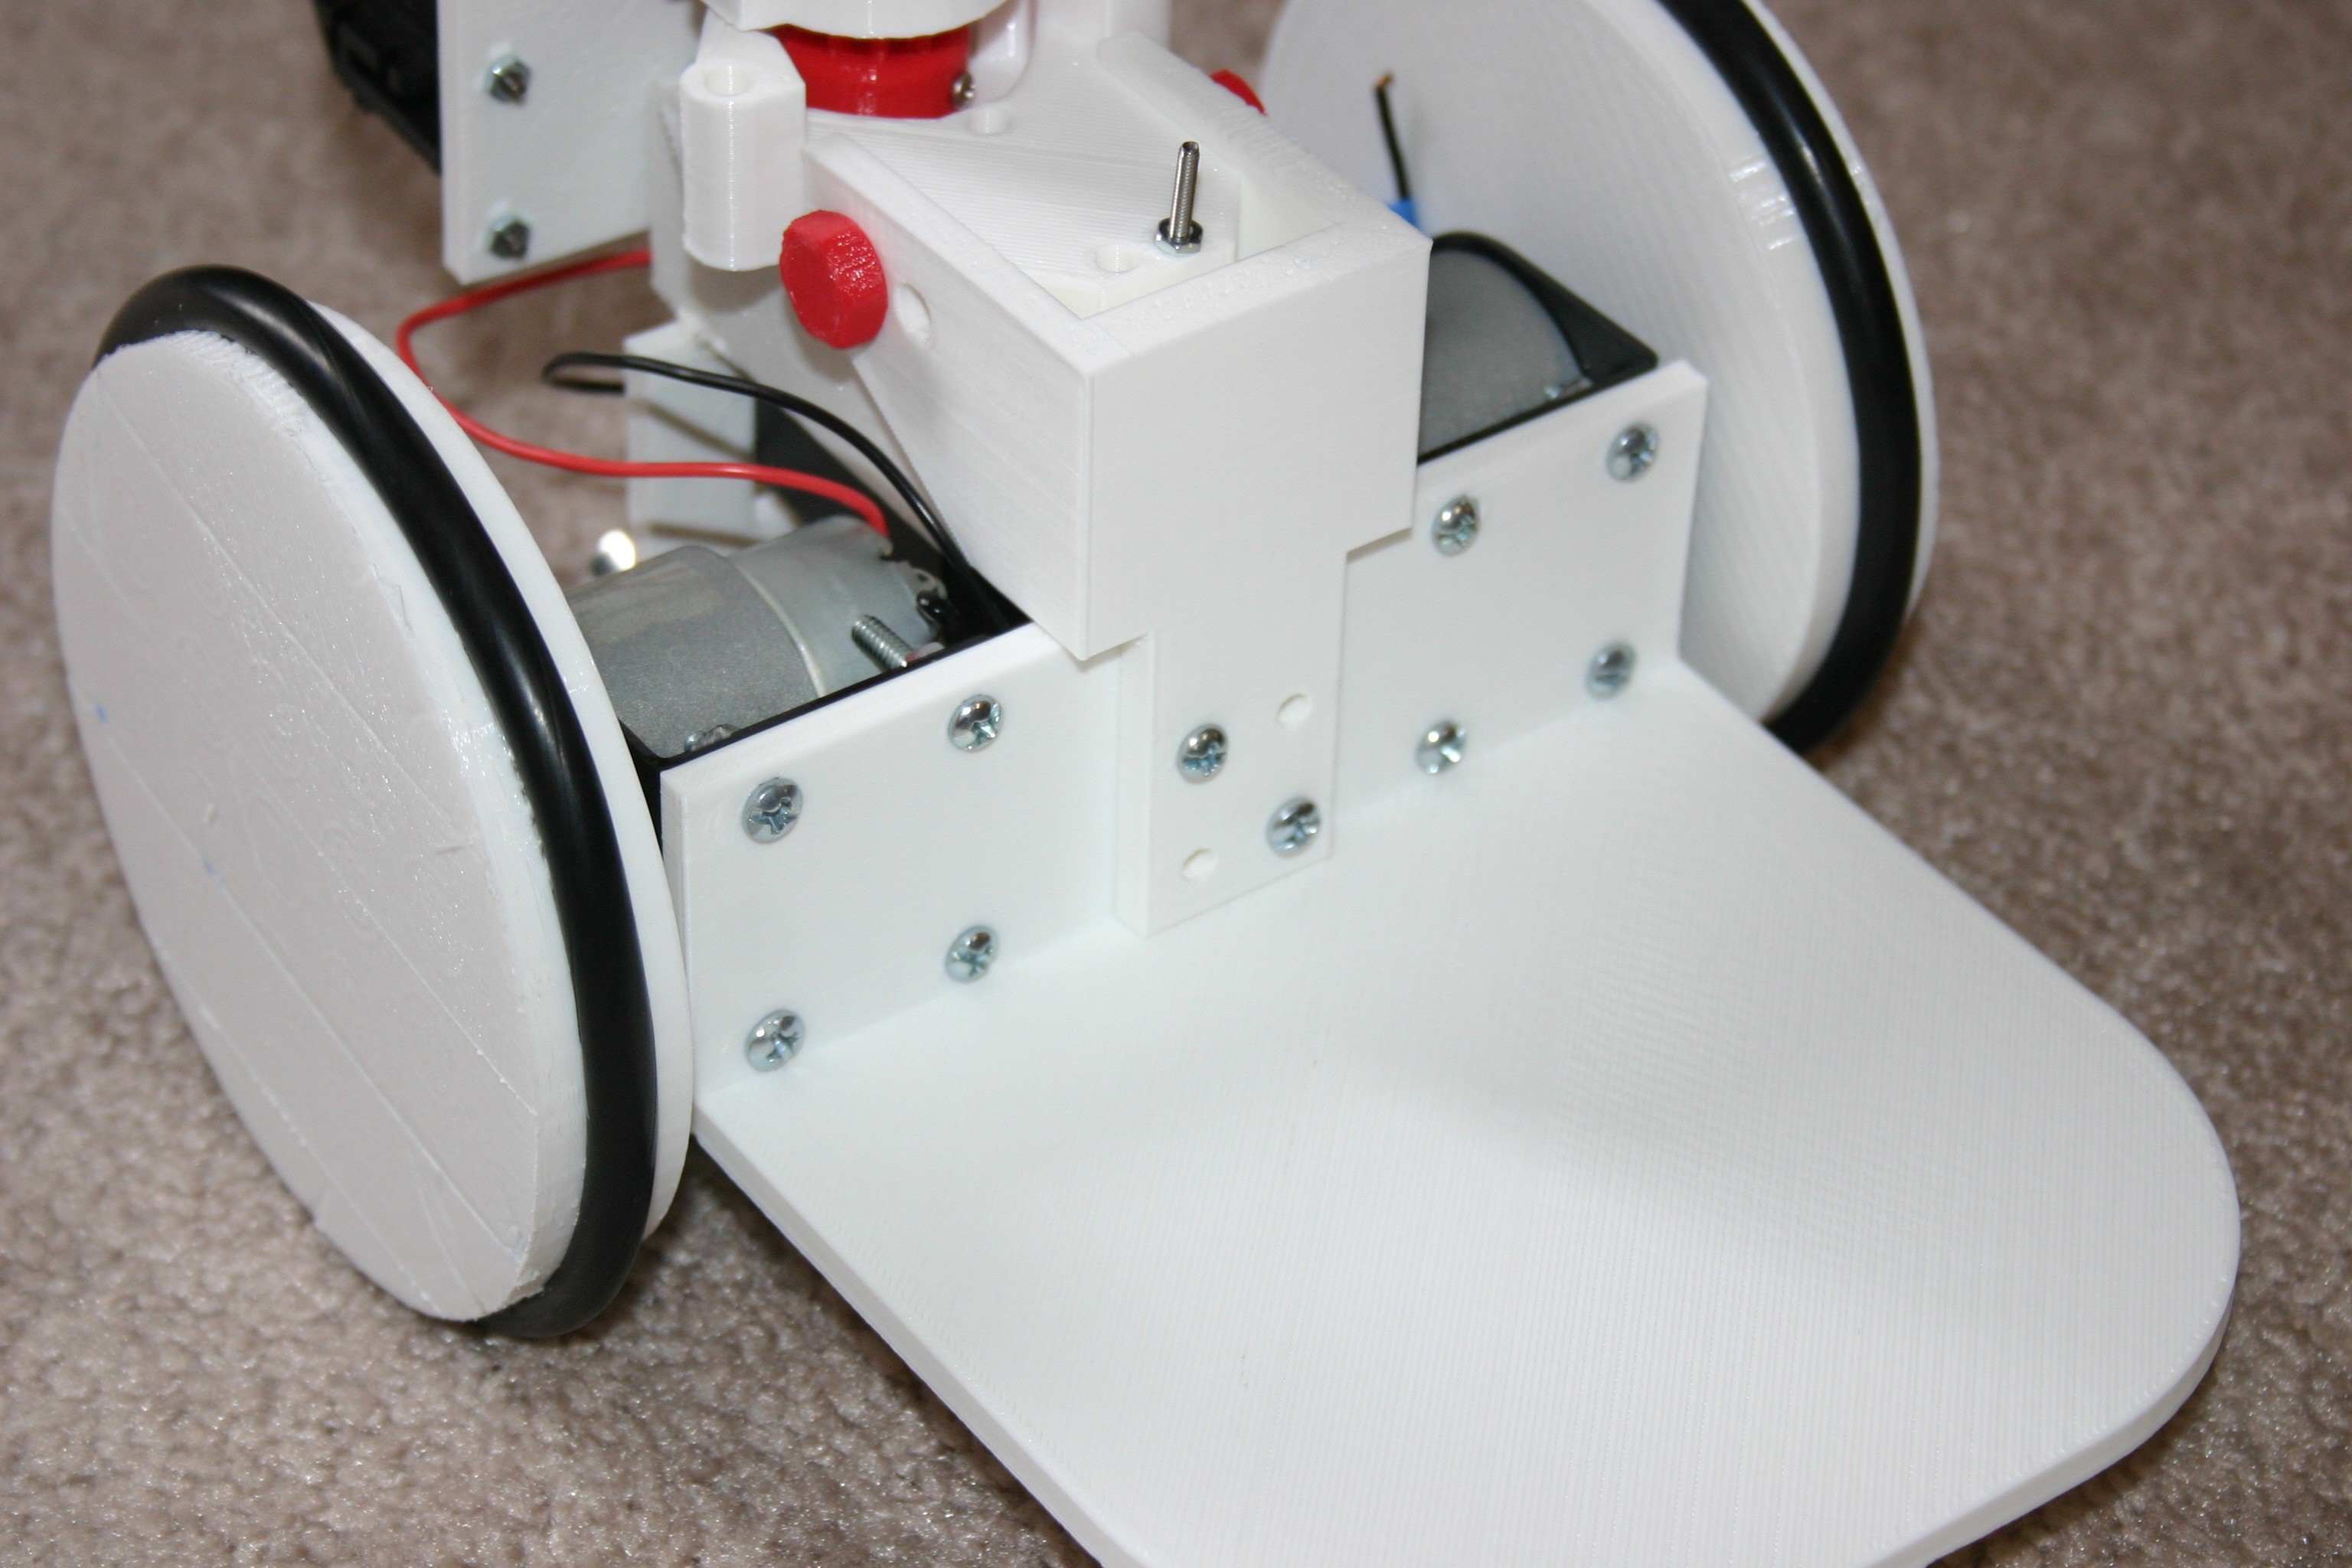
Body
09/21/2016 at 17:18 • 0 commentsPrint one body and two wheels. Attach the motor brackets and motors to the body. Use the vacuum belts on the wheels as tires.
![]()
-
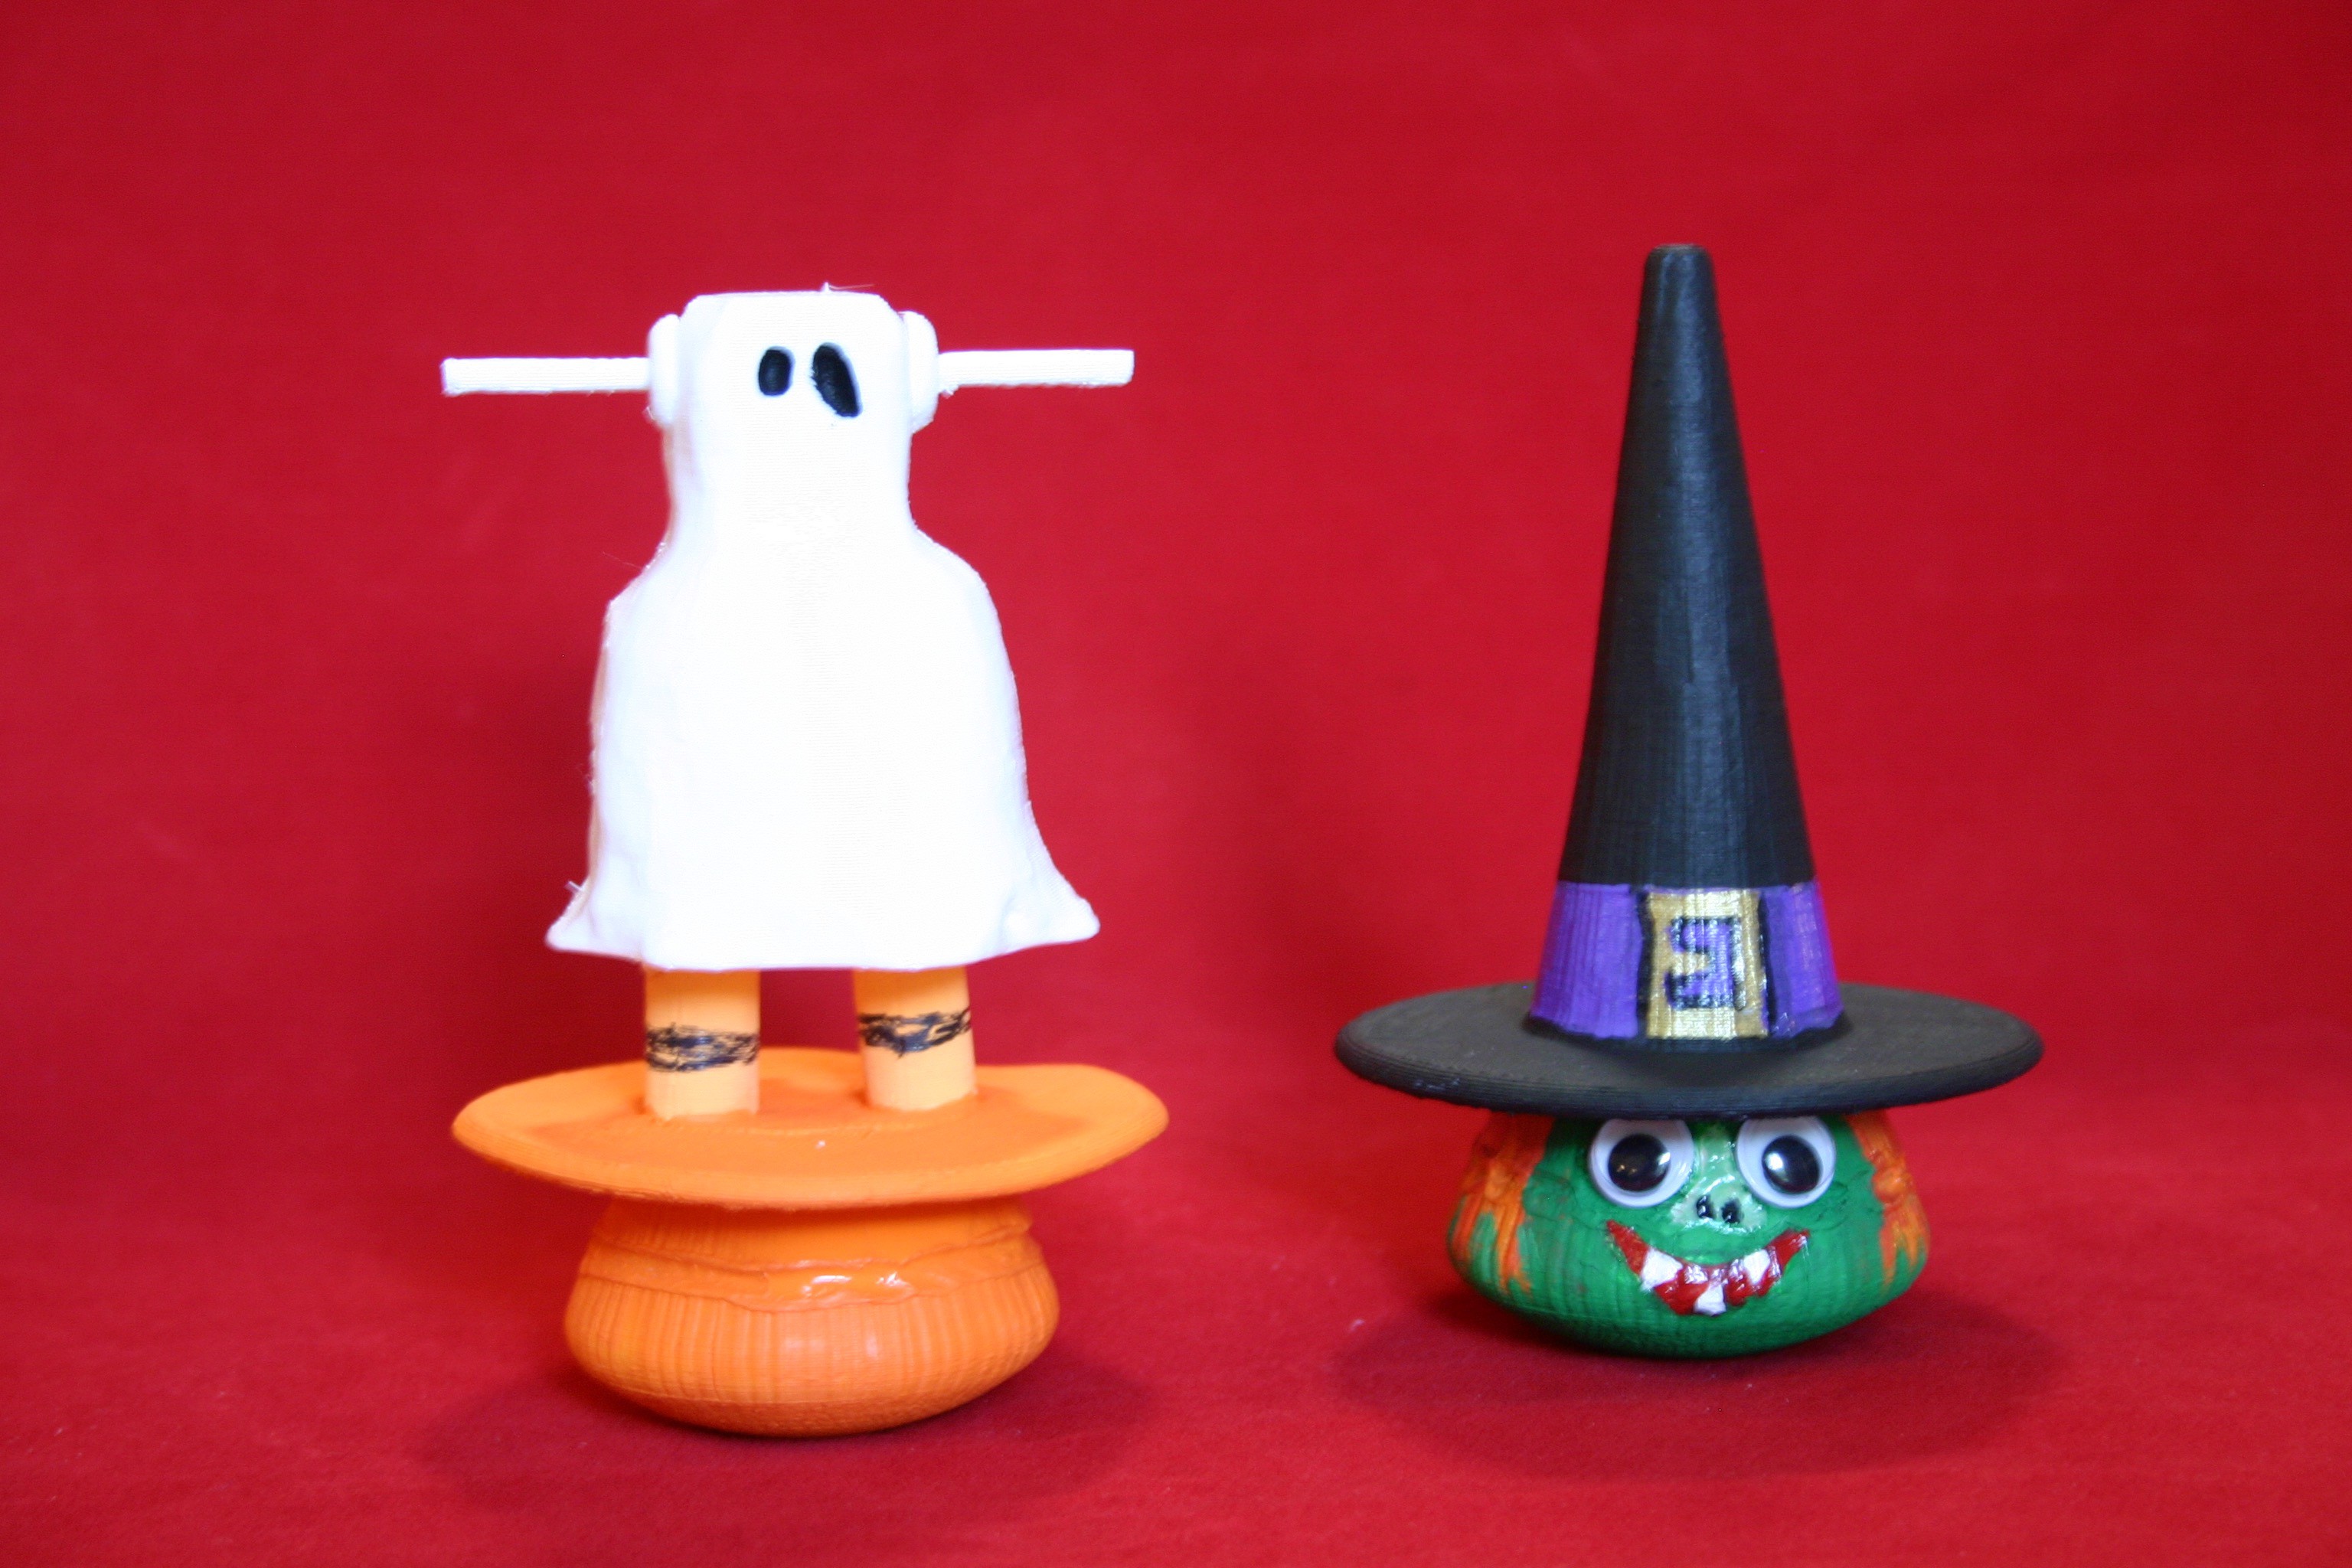
Thing
09/20/2016 at 18:49 • 0 commentsHigh on the list of challenges was designing a "thing" that would land upright and be capable of being grabbed by a claw. Once I started, several things were created.
Two particular creatures took on a Halloween mode.
![]()
Full details can be found here, and the print files are included on this site.
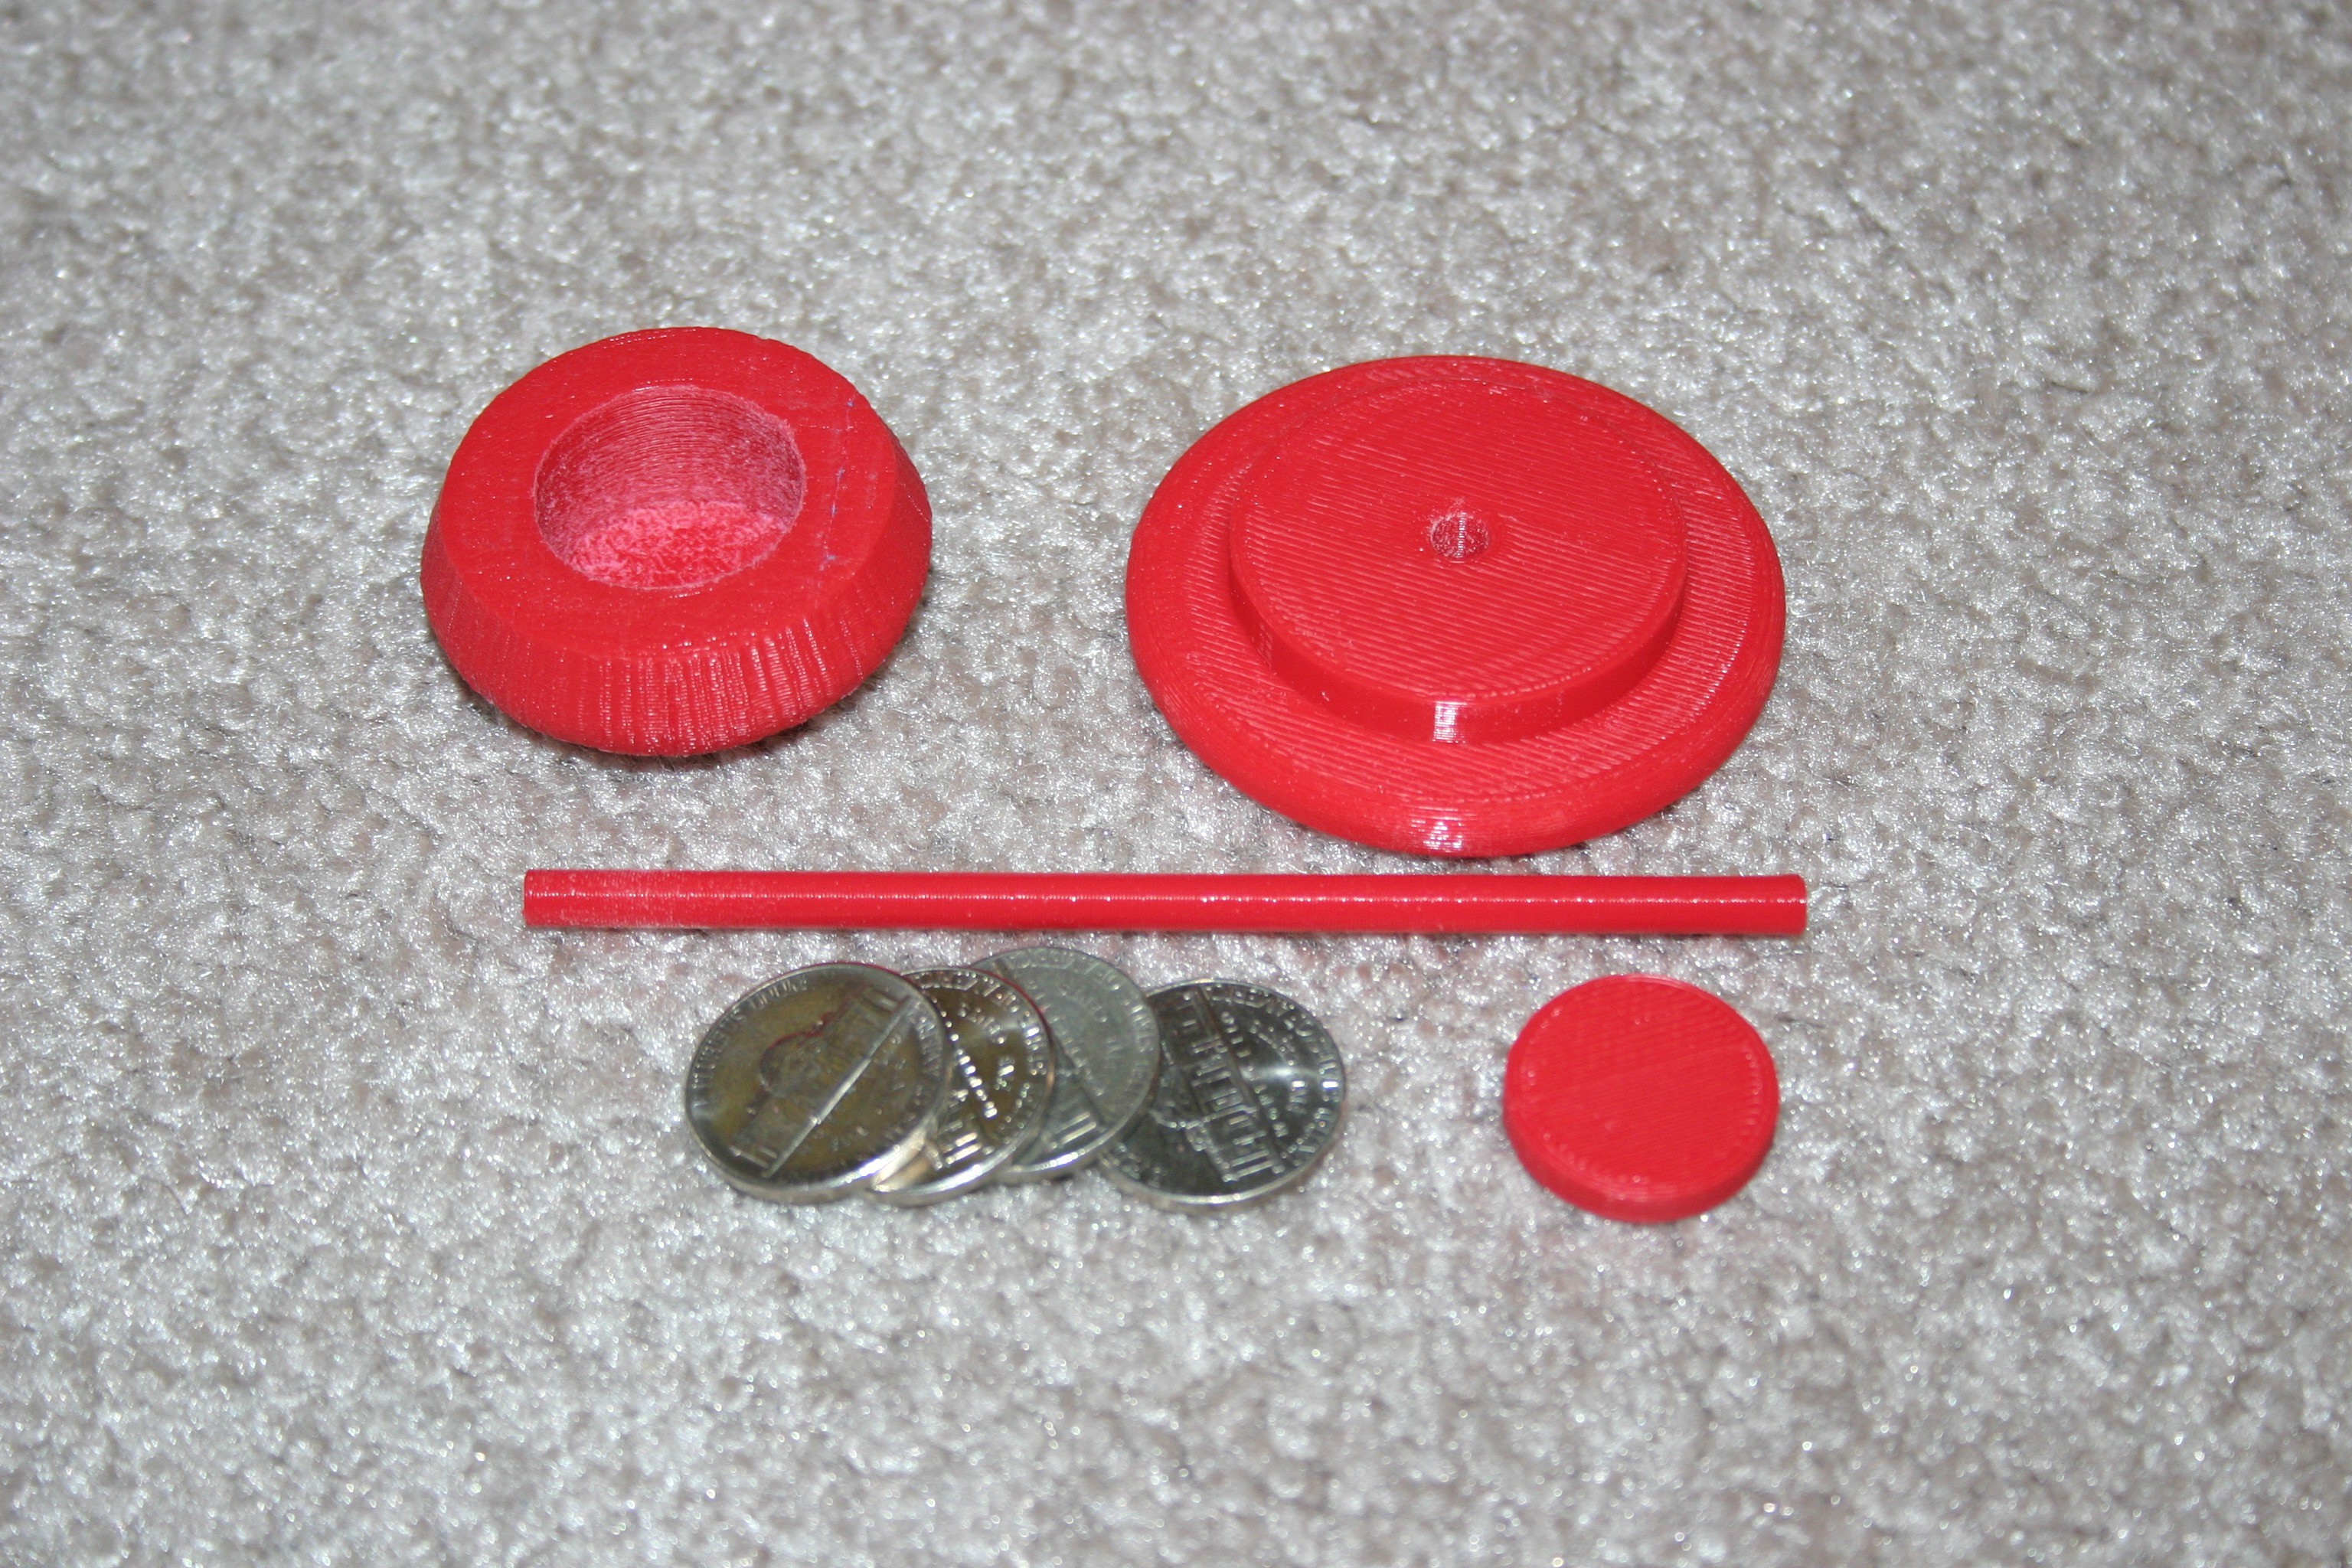
The less attractive, but more workable (for the moment--who knows what I'll end up with) "thing" starts with a few 3d printed pieces and four US nickels.
![]()
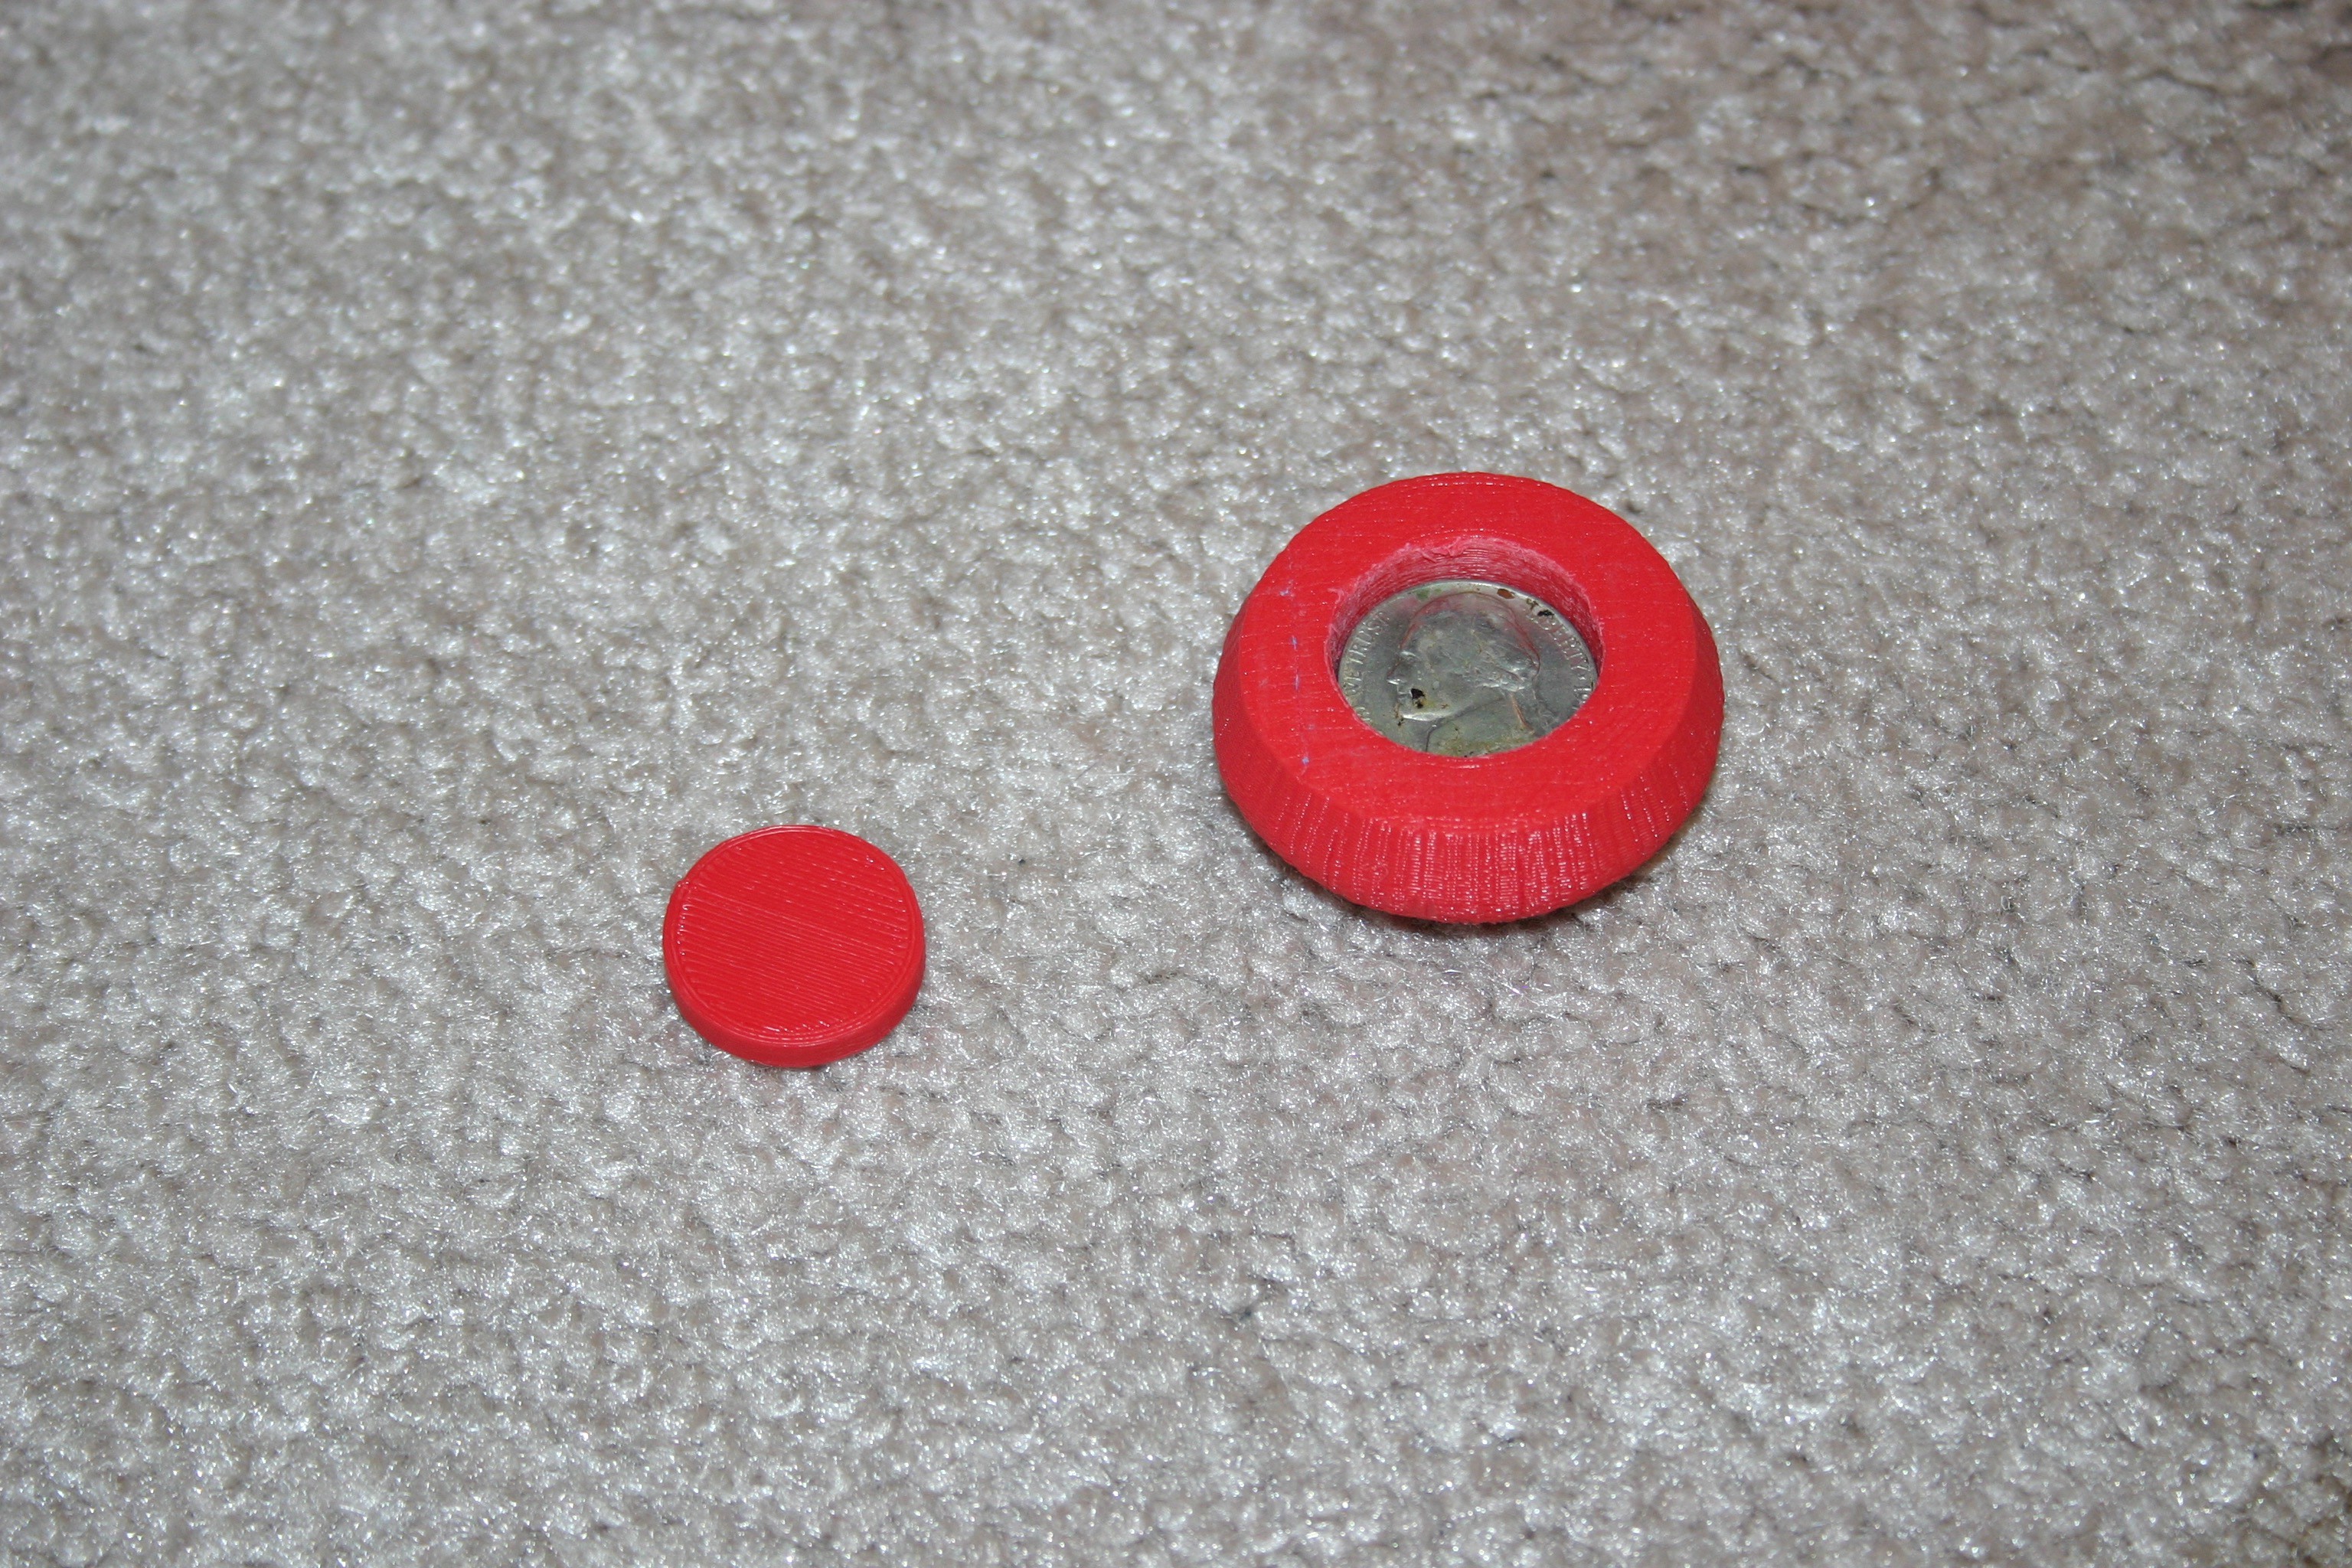
Place the nickels in the bottom piece (printed at 85% scale and 100% fill).
![]()
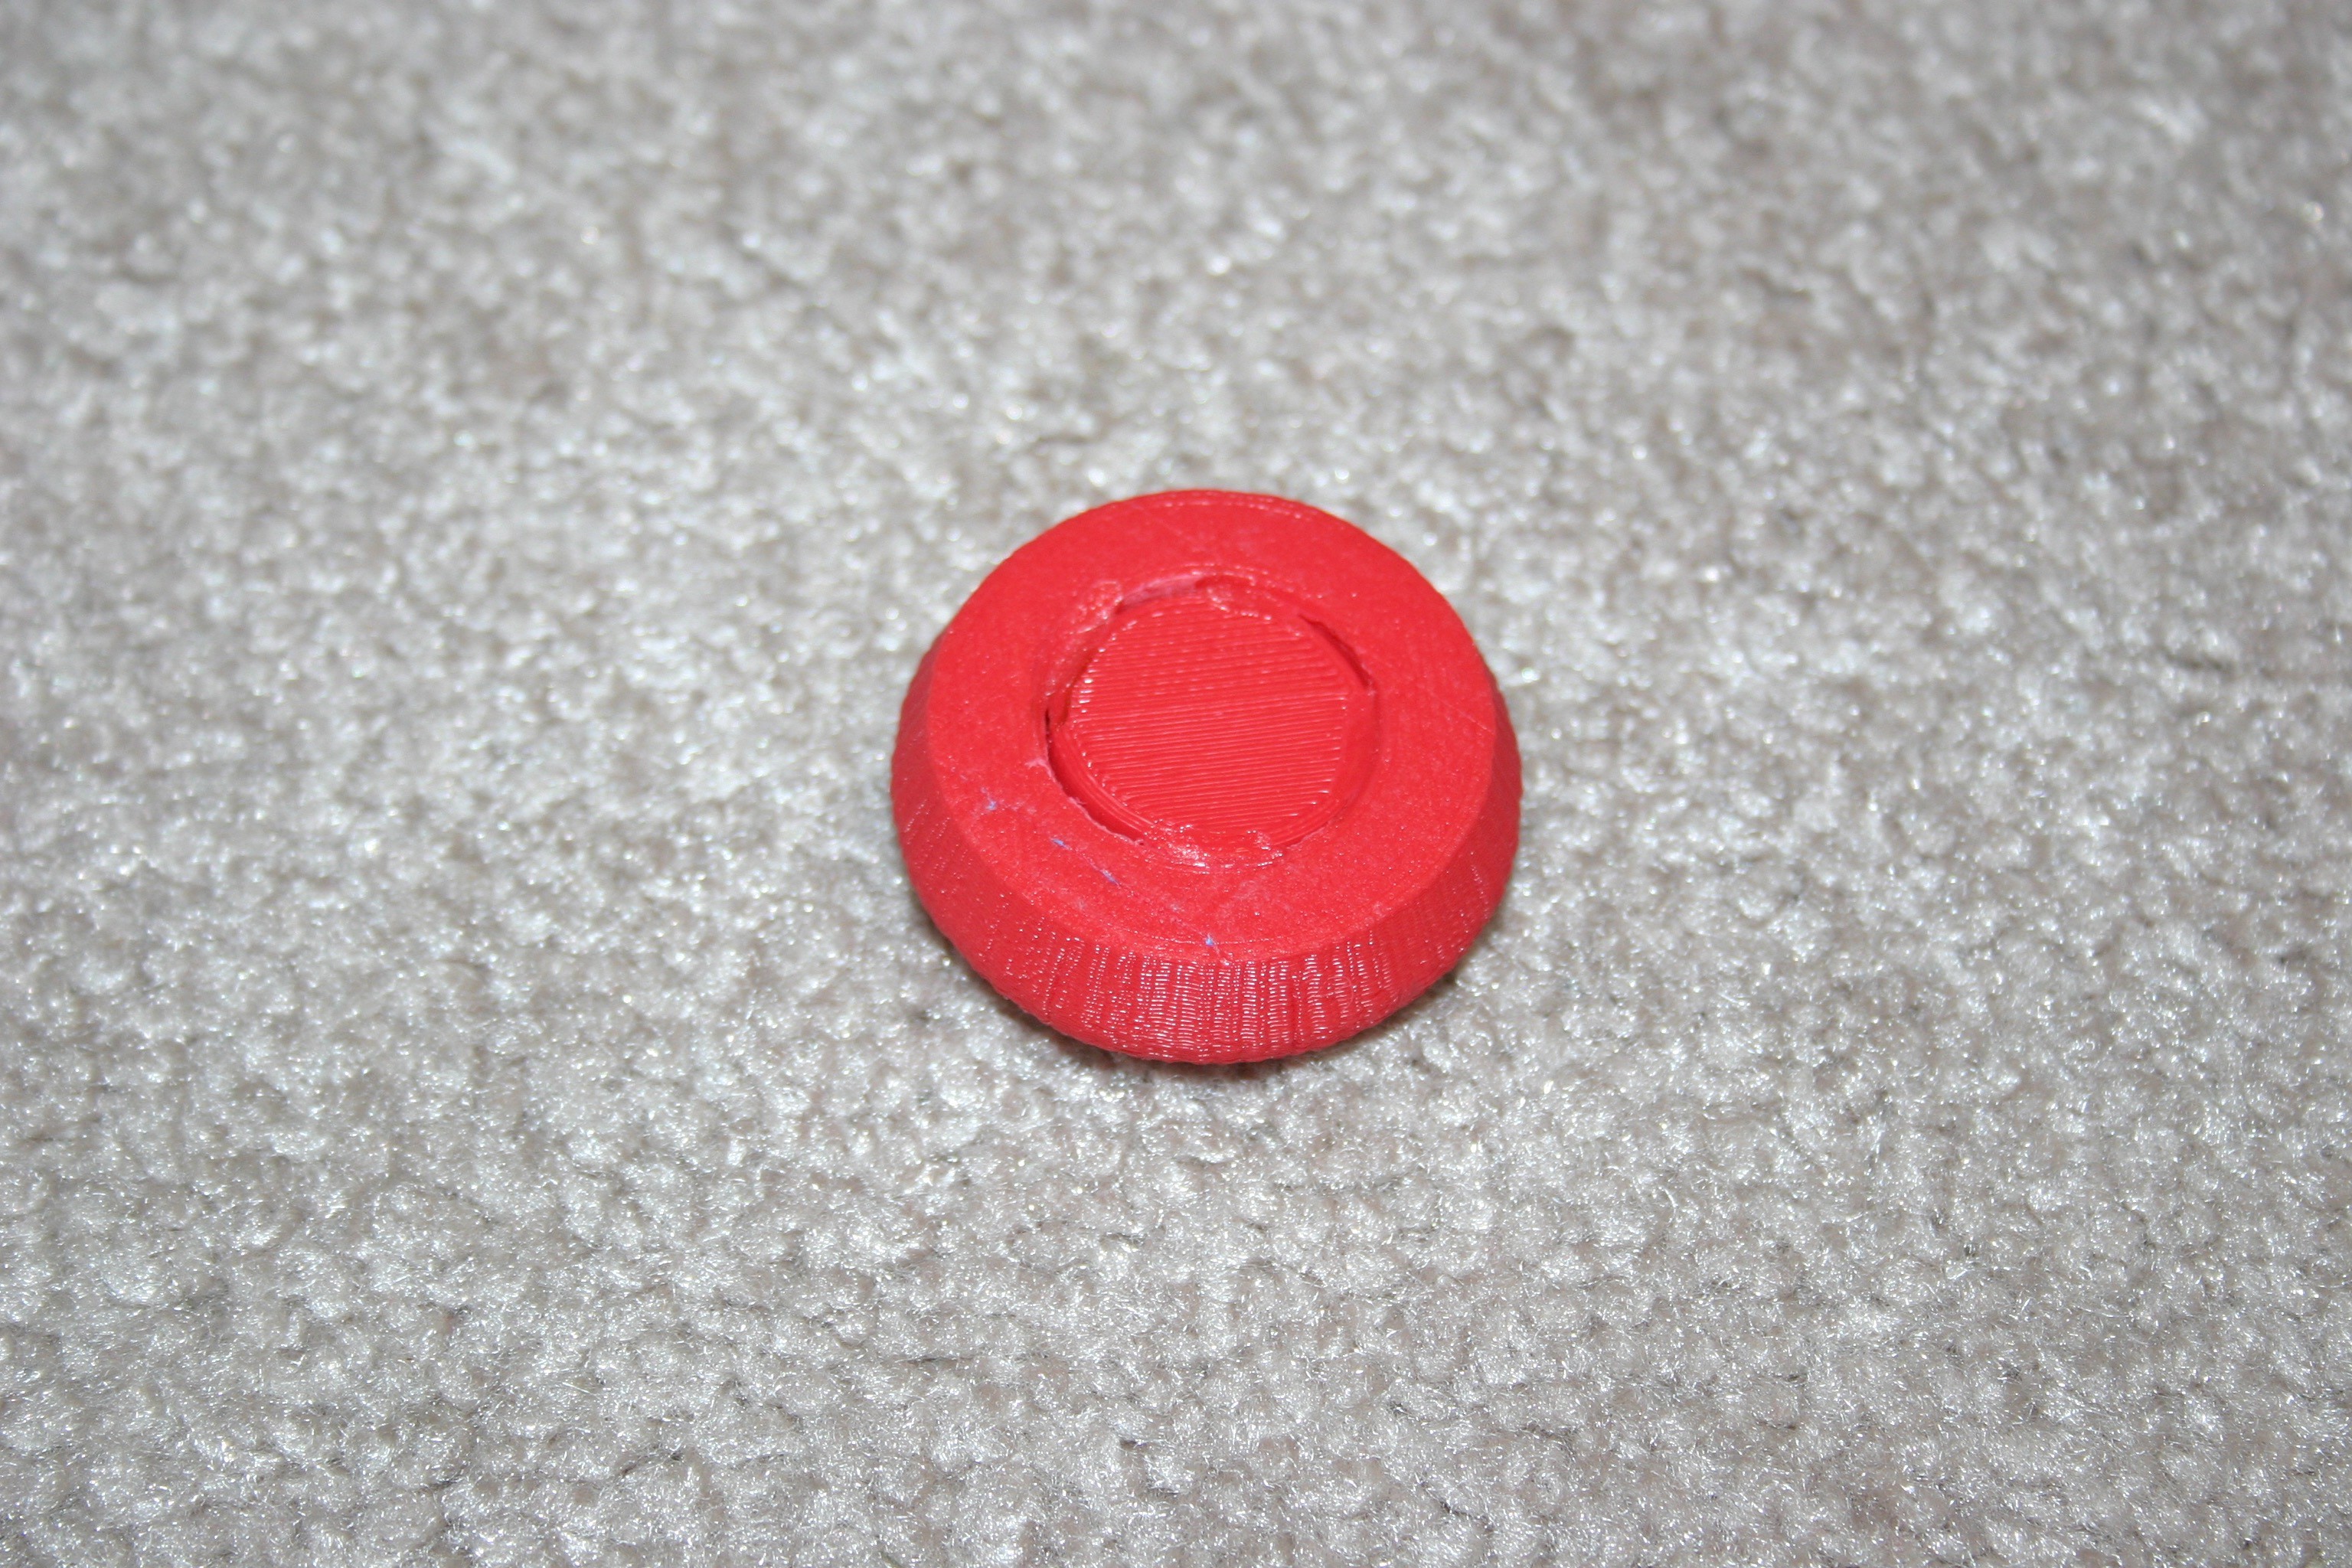
Add the plug (printed at 100% fill).
![]()
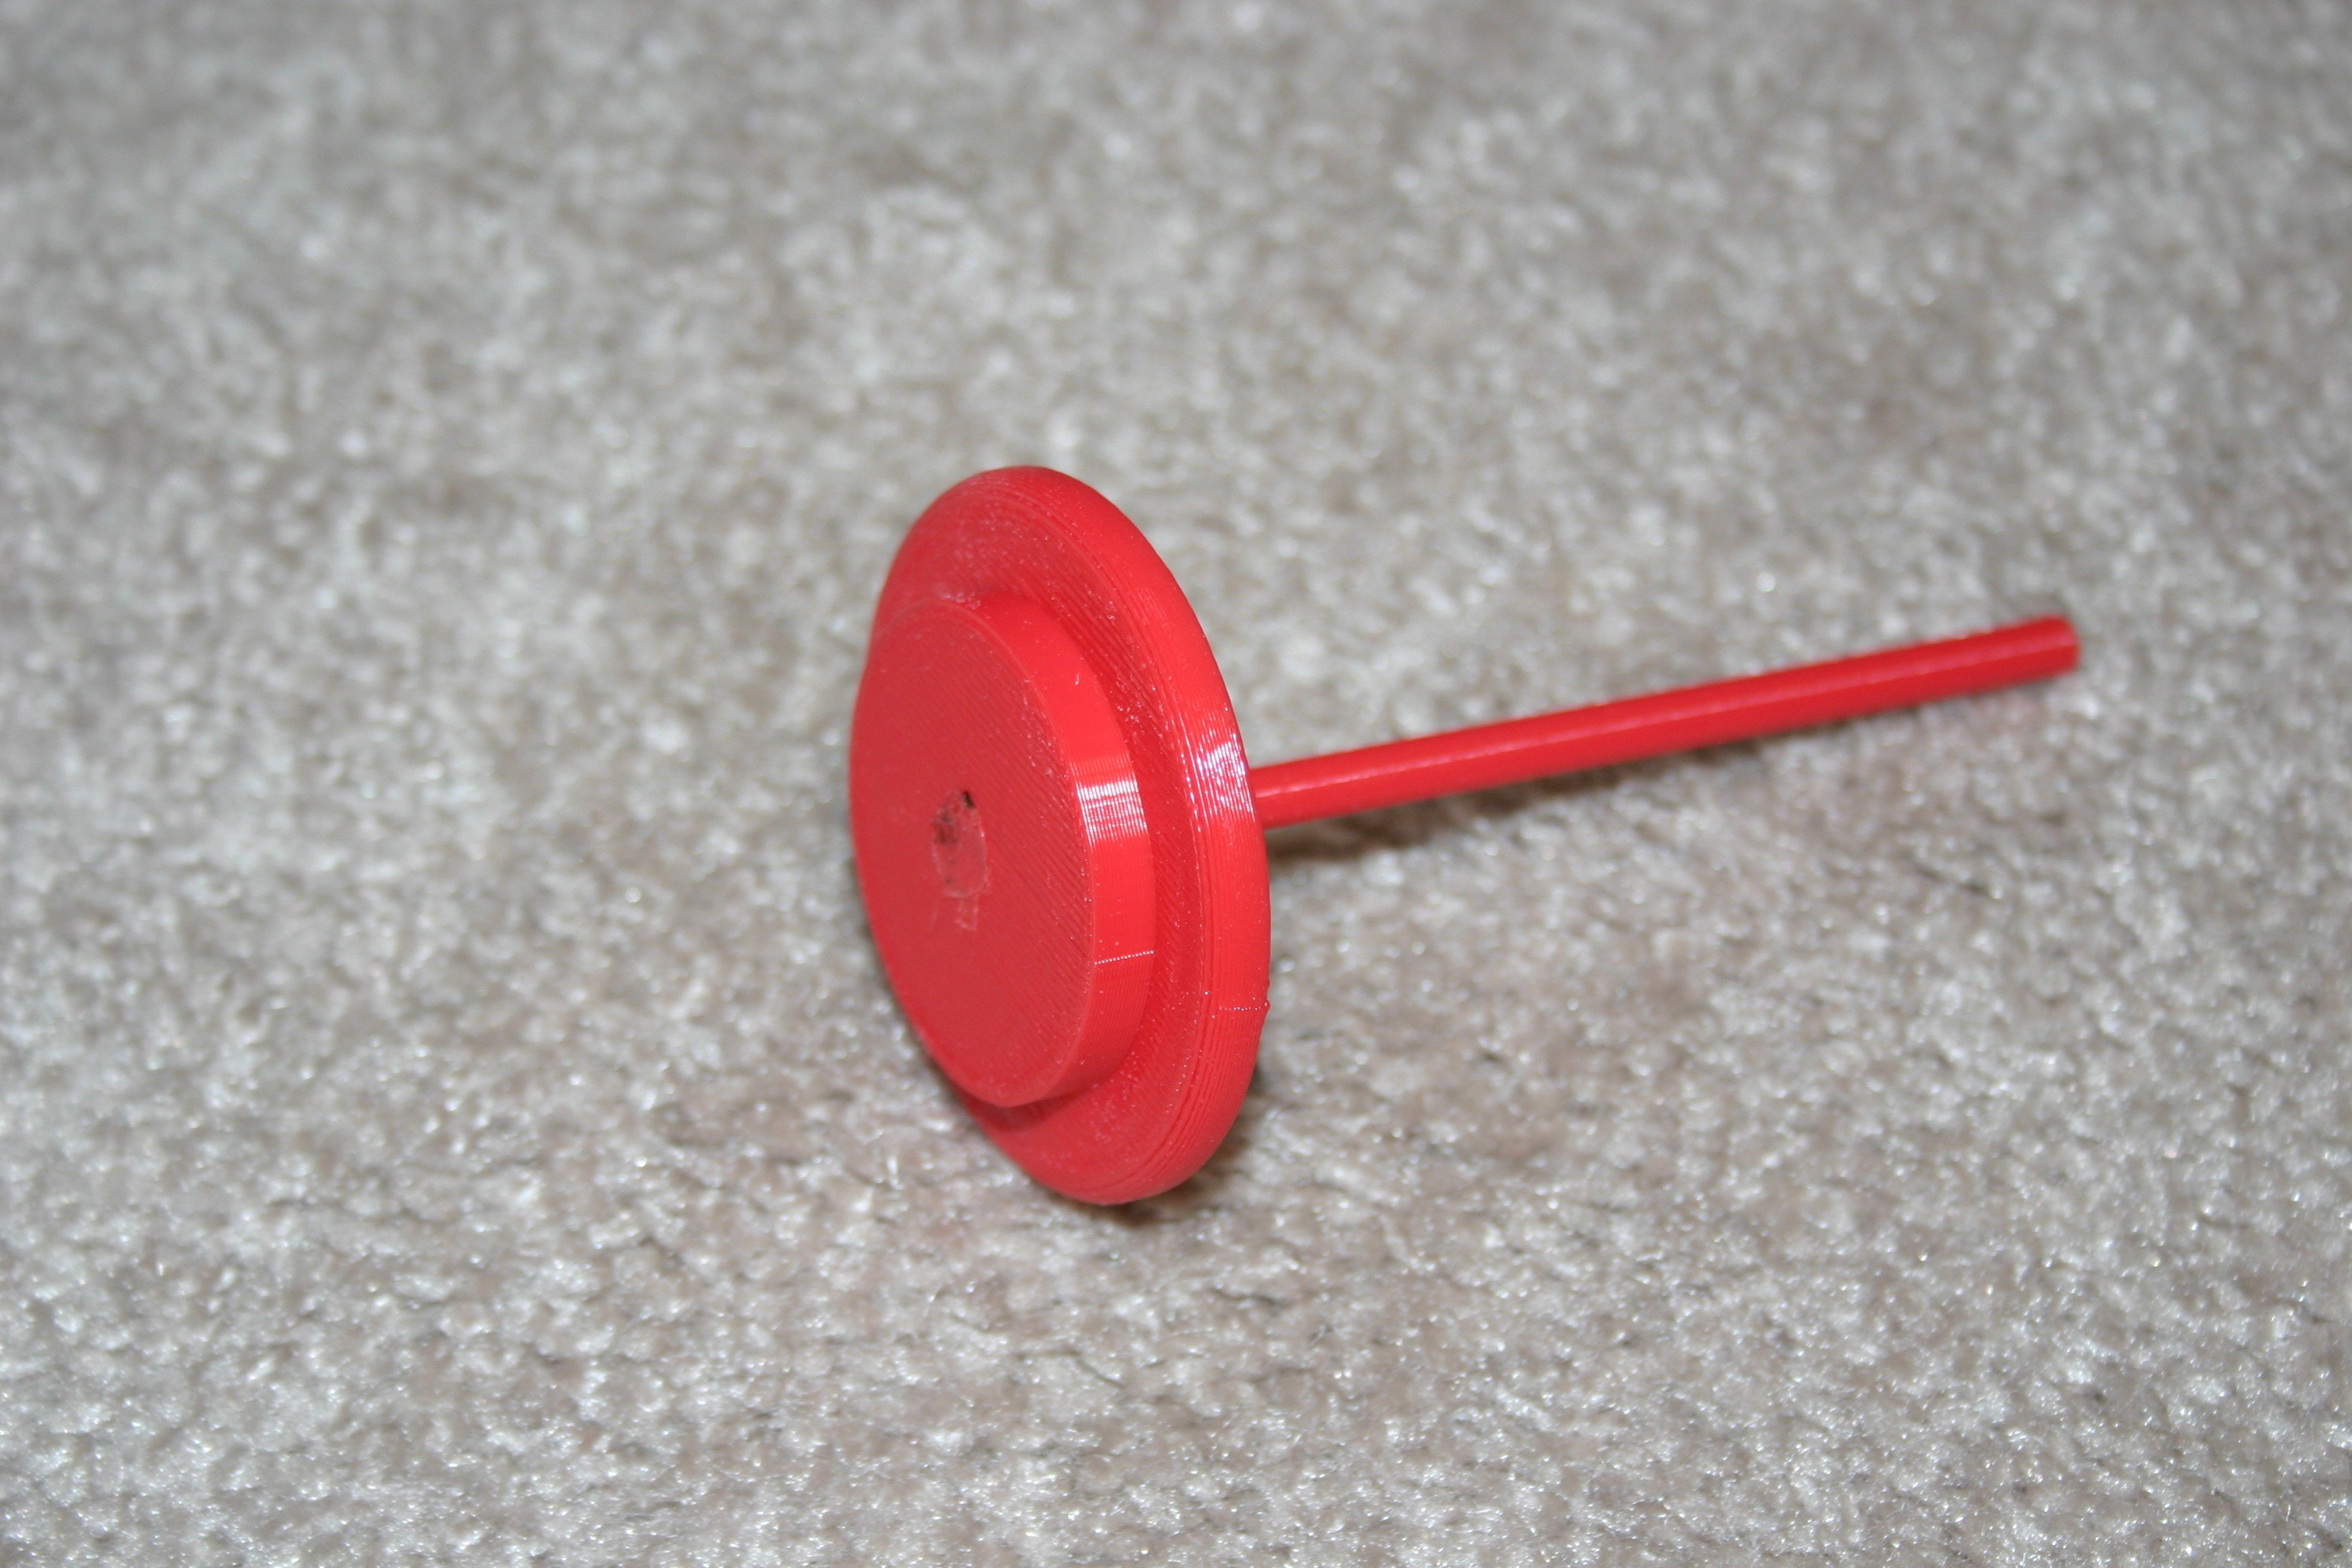
Take the long rod (printed at 10% fill on a raft) and place it inside the rings (printed at 10% fill). Melt the rod to the rings using a soldering iron (or glue with superglue).
![]()
Melt (or glue) the top to the bottom.
![]()
This "thing" will always land rod side up.
Pretty Useless Machine
Fling the thing with a catapult, find it, bring it back, repeat.