Here is a video of how the Teensy works with the Prop Shields 9dof sensors and wireless XBee communications:
My goal for this project was to use off the shelf components to build a real-time rocket altimeter on steroids at a reasonable price.
To make the experience fit your profile, pick a username and tell us what interests you.
We found and based on your interests.
Here is a video of how the Teensy works with the Prop Shields 9dof sensors and wireless XBee communications:
Teensy32pinout_rev1.pdfAdobe Portable Document Format - 477.57 kB - 11/29/2016 at 04:08 |
|
|
xbee-adapter-top.jpgGPS connectionsJPEG Image - 115.87 kB - 11/29/2016 at 03:50 |
|
|
lunar-launch1.csvData file from rocket launch on 11/5/16. This rocket was an AeroTech Arreaux with a G-64 motorComma-Separated Values - 581.83 kB - 11/06/2016 at 21:34 |
|
|
PlaneOrientation_pde.pdeOld Virtual Horizon display for R/C planes - See the github link for the most up to date versionpde - 7.43 kB - 10/02/2016 at 18:36 |
|
|
OrientationXbee.inoOld version of arduino code. This just transmitted orientation information. See the github link for the most up to date firmwareino - 1.12 kB - 09/28/2016 at 03:59 |
|
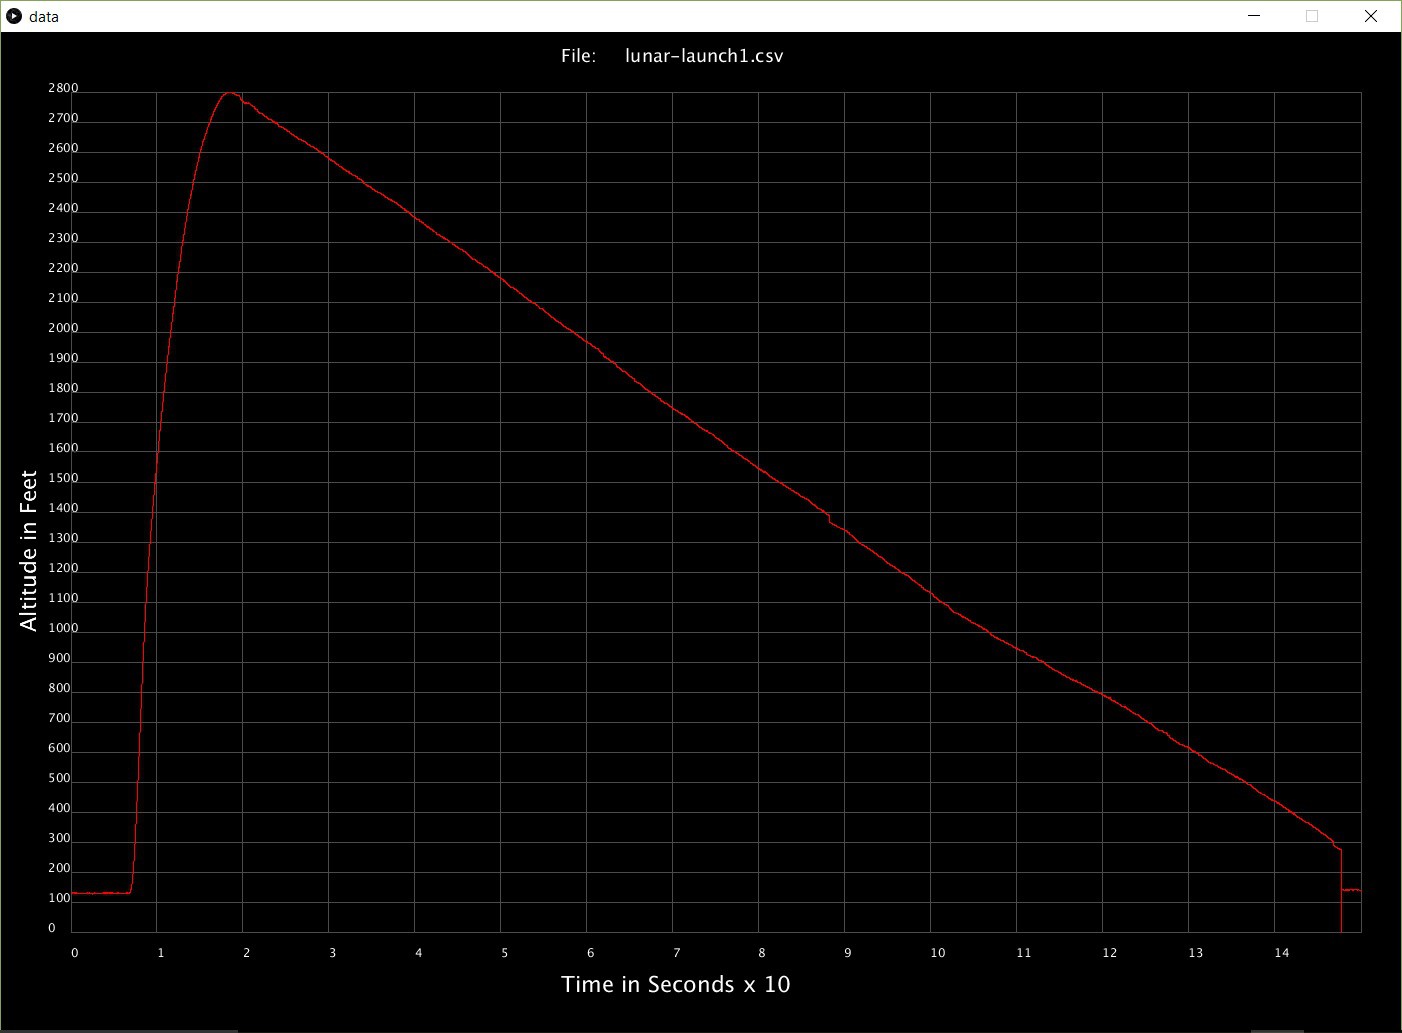
One of the main goals of this 9dof tilt sensor rocket altimeter, was to see if tilt sensing could be used as apogee verification for future chute deployment circuits. Looking back at the data from the successful flight, I was curious to see how closely the altimeter apogee data lined up with the 9dof tilting apogee. Tilting apogee occurred within 2.5 feet elevation in comparison to the altimeter data. It was also within about 0.3 seconds. It looks as if the tilt measurement will be a very good secondary check to confirm reaching apogee, but more test data is needed.
Lunar.org had another rocket launch in December. I attended, with the goal of getting my model rocket high power certification level 1, and also getting more flight data. I did certify on a conservative H238 rocket motor installed in a Mad Cow fiberglass 2.6" Black Brant II rocket to an estimated 1700 feet. So I am now allowed to fly and buy H and I motors.
I had issues getting my altimeter to communicate prior to any of my flights. (I have since gotten them to communicate,and it looks like it was due to me not using the correct version of arduino code, and processing code). I then put my Altus EasyMini altimeter in my Aerotech rocket. The electronics karma was not not with me that day, and the 2700 ish foot flight showed up as a mere 431 foot high flight, with some very strange acceleration graphs. I believe I may have had a loose connection on the battery circuit, and it rebooted mid flight.
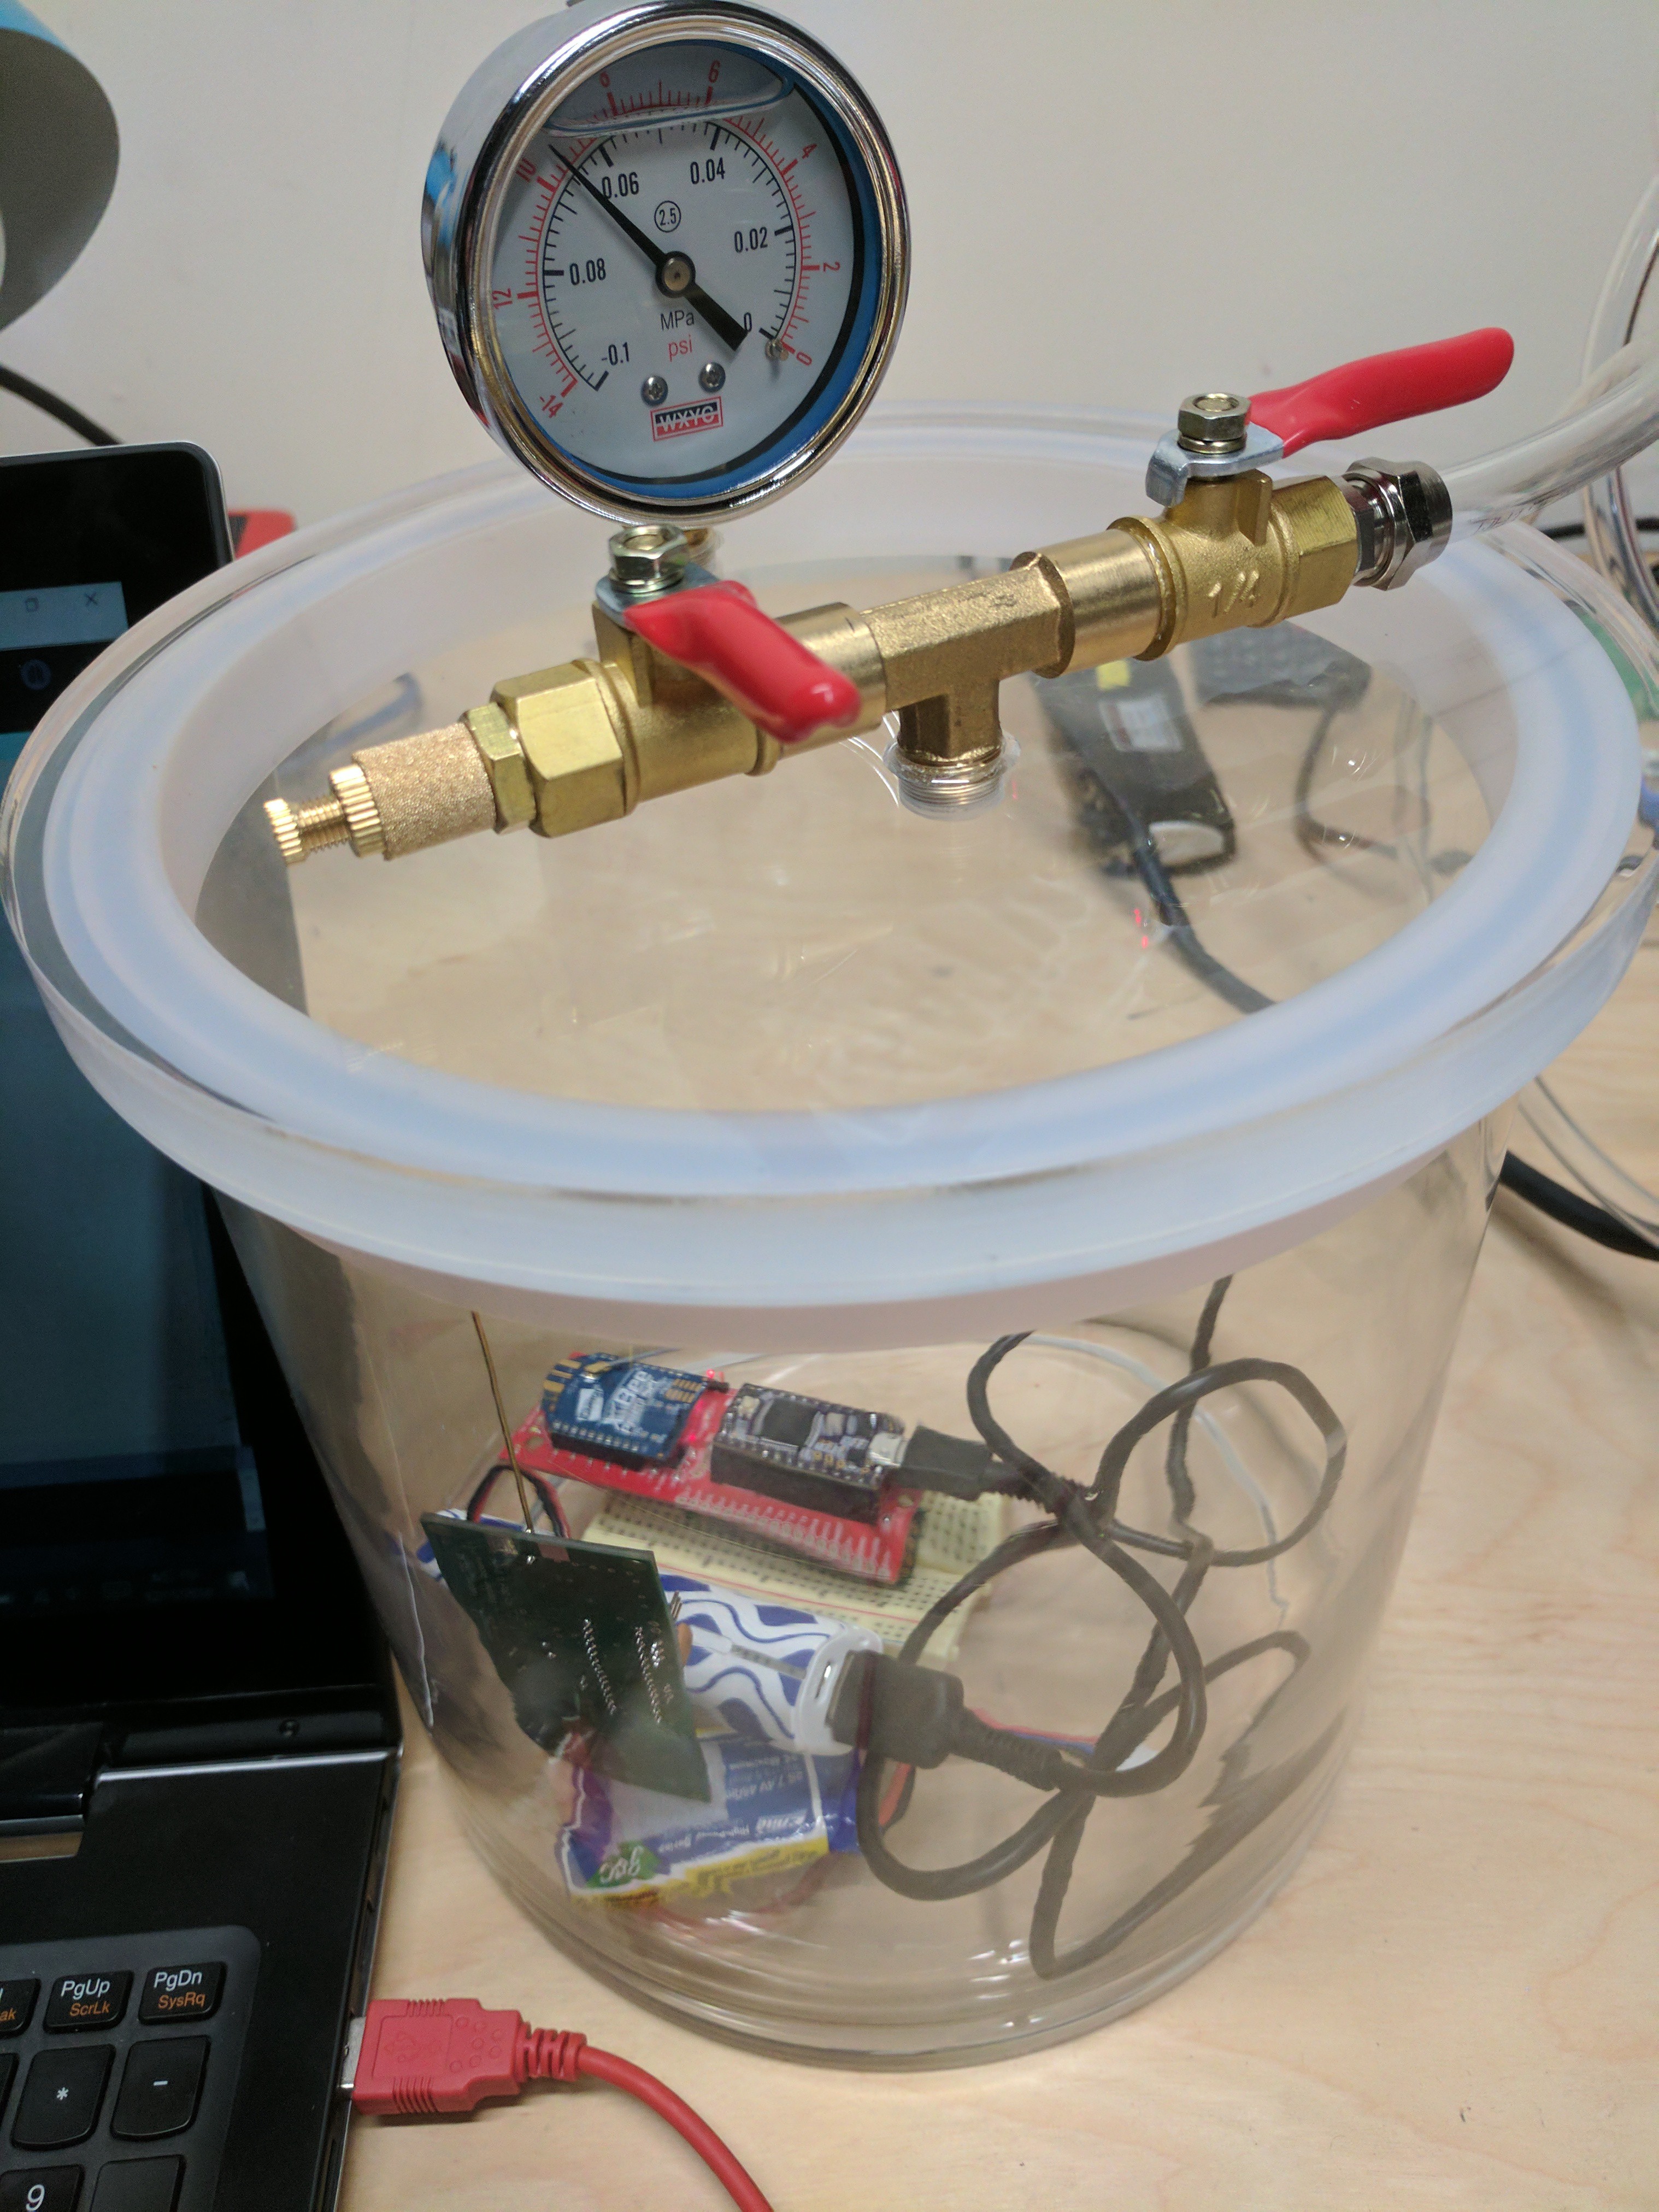
UPS delivered my new vacuum test chamber today, and I got a chance to vacuum it down in excess of 30,000 feet. I used an Eggfinder TRS altimeter for a quick comparison of the altimeters. Interestingly enough, the Eggtimer TRS did not seem to like being that high and proceeded to display negative altitude. I then brought the pressure down to 25,000 feet and they differed by 130 feet at that altitude. I compared a few more readings as I let some air return back into the chamber. In a quick comparison, the readings looked similar further down in "altitude". I have also performed a similar test with with the XBee vs the Altus EasyMini, and the results are similar. This test chamber will be used to verify chute deployment circuits proper function as they are added to the programming. That way they can be tested extensively, prior to putting the unit into the rocket.
I have gotten to play with the Eggtimer TRS altimeter with LCD and bluetooth module, and the compatible RocketFinder phone application for a while now. Although this combo has very slow data transfers compared to xBee, the functions it does have are very nice. While I had originally thought that laptop operation would be optimal .... I have since changed my mind, and now think that a cell phone rocket interface would be closer to ideal. A couple things that brought me to this conclusion (besides just playing with the Eggtimer TRS) was 1. My computer screen is almost unreadable in sunlight. A cell phone is better built to handle that. 2. I saw my friend pick up his laptop and walk over half a mile to retrieve his rocket, using his tracking software. Although it worked perfectly for him, a cell phone is so much more portable. So I am going to pursue programming an interface, so that a connected xBee, or a xbee connected to a bluetooth module, can be used to view rocket position. I would not try to reinvent the wheel, but I want to add functions like arming and setting main chute altitude to the functions that RocketFinder has.
Been trying out the new Arduino 1.6.13 version, with the new Teensy version 1.34 beta 1. The new Teensy version has options for code optimization now. While some appear to be compatible with my firmware, the new LTO options do not seem to work. With optimization set to "fastest" everything seemed to work, but will test some more.
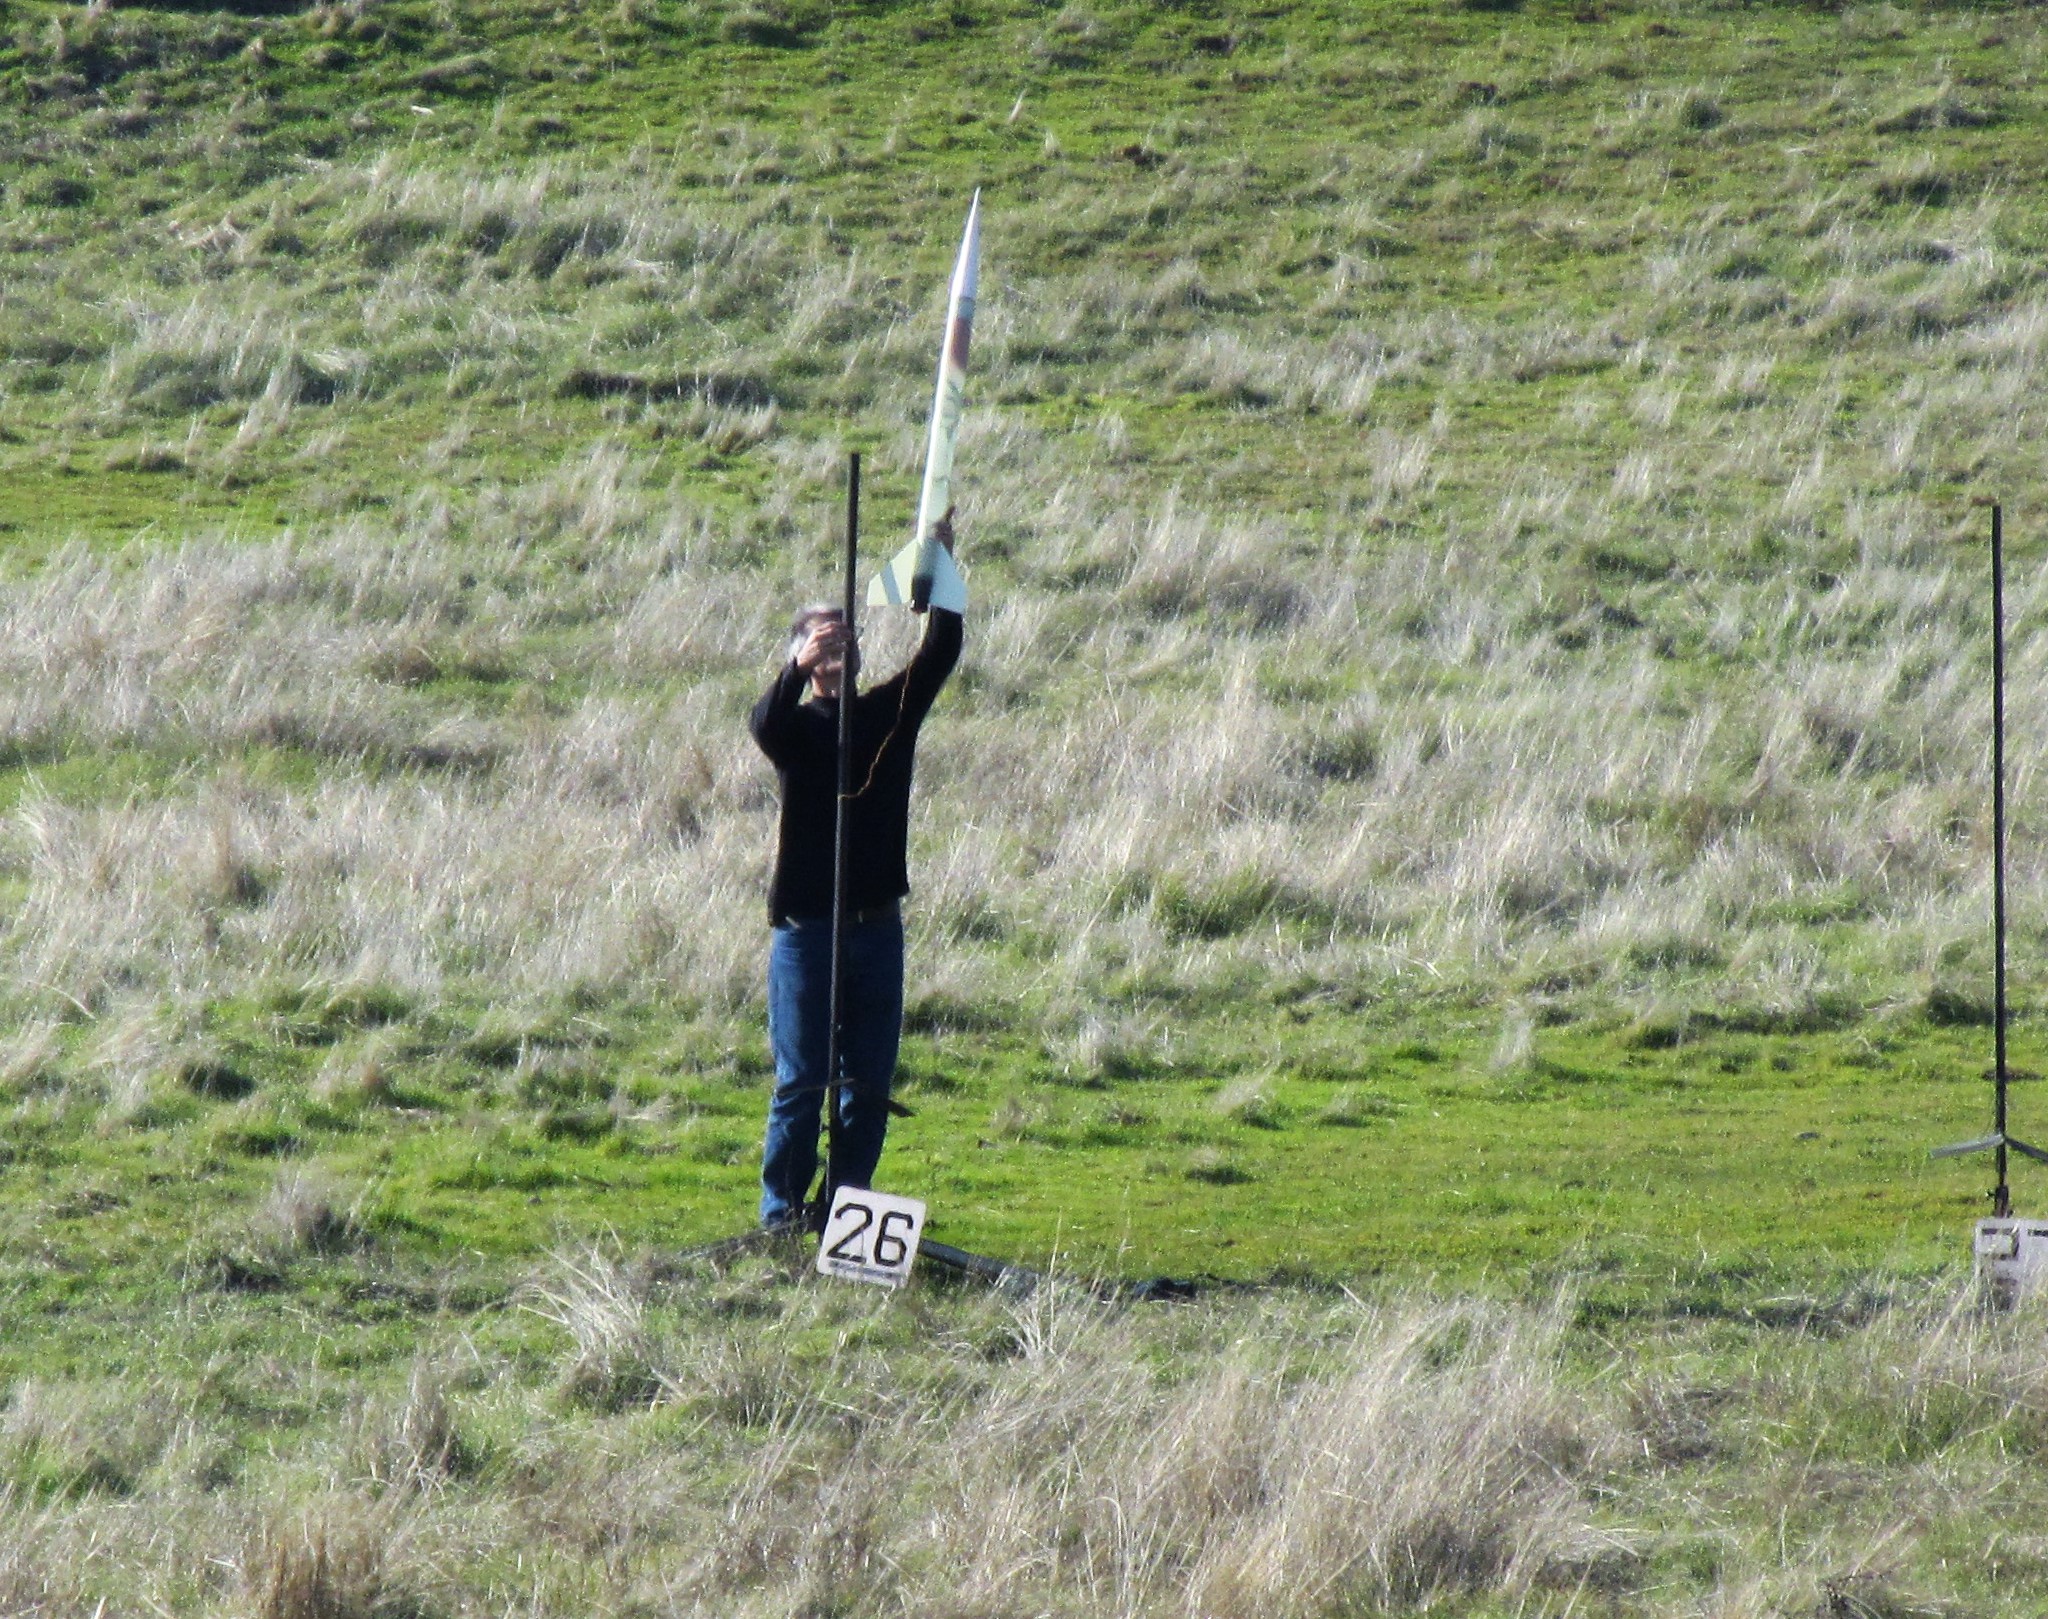
Today my local rocket association ( wwwl.lunar.org ) had a launch I was able to attend. The skies were clear, and not much wind to speak of. It was also great to see a bunch of larger rockets.
For the ground station, I wanted to get a boost with a directional antenna to reduce the possibility of loosing data. I found that one of my older wifi access points had an internal panel mount antenna that was good for 9 db gain. It also happened to have the same connector as the digi transceiver.
I put the antenna on the grass - pointed upward and hooked it up to the laptop. I started recording the telemetry as they announced each rocket prior to launch. As the rocket accelerated, I glanced at the computer screen and saw that it was busy gathering flight data.
Looking over the data I can see a few places where data was missed, but overall, it seemed to work very well. The biggest piece of missing data is when the rocket reaches the final 100 feet above ground level. Part of this was NOT line of sight, and I had pointed the antenna straight upward, so it was pretty impressive to me that it received all but the last 100 feet AGL.
The virtual flight is pretty interesting to me. You can see a lot of rotation in the rocket. This rocket has pre-cut fin slots, and I made no attempt to angle the fins, but obviously they are not straight. The rocket bobbles a little before the parachute opens, and then the nose cone sways beneath it. Perhaps the ejection charge caused some of the strange motions just past apogee.
I had assumed that the 9dof sensor fusion would be majorly confused by this high rate of acceleration, and possibly do strange things to the orientation result. However, I am quite pleased with how it turned out. I appears to be pretty accurate, and apogee is obvious
A second launch was made, however, the telemetry ran out of battery power, so no data from the second launch is available. Below is a graph of the recorded flight:
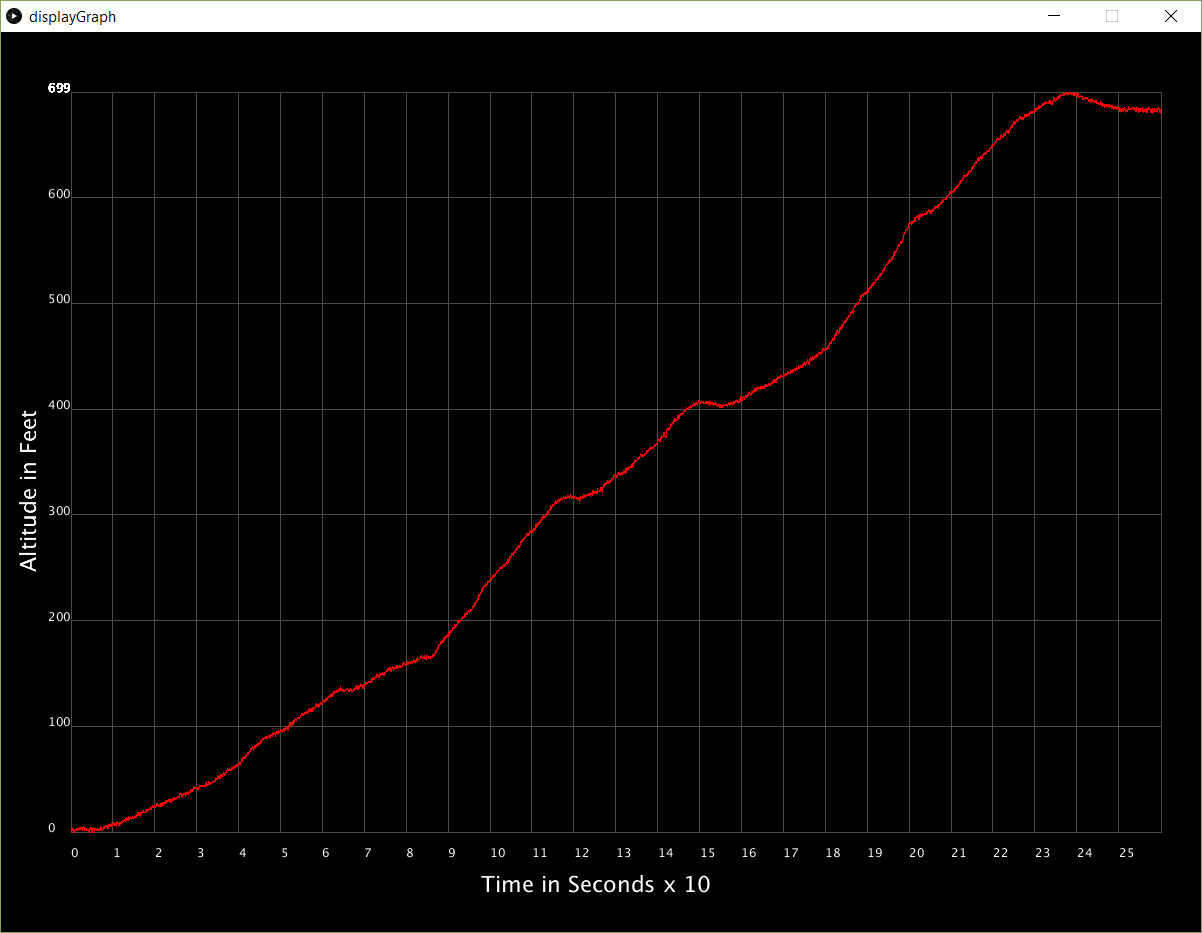
Spent some time getting graphing working to read altitude from a sample csv file containing over 26,000 altitude data points. The csv file was collected by my hardware, and logged using my laptop while driving over a hill. After pulling my hair out for a while, I realized processing did not like the spaces between the data points. I edited them out, and will be changing the firmware so it just sends a comma between data points, with no spaces. I was a little worried that processing would be bogged down with so many samples, but I guess this is the type of thing Processing is made for.
Spent some time getting the graph to be happy with different size windows. So it is semi adjustable - just did not adjust font size. More of that could be done later. I tried to comment the code as much as I could to help me understand what it was doing. One of the things that first screwed me up was that the Y values of the graph are inverted. 0 is at the top, and the maximum is at the bottom. One of the neat things that processing has is a map() function. This places your value on the graph in the correct relative position, regardless of changes of window size.
Files are here: https://github.com/radiohound/NXPMotionSense/tree/Rocketry-and-RC-Telemetry
Added a small GPS (GP-735 https://www.sparkfun.com/products/13670 ) to the project, and used TinyGPS to decode the NMEA sentence. I played around a long time trying to get the gps commands to turn on and off different settings. Finally ended up using UBlox U-center software to send the commands separately, while listening to them with a Saleae Logic analyzer to help with the formatting. It is set to change the baud rate from the default 9600 to 115,200, and turns off every sentence except for GPGGA. This sentence gives Lat/Lon and altitude. That way the Teensy won't be trying to do too much, since I am making it read from the 9DOF and pressure sensor 100 times per second, as well as doing the orientation math, and sending all the results to the ground station over the radio modem. The GPS outputs data at 10 hertz.
Modified the ground station RocketNXP.pde to accept the lat/lon and display it on the screen and modified the log file to record that data as well. The data file is now named with a date and time stamp for the file name. A new one is created each time RocketNXP is started.
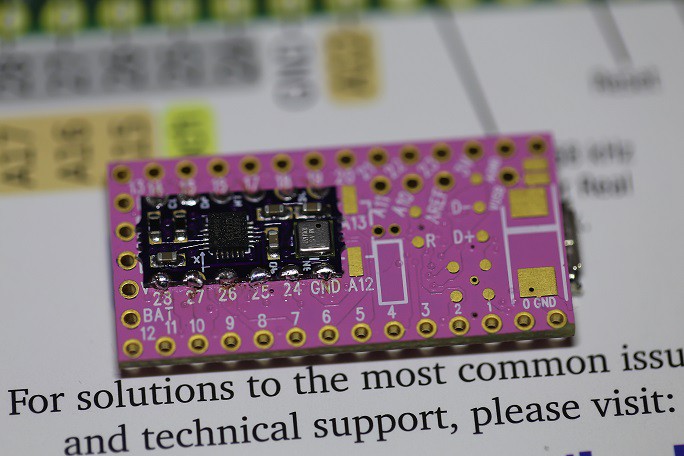
I ran across a few very cool products that I wanted to share. One is the MPU9250 9DOF sensor that is made to be soldered onto the back of a Teensy. Yes, this is small folks! It includes a MS5637 pressure sensor on board, because he had so much extra space left.
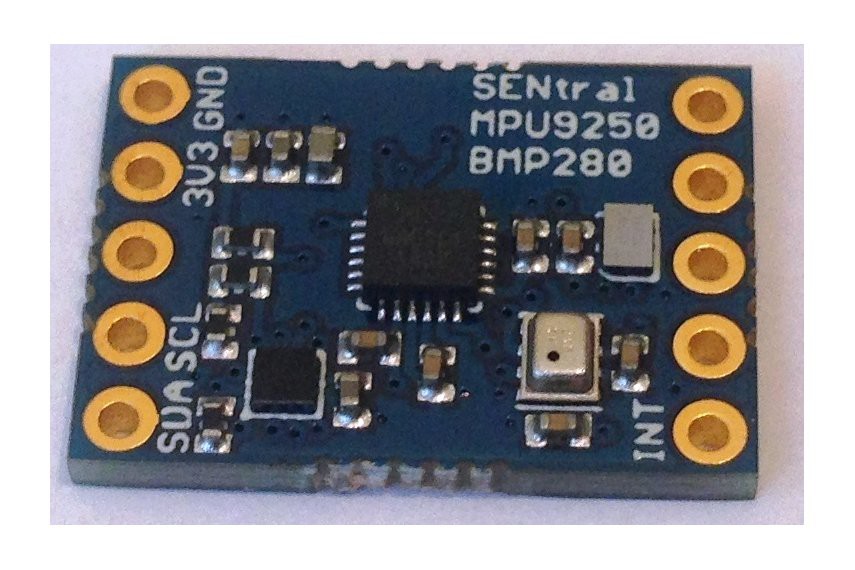
But what is very intriguing to me is his Ultimate Sensor Fusion Solution board. It uses the SENtral chip to take all the processing load off the Teensy. Unfortunately, this does not come in a form factor that plugs into existing pins, and must be wired.
But I digress ....I have tried the GPS on the freeway, and at 10 hertz it gives position updates at about every 8 feet (70mph). Sometimes readings to not update every 100ms, and can repeat previous readings one or two times before updating. The readings are time stamped by the .pde program, but the timing of them does not quite make sense. I need to do some more testing, and plan to use GPS time in the XBee data to help sort the issue out. Perhaps the program is doing something that interrupts the update of the GPS lat lon. However, the other sensors are getting their 10ms updates consistently.
After I sort this issue out, it's on to graphing altitude, etc.
Last night I found simplified kalman filtering code for arduino here: http://orlygoingthirty.blogspot.com/2013/06/1-dimensional-kalman-filter-arduino.html?m=1 and added it into the project. It seems to work very well at smoothing a static altimeter, and doesn't bog it down like oversampling does.
Also got data logging to work from RocketNXP.pde. It now appends to a data.csv file, recording attitude and altitude.
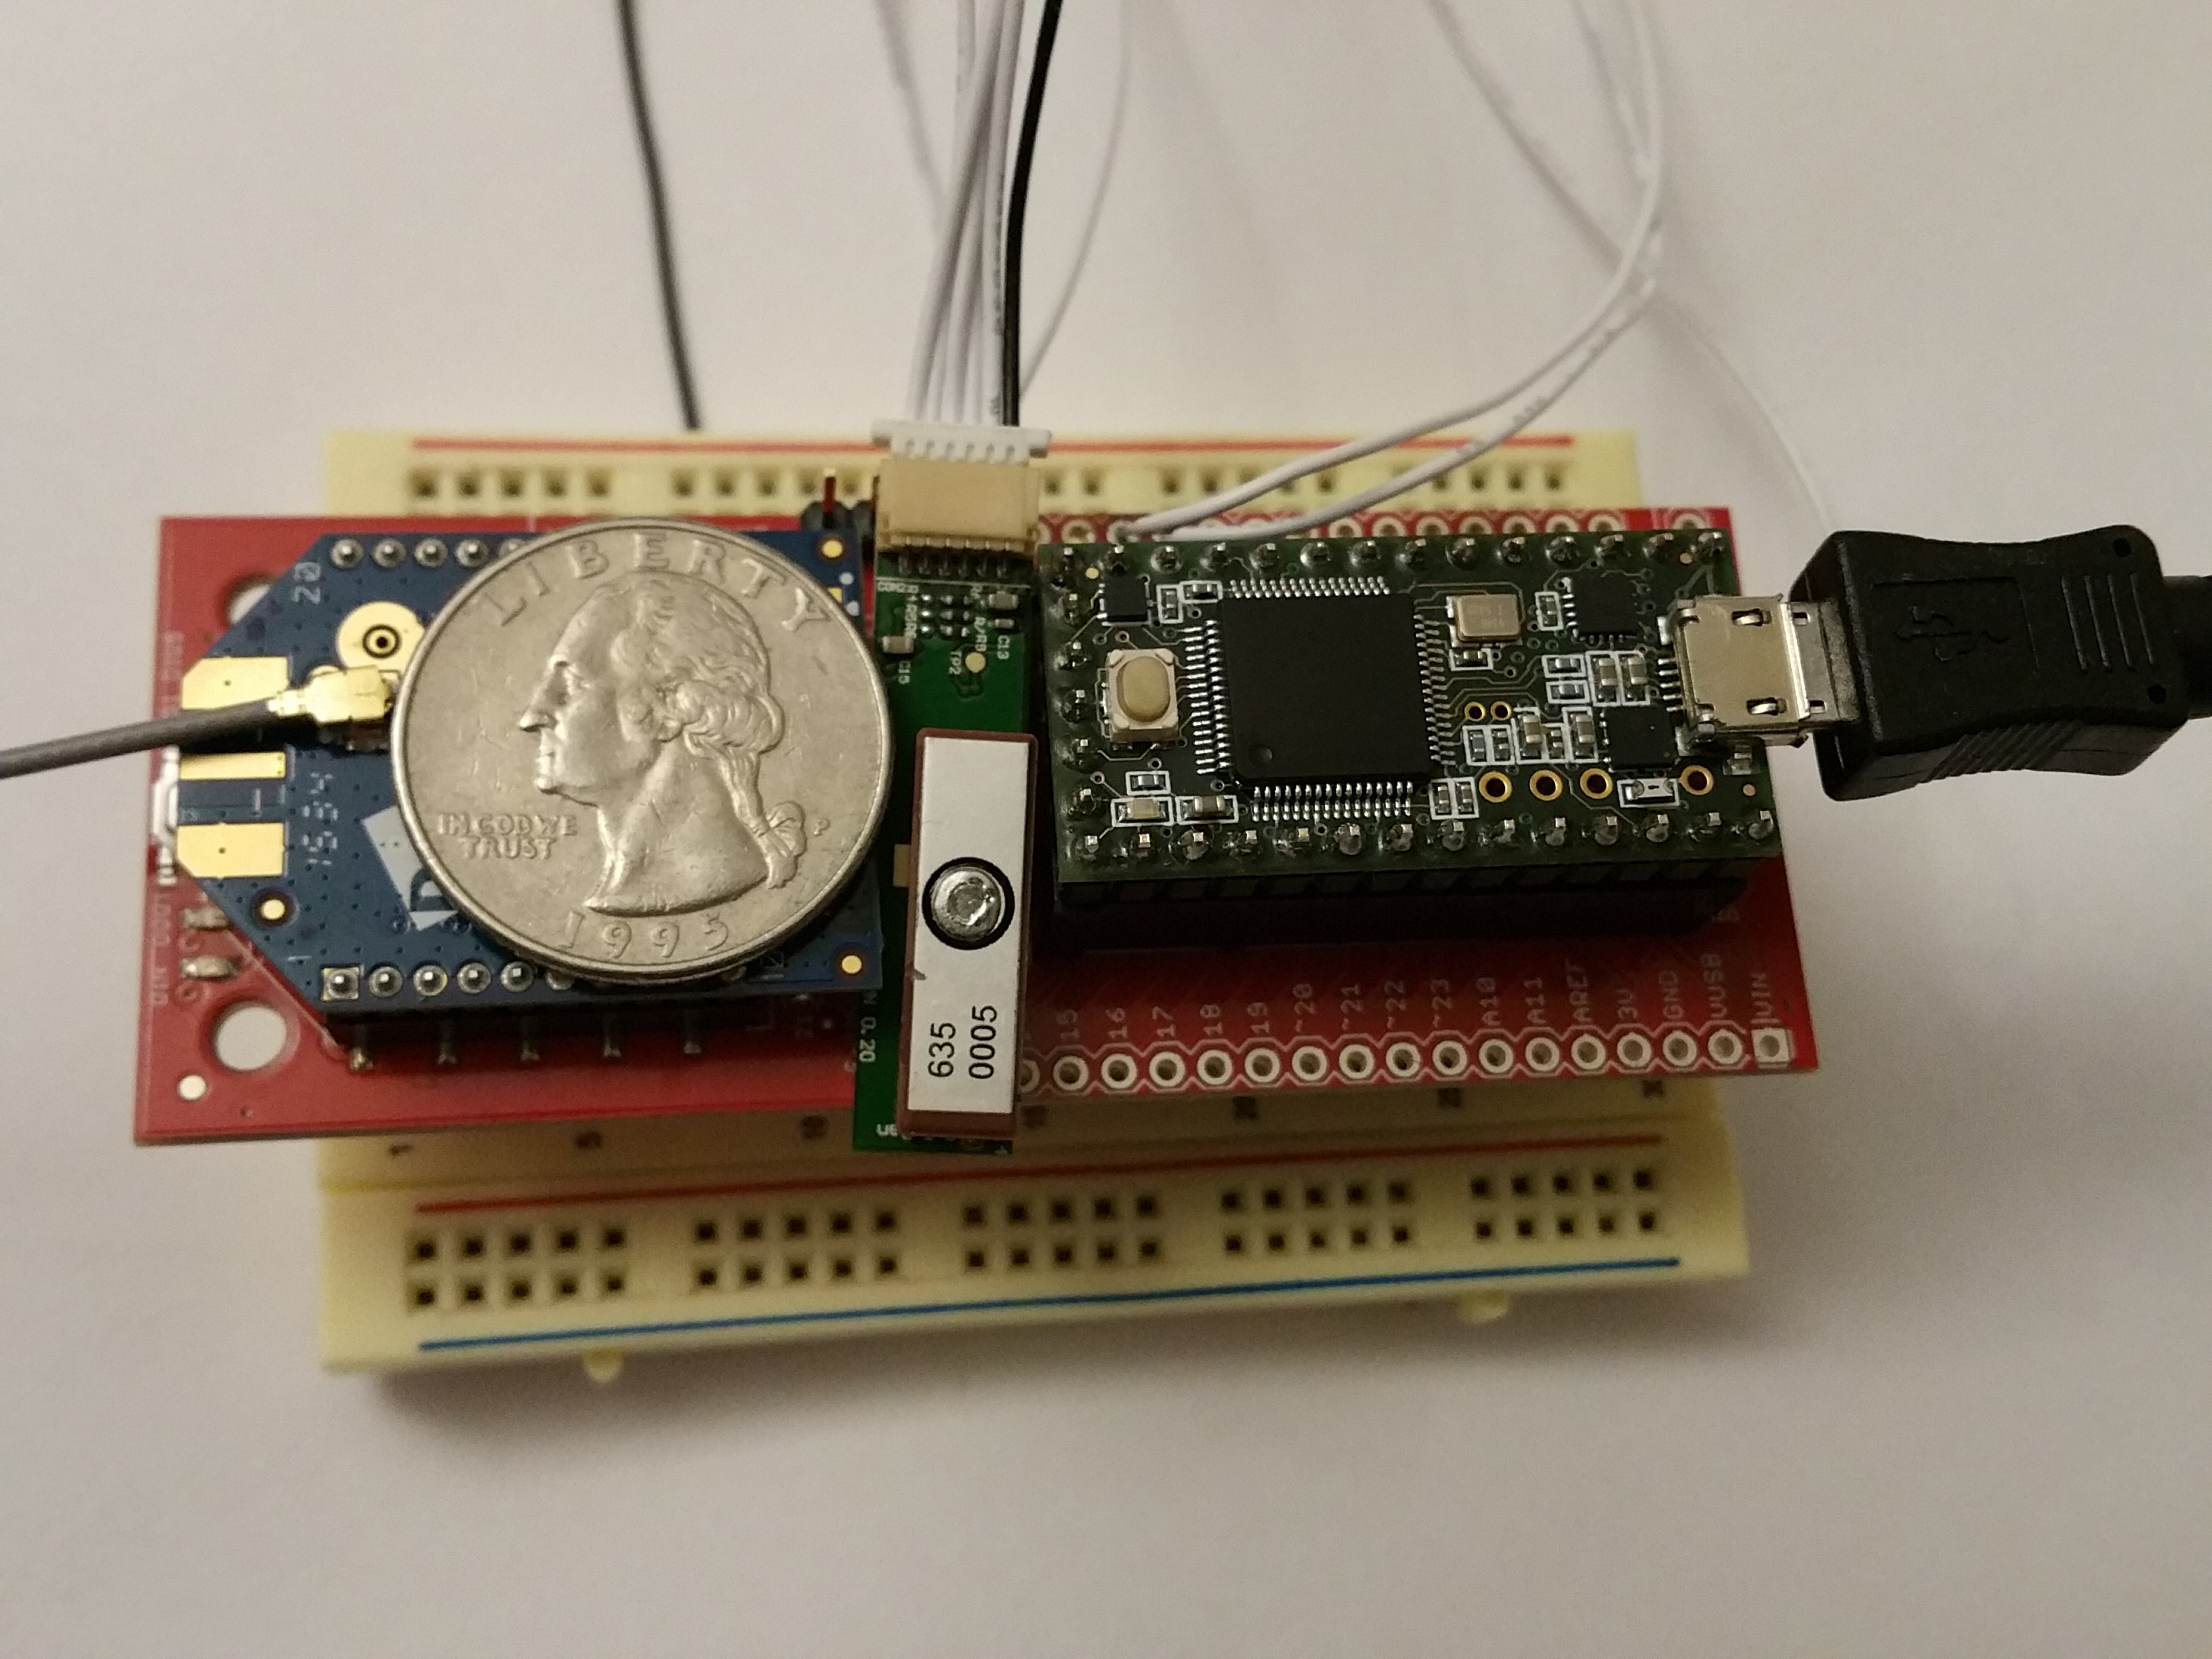
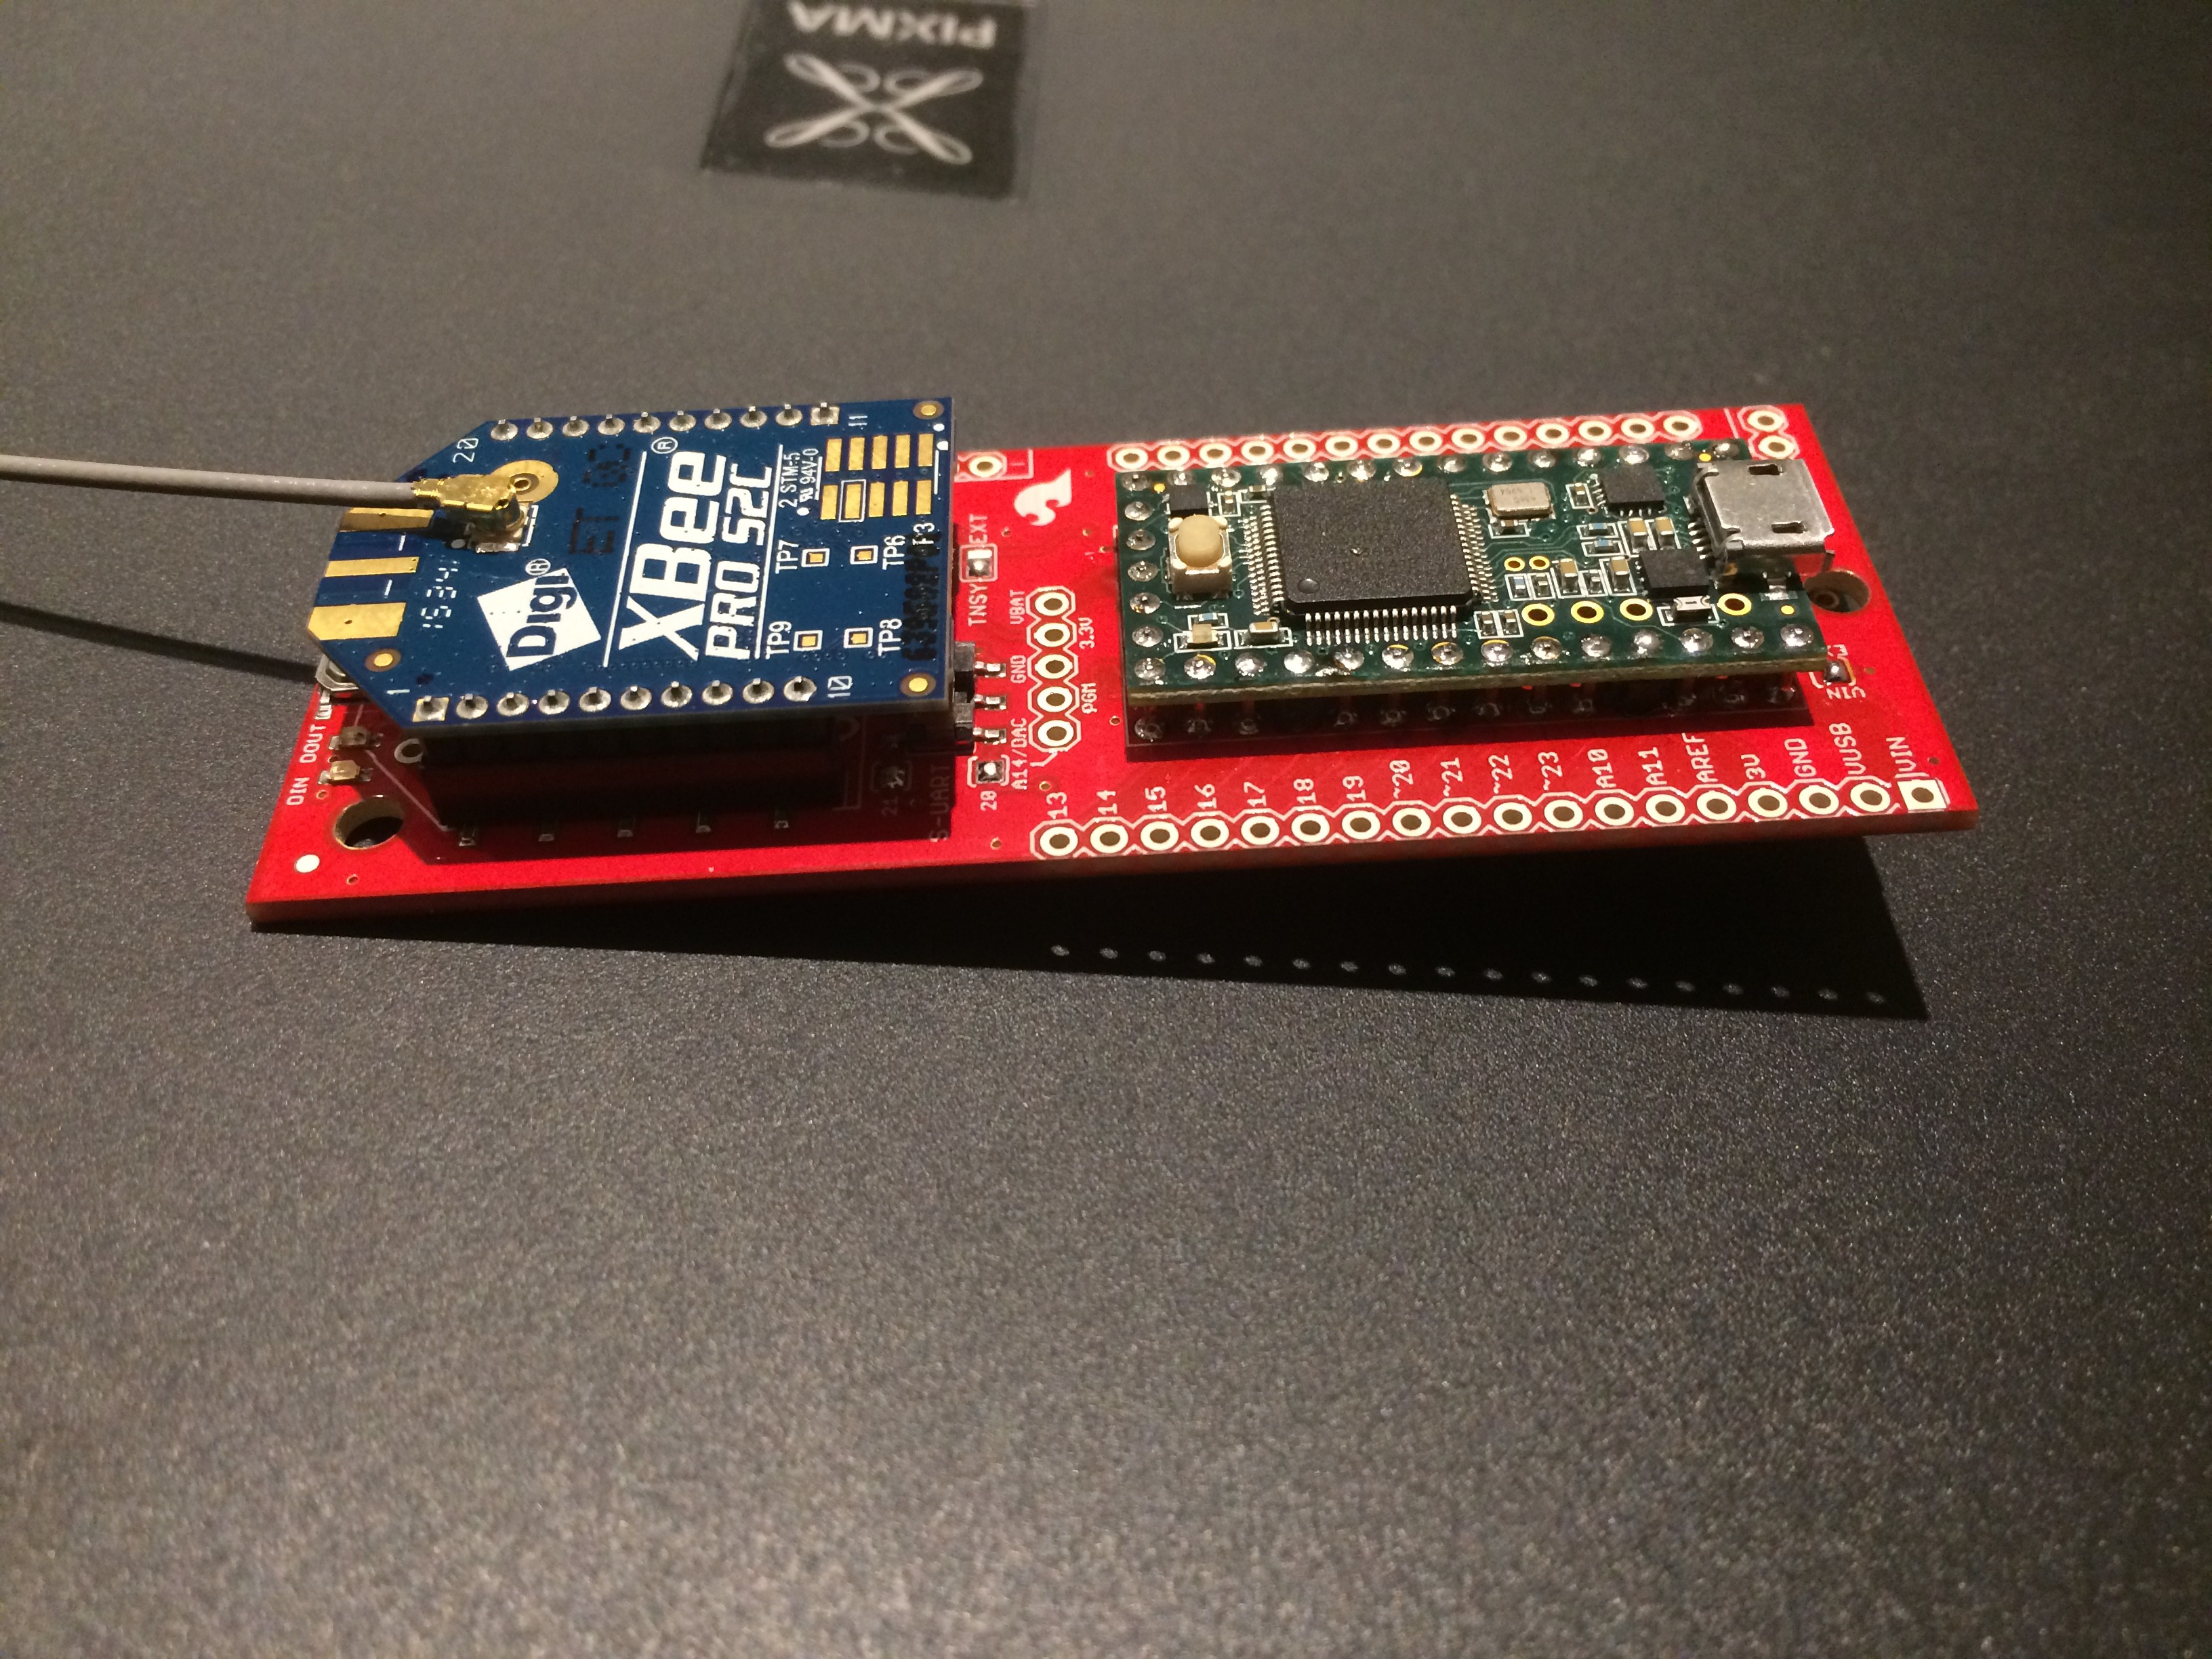
Today I received some backup hardware from Sparkfun. I did this mostly to make my hardware a little more compact, and save a little weight. Right now it sits at 0.8 ounces without the battery.
I may try to dust off one of my airplanes and see if I have any good lipos to fly the sensor around. Hopefully I can do a test run this weekend, while I wait, and wait ... for a legal rocket launch. There is plenty more for me to do. My to do list consists of the following:
1. Add GPS
2. Graphing of flight parameters like the AltDuino does. (His is really beautifully done) ... mine probably won't be that nice, but my code will be open :)
3. Modify the processing code to be able to play back data files and show virtual rocket's attitude during flight. Could be nice to review some flights, and shouldn't be hard, just reading from file vs serial.
4. Put it in a ROCKET!
And later ... add mosfet hardware for chute deployment
found some code pre-written for an artificial horizon written by Adrian Fernandez. I made some com port changes to the way it gathered the data, and it seems to work pretty well. It should be quicker for me to test in a model plane, than wait for a legal rocket launch (I am located in California). As it stands, flying airplanes with electric motors is against City code where I live. But I can drive 15 minutes away to a town that is more r/c friendly.
Anyway, here is a screen shot of the artificial horizon. I'll try to get a video in pretty soon.
There is some more fine tuning that needs to be done. I would like to add altitude to the right hand black bar on the horizon display, and with gps - add speed to the left black bar on the display. It would also be neat to make the horizon display a 3D globe, just to spruce things up.
Added the sparkfun mpl3115 library and a couple lines of code to add altitude to the display. I'm not doing any over sampling of the pressure sensor, to keep the processing speed of the Teensy up. This caused the altitude to jump around a fair amout. Maybe I can over sample/fliter inside of Processing (the receiver side) to fix that.
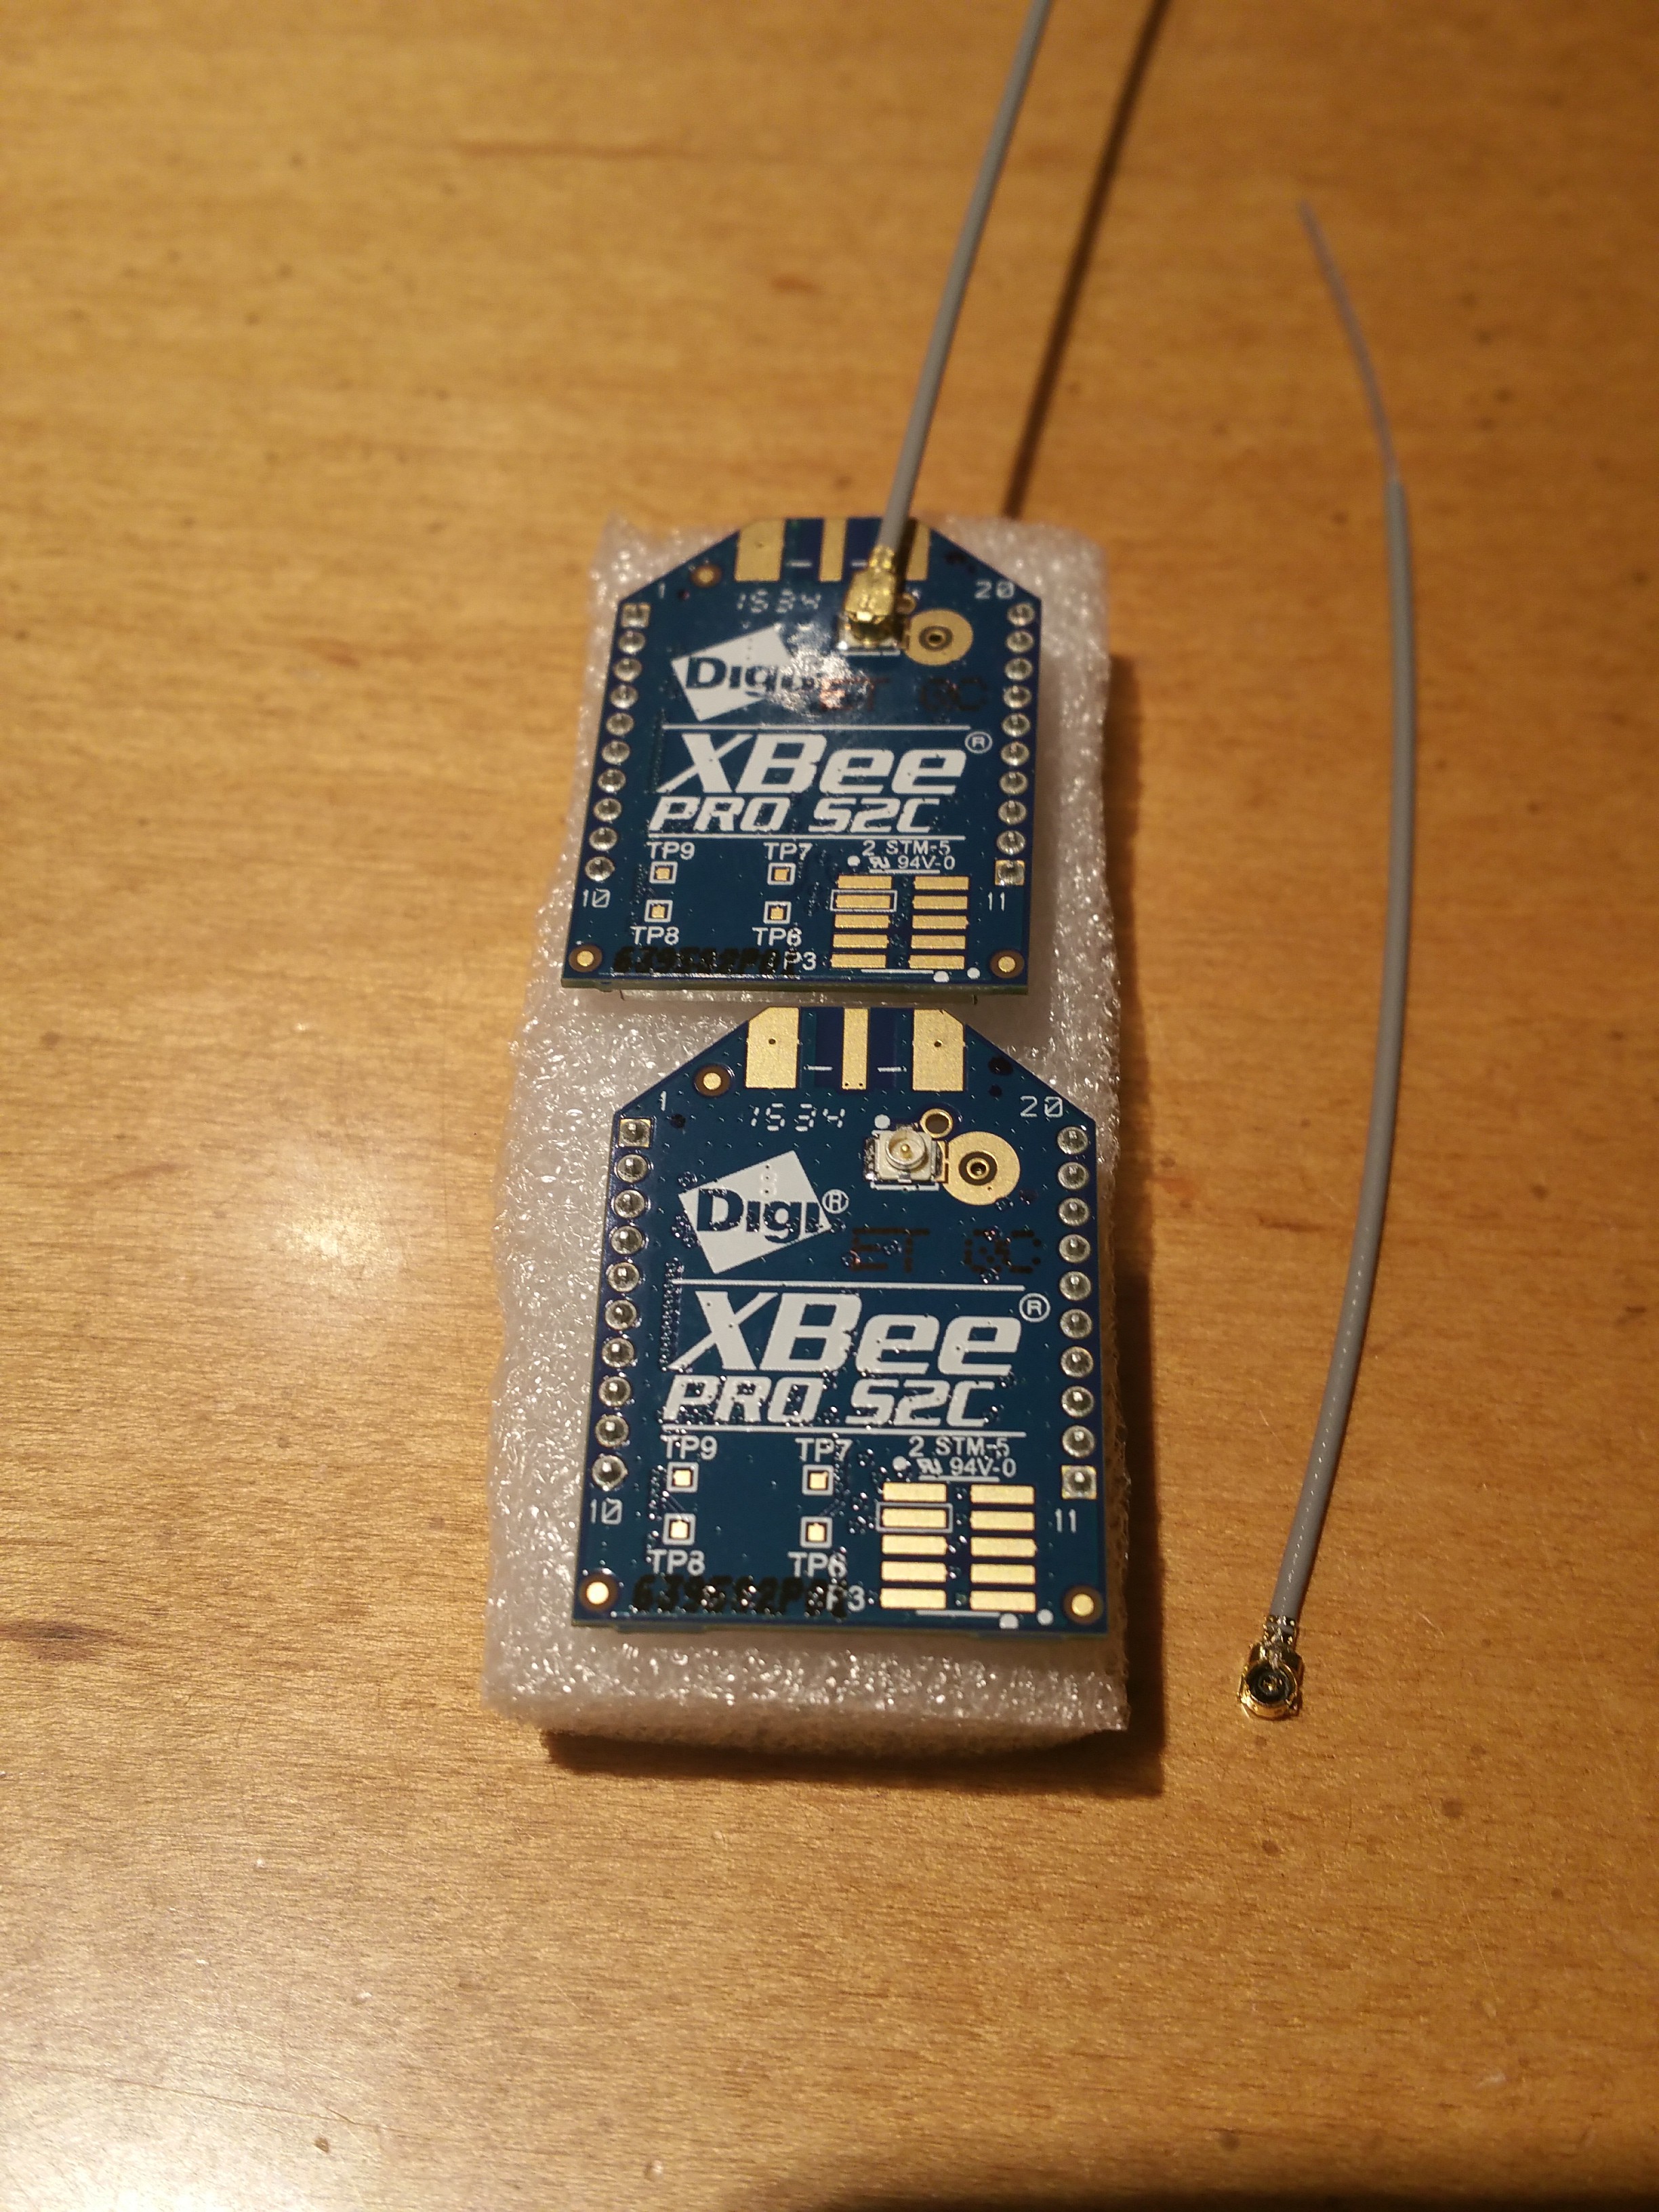
Also received the new XBEE Pro SC2 modules with external antenna option. Will make for better antenna placement outside the rocket tube. It would allow for easy connection to a directional antenna for the base station, but that may not be needed with the two mile range.
After some testing, these new XBee Pro SC2 modules with the Teensy, etc use 80mA while transmitting at full power. With the XBee Pro S1 modules it uses almost 40 more mA.
Create an account to leave a comment. Already have an account? Log In.
I thought I would share an interesting Kickstarter project that could be utilized in this project. It is an open source mini arduino compatible project based upon a very energy efficient Cortex M4F MCU, with FPU that runs at up to 80 mhz. This makes the MCU perform faster than the Teensy 3.2 that I have been testing. One of the most enticing aspects of the project is that the design is completely open to use, unlike the Teensy products, so it does not need a custom bootloader chip. It could be built into a custom rocket altimeter pcb without extra cost and space. I have backed this project, and it can be found here: https://www.kickstarter.com/projects/2109048010/arduino-programmable-cortex-m4f-development-boards
Although most Kickstarter projects don't really begin until the funding is met, this one actually is off the ground and running. I have purchased one of the built up boards from his Tindie page, and it should be in my mailbox shortly.
Hello Walter. Great project and thanks for posting it. I too got the itch to DIY a multifunction device for HPR use. I have already purchased a Teensy 3.6 and Teensy Prop Shield. The Prop Shields audio amp will be used to drive a piezoelectric transducer for auditory localization in case telemetry fails. I have also decided on Digi's XBee 900 HP units for telecommunication duties. They offer very long radio range and do not require an amateur radio license. Still undecided on a GPS module. Anyhoot, I hope you will continue to post updates. Have a Happy New Year.
Thanks Neo, sounds like you will have a nice setup. I have done some beep tests with prop shields amp and a piezo speaker and it was decently loud, despite the small size of my piezo. Yes, I will be adding some mosfets, and deployment logic in the next few weeks. Also have a another launch coming up, and I really have to get some more good data flights in. Welcome aboard and hope to hear from you as well.
Hi ,
fantastic project you done , just ordered all the components to making it.
Do you have a wiring diagram to connect the GPS on the teensy board.
Don't already use this kind of board , only use arduino.
I think that RX/TX are already in use , do you think it's possible to add a blutooth module to add a connectivity with an android device and use the Rocket locator software ?
Many thank for sharing you work
François
Hi Francois, great to have you on board. I am posting a picture where I connected the GPS, as well as the pinout diagram for the Teensy 3.2. It sounds possible, but you would have to format the data back to NMEA (I believe), to have it be recognized by the rocketlocator.com app. I started to play around with getting google maps opened up inside processing, to get a similar solution going (only it would be laptop based ... so it loses that portability factor). It is fairly easy to have it open satellite images to specific longitude, latitude, and plot locations of objects. Processing programs can run on android (via the Android Processing IDE app). So perhaps more simplistic displays could be written using Processing for android without too much difficulty, and at least be able to tell you direction and distance to target. An OTG cable adapter could plug into the base receiver.
Thanks for the picture Walter , hope i will received soonly all the board to begin working on it.
Thanks Winston. Yes that sensor only goes to 8g. Should work fine for lift detection, apogee attitude, and chute detection though. I may look into modifying the code to adapt to the MPU-9250 9dof sensor, as that goes up to 16g. But using the Prop Shield allowed me to put it together quickly with an available xbee adapter board. Once I get a few flights and data on this hardware, we will see what we can improve on with a custom adapter board.
Great. I'd like to suggest that you consider a GY-86 10DOF MS5611 HMC5883L MPU6050 module to replace the Prop Shield. They're very cheap (average about $12 shipped from China) and readily available on eBay. The MPU6050 goes up to 16g and the MS5611 is a high accuracy barometric sensor.
Also, these for the RF section ($11 shipped from US) - besides the high power output, they allow a very low profile mounting method - RFM23BP 915Mhz HopeRF +30dBm 1W High Power RF Wireless Transceiver:
My goal in suggesting these particular IMU and RF modules - they're extremely capable, yet CHEAP.
It just so happens there's a project using that RF module (433MHz version) that just appeared here and it's even rocketry oriented:
https://hackaday.io/project/15530-1000mw-long-range-70cm-serial-bridge
However, unless there's some disadvantage to using the 915MHz version (like some FCC TX power restriction in that band), 915MHz would be preferable because it doesn't require an amateur radio license to use and allows smaller antennas, especially for the patch or yagi antenna used at the ground station for telemetry RX and possible RDF for recovery.
Thanks Winston, those look interesting. I will have to read more about them. Though their is something to be said for the XBee's simplicity, even if they are $28.50 each, compared to the $11 Chinese RFM23BP.
Hi guys, nice looking project :)
My previous rocket flight computer use an APC220 70cm transceiver, and I was quite happy with it.
I like 430 over 915 mainly for range purposes, 20mW goes a lot further at half the frequency And the antennas are still manageable. I already have my amateur radio license, which is necessary for all sorts of things related anyway (even 5.8GHz video transmitters).
I've really enjoyed how the APC220 basically operates transparently, and will basically be using that concept in my project, but I wanted to also mimic a OpenLRS system for RC purposes with ease for eventual control of a steerable parachute at distance.
That and an ESP microcontroller is just all sorts of fun.
Very nice! Unfortunately, the FXOS8700CQ accelerometer/magnetometer on the Teensy Prop Shield can only measure up to 8g.
Become a member to follow this project and never miss any updates
By using our website and services, you expressly agree to the placement of our performance, functionality, and advertising cookies. Learn More
Sadly, I have not worked on the altimeter lately. But I recently discovered that arduino has a Talkie speech library with hundreds of pre-made words. It is looking like it will be easy to add a talking altimeter to this project, seeing as the prop shield just needs a small speaker to be added to it (as far as hardware is concerned). I have run a few samples from the Teensy Talkie library, and get coherent words out of my tiny piezo speaker. The Teensy Talkie Speech library can be downloaded from here: https://github.com/PaulStoffregen/Talkie There is some information about it on the Teensy forum here: https://forum.pjrc.com/threads/33446 And if you are like me and wondering how the heck they came up with this, there is some general arduino Talkie information here, which talks about some of the different word libraries and where they came from: https://github.com/going-digital/Talkie And a video with android talking