oneohm
-
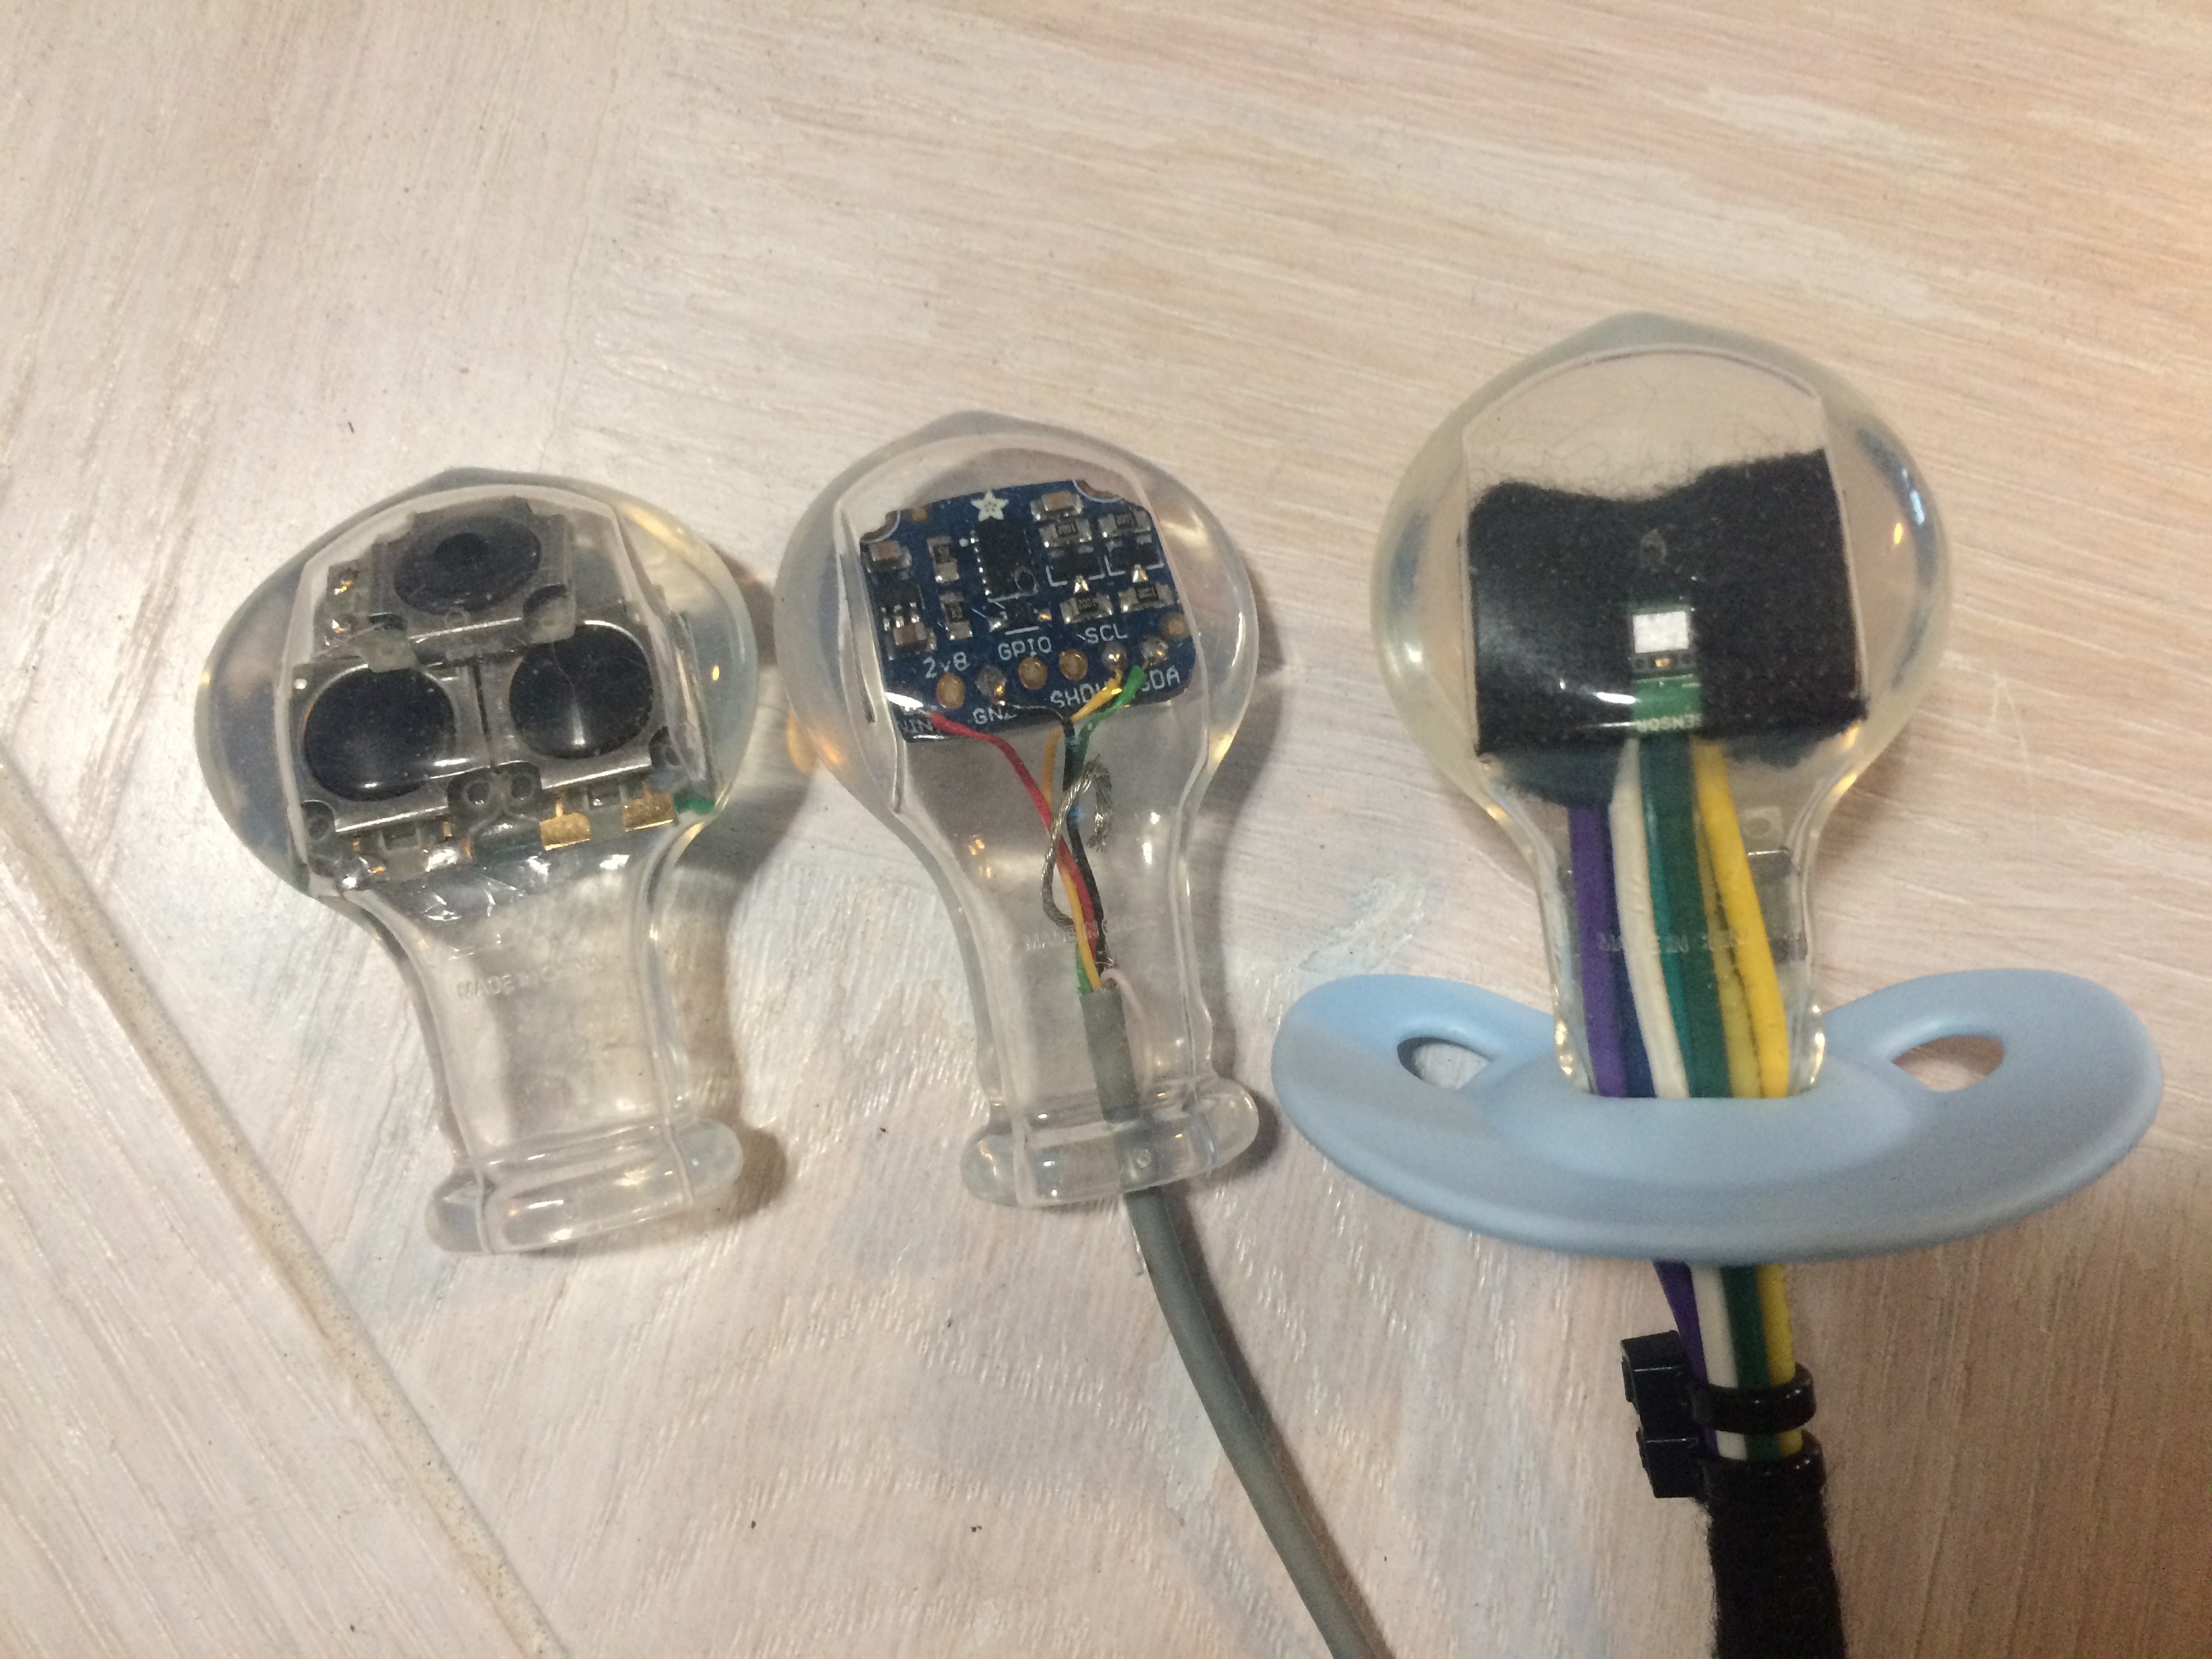
How do they get in?
10/22/2018 at 08:47 • 0 commentsGood question.
![]()
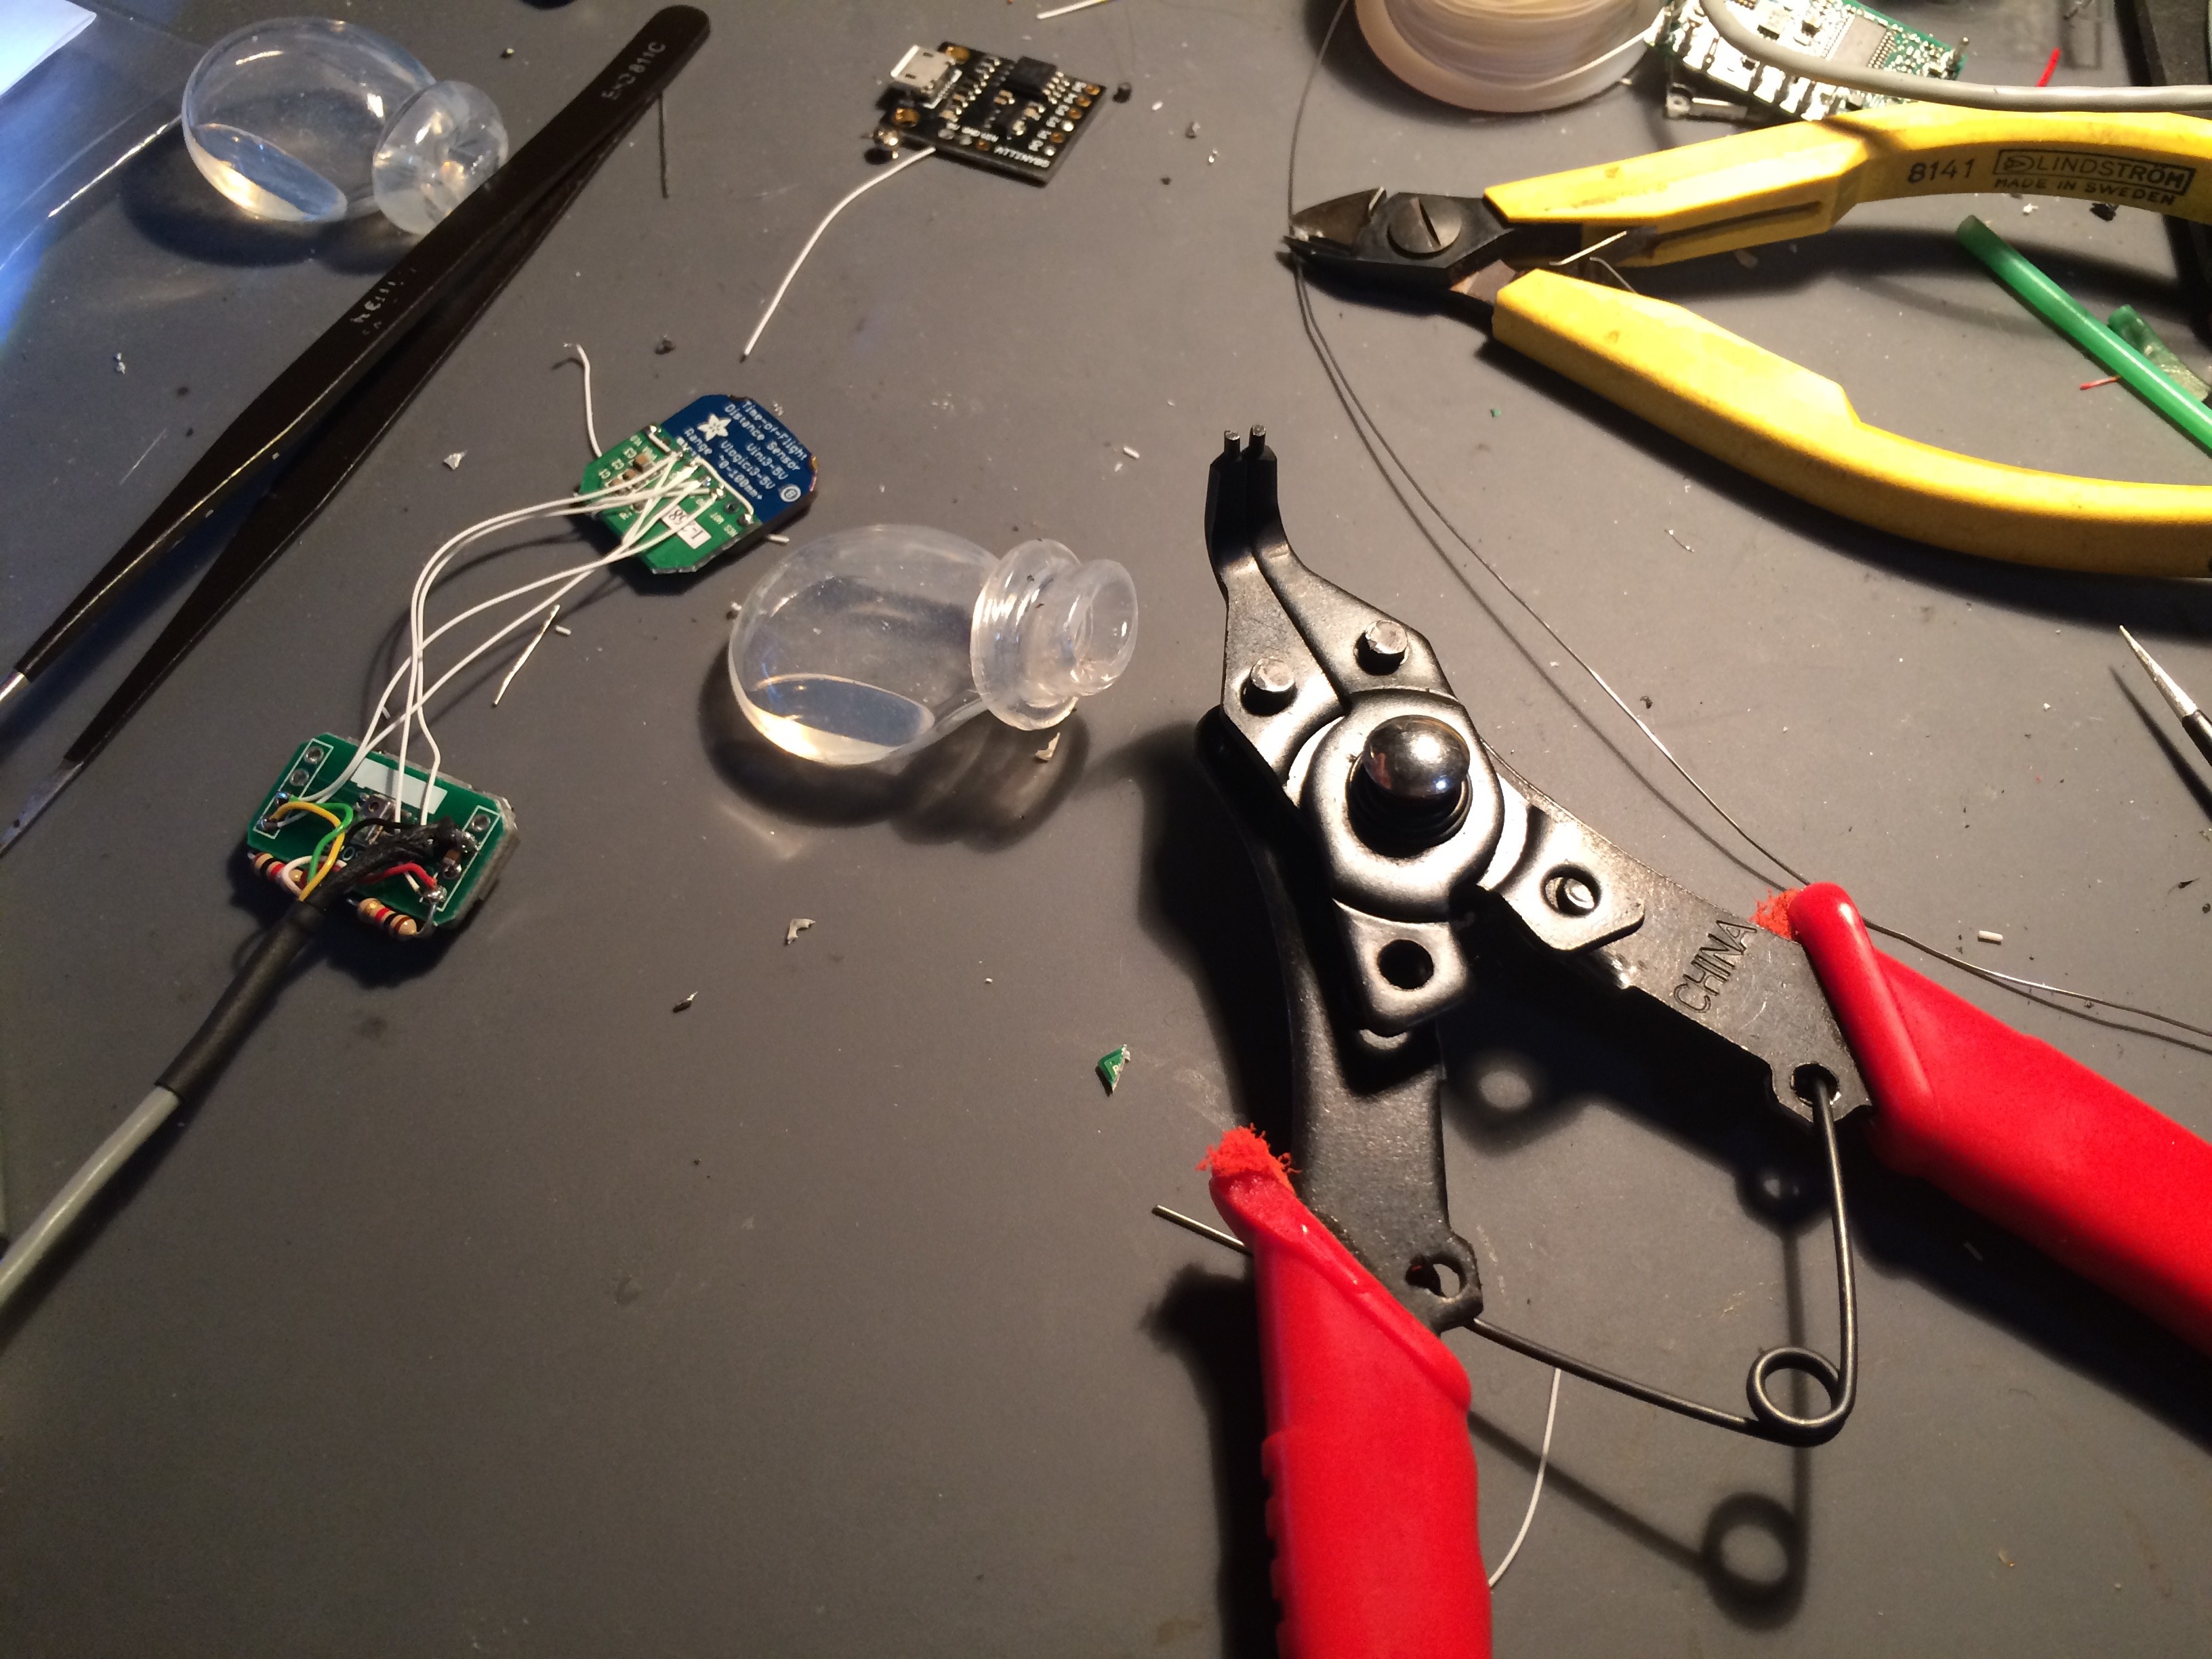
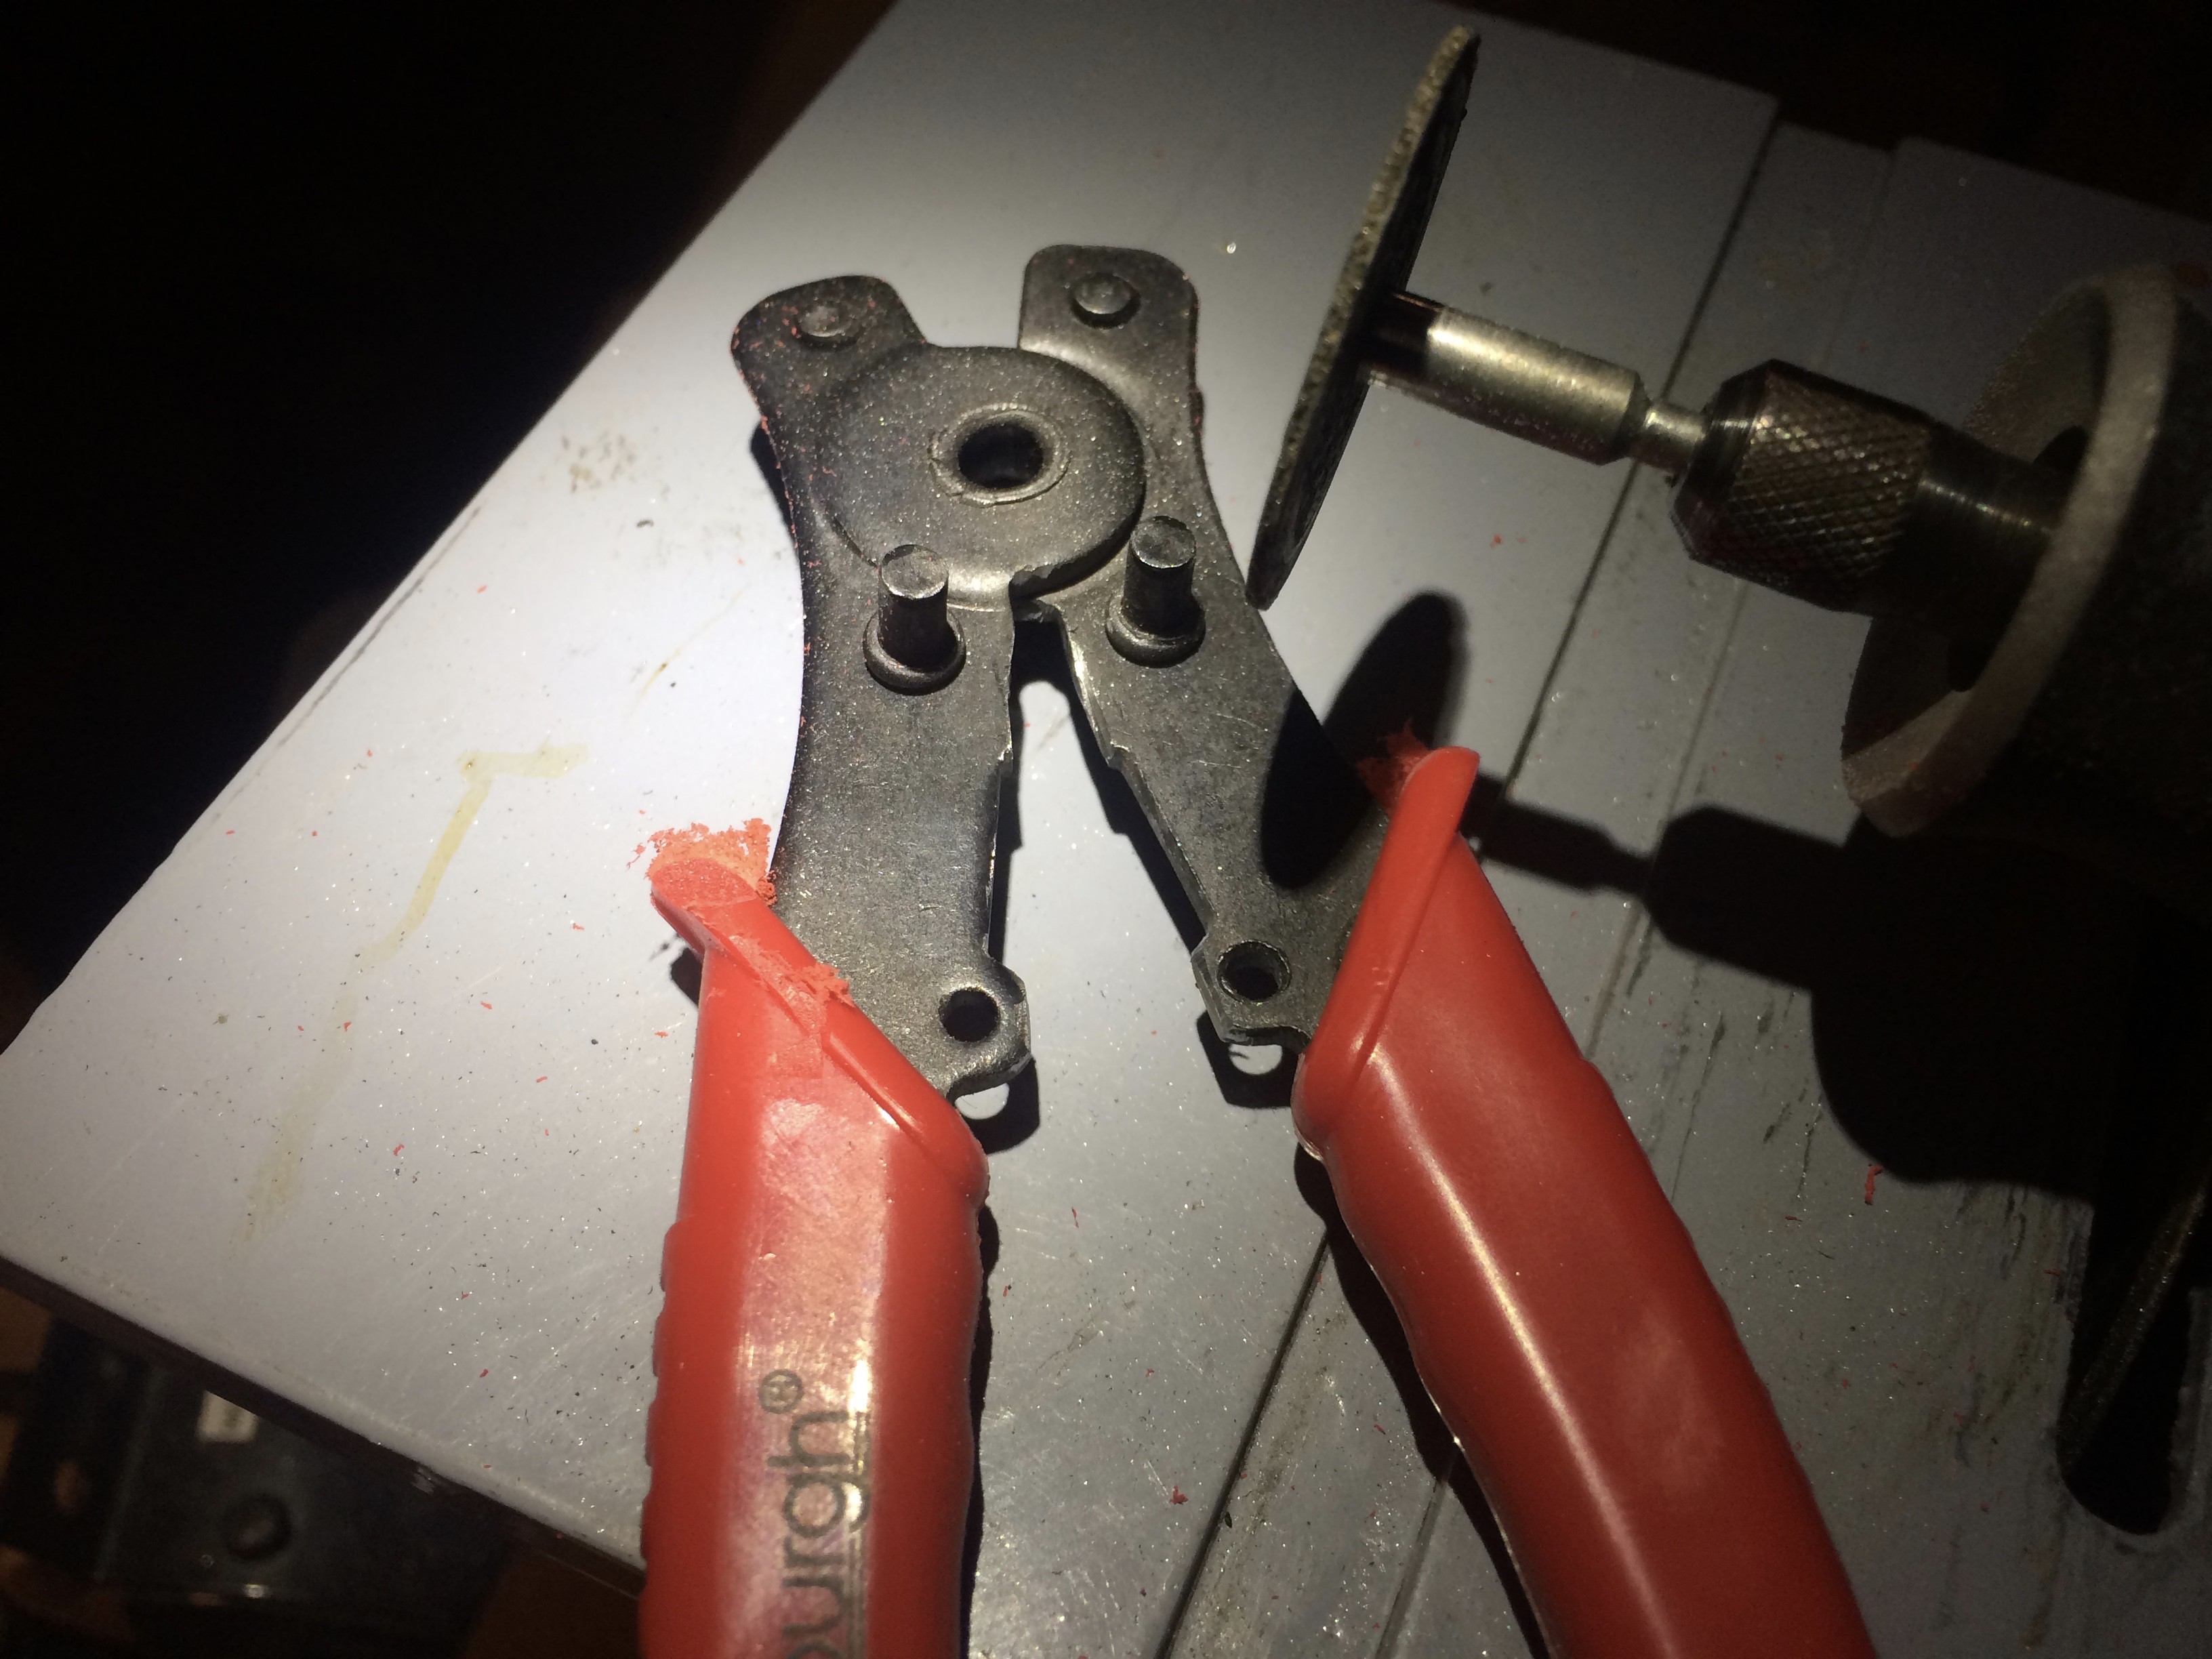
I lightly modified harbor freight snap ring pliers for a bit more travel. Just remove a bit of metal from the inner surface so they can open further without interference.
![]()
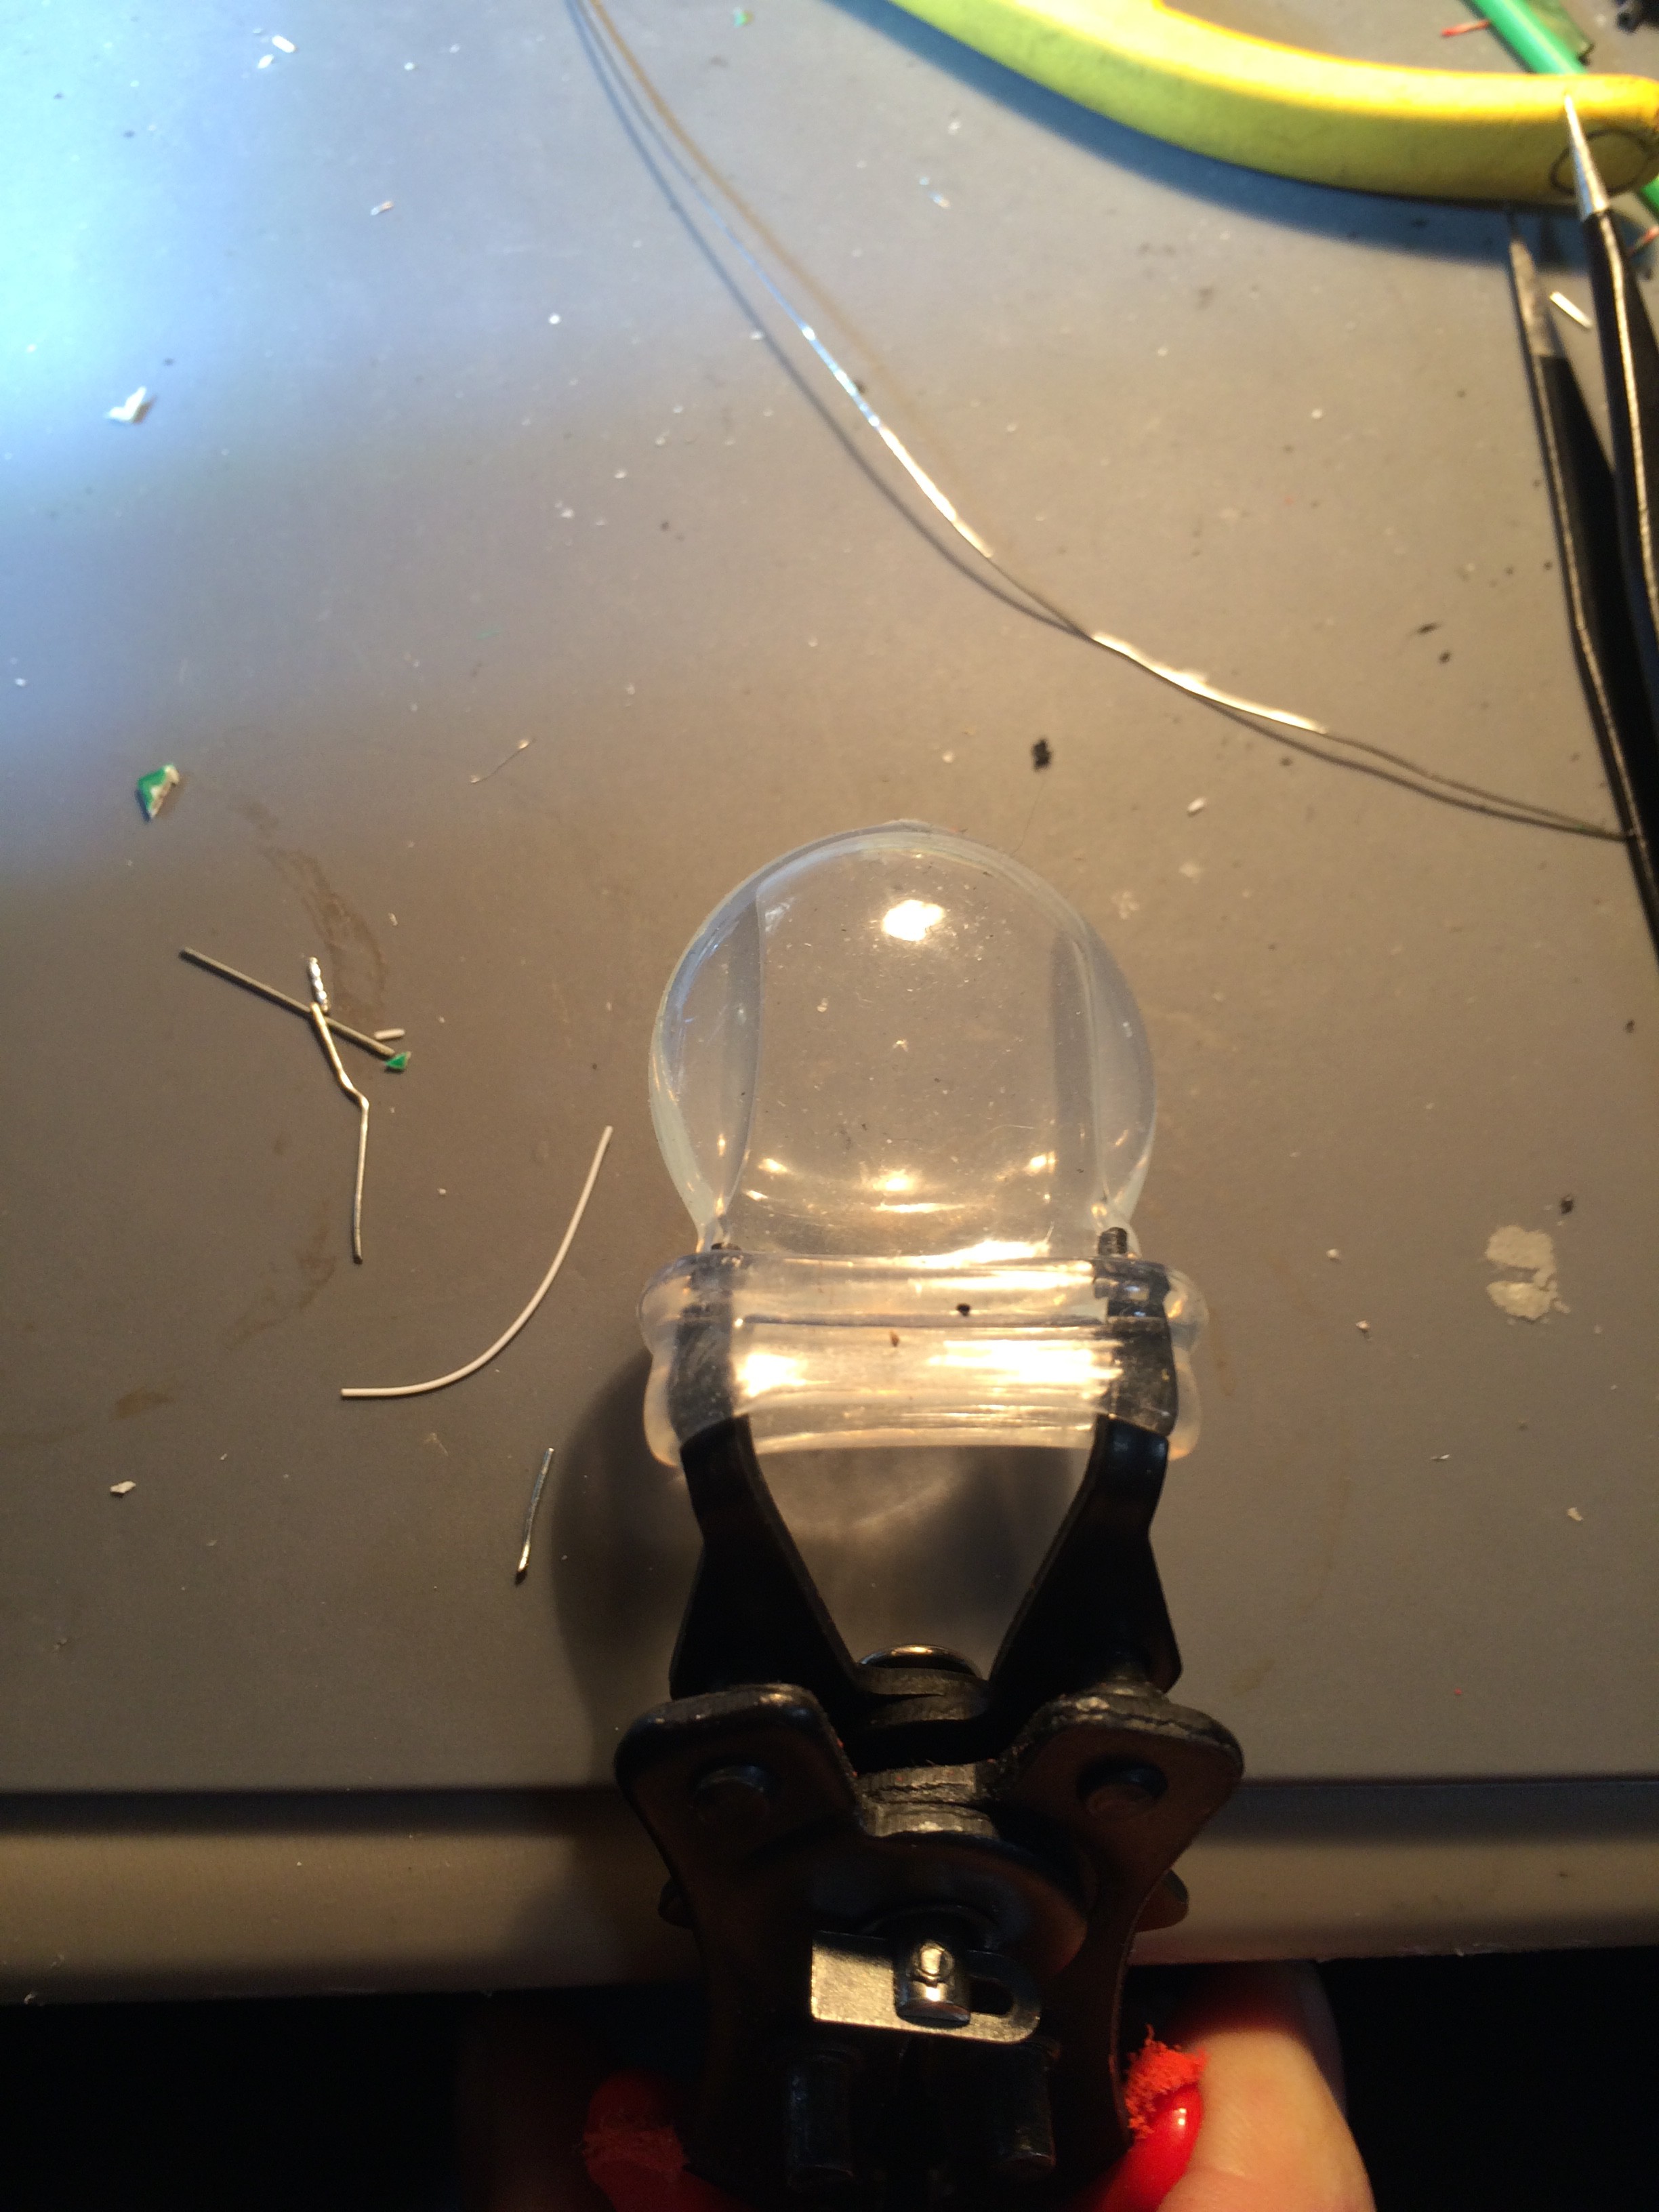
After folding back the silicone neck and then expanding it with the pliers, the boards can easily be loaded.
![]()
-
Barometer Bug
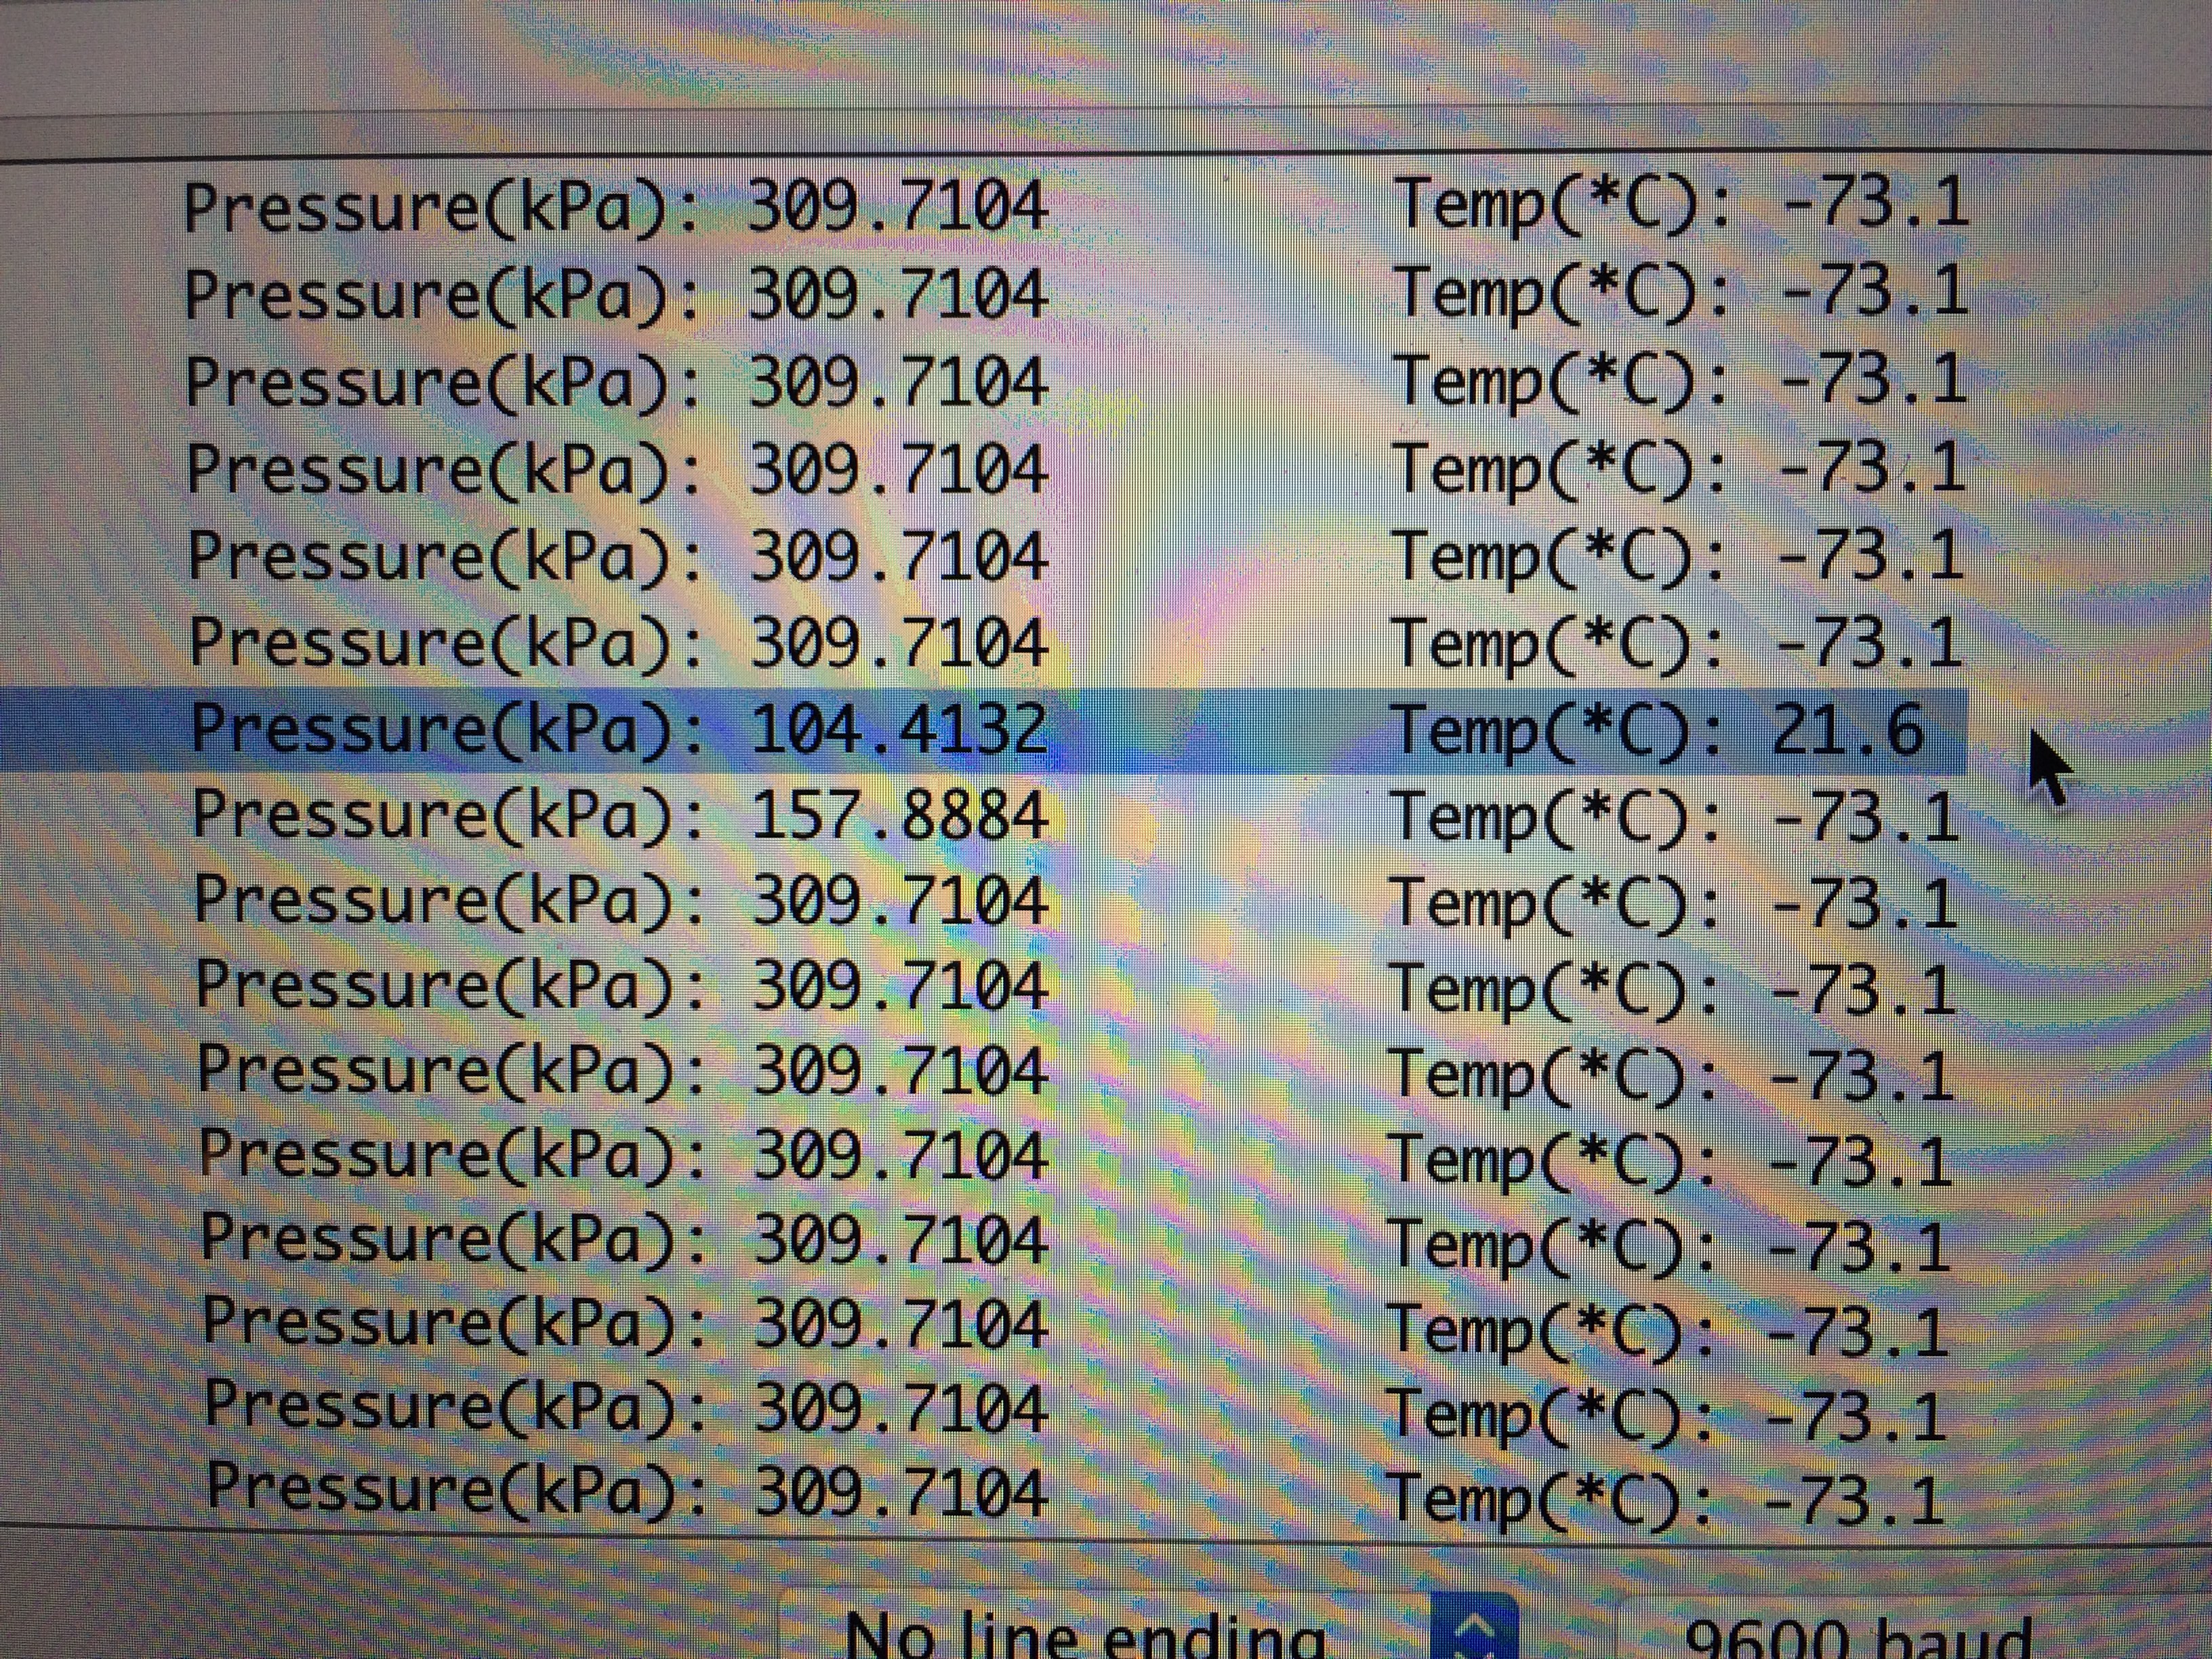
10/22/2018 at 08:29 • 0 commentsThe barometer is only working sporadically...
I have tried:
Replacing the sensor,
Changing the pull-up resistor values,
Changing the power supply voltage,
Changing the measurement timing...
But no dice. Here is proof that is does work sometimes though:
![]()
It looks like I am not alone with this issue - these guys ran into the same problem, but ended up just switching to a different type of sensor: PiAQ
-
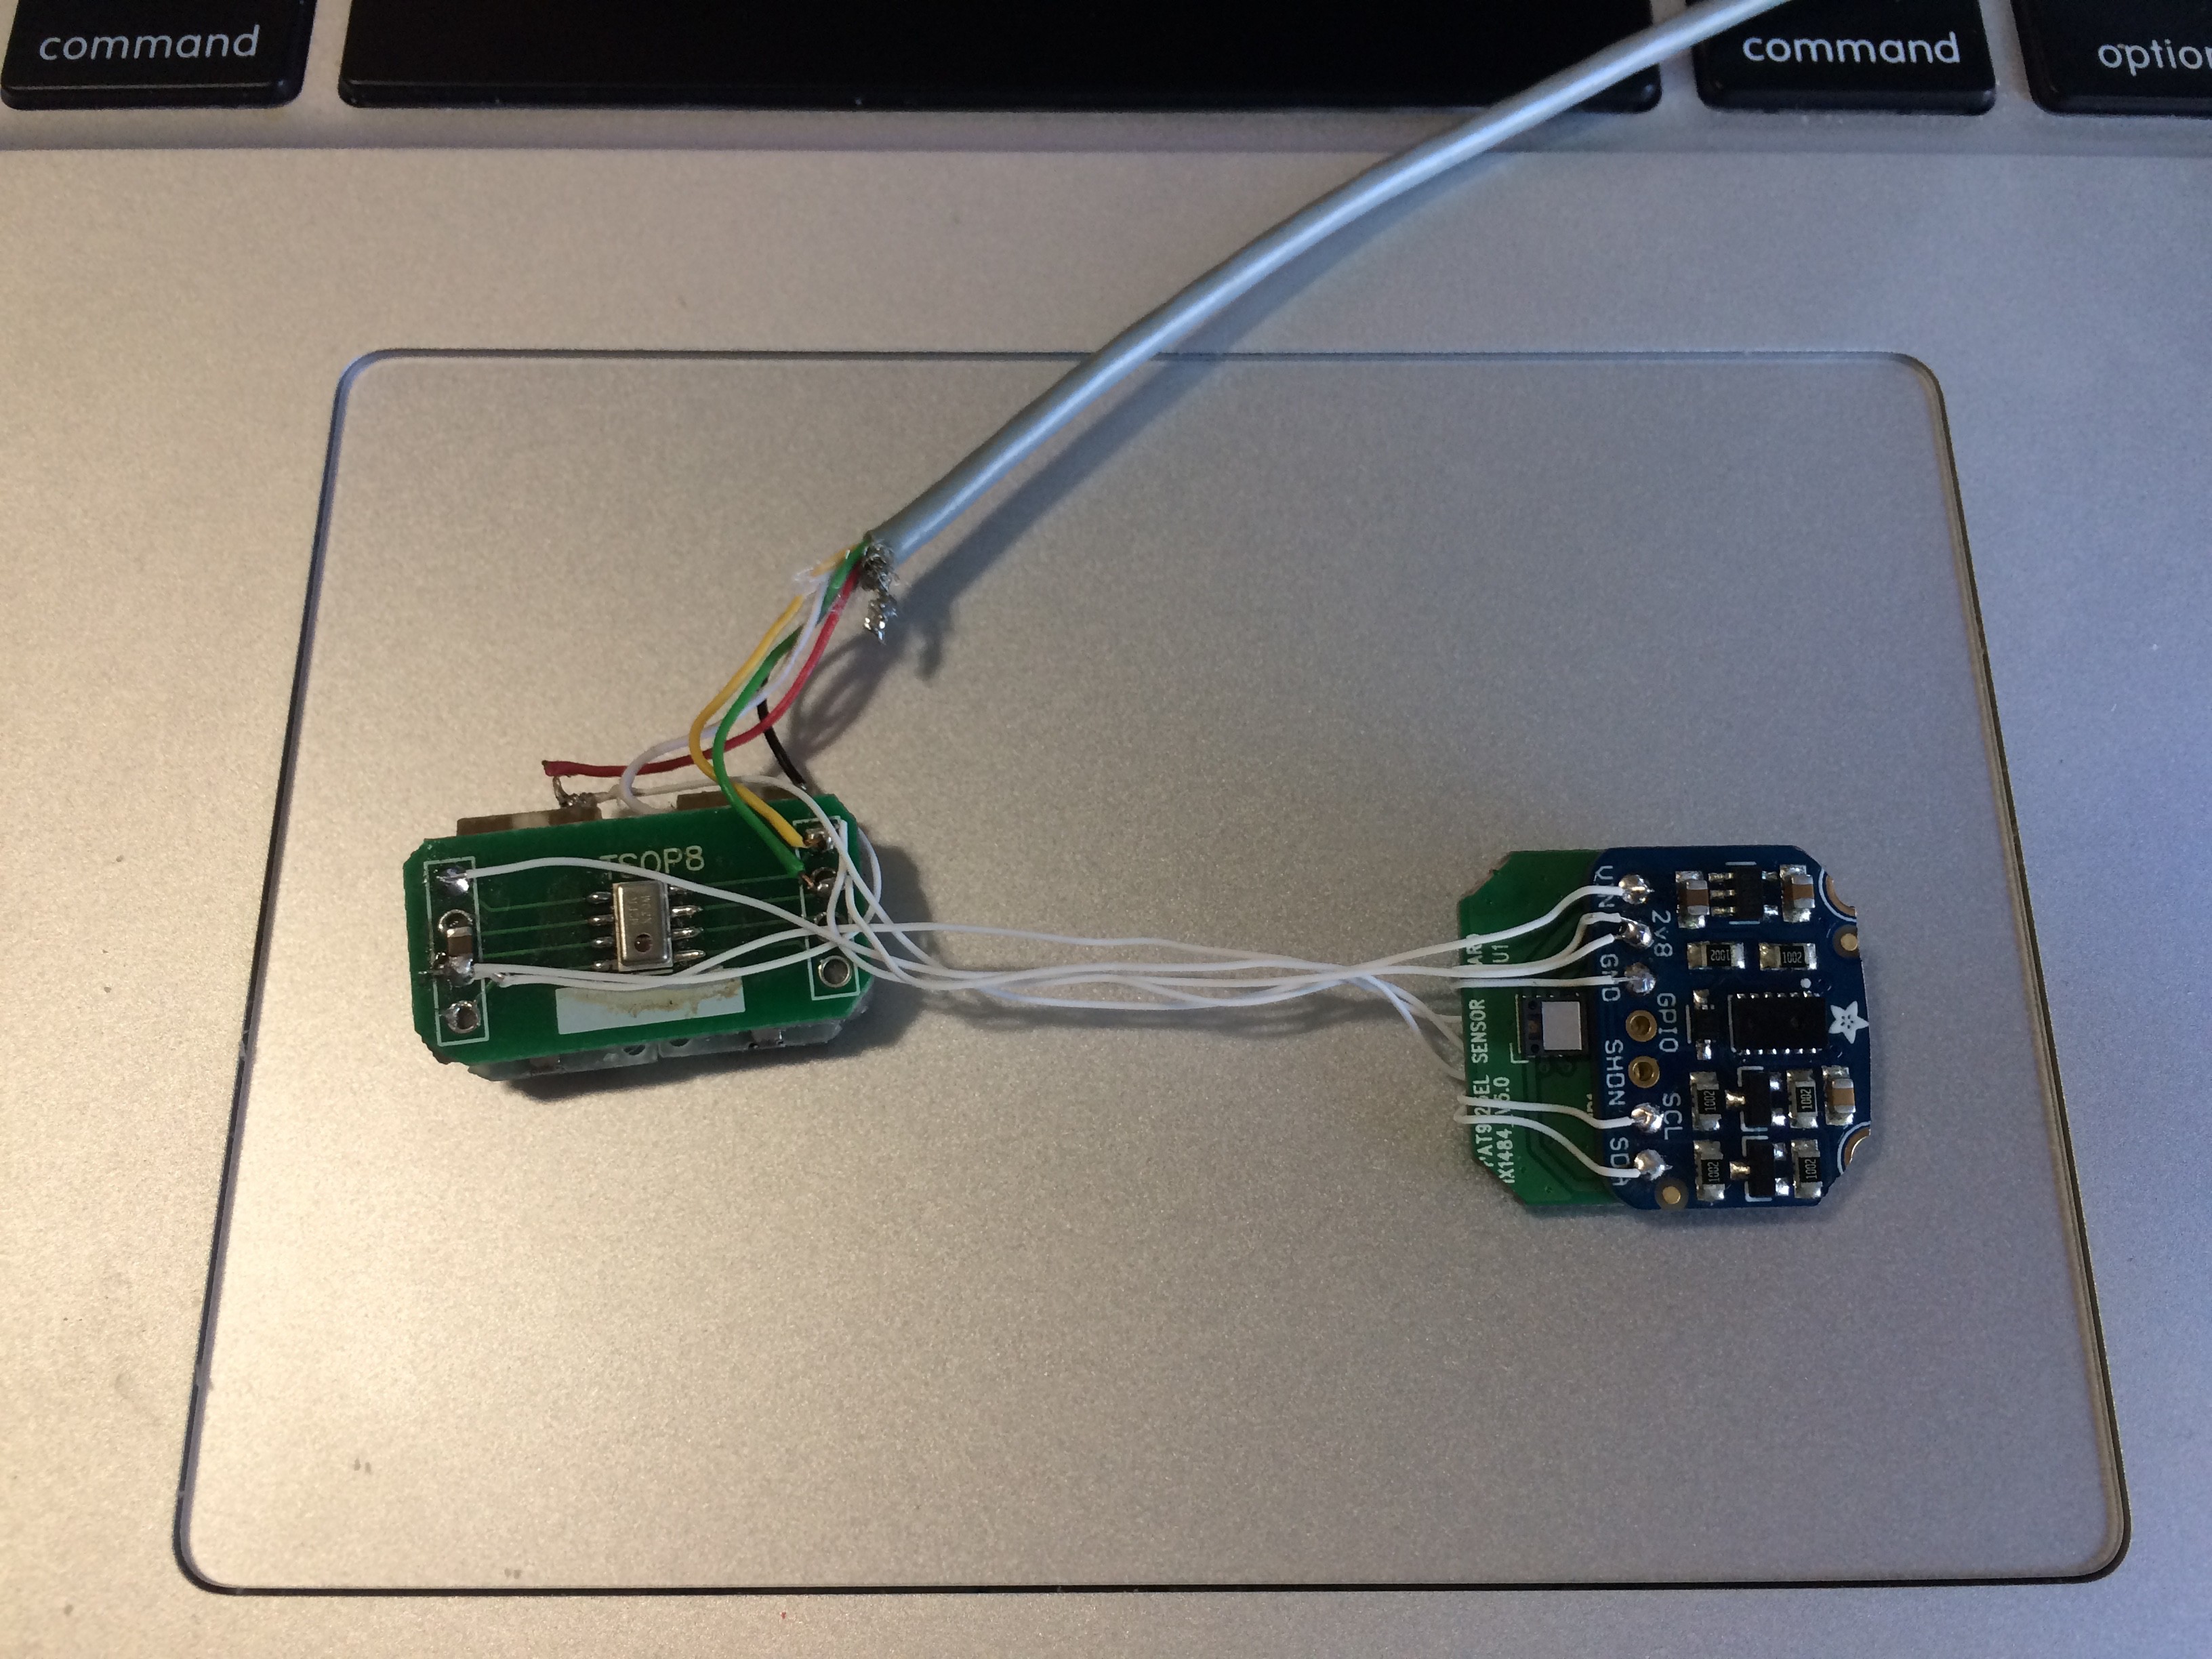
Beta Microcontroller Solution
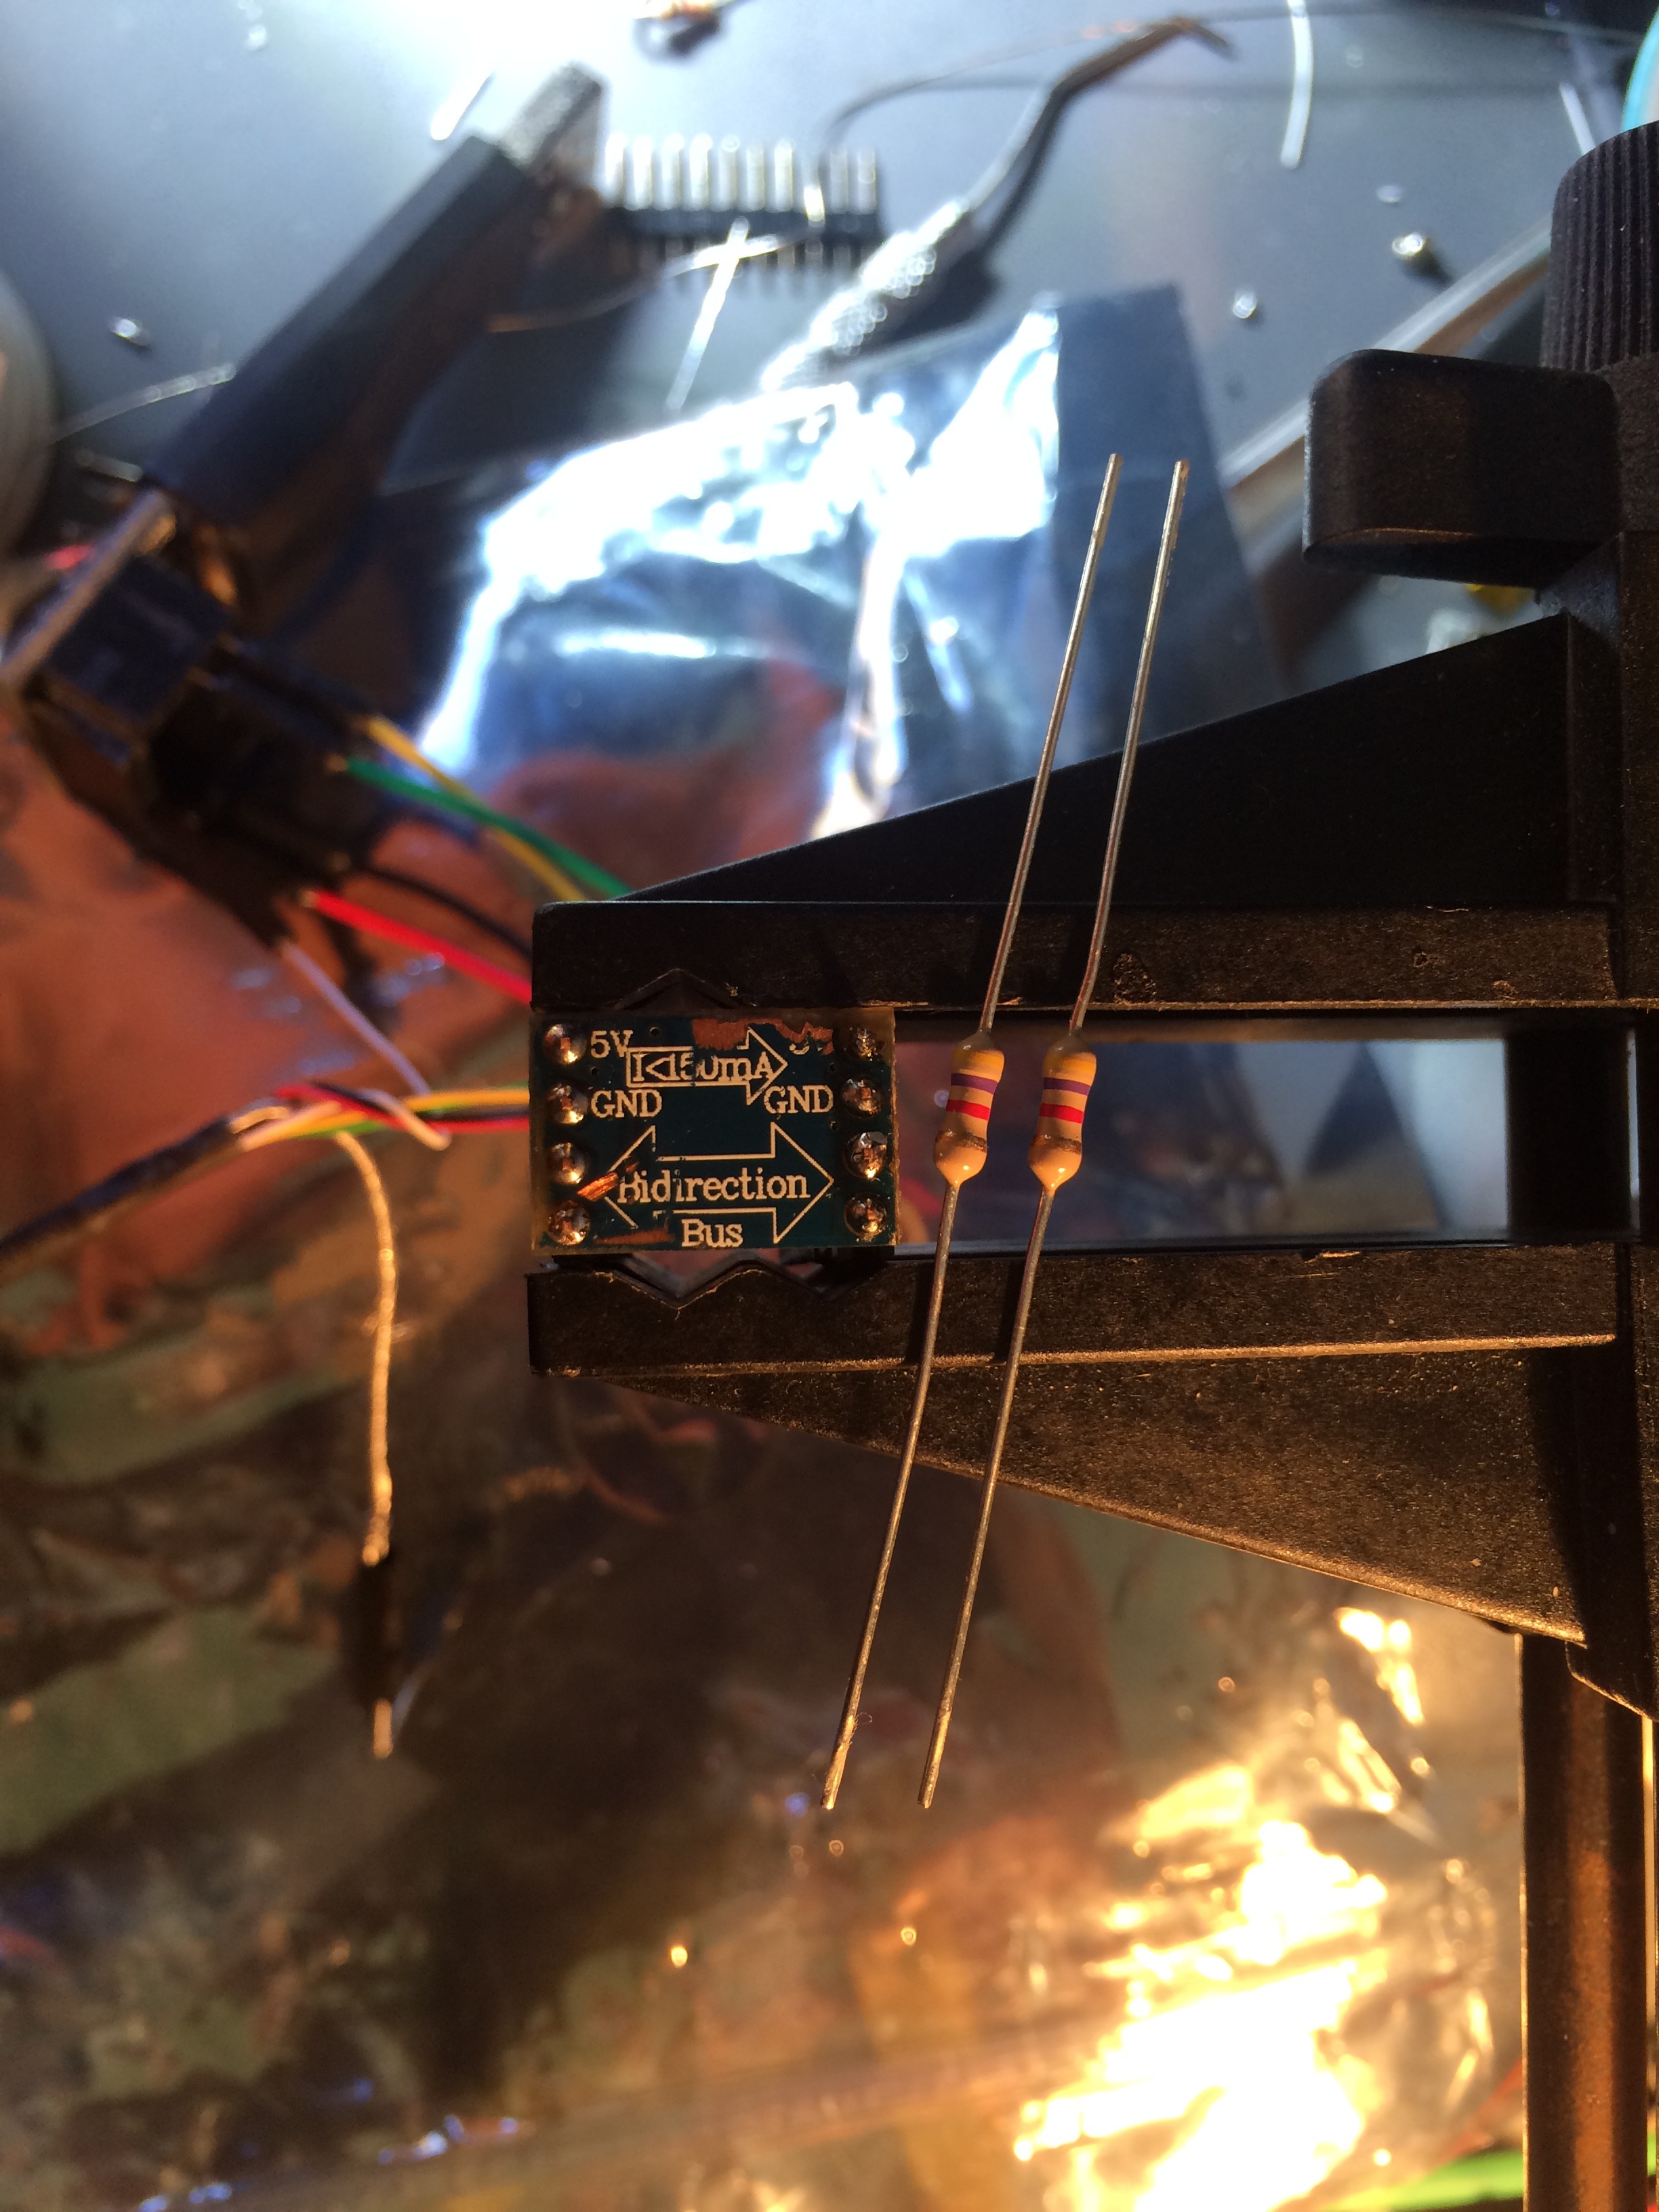
10/22/2018 at 07:54 • 0 commentsTo provide a more open and accessible way to interface the bit, the beta prototype uses a CJMCU Beetle ATmega32u4 breakout. I wanted to use a fully open hardware DigiSpark, but it was not able to handle the size of the firmware - It may be possible to heavily optimize the code and make it work eventually.
The Beetle runs on 5V, so a generic level translator was required to interface the sensors. I2C pull-up resistors were added directly to the translator board:
![]()
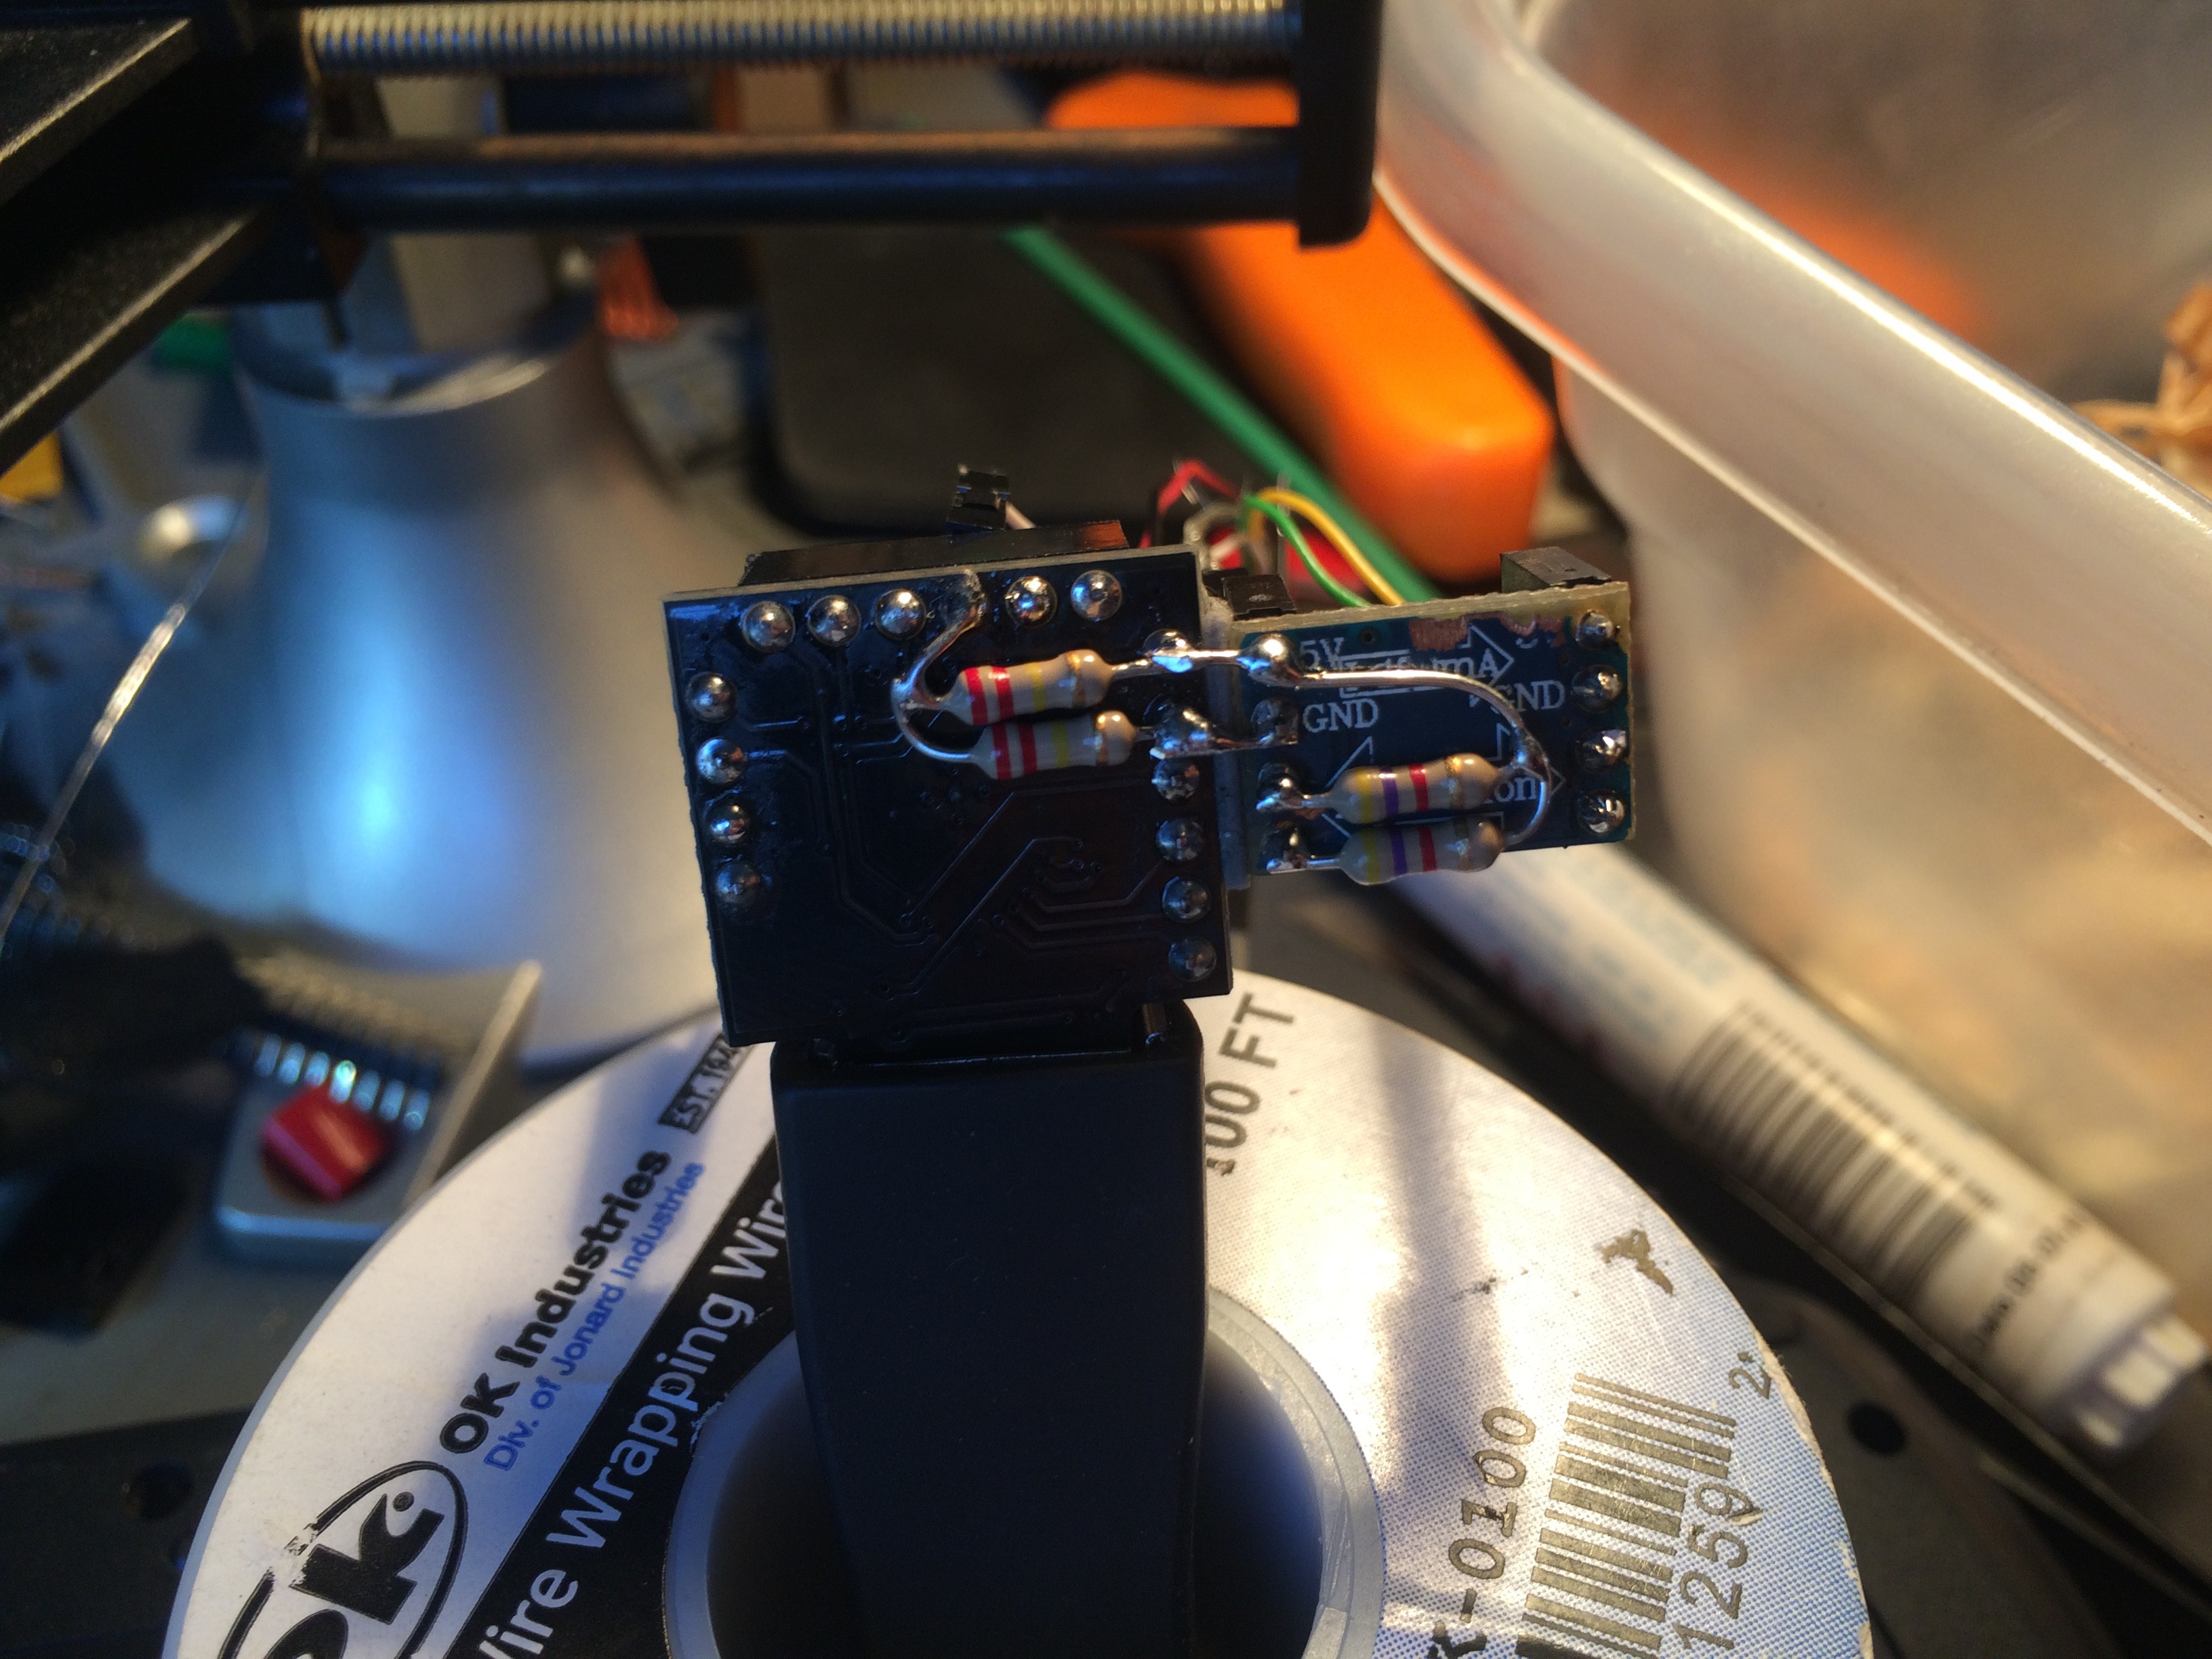
The translator joined up with the Beetle:
![]()
The two resistors on the beetle are supposed to help keep the analog force sensor voltage mid-range when the force sensors are unloaded (their resistance can go to Mega-ohms)
The happy family:
![]()
-
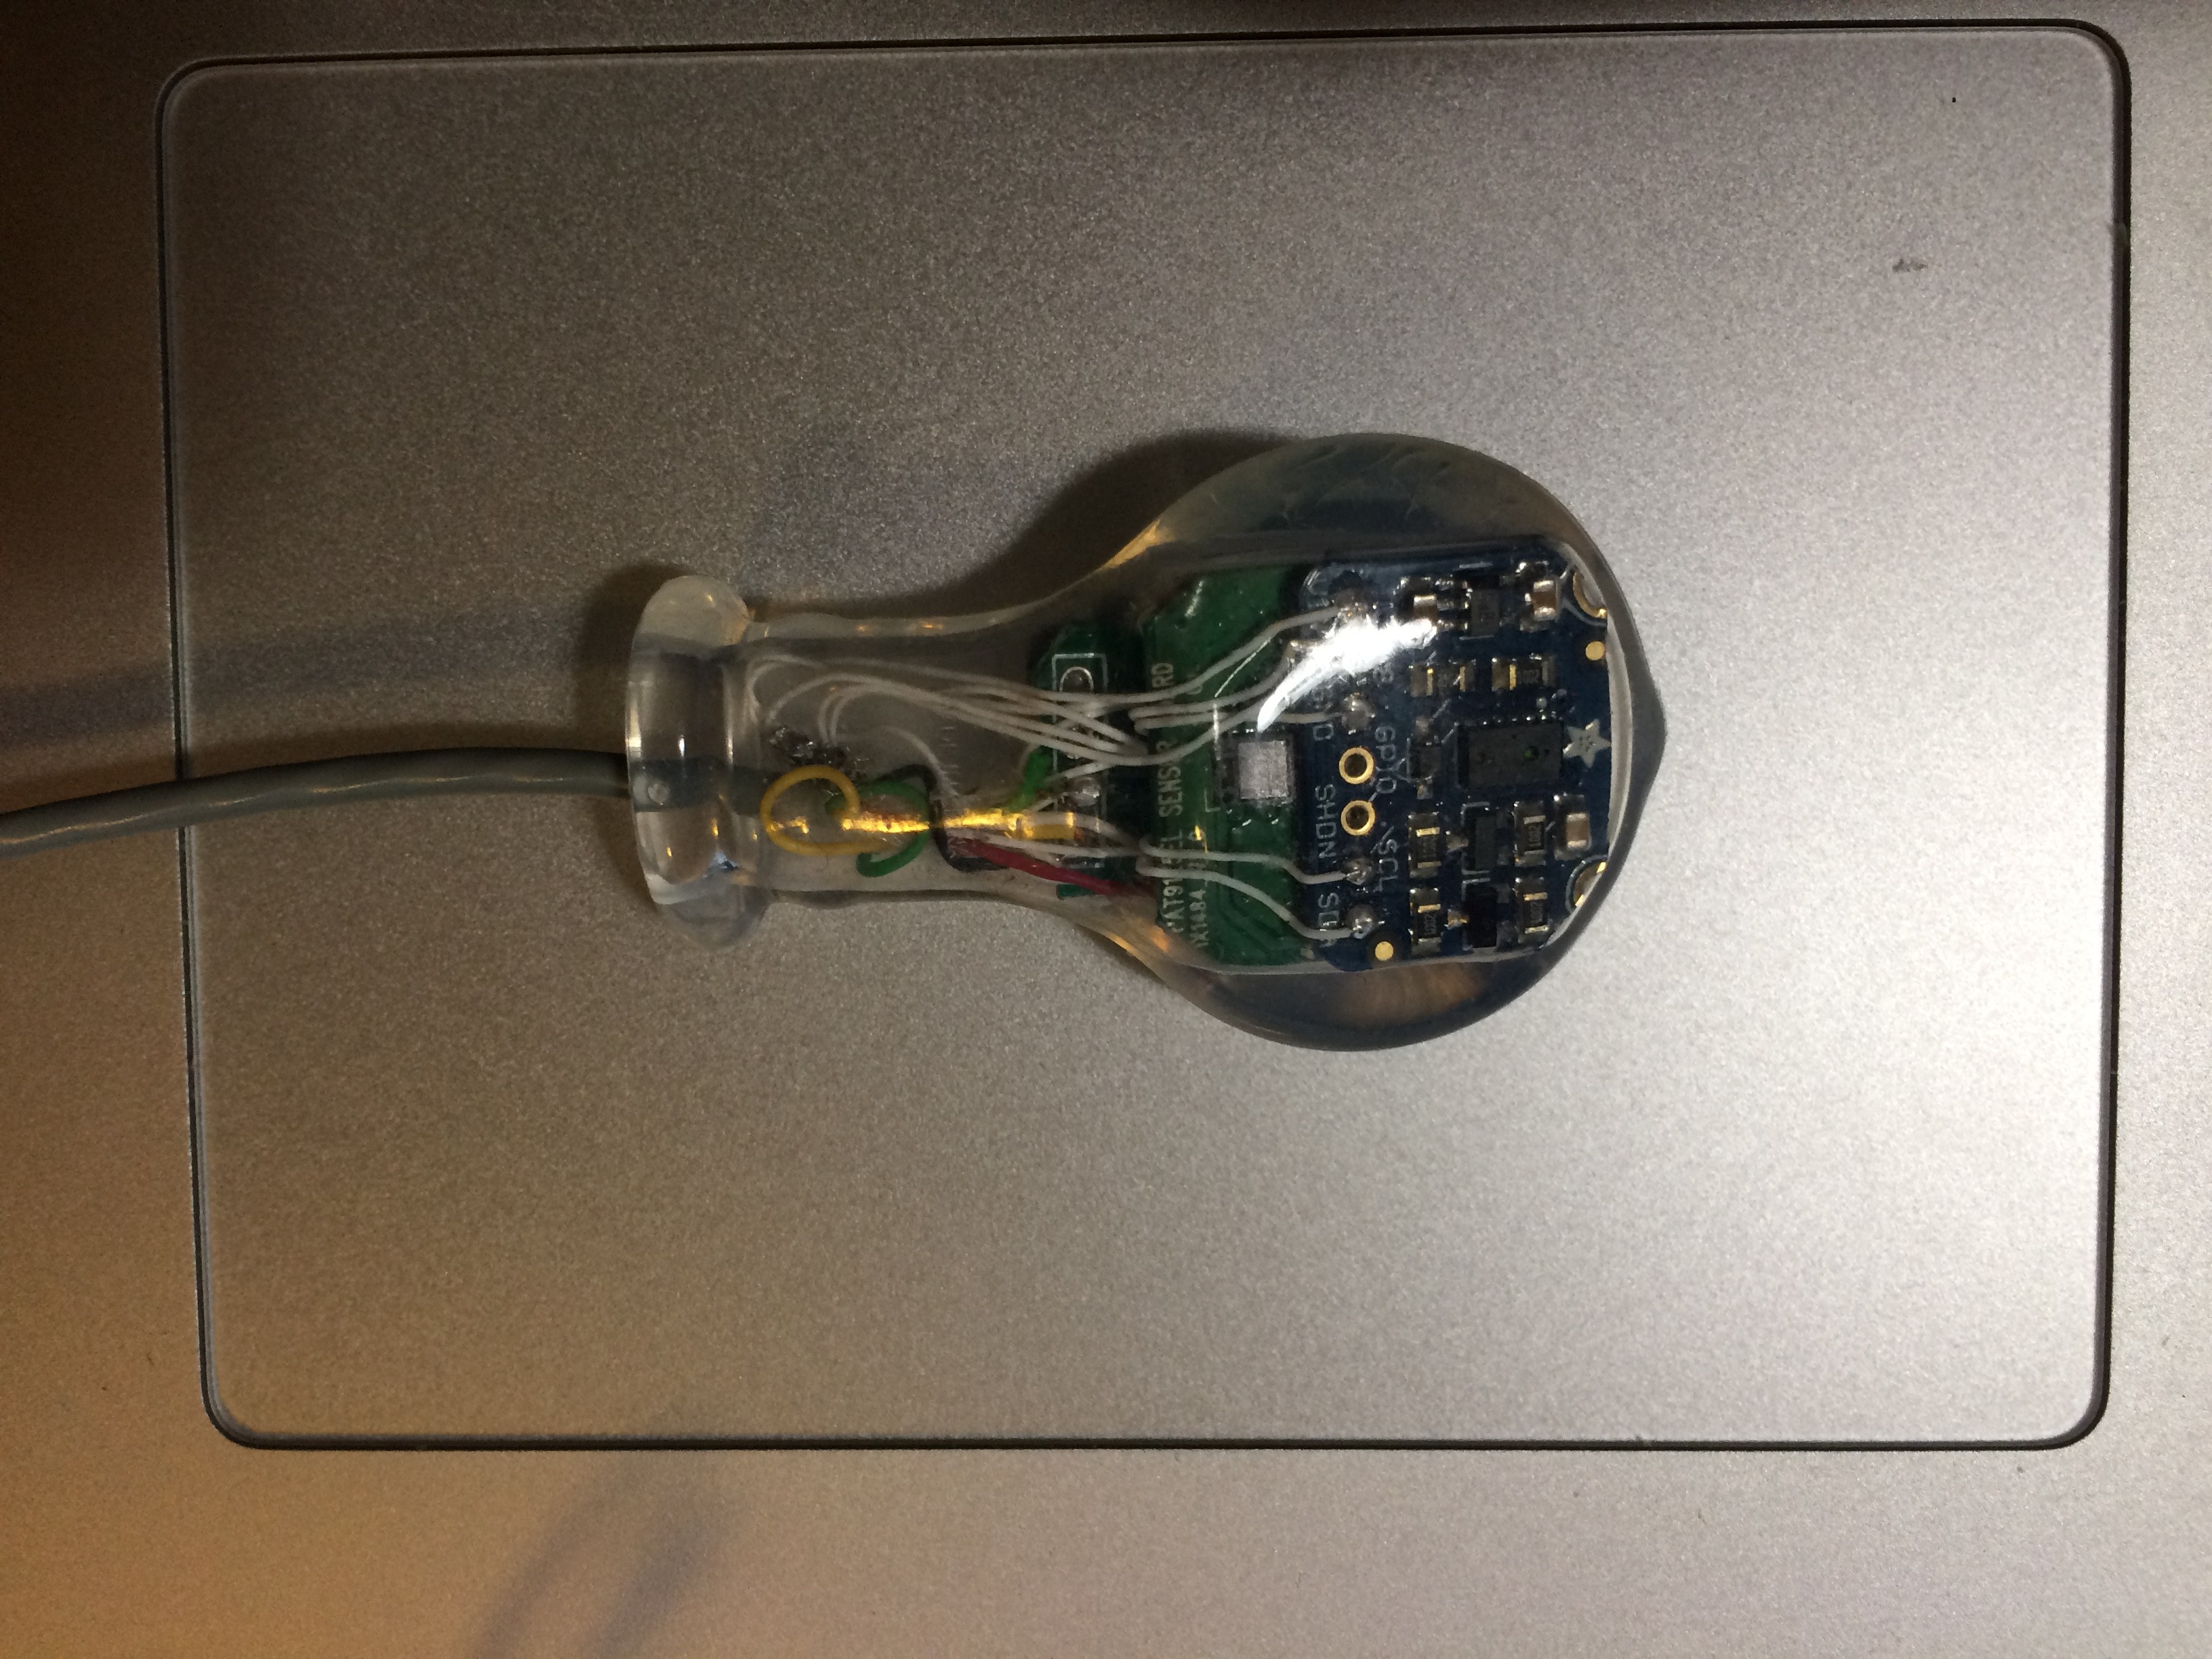
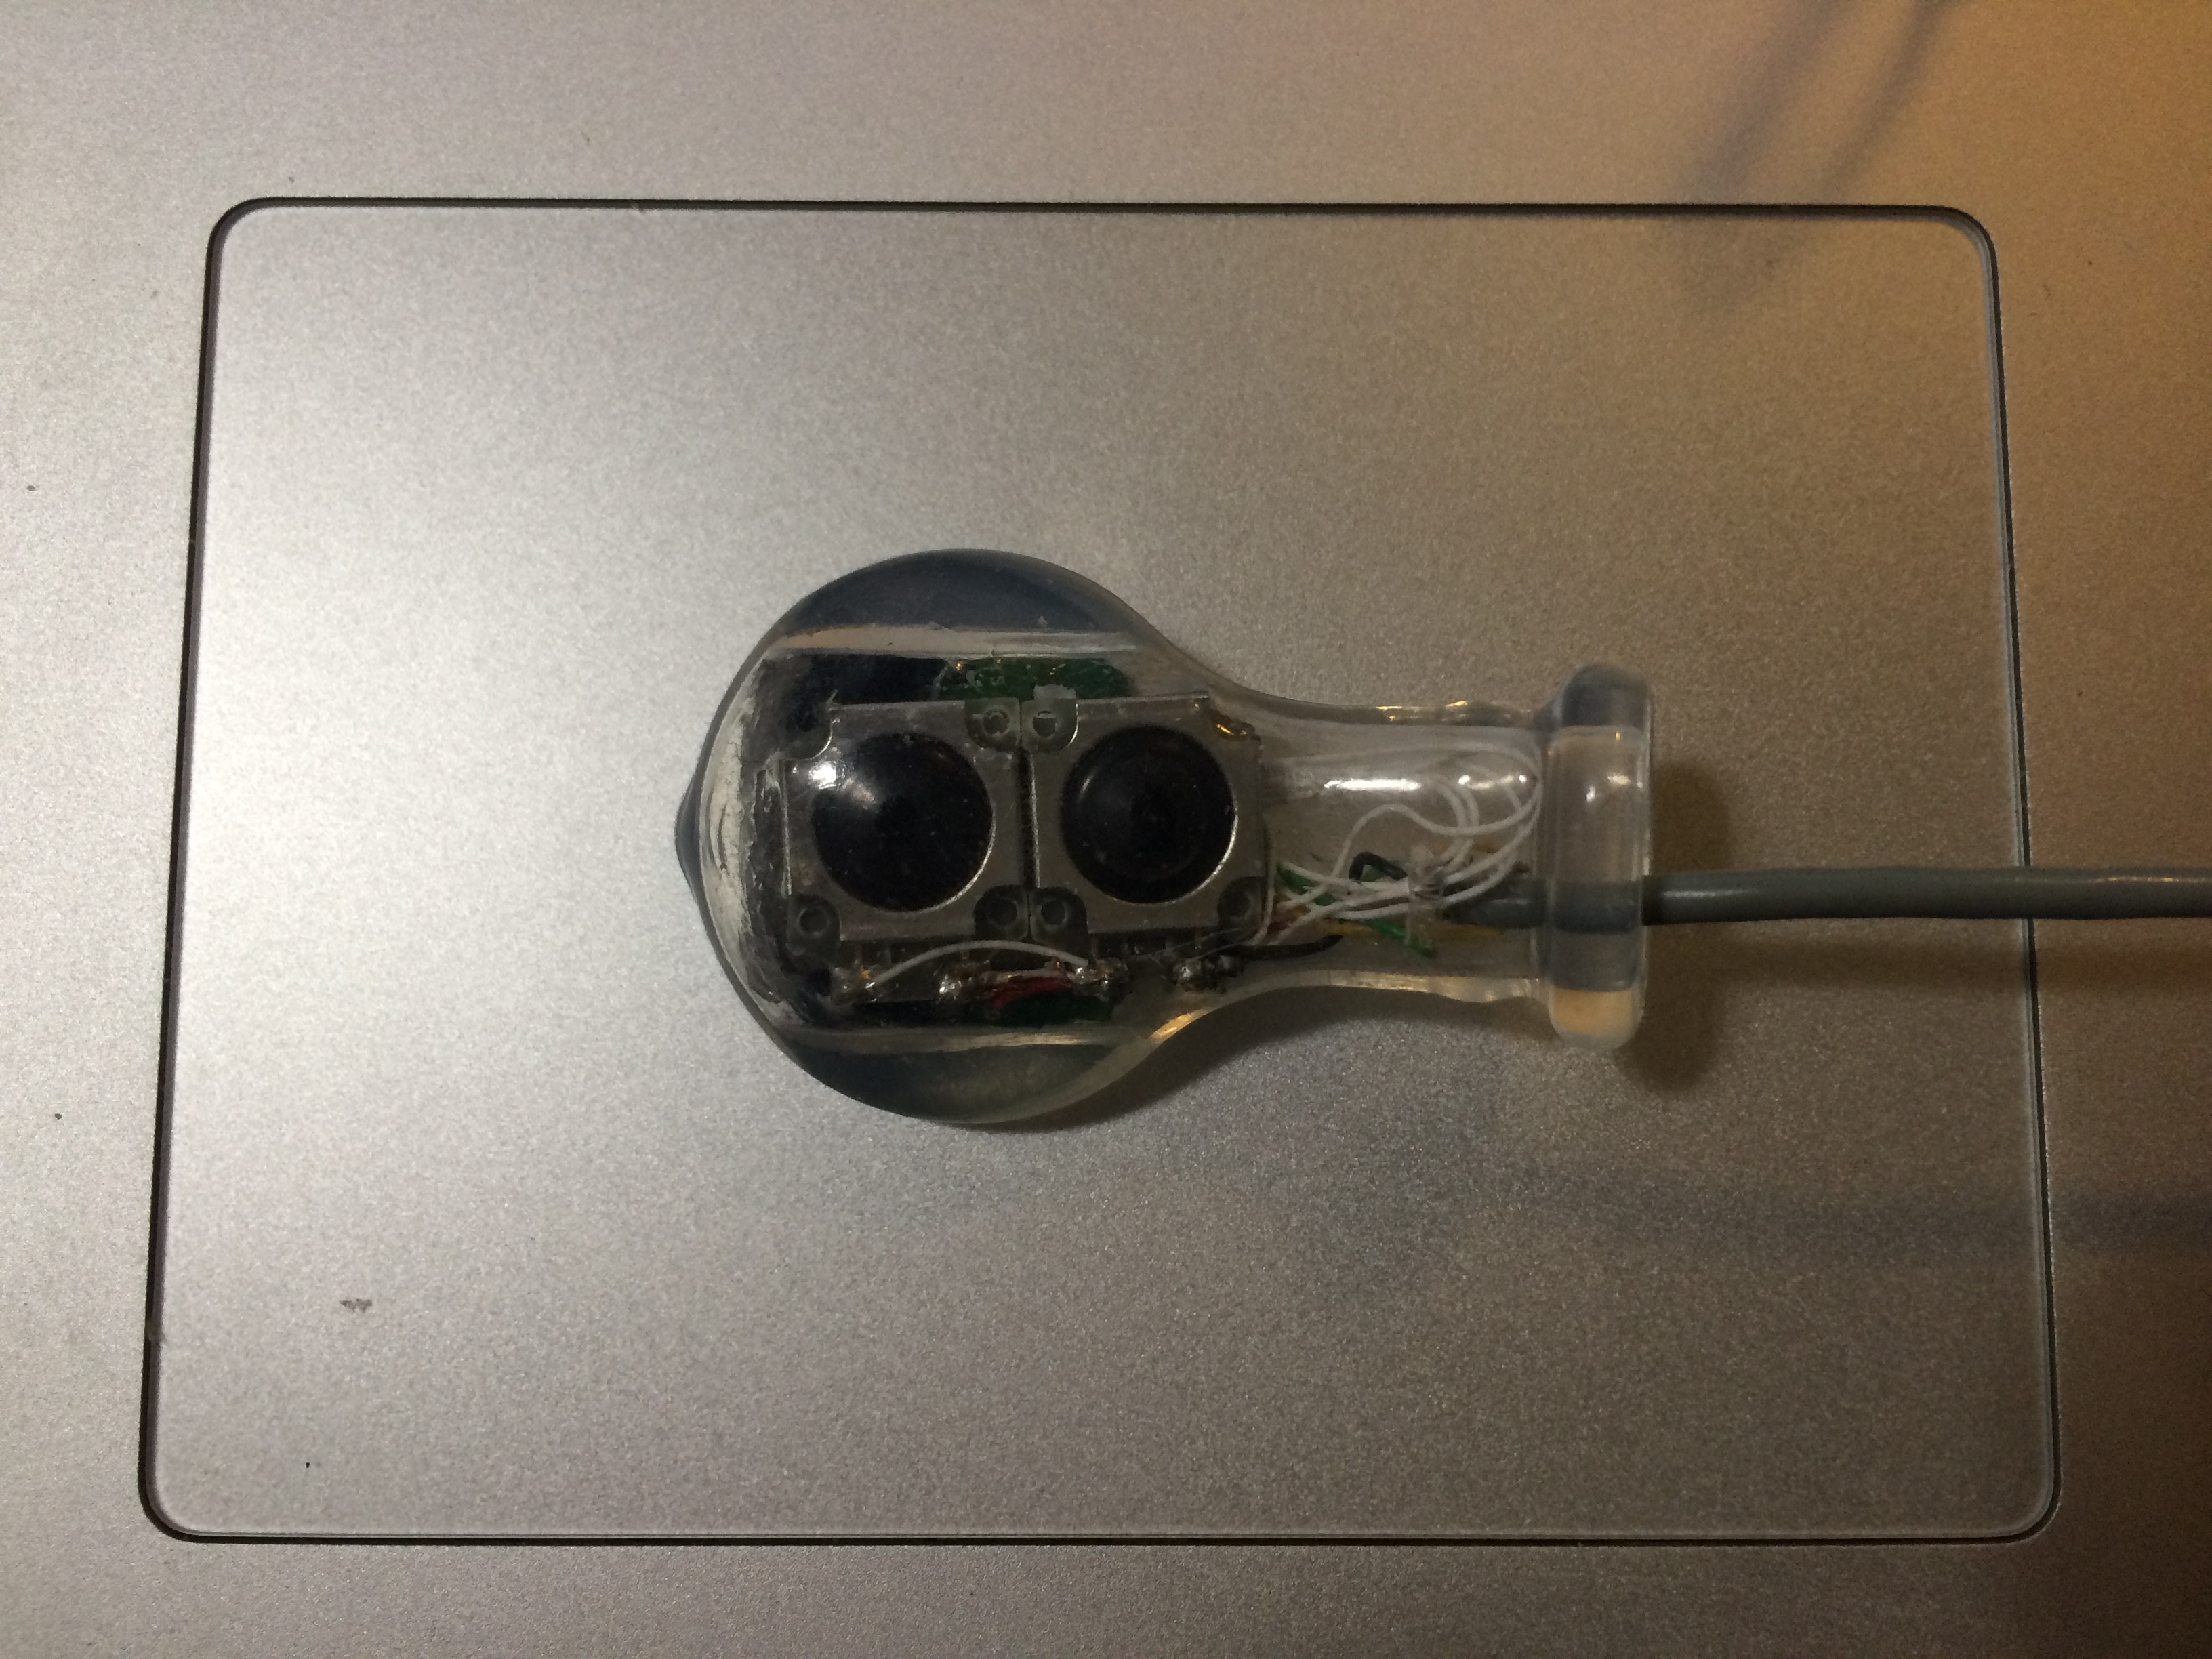
Beta Prototype
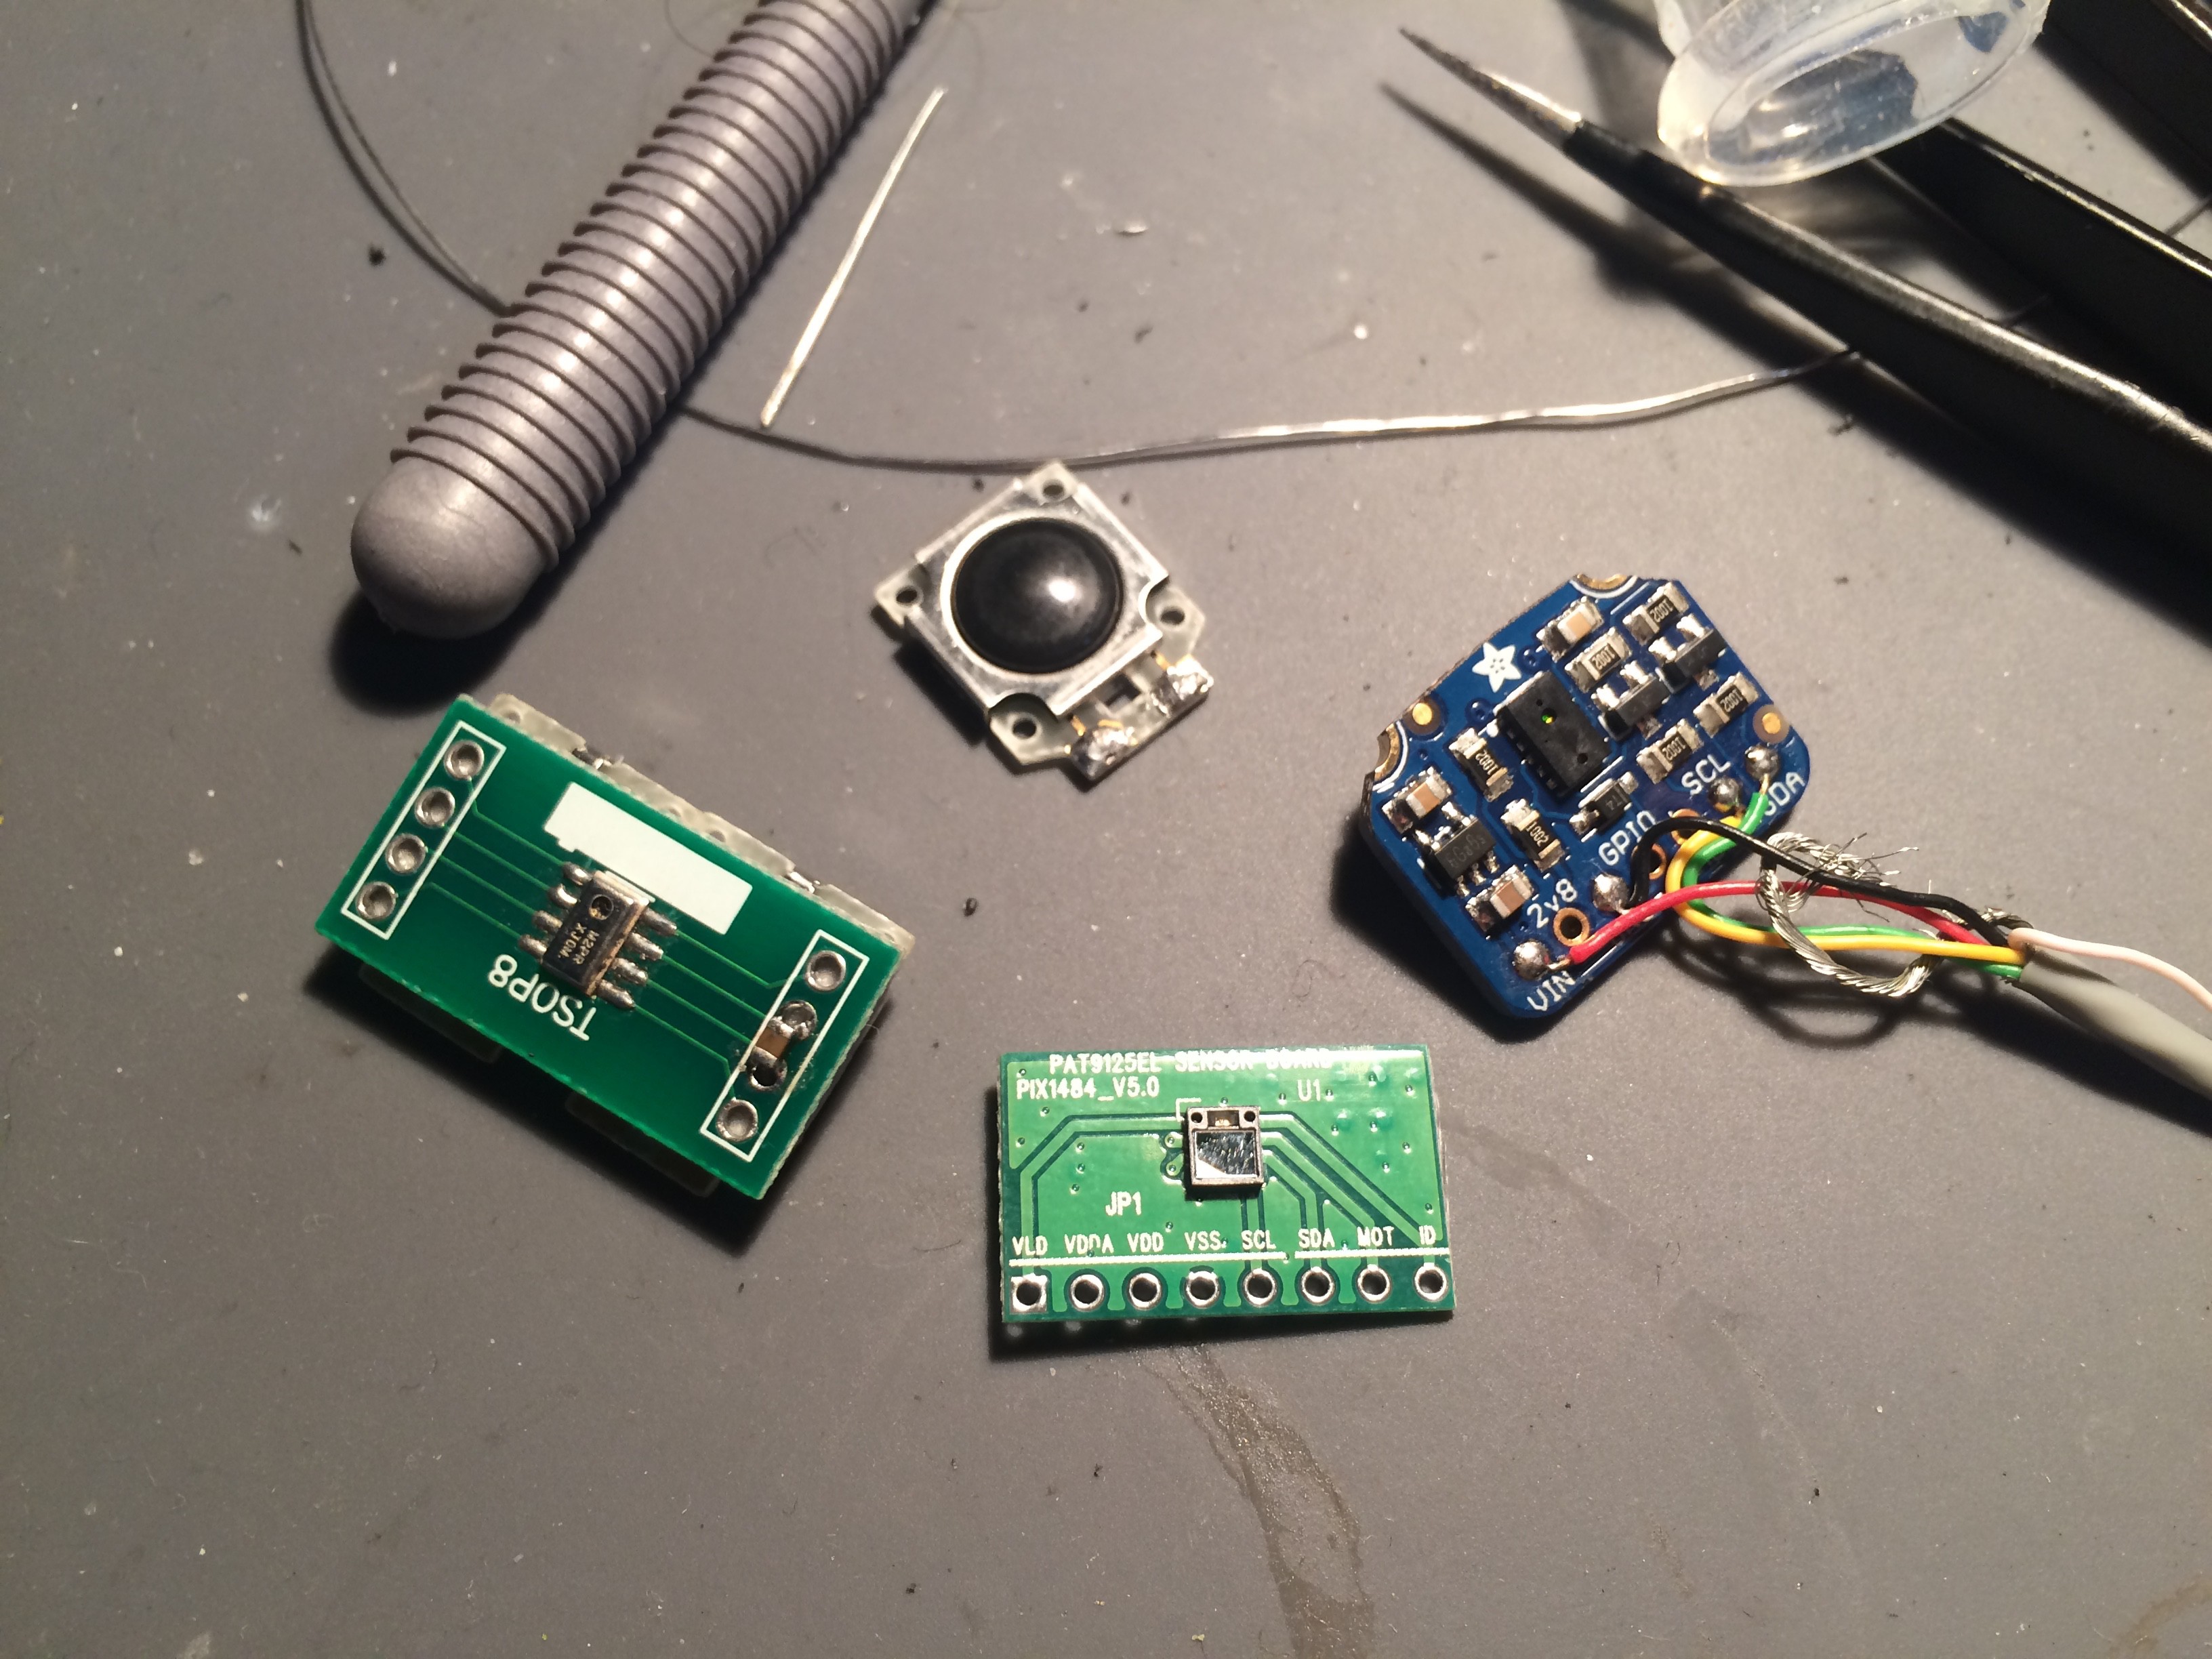
10/22/2018 at 07:35 • 0 commentsAfter trying out several combinations, I decided on the following sensors for the beta prototype:
Optical surface tracking
Time of flight laser displacement
Barometric pressure+temperature
Differential force (front to back)
![]()
Partially Assembled:
![]()
Getting Closer:
![]()
Buttoned Up:
![]()
Top side (showing front and back force sensors):
![]()
The two force sensors form a voltage divider allowing one analog pin to effectively monitor both. (Idle output voltage is half full scale)
-
Upgrades - Force Triangulation
10/22/2018 at 07:20 • 0 commentsSome applications may benefit from joystick-like control. This can be accomplished with three force sensors arranged in a triangle - here is a mockup on the left:
![]()
-
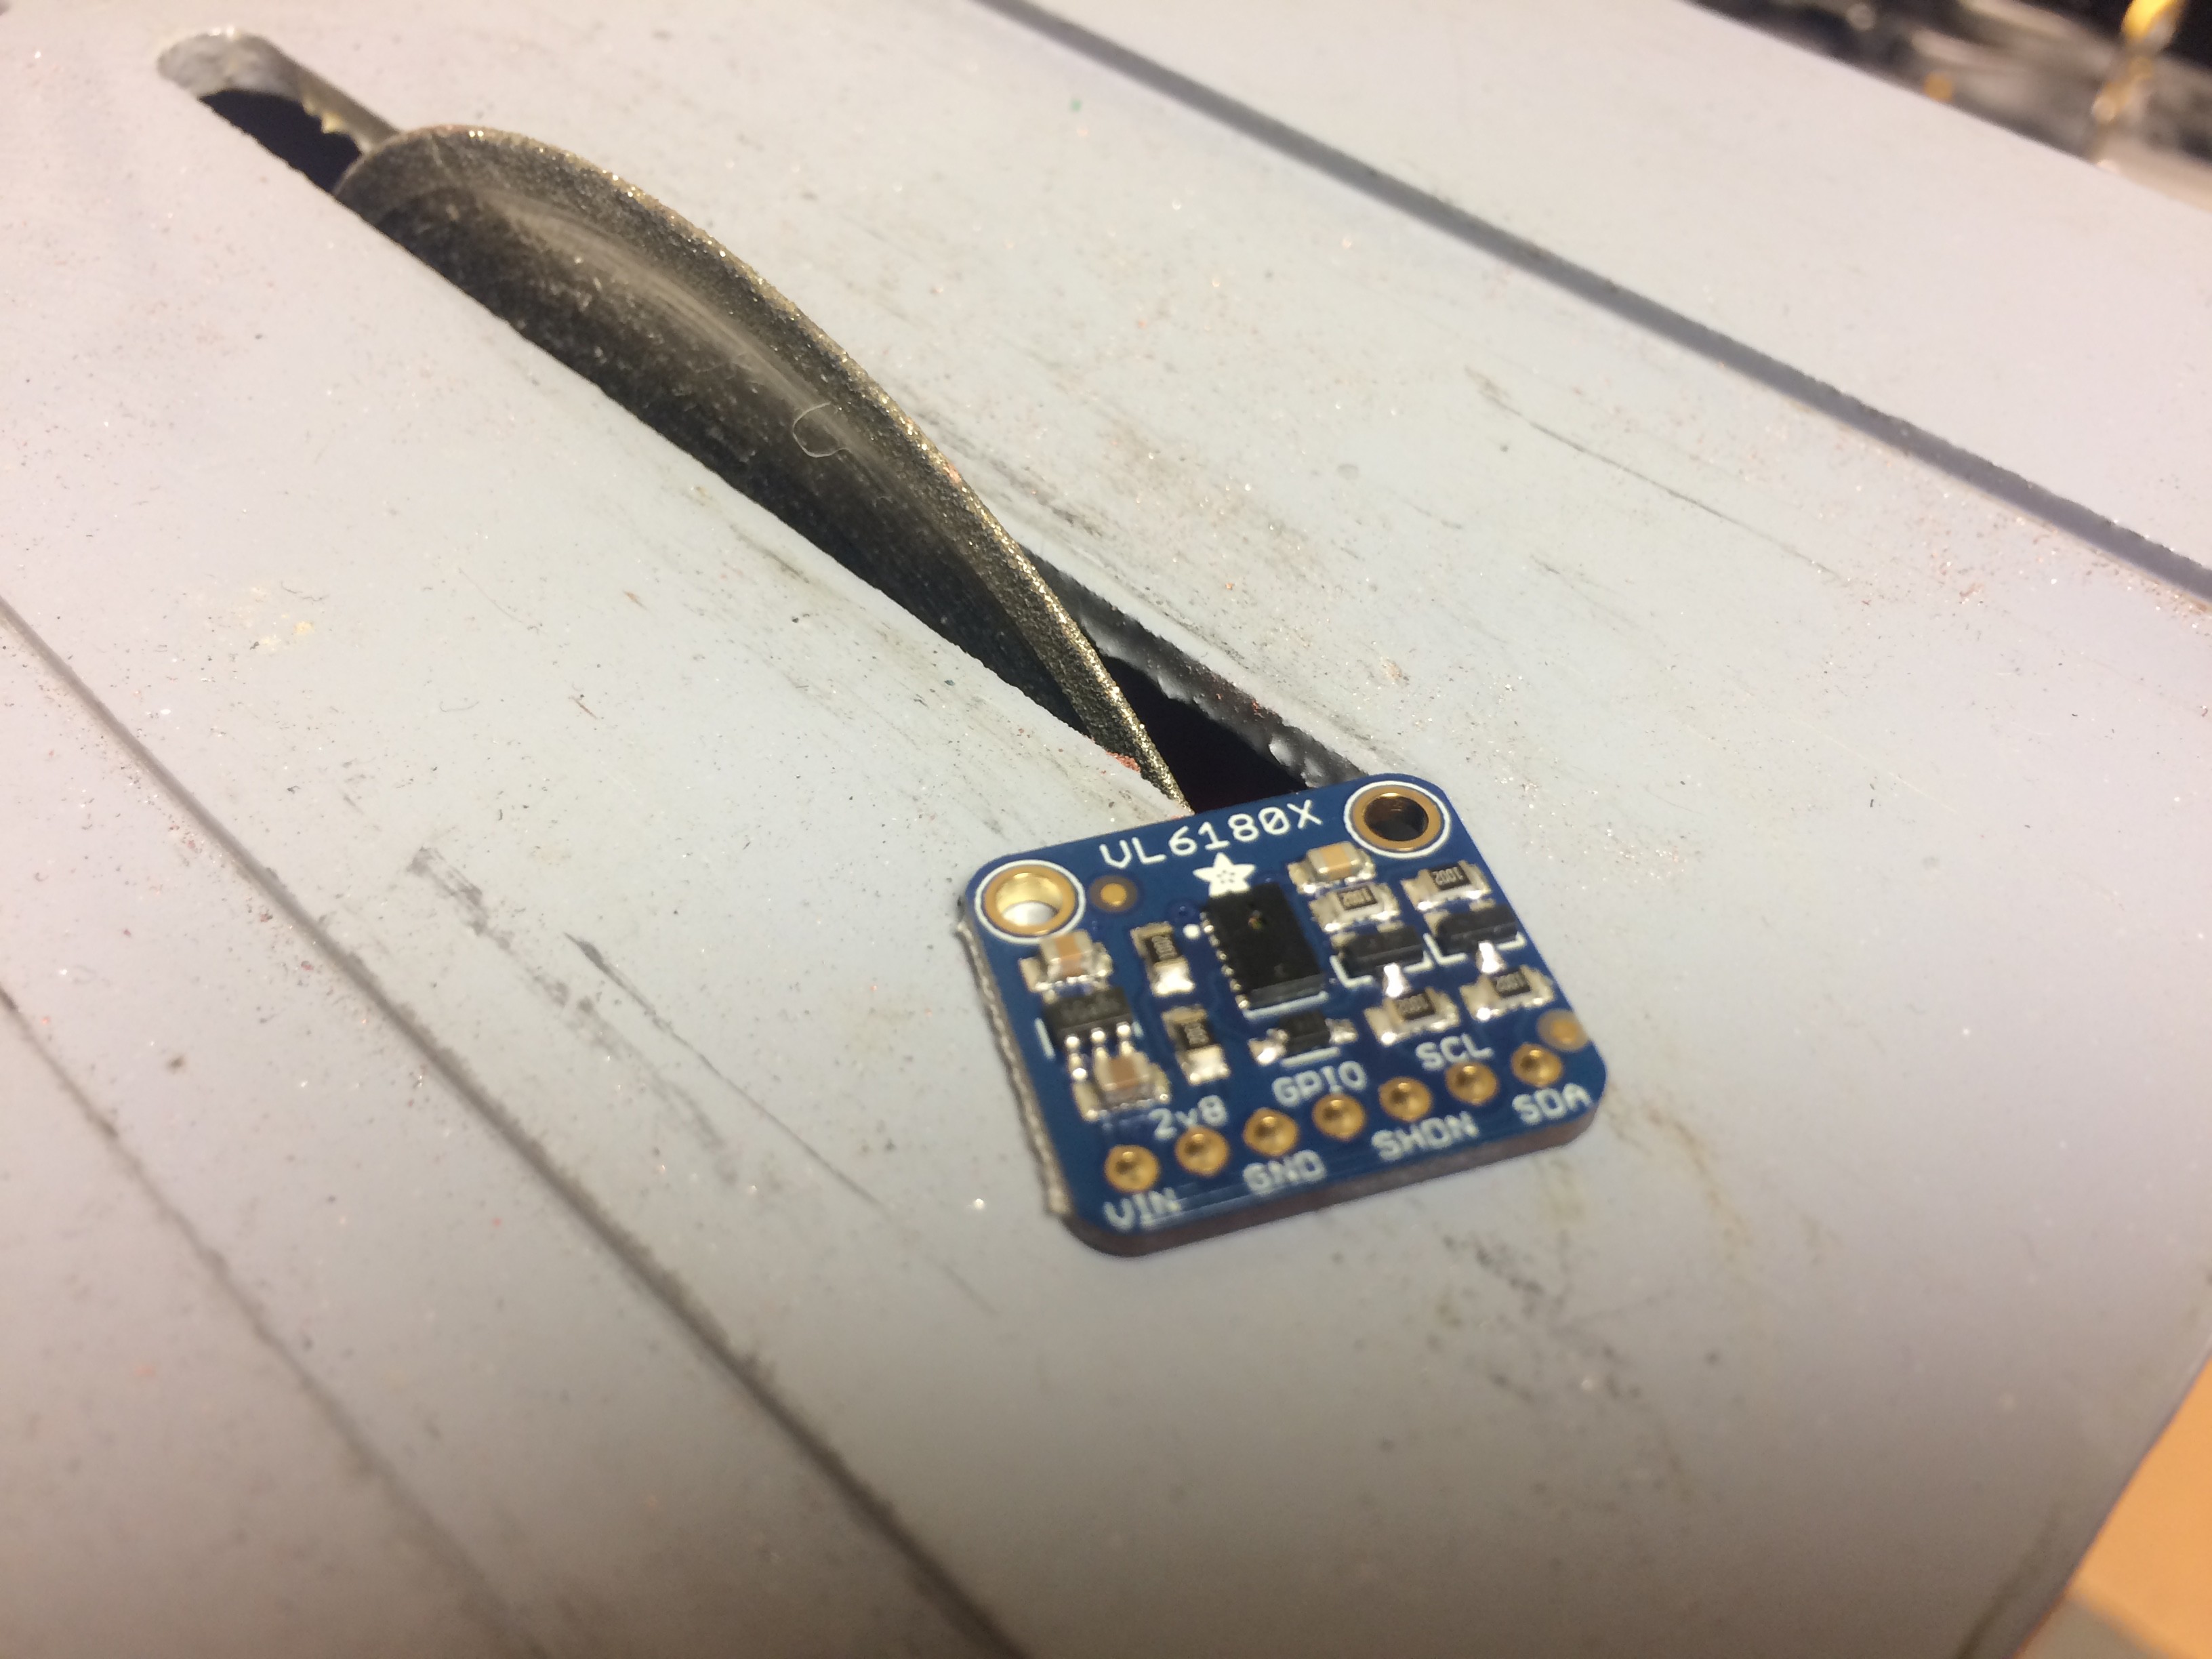
Upgrades - Laser Displacement
10/22/2018 at 07:14 • 0 commentsWhy not measure how far the tongue is from the bit?
How about a VL6180X laser time of flight displacement sensor:
![]()
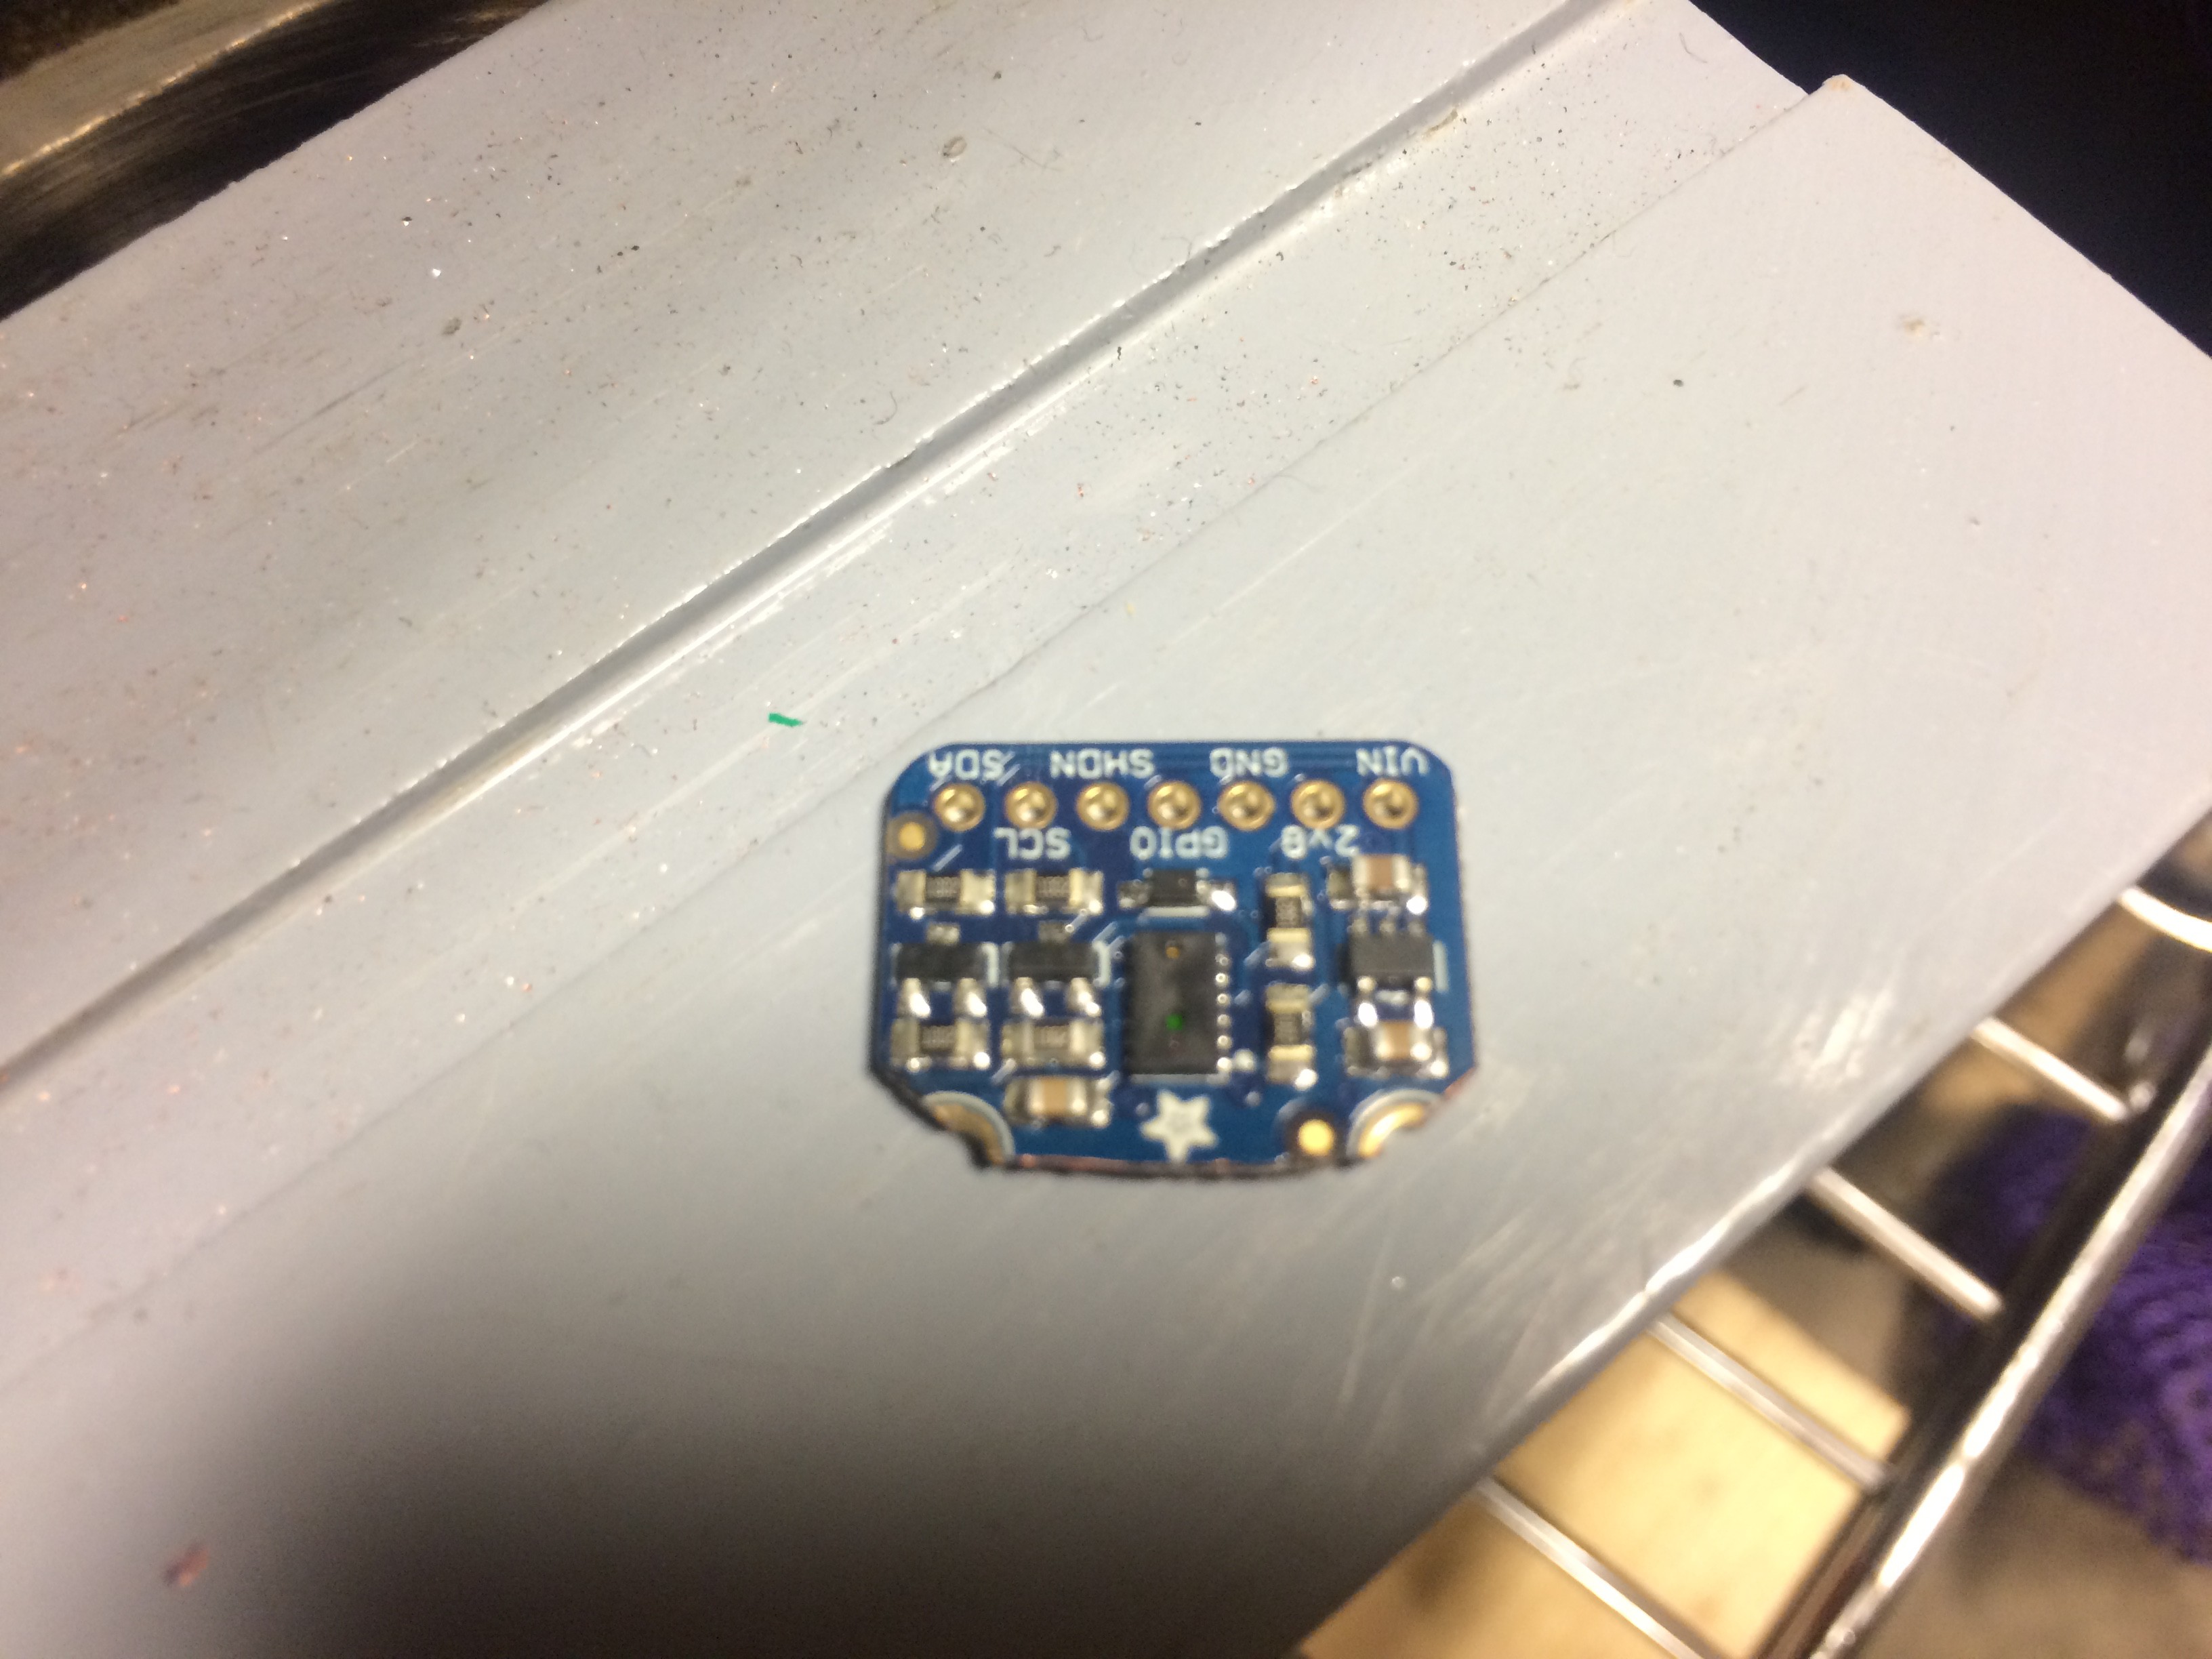
Needs to be chopped down a bit:
![]()
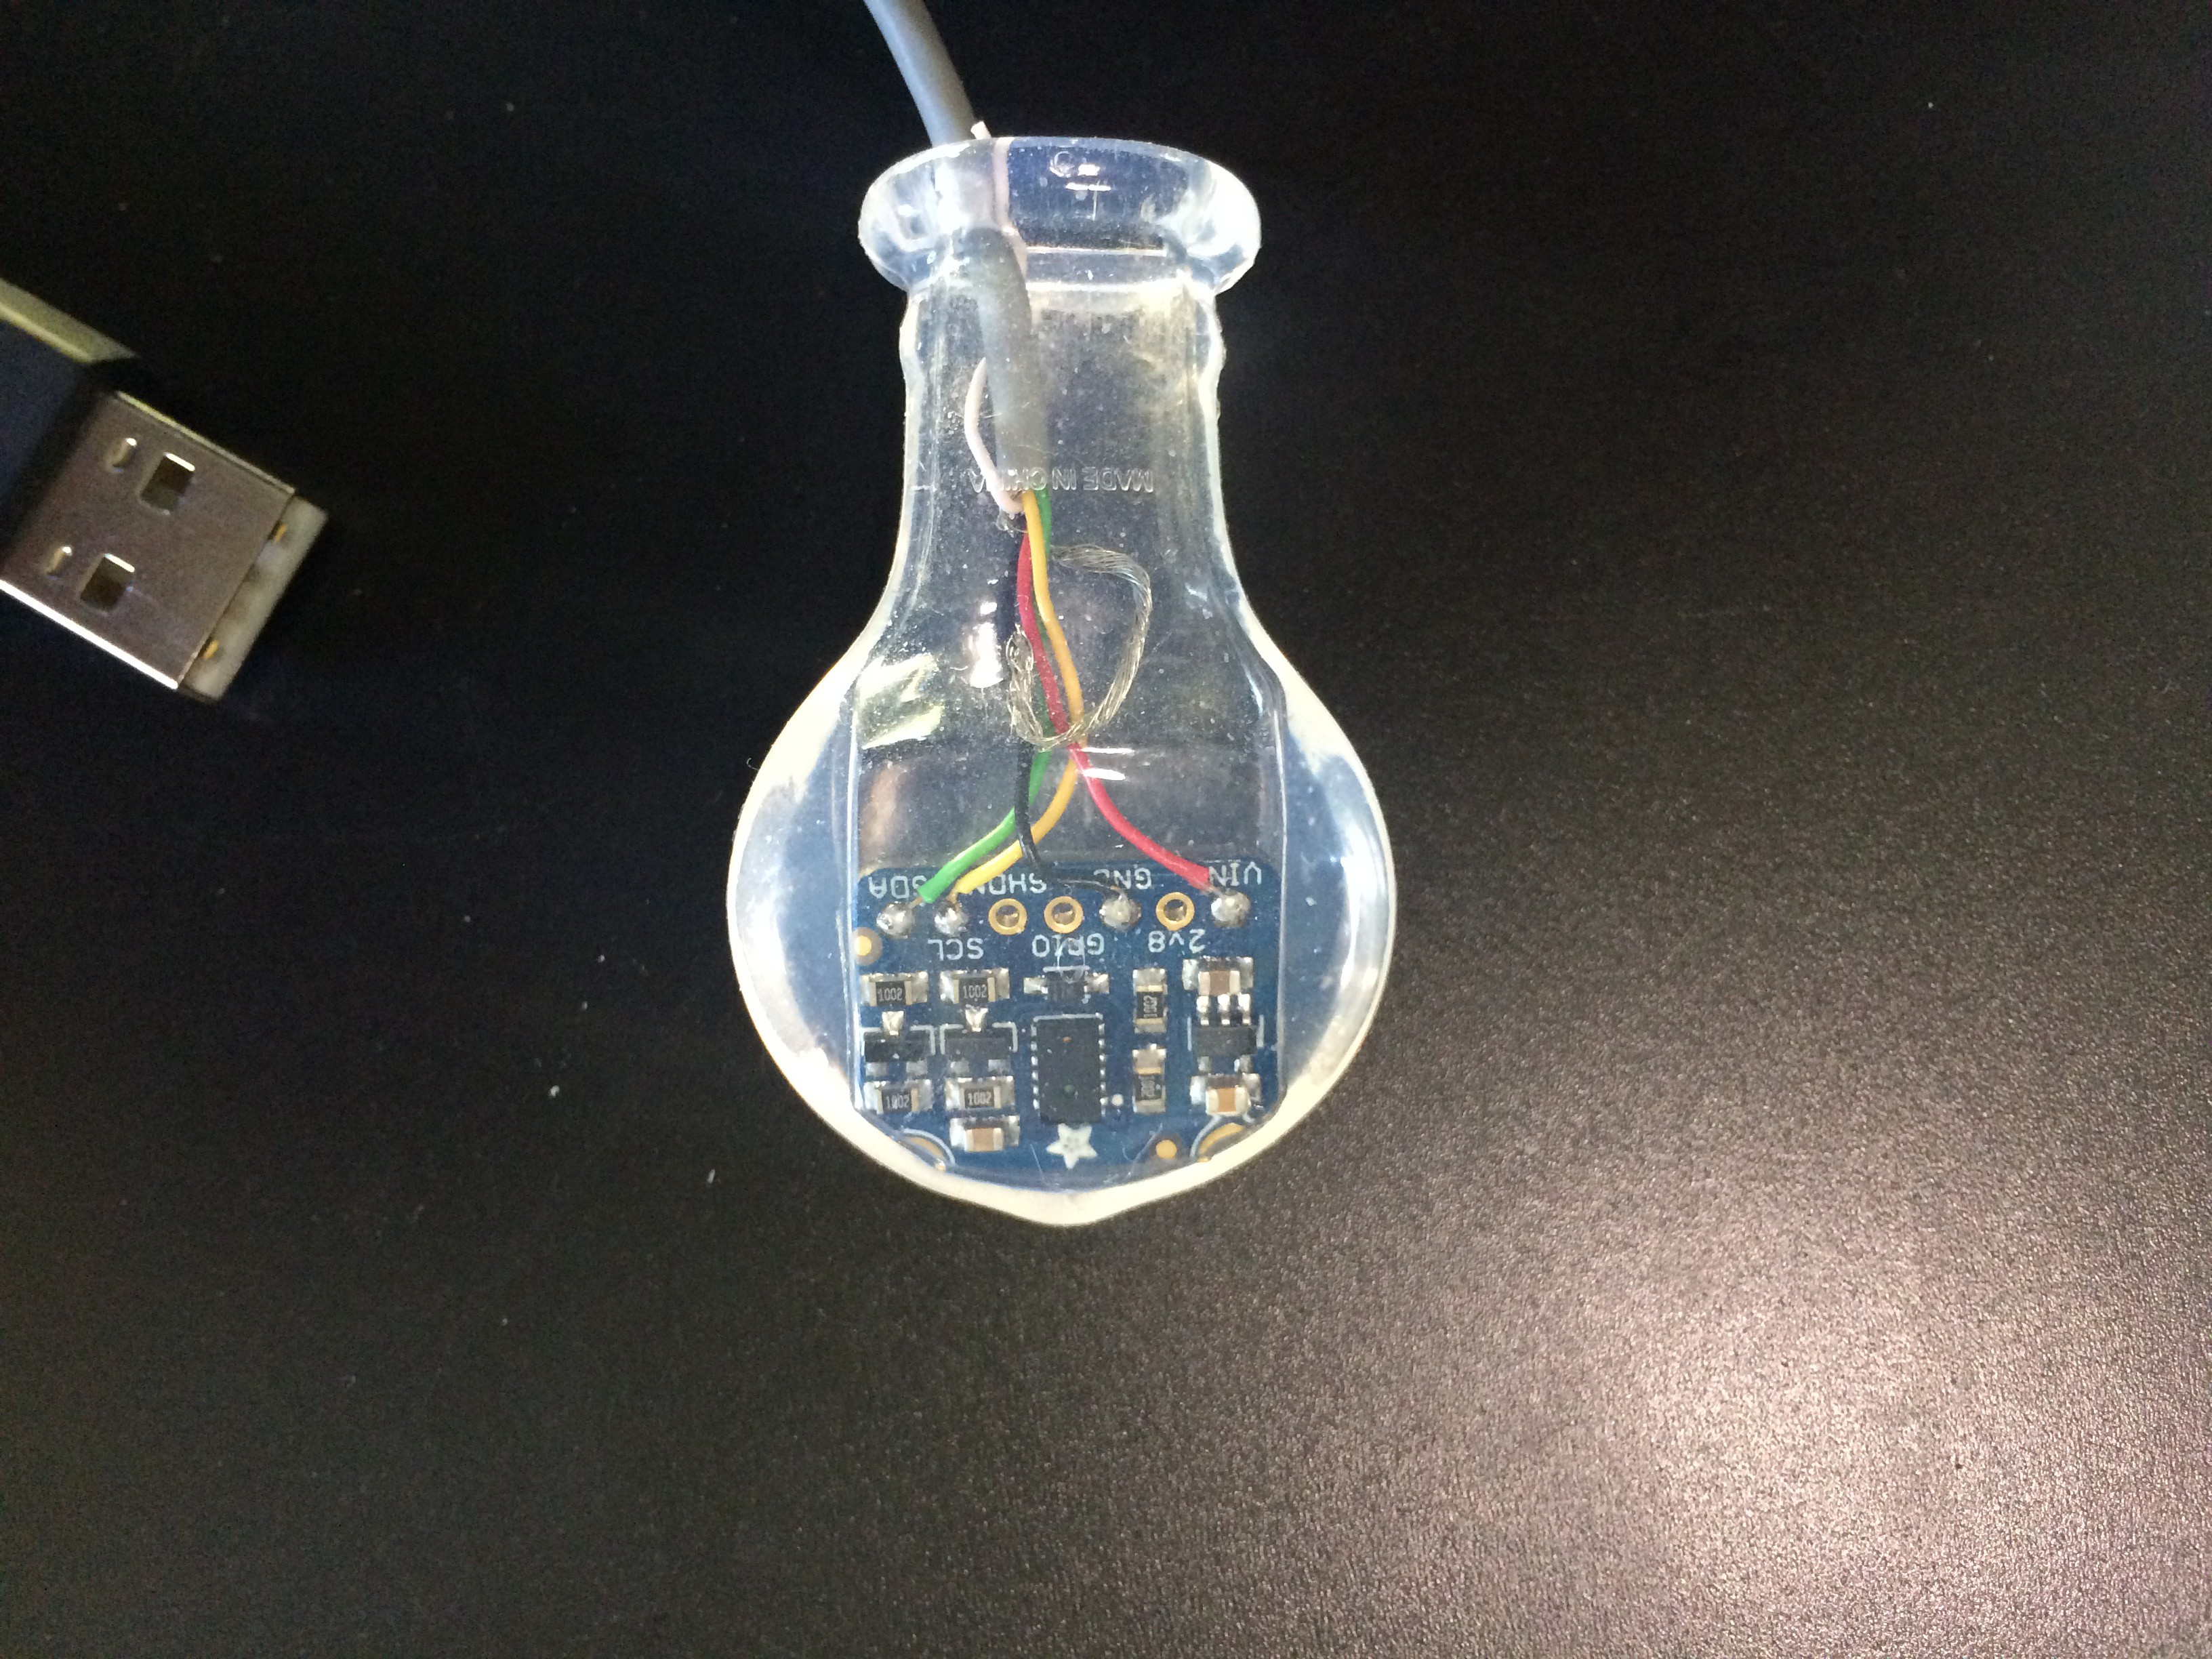
Mounted stand-alone:
![]()
-
Upgrades - Pressure
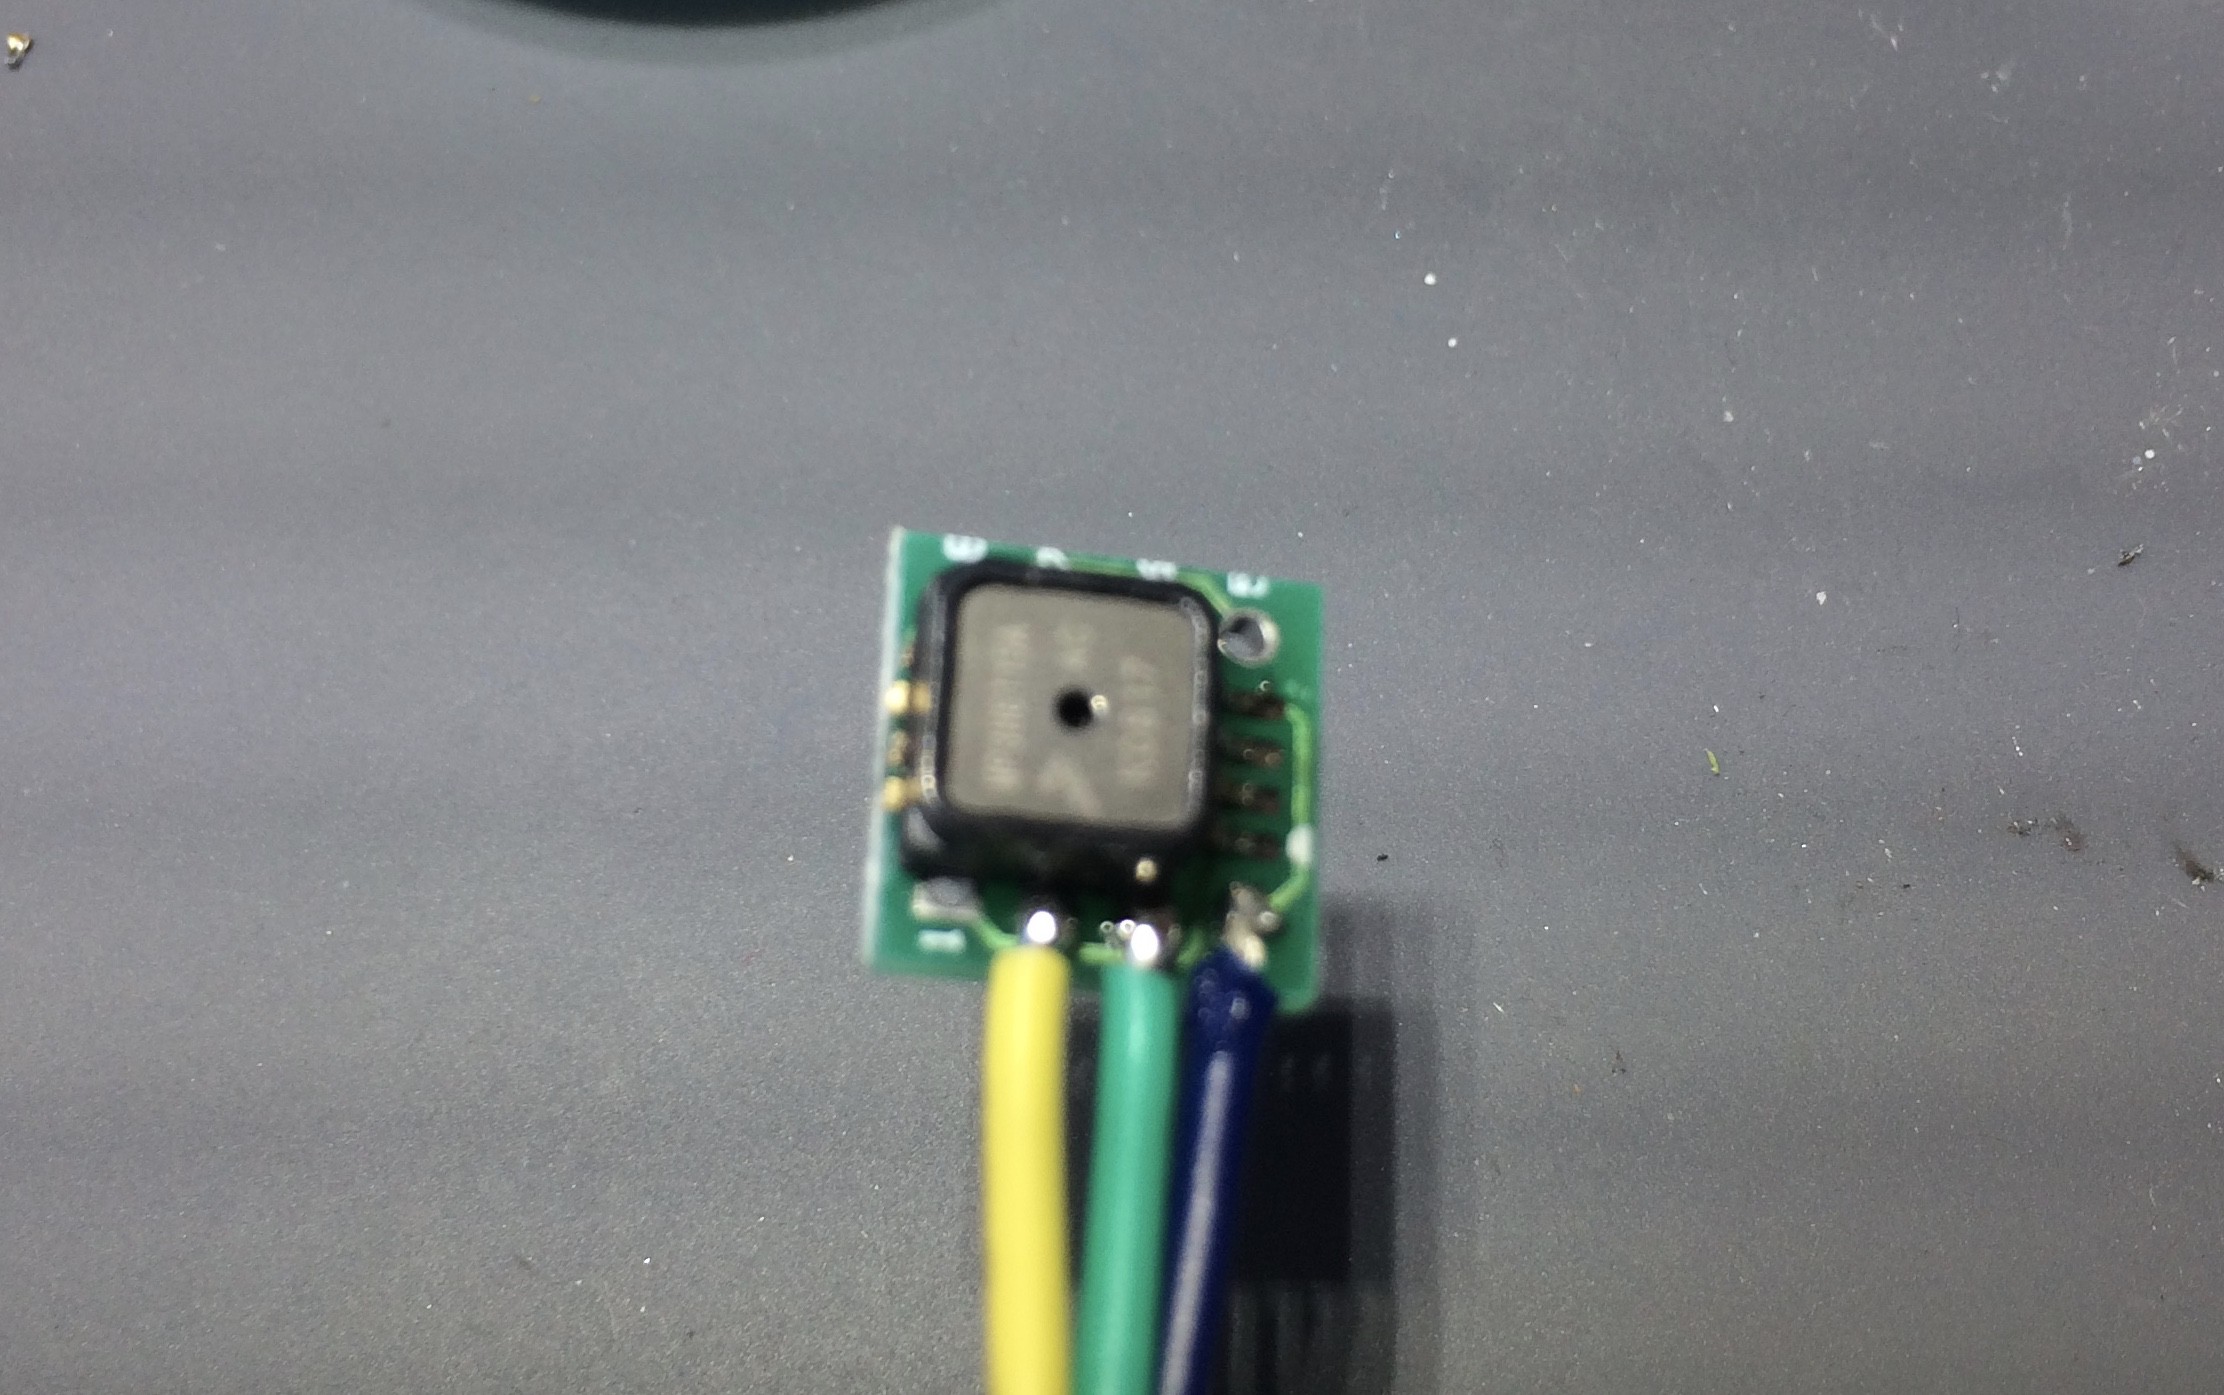
10/22/2018 at 07:05 • 0 commentsI found a nice analog output pressure sensor in my parts bin and decided to add it on. It should be possible to use it for suck-puff type input.
![]()
Attaching one to a breakout board:
![]()
It hangs off one side, but those pins are not needed... so I clipped them off:
![]()
All tucked in:
![]()
-
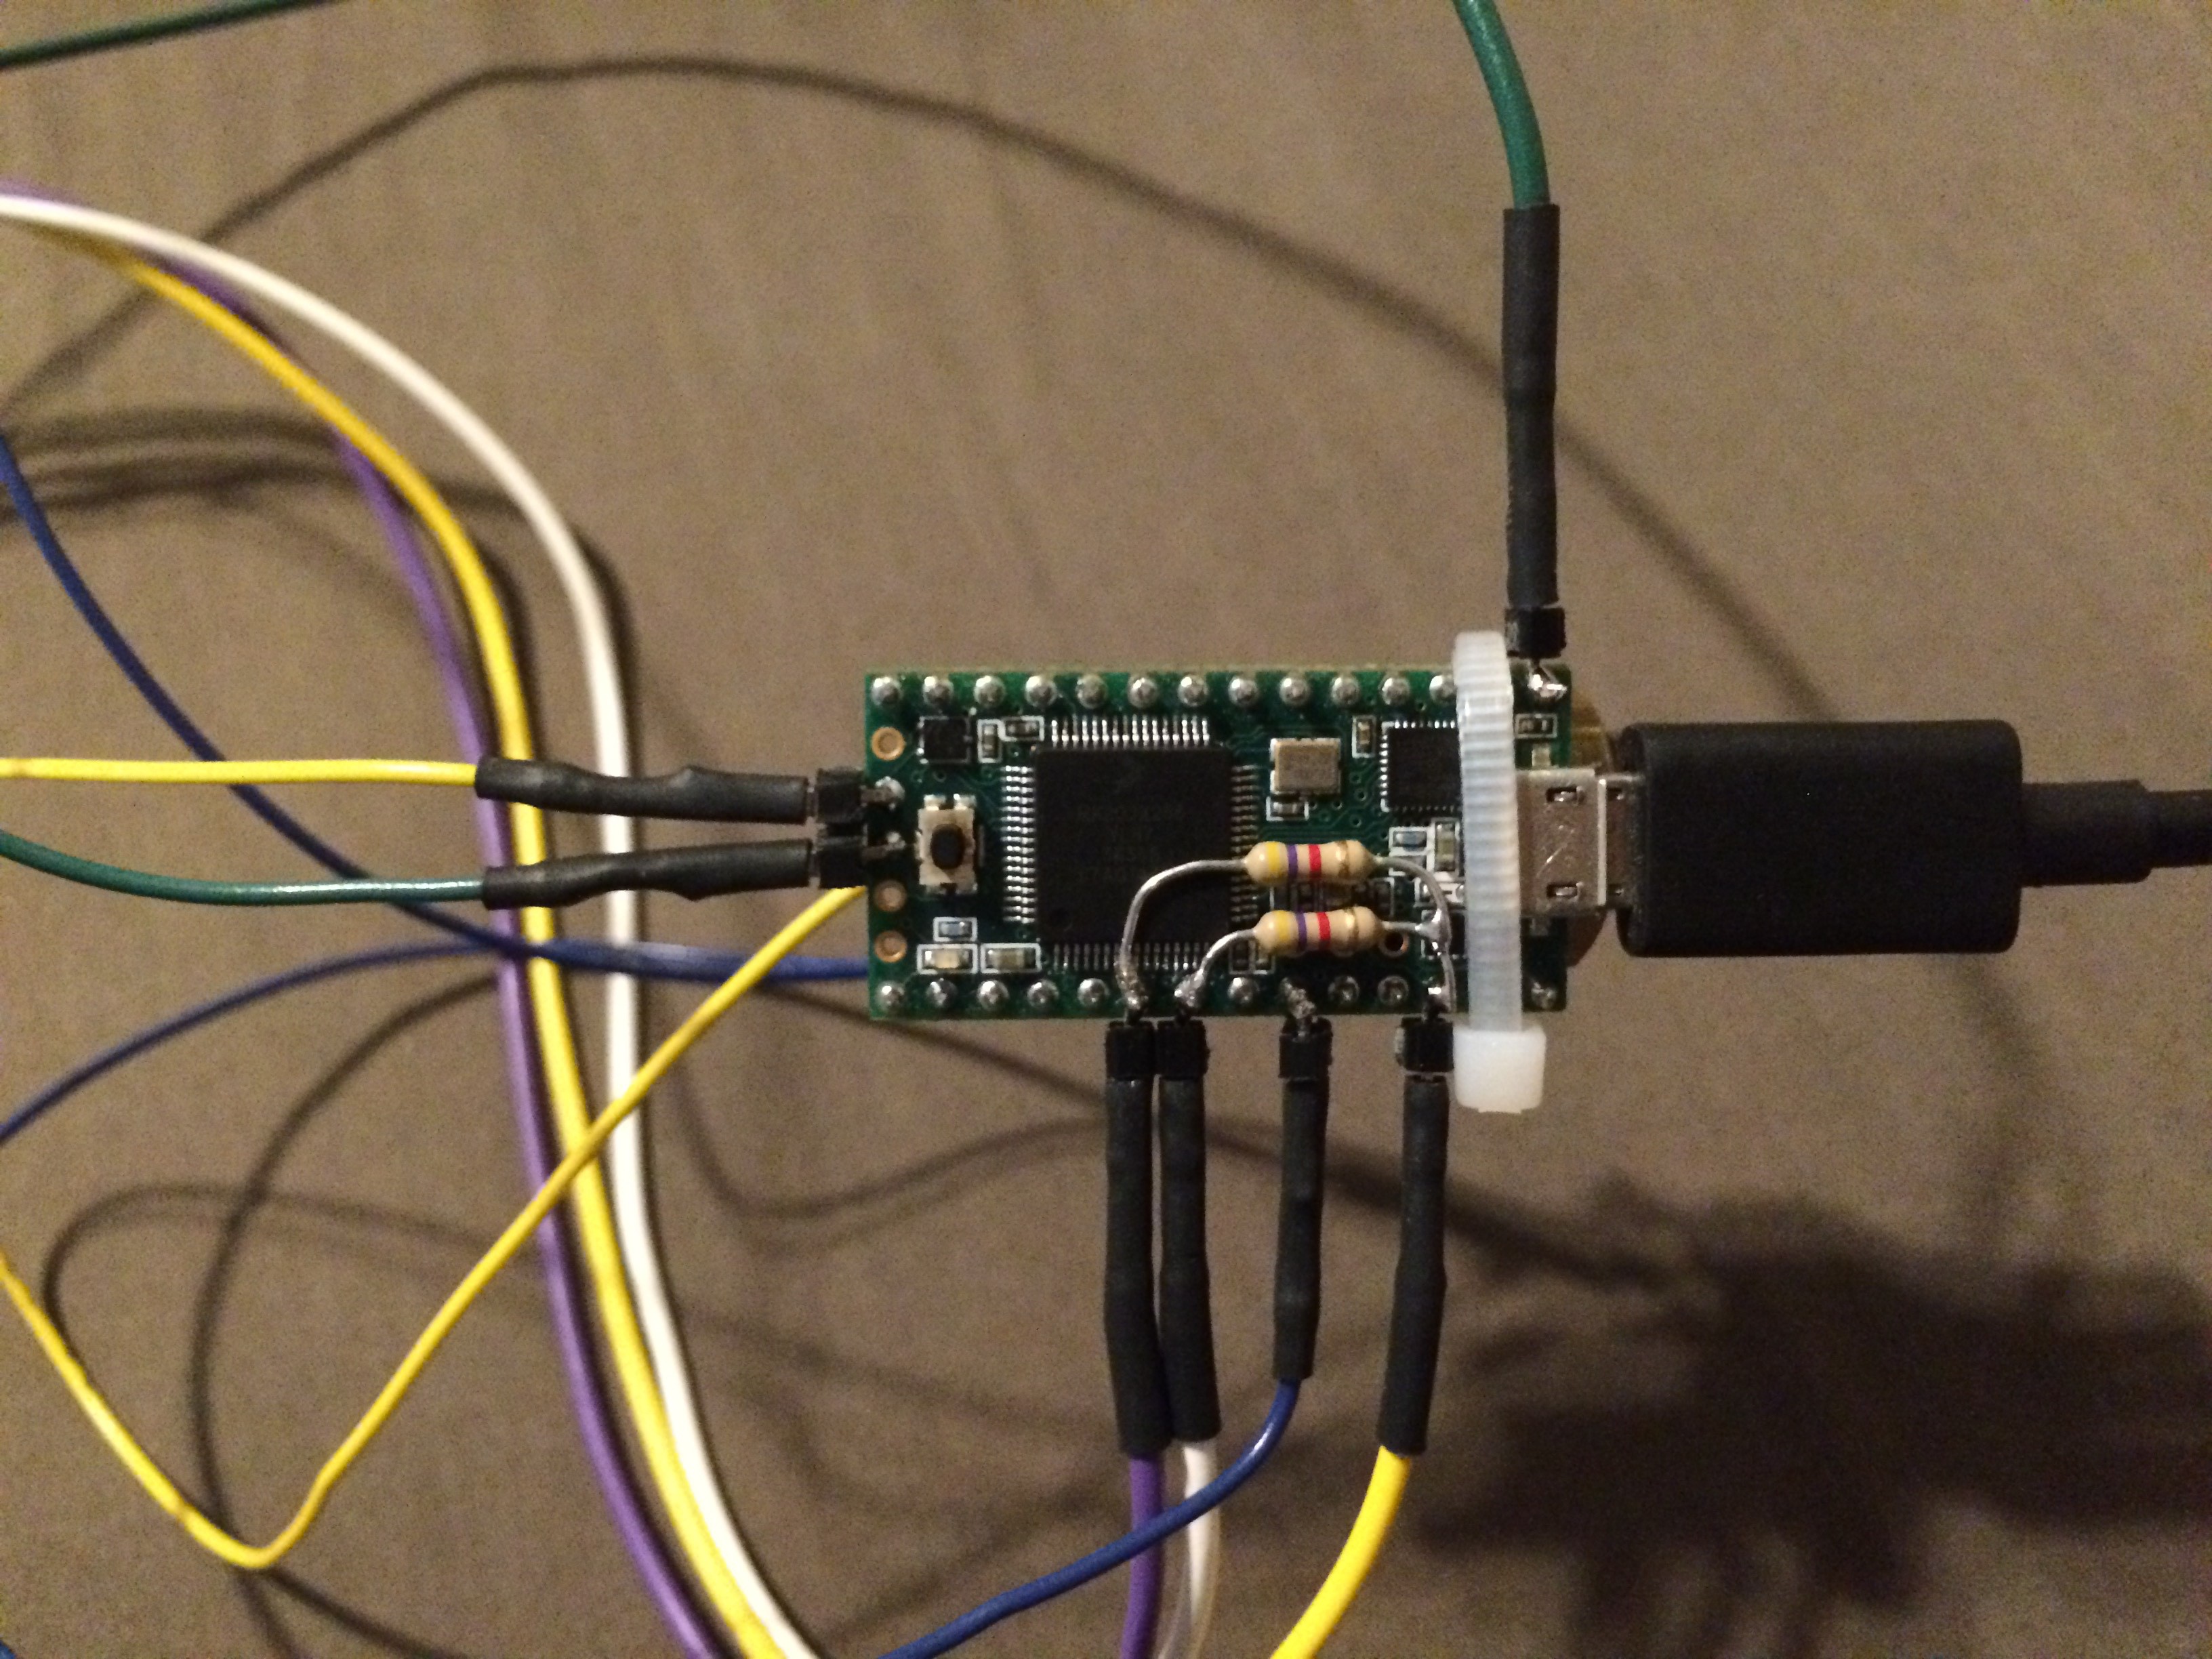
Adjustable bite force threshold
08/27/2018 at 13:48 • 0 commentsA single turn 10K potentiometer is used in combination with the bite force sensor to create an adjustable voltage divider. This will probably be replaced with a fixed value resistor eventually, but it was helpful to have an adjustable value during testing. Here you can see the potentiometer zip tied to the back of the Teensy 3.1.
![]()
-
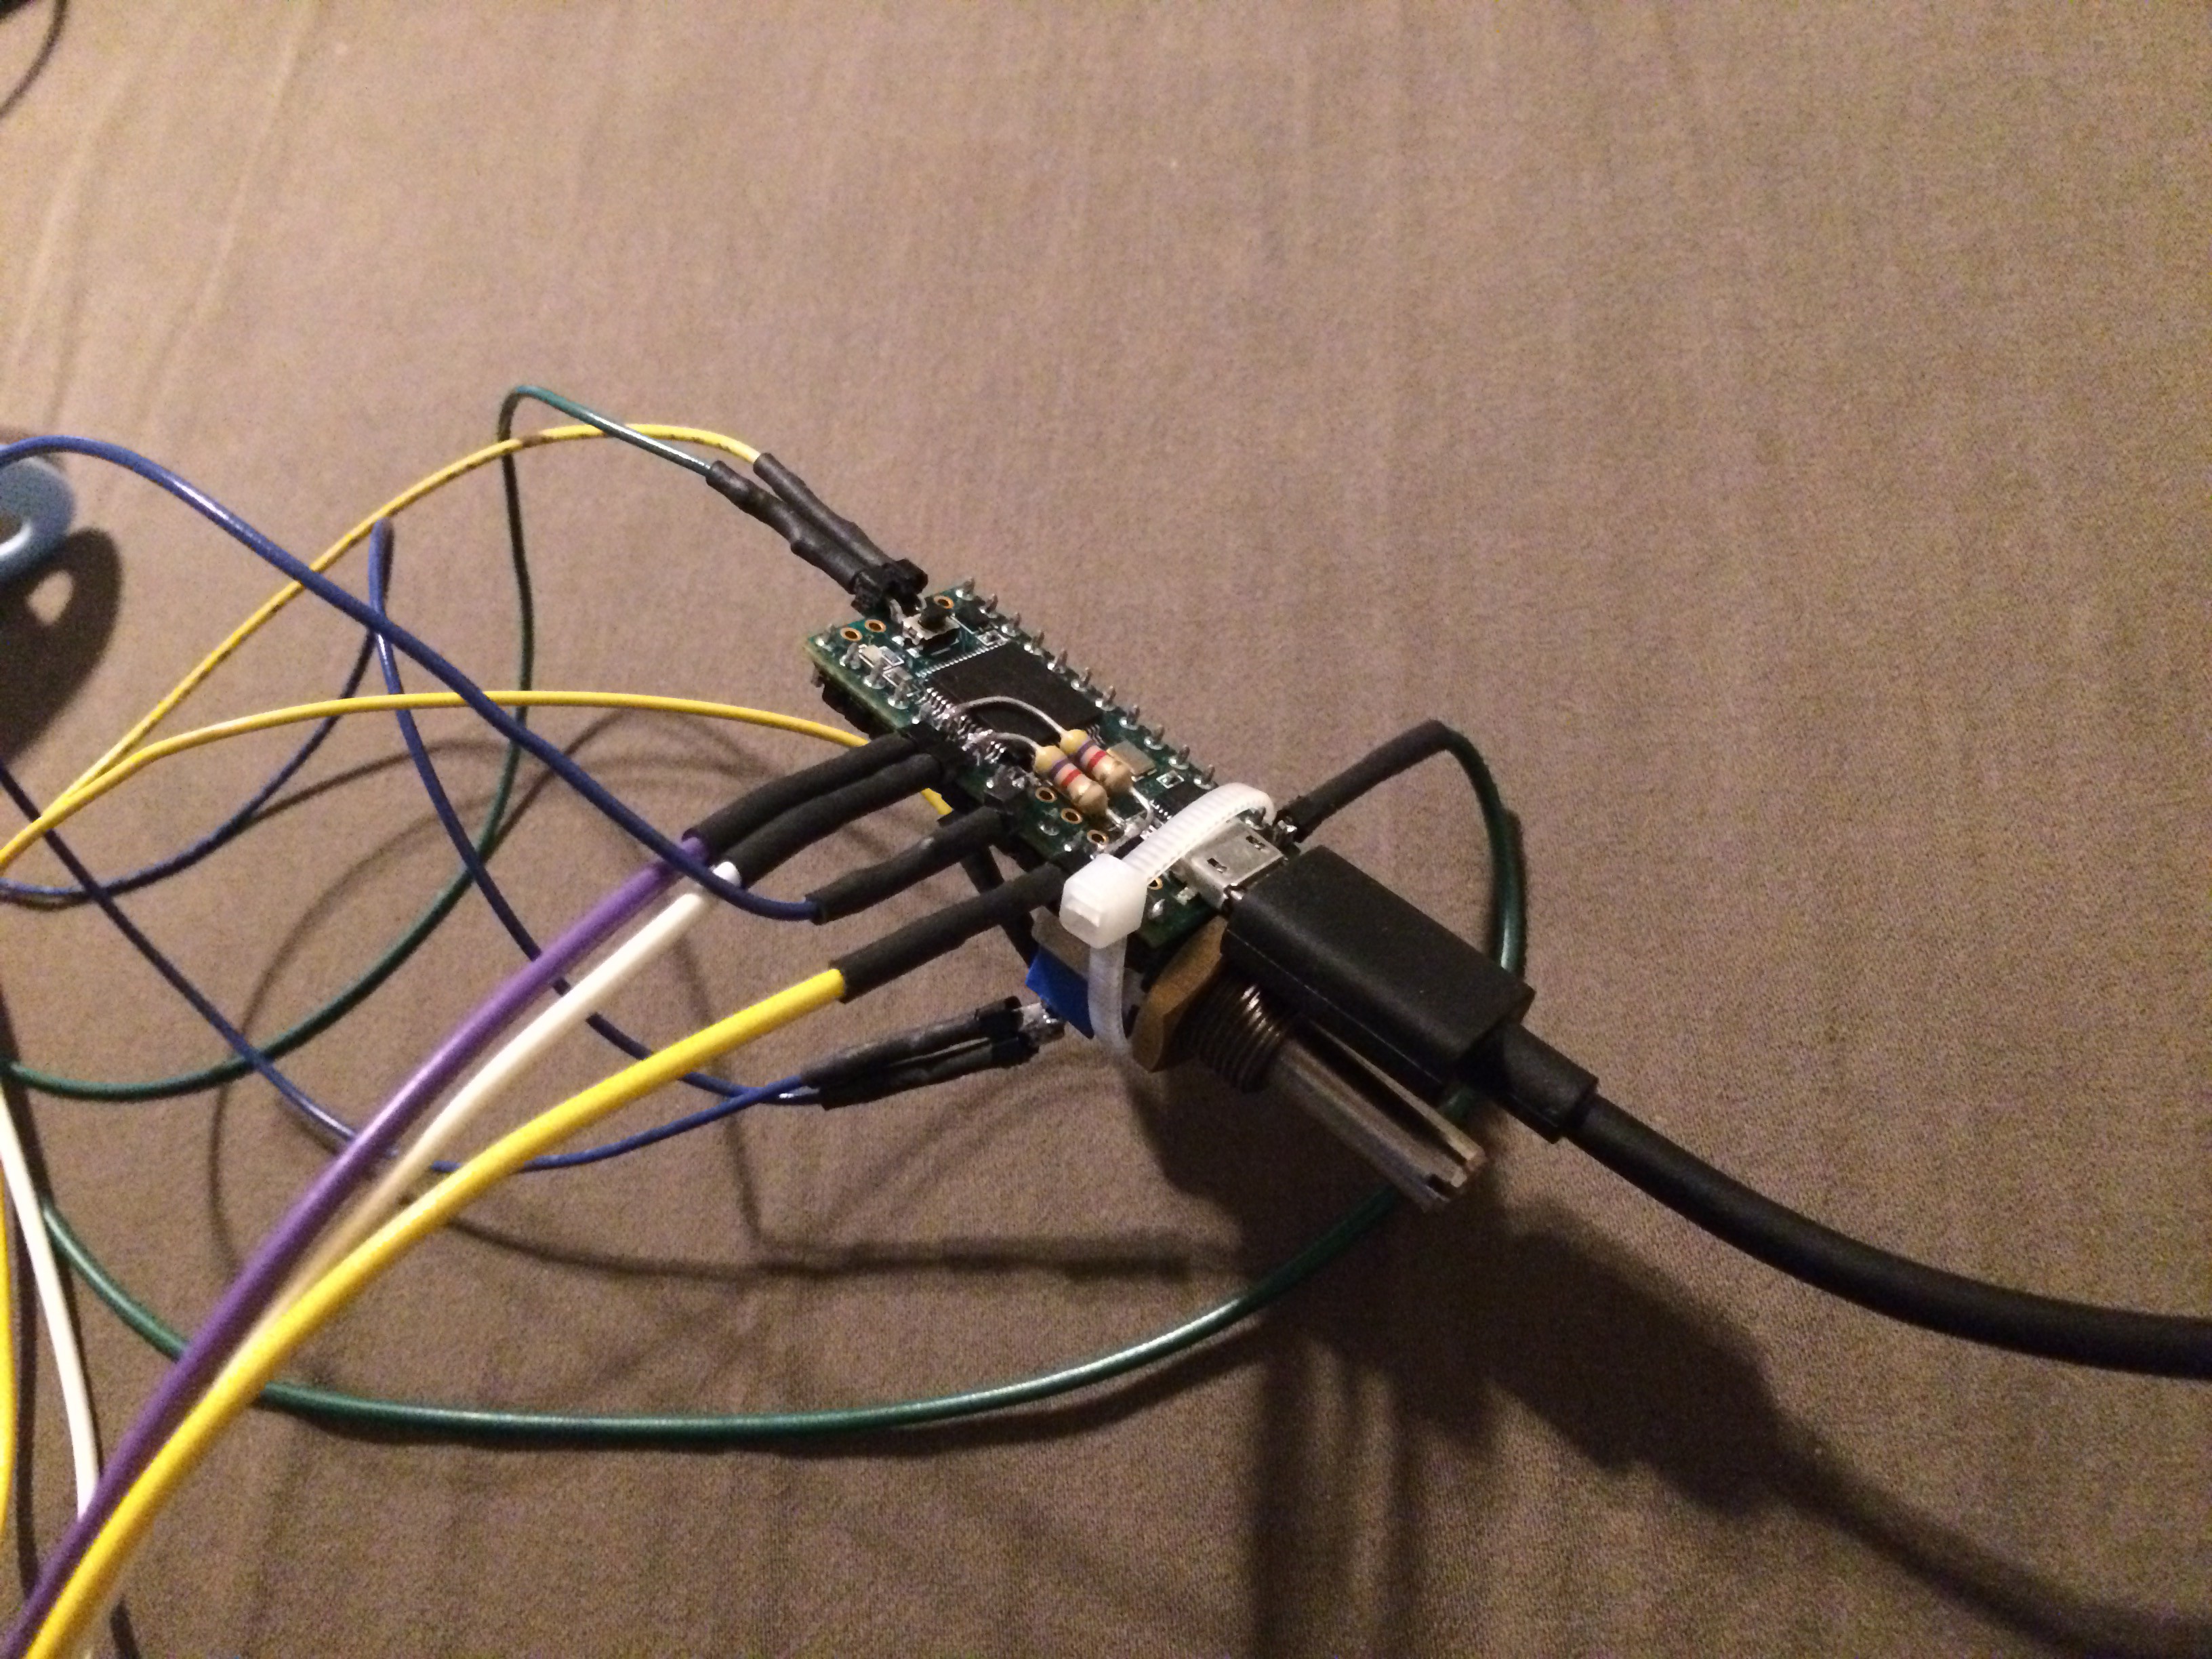
Teensy 3.1 Configuration
08/27/2018 at 13:39 • 0 commentsA Teensy 3.1 microcontroller board is used to interface the sensor and emulate a USB mouse. 4.7K resistors have been added to the i2c pins.
![]()
Signals:
yellow: 3.3V
green: GND
blue: Force sensor analog value
white: SCLK
purple: SDA -
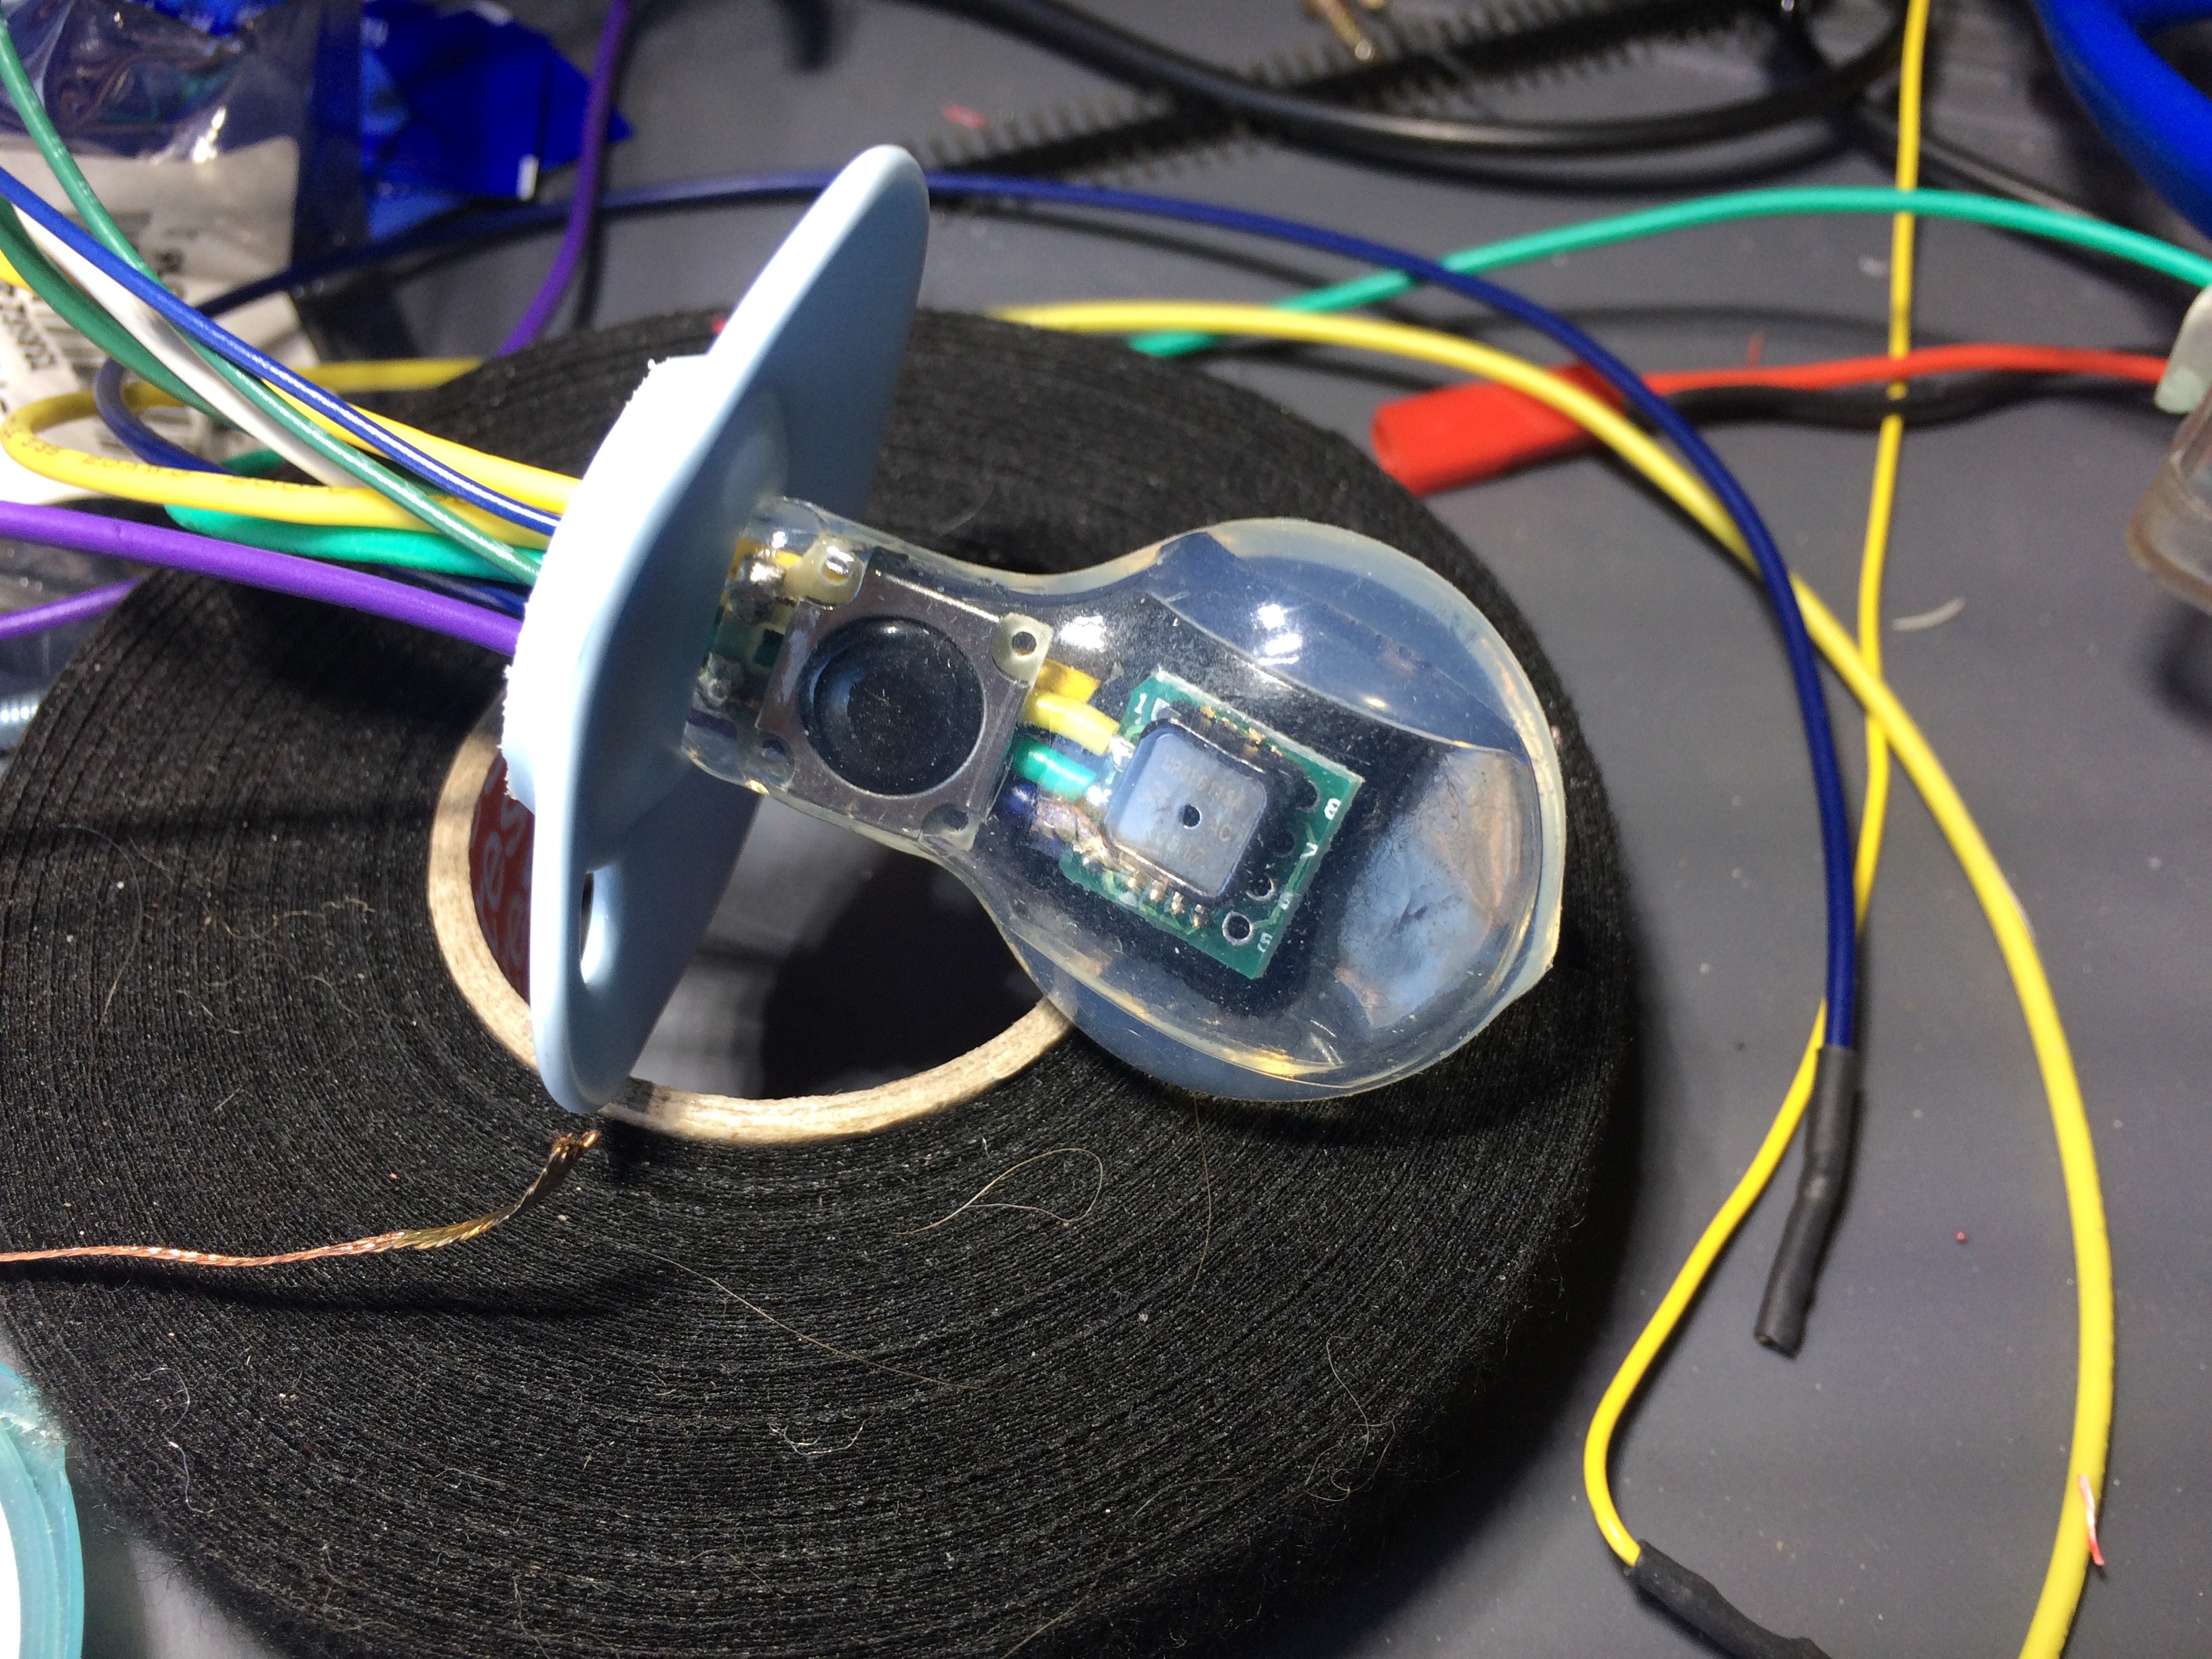
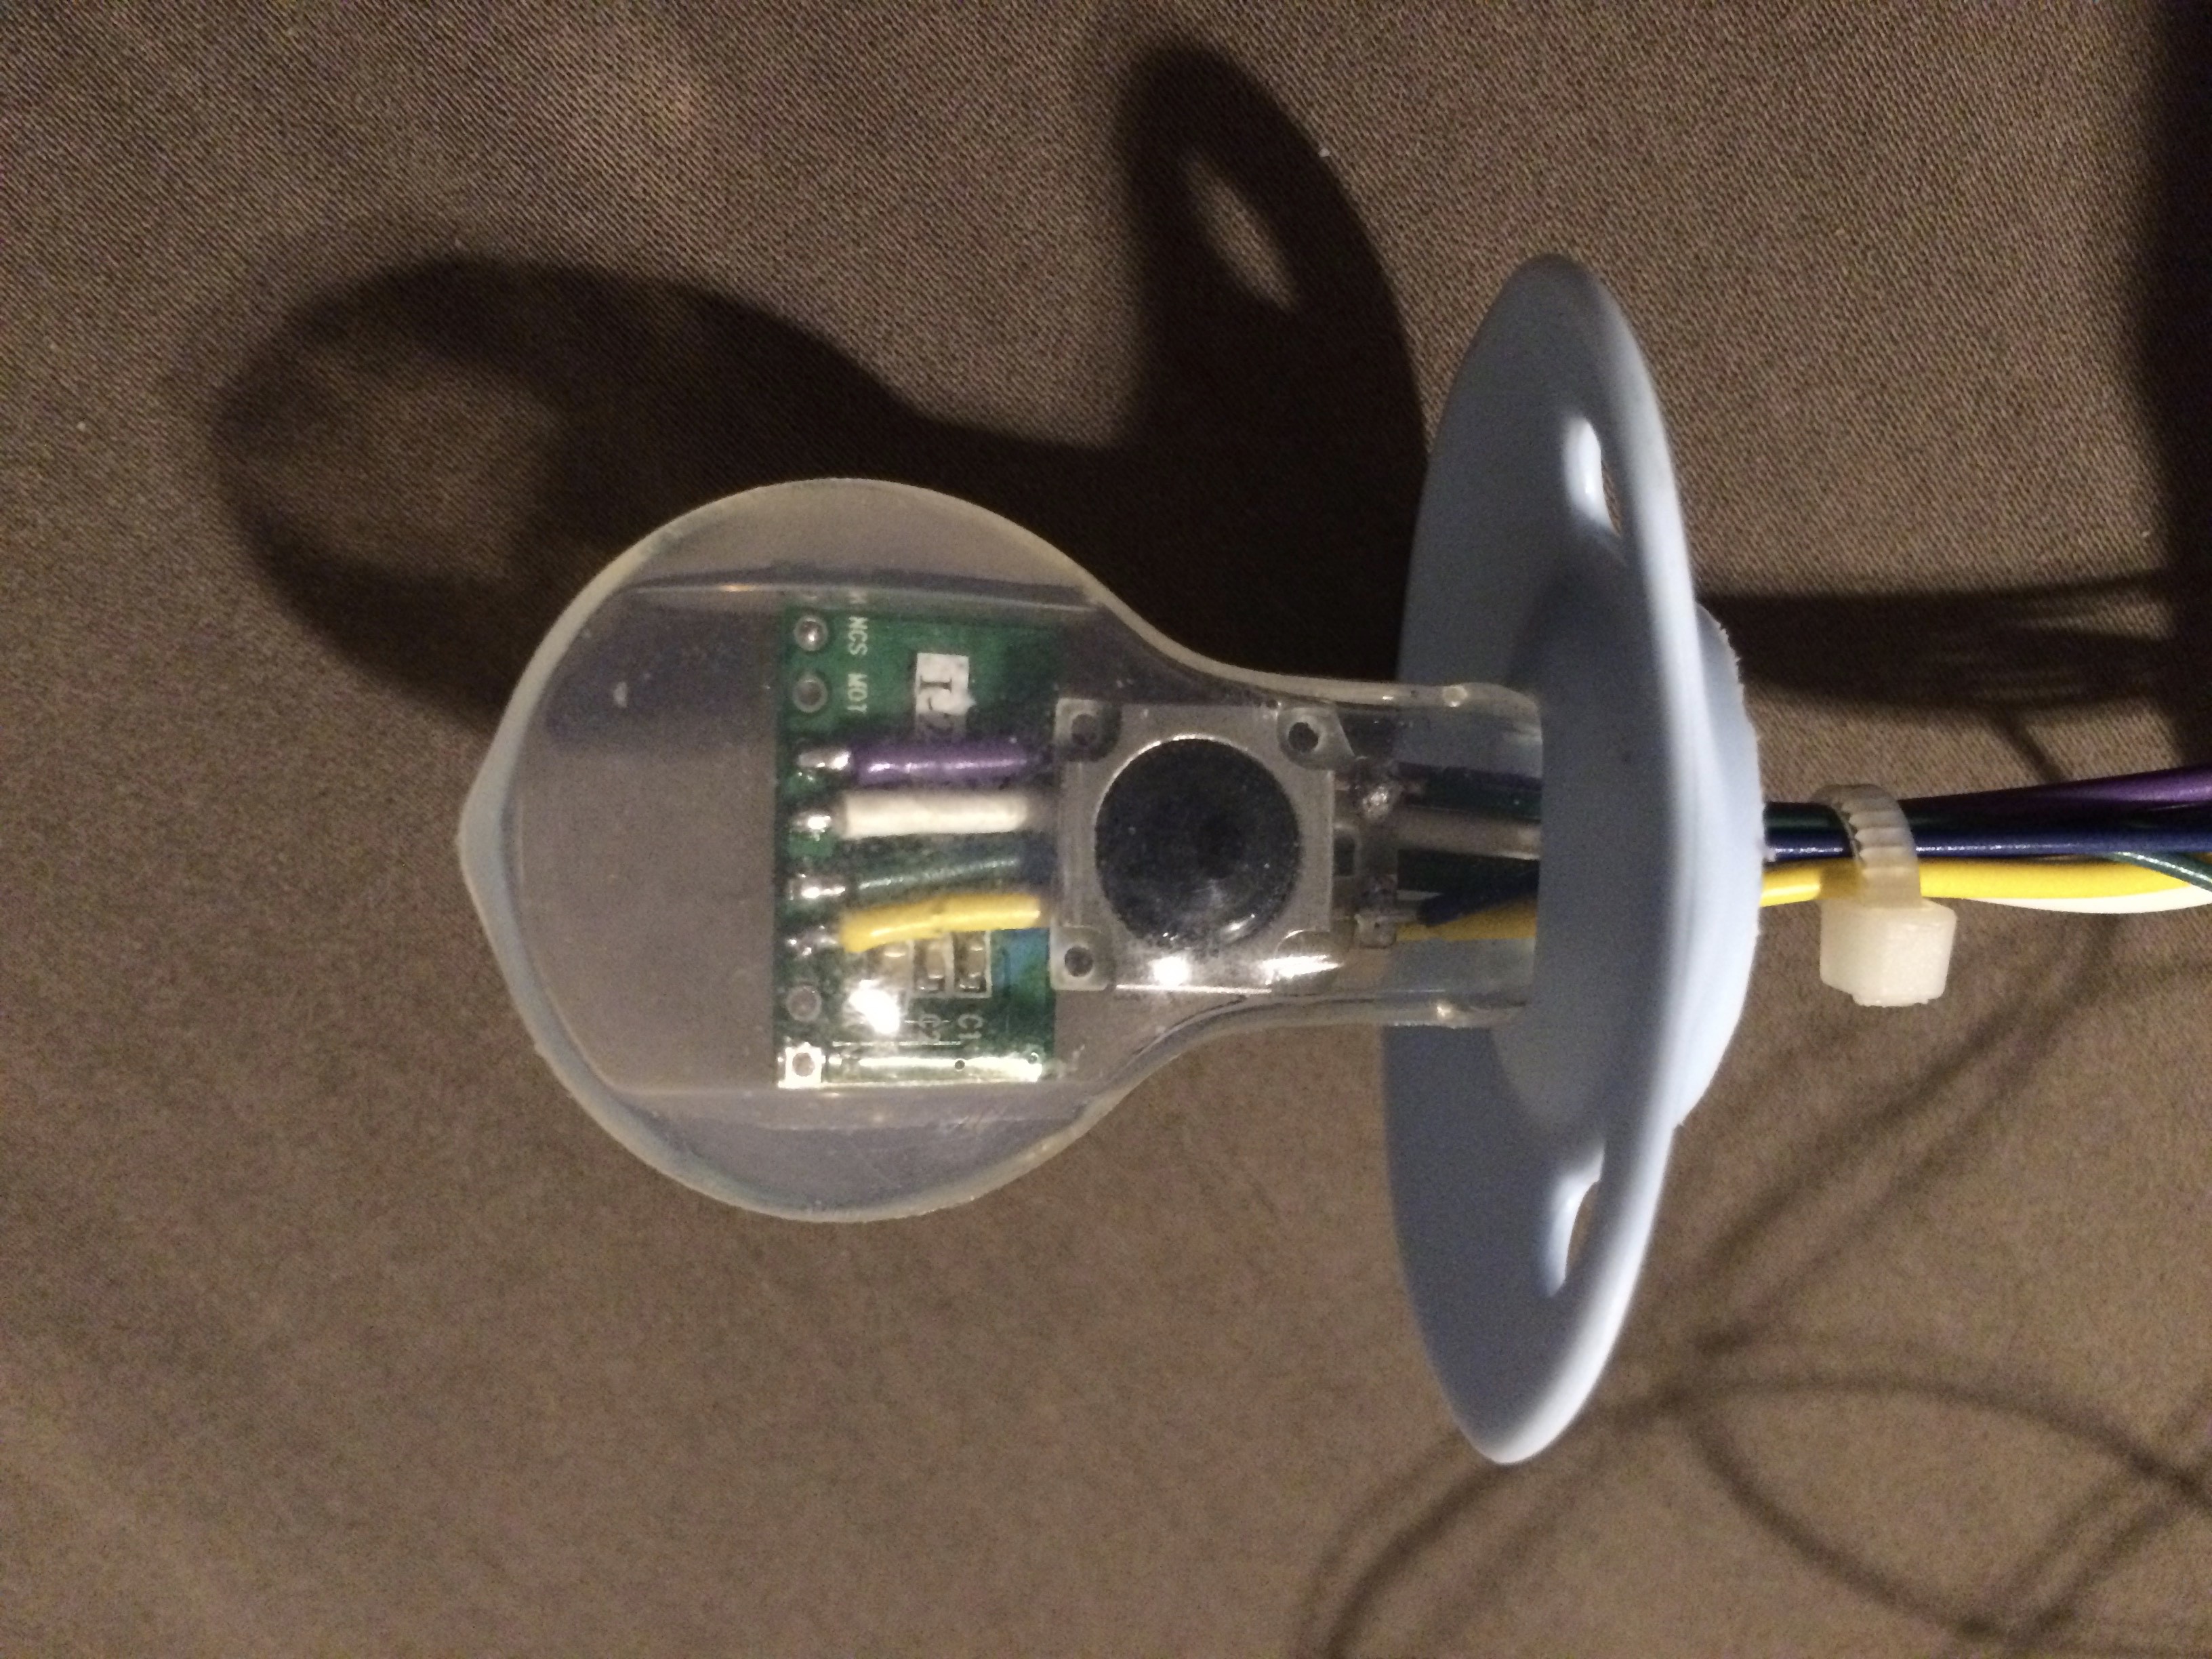
Bite force sensor
08/27/2018 at 13:29 • 0 commentsI added a conductive rubber pressure sensor to measure bite force.
This allows tracking to be enabled with light bite force, and registers clicks with a stronger bite.
![]()
The force sensor is connected to the 10K potentiometer to create an adjustable voltage divider that connects to an analog input pin on the Teensy 3.1.