-
1Step 1
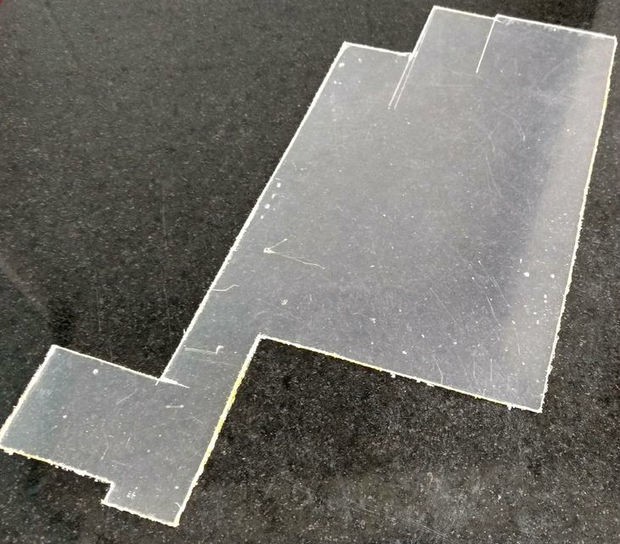
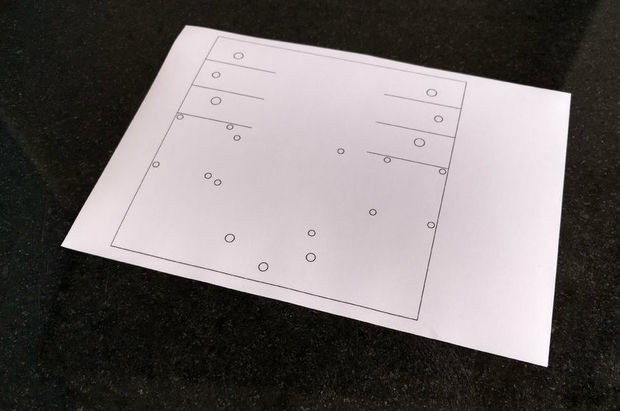
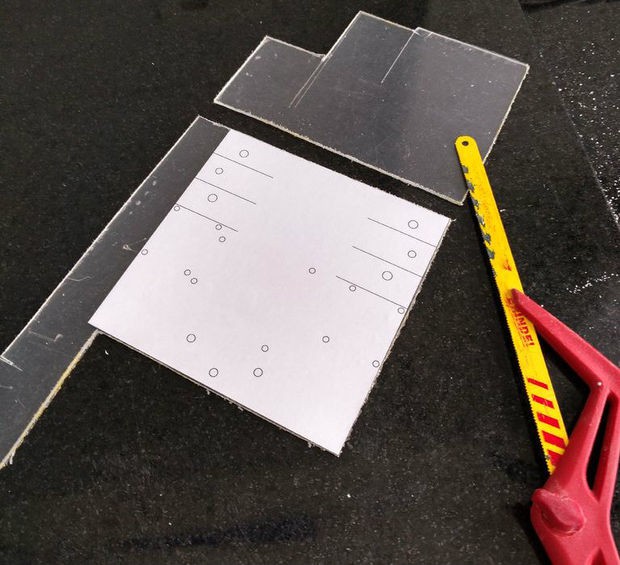
First you'll need to transfer the dimensions of your model to the acrylic sheet. Print your 2D drawing using an ordinary printer on an adhesive paper, then cut the paper in suitable dimensions and apply that mask on the surface of the acrylic.
You might use a hand saw to cut the acrylic according to your dimensions or use break technic described bellow.
With an utility knife and with the help of a ruler or a scale, cut the acrylic in straight lines. You won't need to cut all the way thru the sheet, just score it to create some tracks where the piece will be later cutted.
Place the acrylic on a flat surface, hold it in place with some clamps and apply some pressure until the sheet breaks into two. Repeat this process untill all the cuts are done. After that, you might use a sandpaper to smooth rough edges.
![]()
![]()
![]()
-
2Step 2
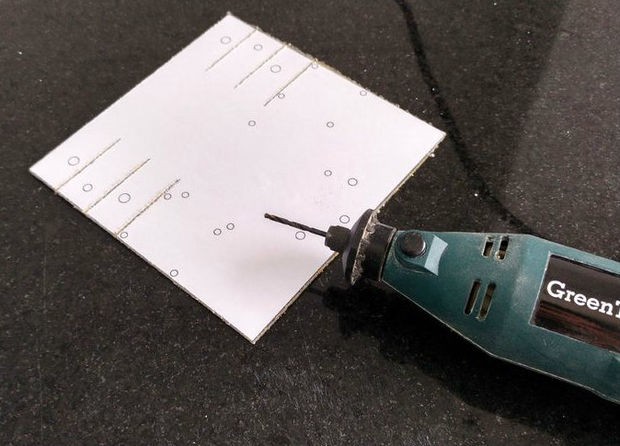
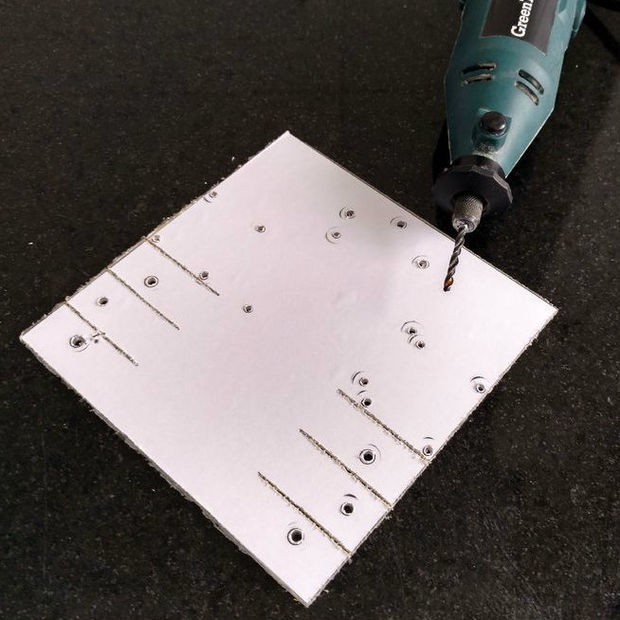
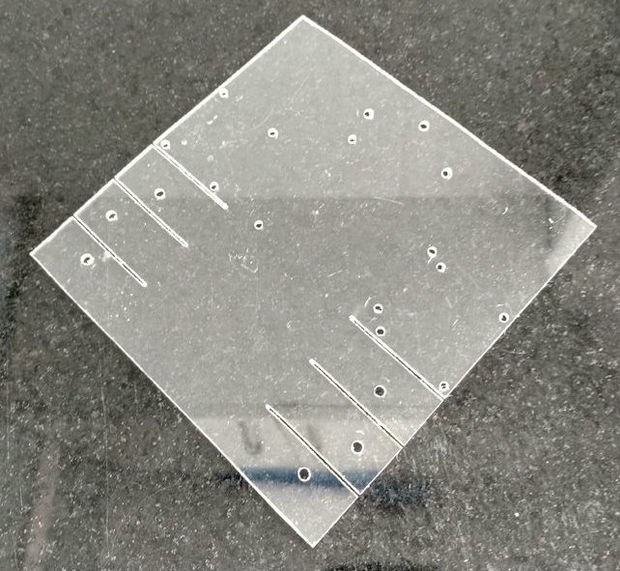
Drill the holes in the positions in shown in the 2D drawing (indicated in the mask) with a drilling machine.
Acrylic is relativelly easy to drill. So if you don't dispose of a drilling machine, you can drill the holes manually with a sharp tool, like an utility knife. You might also use it to enlarge small holes to fit bolts sizes.
Remove the mask and your base will be ready.
![]()
![]()
![]()
-
3Step 3
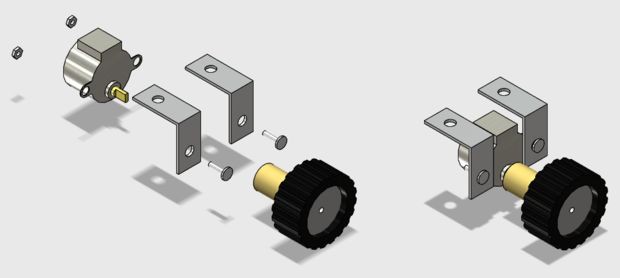
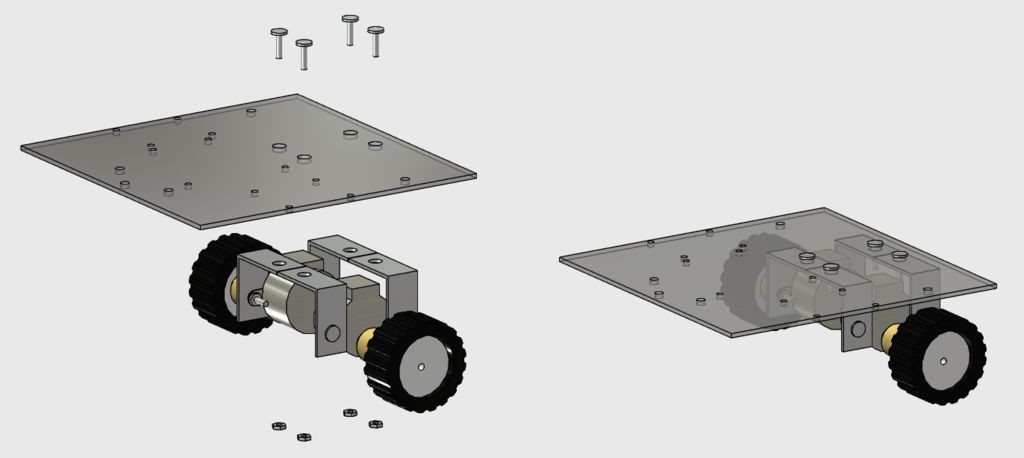
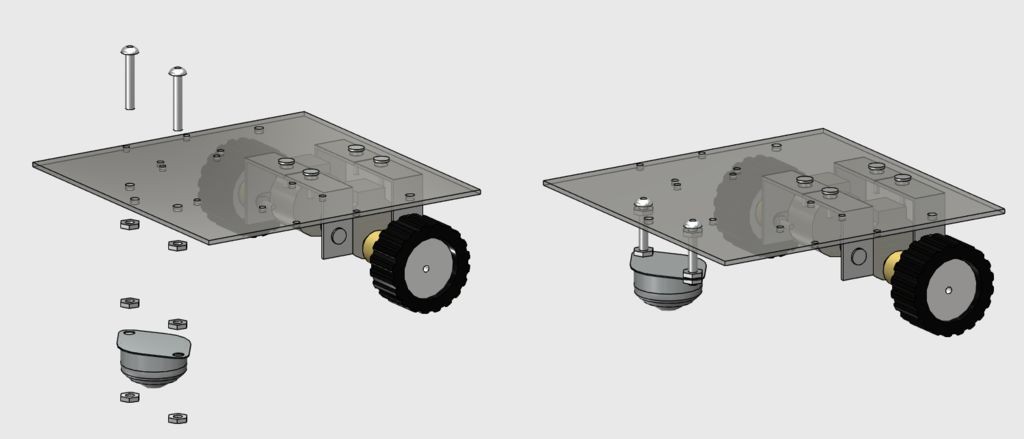
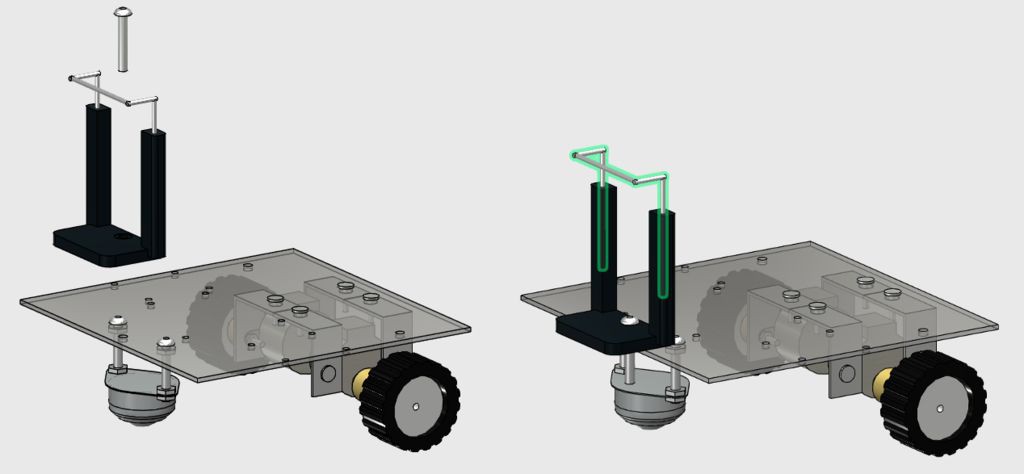
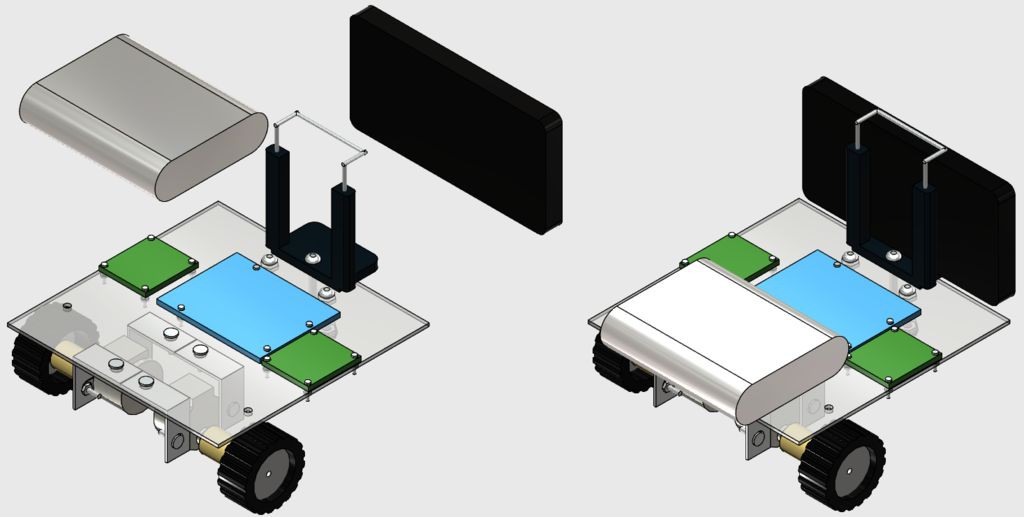
Mount the components with bolts and nuts according to the images, and your structure will be ready to go.
M3 bolts are used for the instalation of the stepper motors, while the 5/32" ones are used for the instalation of the front wheel and the smartphone clip.
Now take a break and start to assamble the circuit in the following step...
![]()
![]()
![]()
![]()
-
4Step 4
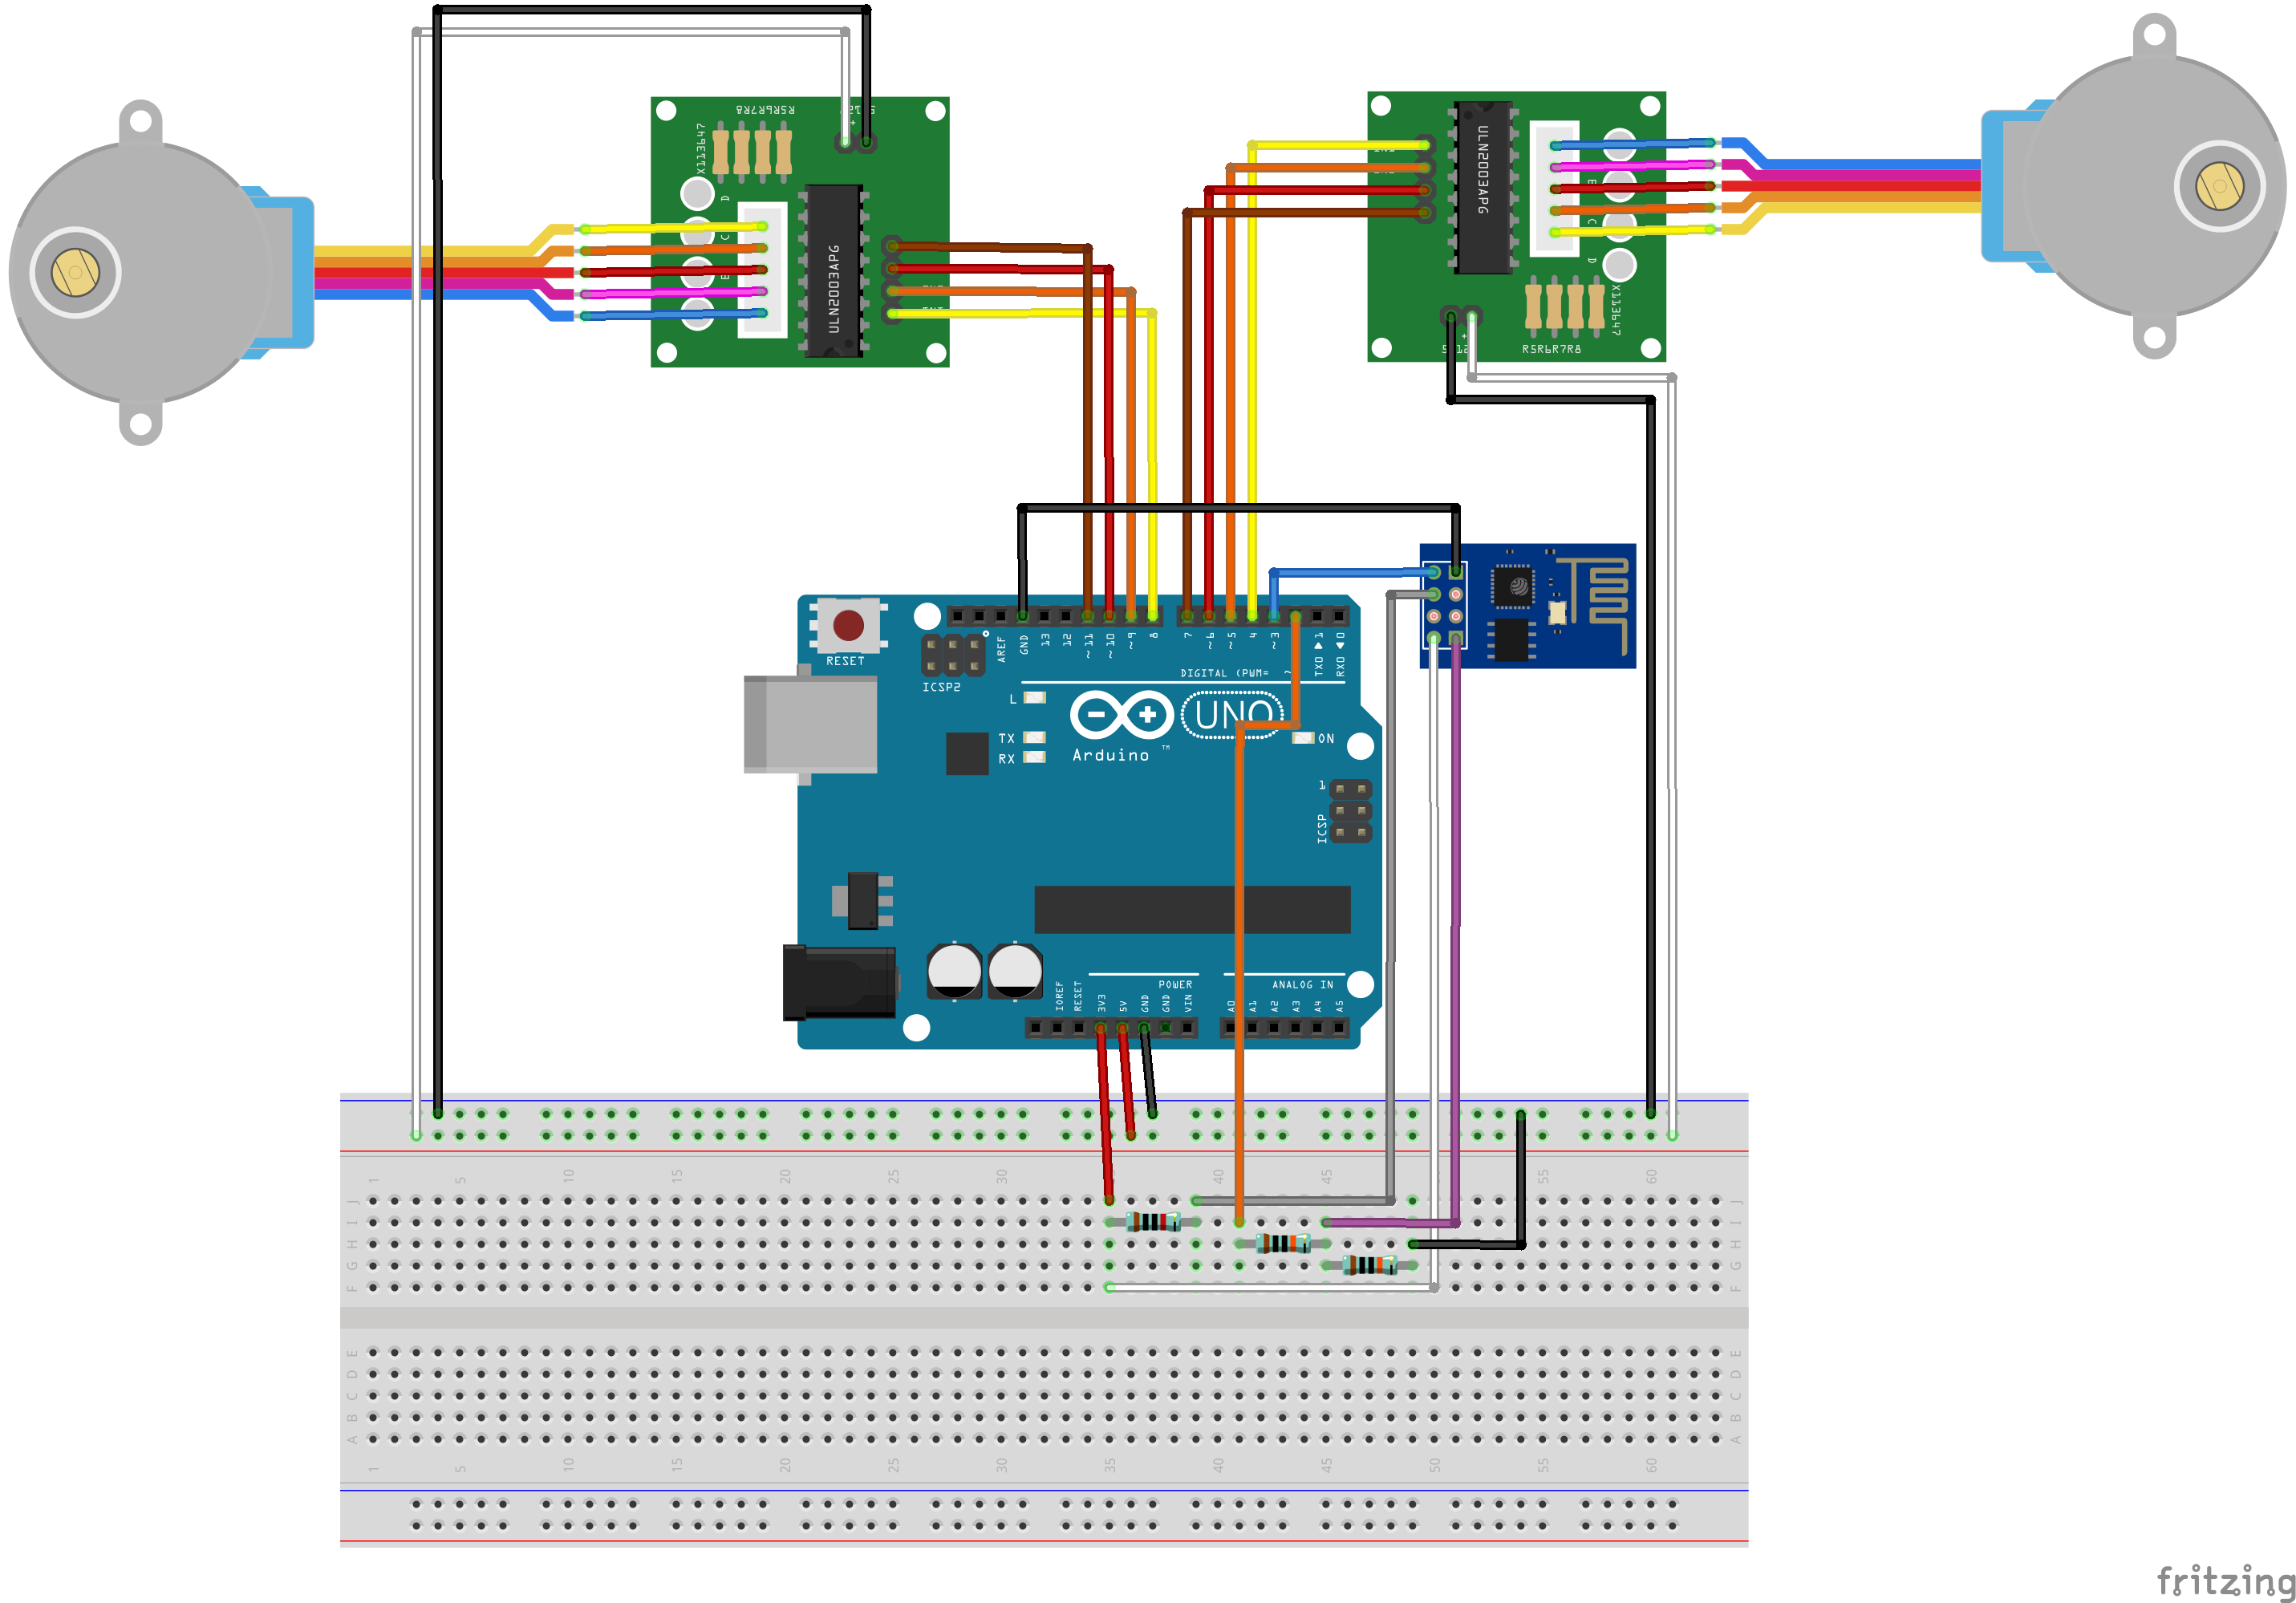
You won't need specific tools for the assembly of the circuit. All the components can be found online on your favourite e-commerce store. The circuit is powered by a power bank connected to Arduino's USB port.
Connect all the componets according to the schematic. You'll need some jumper wires to connect the ESP-8266 module and the stepper motors. You might use a protoshield (for a more compact circuit), an ordinary breadboard, or design you own Arduino shield.
Plug the USB cable to the Arduino Uno board and proceed to the next step.
![]()
-
5Step 5
Install the latest Arduino IDE. In this project stepper.h library was used for the control of the stepper motors. No additional library was needed for communication with ESP-8266 module. Please check the baudrate of you ESP8266 and set it properly in the code.
Download Arduino code (stepperRobot.ino) and replace the XXXXX by your wifi router SSID and YYYYY by router password. Connect the Arduino board to your computer USB port and upload the code.
-
6Step 6
An Android smartphone was used to broadcast the video and audio from the robot to the control interface. You may find the app on Google Play store (https://play.google.com/store/apps/details?id=com.pas.webcam).
Install it and move to next step.
-
7Step 7
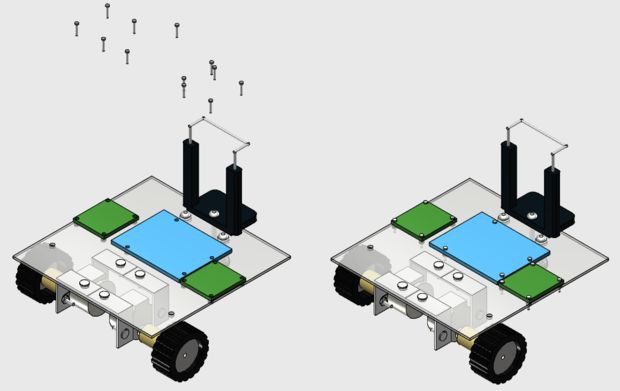
Install the circuits in the top of the robot using some M1 bolts, as shown in the images.
After that, glue your power bank in the back of the robot using a double sided tape (because it's easy to remove later), and put your smartphone in the clip.
![]()
![]()
![]()
-
8Step 8
A html interface was designed for the control of the robot.
Download interface.rar and extract all the files to a given folder. Then open it on Firefox.
A textbox form is used in that interface to enter IP addresses of the ESP module and of the video/audio server (from Android IP Webcam app).
There is a test but, which will make the robot spin until anoter command is received. Keyboard arrow keys are used for moving the robot forward or backward, and to rotate left or right.
-
9Step 9
When the Arduino is restarted, it will try to connect your wi-fi network automatically. Use the Serial Monitor to check if the connection was successfull, and to obtain which IP was assigned to your ESP-8266 by your router. Open the html file in an internet browser (Firefox) and inform this IP address in the textbox.
You might also user other means to find out which IP address you router assigned to your device.
Disconnect the the Arduino Uno from your computer and connect it to the power bank. Wait for it to connect again.
Launch IP Webcam app in the smartphone attached to the robot. Type the video/audio IP on your control interface and connect to the server and you'll be ready to go. You might need to reduce the resolution of the video in the app to reduce the delay between during the transmission.
Click and hold the arrow buttons of your keyboar to rotate the robot or move it forward/backward and have fun exploring your environment.
Wi-fi Controlled FPV Rover Robot
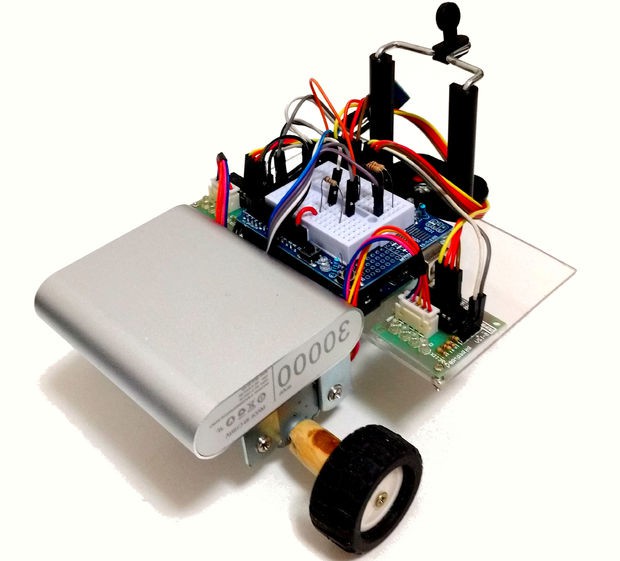
This project shows how to design a wi-fi remotely controlled two-wheeled robotic rover, using an Arduino Uno and an ESP8266.
 igorfonseca83
Discussions
Become a Hackaday.io Member
Create an account to leave a comment. Already have an account? Log In.