-
Schematic
10/03/2016 at 20:56 • 0 commentsI'm sorry that there is no Raspberry Pi or at least an Arduino! A commutator switch is changing polarity for up / down movement. If the "go" button is pressed the motor is running, until the according end switch is opening.
In case of emergency there is an emergency push button which will break the supply line.
![]()
-
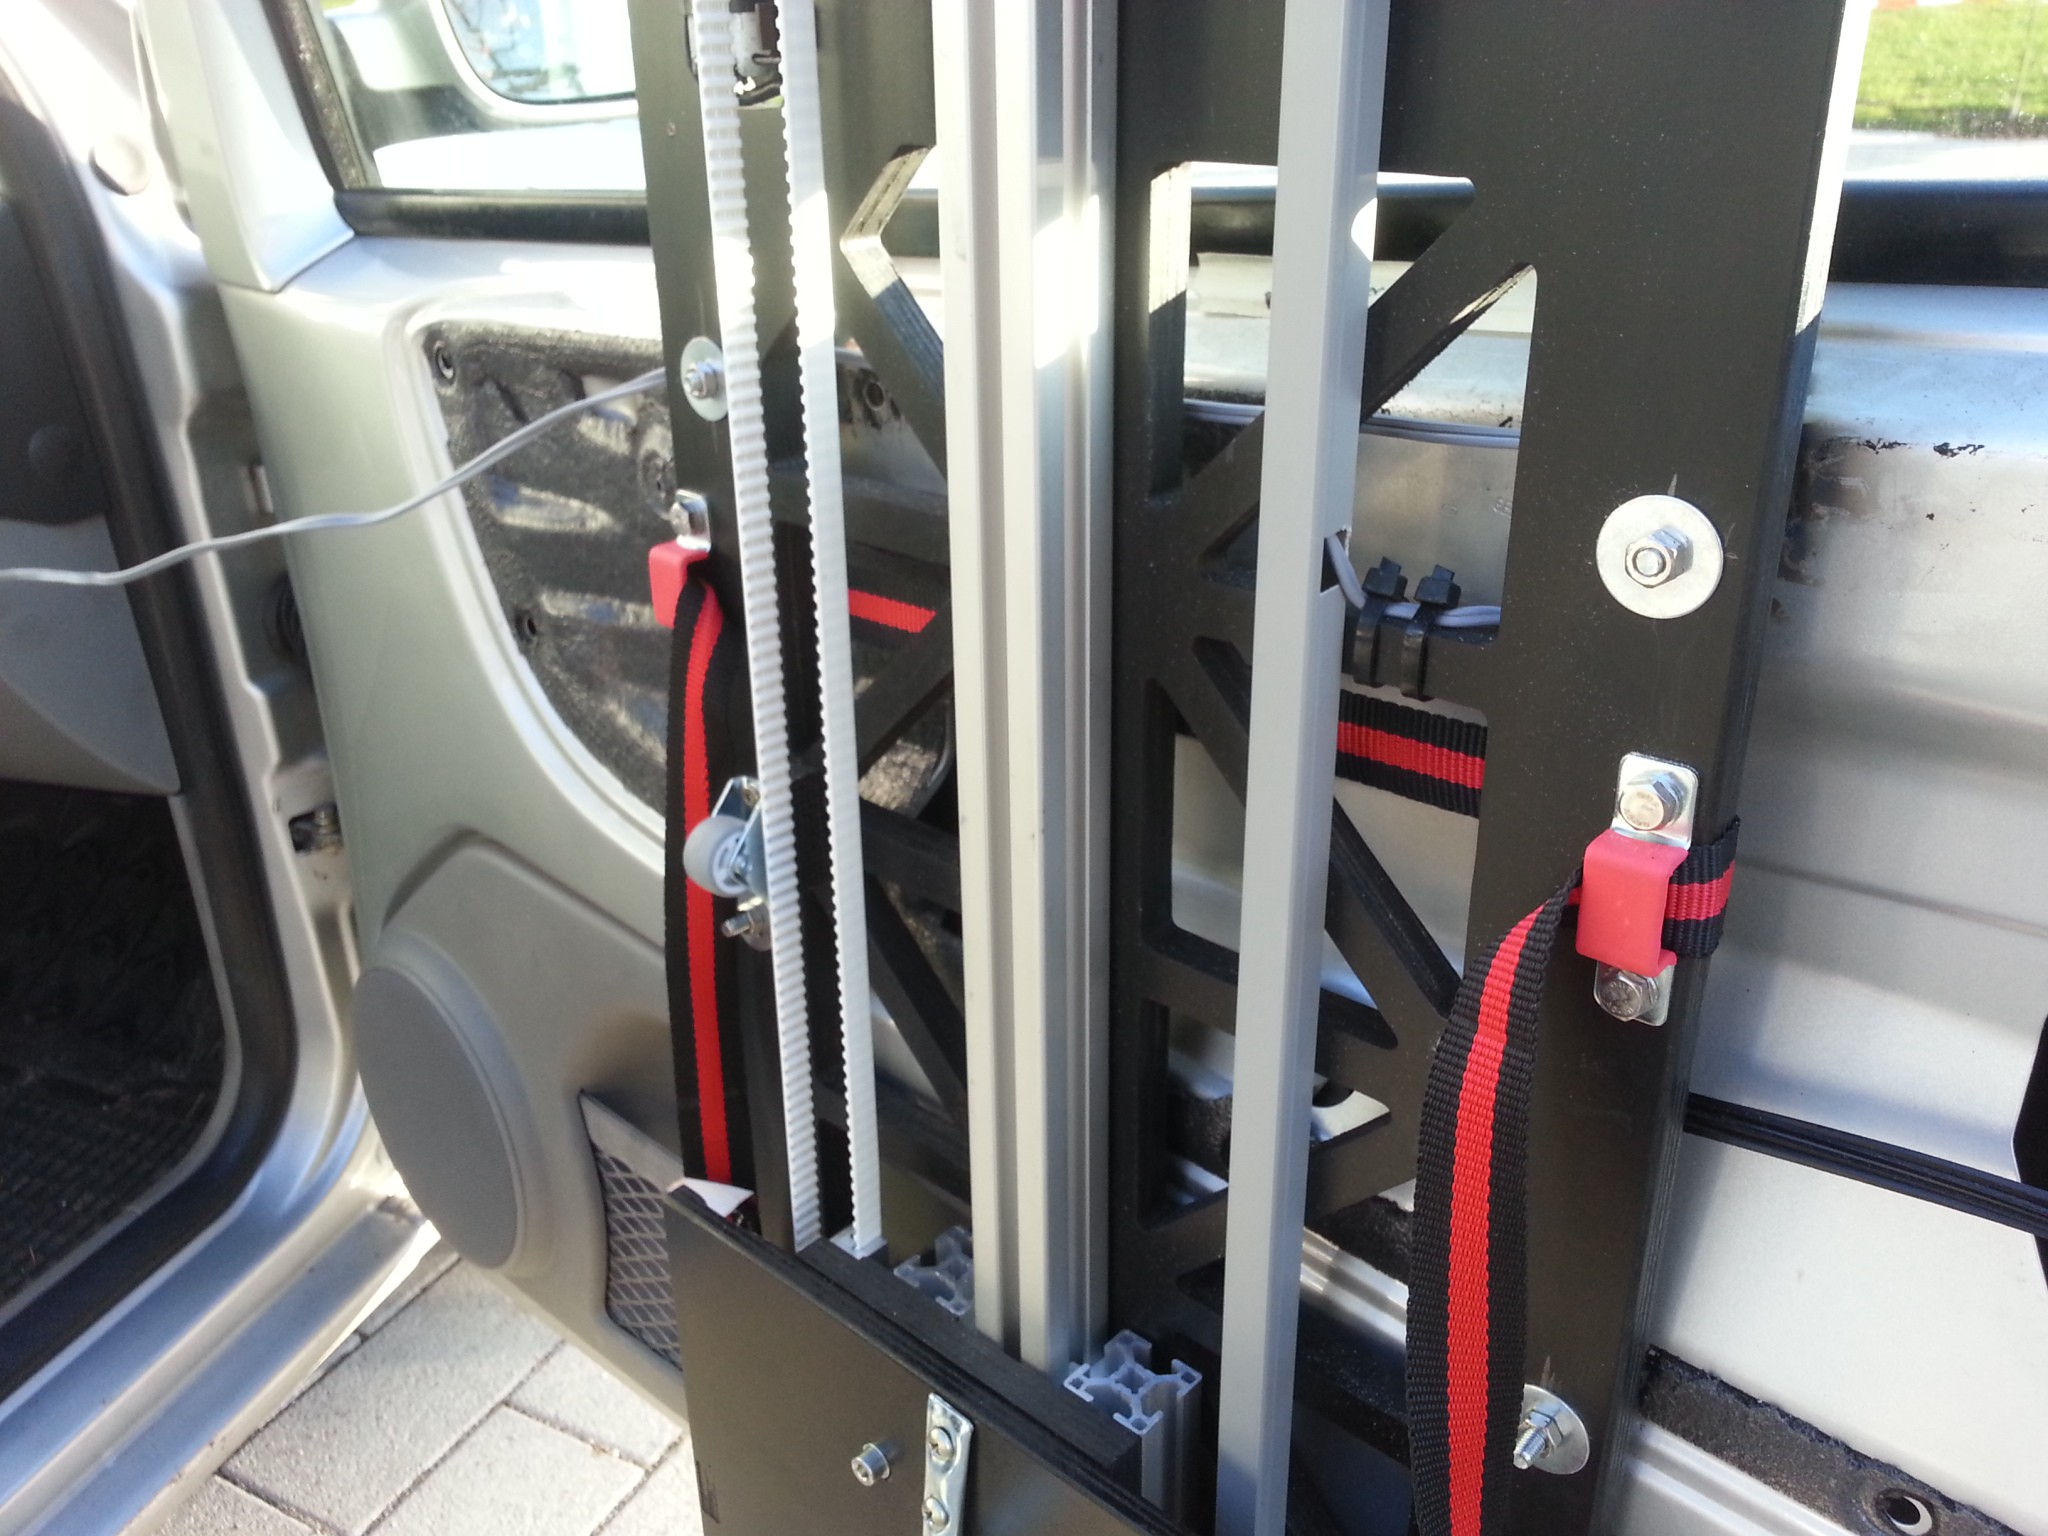
Front plane and hook for rollator
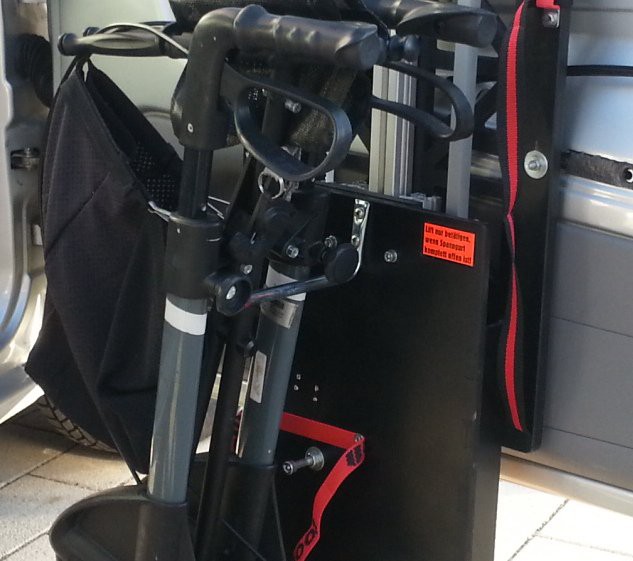
10/03/2016 at 20:29 • 0 commentsFinally there is a cover to allow the rollator to be fixed at. I used a simple hook from hardware store. I think it is for storing a garden hose or similar.
![]() The rollator has two knobs for adjusting height - these are perfect for hanging the wheeled walker.
The rollator has two knobs for adjusting height - these are perfect for hanging the wheeled walker.![]() You see the lower belt, the red one. This one is for fixing the rollator while moving up and down.
You see the lower belt, the red one. This one is for fixing the rollator while moving up and down.If the walker finally is lifted up, both belts are closed and everything is ready to go.
![]()
-
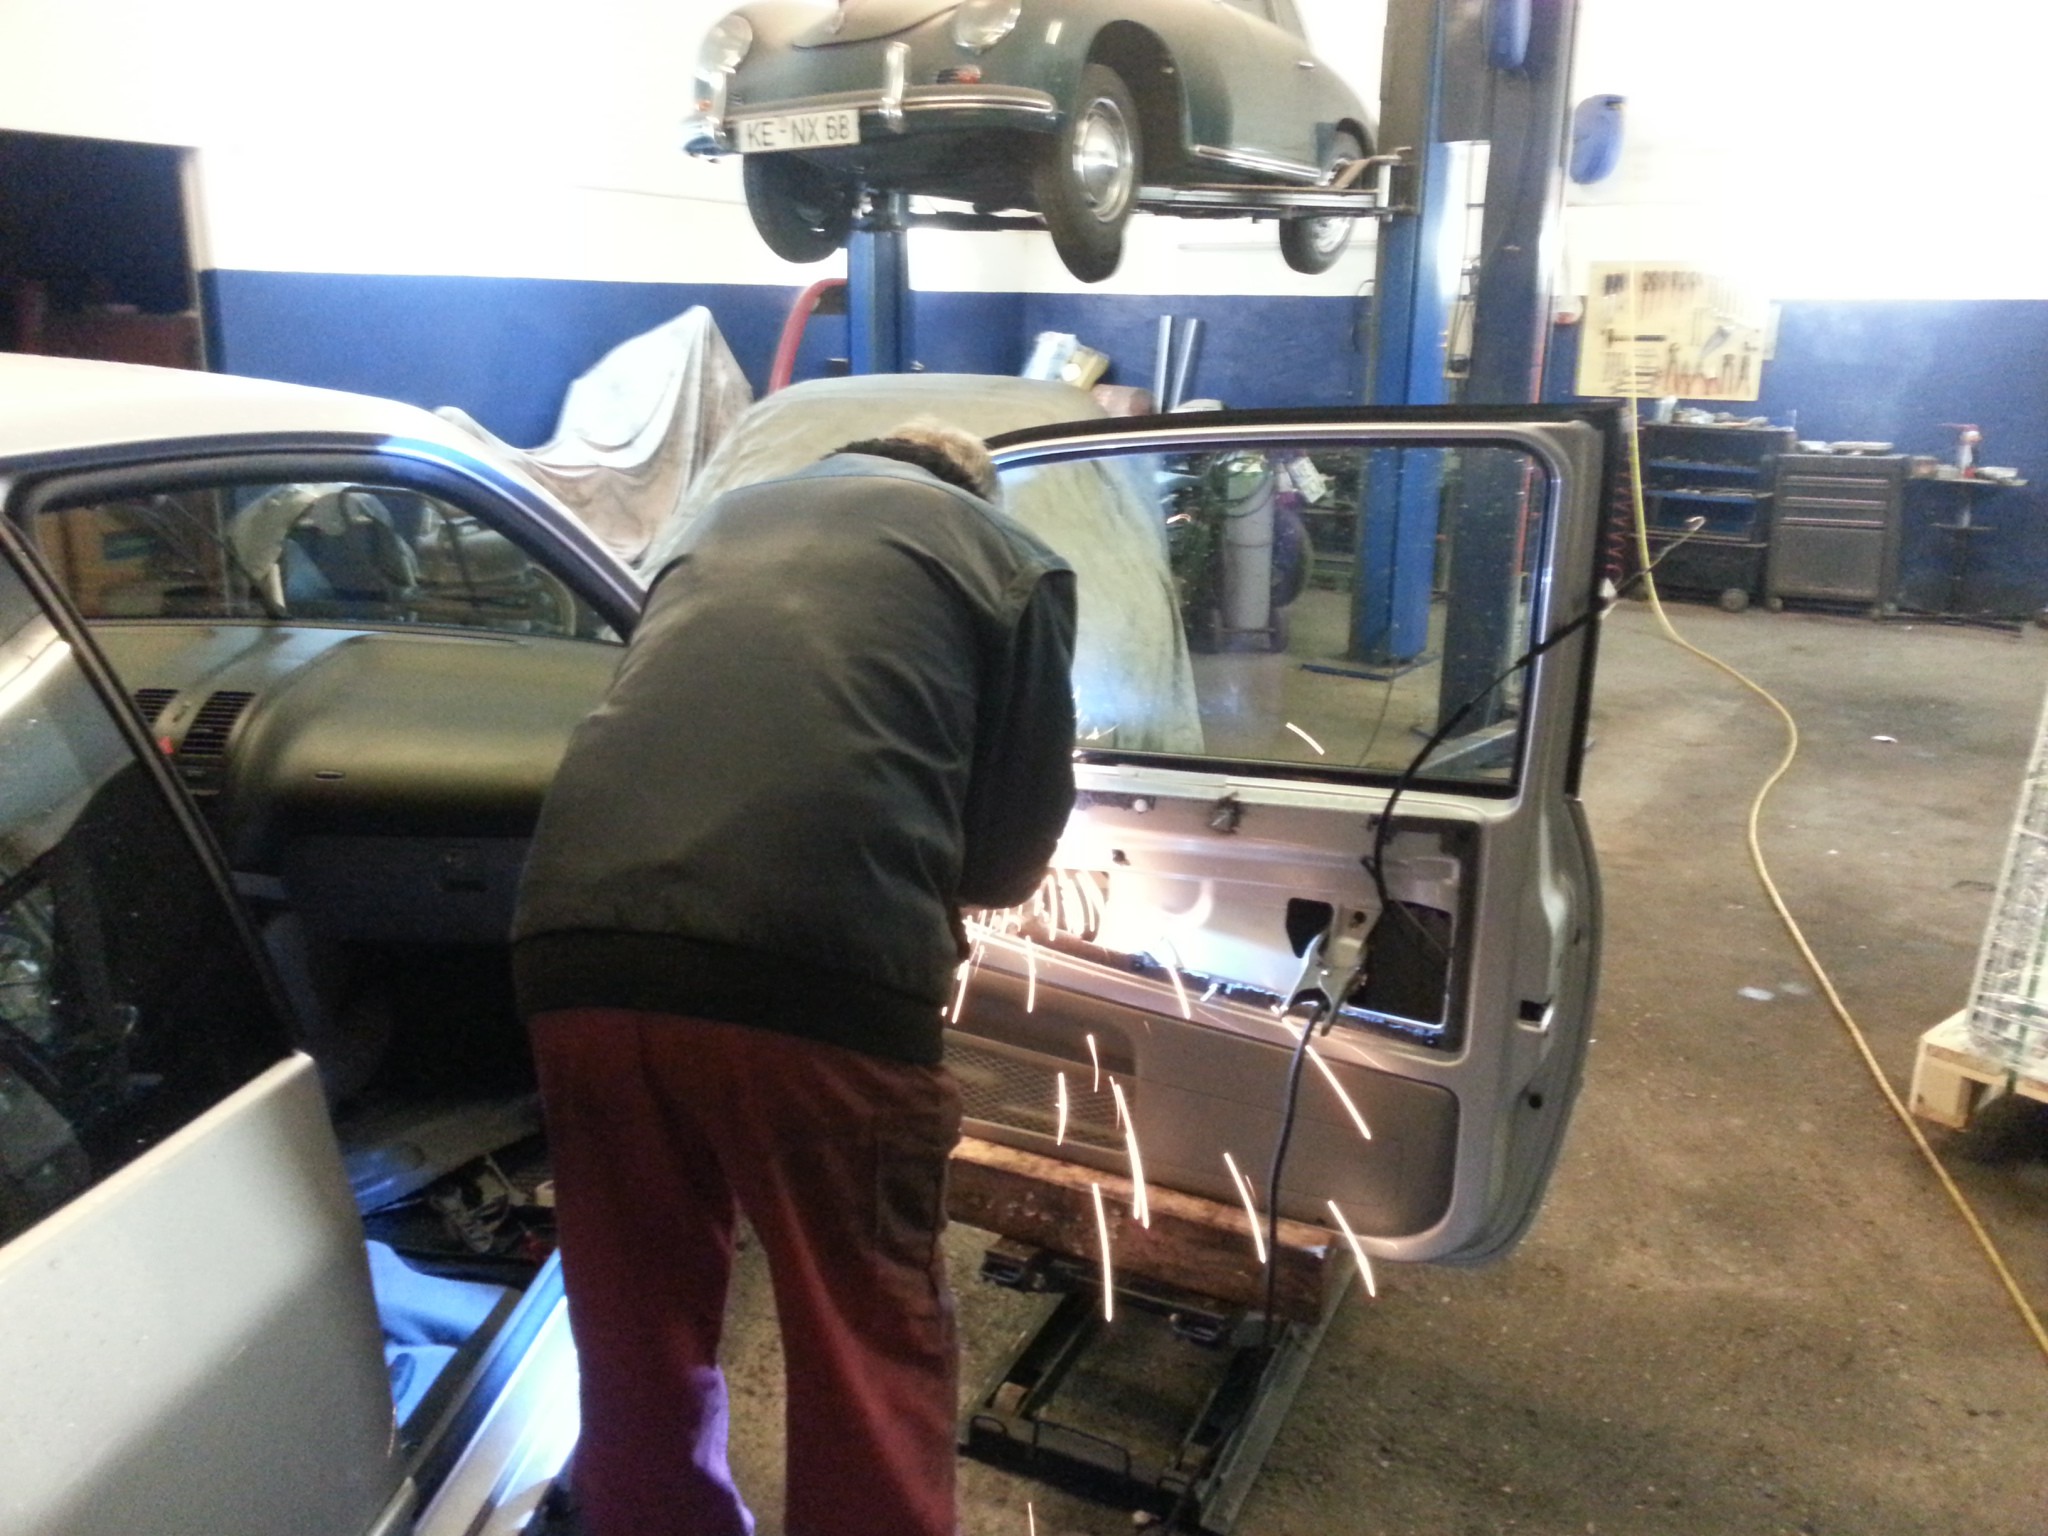
Mounting of lift on the car door.
10/03/2016 at 20:21 • 0 comments -
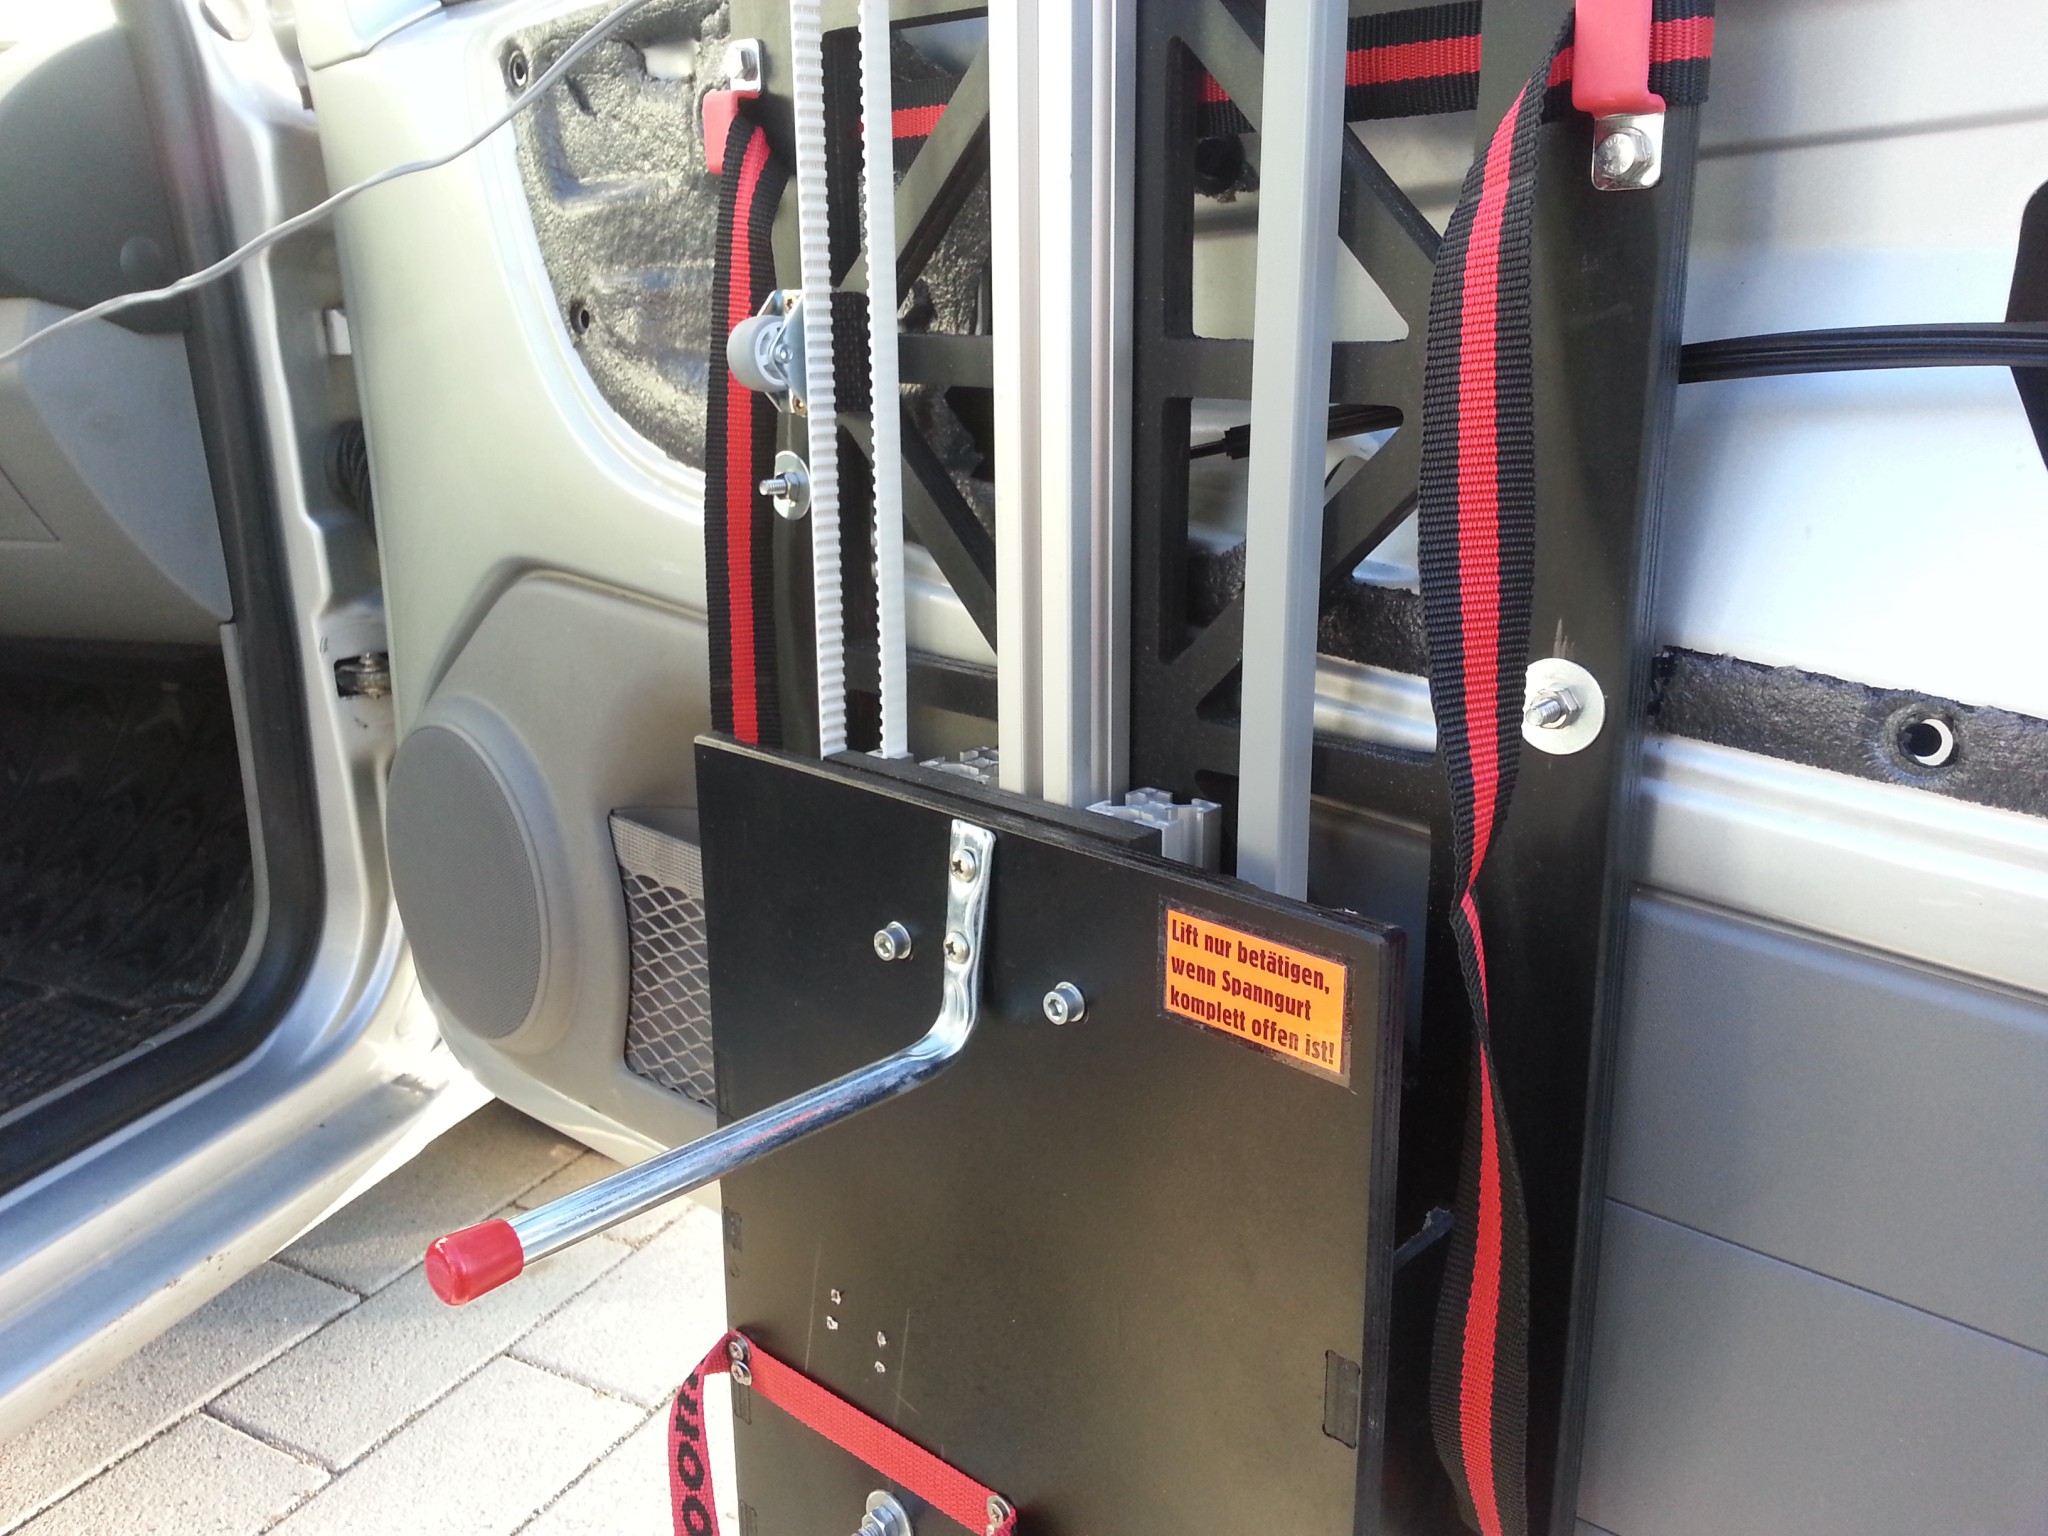
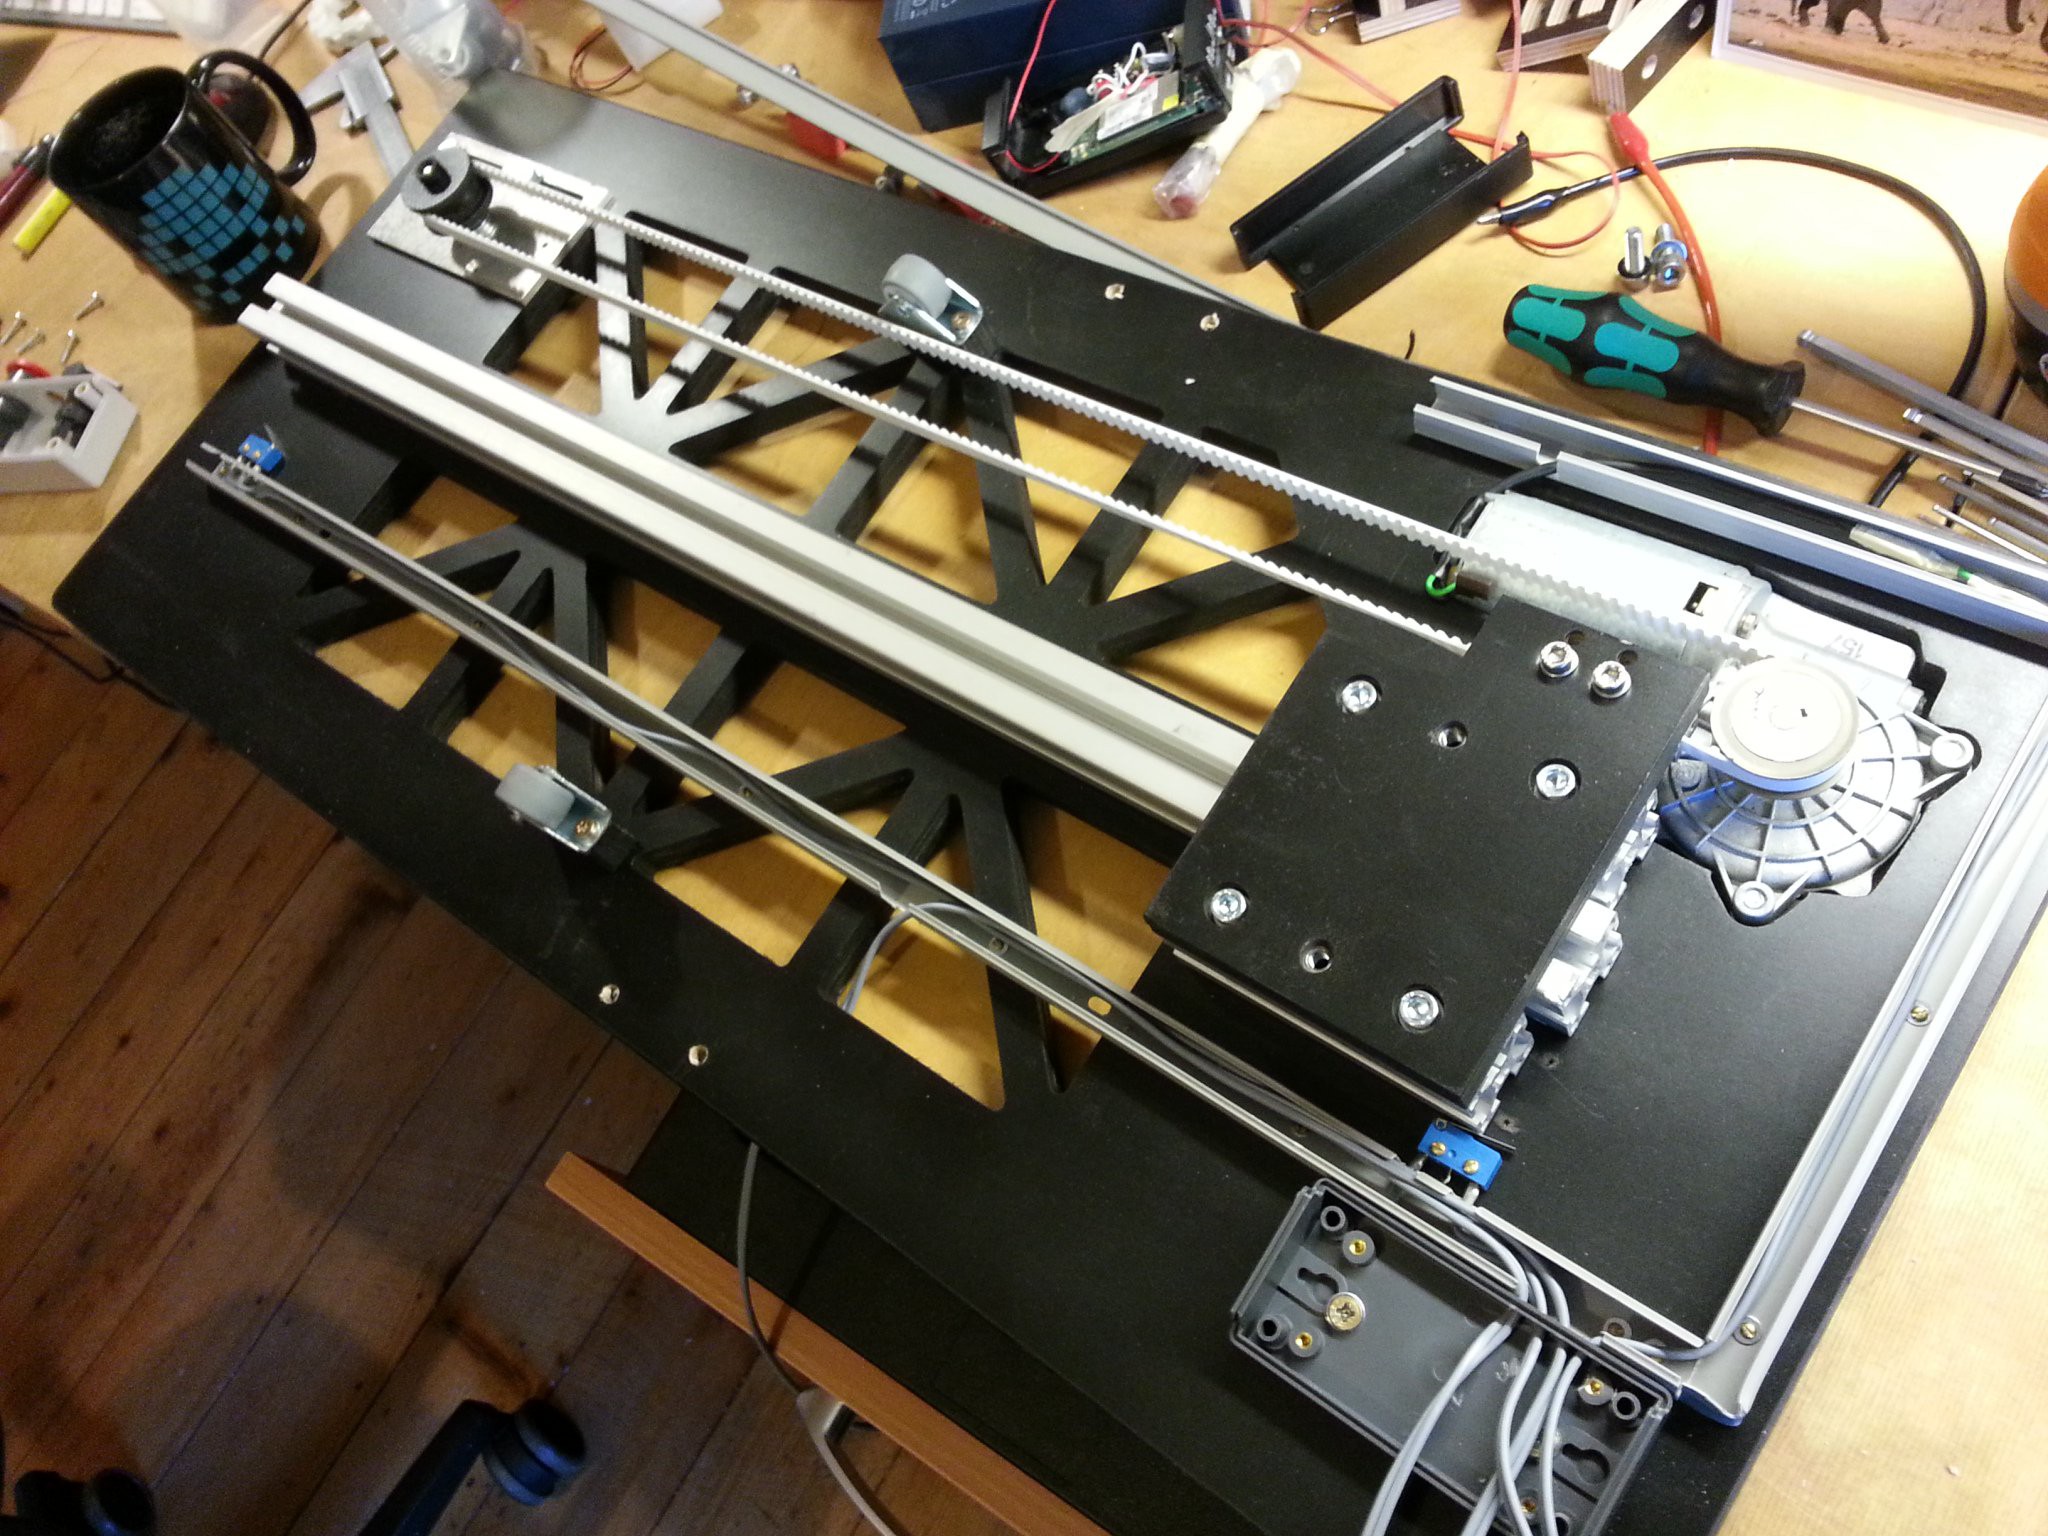
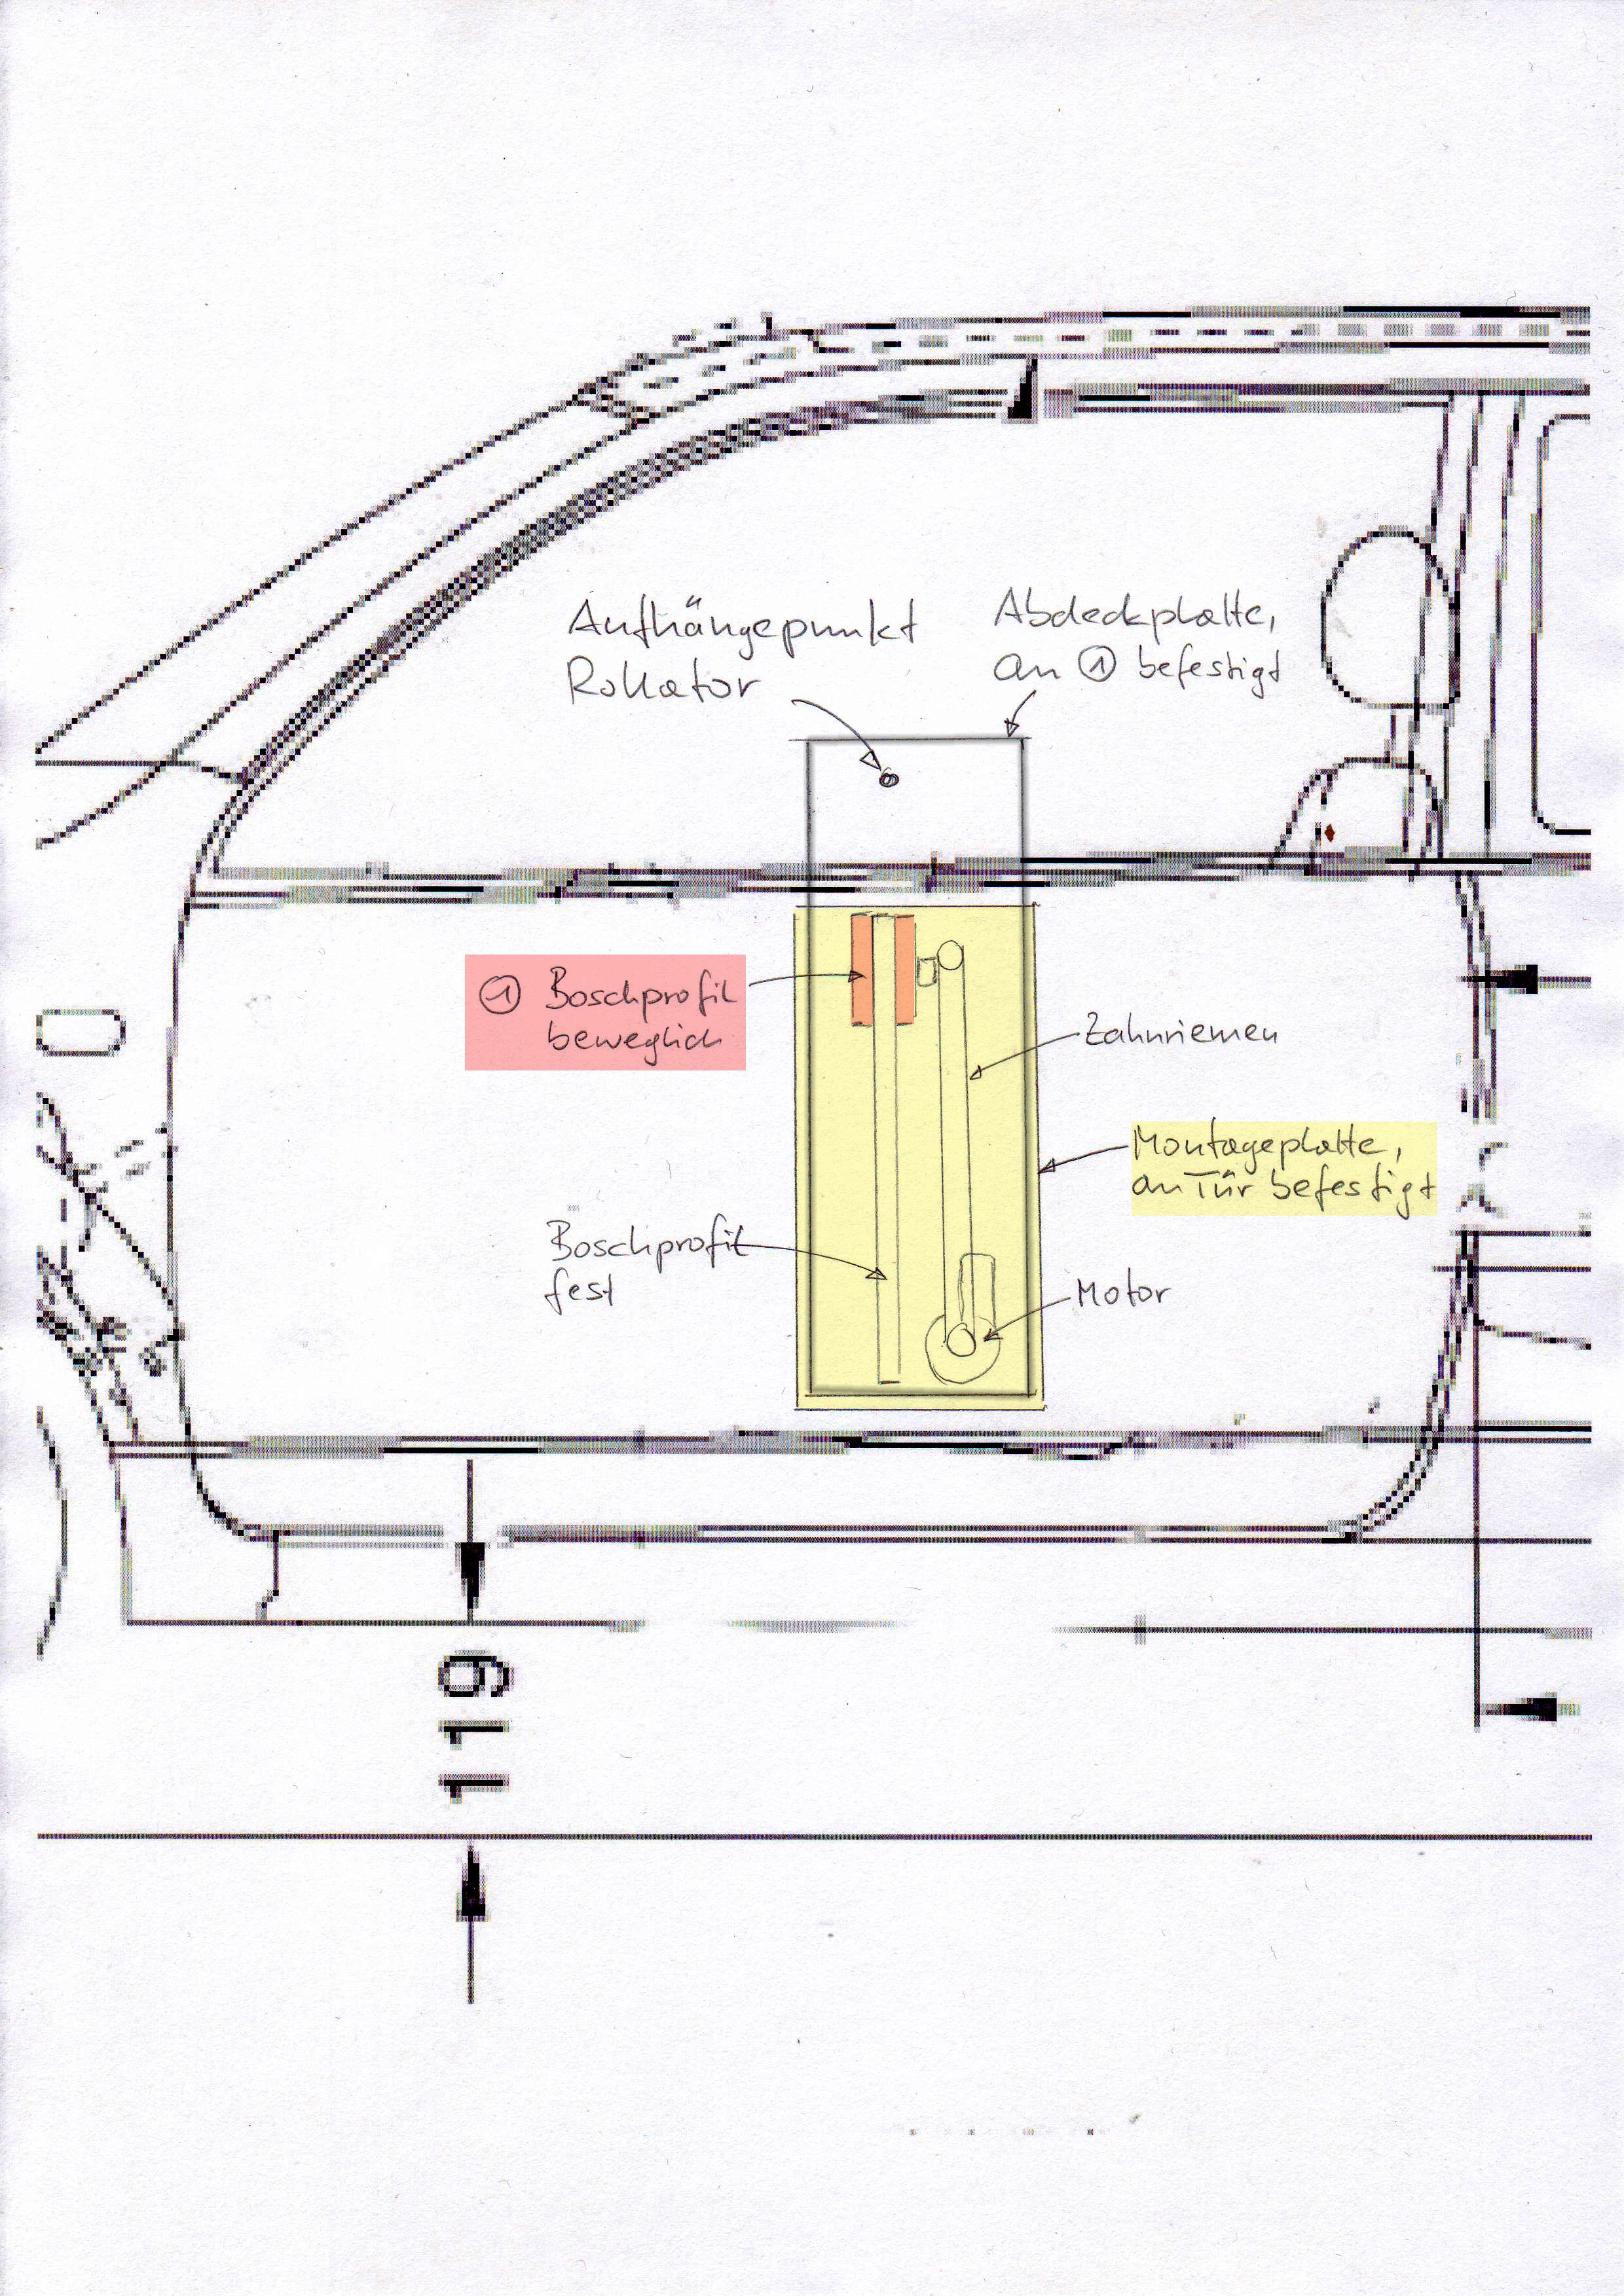
Backplane and linear guide
10/03/2016 at 20:15 • 0 commentsThe backplane will then be bolted against the door. Out of the aluminum profiles I buildt a linear guide which allows to move a small plywood plate of approx 10 by 10 cm up and down.
![]()
On that plate sits the front plane wich holds the hook for the rollator.
![]()
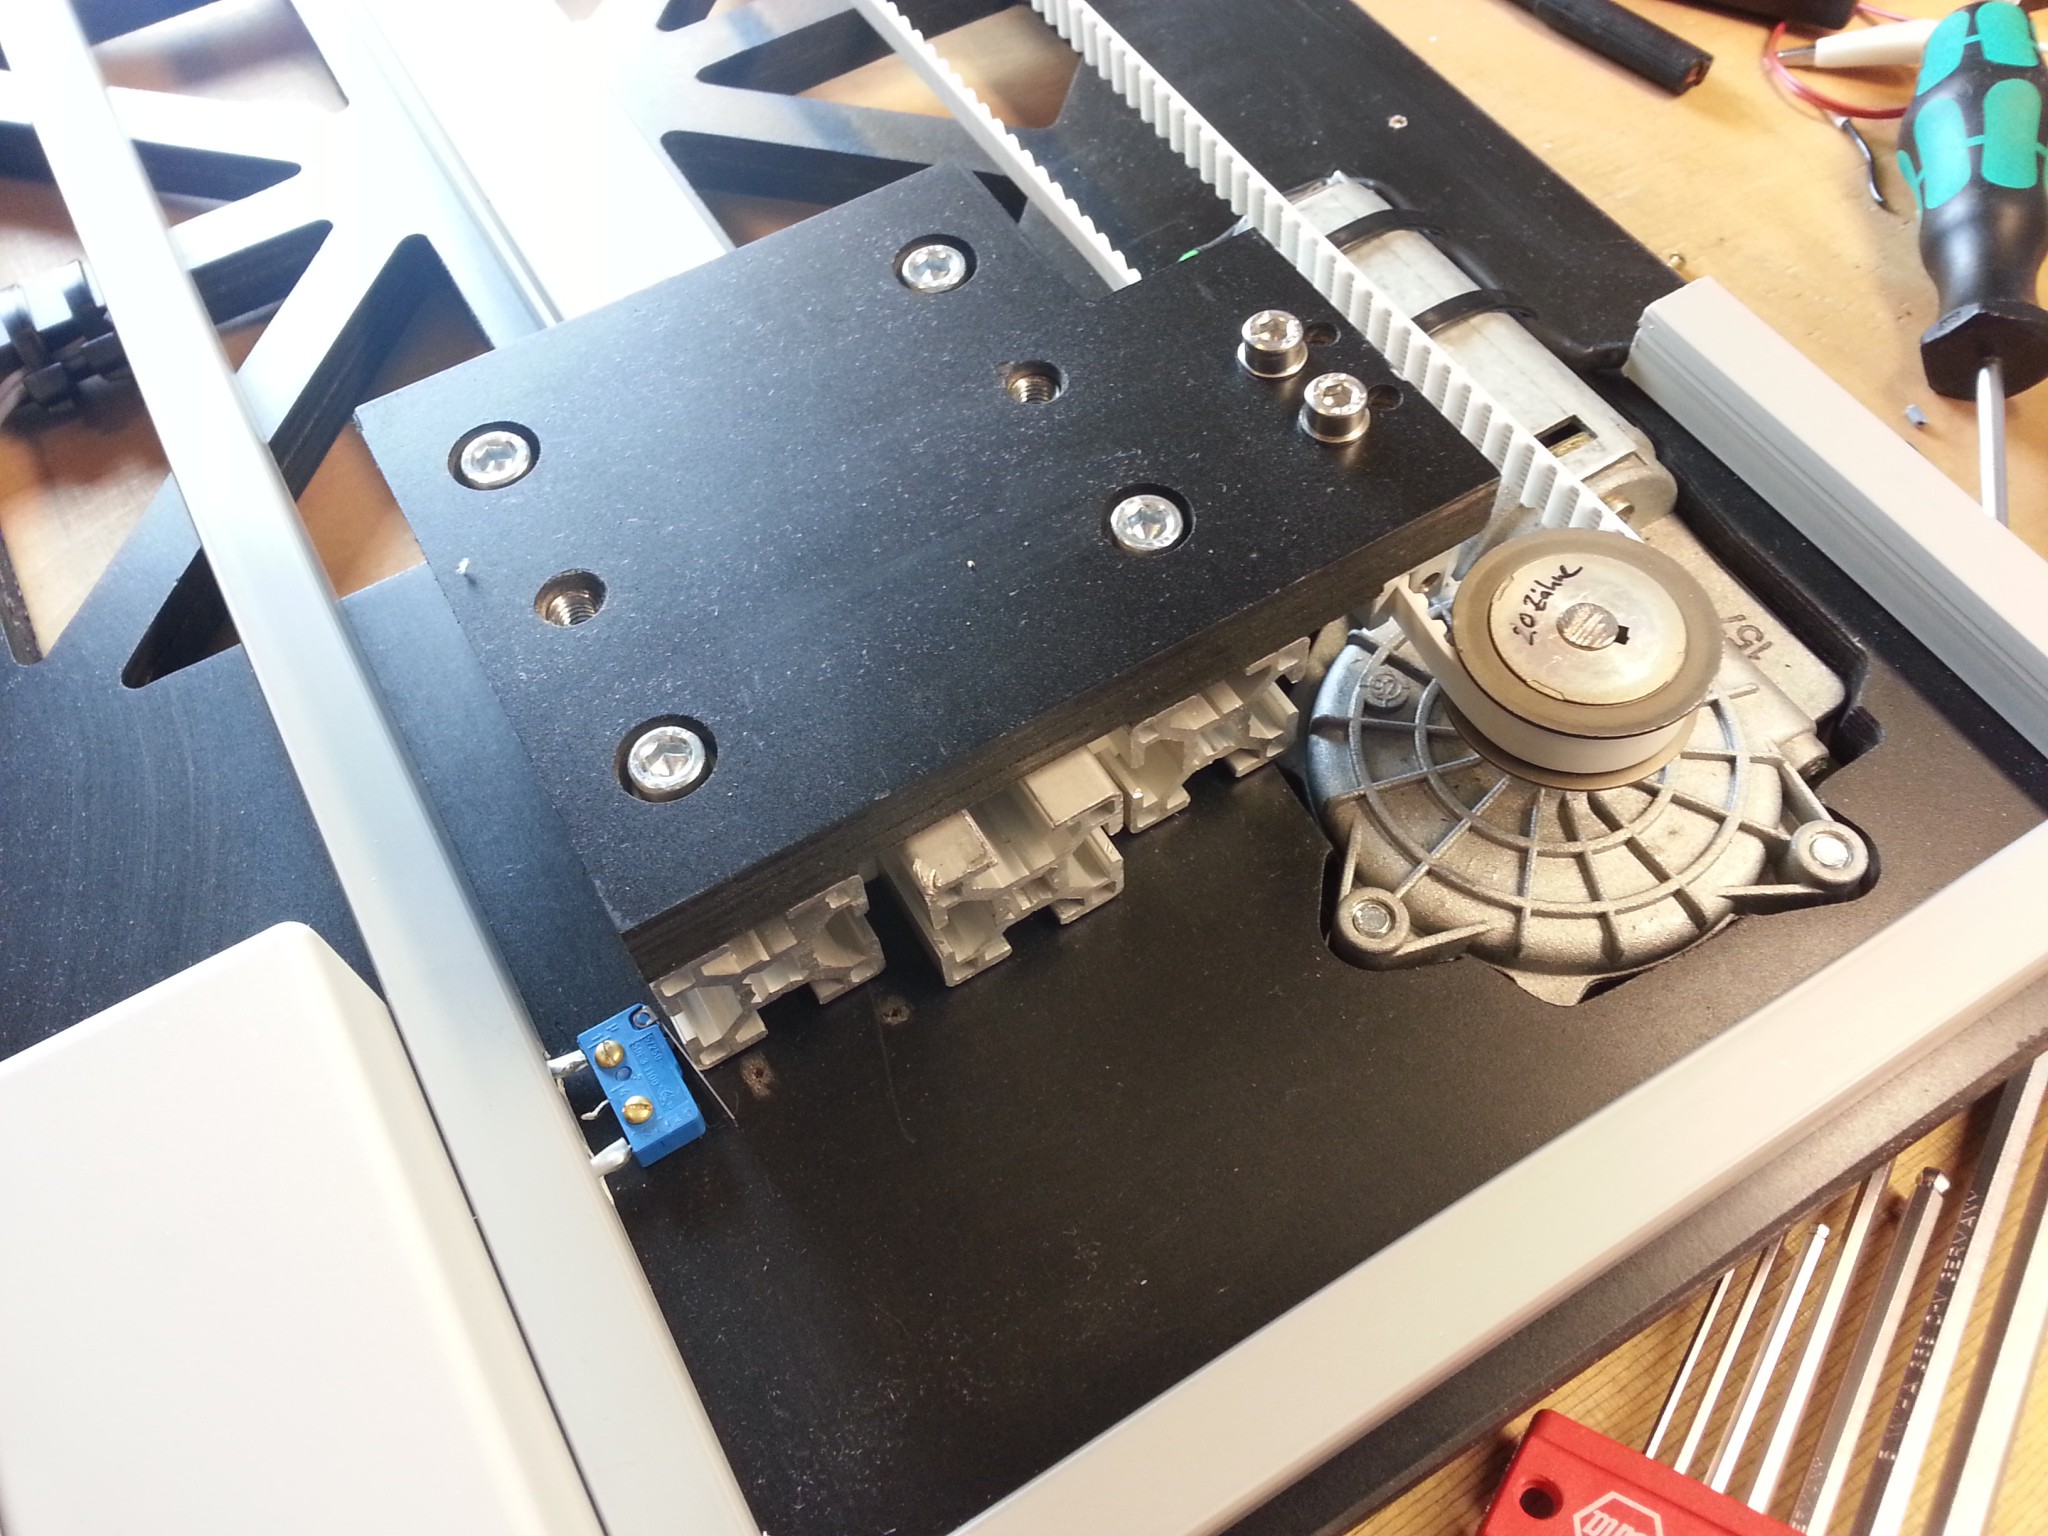
You maybe notice the blue end switch. There is one switch for up and one for down position.
-
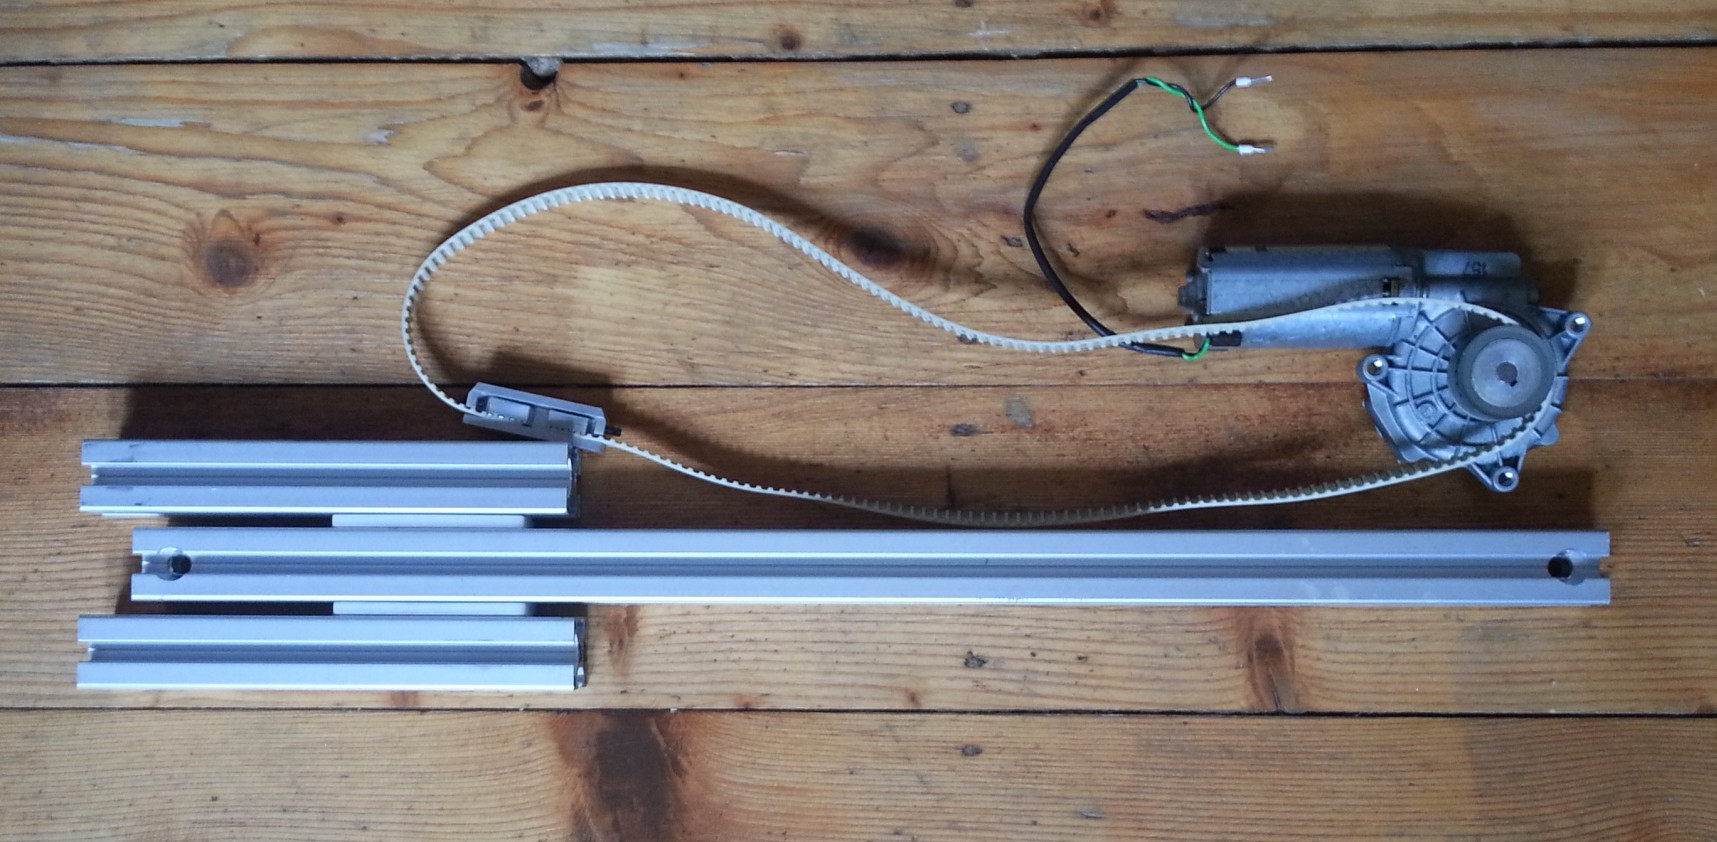
Gathering material
10/03/2016 at 20:07 • 0 commentsI do serious dumpster diving, so i examined my stock material for usable parts:
![]()
This is an wiper motor (it is rated for 24 volts, so speed at 12 V is only half, but the force is strong in this motor! ;)
Then i found some aluminum profile. The white parts are findings also - they were screwed to one of these aluminum parts and were used as friction bearings - exactly what i needed!
-
Preliminarys
10/03/2016 at 20:00 • 0 comments
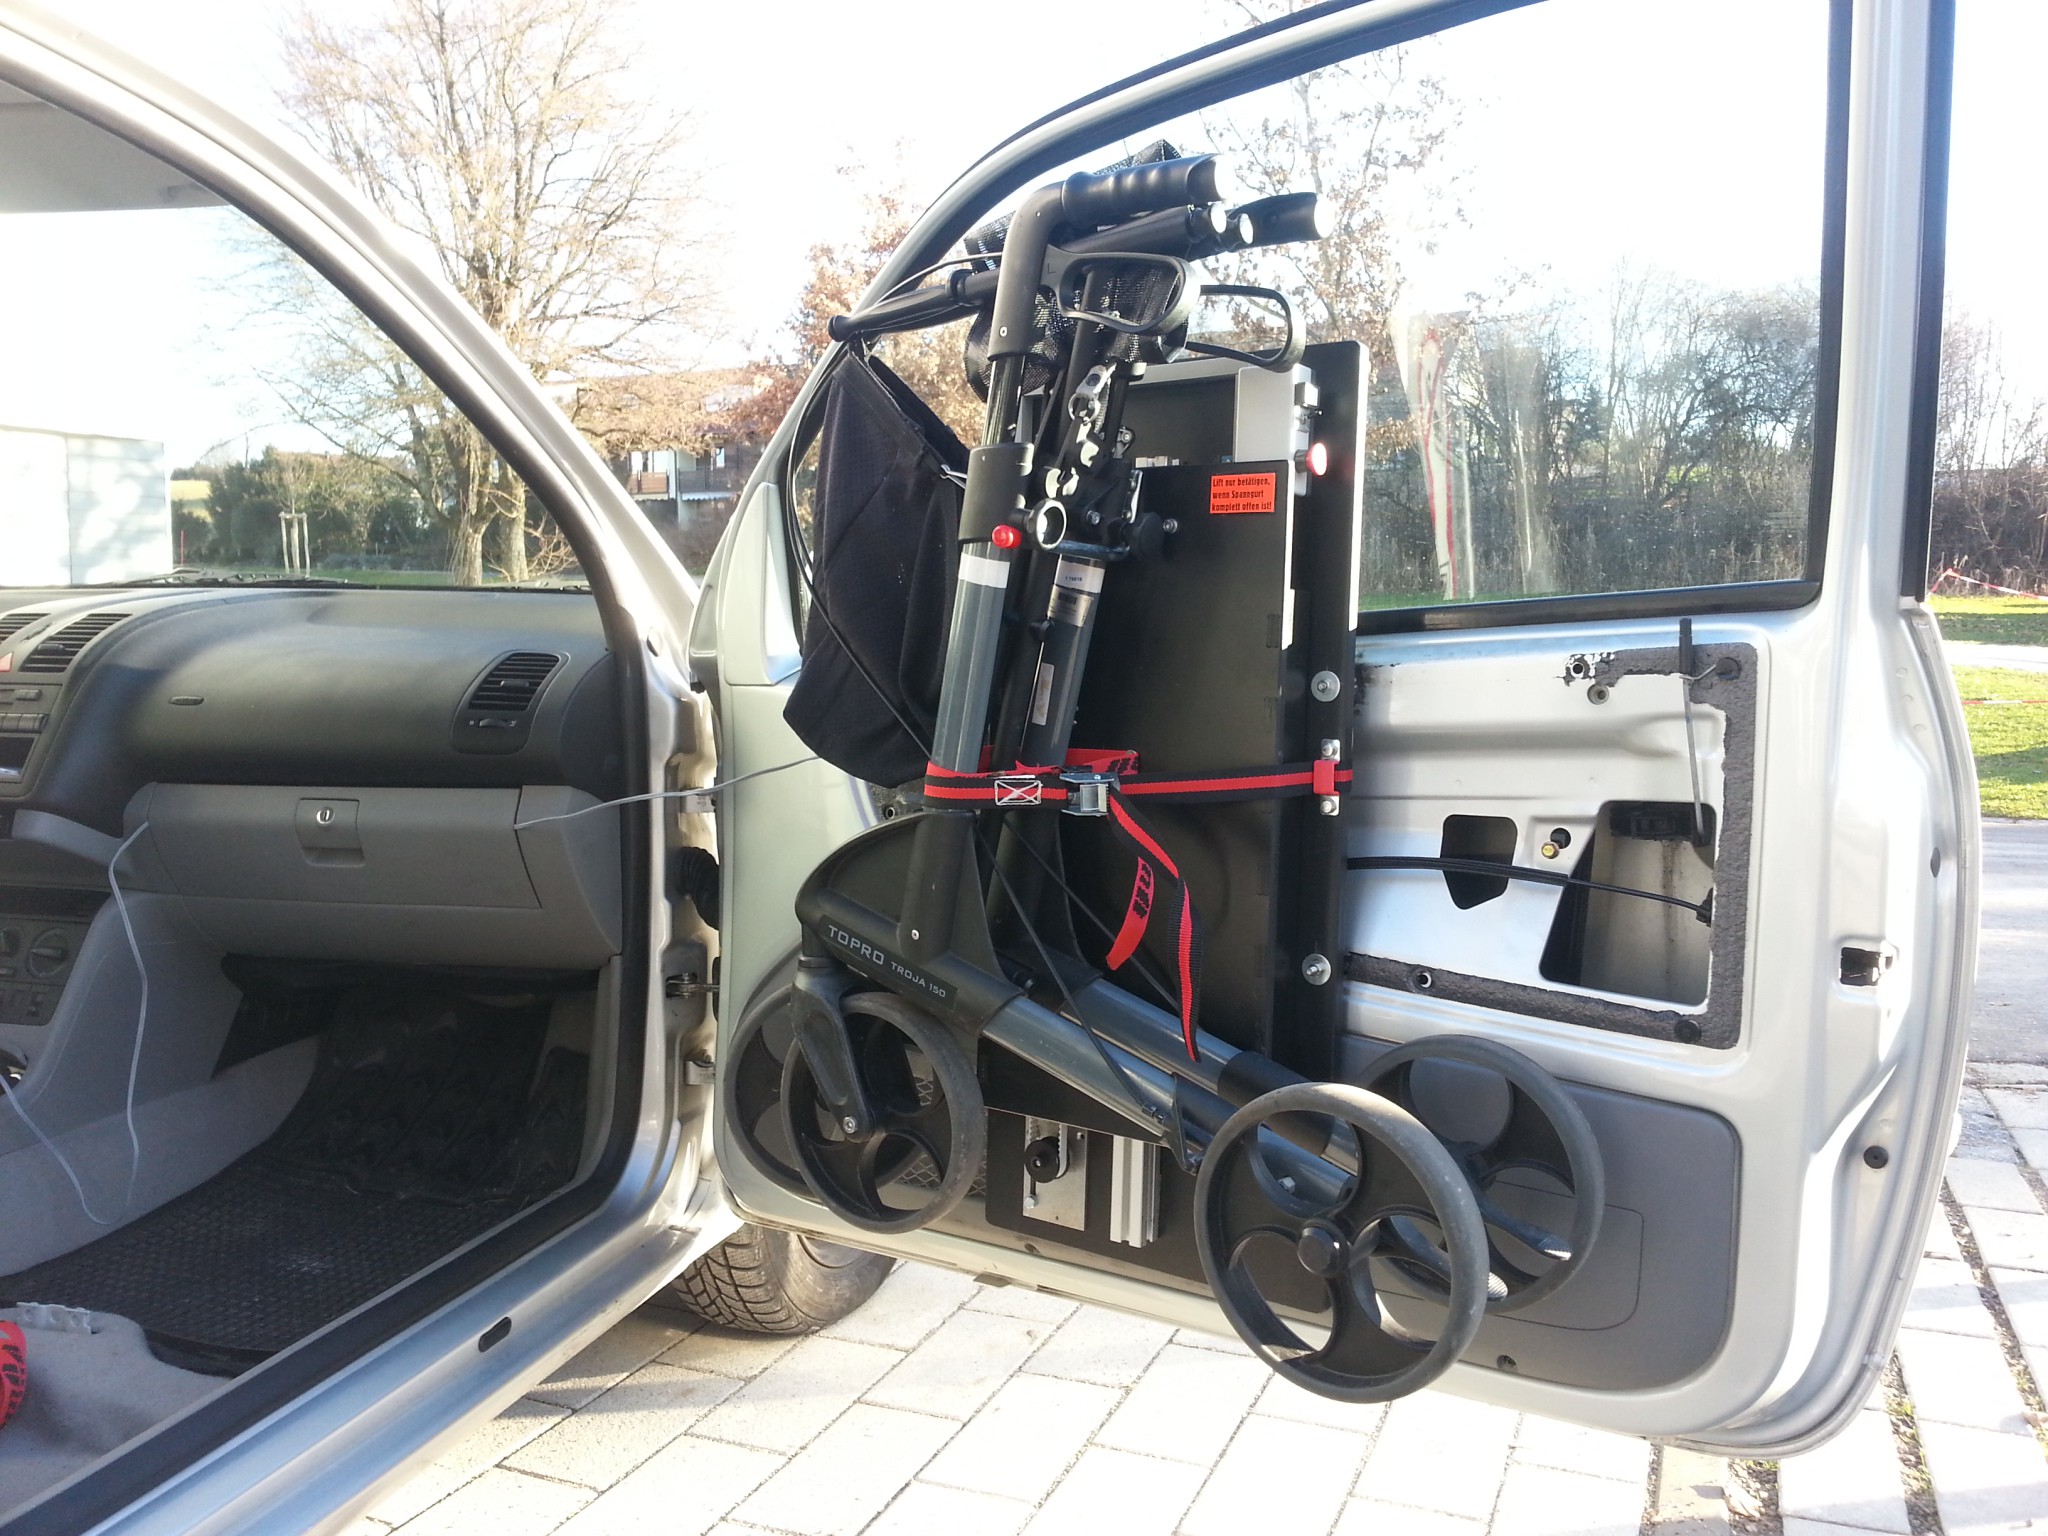
Rollator lift for small car
Simple car lift for rollator out of some coated plywood, wiper motor, drivebelt and aluminum rails. Walker stored instead of passenger seat.