 Giovanni Leal
-
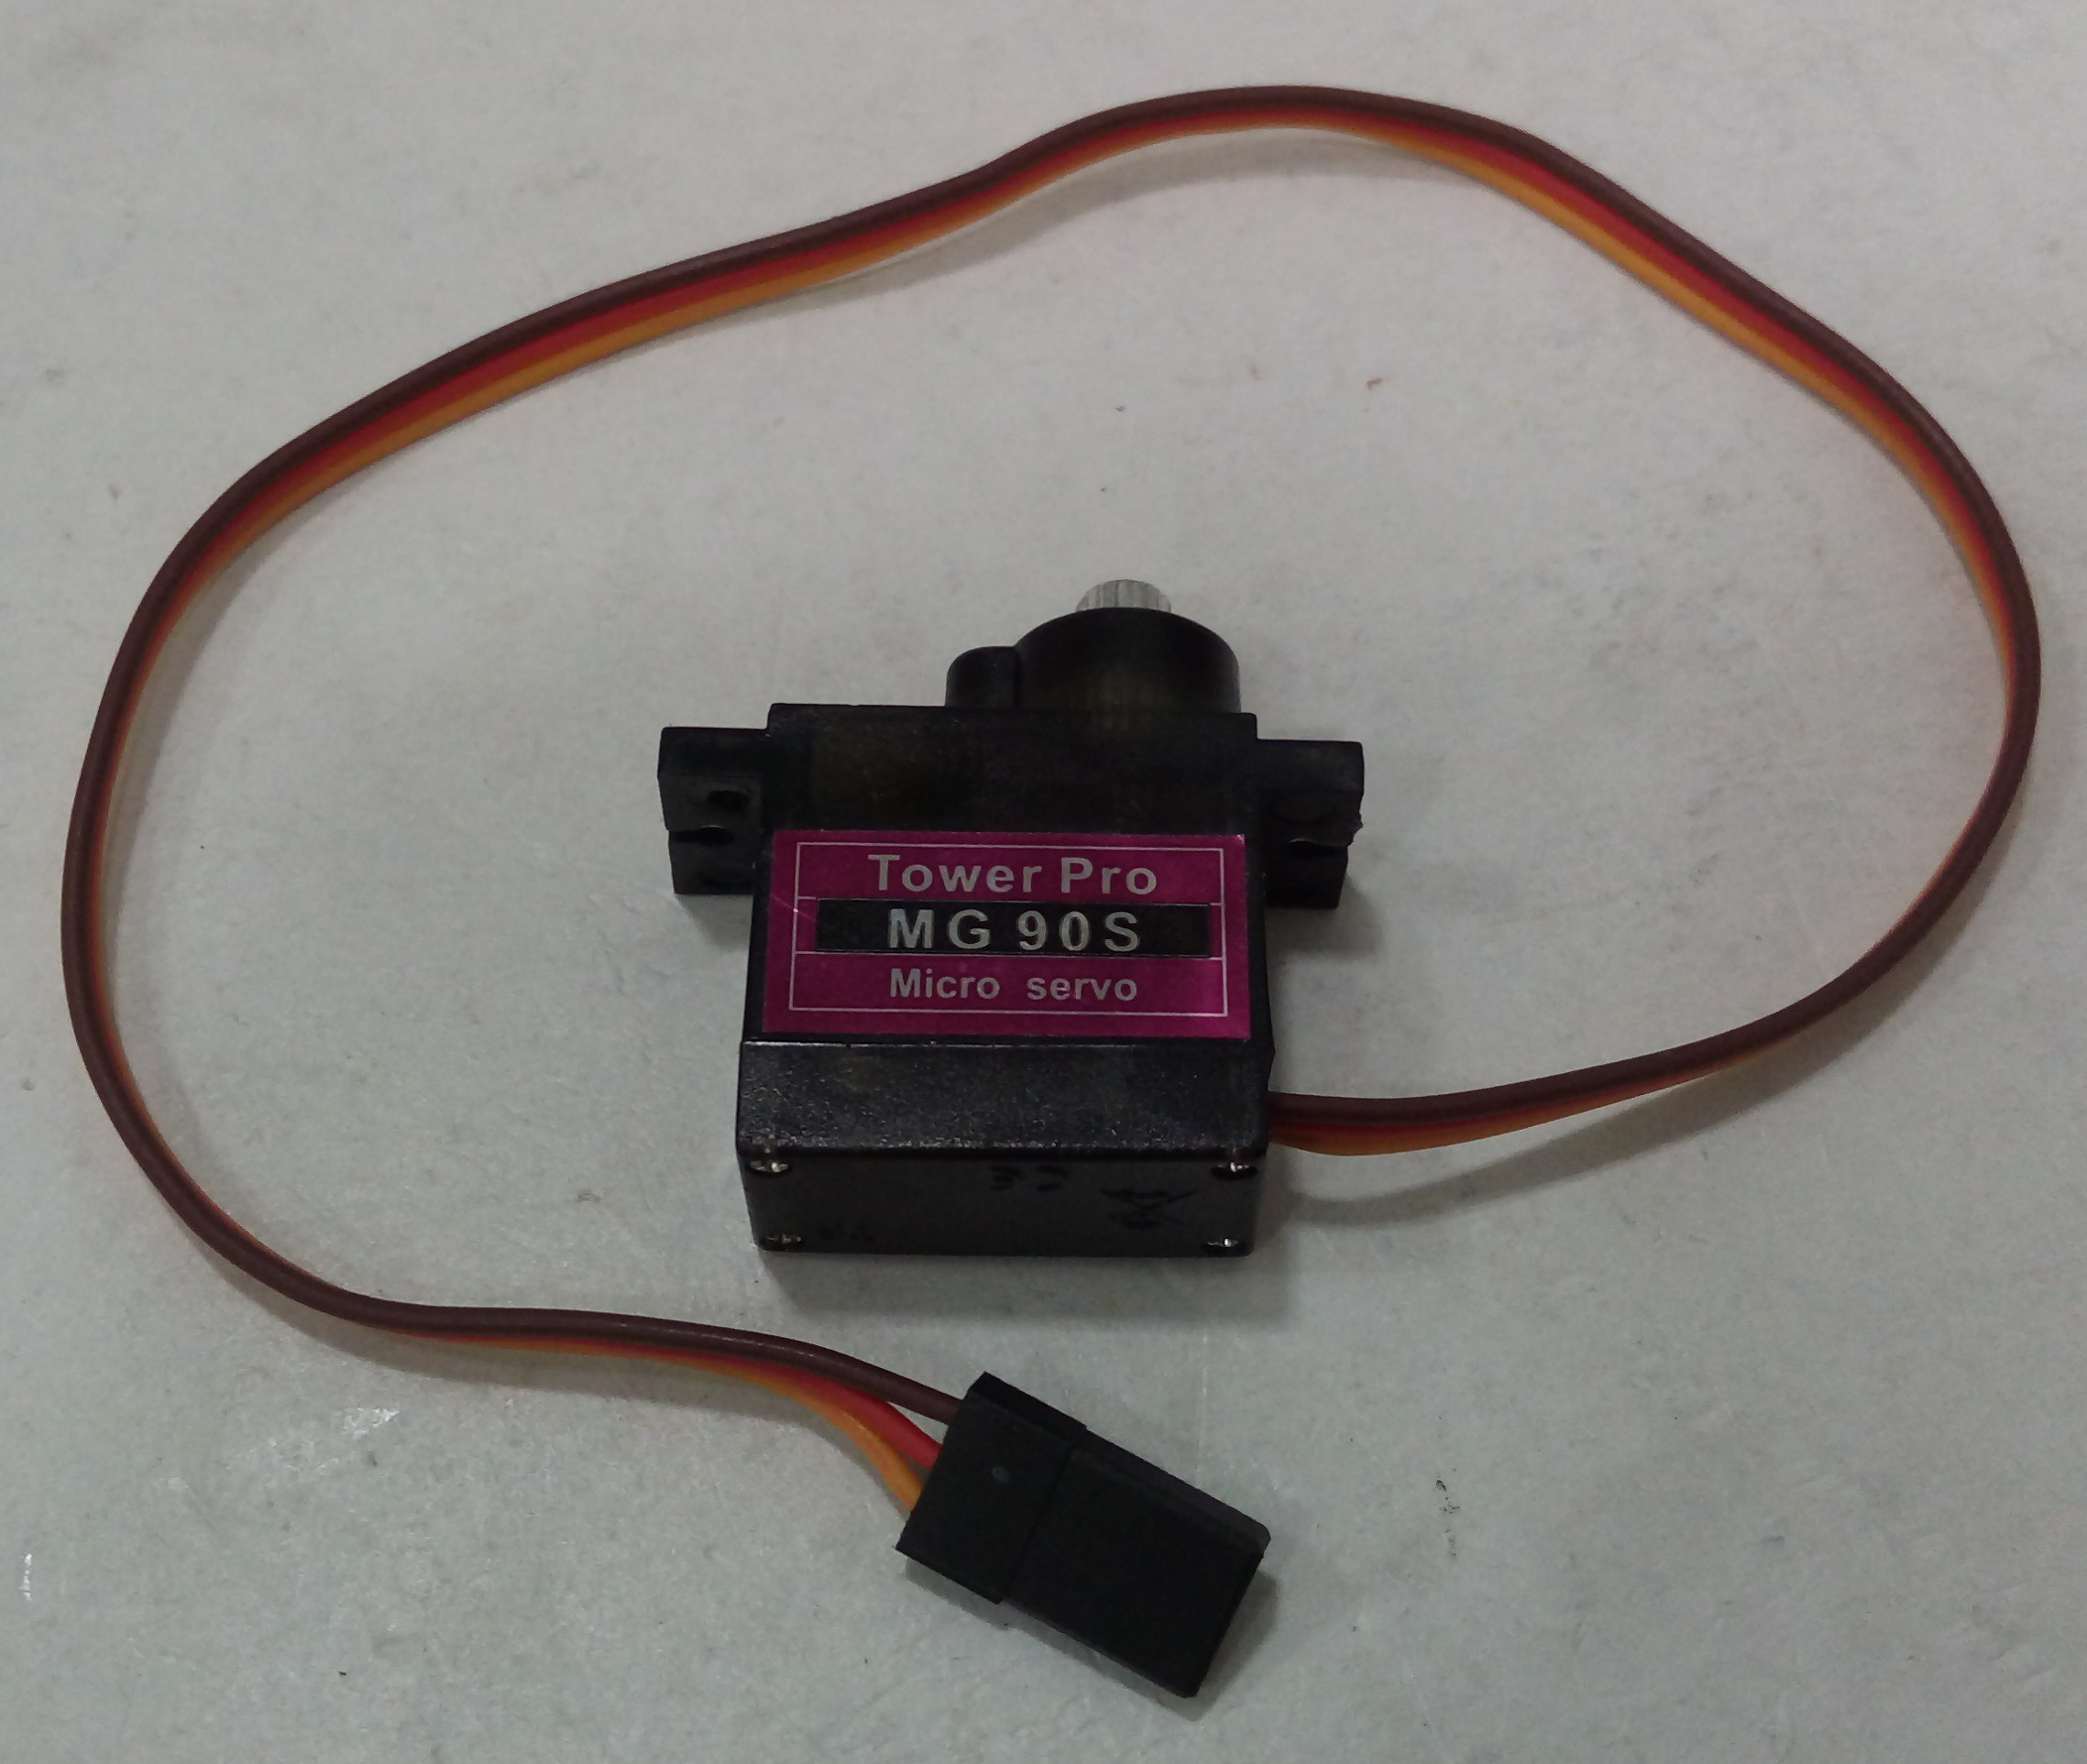
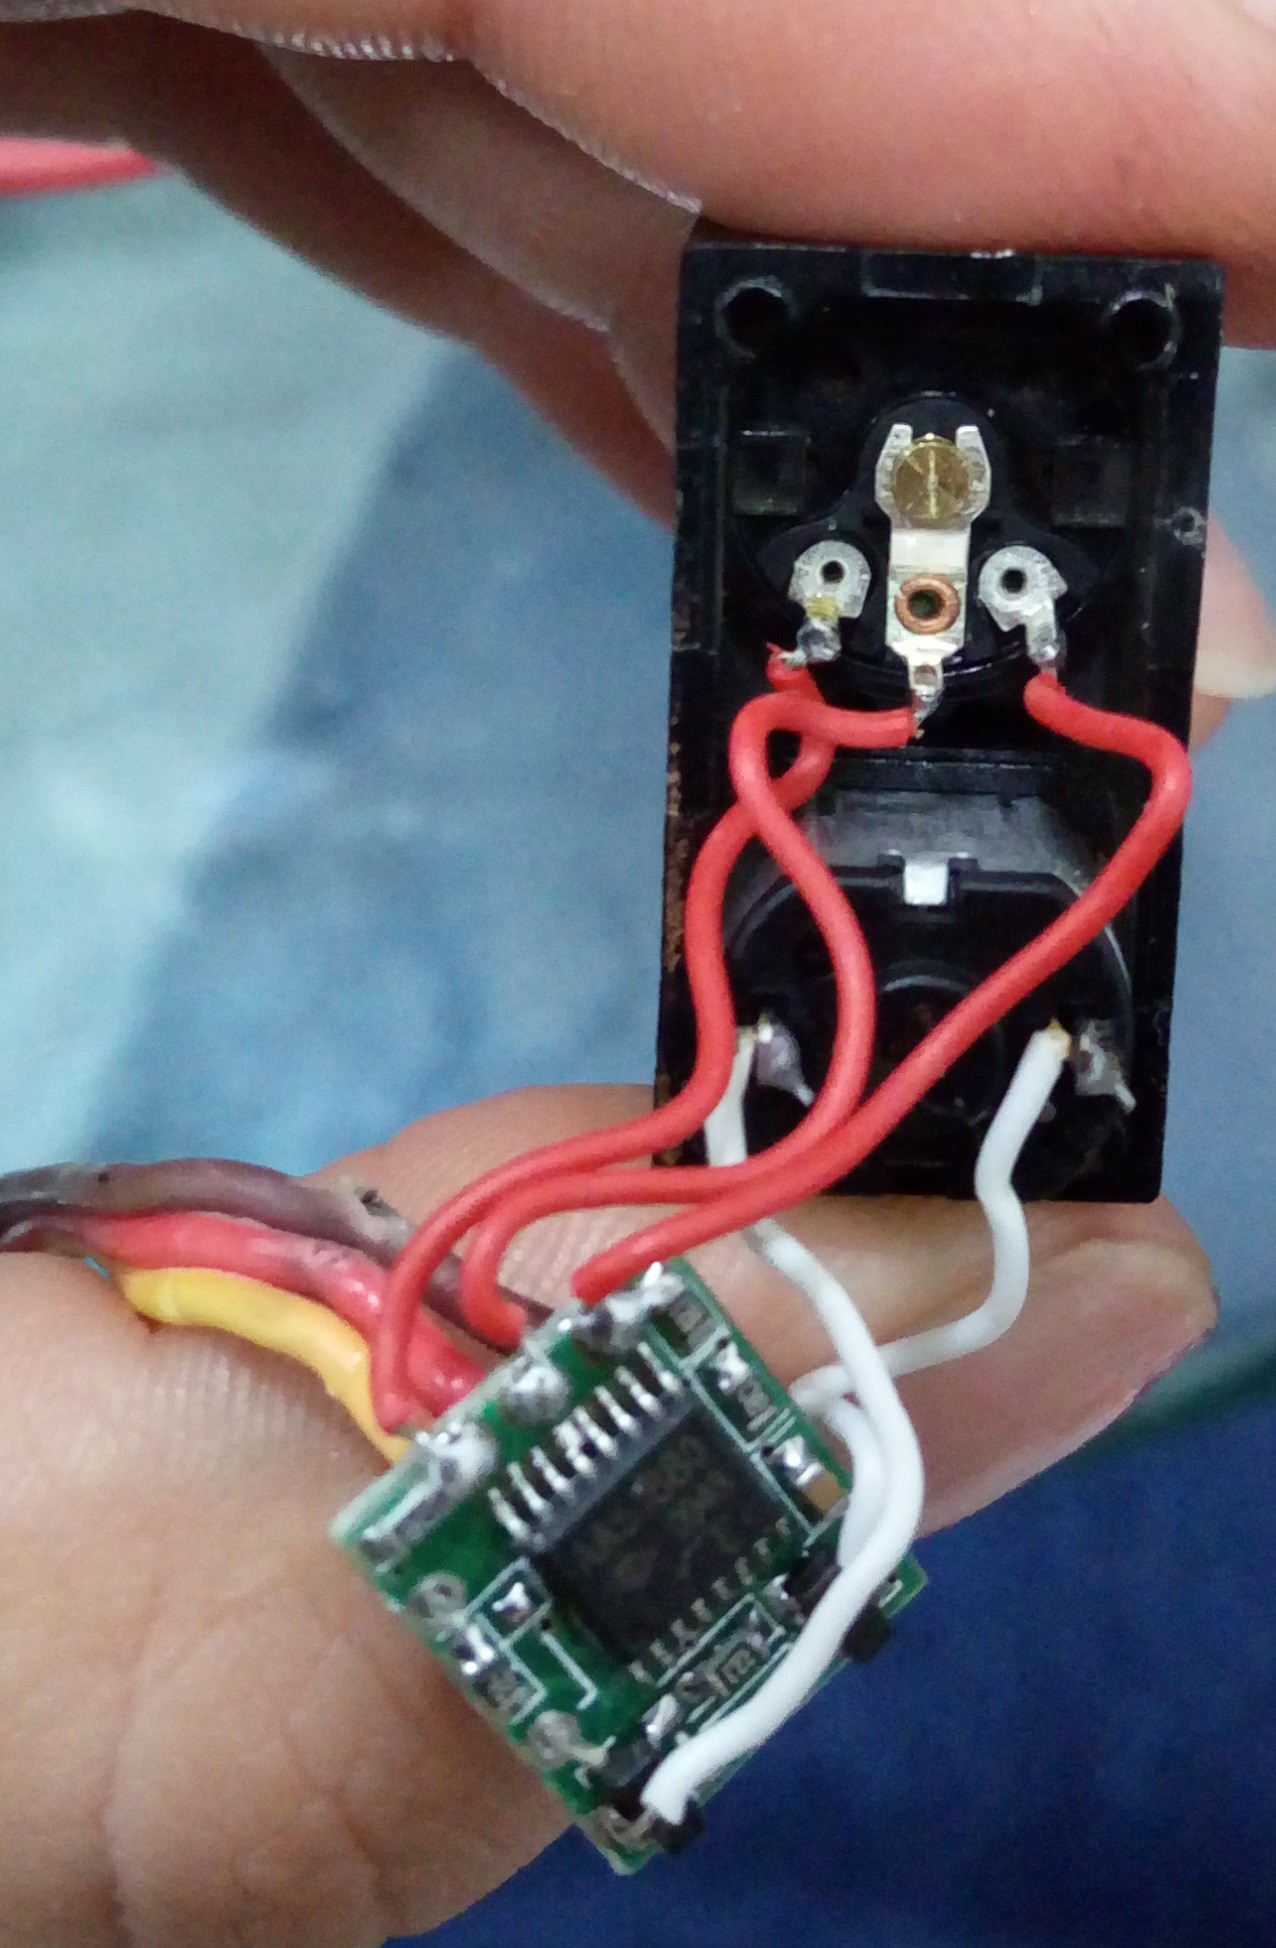
1The potentiometer and control board
The components are obtained from Servo Motor, the servo is disassembled and you extract the potentiometer and the control board
![]()
![]()
![]()
-
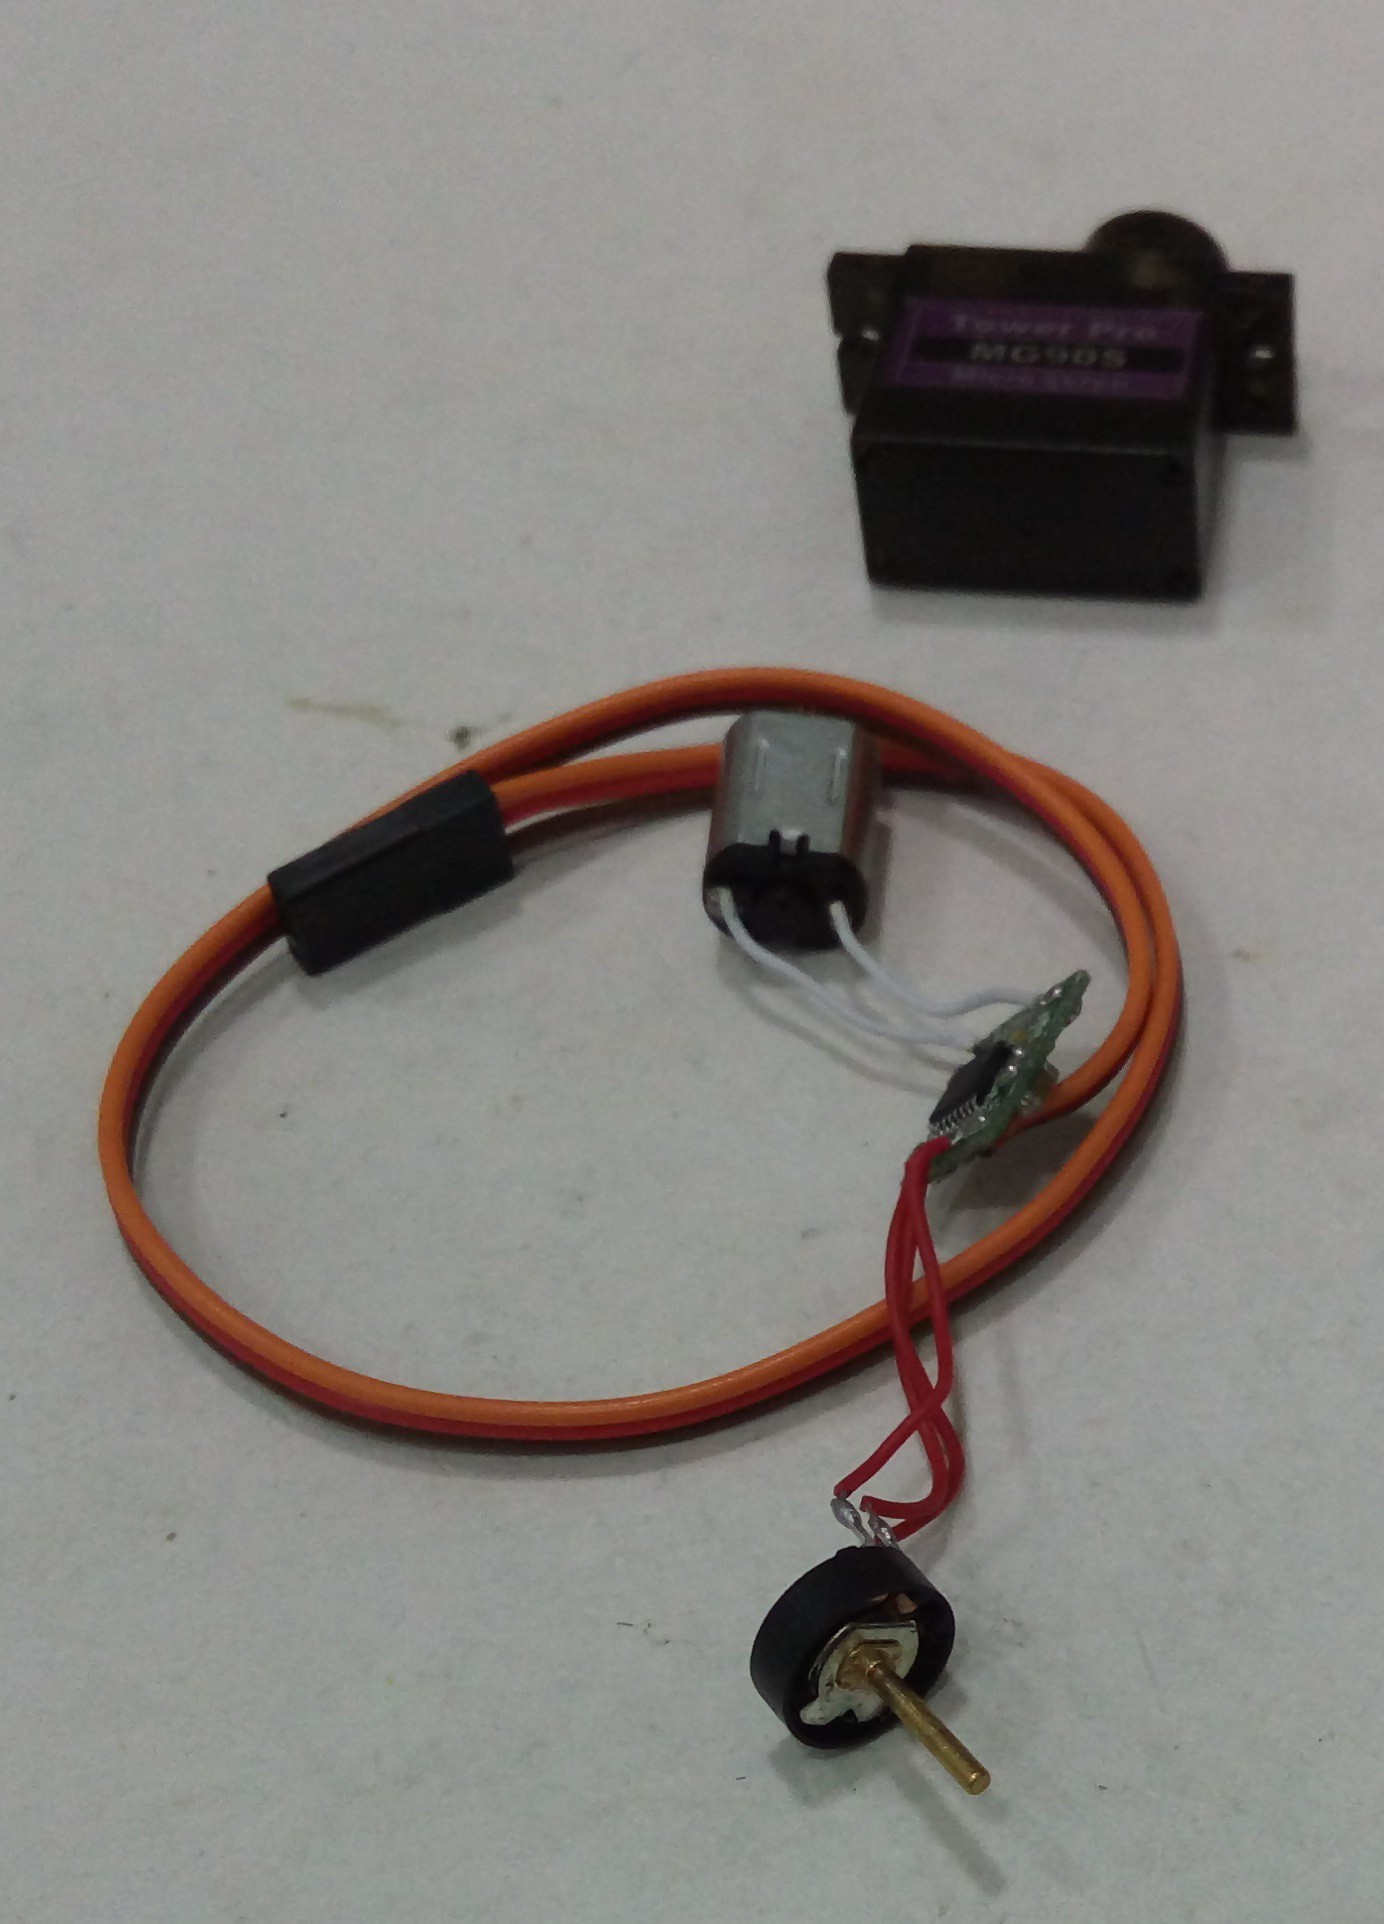
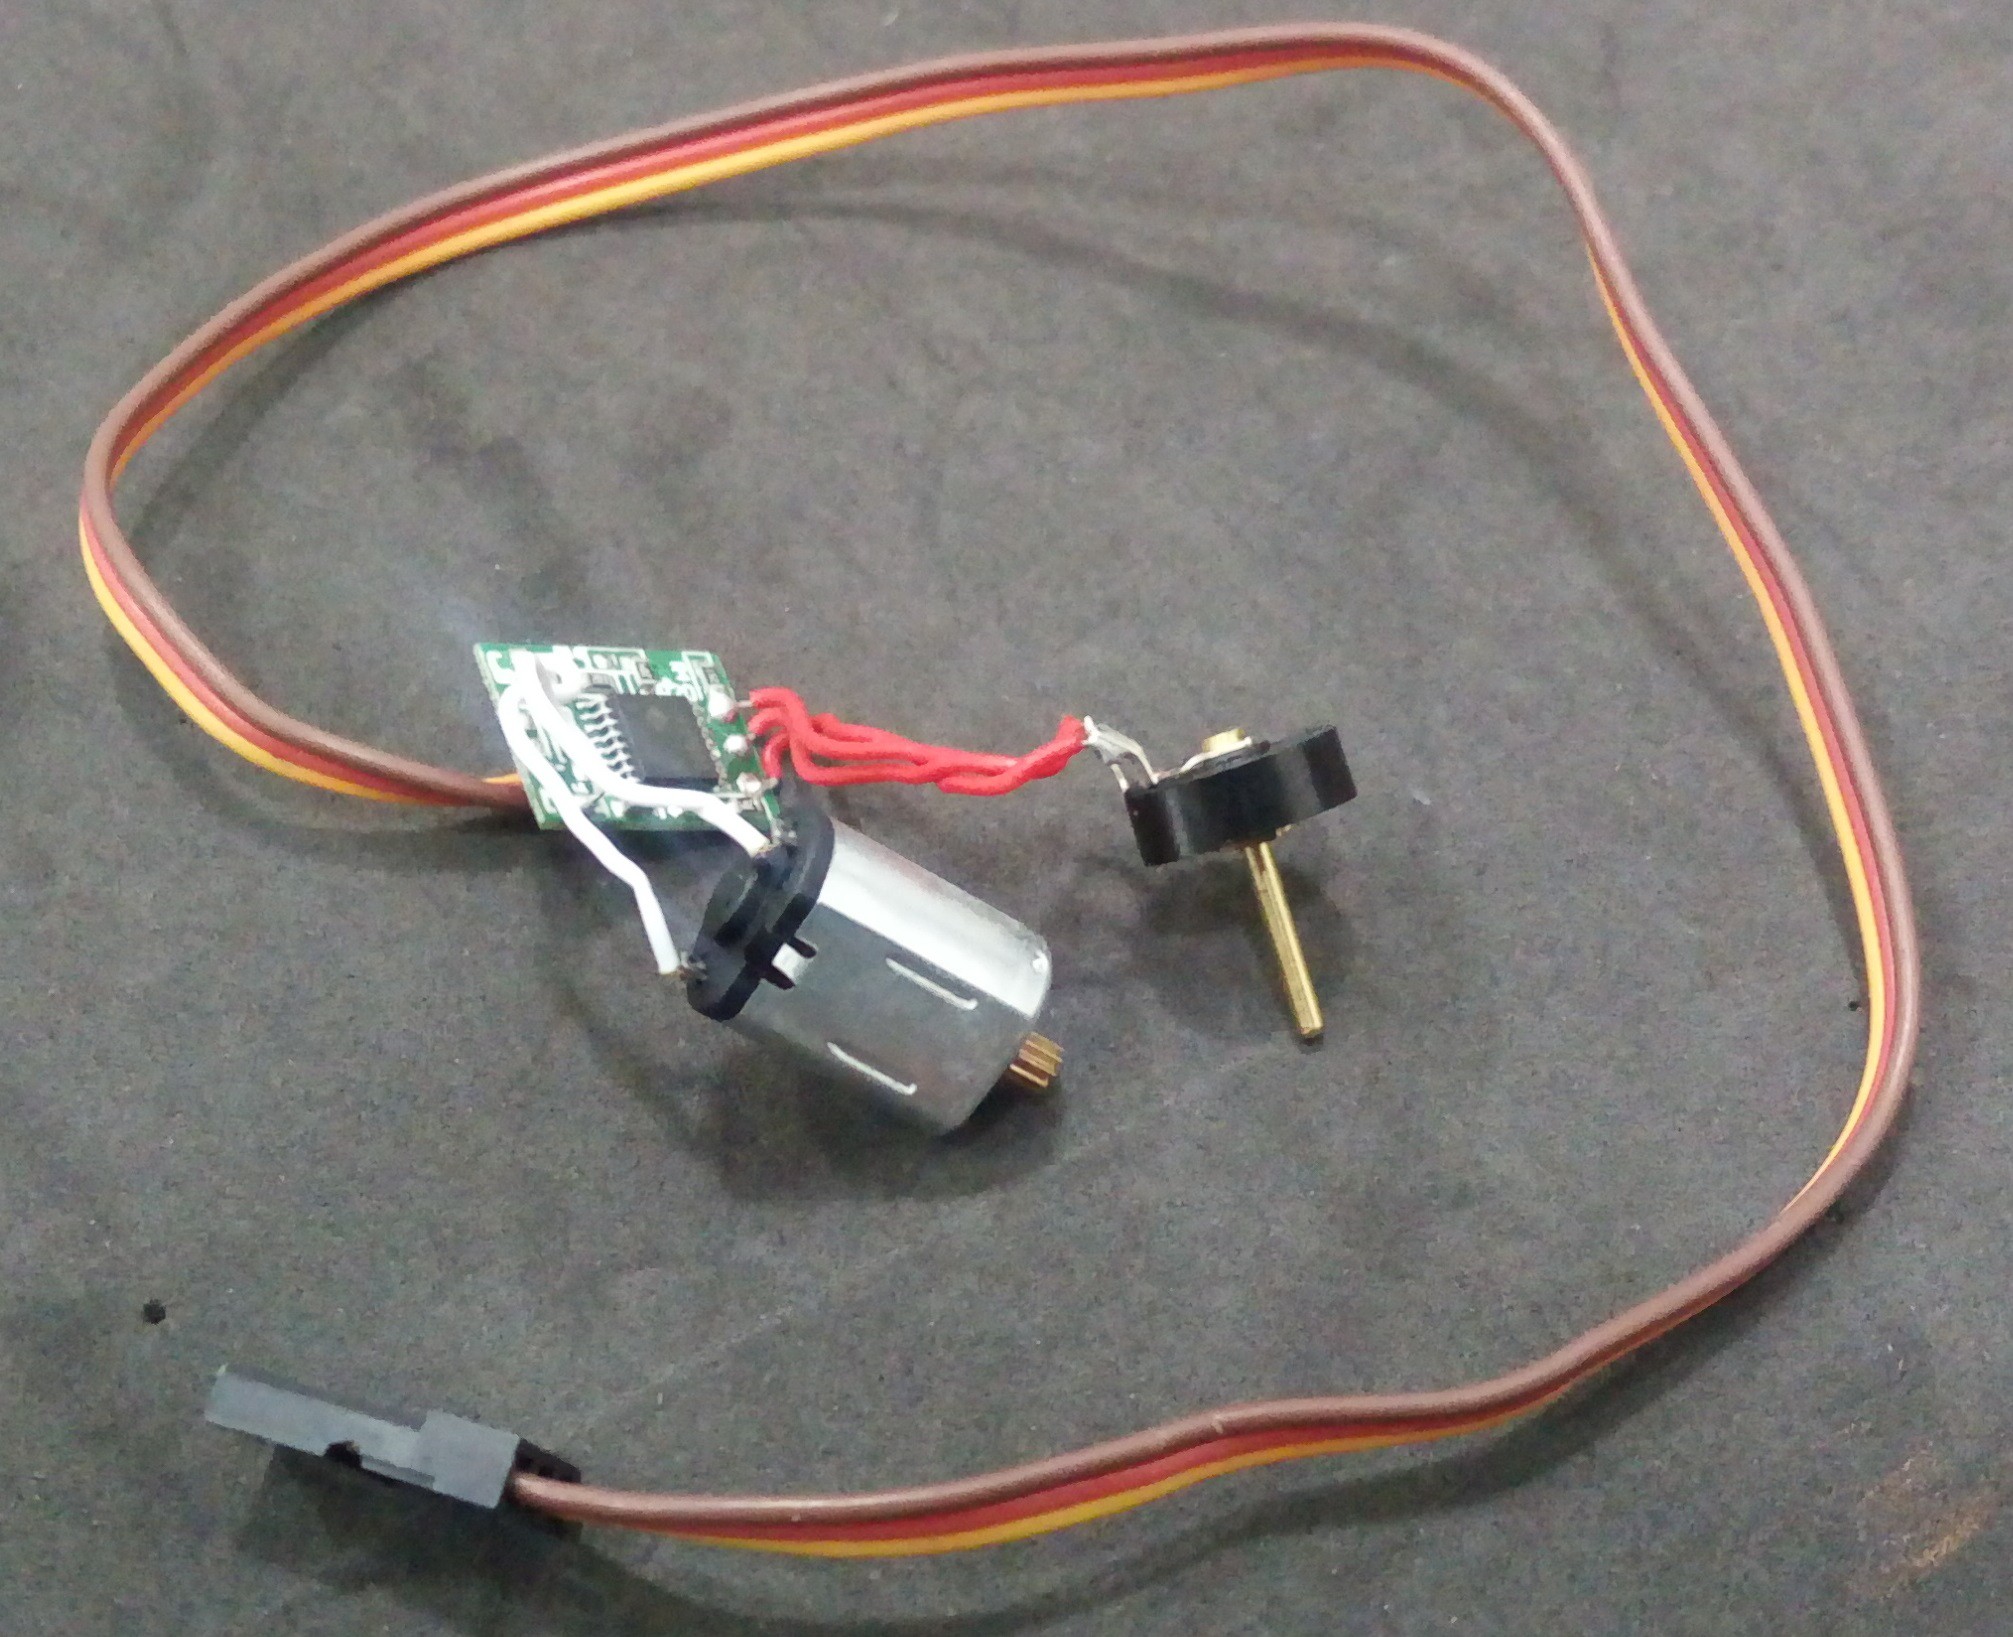
2Change the internal motor and use the Pololu 100:1 Micro Metal Gearmotor
The internal motor of the micro servo should be replaced, in his place its added the Pololu 100:1 Micro Metal Gearmotor
![]()
![]()
![]()
![]()
-
3Print the components
Now print the components, there are a five components, in the files section you should find the parts in different formats, you can download and print directly the .stl's
![]()
-
4Assembling
The screw puts in the piston
![]()
when in position, put the motor in the screw
![]()
now, put the set of compounds into the case
![]()
after, we must place the gear, special attention of the position since it has a way of fittingsince it has a way of fitting, the gear its a set with the potentiometer
![]()
![]()
-
5Plug and play
The final step is to plug the three servo wires to the arduino (as you do with a servo), the arduino to your pc, upload the code( link over at the parts section) and use it.
We also recommend begin experimenting with the sweep example on the servo section to get a glance how the mecanics work. Then up the game connecting and diconnecting digitally the actuator dy code to eliminate gittering and improve efficiency of the robot.
-
6To change the speed of the actuator 1
This instruction show how to change the actuator velocity through of the change the 3D model.
First download the model of screw from Files section, it must be taken into account that they are in several formats, so it will be easier to edit it in the software of your preference. We are used Autodesk Fusion 360, therefore the instructions will be detailed for this software.
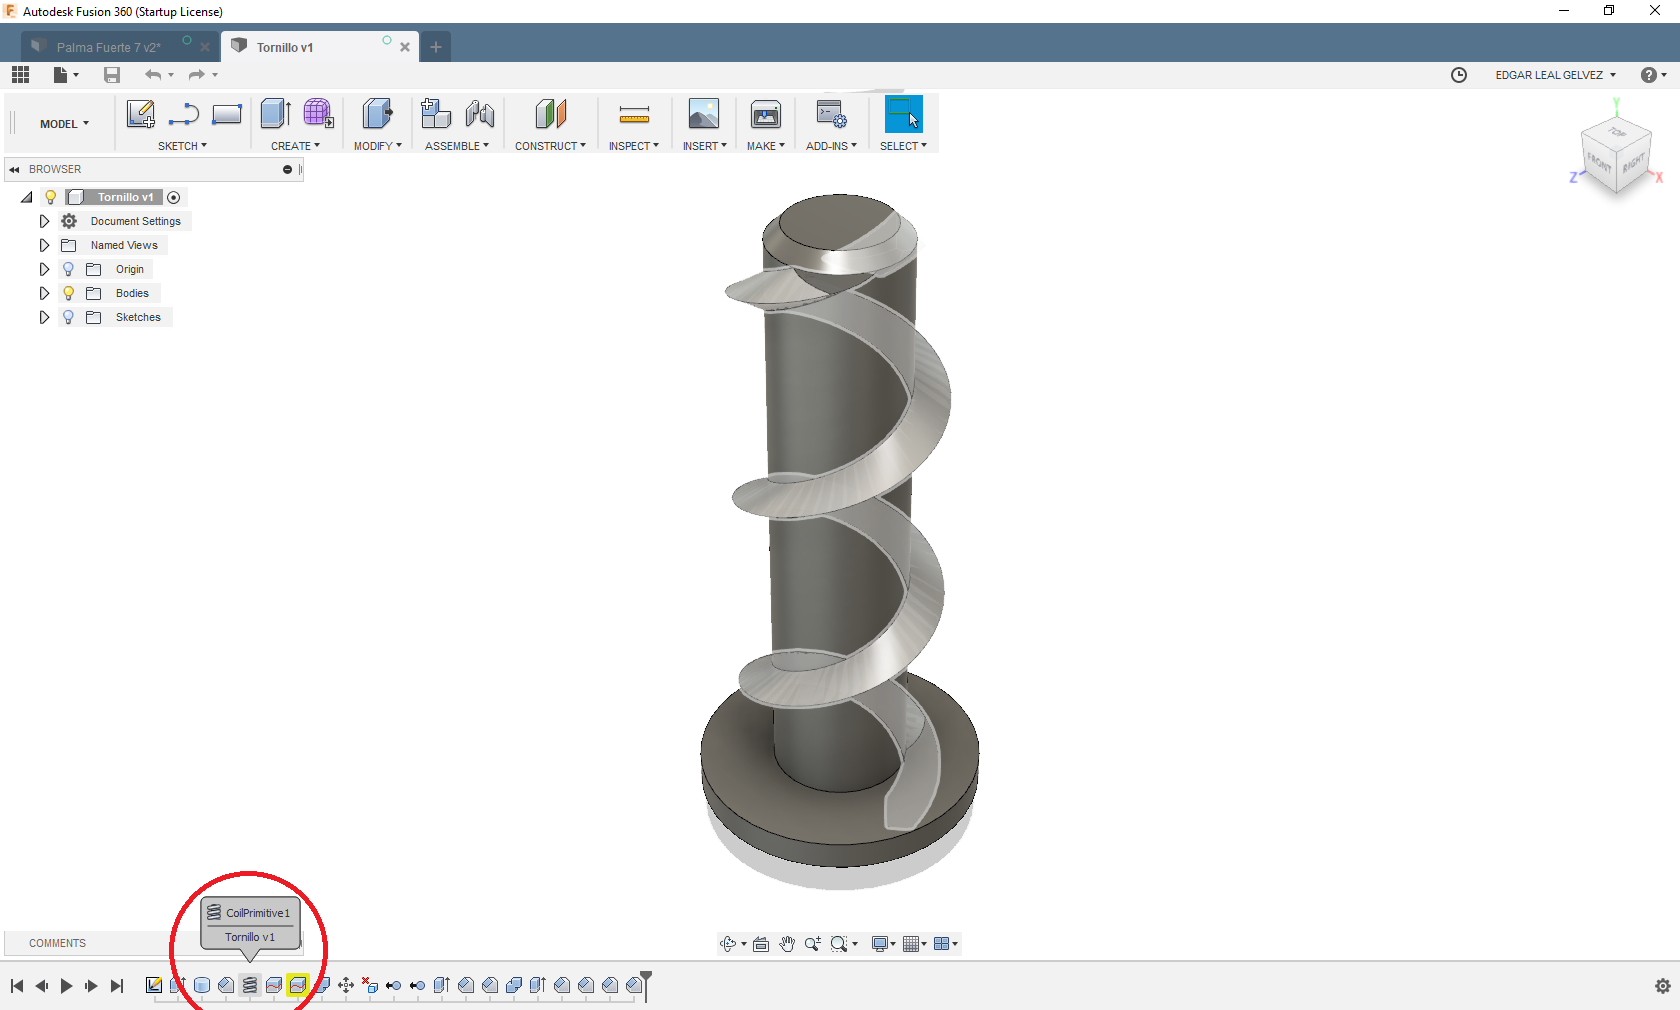
Open the file and go to coil step and edit this characteristic,
![]()
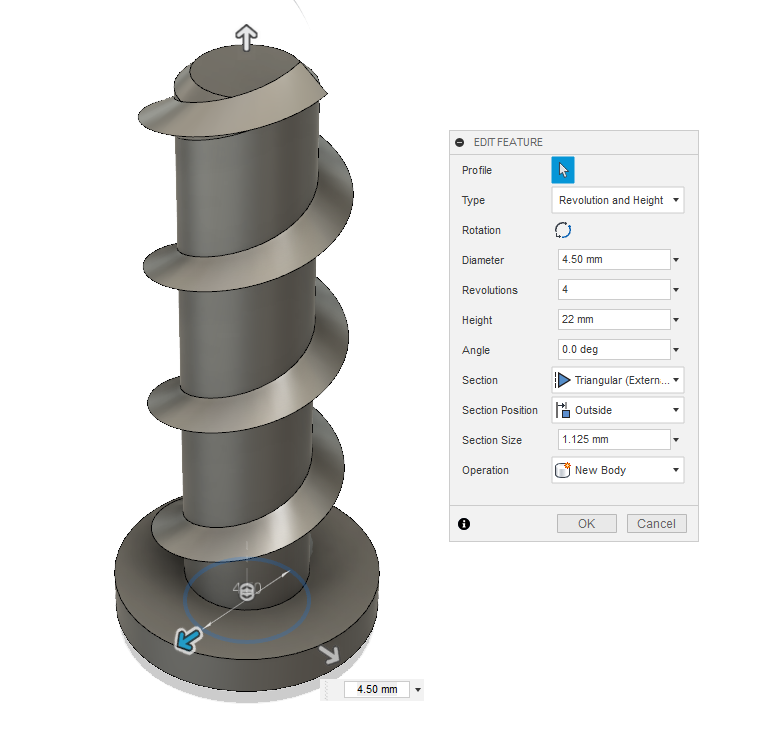
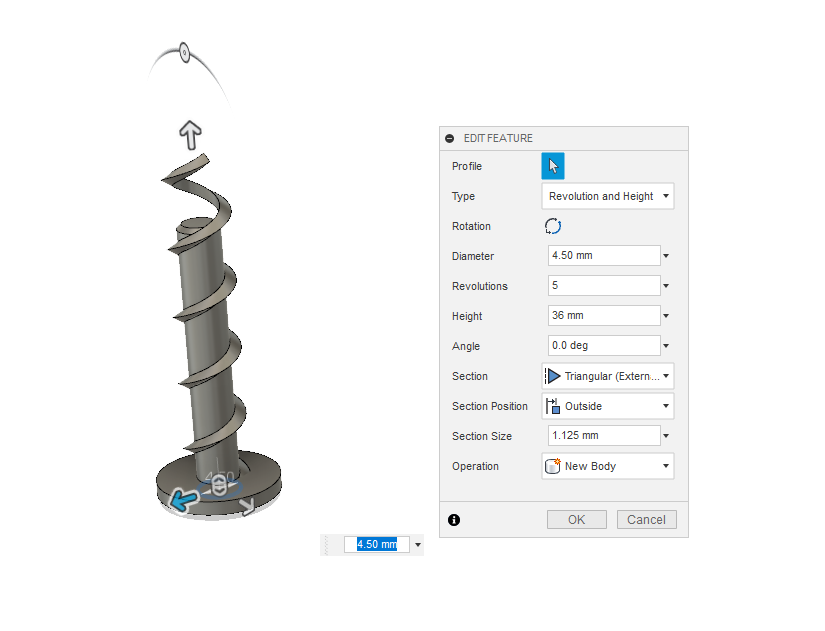
When editing, the parameters that can be changed will come out
![]()
In the box Revolutions you can control the number of steps, with this you can control the speed of the actuator, for example, the screw of the image have a three revolutions and if you change for four revolutions the screw look like this
![]() and if you change for two revolutios look like this
and if you change for two revolutios look like this ![]()
-
7To change the speed of the actuator 2
For the complete the change of speed you need change the piston because it is a designed for the number of steps of screw, so for this purpose you need download the Piston file from the Files section and edit it.
Just like before we are going to edit it in Autodesk Fusion 360.
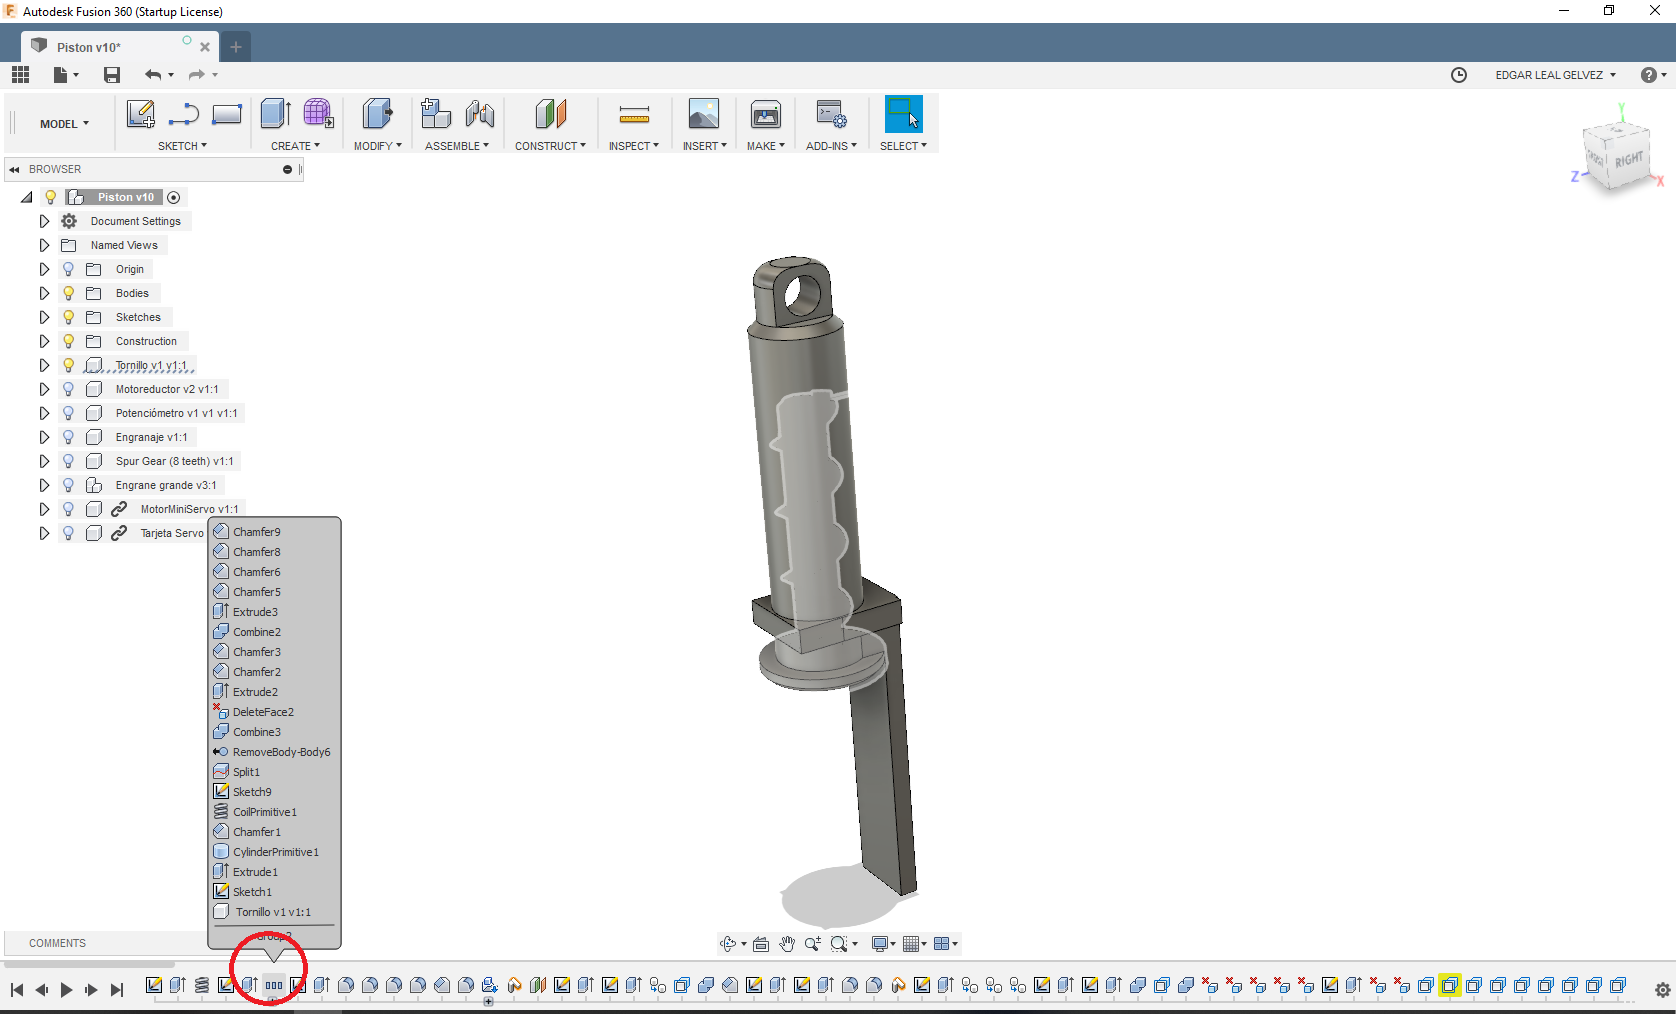
Open the file and go to first steps,
![]()
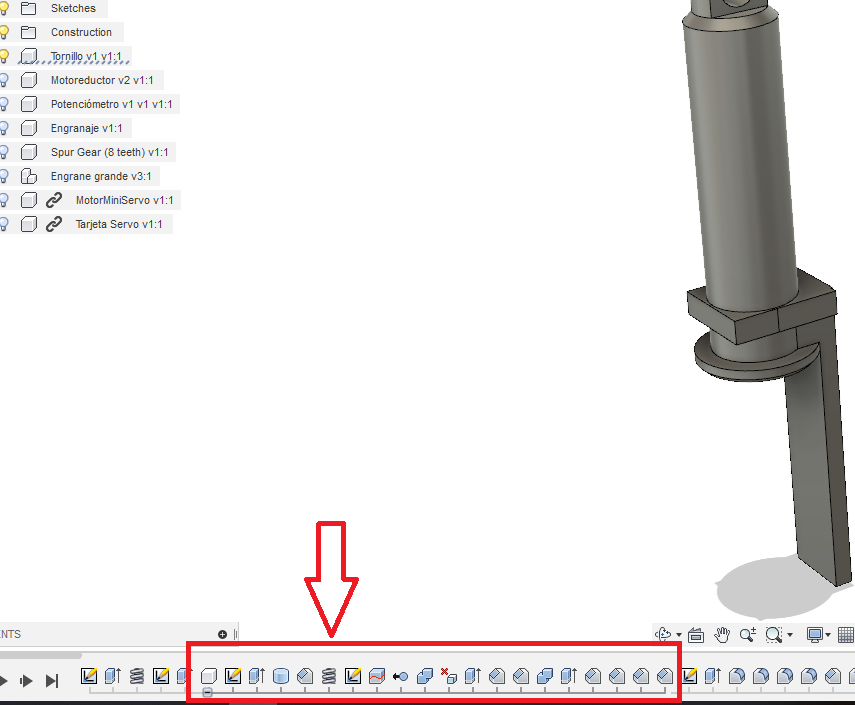
Here in the step when inserting the screw, you can expand the content of this step, and you can see the step by step of the construction of the screw, there we will edit the revolutions of the screw to modify the piston.
![]()
Following the instructions given to modify the screw, we will edit the coil function
![]()
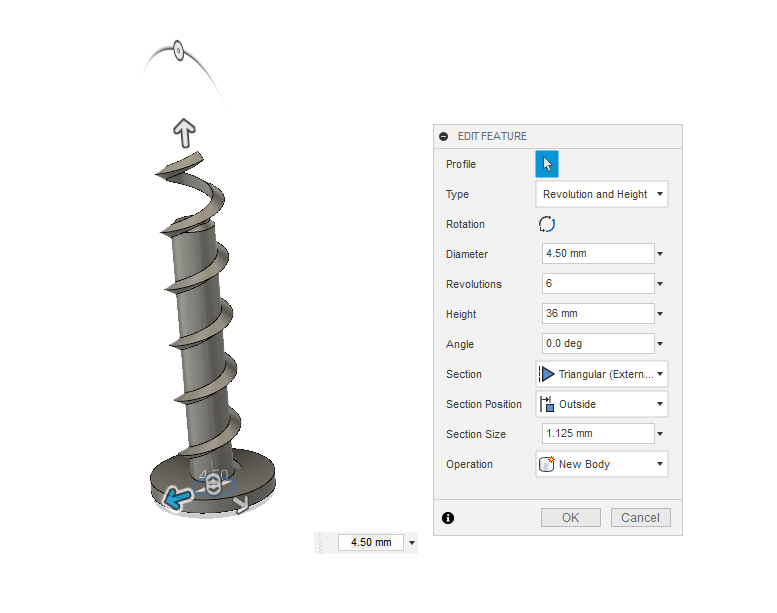
when editing the options box comes out where we can modify the revolutions of the screw that gives the internal shape to the piston, in this case it is in 5 revolutions but you can put the ones you need, for example using six revolutions look like this
![]()
-
8Printer config
Instead of telling you each parameter of your printer we made a profile file to upload to cura a get set on your printer. This is the best way to print with PLA. So go to files a search for Perfilimrpresion.curaprofile , then go to the lastest version of cura in Setting> profile>admin Profiles> select the file.
Dont forget to use the tree support on the experimental page, it will literaly change your life.
3D printed mini linear actuator
Need a mini linear actuator that is easy to print and implement in your robotics DIY projects? We got you


 and if you change for two revolutios look like this
Discussions
Become a Hackaday.io Member
Create an account to leave a comment. Already have an account? Log In.