 Meaghan Creed
-
1Print the 3D part from STL file on project page
![]()
-
2Prepare syringes
Pull plunger out of 2 syringes and put aside. Cut the top and bottom off the syringes with a razor blade (see photo). Epoxy a valve into the ejection end of each one and let dry fully.
-
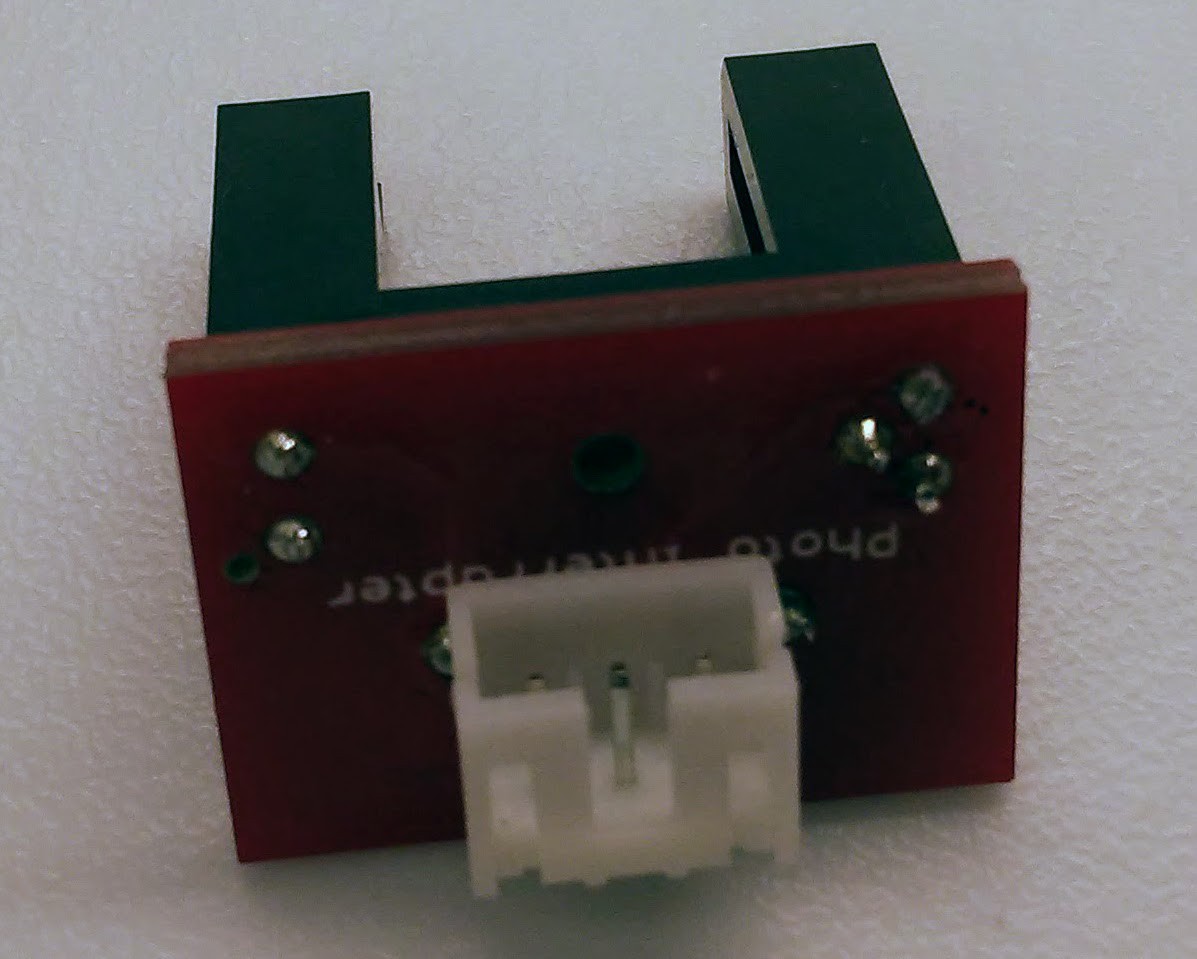
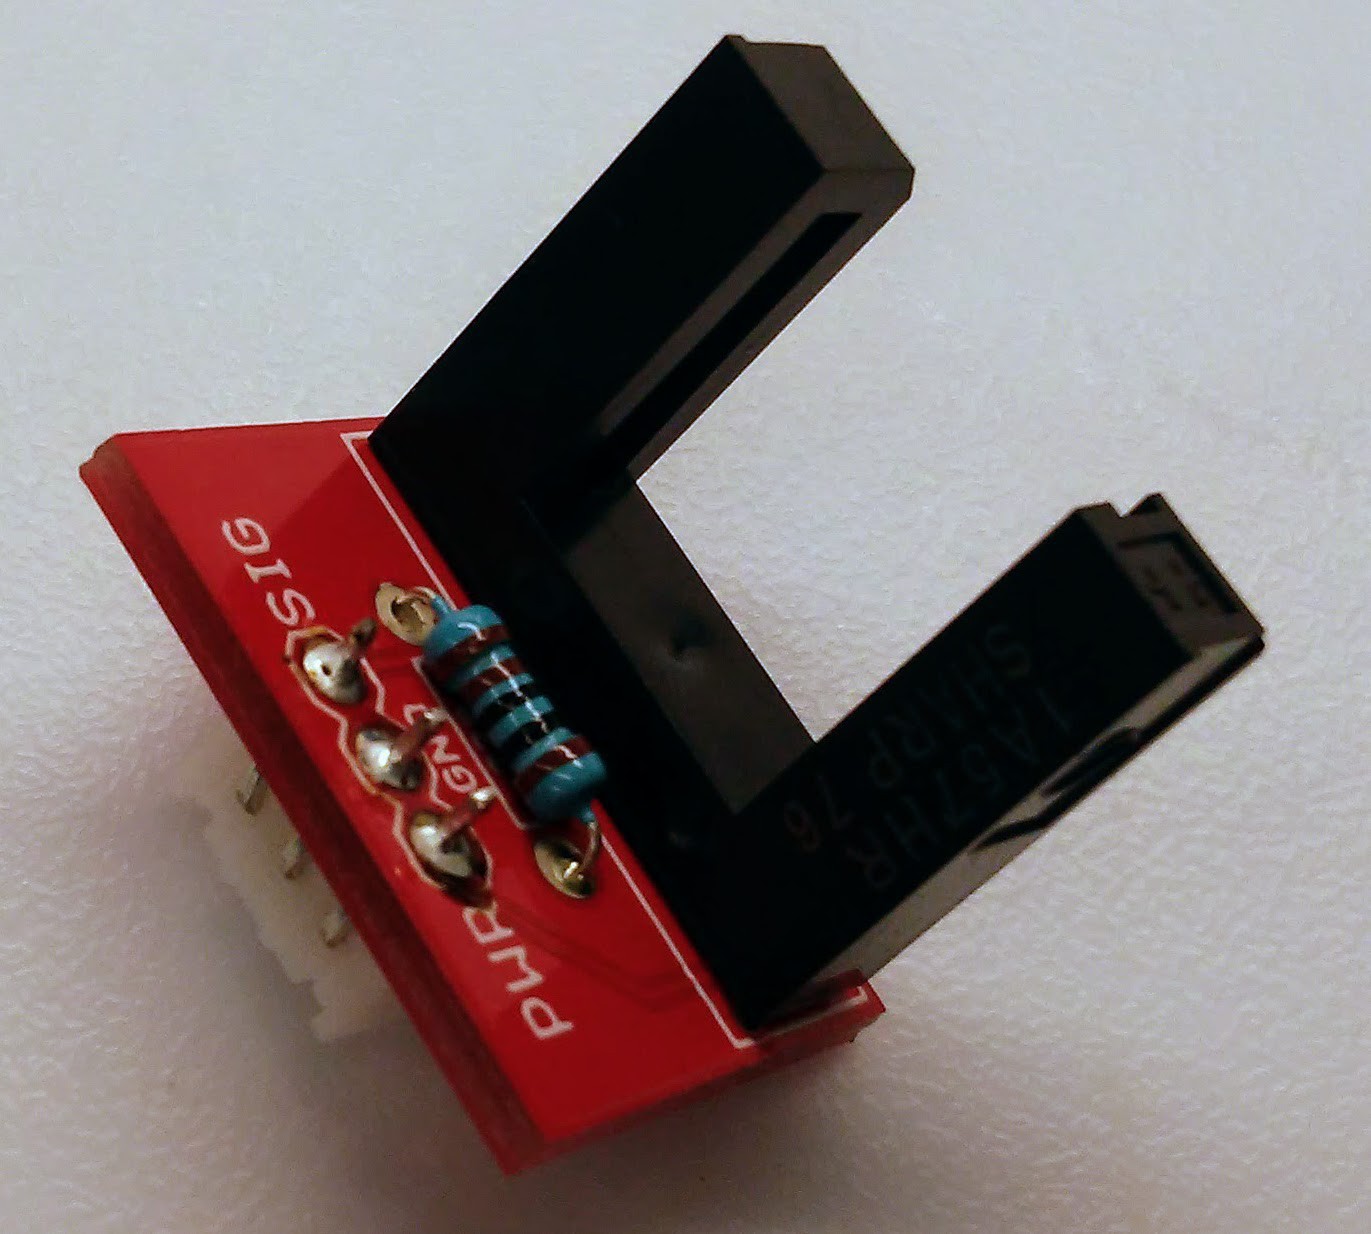
3Put together 2 photo-interrupters
Solder the PI into the Sparkfun breakout board, solder on a 1K resistor (the board says to use a 220Ohm resistor but we found 1K doesn't impair the function of the PI and consumes less power), and solder on the 3 pin JST connector. Be careful with the orientation of the connector, it's important! Plug the wire into this 3 pin jack.
![]()
![]()
-
4Put headers on SD shield and mount on Arduino Uno
-
5Connect Photointerrupters to Arduino Uno
Connect:
- The ground pin on each photointerrupter to the GND on the Arduino
- The power pin on each to the 3.3V on the Arduino
- The signal pin on one photointerrupter to pin 7 and the other to pin 8
You can push the wires into the headers on the SD shield or solder them into place for a more permanent connection.
-
6Flash the code!
-
7Test that the photo-interrupters are working
TODO: Write up testing methods
Automated mouse homecage two-bottle choice test
A homecage-fitted apparatus for automated, photobeam-based detection of licks in a two-bottle choice task. *Note: see v2 for updates

Discussions
Become a Hackaday.io Member
Create an account to leave a comment. Already have an account? Log In.