-
1Get or create a nice image for your project
First, you should create, buy or get a picture which you want to illuminate. I bought some vector-images from Fotolia and arranged them to get my template.
![]()
I chose six of the bigger stars to be illuminated and created a drilling template for the wooden frame.
-
2Create the wooden frame
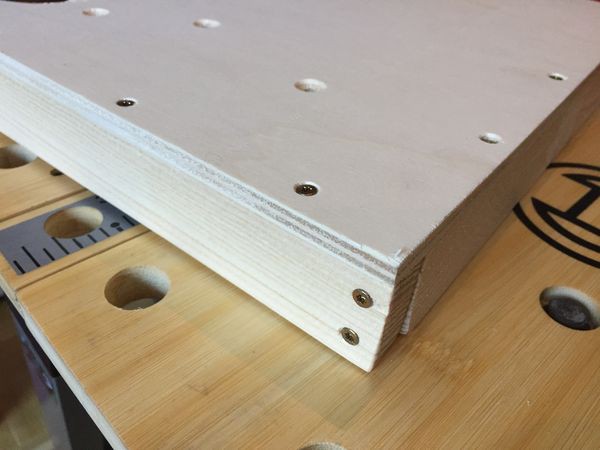
Buy some wood plates and drill the holes. Then add the frame.
-
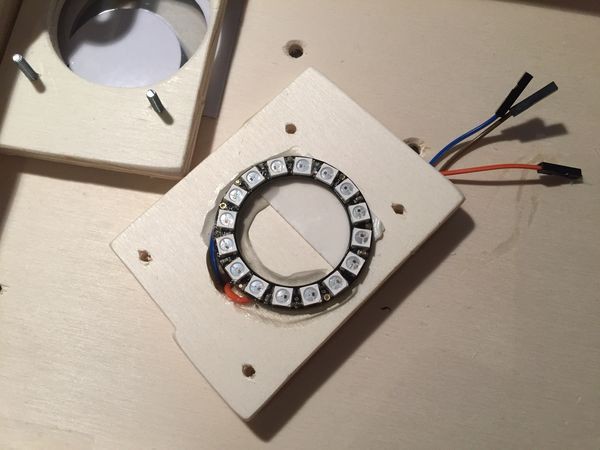
3Create mounting plates for the two LED-rings (sun/moon)
![]()
-
4Print image on cloth
Because of the easy assembly and translucency, a printed cloth is the best looking solution for attaching the picture on the frame.
-
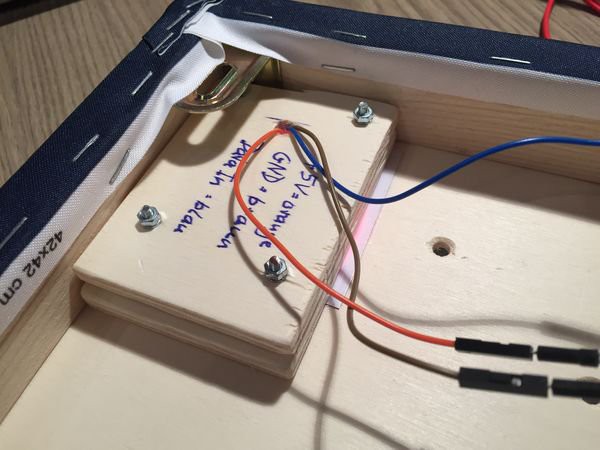
5Wiring
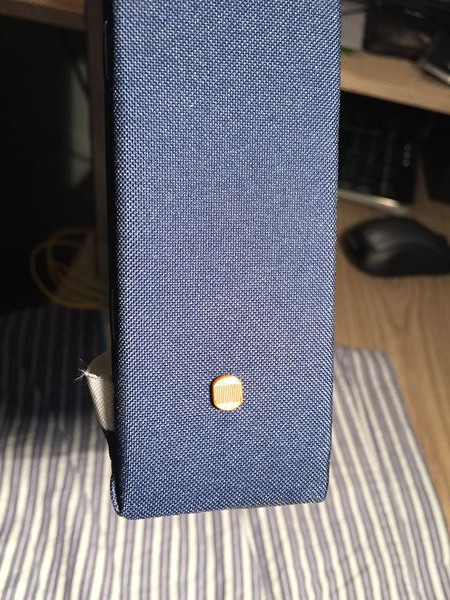
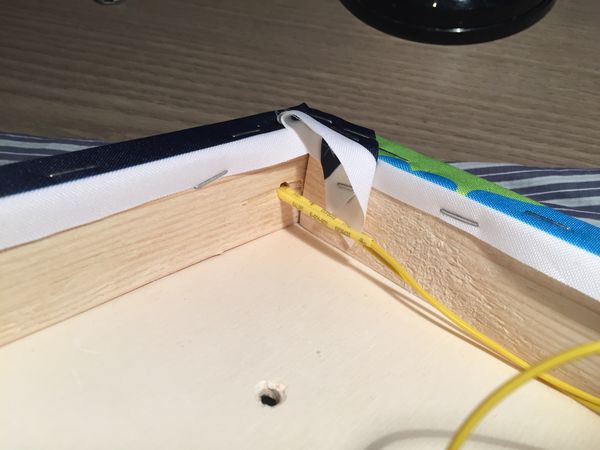
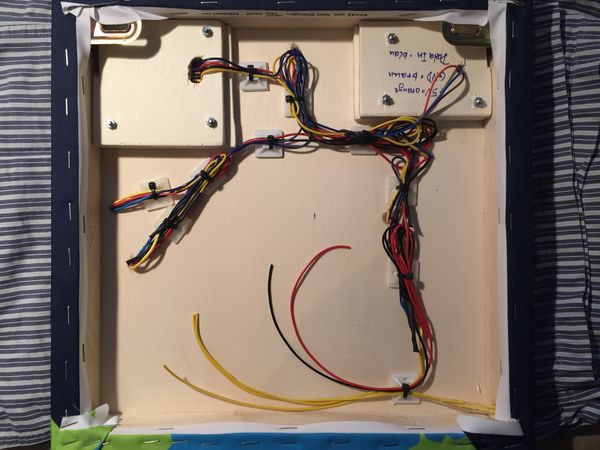
Connect all LEDs (WS2812) and the light sensor with wires.
-
6Create electronic circuit
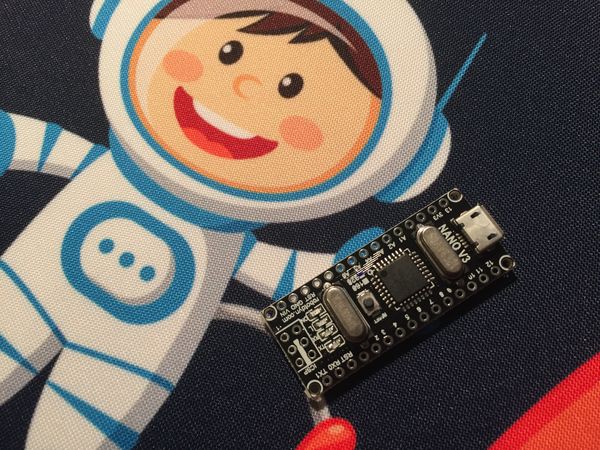
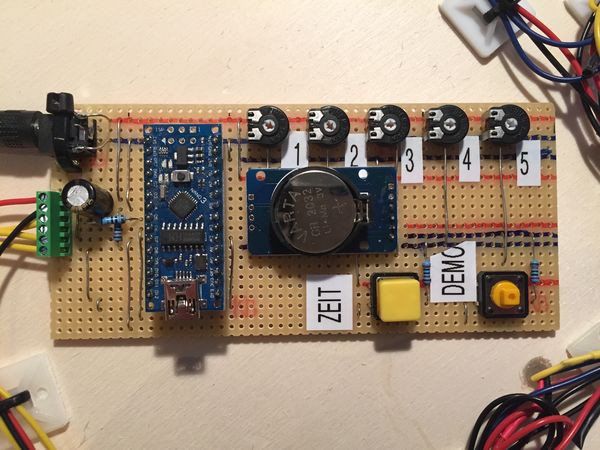
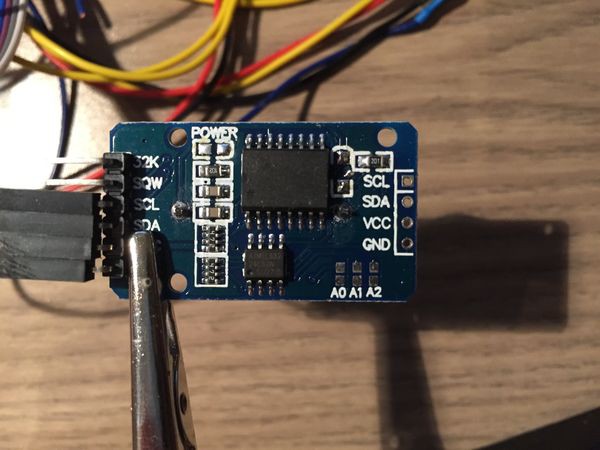
Use the Arduino Nano (or a Clone), the RTC and a power supply to control the LEDs.
I added some sensors and potentiometers to parameterize the nightlight. Because of the LDR (mounted in the frame), the circuit can adapt the brightness. One button helps in setting the moment of day-/night-switch ('ZEIT') and the RTC module keeps the time. Six potentiometers parameterize the brightness of the LEDs (during darkness and during daytime), the threshhold value (light/dark), the brightness of the stars and the speed of the sparkling.
To be safe: please test if your RTC is built for the desired battery type. My module from china has a CR2032 battery but also has a battery loading circuit (not good). So I desoldered this part (a diode) and also the red power-LED. More infos here or here (german).
Nightlight for children
Picture on the wall with wooden frame to show rough day times.
 AndreasVS




Discussions
Become a Hackaday.io Member
Create an account to leave a comment. Already have an account? Log In.